

A big fluffy pom pom can add so much to a cute hat. I have never had a pom pom maker (until recently), so I used to wrap the yarn around some cardboard, tie the center and cut. Now I have invested in a Clover Pom-Pom Maker and used it recently for a little hat I made.

The tutorial video below demonstrates how to use the Clover Pom Pom Maker which is the type I have (Mine is the larger size). And I did watch this video to figure it out.
This video is a pretty good one. She skims over a couple of things that I had to back up for – like snaking the yarn over to the other side.
Because the hat I made was knit with two colors, I used both to wrap the maker.

Also get a good pair of sharp scissors. Cutting the yarn once it was wound was difficult, but it may have been the type of yarn I used. Or maybe my new scissors are not really all that sharp!
When it comes time to wrap yarn around the pom pom maker to tie it off, I suggest leaving longer tails than what she shows in this video. If your pom pom is being attached it to a hat you’ll need longer tails for sewing it on.
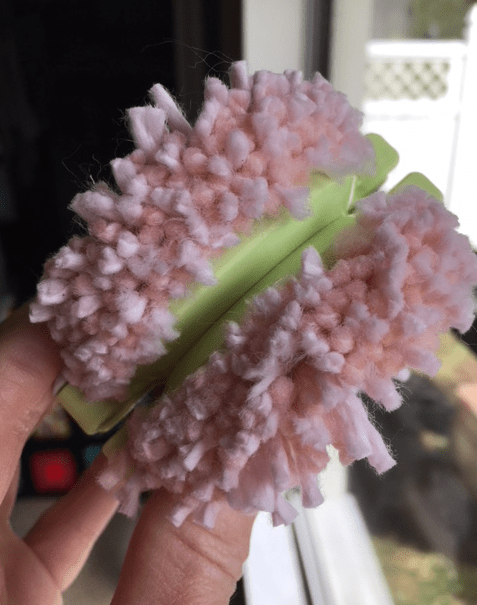
Once my pom pom was free of the gizmo, it looked a little scraggly, so I had to trim it down to a prettier shape.

Here’s my final pom pom which is now nice and round and fluffy. The hat has been hand washed and once it dries the pom pom will be sewn on.
**I did sew this onto the hat but wasn’t too happy. It was floppy. Next time I will either use the button method (a button is added inside the top, which the pom pom is sewn to), or make the pom pom more snug by threading the needle through the top away from the very center.

Here’s the hat with the pom pom, which I may remove and replace.


