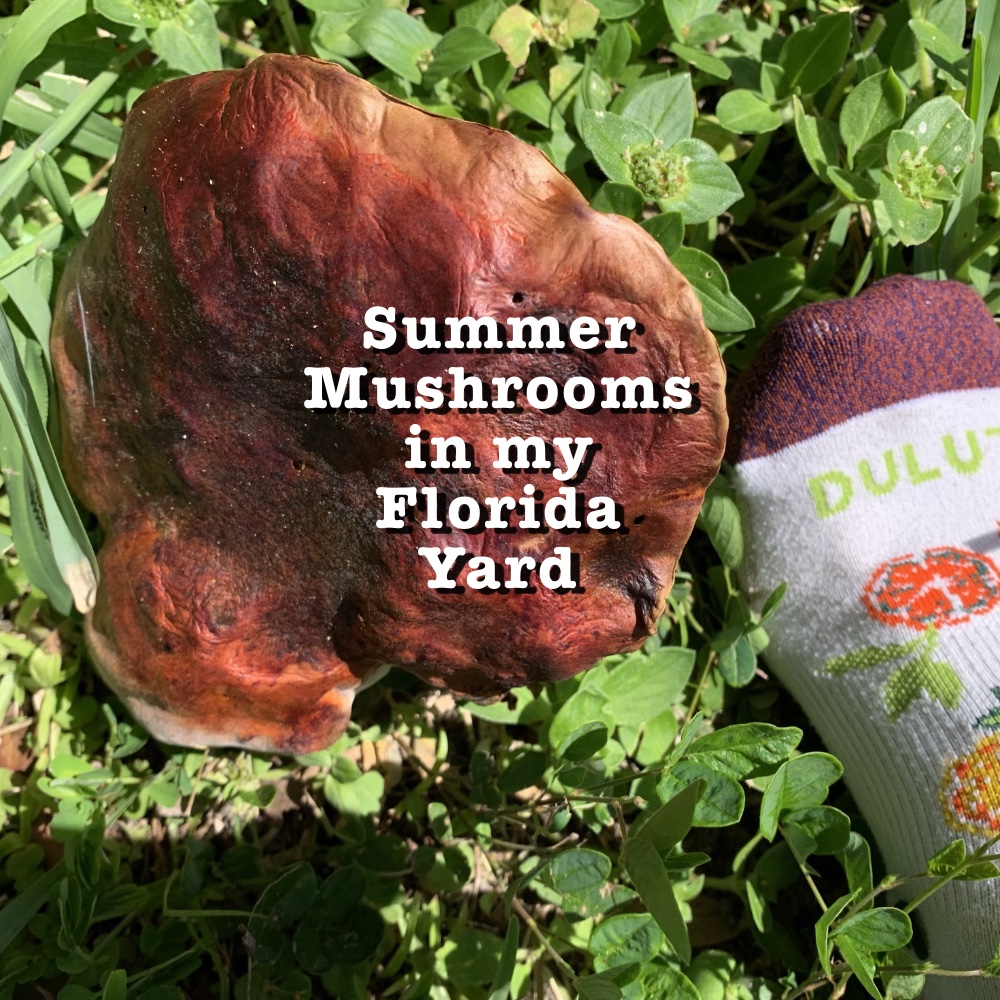
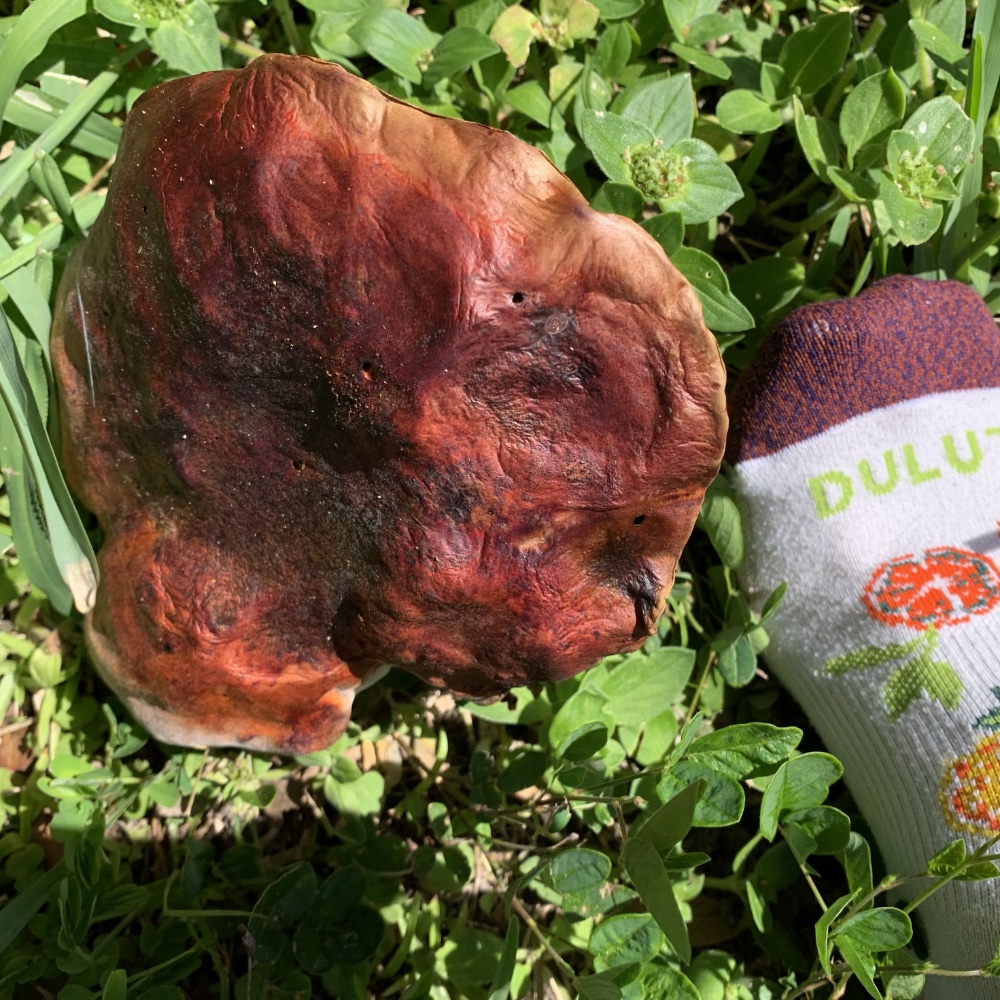
July mushrooms in my Florida yard. A very large reddish-orange one and some smaller types hidden in long grass.
Well, it’s Florida so you never know. I guess mushrooms can show up at anytime, even mid-summer. I don’t claim to know a lot about mushrooms, but they have always interested me.
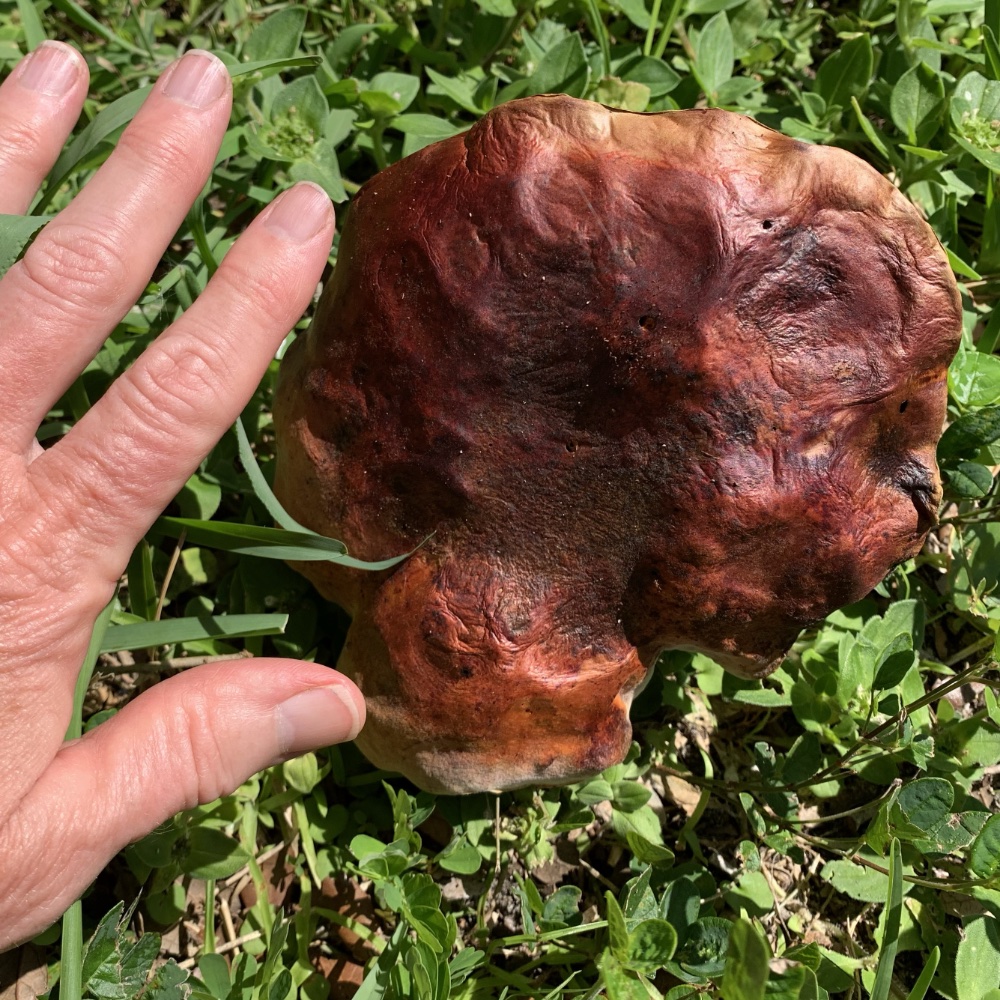
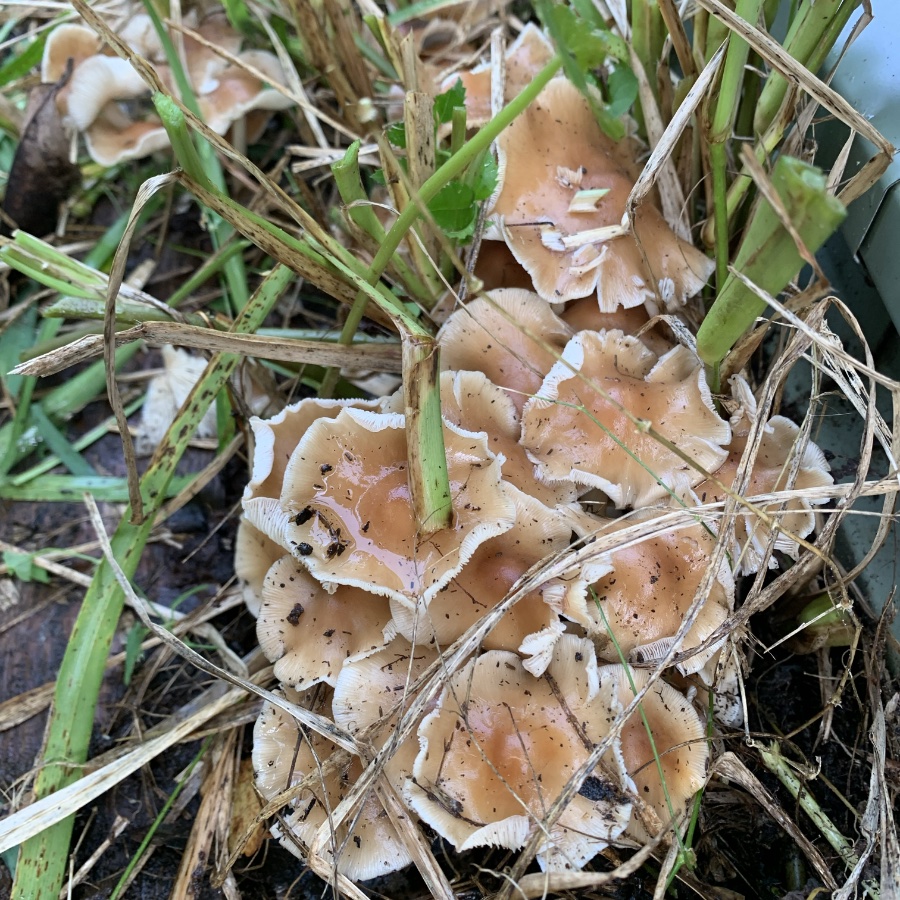
Today I have found these large, reddish orange mushrooms in the grass under a big oak tree. I had to get my hand (and foot) in there for size comparison…LOL. This is the front yard “lawn” which is mostly weeds. The mushrooms seem to be growing from the oak tree roots (maybe).
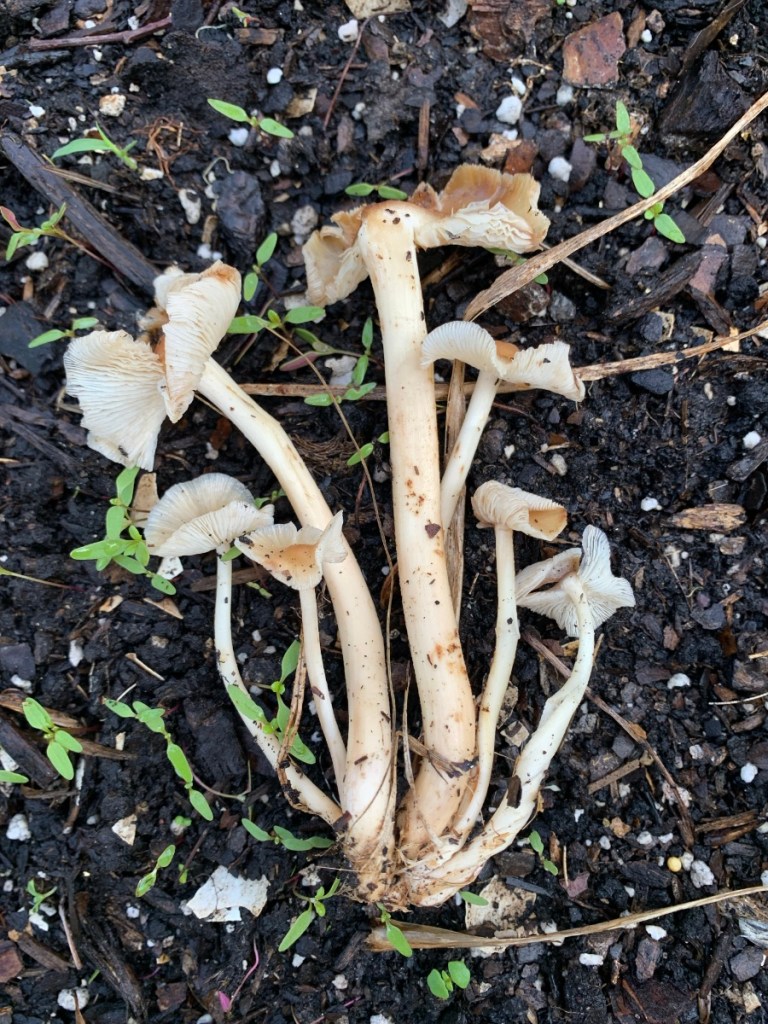
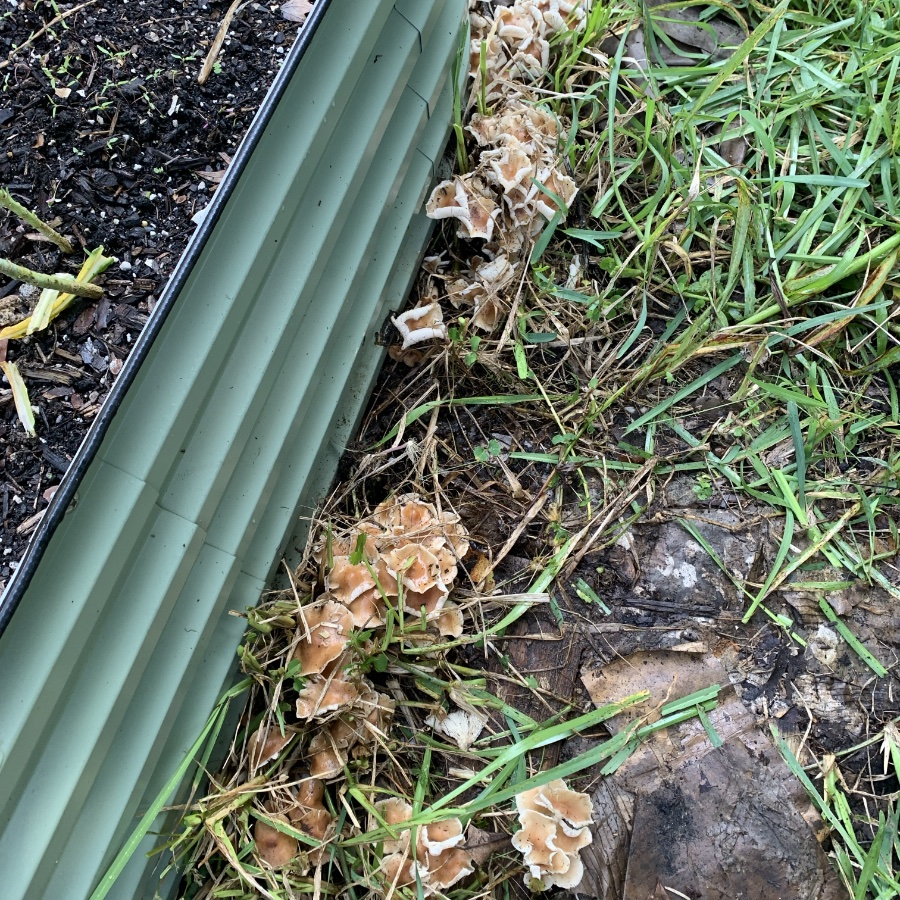
A week or so ago I was ripping up some tall grass along the side of my Vegega garden bed and found bunches of mushrooms (below).
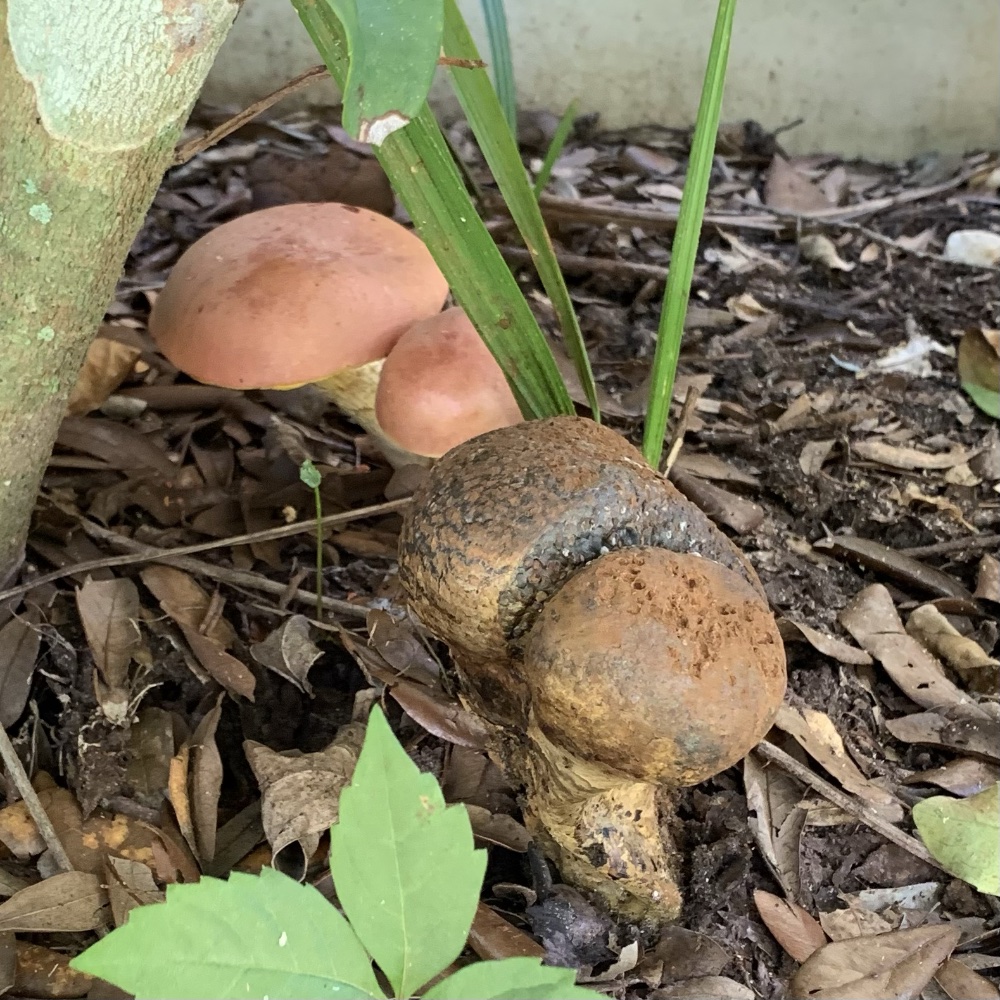
I can’t find the names of these mushrooms, but wanted to share the photos.
I always discovered interesting mushrooms in the woods when I lived in New Hampshire. Fall was an especially good time to search for them. It was fun to take a walk in the woods and see what was out there. I miss it.
I find it odd to see mushrooms in July in Florida. It seems like a weird time for them to grow. Quite honestly that big reddish mushroom is a bit scary looking. It seems like something so strange belongs in this state.
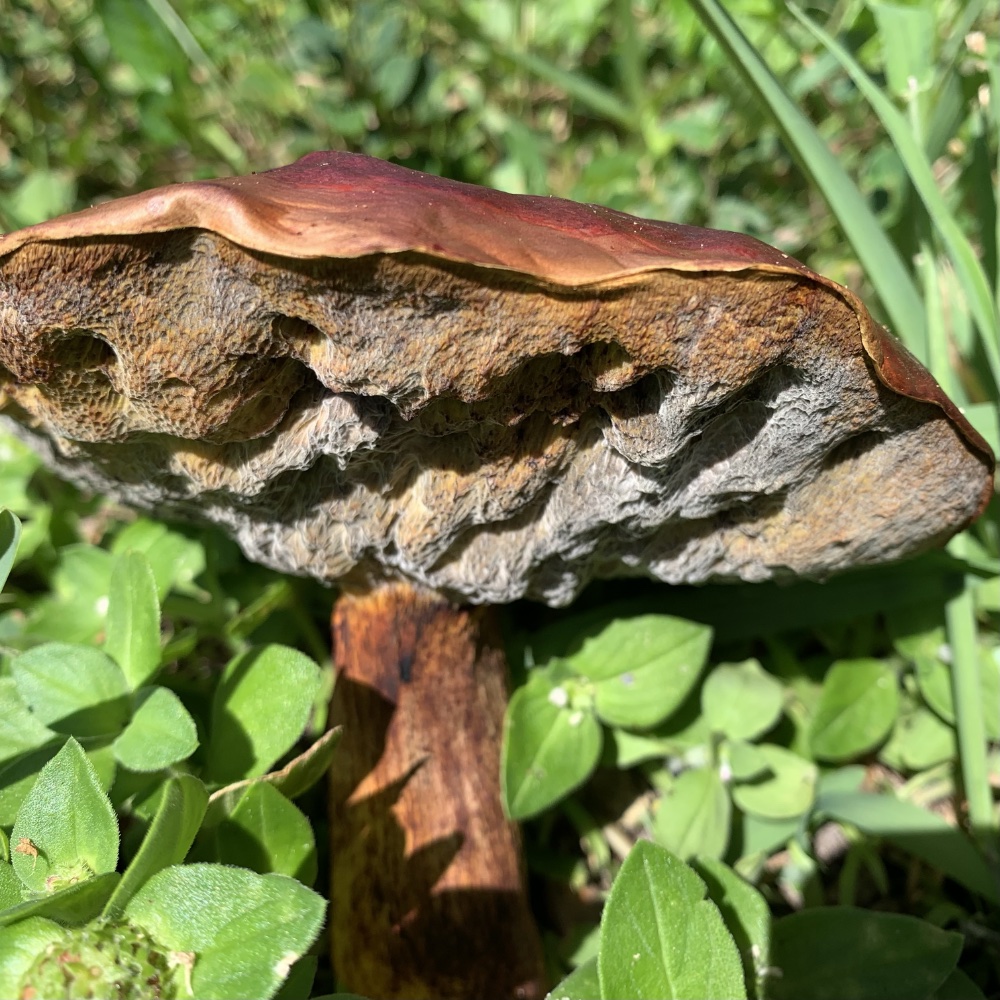
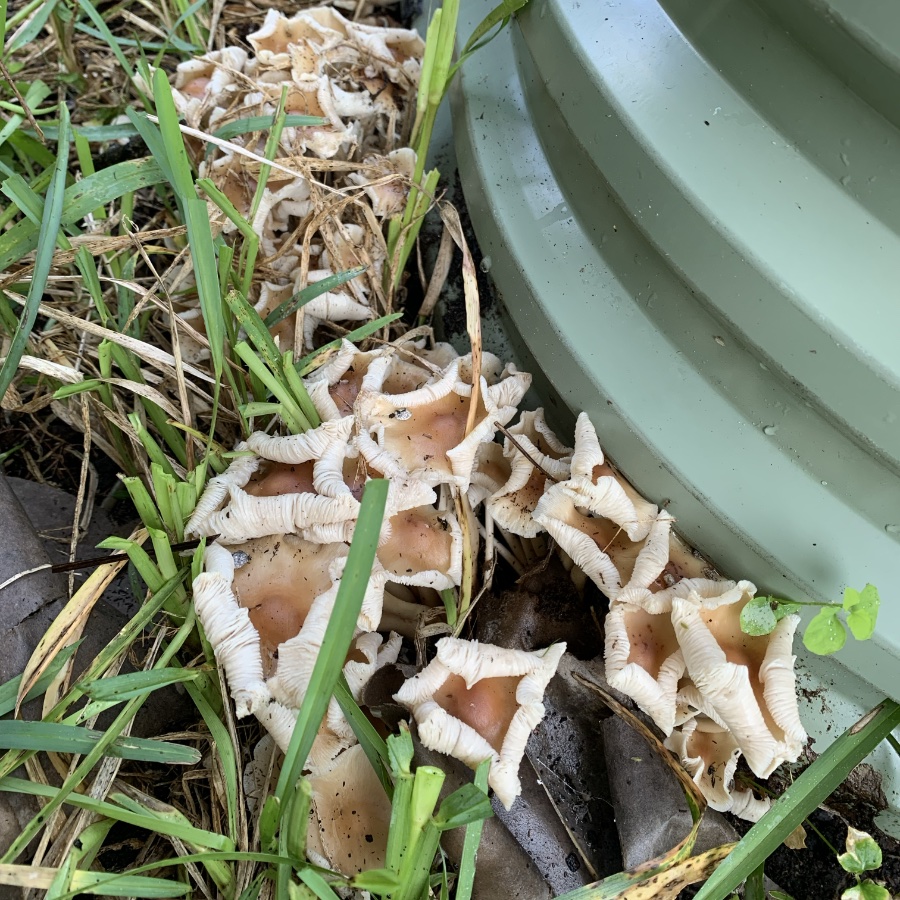
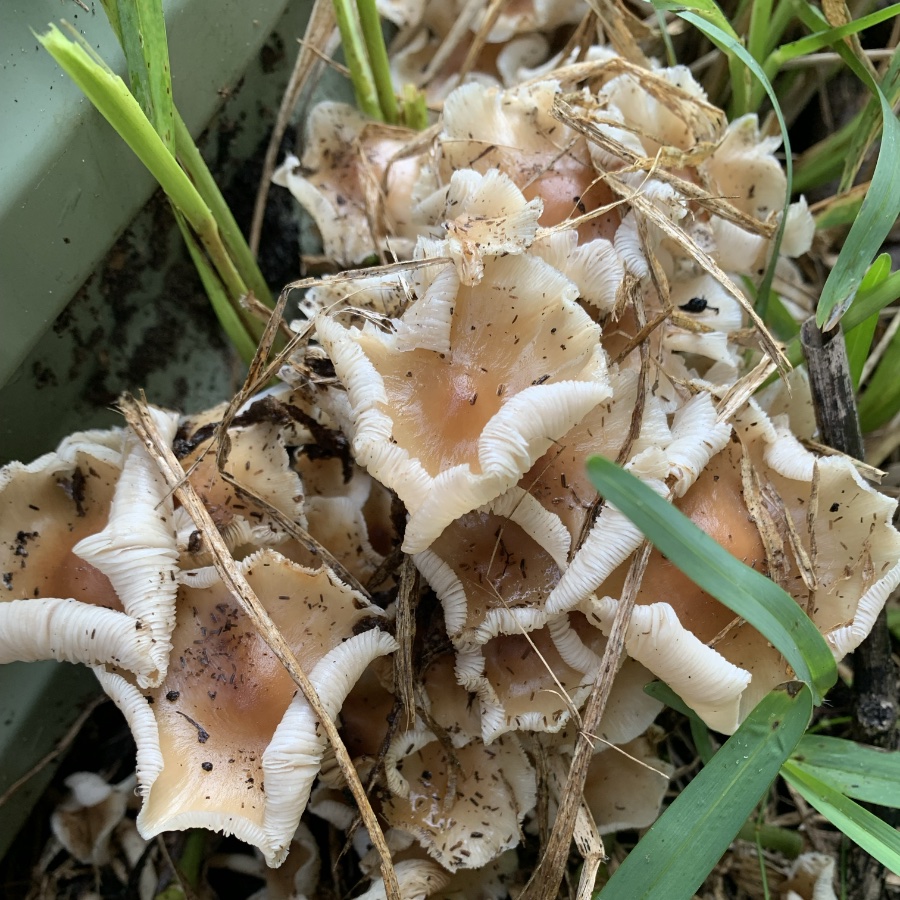
I took one more mushroom photo (below). It looks like an old and new version comparison with the dark set in front and newer growth behind.
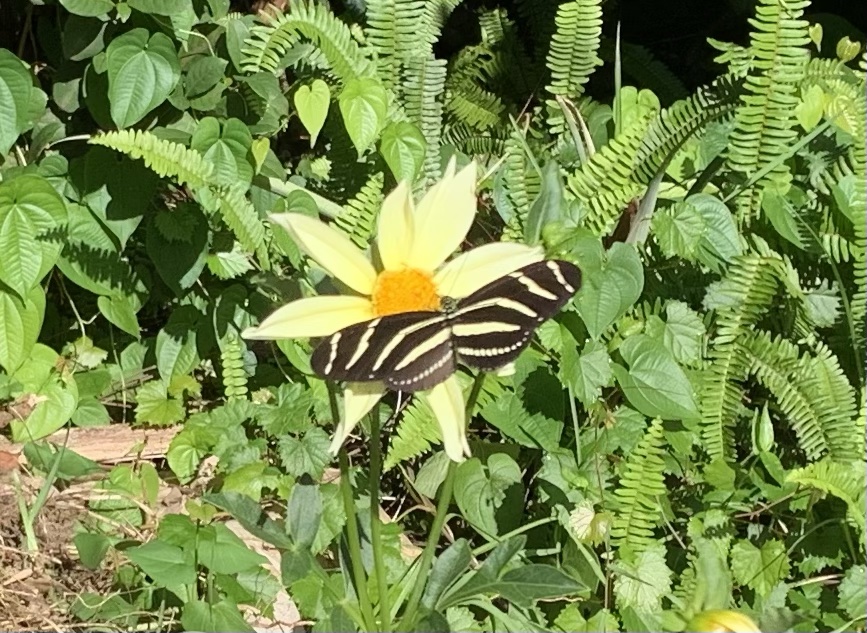
Just for fun, I have included a Zebra Butterly on my yellow dahlia. A morning surprise in the garden.
If you know what these mushrooms are, please leave a comment.
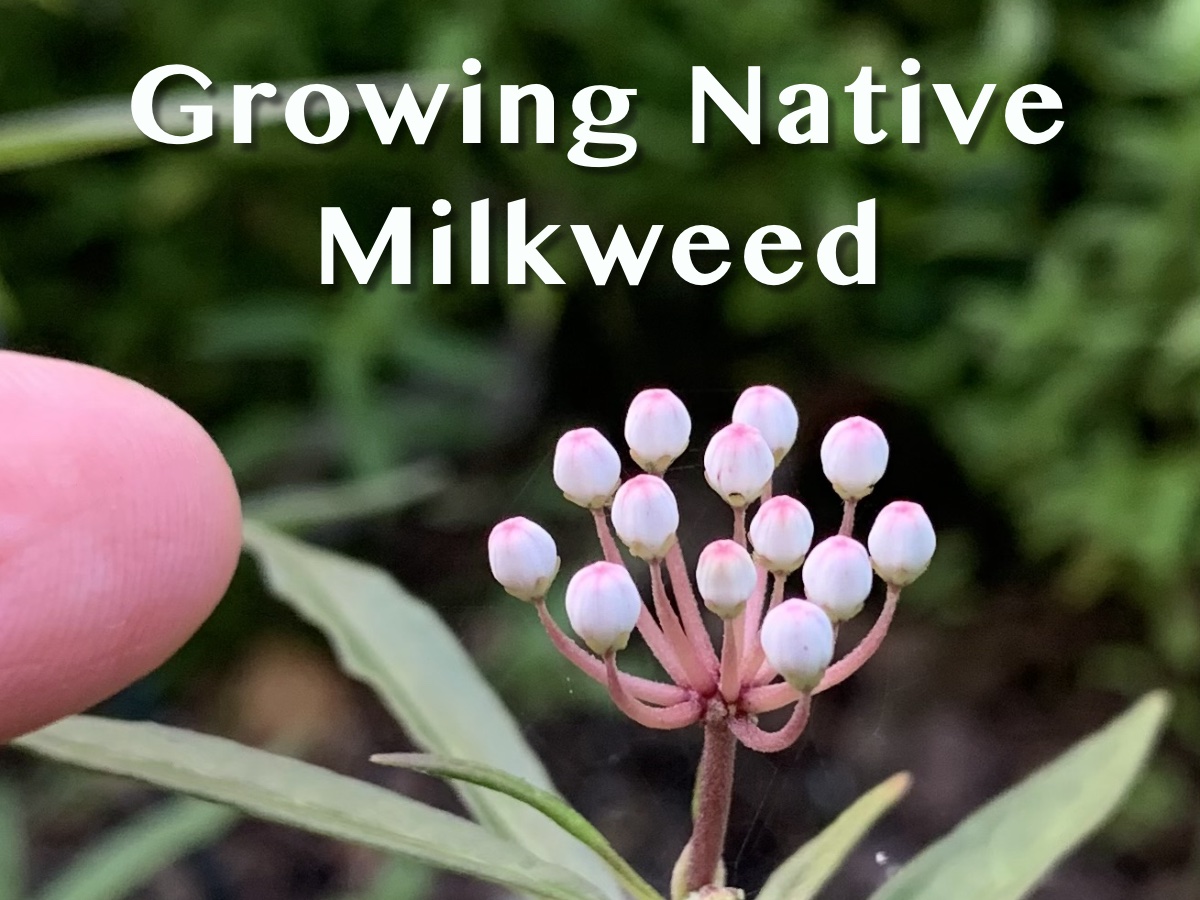
Year two and I’m still trying to fill my yard with native milkweed plants. After the freeze, my plant number has dwindled but seed pods are showing up, which will help.
We all know that the Monarch butterfly needs milkweed. I’ve been trying to grow my own native milkweed in my Florida backyard for two years now.
Last year I purchased some mail order plants, and also bought a few I found locally. They were all doing pretty well, and I was excited. I also had some tropical milkweed (the bad kind) that fed the butterflies. The milkweed bugs took care of removing the seeds, so I didn’t have to worry about it spreading. I also cut it down at the end of the season, as you should if you grow this type.
This year- seed pods
Over winter we had an unusual cold spell that killed a lot of things. Even now, in June, the palm trees are still showing dead fronds. I lost three of my larger milkweed plants – one remains. And I have this white milkweed.
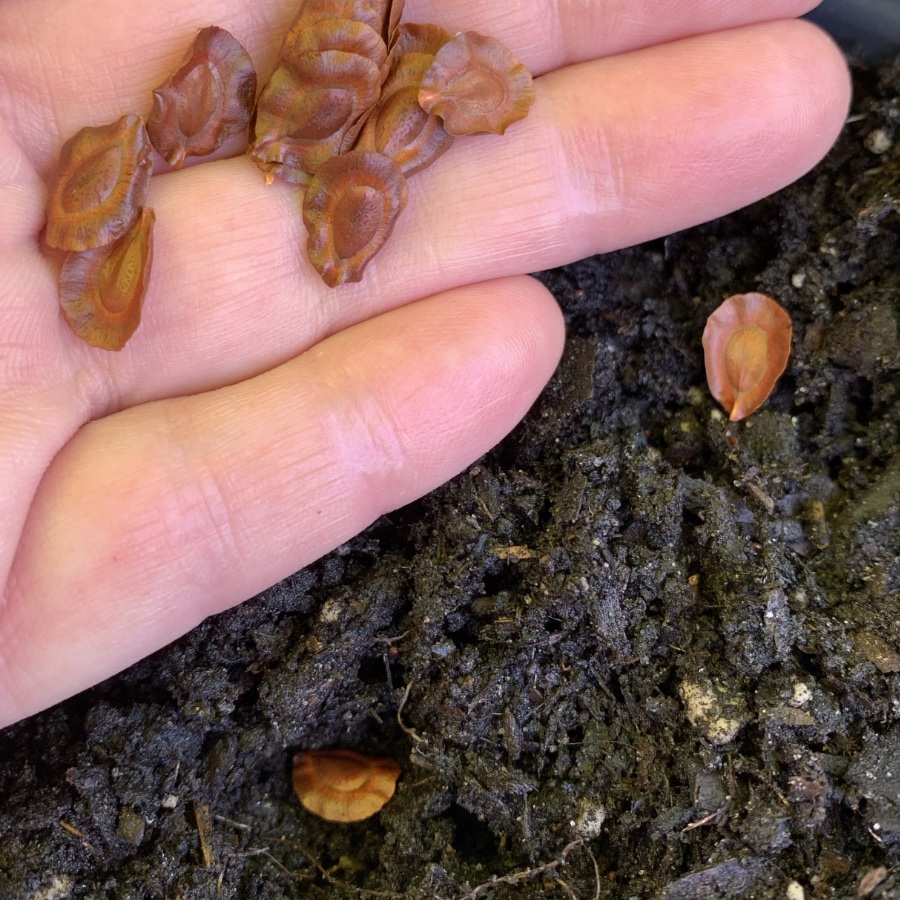
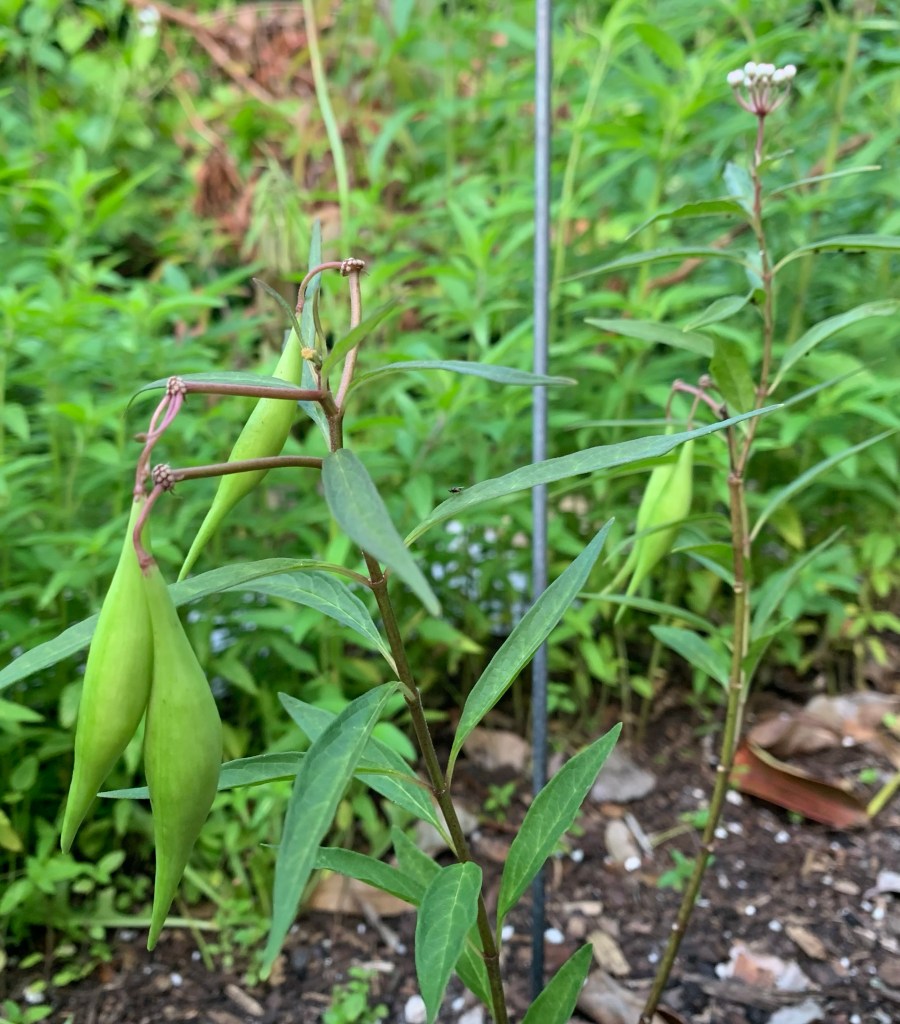
I don’t remember seeing milkweed pods last year. I’m sure I would have saved some seeds if I had. But this year, the little white milkweed plant grew five pods. I’ve been checking those pods for weeks and just recently one of them split and began to open.
I planted a few of the seeds in buckets with my compost dirt. The rest of the seeds have been saved. When the other pods begin to open, I will save more seeds from another pod. The remainder I’ll leave alone and let Mother Nature do her thing.
The remaining larger milkweed will hopefully get pods this year as well. I’ll do the same thing with the seeds from it.
Florida’s native milkweed types are not very easy to grow. And they grow slowly! I’m convinced they do best in their own natural space – like out in a field or near a swamp. But I do get monarch butterflies in my yard and I’d love to have milkweed for them.
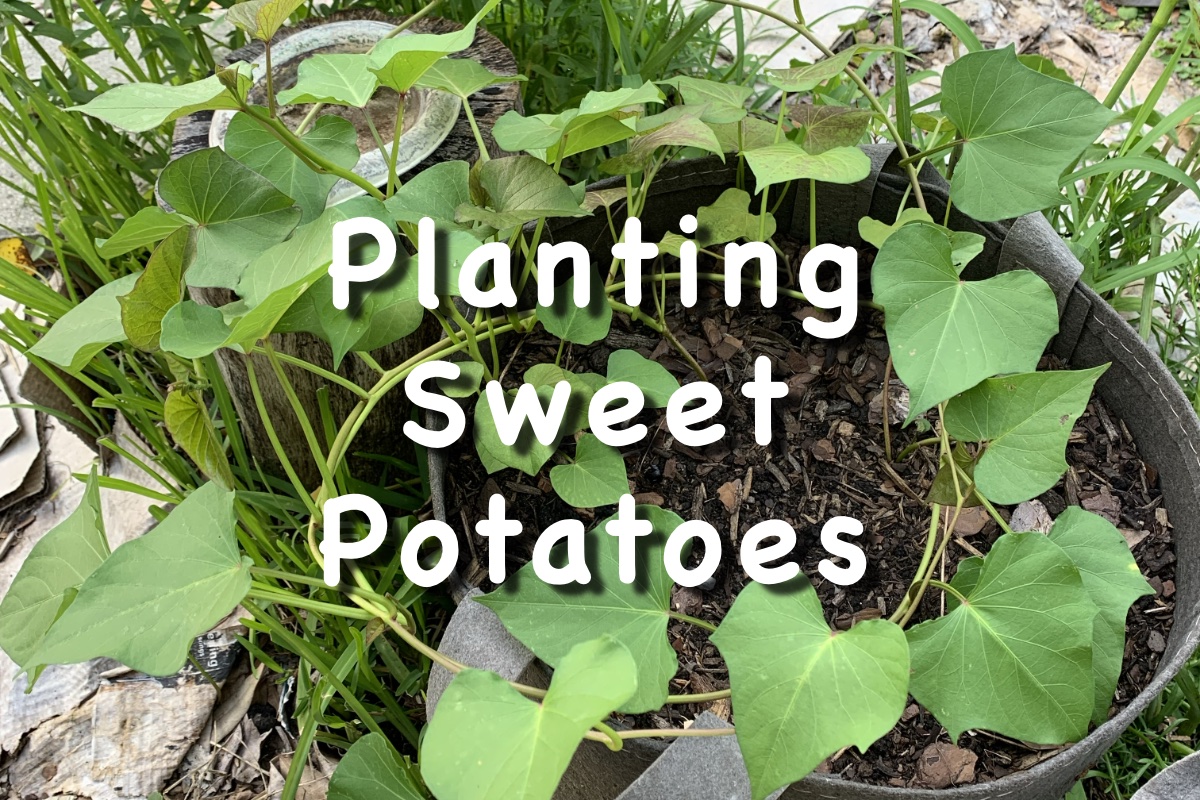
Finally I am planting my sweet potato slips, which just arrived mid-June. It’s very hot to be gardening, but I had no choice.
Way back in April I planted the sweet potato slips that I had started myself. And before that – back in January – I had pre-ordered a variety of sweet potato slips from Southern Exposure Seed Exchange.
I had expected them by mid-May. When June arrived and I hadn’t heard anything, I e-mailed SESE (Southern Exposure Seed Exchange). After a few days, I got a reply saying there was a problem with the postal service or something. I got my slips the next day.
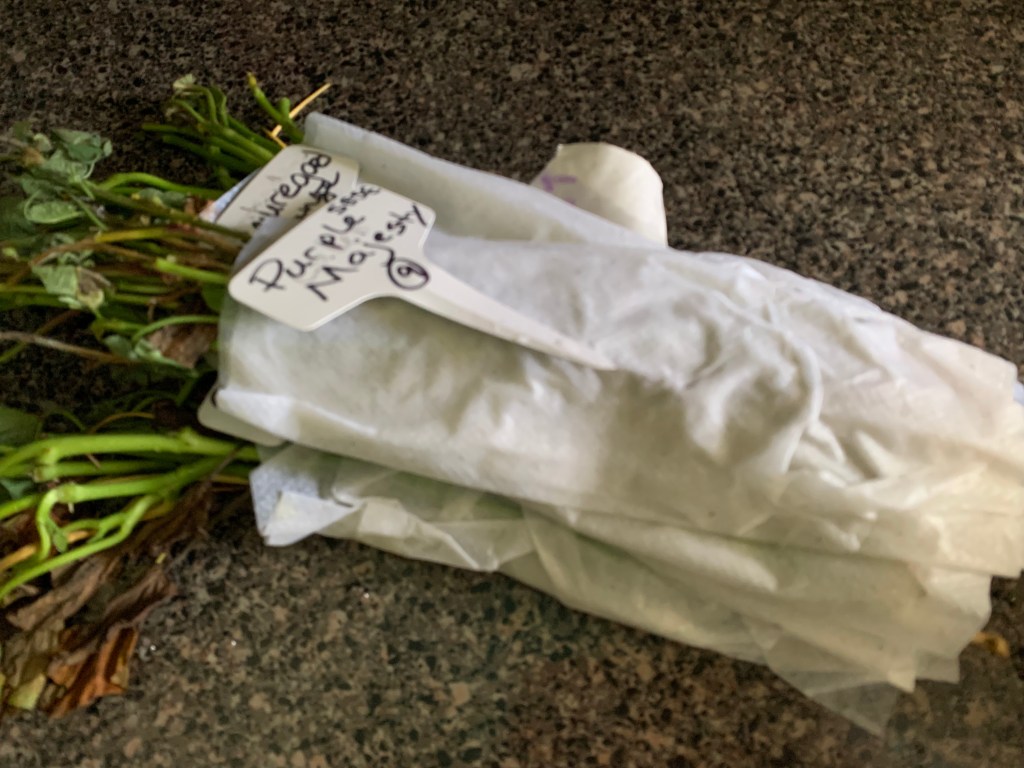
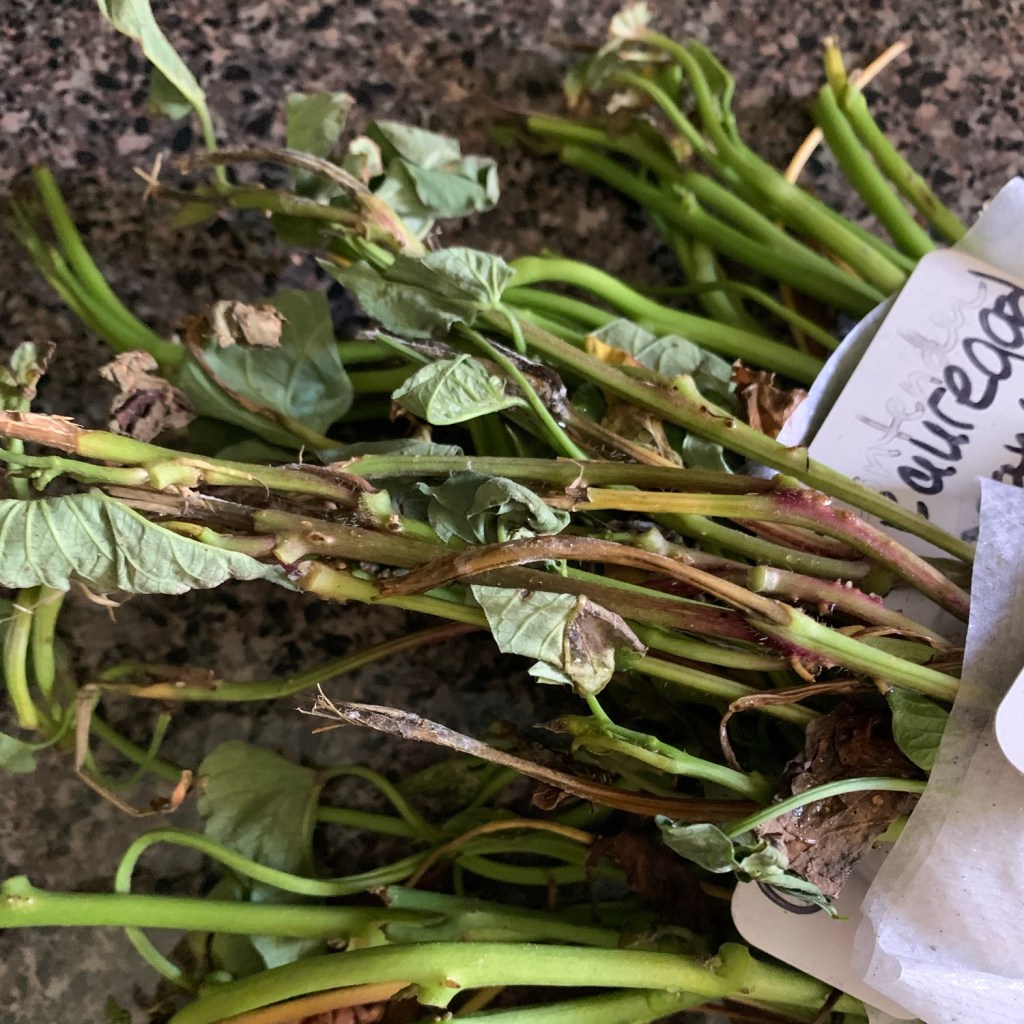
Now it is June 15th and finally the sweet potato slips are here. They are basically a bunch of green stems. Pretty much all the leaves are brown and have fallen off. I know that sweet potatoes are hardy, so I am confident they will come back once they are planted.
I wrapped the stems in wet paper towels and left them on the counter overnight. All three of my raised beds are ready for planting, so I’ll be gardening in the morning.
Mailing Time is Off For Florida
Sweet potatoes like heat – I get that – but it’s been hot here for months. I could have easily planted my sweet potatoes two months ago. And it wouldn’t have been as hot for me to do the work!
I get that most places aren’t dealing with this climate, but an earlier shipping date would have been nice.
Once I get this variety to grow, I will save potatoes and make my own slips for planting next year and I can plant early. I ordered them to have a variety. It is an experiment to see which ones grow and taste best.
The Sweet Potato Slips
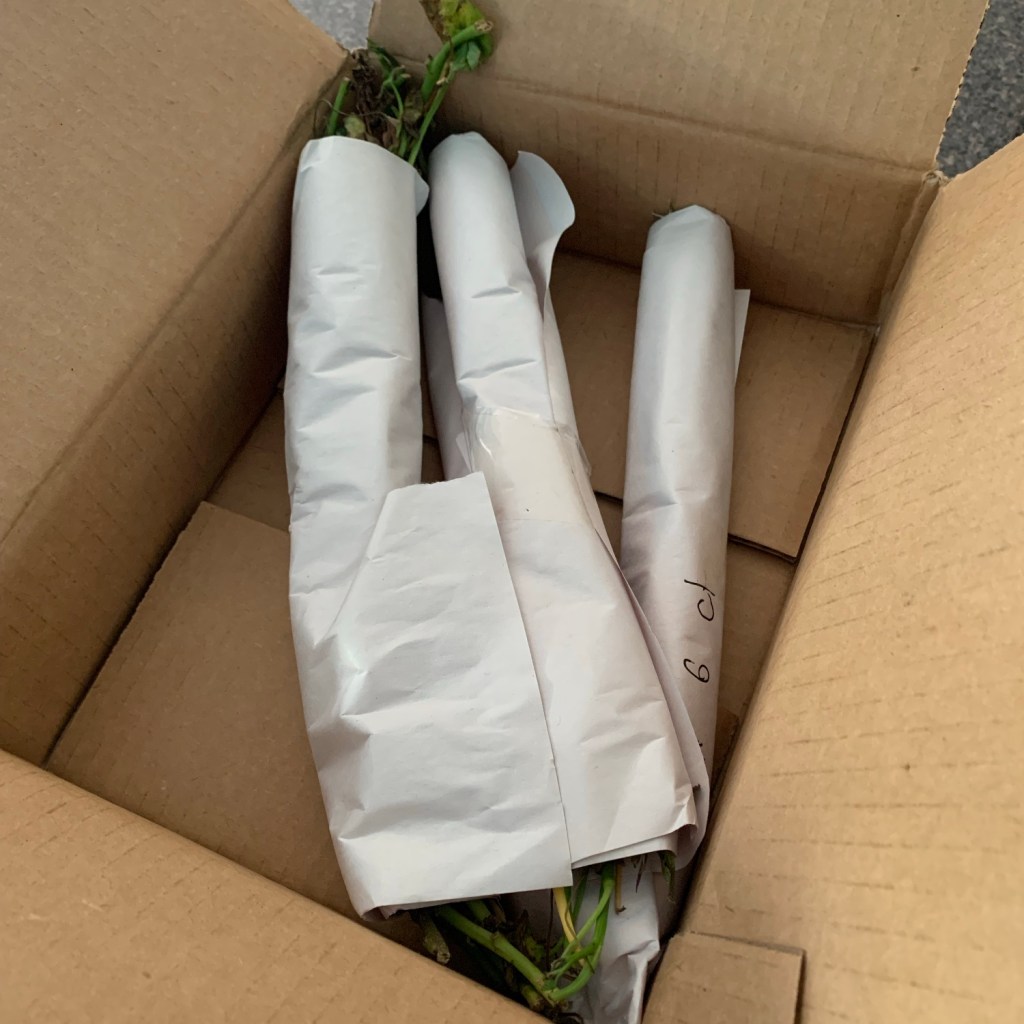
I discovered my box of sweet potato slips on the front porch on June 15th. It has been very hot and humid here for weeks. I opened the box and unwrapped my slips. It was very hot and sunny, then we got thunderstorms, so I planned to plant them the following morning.
I ordered six slips of four different types of sweet potato and I counted 9 – 12 slips of each type when I unwrapped the papers. This means I received many extra slips. I will not have space, I already know this. I was pushing it at 4×6=24 and now I have more like 40-45 slips.
I received more than 6 slips of each type of sweet potato.
The Potato Beds
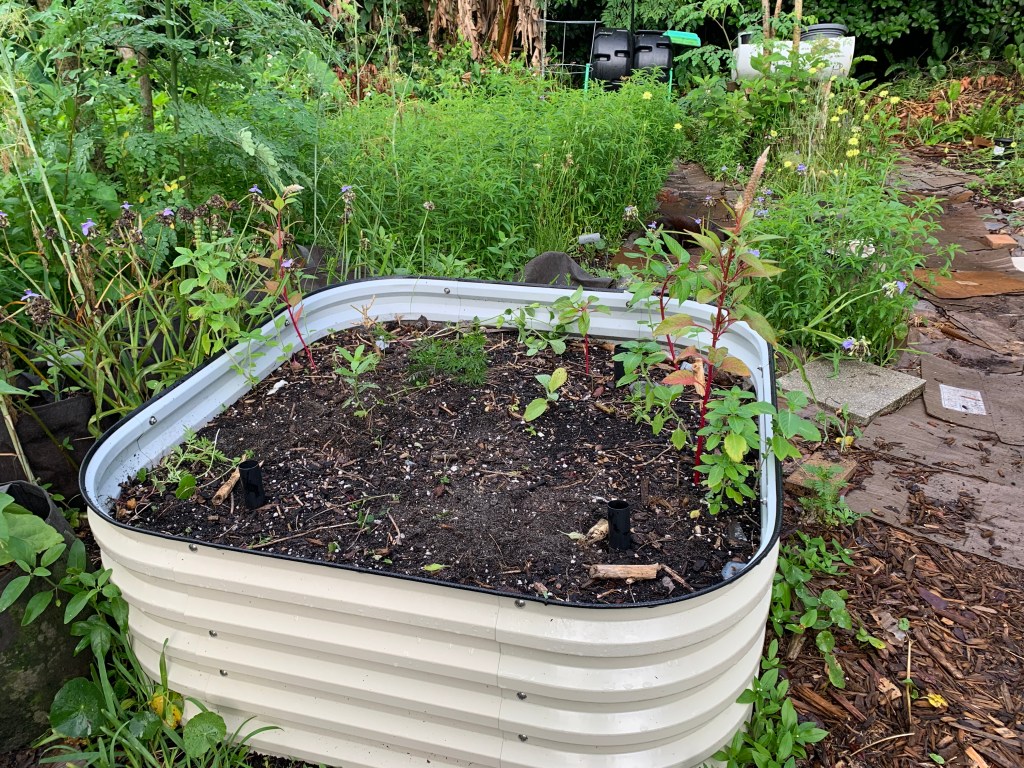
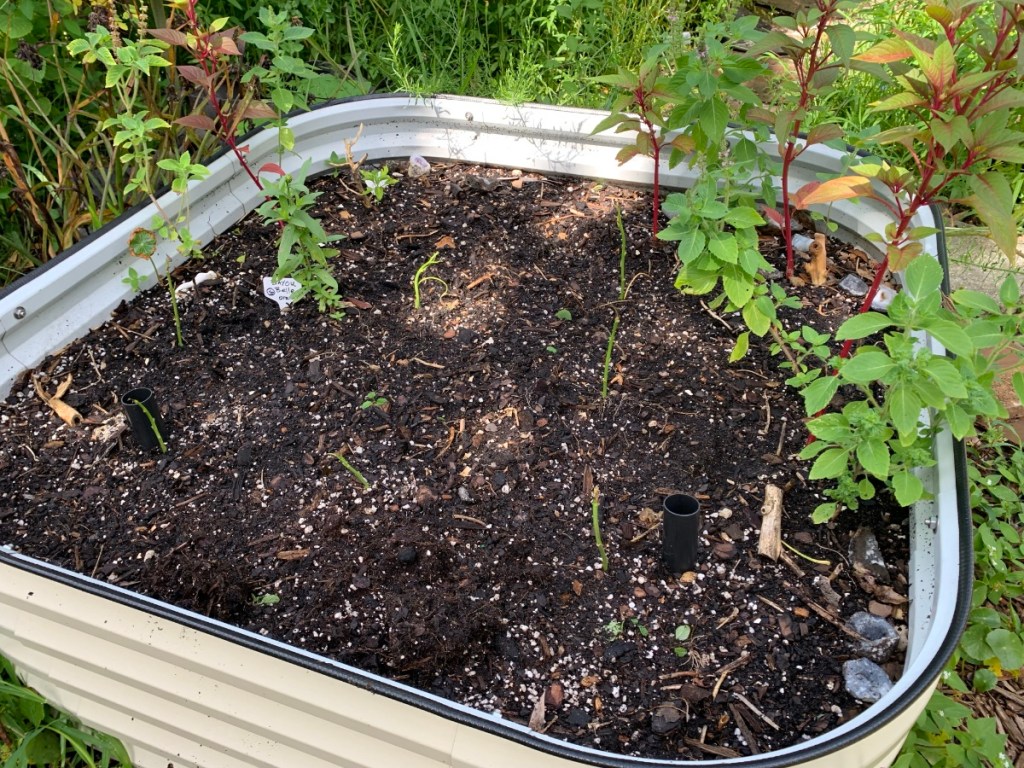
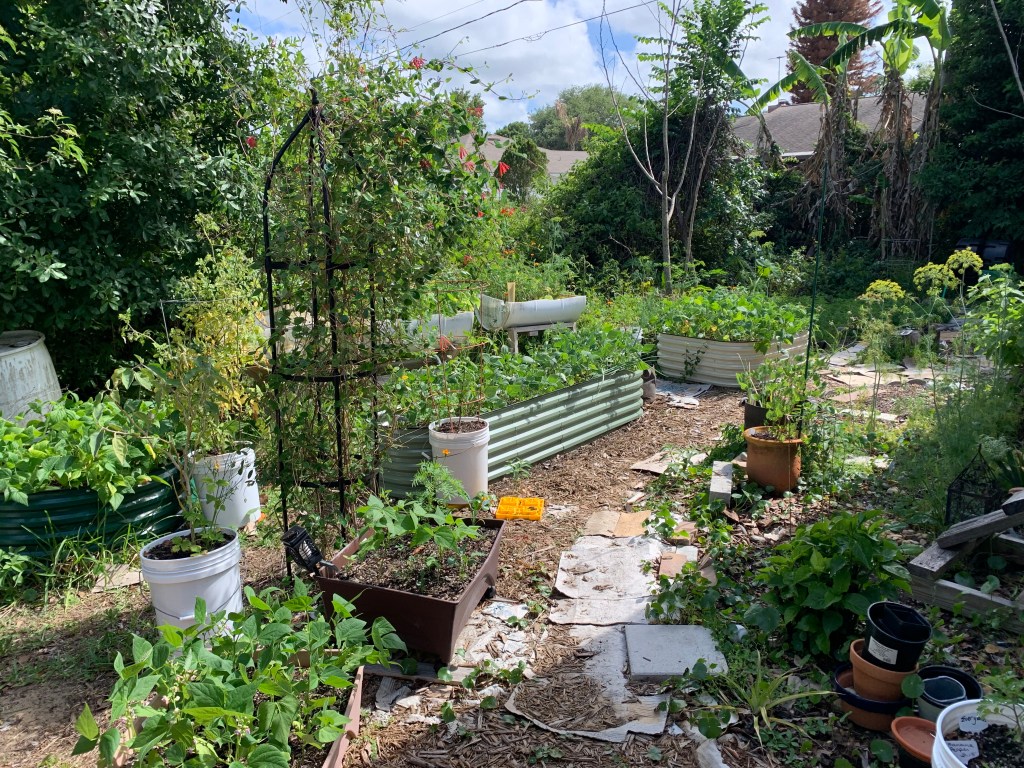
Originally I had planned to clear some area in the yard to grow things like sweet potatoes. Now, I realize that raised beds work better. Controlling the soil and moisture is easier in a container. I’ve already successfully grown many things in my Vegega metal beds.
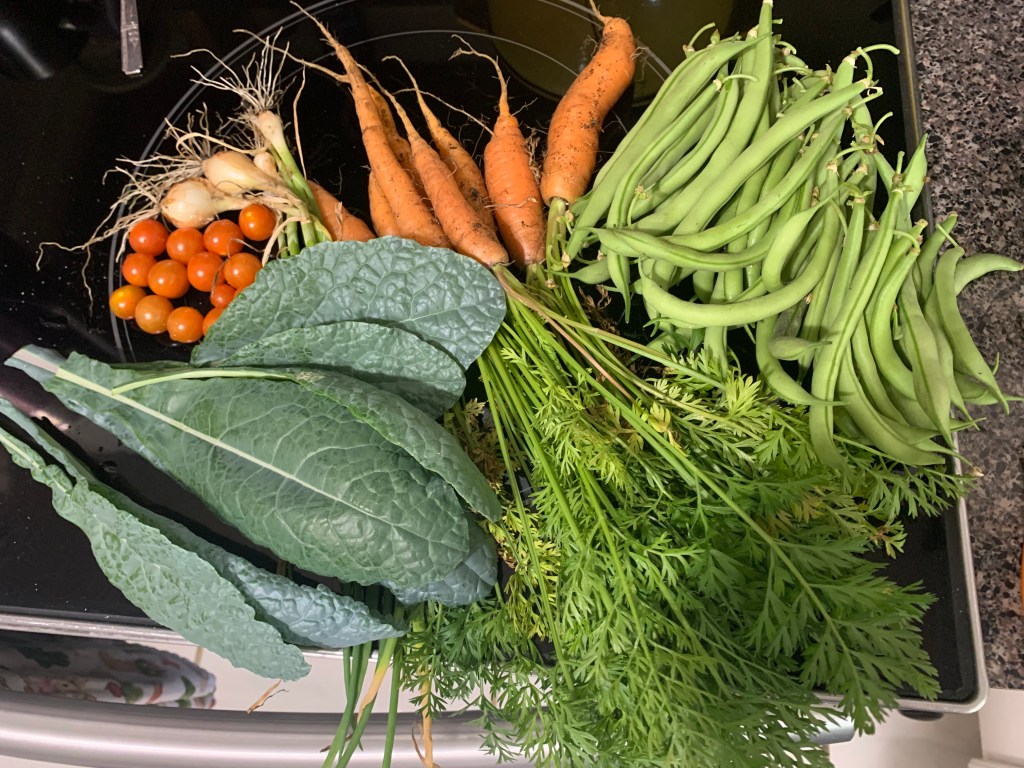
Over “winter” here in Florida I grew a lot of green beans. I planted them intermittently in all three raised beds. I knew the beans would be gone by the time I needed the beds for the potatoes.
The gardening goal is to always have something growing. Some Tulsi (holy basil) is growing, along with kale and random marigolds. I’m not worried about planting the sweet potatoes among these things. Most of them I pulled out, but it will be a while before the potatoes grow and take over the bed.
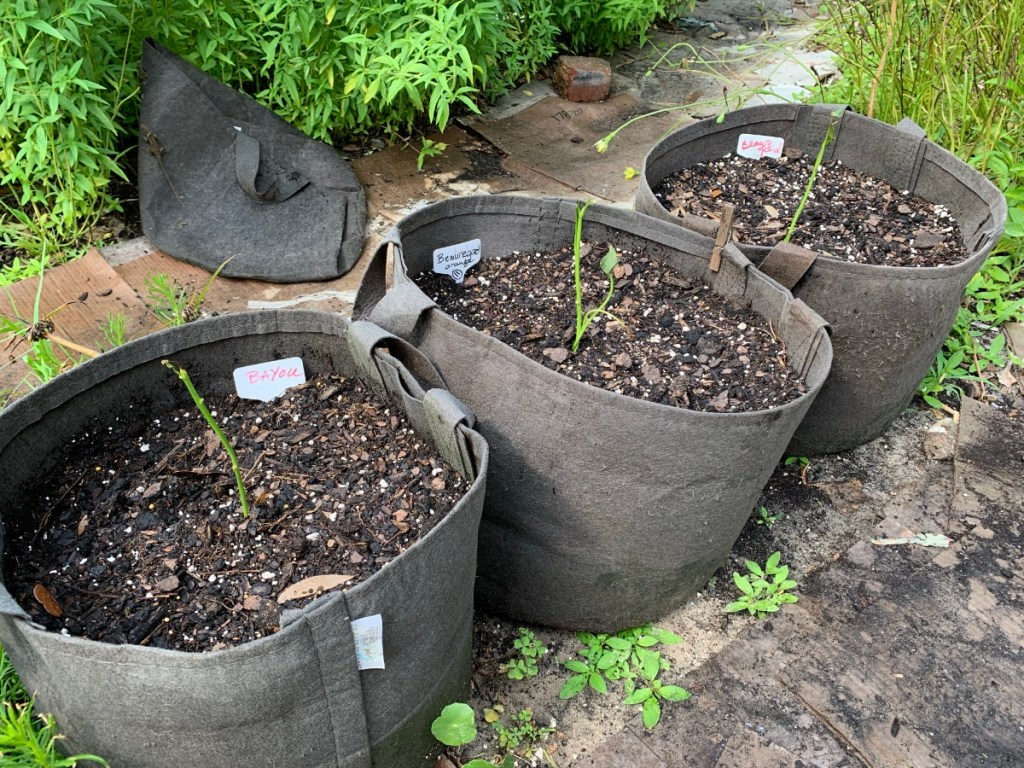
Sweet Potato Types I Planted
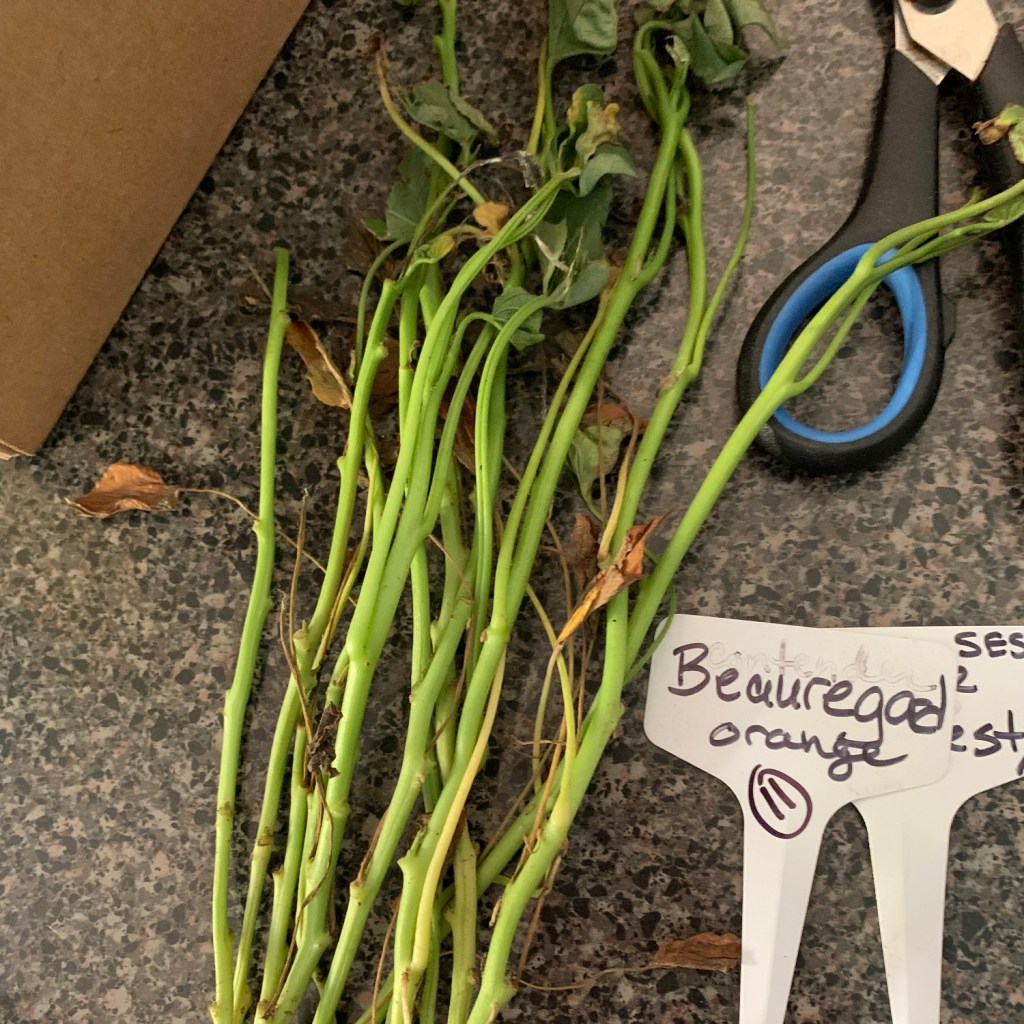
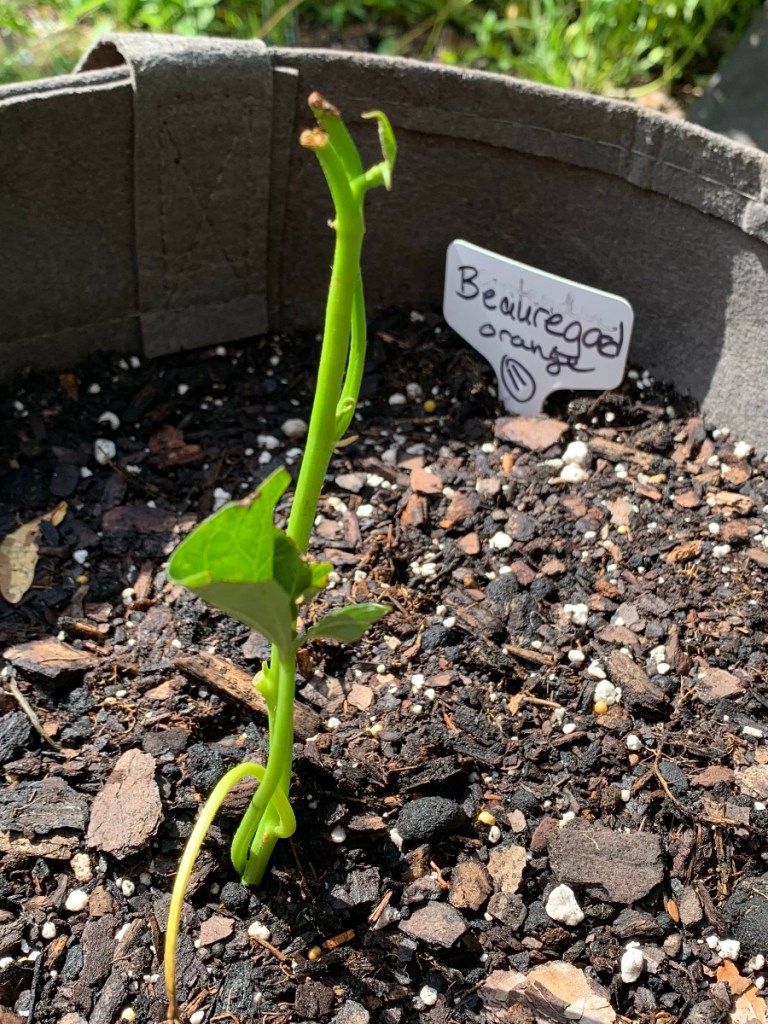
Beauregard
Bayou Belle
Covington
Purple Majesty
On June 16th, I put on my long UVskinz clothing to keep the mosquitoes off, and got outside by 8 AM. We still have not had enough rain, so every place I planted the slips needed to be watered. I had to add dirt to the bags and some beds. The temperature was 80 with 90% humidity, so it was super muggy to be gardening. I had no choice.
The potatoes were planted before the sun hit my yard, which made it bearable. But I was hot and dirty after a couple of hours of lugging dirt and planting. The leftover slips will go into my compost and I did manage to find space for a lot of the slips. By the end of September into October, I should be digging some potatoes.
I do not plan to have to order slips again. As long as the potatoes grow well, I can create my own slips for next summer. By the way, I believe you can order sweet potato slips early to be sure you get them. That is the way SESE does it.
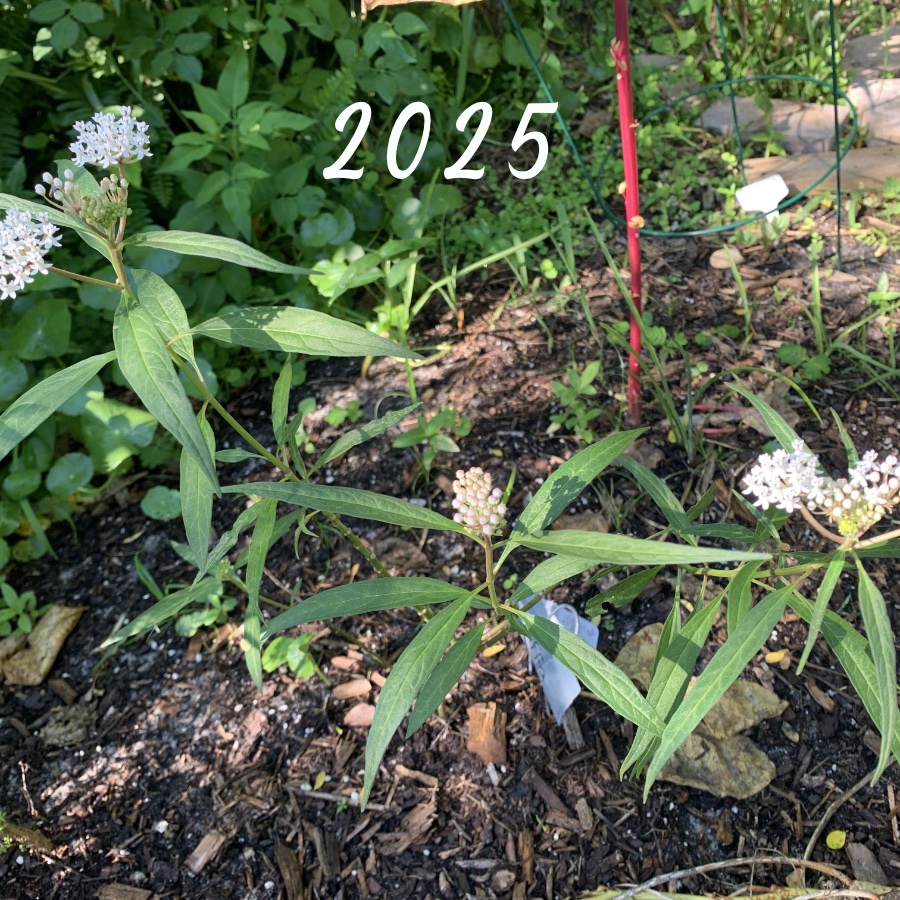
I’m still trying to fill my yard with native milkweed. After the cold spell over winter froze most things back, and killed many things, I have fewer milkweed plants.
All the tropical milkweed is gone. Tropical milkweed is not native, and therefore not a great loss. Three of the four swamp milkweed seedlings I purchased last year have died, but one is flourishing. This type of milkweed grows at a good pace and it is doing well.
All other native milkweed plants are quite small, and they are growing slowly.
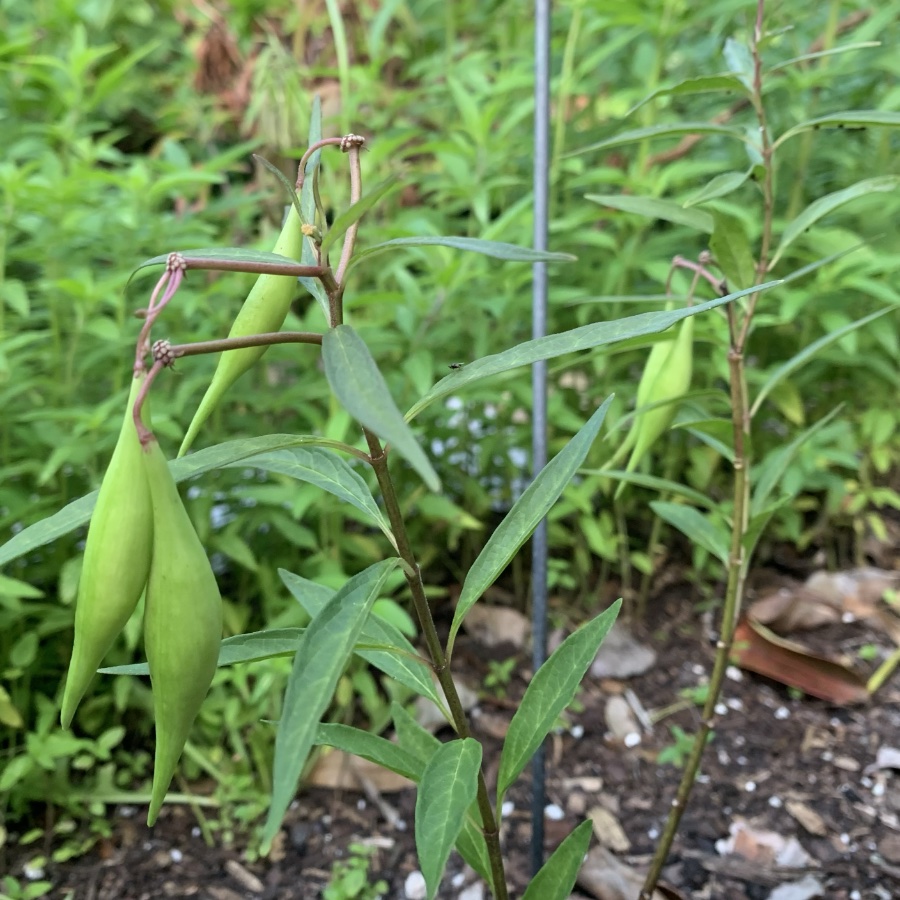
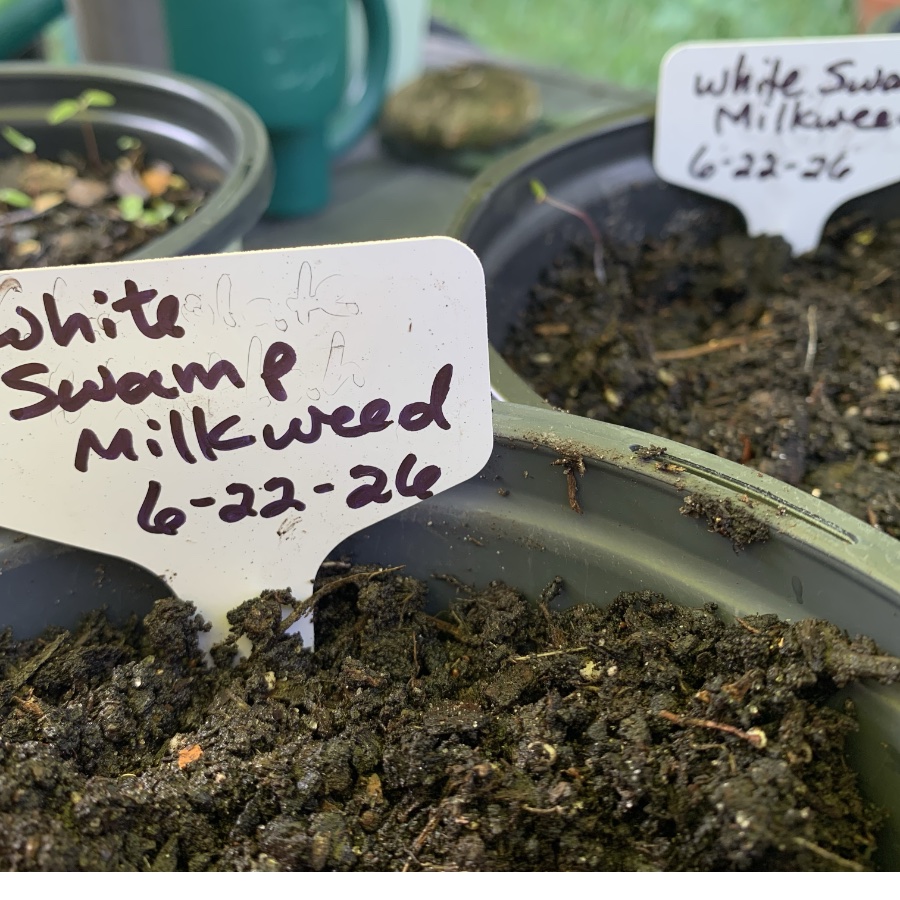
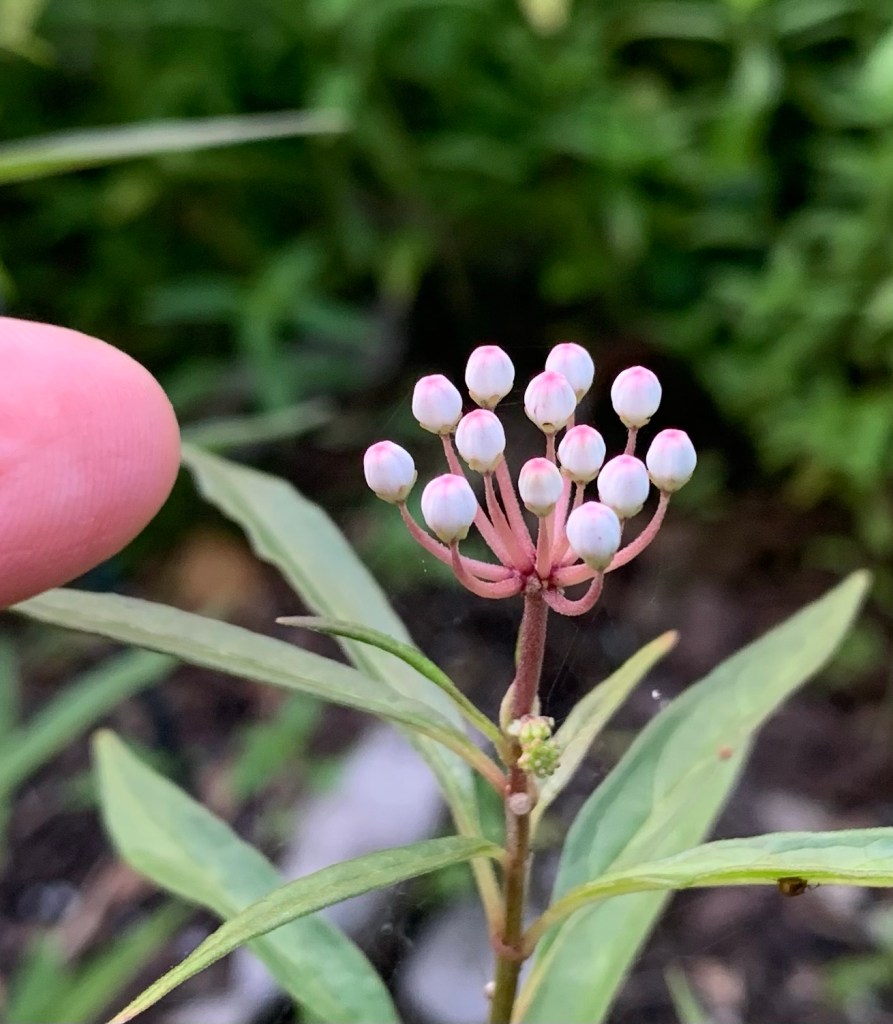
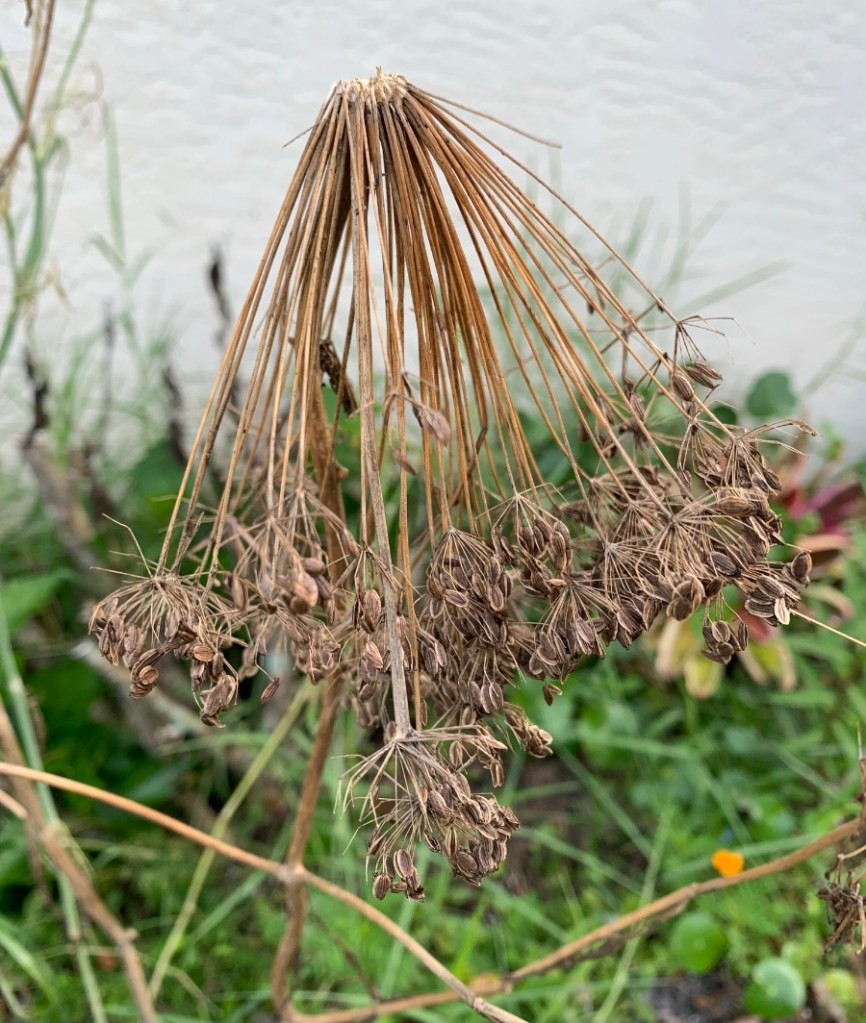
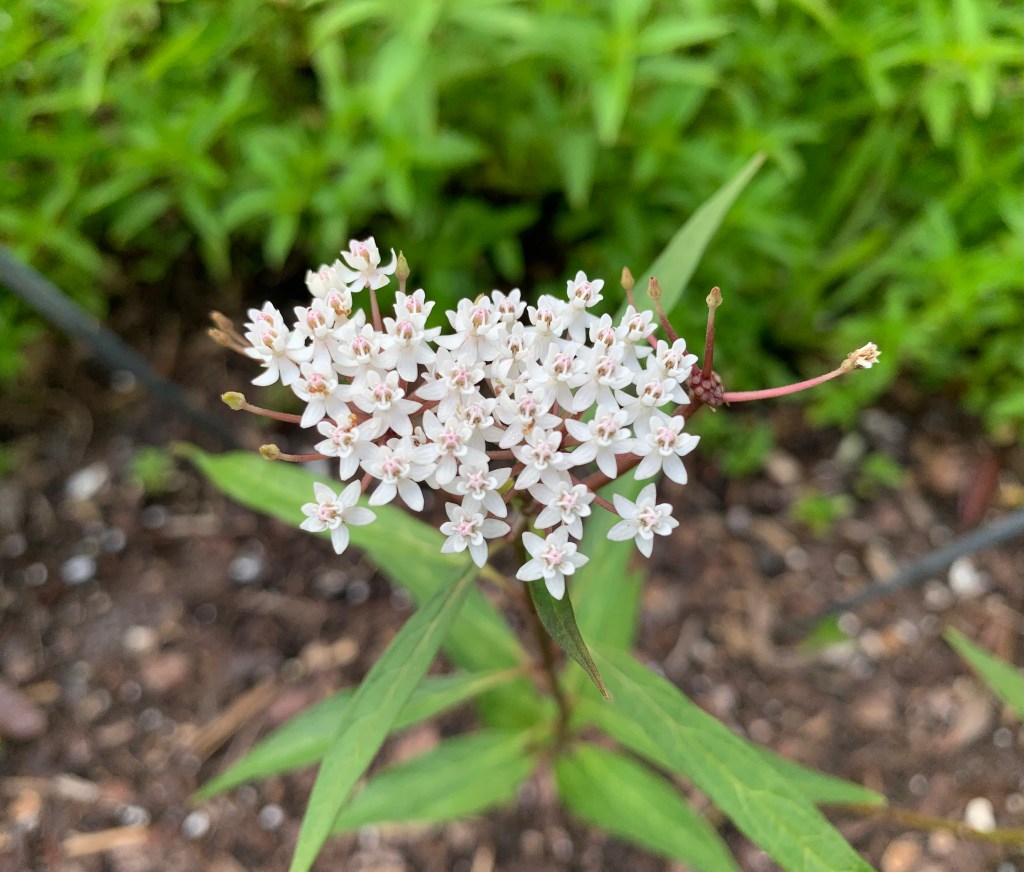
White Swamp Milkweed
Below is another type of swamp milkweed. It has tiny white flowers with a bit of pink. I believe this is aquatic milkweed aka white swamp milkweed. It is a host for the Monarch, Queen, and Soldier butterflies. It is a shade loving plant and can deal with partial sun.
Five seed pods
As of this writing, it is June, and this plant has five pods. When they open, I will collect some of the seeds and try to grow more plants.
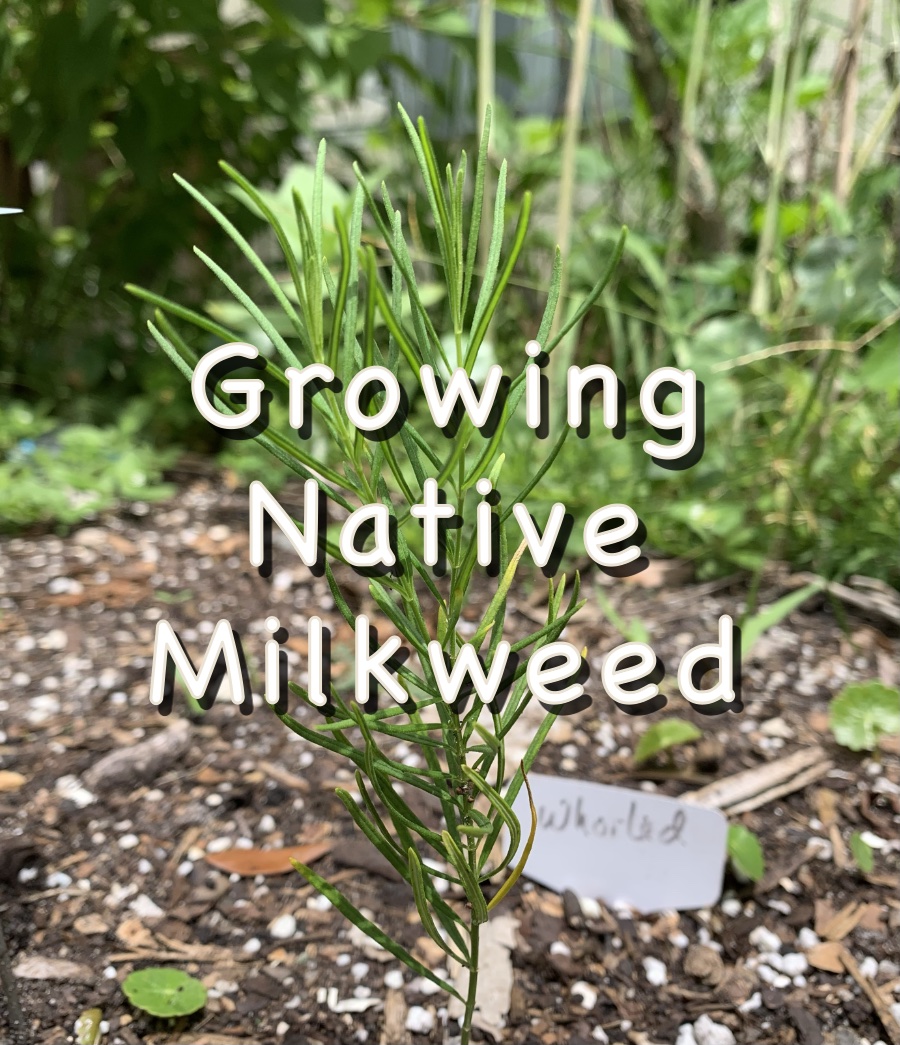
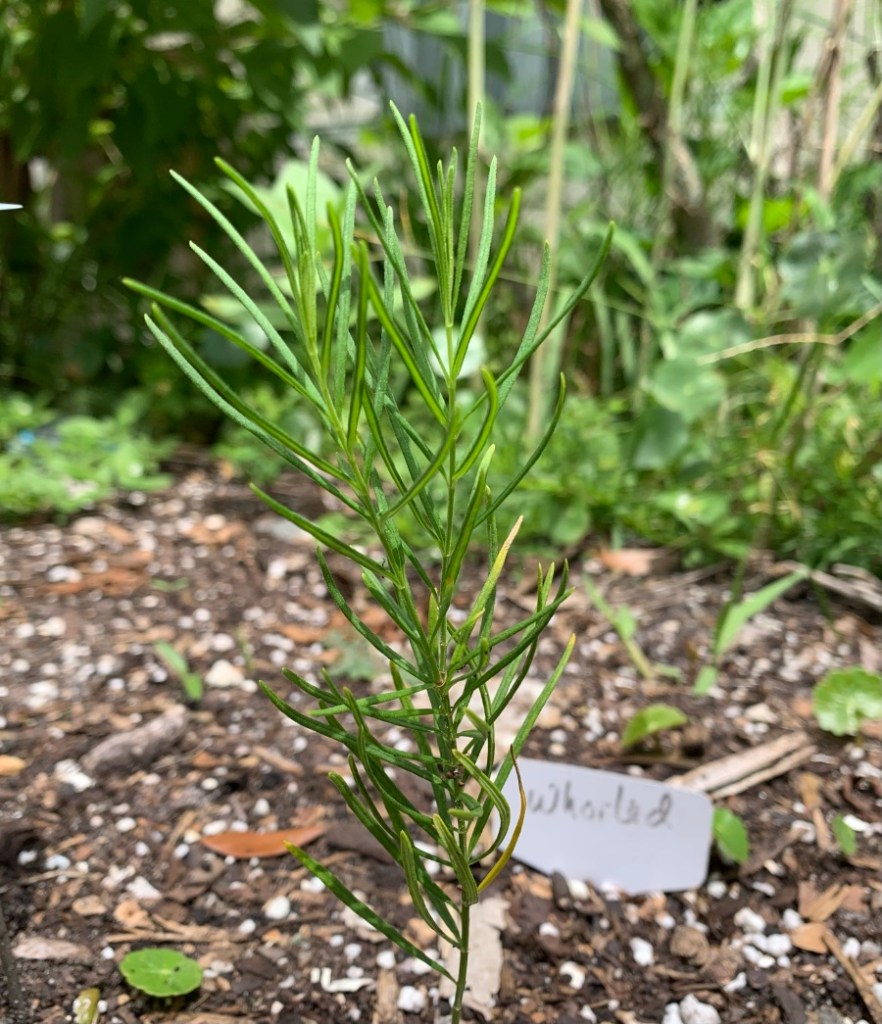
Whorled Milkweed
Whorled milkweed has very thin leaves that stick upward. I believe I only have one Whorled milkweed – see below.
Whorled Milkweed
Sandhill Milkweed
Sandhill milkweed looks different. The leaves are more rounded. If you ever see this type as a full grown plant, it is beautiful (View images at IFAS). Sadly, these days, in Florida you will most likely have to visit a nature preserve to find it.
You may wonder why I have such a strange variety of milkweed for my yard. Some of them need dry conditions and some need wet. Last year I ordered some seed varieties, planted them, and kept the ones that grew. All the milkweed in pots were kept indoors over the winter, so they did not freeze.
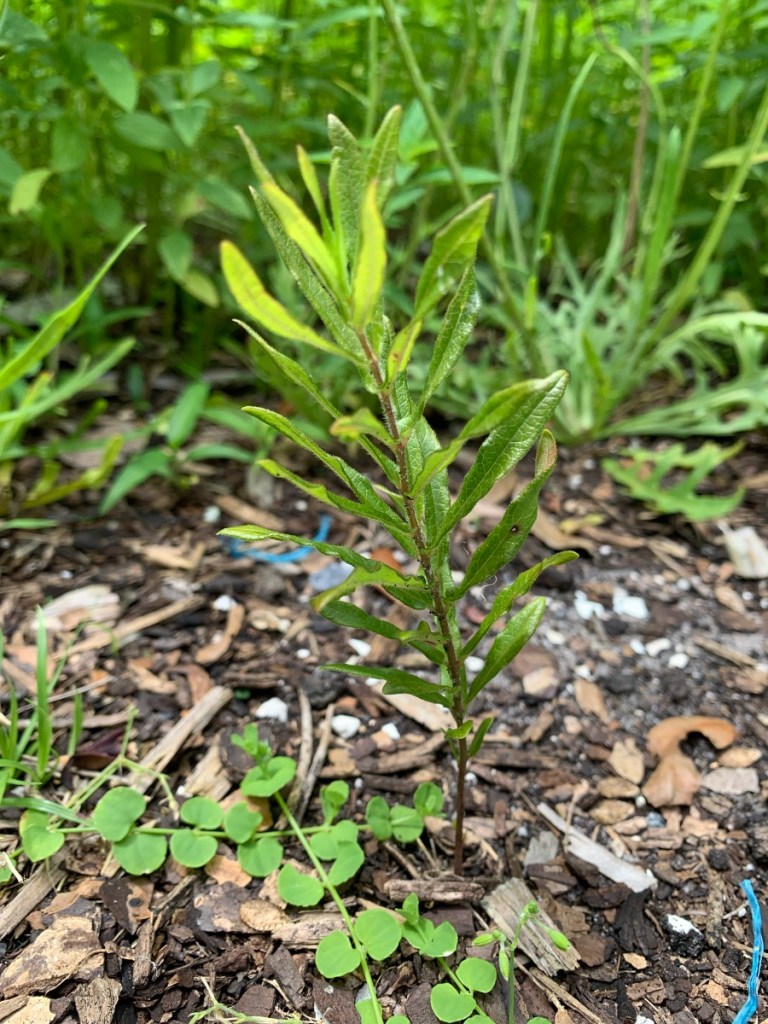
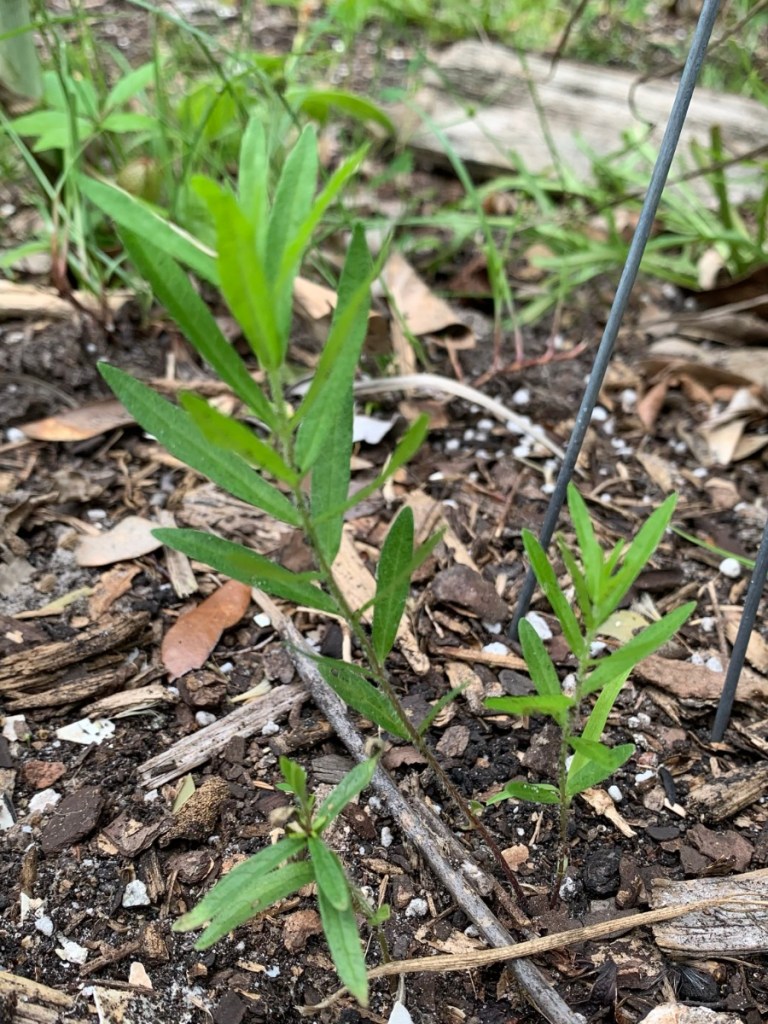
Unidentified Milkweed
I think these plants are also milkweed, but they don’t have identifying tags. I marked the ground with metal stakes and after the cold had passed, these plants began to grow.
Once again I am reminded of how difficult it is to grow native milkweed. I plan to protect these babies as best I can. If I’m lucky, they will get larger and flower and then I may know which type they are.
I began my quest last year (2025) to fill my yard with milkweed. Thanks in a big part to the 2 days of freezing temperatures we had this year, I lost many plants which I think may have been okay otherwise. It makes me wonder how many milkweed plants, growing out in wilderness areas, also did not make it.
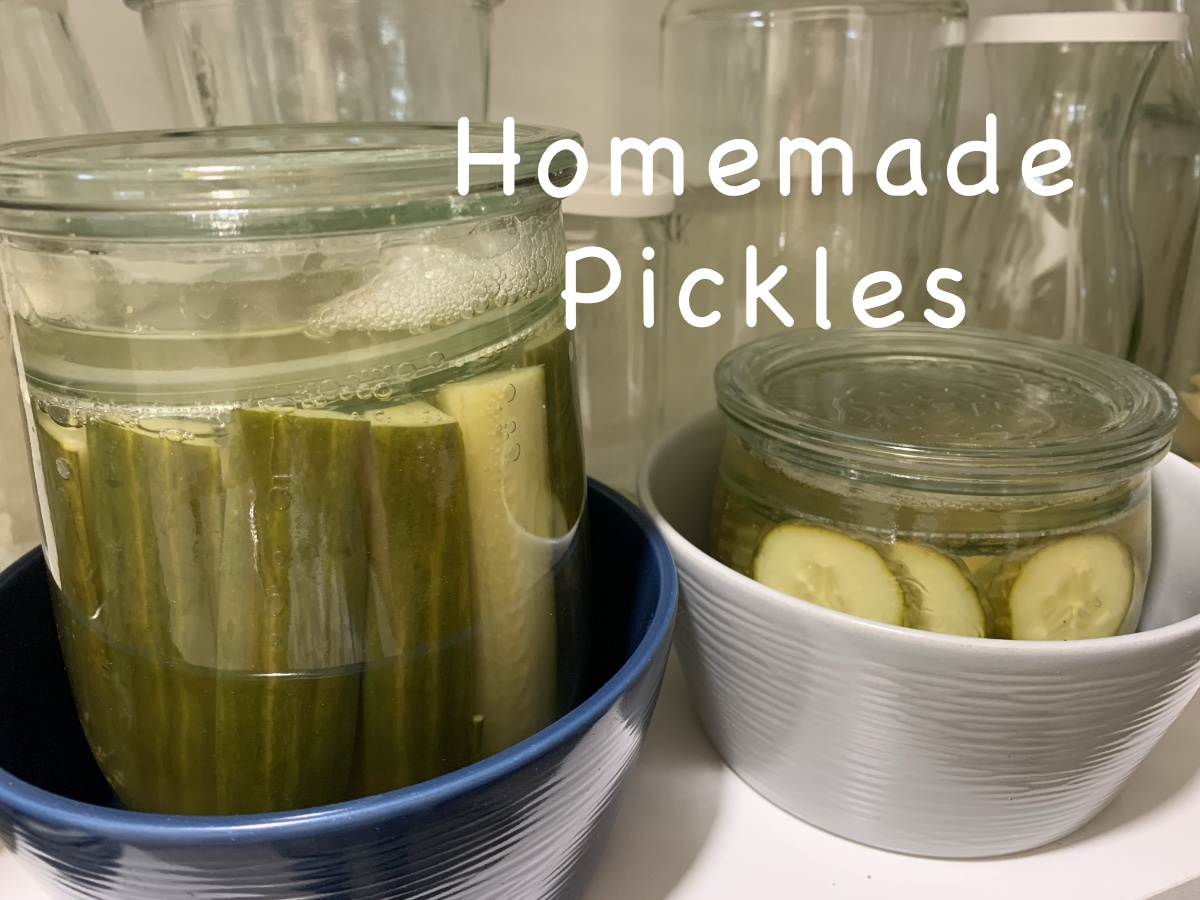
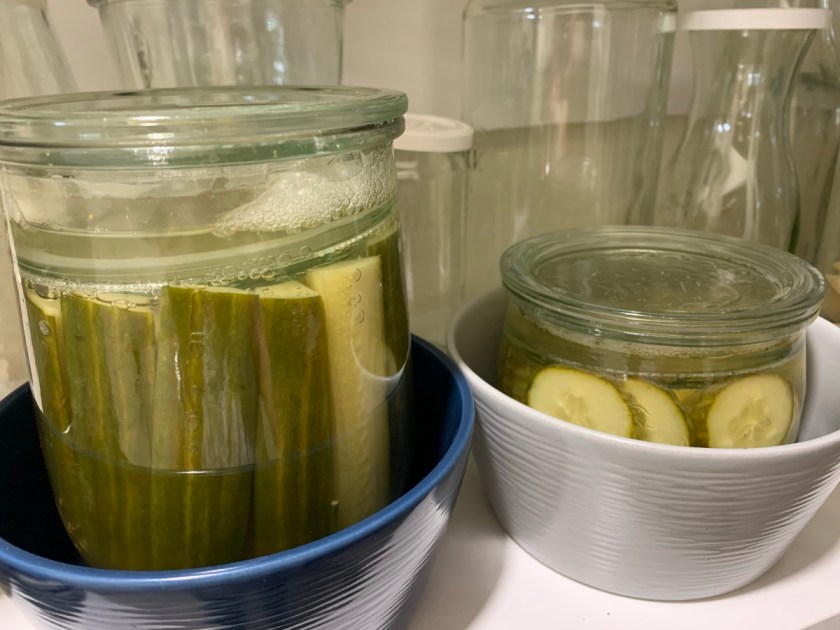
Making homemade fermented pickles, but don’t have my own cucumbers to use.
After a while gardeners come to realize where to spend their time so it pays off. Why waste efforts to bring in no food? I feel this way about growing cucumbers.
I’ve planted cukes over and over. I’ve tried growing them early, covering them at night, picking off the worms. And all that might be worth it if I got a nice crop, but that has never happened.
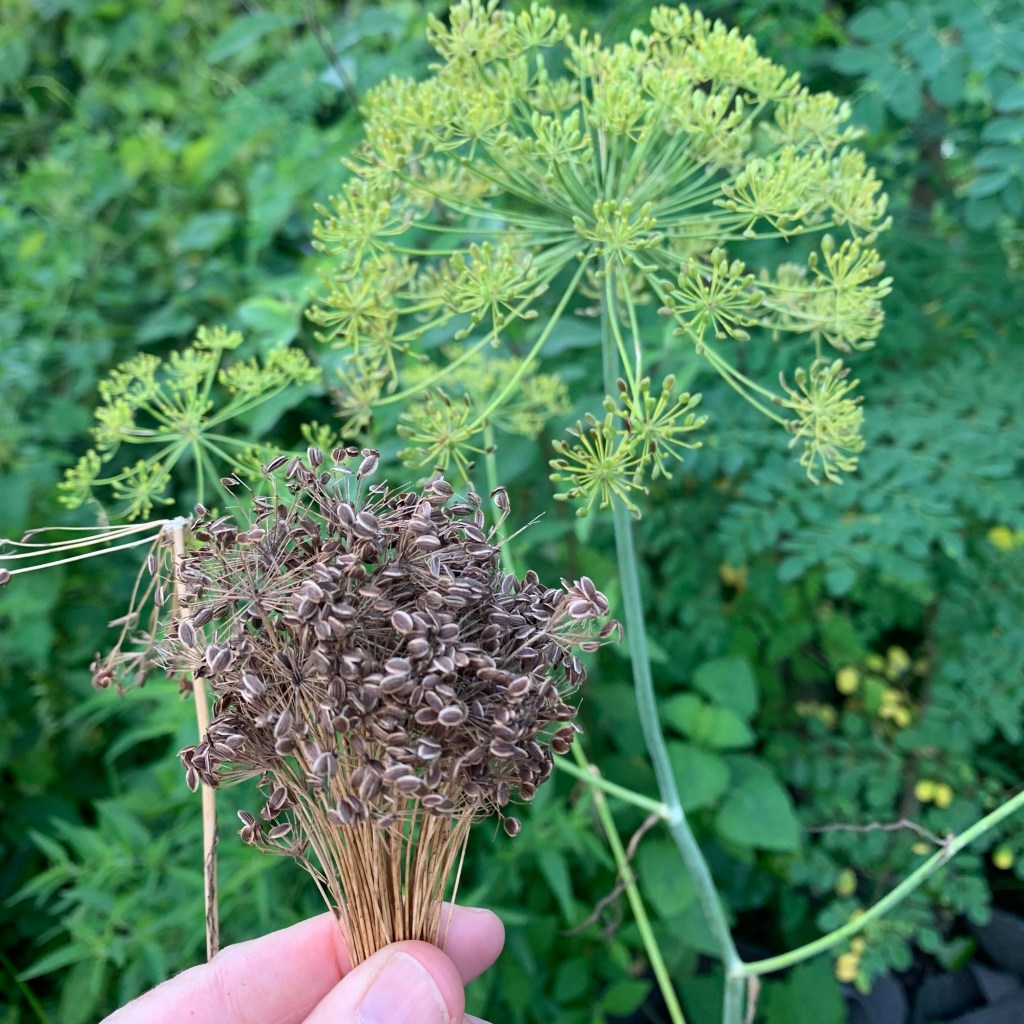
My dill plants are mostly gone by, but a few were still green enough to use the flowers for adding to fermented cucumbers.
Fermenting
I’ve done some fermenting in the past. Cabbage and Daikon radish come to mind. When I had an abundance of green beans I tried twice to ferment those without luck. What I really wanted was cucumbers.
For the most part I shop at Aldi. It is the most affordable, but their produce can be old. Instead of getting the little packs of small cucumbers I chose two of the long, wrapped ones.
I love my Weck jars (Amazon paid link). I use them for everything from storing food, to making sourdough starter, and fermenting. The link goes to Amazon, but I buy my Weck jars from the Weck website. It can be hard to figure out what sizes to buy, so let me tell you which ones I prefer.
Weck Jars
In the photo above I am using the Tulip (paid link) in two sizes. The Tulip jar has a wide opening and all Weck jars come with a glass lid. The smaller jars, and I have a few different types, have smaller openings and also come with glass lids. The Mold jars also work well for fermenting.
I buy my Wecks from the website. They come in packs, such as 6 large Tulips, or combo packs. They are cheaper than Amazon, but there is a shipping charge. I prefer to know that I am actually getting the real Weck jars and with Amazon, there is always a possibility they will not be.
What I do to make my ferments using Weck is this: I use a large jar then put the smaller glass lid down inside to cover the food and keep it submerged. I add the large lid to sit loosely on top.
If you know anything about fermenting, it is that the food must stay submerged in the saltwater brine. If it pops up, mold can form and everything had to be thrown away. This is why everything needs to be packed in tight. Once the food begins to ferment, it bubbles and everything wants to float. The smaller glass lid keeps that from happening. The cover lid is not tight – it is just sitting on top, so any overflow from the bubbling can easily escape. This is why my pickle jars are sitting in bowls.
If you want to try this yourself, just ask – these days Chatgpt and AI knows everything. For my two jars I used 1 1/2 Tbsp. sea salt mixed into 4 cups of water. I only used about half to cover both filled jars.
This is day four for my pickles and I plan to try one soon. They can stay out on the shelf for weeks, but the taste will change. A warmer climate speeds up the ferment. The longer they stay out on the shelf, the softer they get, supposedly.
I also have a pH food meter to test my ferments, just to be on the safe side.
Although I would love for these pickles to be made from fresh backyard cucumbers, I have to make do. It is impossible to grow cucumbers in this climate, but I can grow dill. I added some whole, dill flowers to each of the jars for flavor.
I have not made this type of pickle before, but fermenting adds good bacteria to food. It is a bit like eating yogurt for the healthy gut bacteria, but in yummy pickle form. If I love these pickles, I plan to make more, but my dill will be gone. I have saved some dill seeds, which might work too.
Saving dillDill seeds
Are you growing cucumbers this year? Will you make fermented pickles?
May is a time when new growth begins after winter die-back. Also the winter garden veggies are mostly ready to pick.
We had a crazy “winter” here in Central Florida with a long freeze that has changed the landscape. We had losses. It is May and many plants and trees are coming back – thankfully – but the two-day below freezing temps destroyed many perennials that could not handle it.
Palm trees in particular still have many brown fronds. Banana trees lost all their green, but have pushed out new leaves.
My large crotons completely died, but there is new growth way down at the base on a few. Same thing for the rubber trees.
I lost my pony tail palm tree, which is say, but it was fairly small to begin with, and the fiddle leaf fig, which is in a pot outside, looked completely dead, but has sprouted new growth.
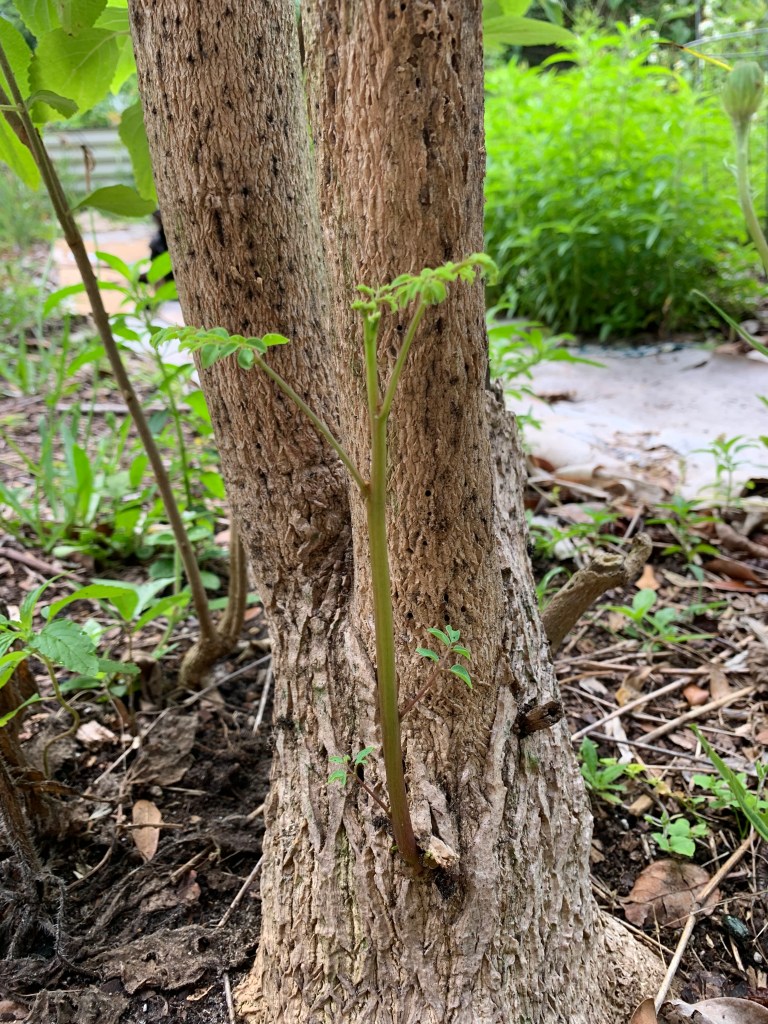
Both Moringa trees completely died. Their tall branching trunks will need to be removed, but new growth is coming from the bottom.
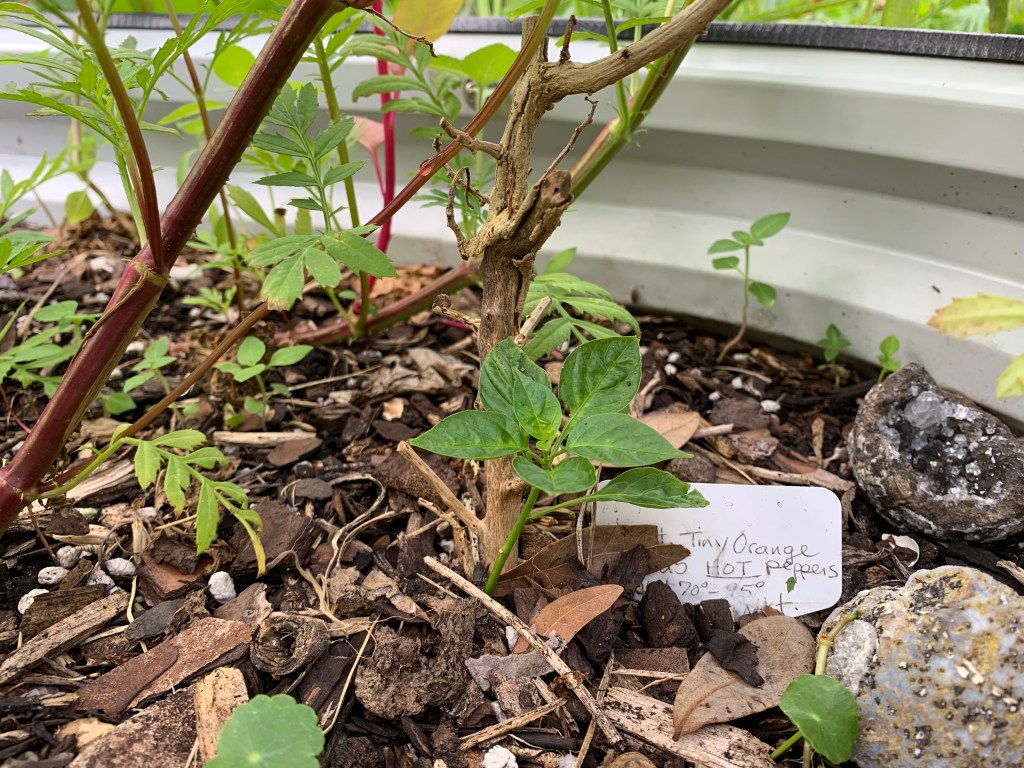
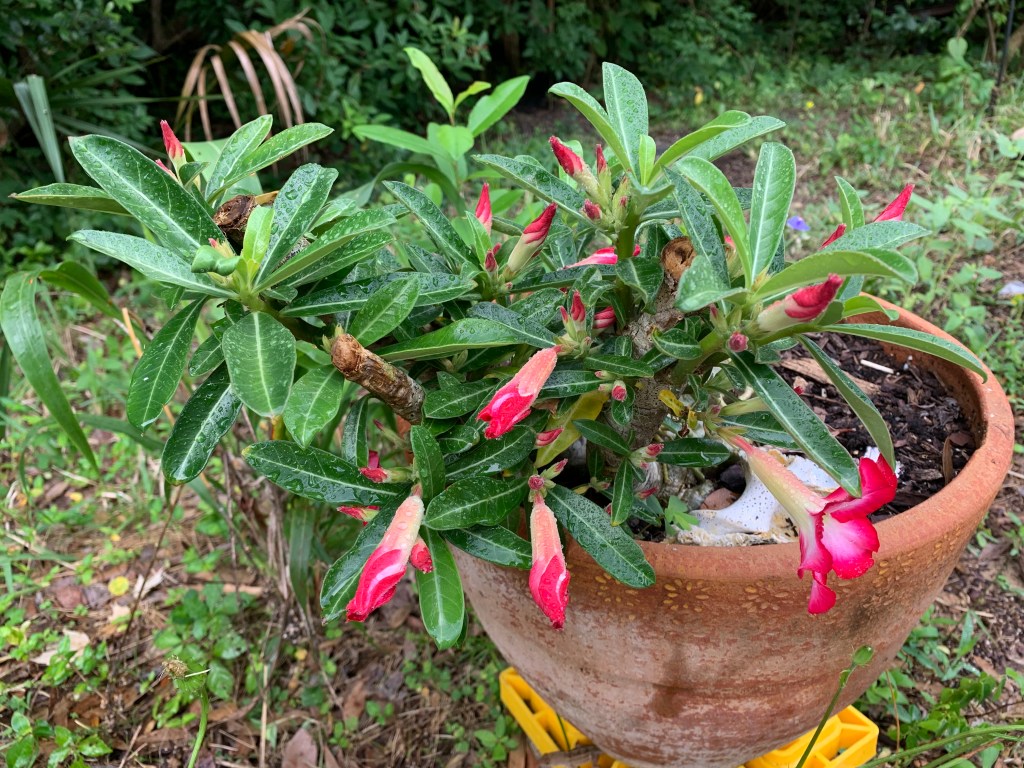
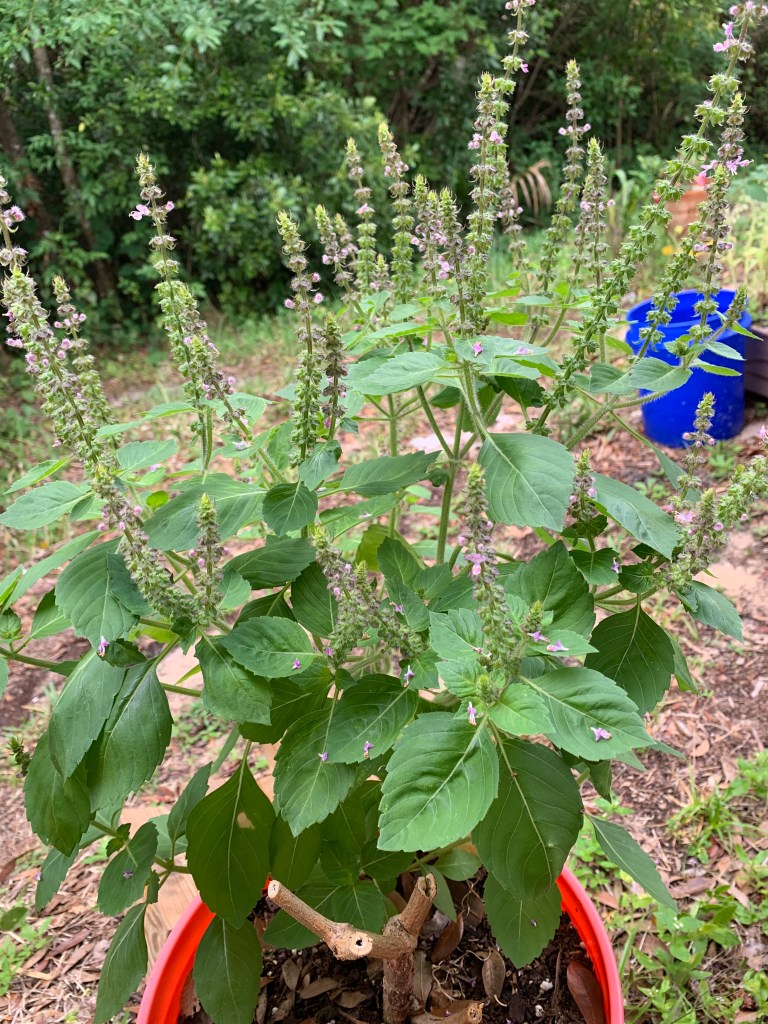
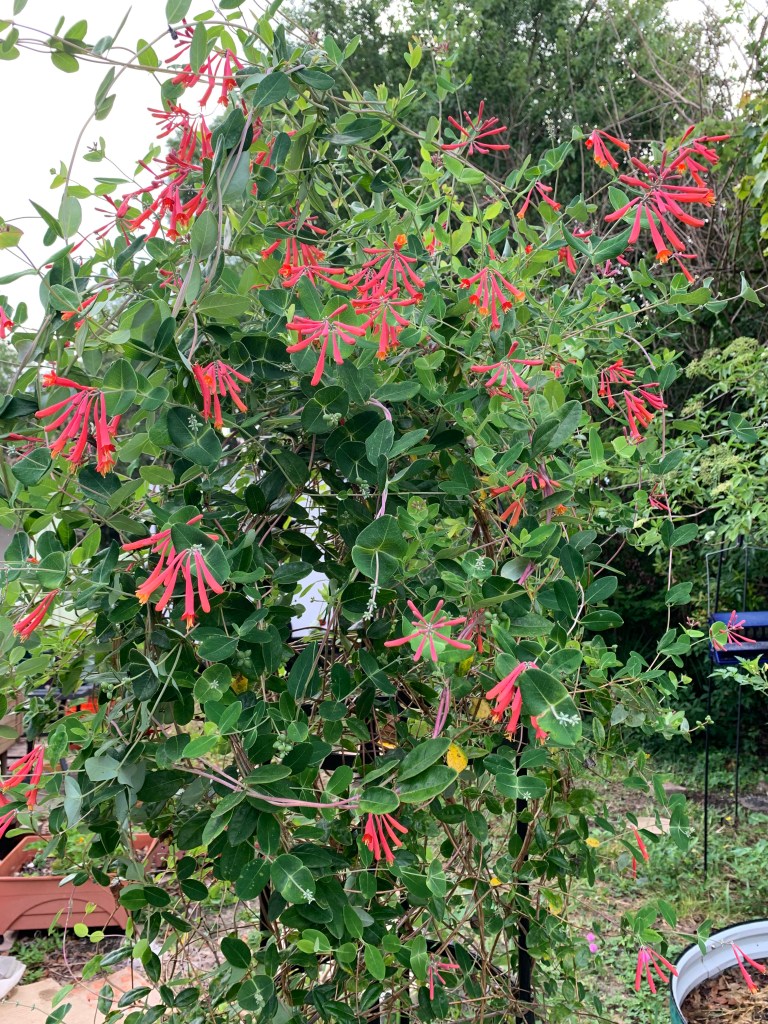
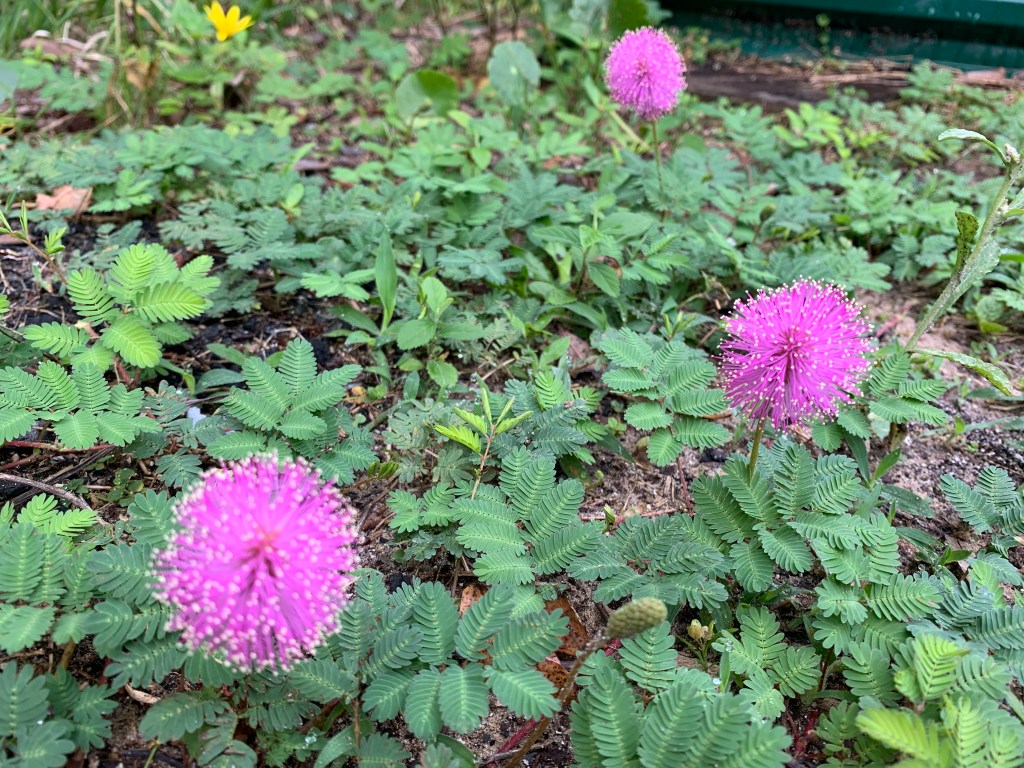
Moringa new growthAji Charapita – coming backBlooms after dying way backHoly Basil grew backCoral Honeysuckle did wellSunshine MimosaMilkweed
Lost Some Wonderful Milkweed!
Last year I mail-ordered some swamp milkweed from the Grower’s Exchange and it was beautiful. All four plants grew tall and lovely. Sadly, only one of those plants survived the freeze. It was the plant which grew closest to the house.
I also have other milkweed, such as the white flowering swamp milkweed pictured above. All the tropical milkweed is dead – which is a shame because although it is the WRONG kind to plant, it grows fast and feeds Monarchs.
At the present time I don’t have many milkweed plants. Maybe some of the ones growing will give me seeds.
May in My Garden
After all the cold was gone, I planted the remaining Contender bush bean seeds. I have been eating green beans nearly every day for weeks now! They are delicious but I might leave the rest on the plants to dry – if they will. I know this is how to do it in a normal climate, but Florida is different. It will be a new experiment.
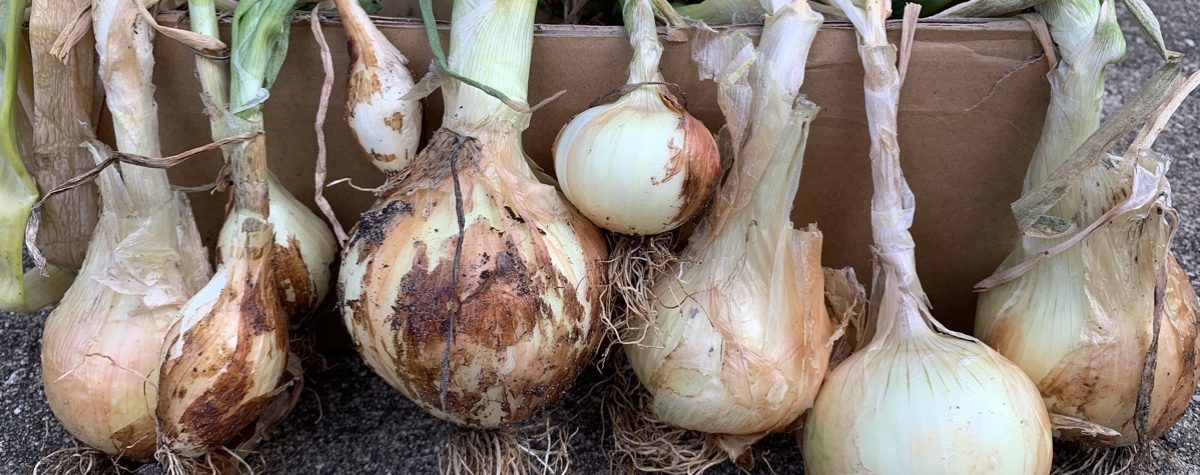
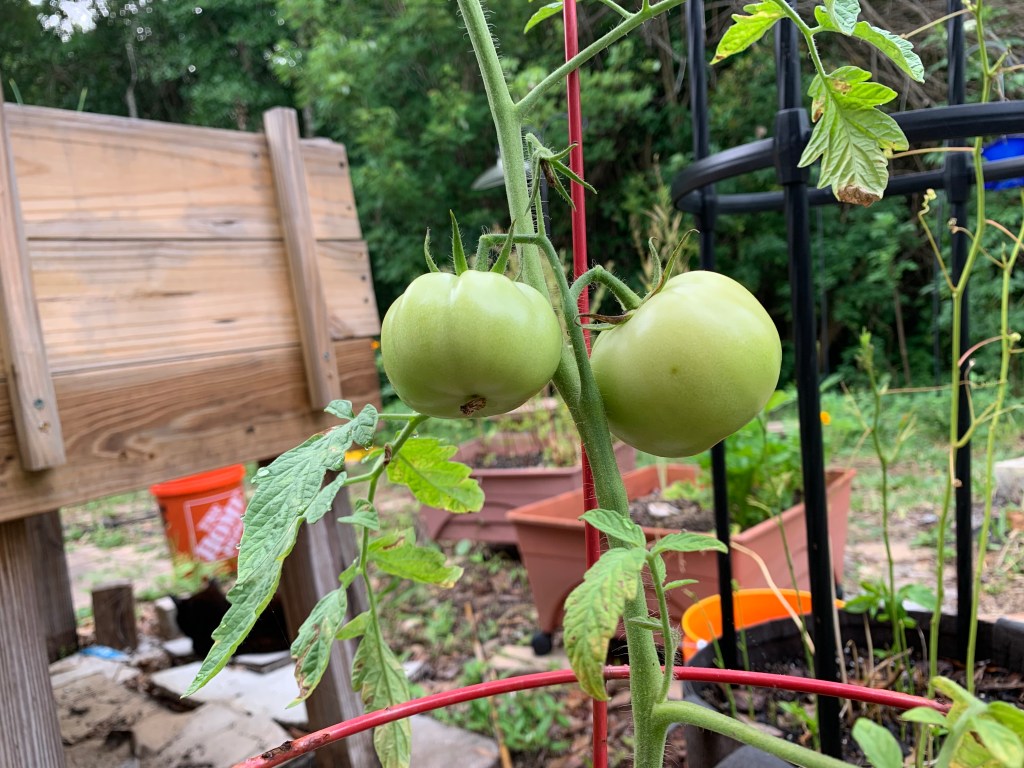
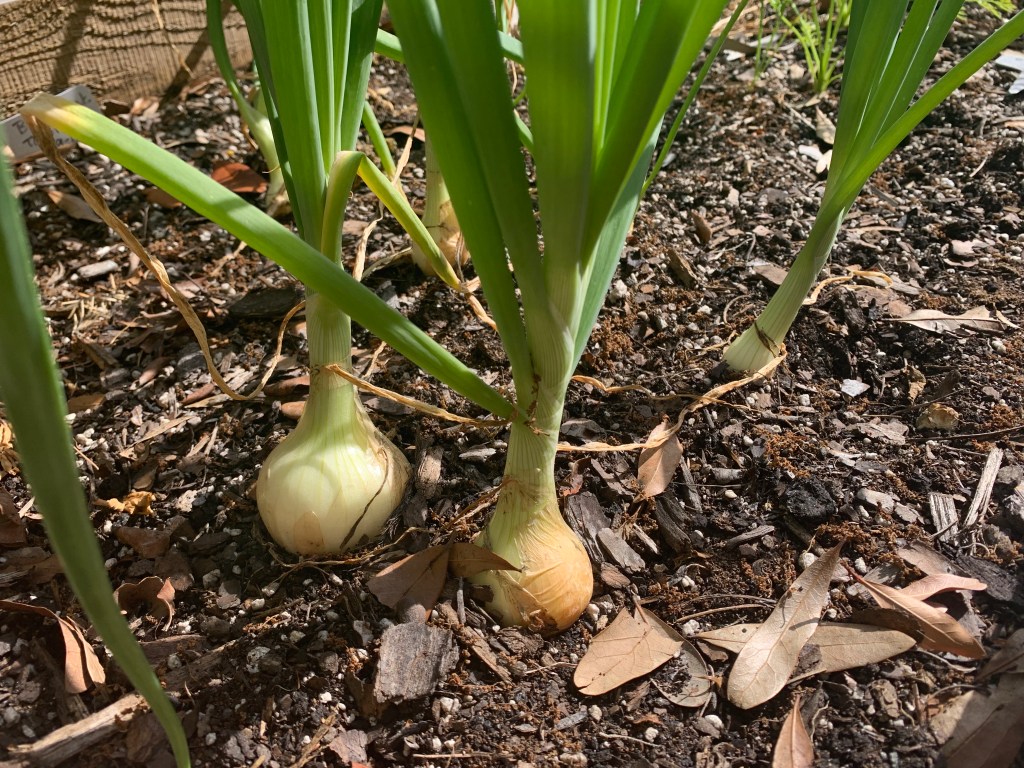
Organic tomatoesBulb onions
Spring is the time to collect good veggies from the Florida backyard. Once the heat is here for good – any day now – the heat hating foods will wilt and die. So, I’m enjoying the dill, borage and green beans for the next few days, or weeks.
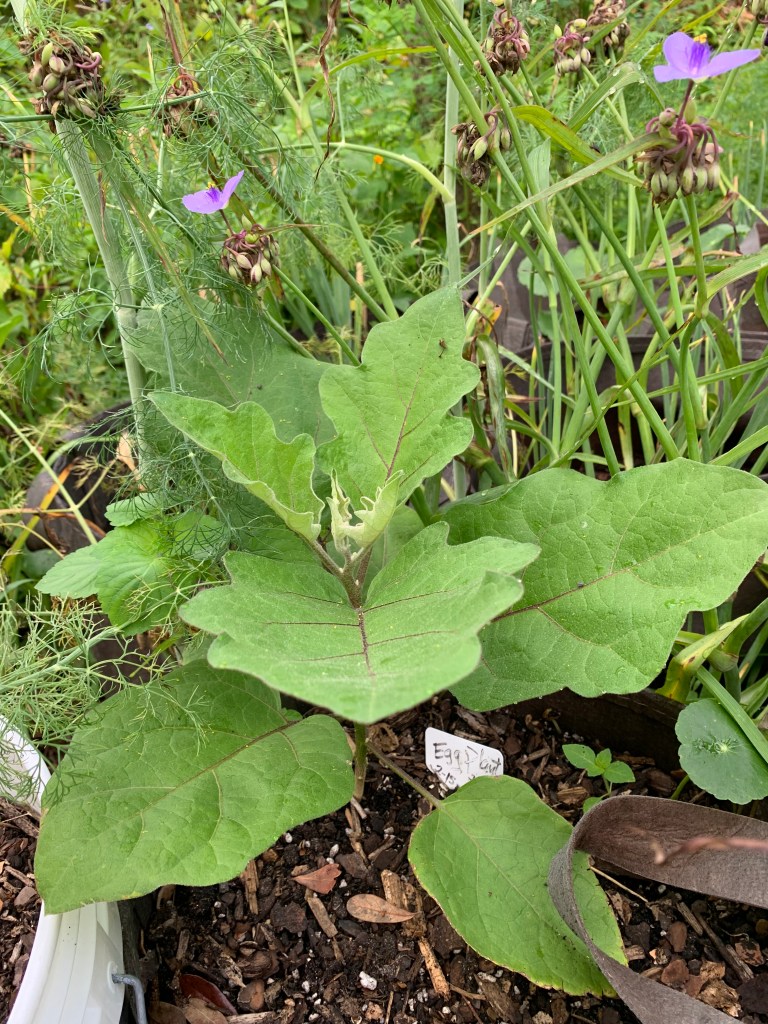
My May gardenHorsemint / Spotted Bee BalmBackyardEggplant in a fabric pot
Eggplant will grow year round, but eggplants to eat are sporadic. During the summer months I will be planting only sweet potatoes and they should arrive any day now. If you are wondering what to plant for summer in Florida, I wrote a page about Five Things to Grow in Summer that need little to no attention.