
Trying to grow food in a Florida backyard has proved to be challenging. Luckily, I have all year long to figure things out! Or, maybe that is not such a good thing. All I know is that vegetable gardening in my little Florida space has not been easy. Now, I am trying buckets to grow my larger plants with deep roots.
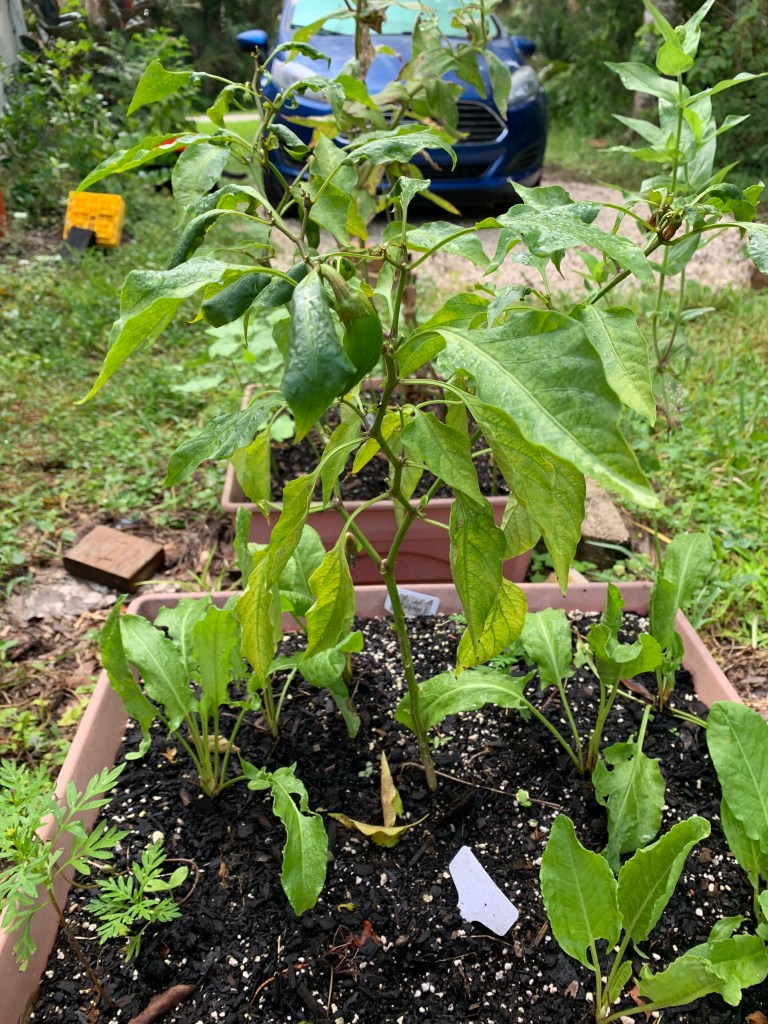
The grow boxes are great, and I’ve grown eggplant, peppers, and tomatoes in them. They are not really deep enough to accommodate the roots of those larger plants. Directly in the ground planting should take care of that problem, right? I don’t have a lot of luck growing things in the ground. The garden dirt is not great yet. Raccoons and armadillos dig things up.
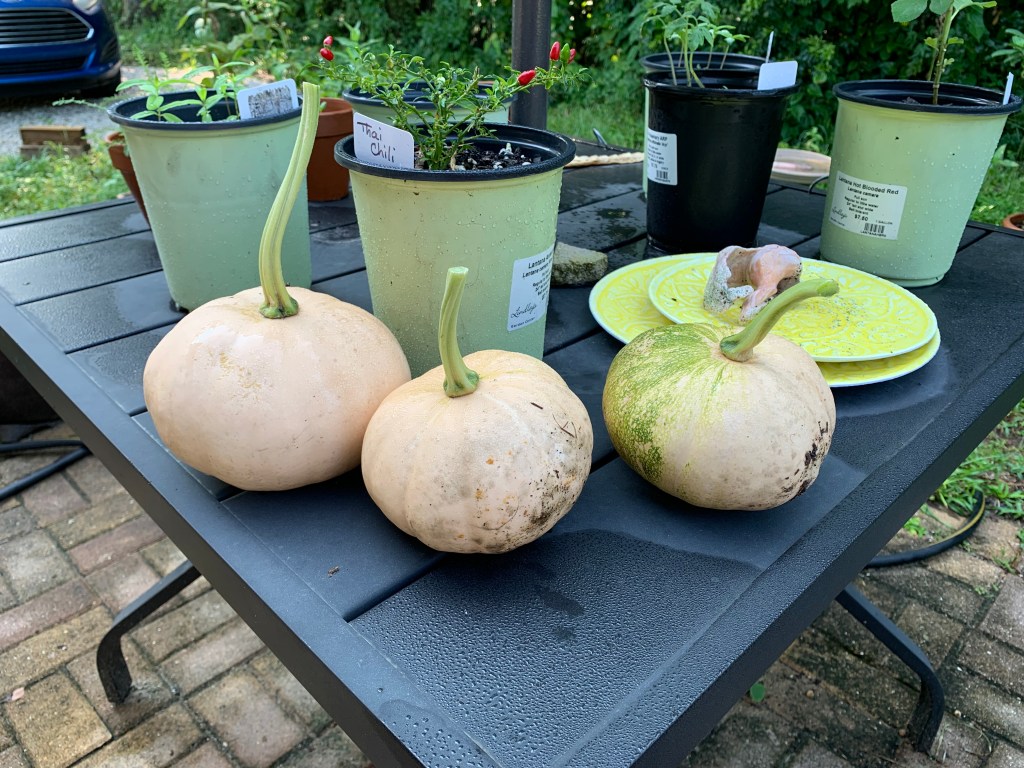
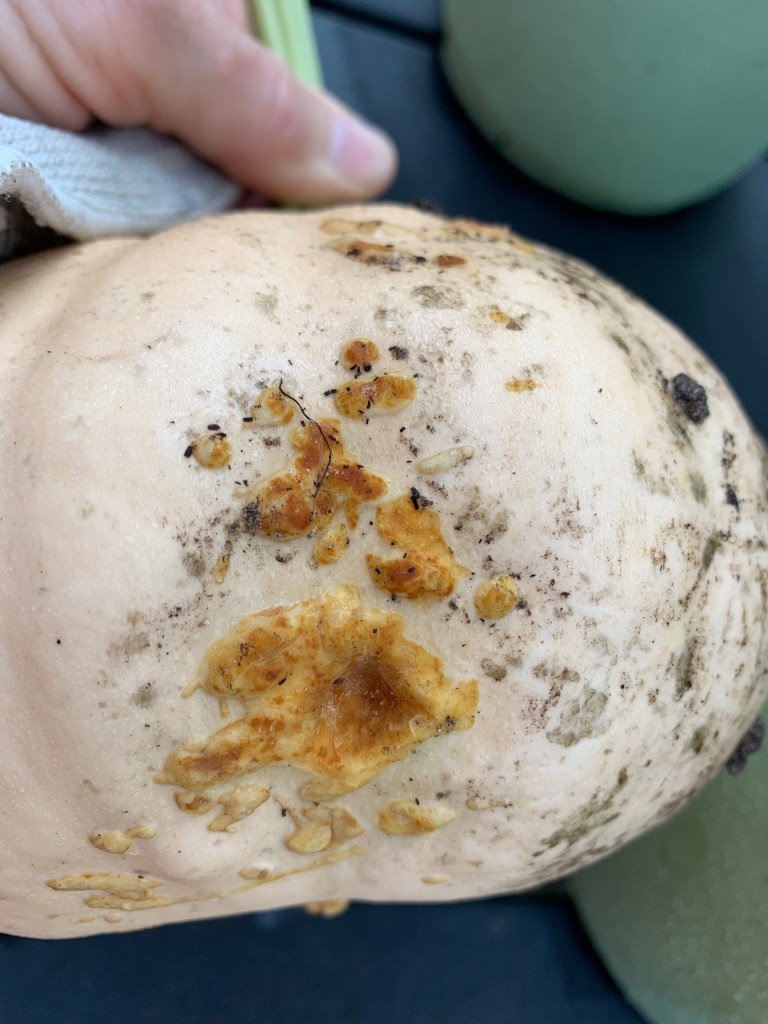
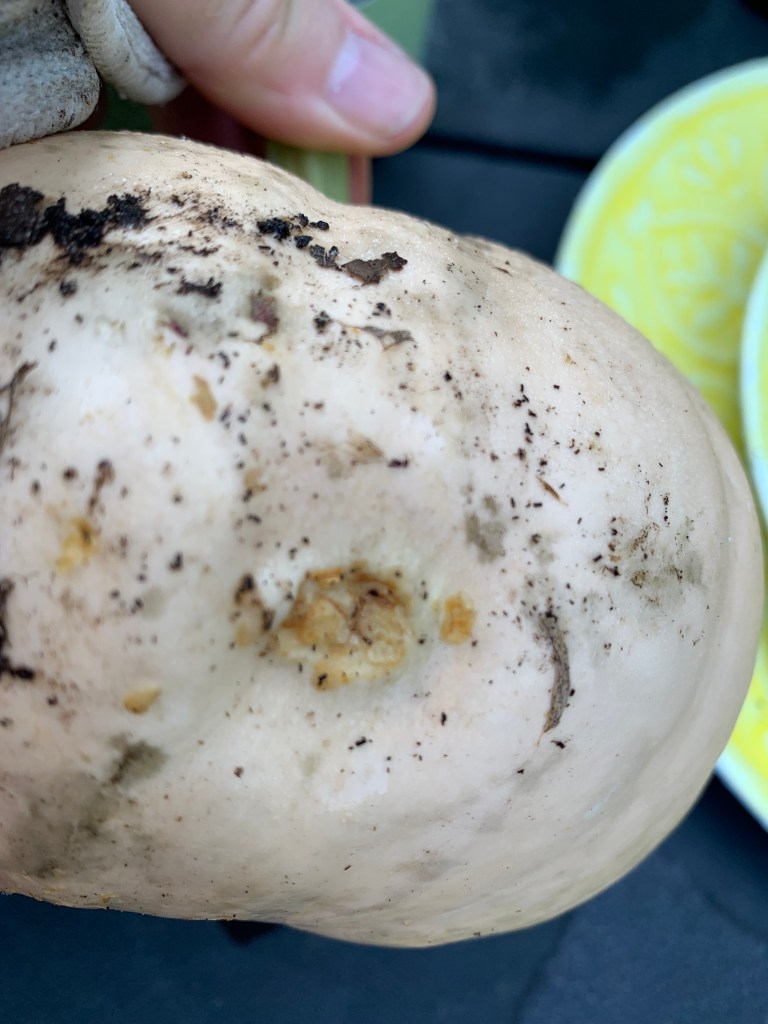
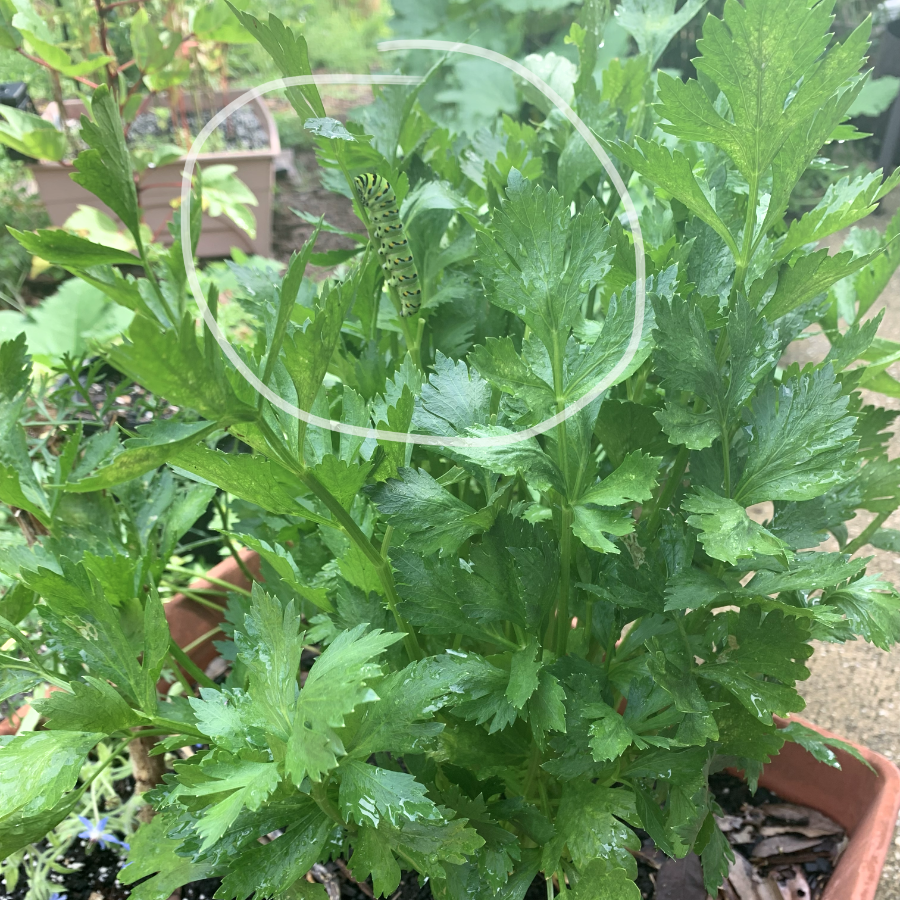
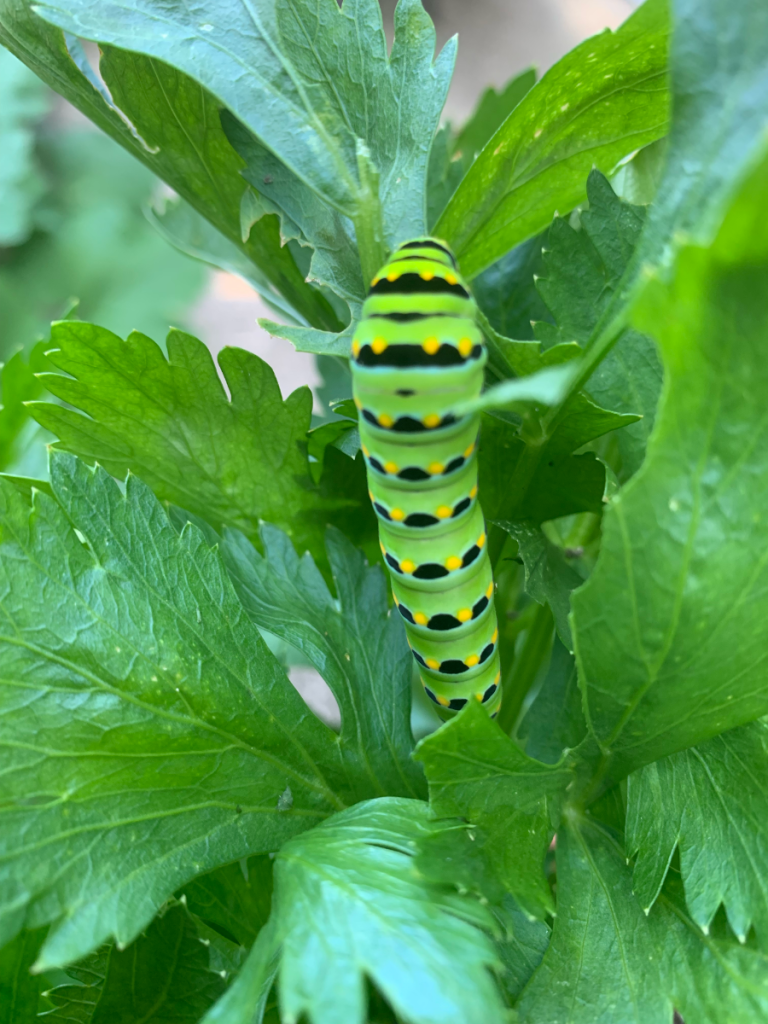
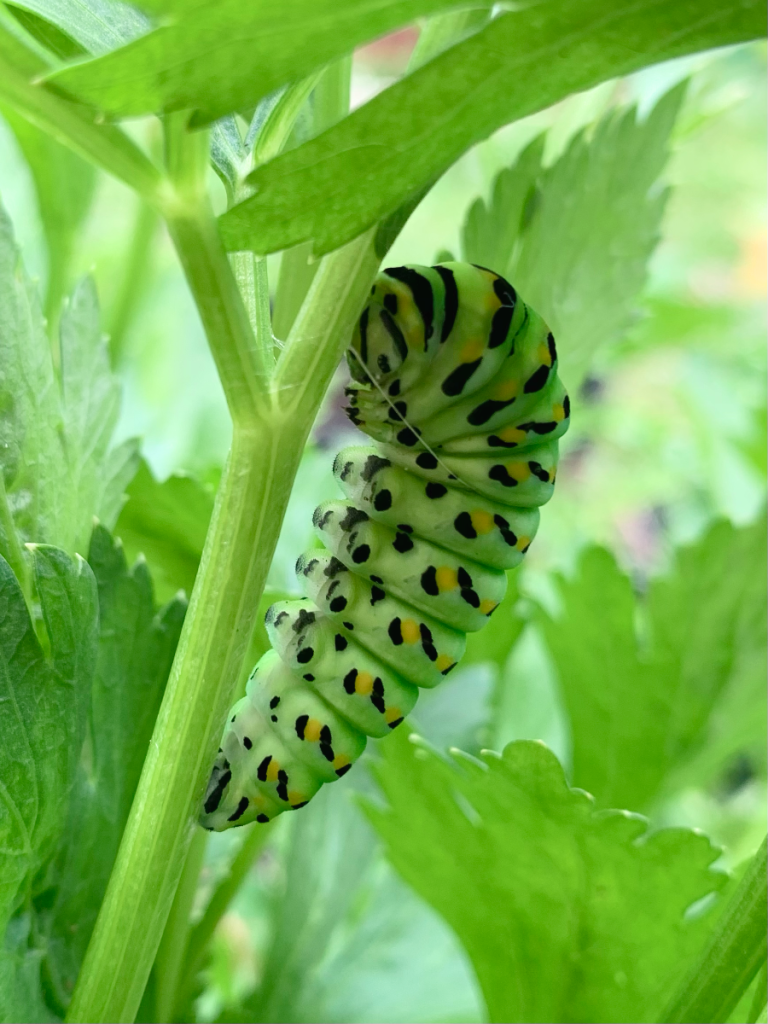
I had four eggplants, which were started from seed, all growing in the ground. Three have died, and one has been growing for 2 or 3 years and never given me a single eggplant!
I cannot keep doing the same thing and hoping it will get better. The soil is constantly being amended, all over my yard. But my thought is to maybe have a flower garden out back, and keep the veggies in the raised beds – or in deep buckets.
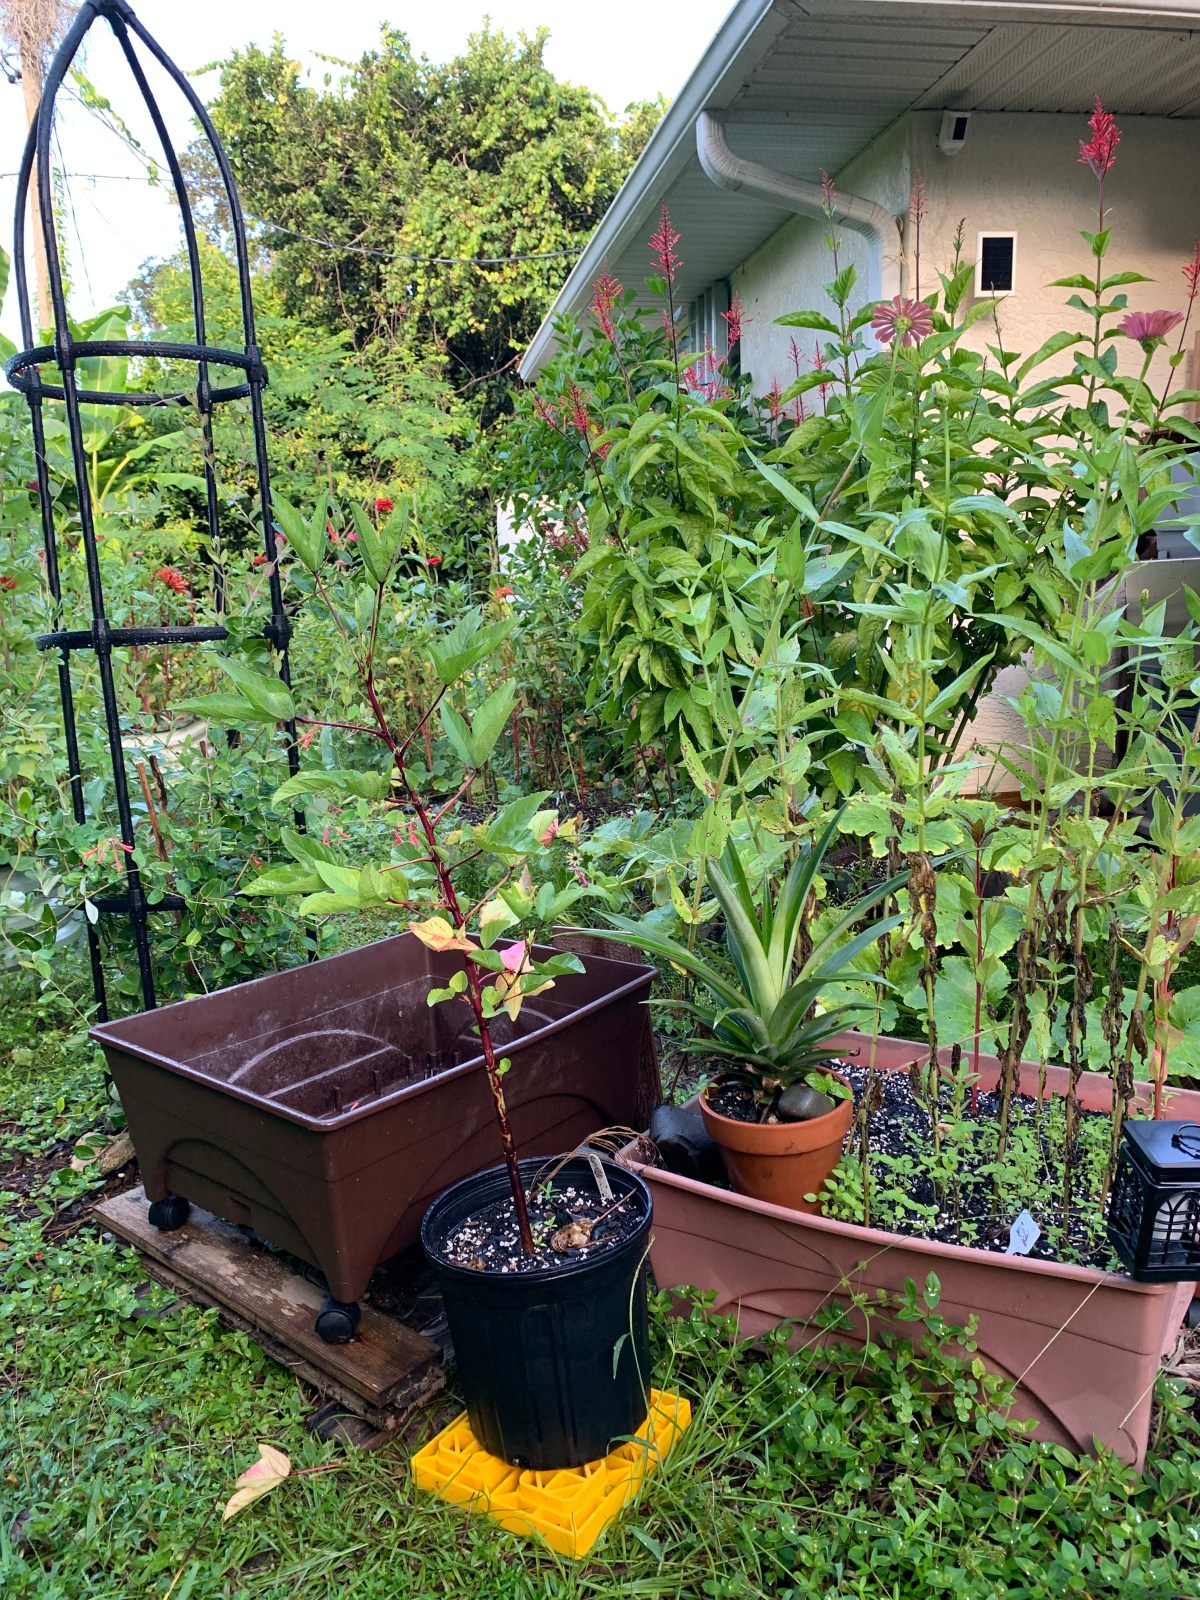
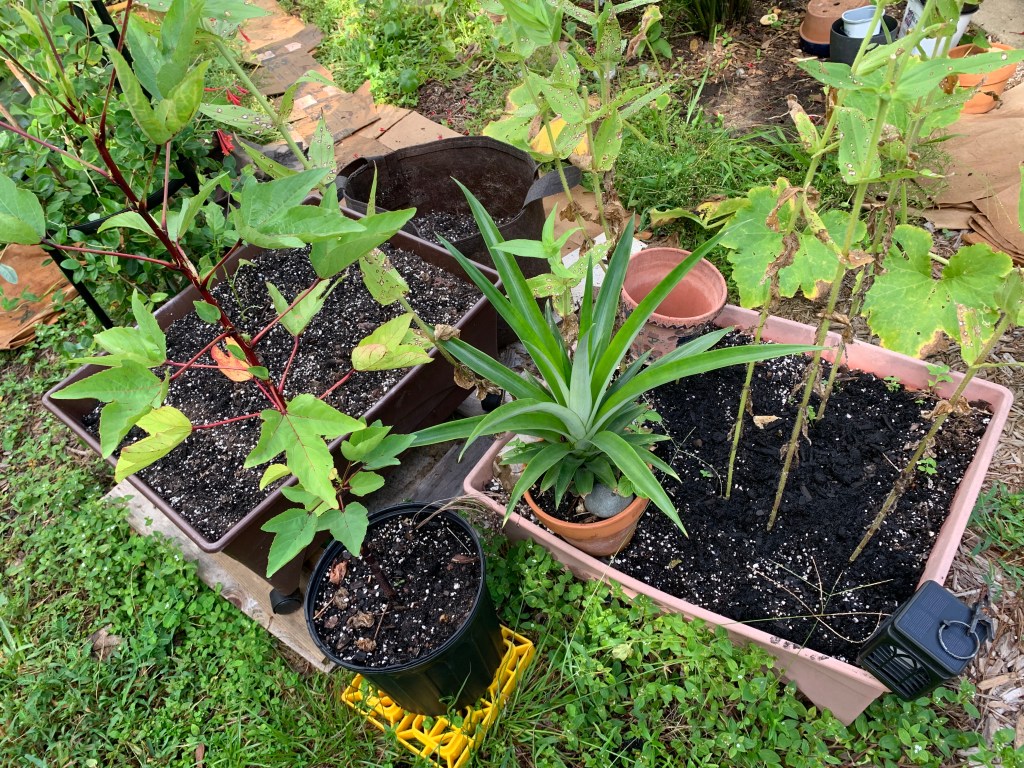
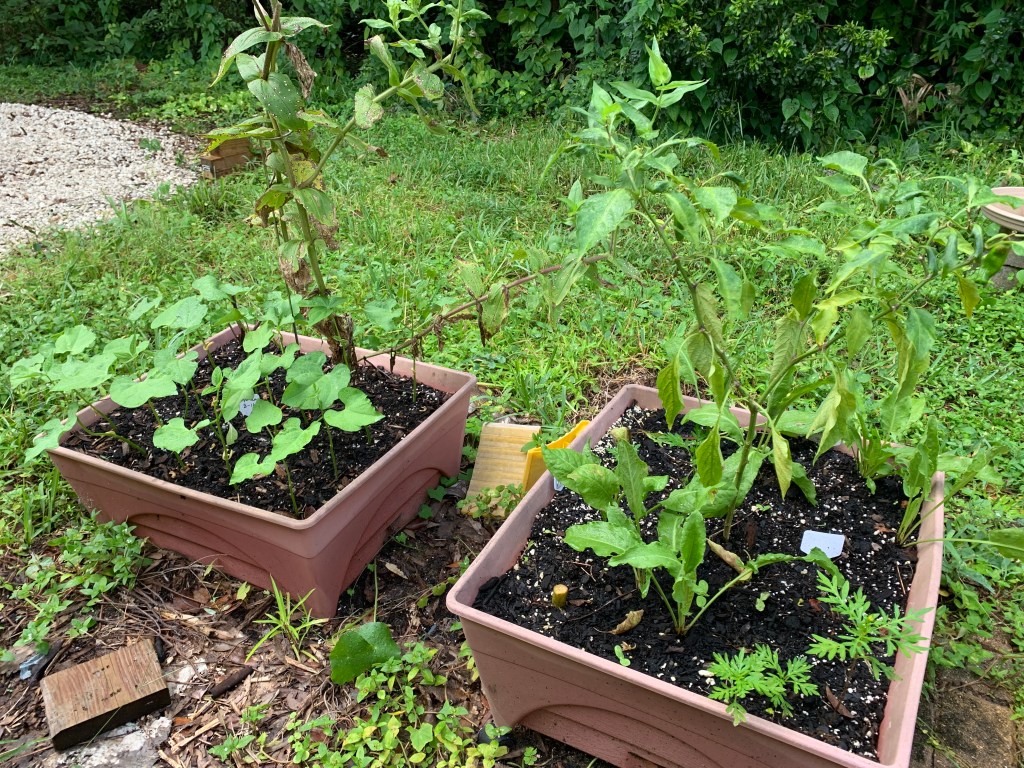
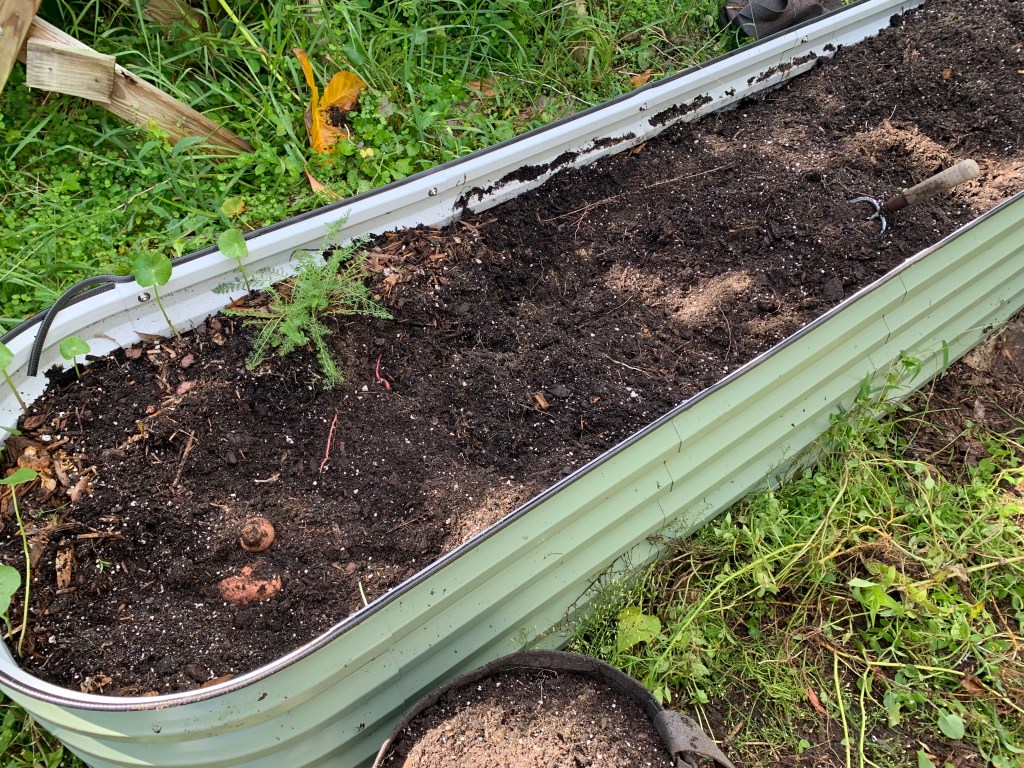
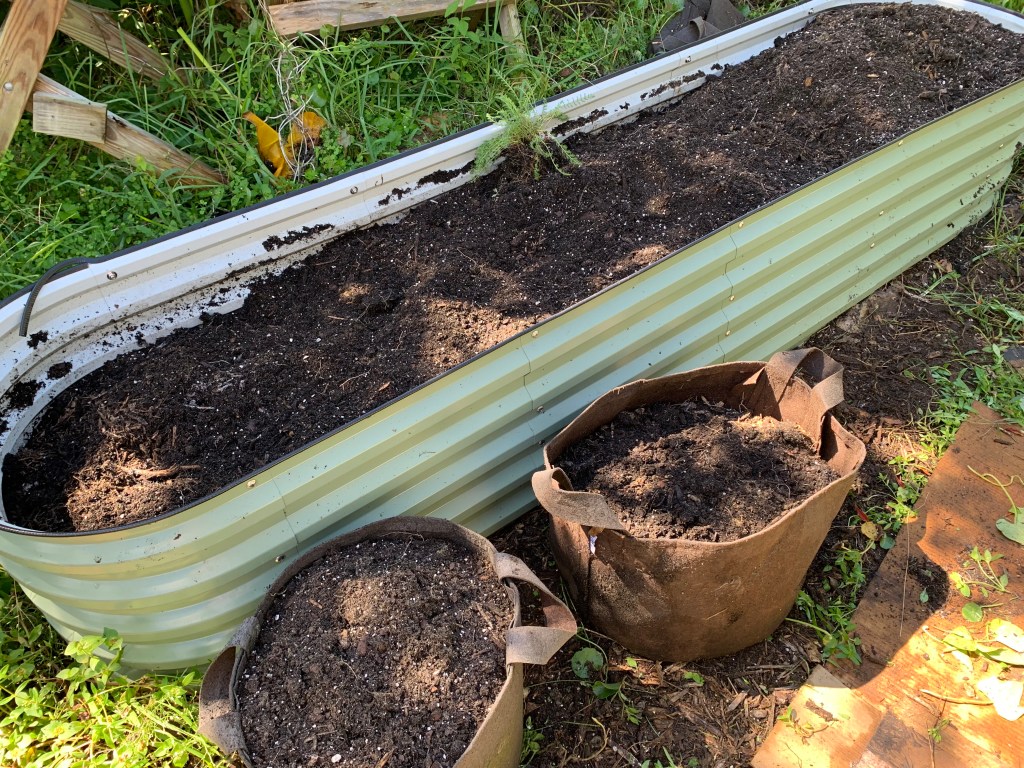
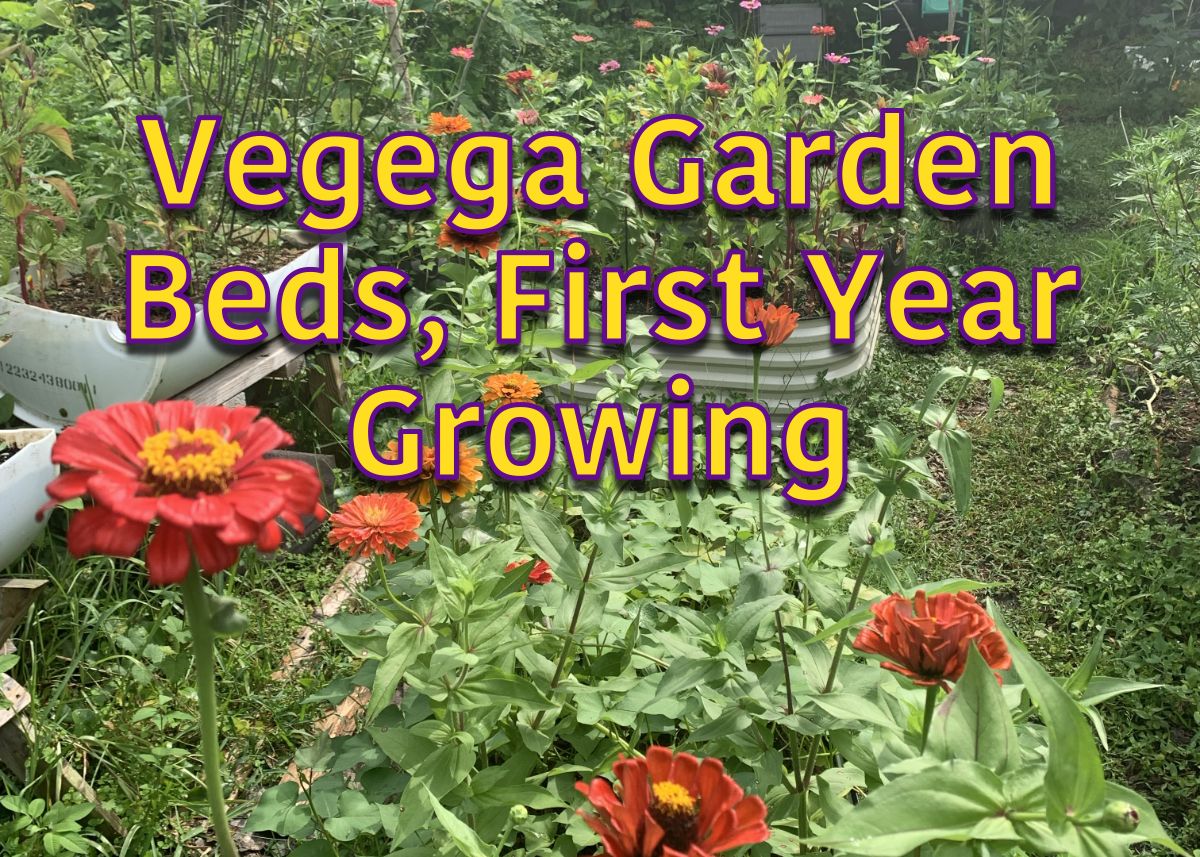
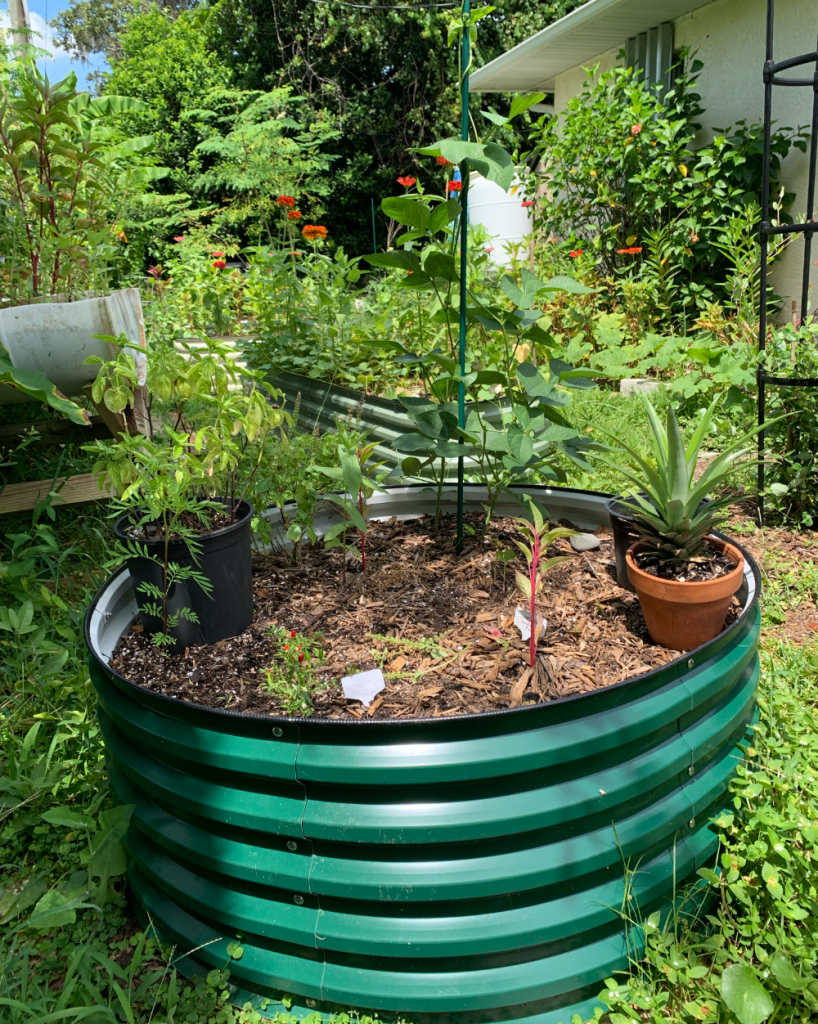
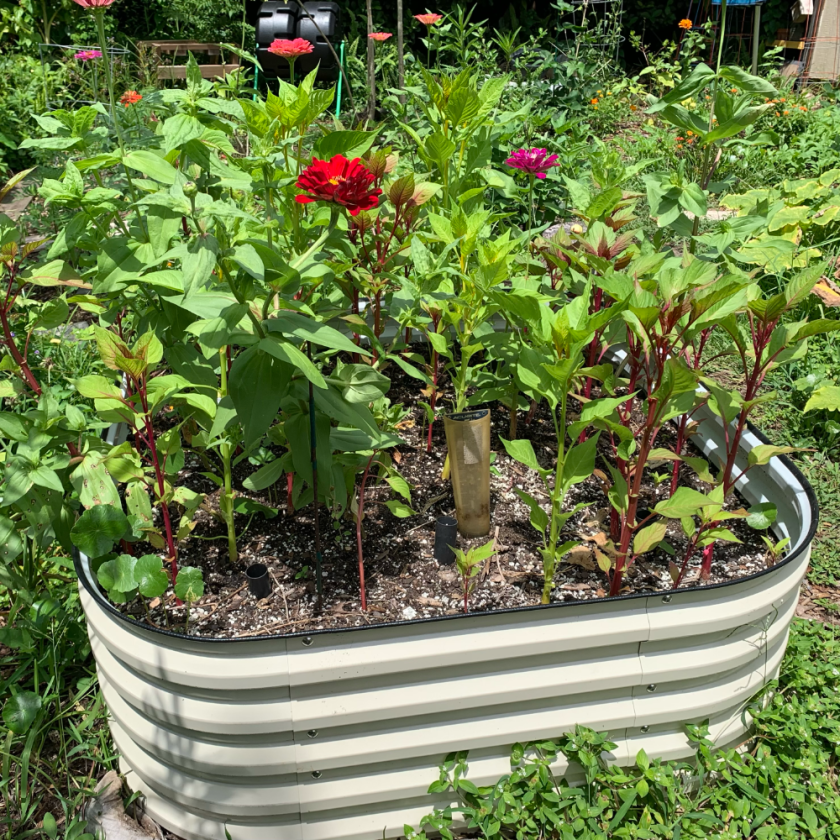
I have three raised beds (Vegega metal beds) that are pretty good size. Everything else is either barrels on stands, or grow boxes. I had to take the grow boxes apart last year and drill holes in the bottom to fix the drainage issues. Now they are ready for Fall veggies. But long rooted vegetables need something else.
Buckets as Growing Areas
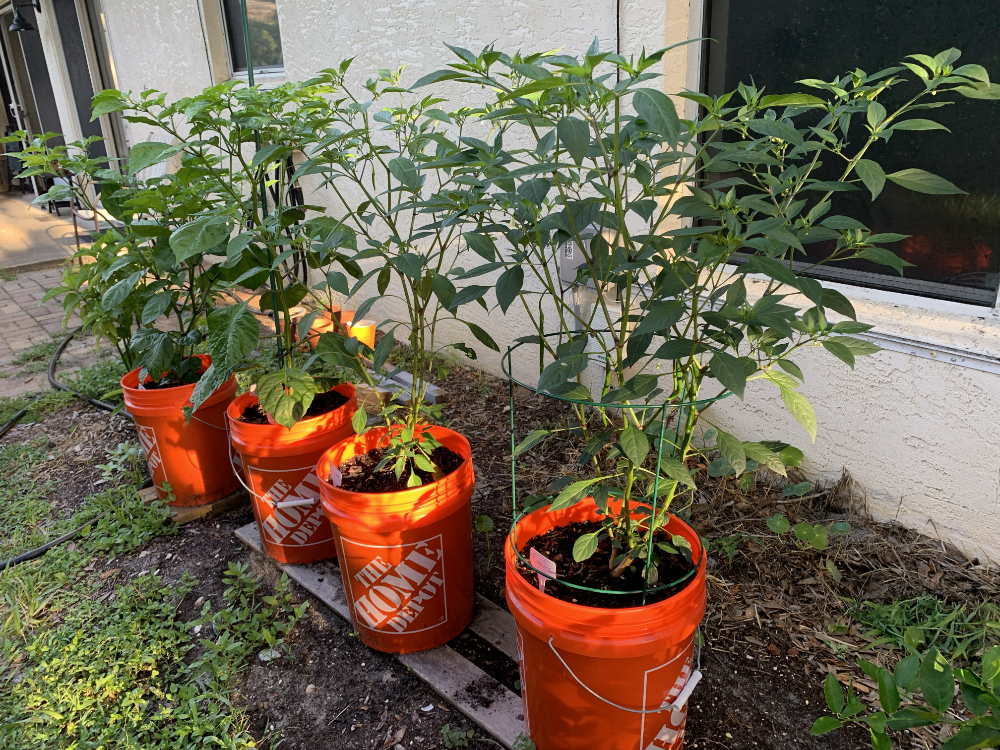
My son began growing some hot peppers this year and he used Home Depot buckets to do so. Each pepper was started in a small pot, most were started from seed. They are thriving in the buckets!
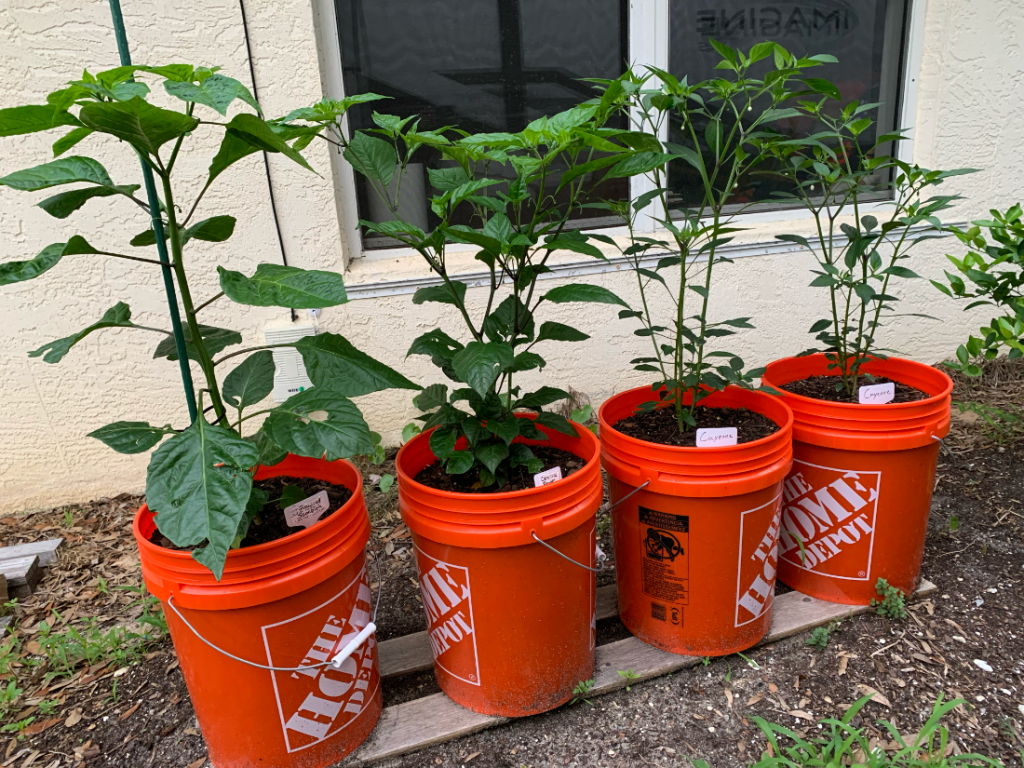
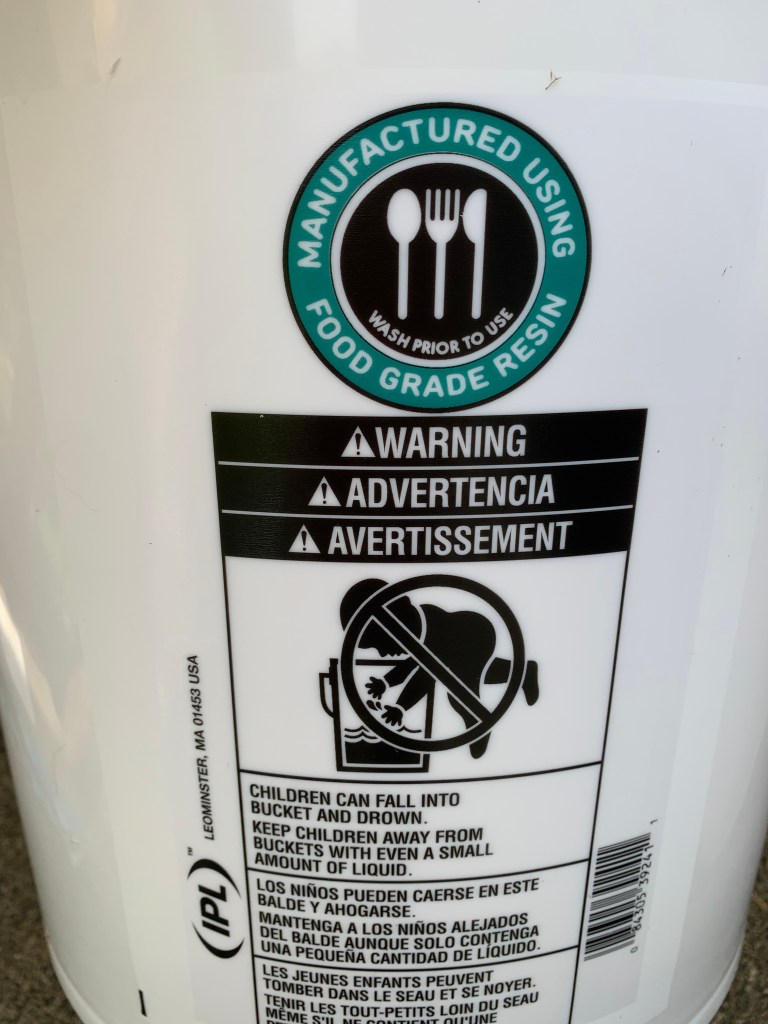
I’m not sure how well that plastic works for growing food crops, so I bought some “food grade resin” white buckets.(Amazon paid link) They cost me around $6 each. My son drilled some holes in the bottom.
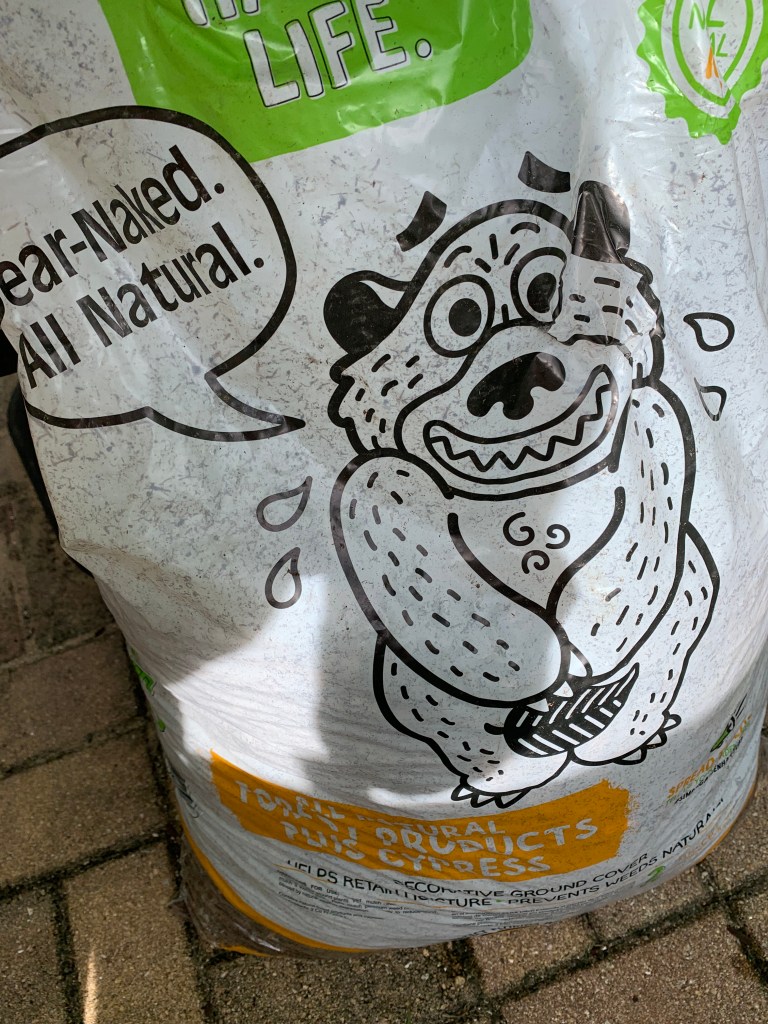
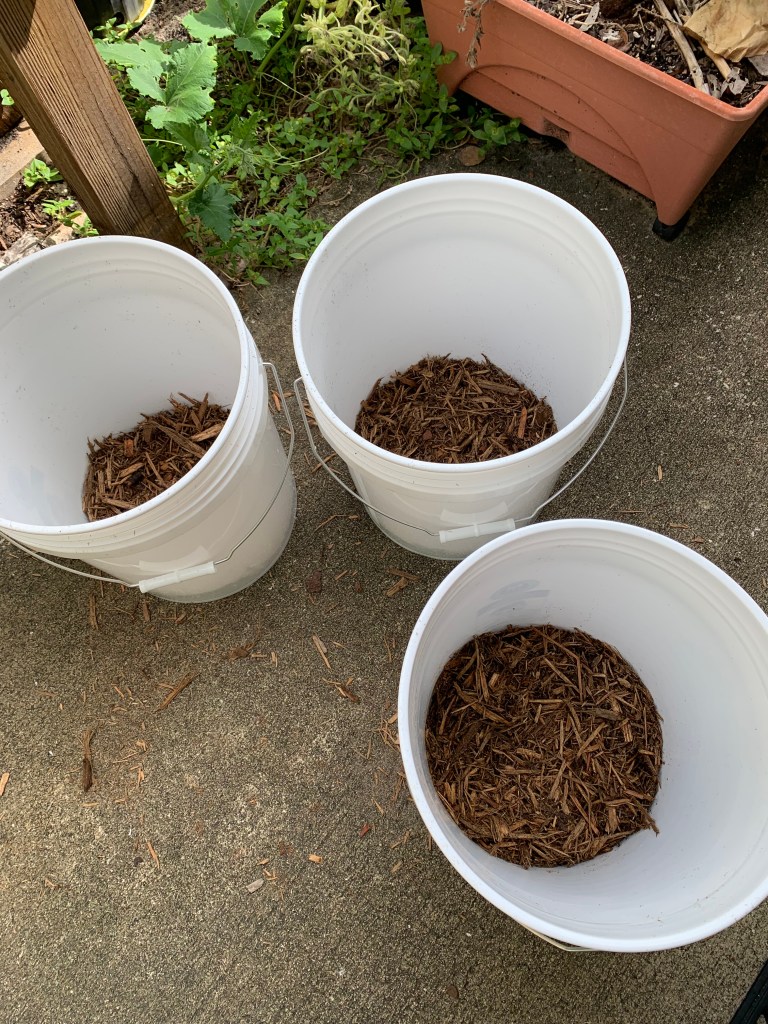
Bear Naked mulch is going into the bottom of each bucket for drainage. Happy Frog potting soil (paid link), mixed with fish bone meal (paid link), as the filler.
An eggplant and banana pepper plant have been transplanted. I’ll need to find a way to keep the buckets from being directly on the ground. This is to help keep ants from using the pot to make a nest. For now, I am using some plastic dinner plates underneath. But then…..
I decided to buy new RV levelers (paid link) and use the old ones to keep buckets off the ground! We use these to level our camper at campgrounds, and in the yard. Campers need to be level to use the slide, awning, and keep the water tanks reading correctly. They are heavy duty plastic with an open grid pattern for water and dirt to pass through. They seem perfect for raising pots off the ground!

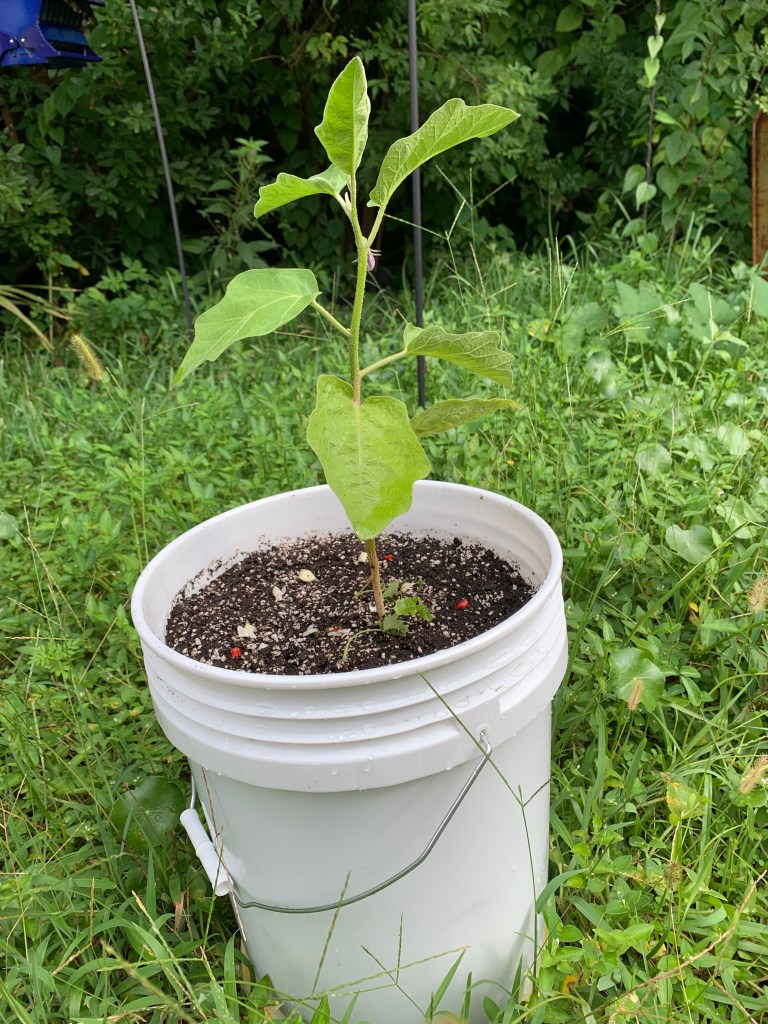
When pots sit on the ground around here, ants tend to set up house. Fire ants will completely fill a pot unless I am diligent. I hope the leveler idea will work, but I will still have to check for ants.
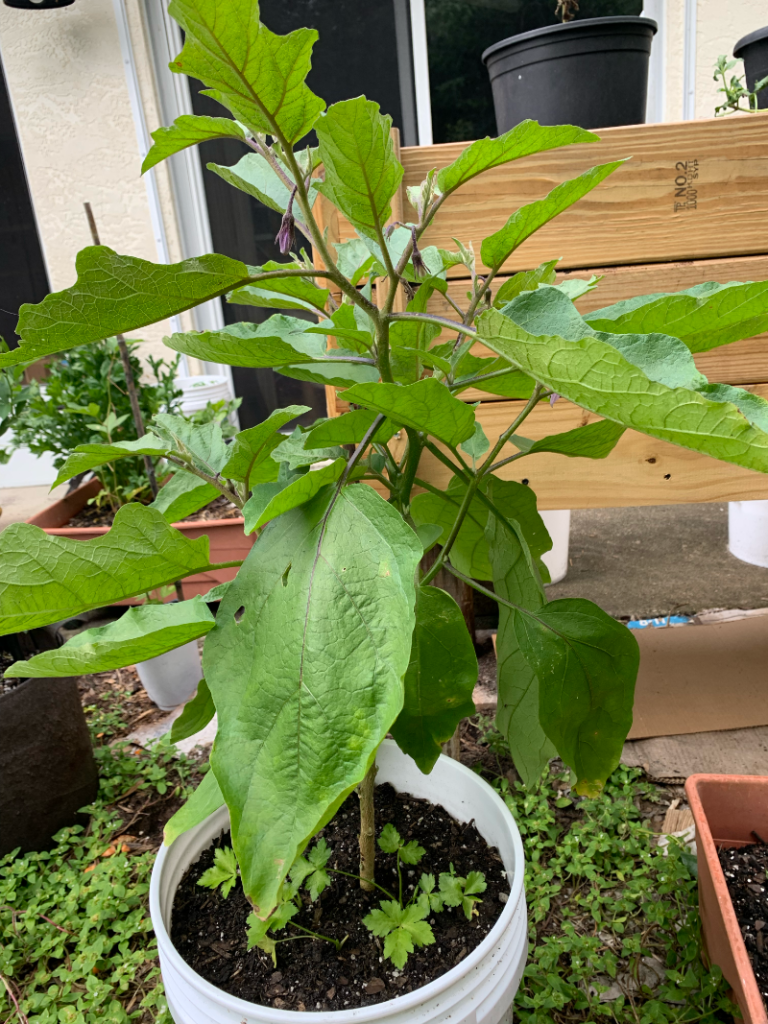
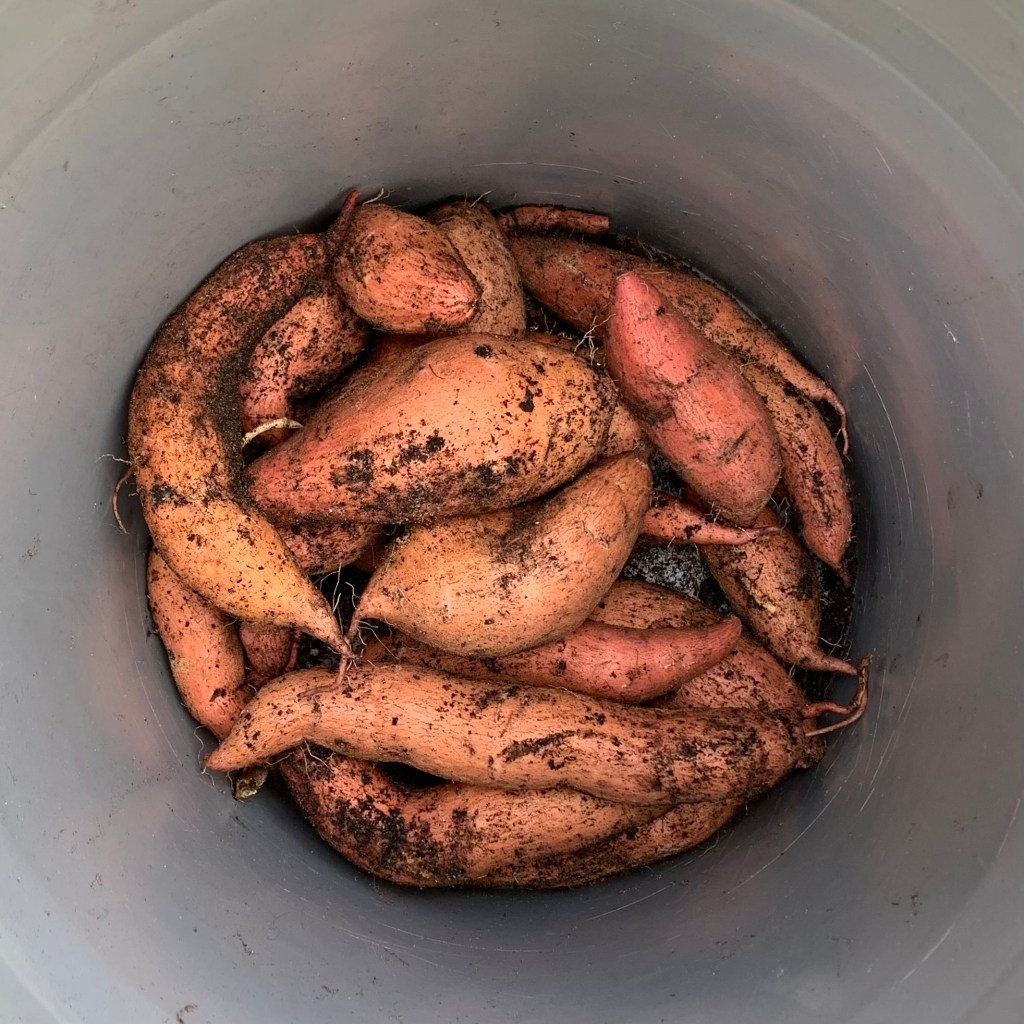
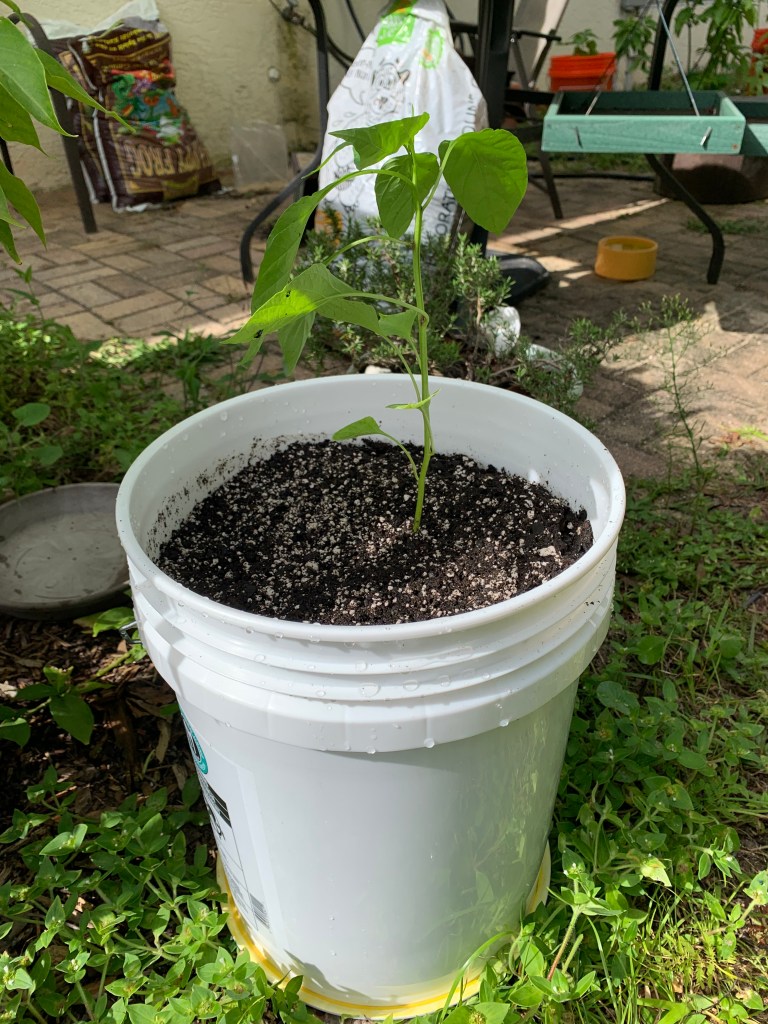
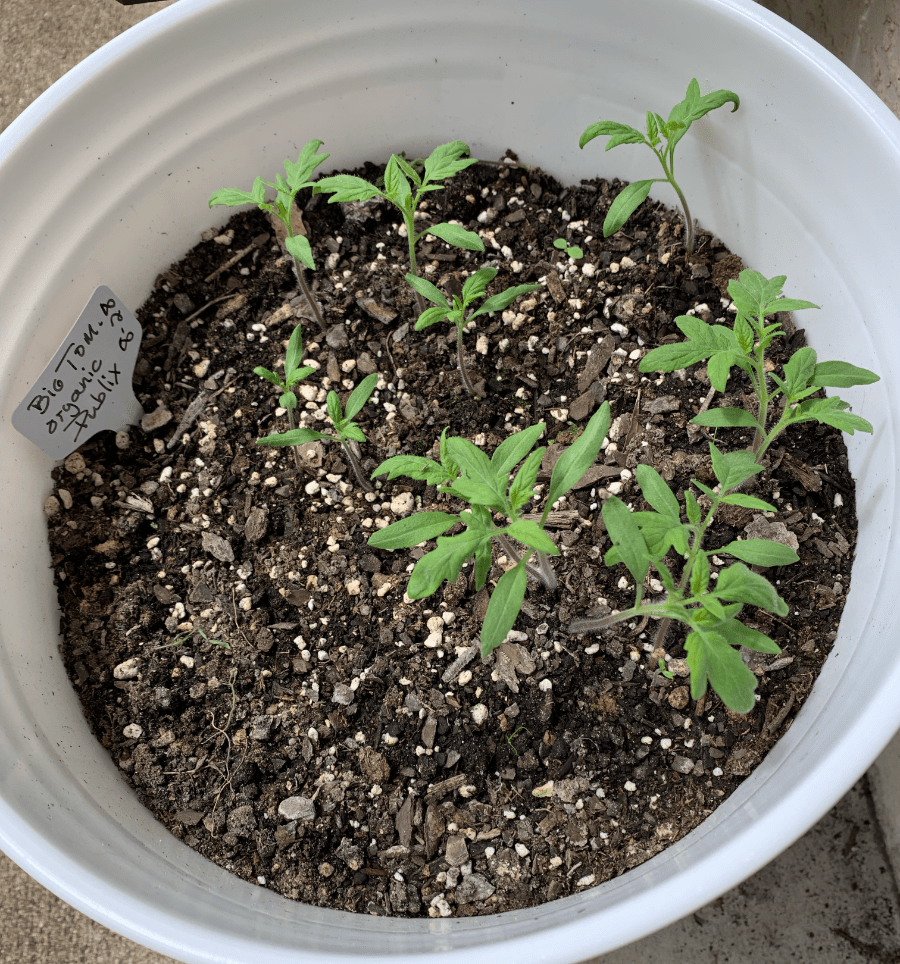
The eggplant is thriving, and I have some small tomatoes coming along in a bucket. Another bucket holds little pepper plants. I’ll be thinning them so that only one – the best, healthiest – plant remains.
Vegetables Can Be Perennials Here
Growing in central Florida means that some vegetables can become perennials. Eggplant, tomatoes, peppers, and probably others, will grow for years. They will have down times, but the plant will be in that space year after year.
What that means is, the area won’t be empty to use for other crops. Whenever a large plant, such as an eggplant, grew in one of my grow boxes, it took over the whole thing! Each plant really needs its own space. A bucket for each plant seems like a good idea.
Recent Happenings


Something went wrong. Please refresh the page and/or try again.