Three Ways to Begin Vegetable Gardening in a Small Space and Not Using a Raised Bed

Want to grow your own food but don’t have much time, space or money? Start small with a grow box or fabric pot and see how it goes.

If you have been bitten by the gardening bug, but don’t know where to start, I suggest you start small. A small space is easier to manage especially if one person alone will be tending it. I am not covering raised beds that cost a lot to buy and / or build. The garden ideas I mention here are inexpensive to create.

Take your time and abilities into consideration. Begin with a small, manageable space outside, such as a grow box, fabric pots, or little area of the yard to plant. All of this works for growing flowers too.
Plant For Your Climate

No matter where you live, do some research about what grows well in your area. I made the mistake of trying to grow the same types of veggies I grew in New Hampshire when I moved to Florida! It was a disaster and I became very discouraged. 

I live in east, central Florida where gardening can happen year round, if the correct types of veggies are planted.

Grow Boxes Keep Everything Contained

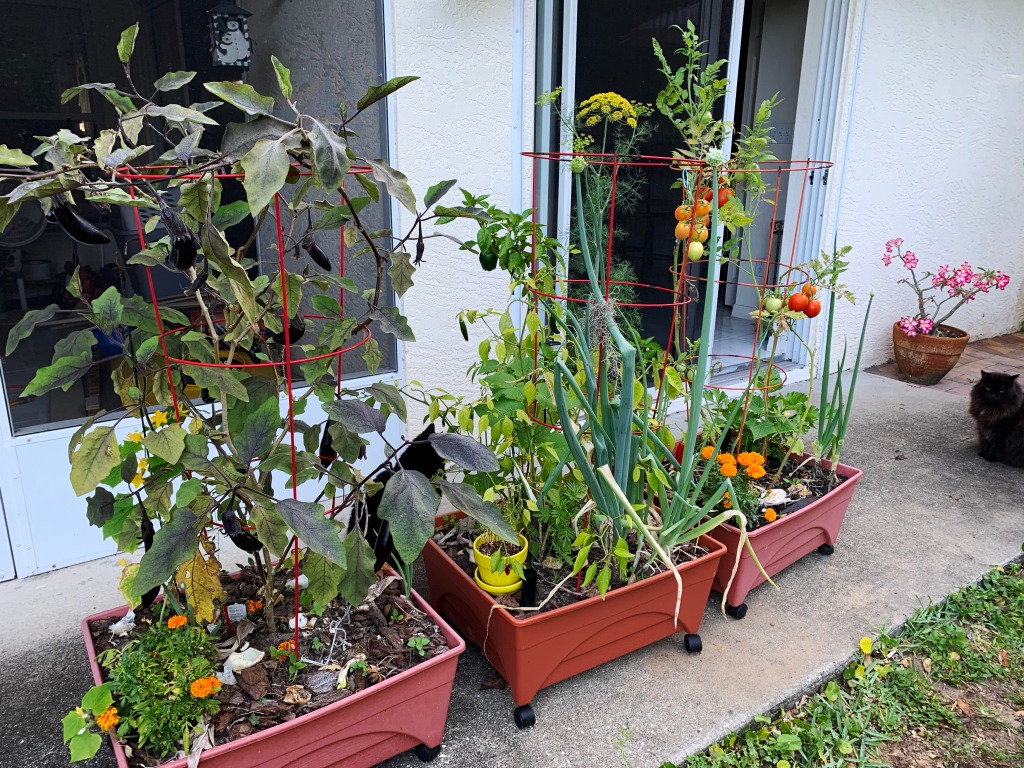
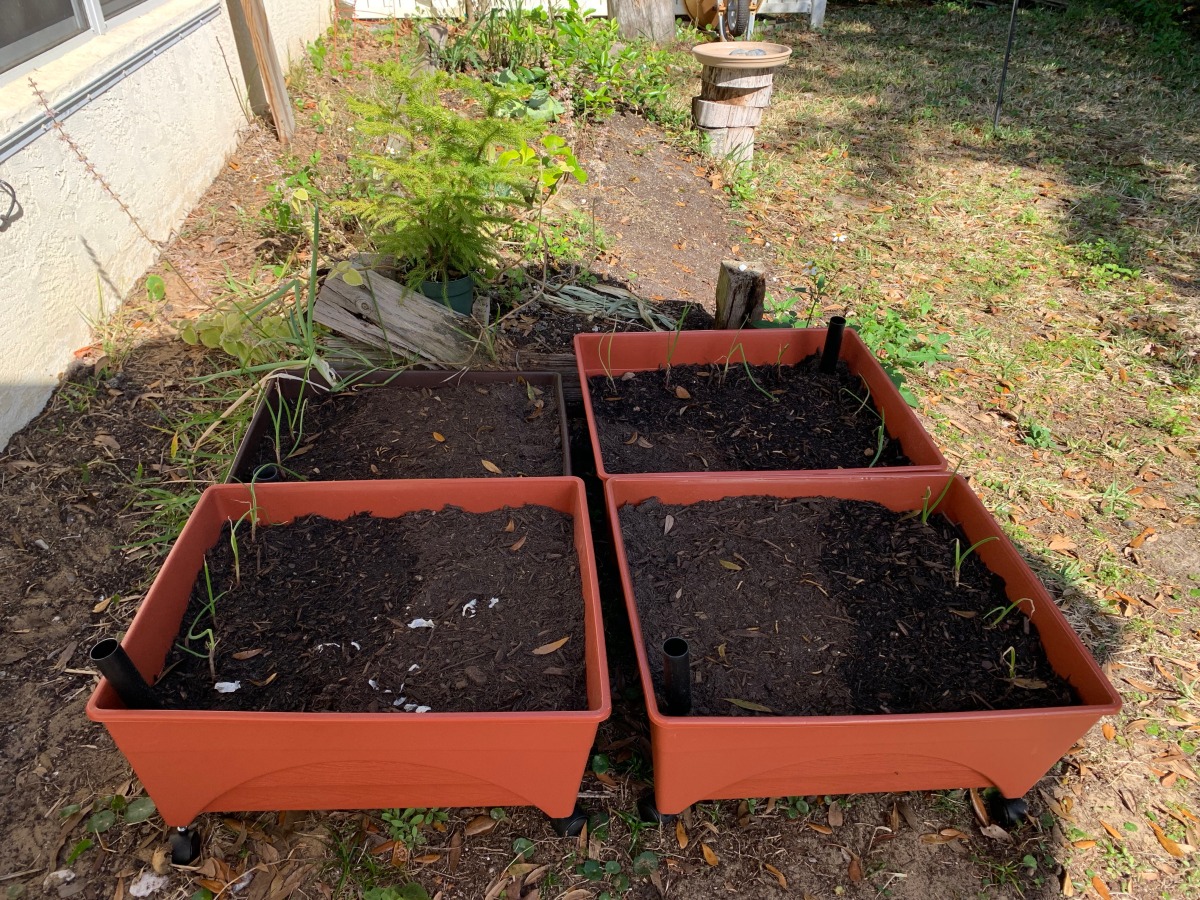
I started my Florida gardening journey with a few grow boxes. I bought them at Home Depot and filled them with potting soil. This was a great way to get started without having to dig up the yard or do sheet mulching. The boxes are on rollers which makes them easy to move on my patio.  Weeds can’t grow in, but you will see some pop up.

The downside of grow boxes is that they are not very deep. But, I have grown green pepper, eggplant, and tomatoes in these boxes. If you attempt this, keep it down to one large plant per box.
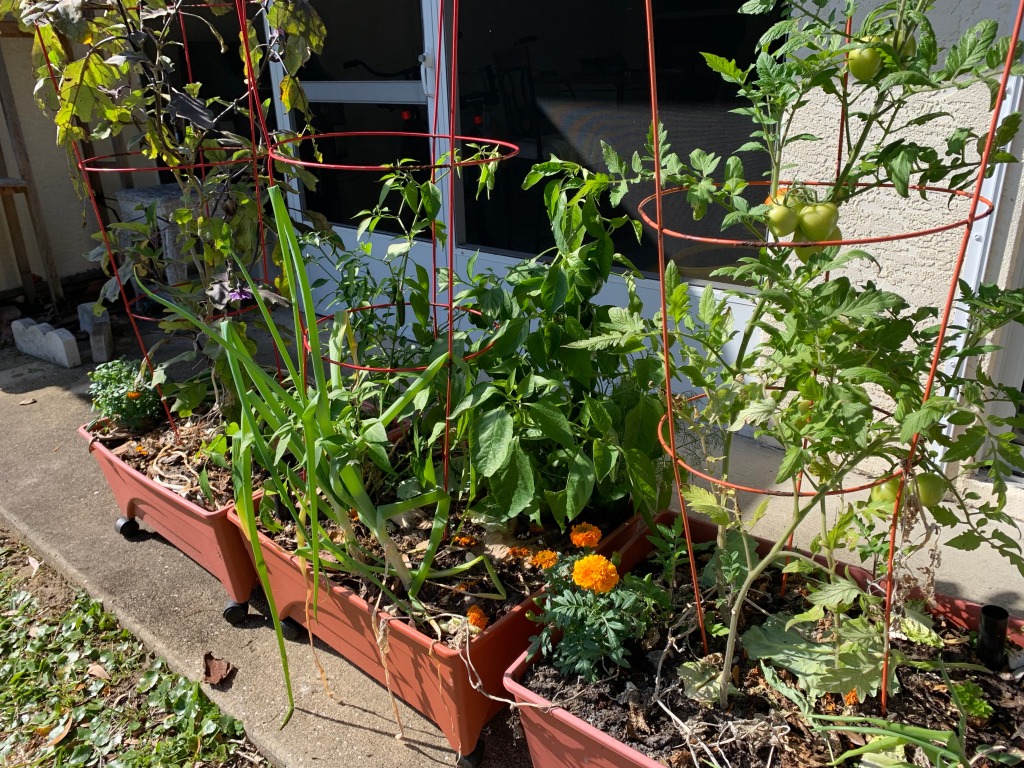
These boxes will easily hold some herbs or greens such as spinach, arugula and lettuce. A flowering plant, such as a marigold could be added, or plant scallions along the edge.

Raise some worms

The boxes are also great for starting worm families. I am not a worm grower, but when I added a few worms from the yard to a box they multiplied! From there the worms can be added to other boxes, or back into the yard. Worms are excellent for making the soil better.

A place for some compost

At the time, I did not have a compost area, or my Hot Frog, so my fruit and vegetable skins, tops and leftovers were chopped and added right to the soil in the box. Mostly I added banana skins and coffee grounds, and I didn’t overdo it.

My boxes are similar to the ones in the Amazon link below. They come with a tube where the water is supposed to be added, but I treat my boxes normally, watering from the top, unless it’s very hot and dry.

Fabric Pots For Vegetables

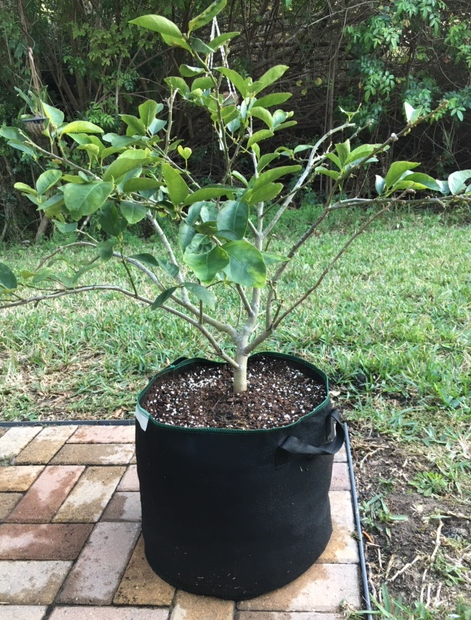
Fabric pots come in many different sizes and can work to grow small amounts of vegetables. Either use one bag to grow a large type plant, such as eggplant or tomato, or fill it with carrots, greens, or herbs, that can be grown closer together. The pots are usually taller than the boxes, but not as wide. Be careful not to overcrowd vegetables. 

I wrote a whole page about Gardening in Fabric Pots and my experiences in New Hampshire and Florida. Dark colored pots can help warm the soil for growing in the northeast and other colder climates with a short growing season. In Florida, I like the ability to move the pots out of hot sun as needed.
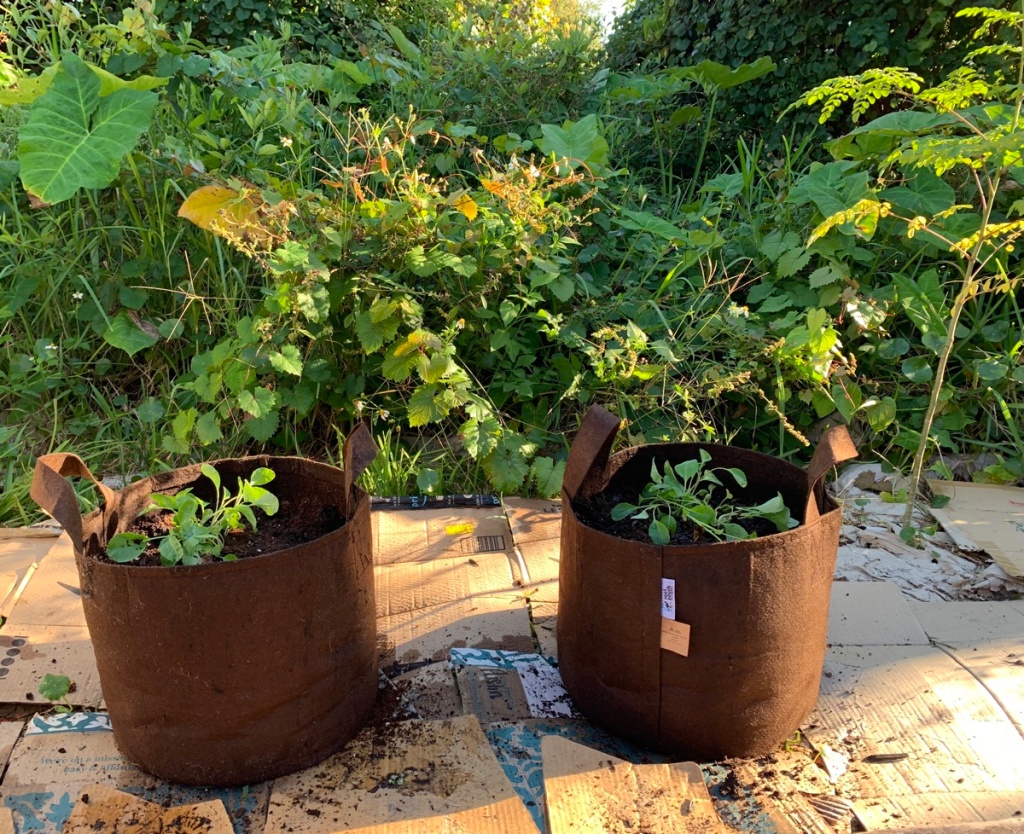
Most pots have handles and can be carried, or dragged, to a new location. Do this before watering, or when the soil is fairly dry. Be aware that water runs out of the bottom and sides of the fabric.

Sheet Mulching in Small Spaces

This small gardening idea would be a permanent addition to the yard and is recommended for someone who knows they want to garden, and will continue. Sheet mulching will kill the grass. This is also a time intensive way to garden.

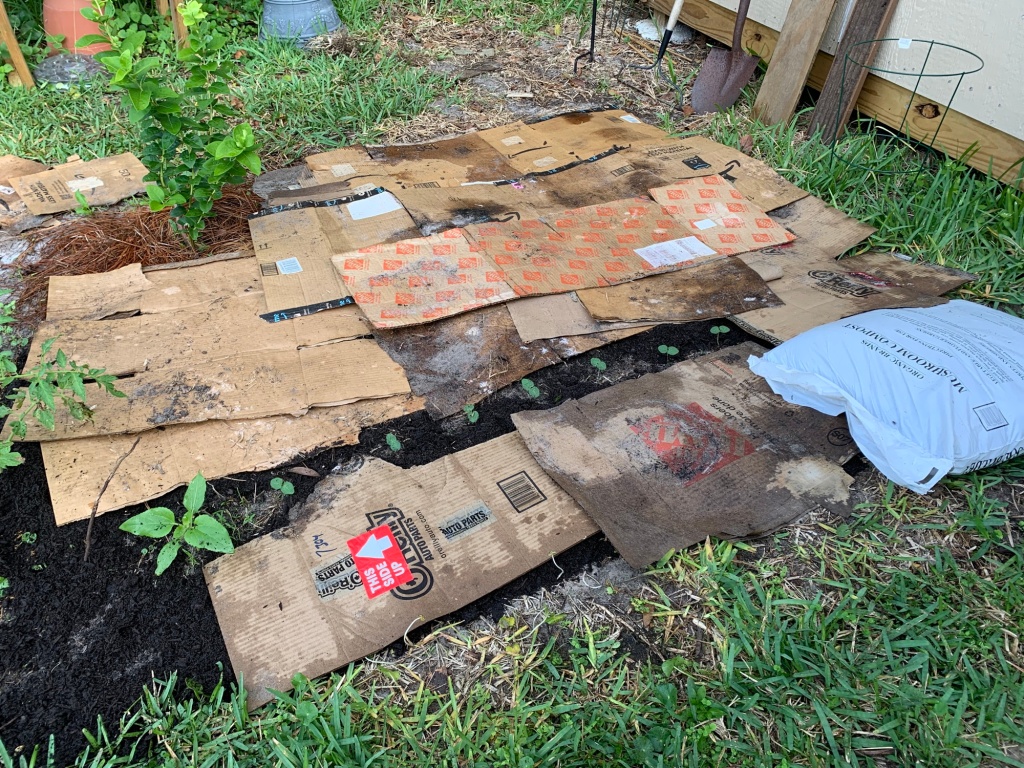
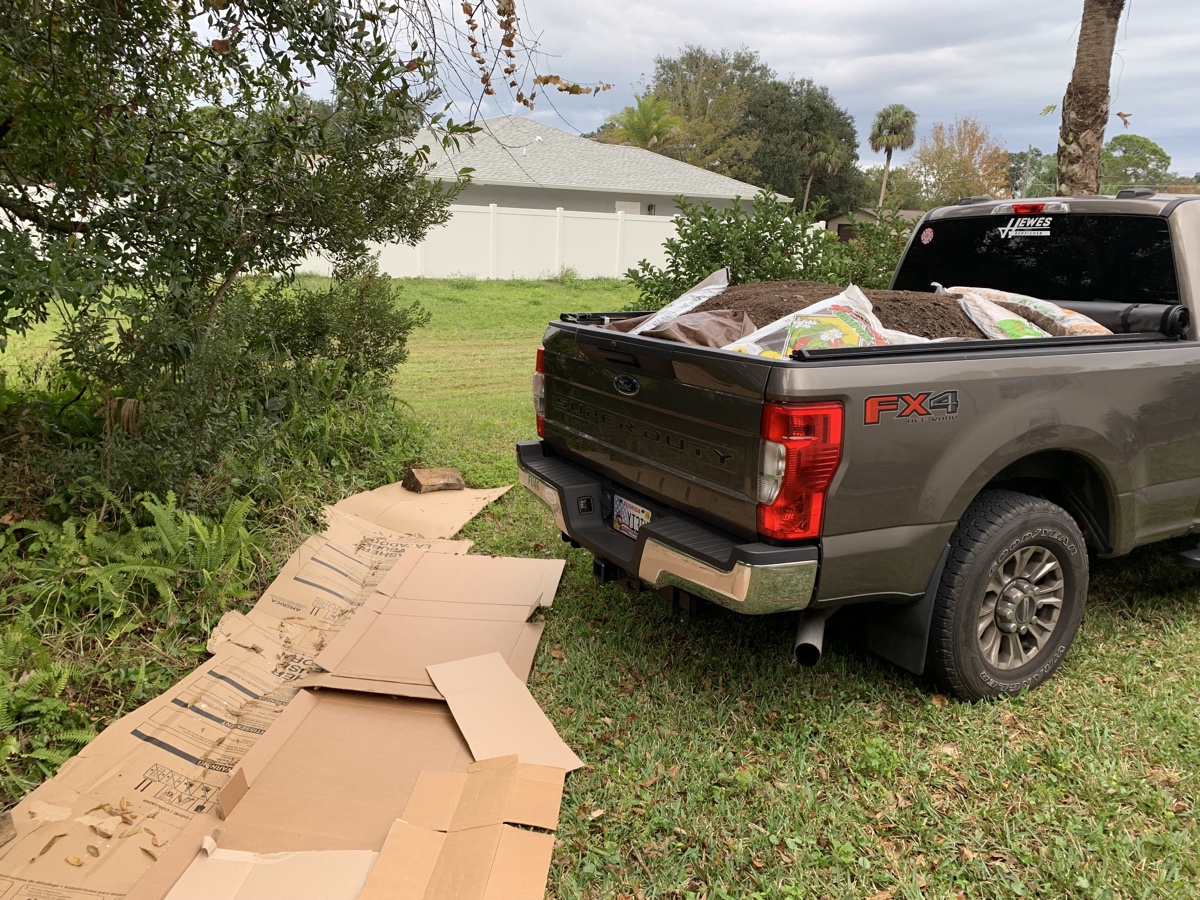
If you have never heard the term “sheet mulching” it is simply this; not digging up what is already there. Cover the lawn / garden area with paper / cardboard with dirt or mulch on top. (Buy dirt and mulch = expense.)

Why do it this way? If your yard is grass, as many are, and if you are not heavily spraying or using chemicals on the grass, things will be living just beneath the surface. Worms tend to be crawling around the grass roots. You may not like bugs, but they are necessary and all have a role to play.

Using a rototiller or digging with a shovel, disrupts whatever good is already there. Putting down cardboard or newspaper leaves it all alone. Yes, the grass will die, but the dirt will remain in good shape. But this is just the beginning. Amendments to the soil and fertilizer will have to be applied. This is the start of “real” gardening.

Also, please note that cardboard and newspaper will break down and eventually weeds may begin to come up. More cardboard can be added, or mulch, but this is an ongoing process. Sheet mulching just gets you started.

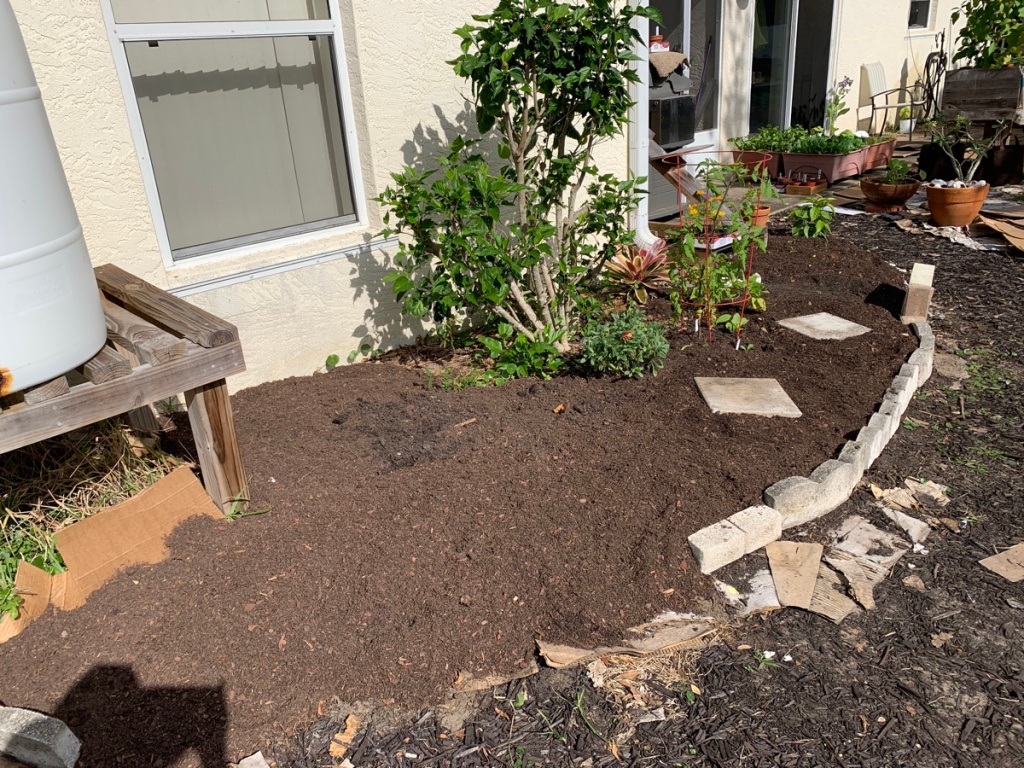
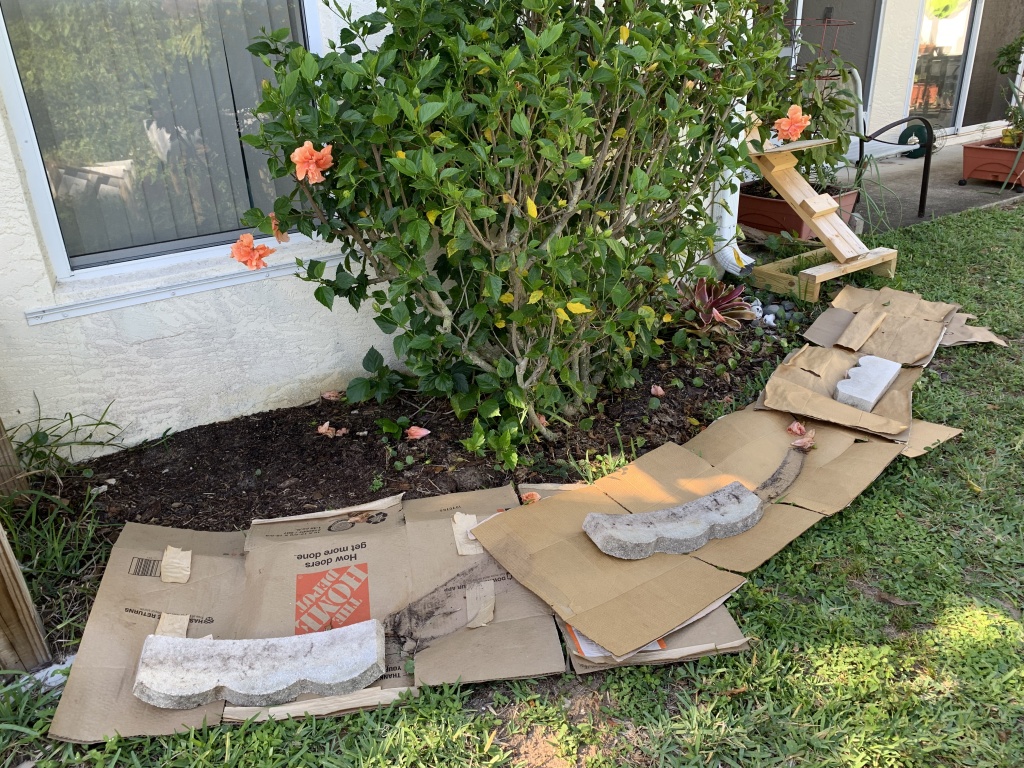
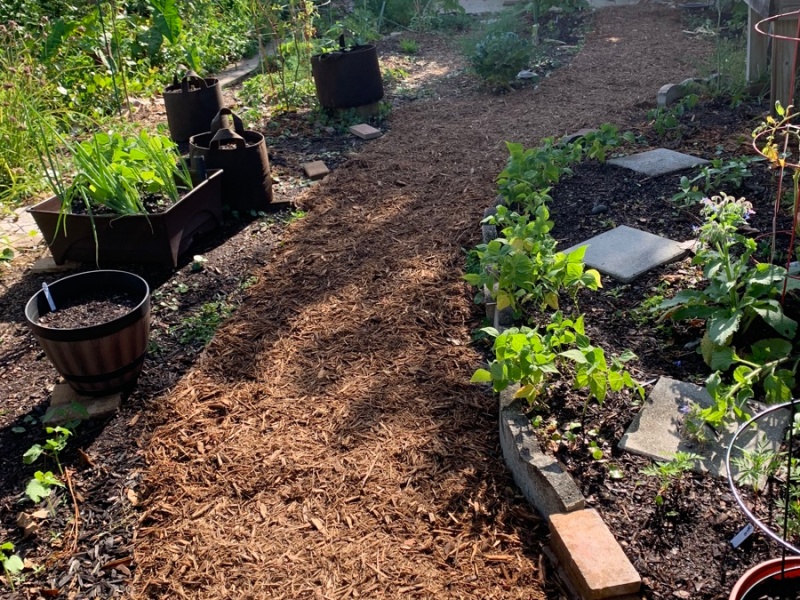
My yard, Spring to Winter using cardboard
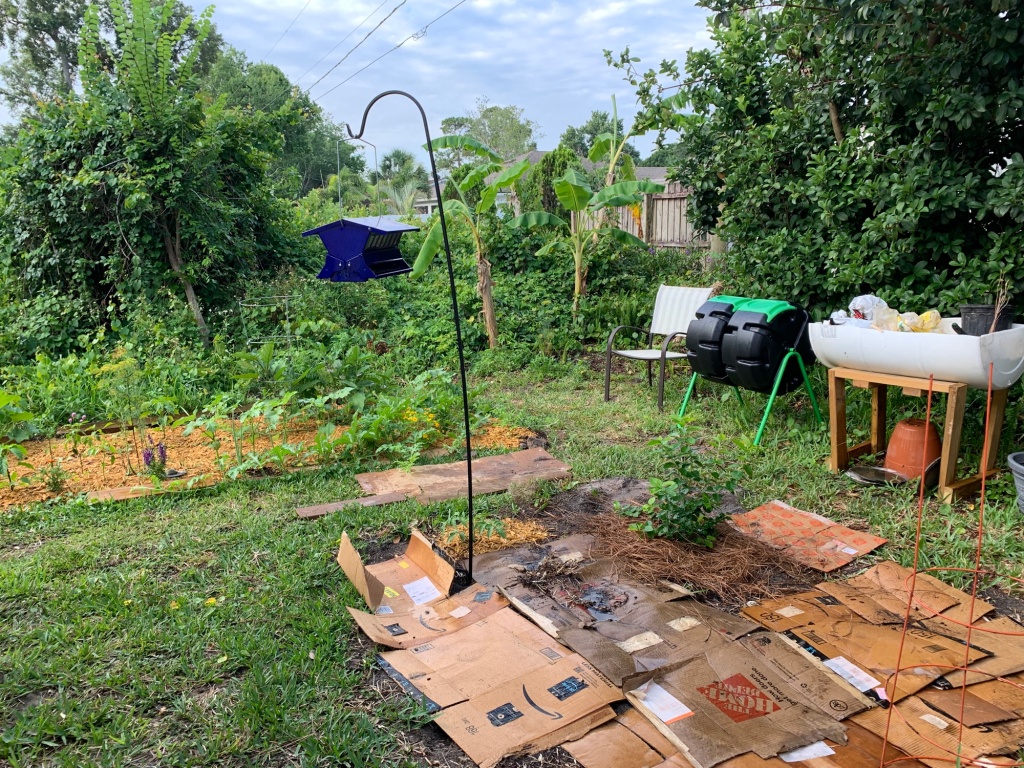
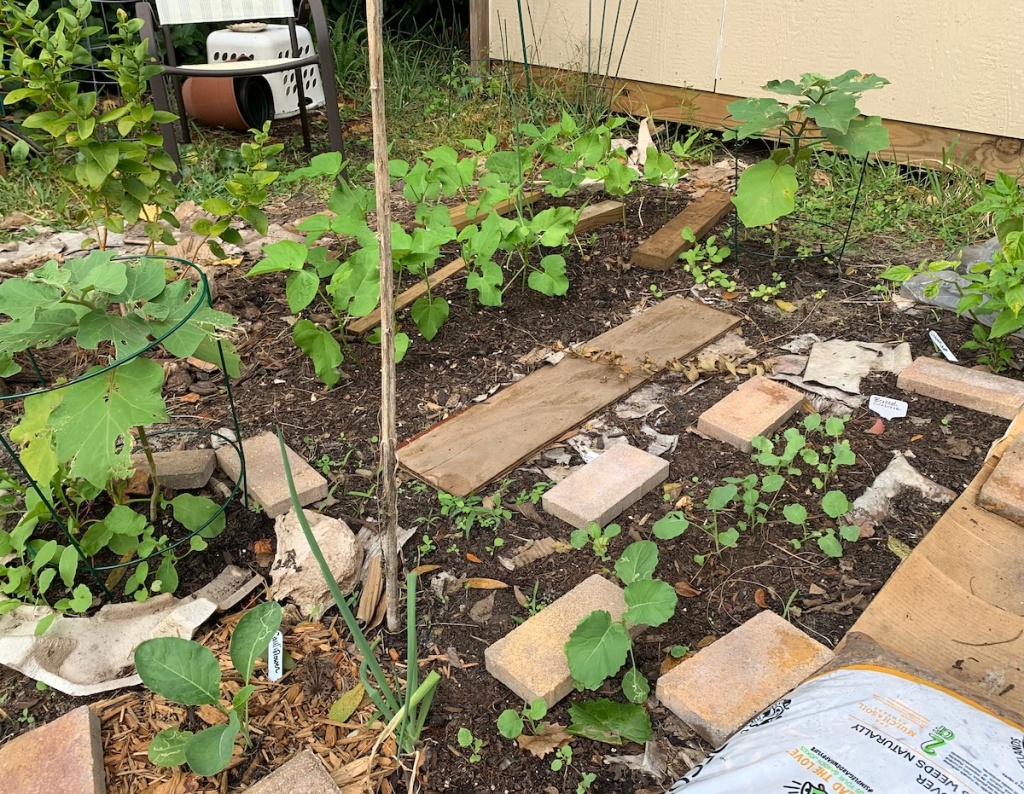
Above – Spring and summer cardboard. Below – Dirt added for garden space (Fall and winter seasons).
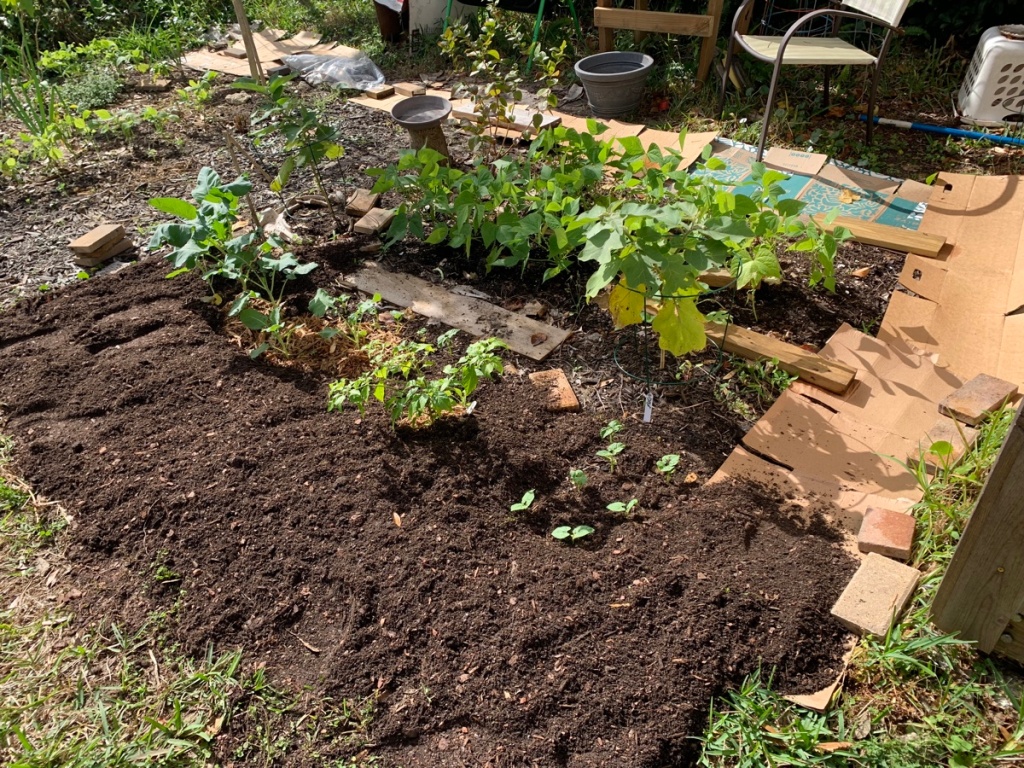
If you choose to go this route, save boxes and / or newspaper and plan to spend quite a bit more in dirt and mulch. A ground garden needs to be weeded continuously, unlike boxes and bags. Probably the biggest problems with gardening normally, in the ground, is that critters that will destroy crops. I deal with destrucion by raccoons and armadillos.

My Thoughts on Grow Boxes, Fabric Bags and Planting in the Ground

I use all of these types of gardens, but I began with a couple of grow boxes and expanded from there. I’m still expanding, saving cardboard and buying dirt and mulch. In Spring 2023 I dug up (yes, dug) an area for the first phase of my garden and I am continuing to expand.

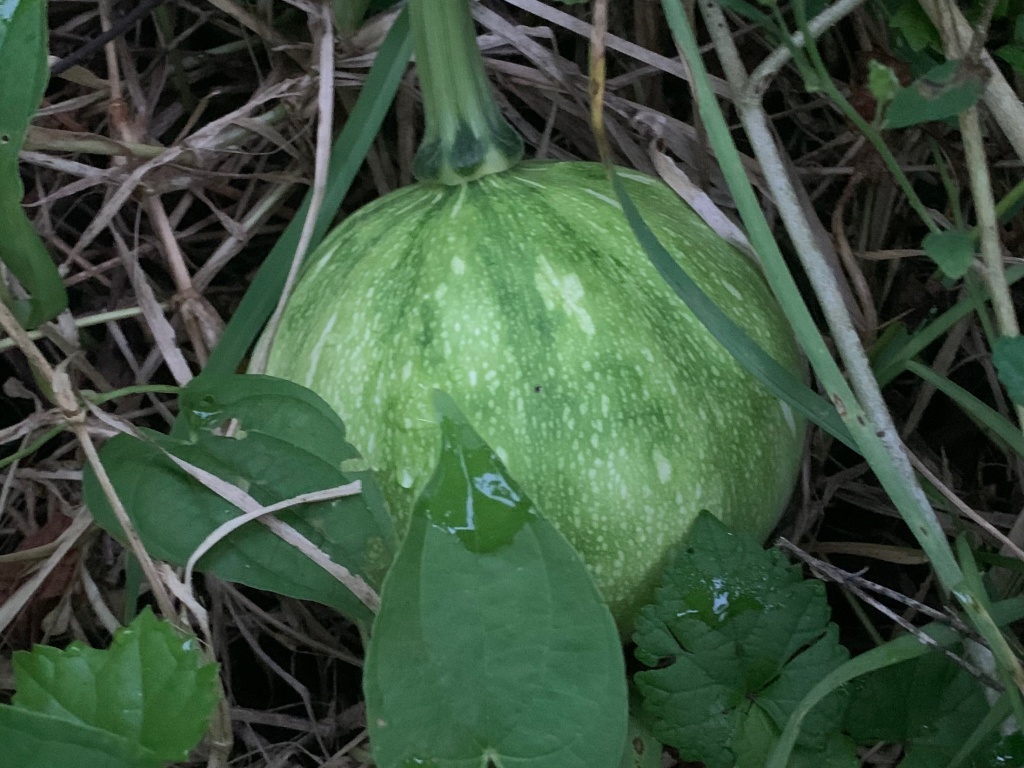
Each type of garden has its own good points. Gardening in the ground is a lot of work, but the plants have space to expand as they need. I’ve always believed that anything planted in the ground will do better than in a confined space. Some things, like watermelon and pumpkins, need to be in the ground.
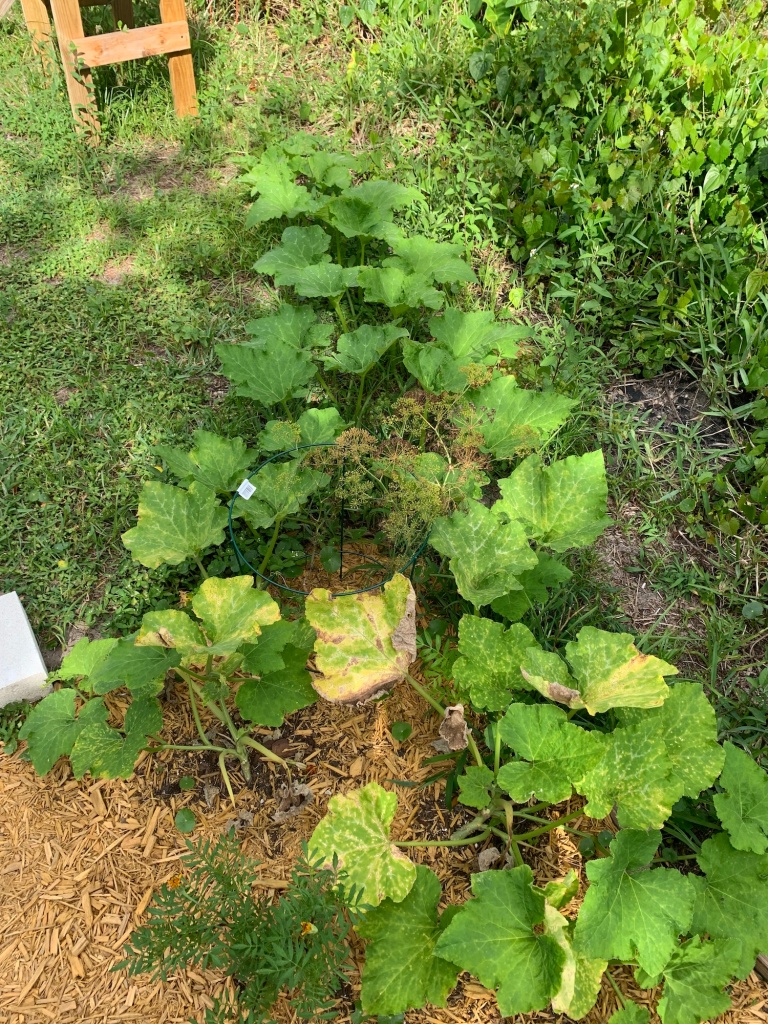
Vegetables that normally grow and die by winter don’t always do that here in zone 9b. Anything that continues to grow for years could work in a fabric bag, leaving garden space for other vegetables. My boxes are used mostly for greens now, or as nurseries to begin plants that will be moved to the garden when they grow.

Time vs. Food

I am an older woman with a job, but my kids are grown.  I have a lot of time to garden as I want, and I do it all by myself. Consider the time you have and want to spend gardening, and figure out what you want to grow (eat) the most. If it’s herbs you’d like for cooking, a grow box is the way to go. If you love fresh tomatoes, maybe a large fabric pot or two would be best (one plant per bag).

Once your garden (in whatever form you choose) is ready to plant, determine the right planting time in your area, buy seeds or seedlings, and get gardening! I wish you luck.
Keep reading my garden stories:

Redistributing The Cauliflower From the Nursery

It is not often that I buy cauliflower, but I do eat it. When I had the chance to buy seeds, I decided to try my hand at growing my own. One nice head would be just fine, but the packet has 600 seeds!

Often my grow boxes, aka little raised beds, become a nursery for seedlings. Once the babies grow, I can redistribute them to large pots or into the ground. A lot of these plants will be pulled up, or cut off, and added to the compost bin.

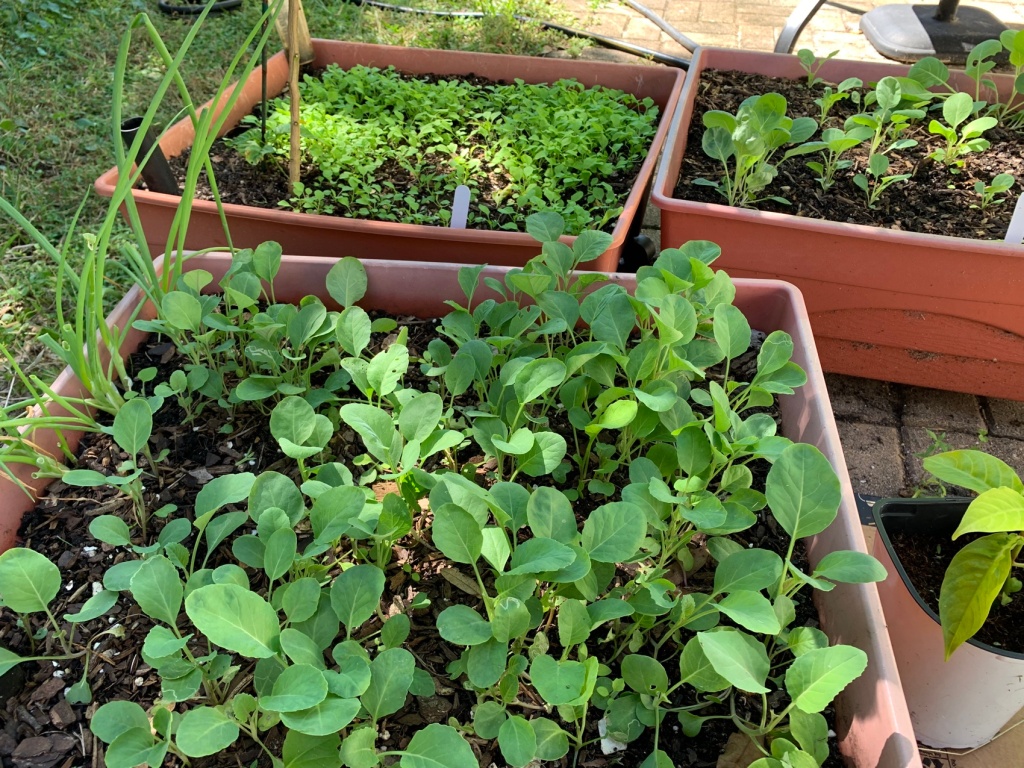
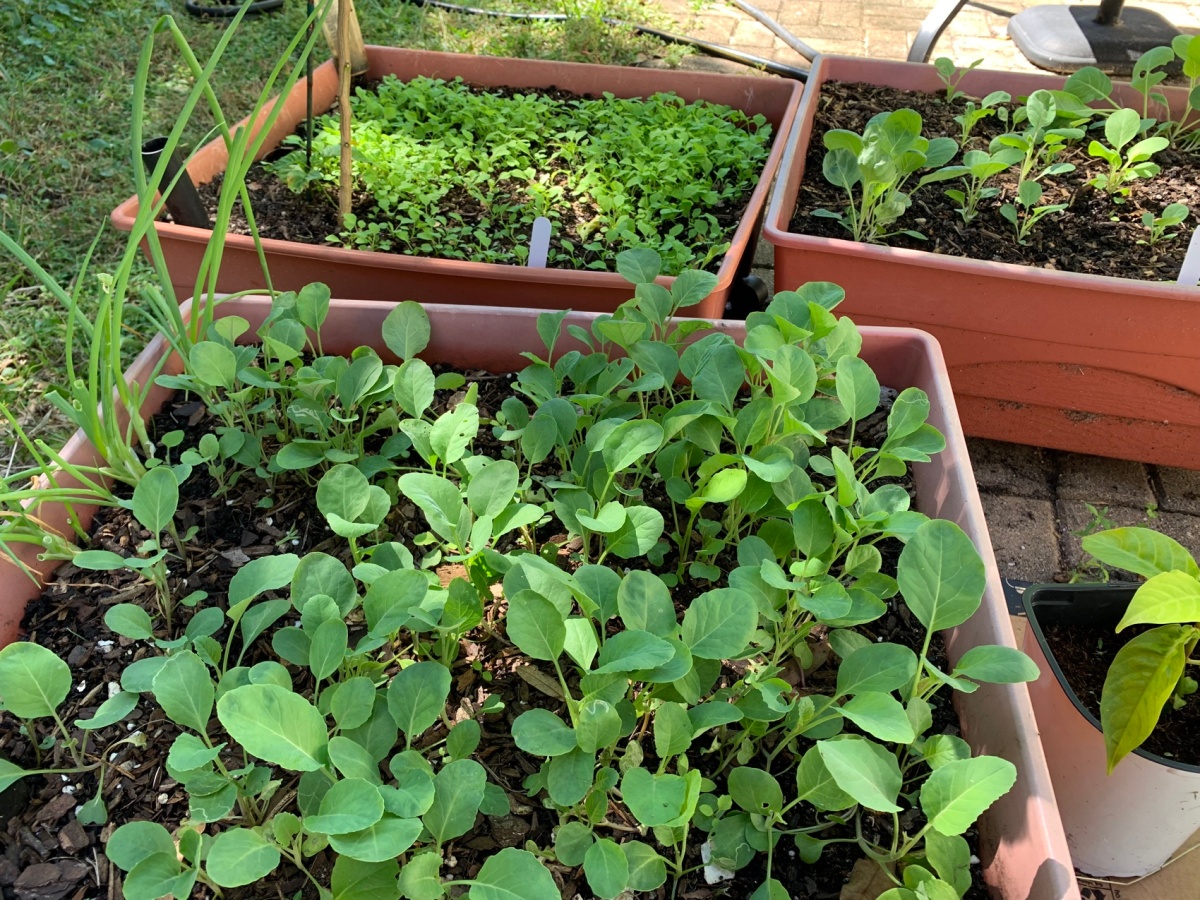
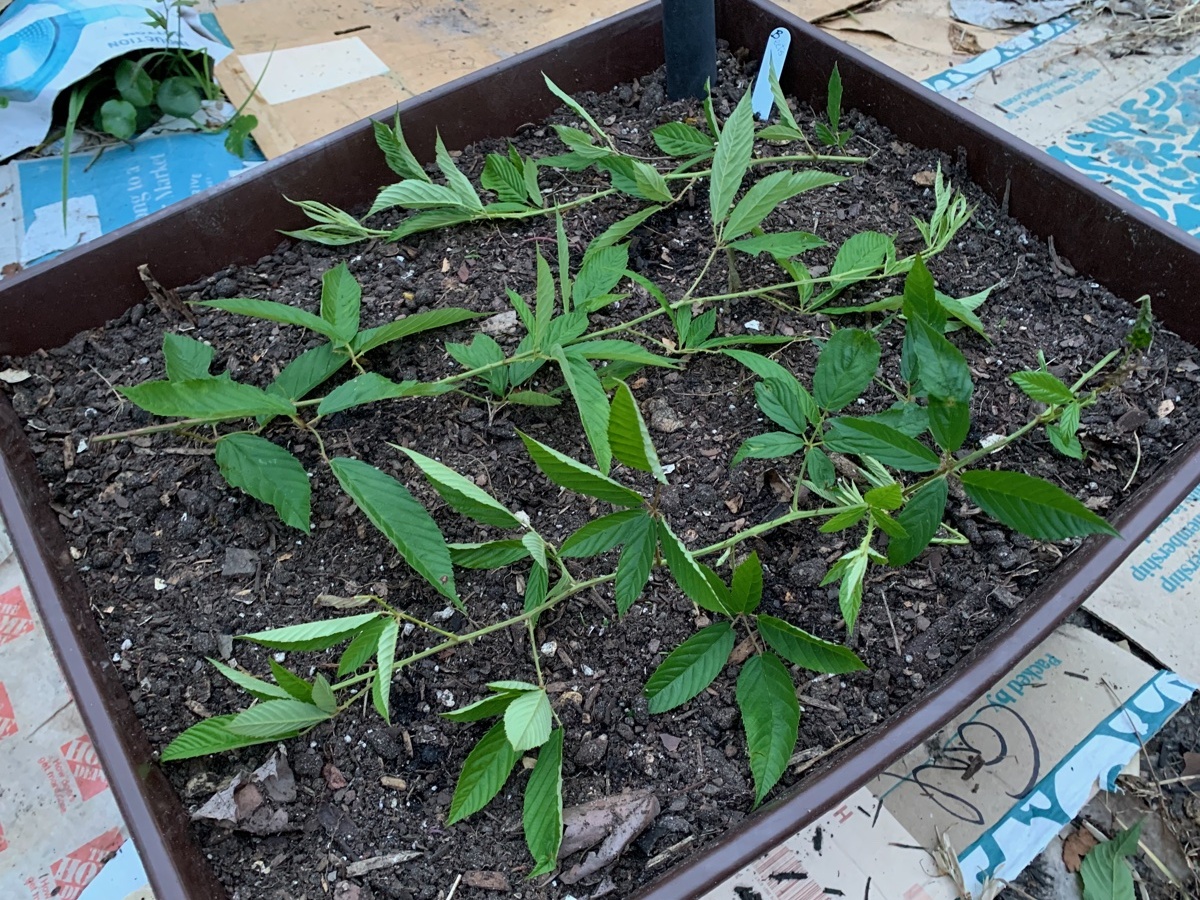
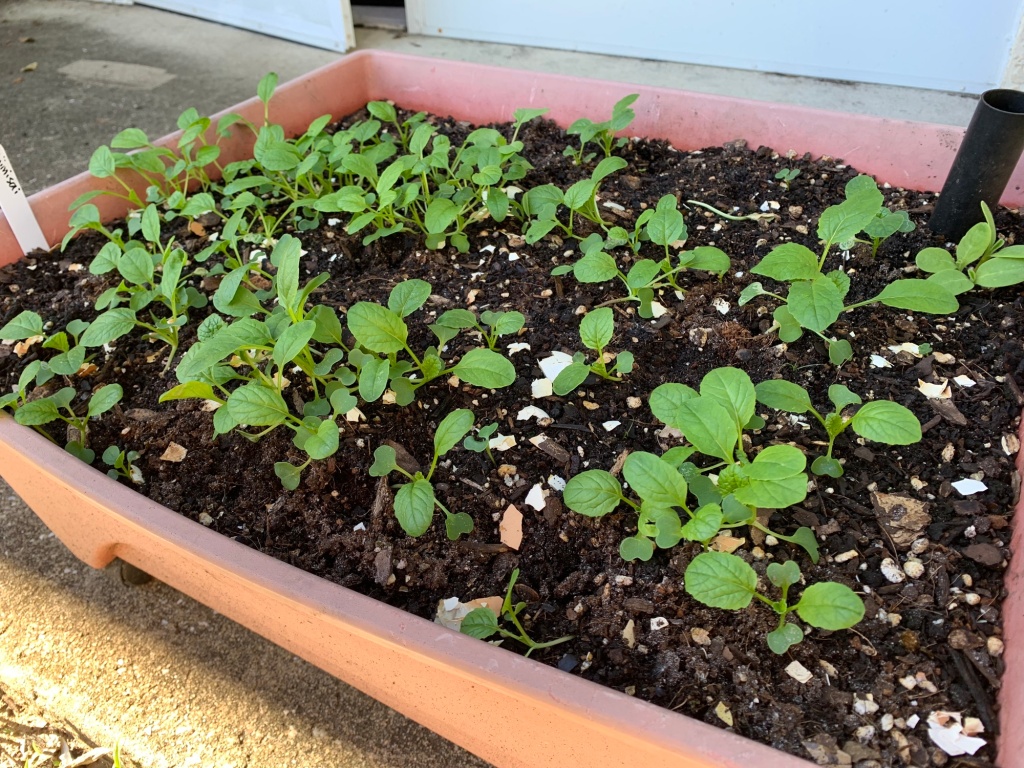
Cauliflower likes cooler weather. Here in Central Florida it can be planted in fall. I put some of my seeds into a grow box on September 12th, and by October 21st they have really sprouted! (photo below)

cauliflower seedlings
Overcrowded cauliflower seedlings – 10/21

Cauliflower plants need a foot or more of space for each plant to grow. That means I will probably grow only one plant in this box! Obviously a lot of these seedlings will have to go. A few can be put into the back garden, and I might use my grow bags for a couple.

According to the UF|IFAS Gardening Solutions “Cauliflower” page, each plant needs to be 12-18 inches apart. All of my gardening areas are small, so I will only be attempting to grow a few cauliflower plants. How much cauliflower do I need anyway?

Self-blanching cauliflower means that when the leaves grow, they will automatically wrap around the head. This is for protection from the sun. Thankfully, I had purchased Snowball Self-blanching, so I shouldn’t have to worry about that – BUT the seed packet says this, “Tie the inner leaves around the crowns as they form to blanch them white.”

Cauliflower Seedlings

After the seeds were planted in this box outside, and just beginning to grow, we had over a week of rain – lots of rain. We had 9 inches in just 2 days and it rained for over a week. I wondered if any of my newly planted seeds would survive, but they did.

Snowball cauliflower seedlings

The seed packet directions also inform me to provide fertile, well-drained soil and even moisture. I guess they can handle the water. This grow box is not getting a lot of sun. The plants will have more sun in the grow bags.

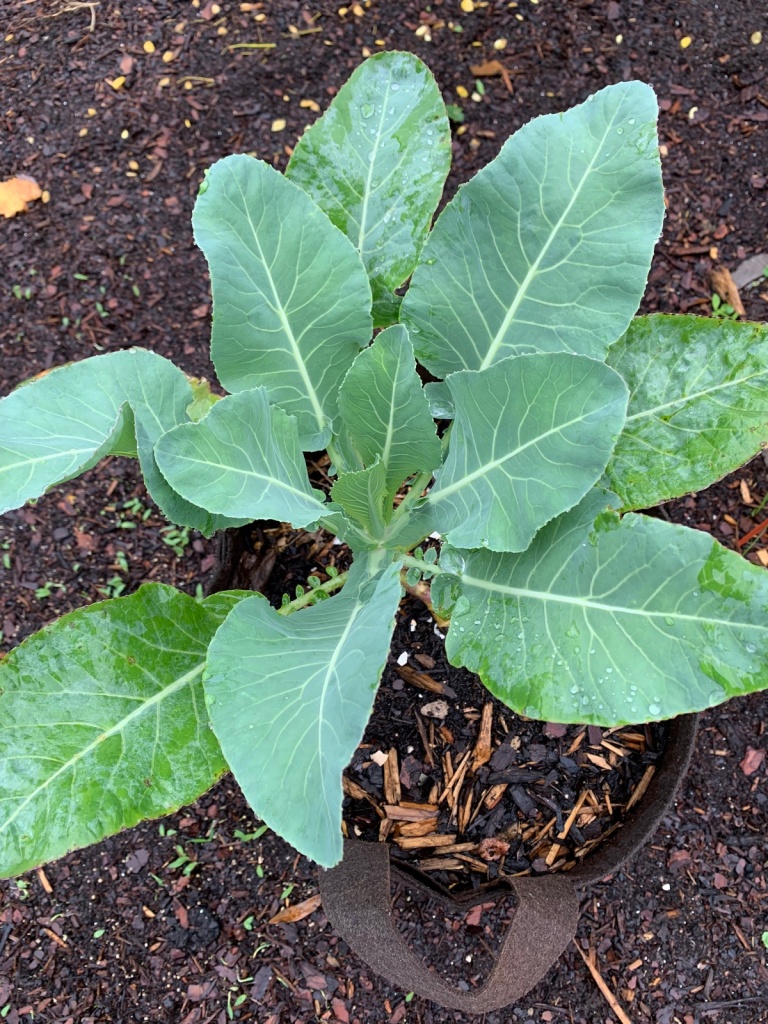
Once the sun was heading down, I dug up groups of the cauliflower seedlings, from the box, and planted the whole clump into each of two bags.

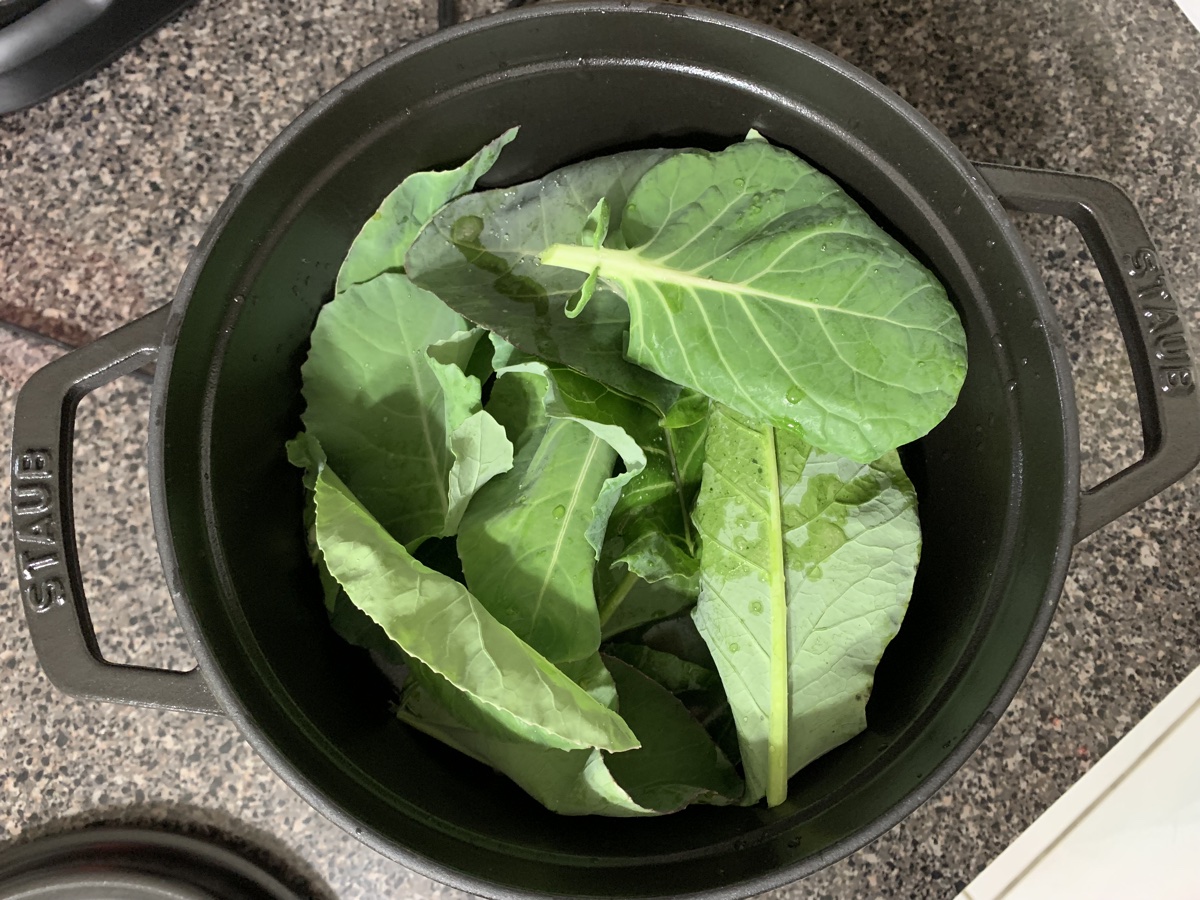
Once they began to grow, I thinned them down to one plant per bag. After months of growing, I never got an actual cauliflower head, so I began to eat the leaves! Many cruciferous vegetable leaves are edible.

Tendency to Overbuy Seeds

Little seed packages are inexpensive. Because of this, we tend to overbuy. Each seed packet usually has more than enough seeds for a small, backyard garden area.

I’ve divided my seed packets into Fall and Spring, with a few Cow Peas / Black Eyed peas to use in summer. I’m not going to try to grow much next summer.

garden seed packets planning
My garden planning area and my used (and unused) seed packets.

The exception to this packaging of seeds, is the Moringa. The seeds are large and I think there were only seven or eight in the packet. Also, other larger seeds like squash, cucumber, beans, and watermelon won’t have a lot of seeds. But, if your garden is small, one package will probably work.

grow boxes with seedlings

I am still learning what to grow in my area, so I have over-bought this past year. Seeds don’t stay viable for more than a year or two – unless the packet says differently. They can’t be kept and stored for long (as far as I know), so there is really no need to stock up without having a plan for sowing.

Saving seeds is fun too, although I am learning that it should not be done if you grow more than one type of that vegetable, or from that family. They can get cross-pollinated and the seeds won’t give you the correct vegetable next time – when you use the saved seeds to grow again. It gets complicated. If you want more info on saving seeds, read this article at Seed Savers Exchange.

I saved lettuce and arugula seeds from Spring and have recently planted those seeds. Both veggies are growing well. I have a lot of seeds left over too.

Stories

Transplanting Eggshell Seedlings to Grow Boxes

It is now mid-March and my grow boxes have been readied for vegetable seedlings. Just as I was thinking that the cold was behind us here in central Florida, we had a night in the 40’s. That will be rare from here on out.

I wouldn’t be in a huge hurry, but I know that the heat is coming. Yes, vegetables need sun and heat, but not the kind of heat Florida throws at us. I’m not even planting peas until September because I am sure it will get too hot for them now.

So here it was, a cloudy, somewhat cool, morning and I decided to get the seedlings into the grow beds.

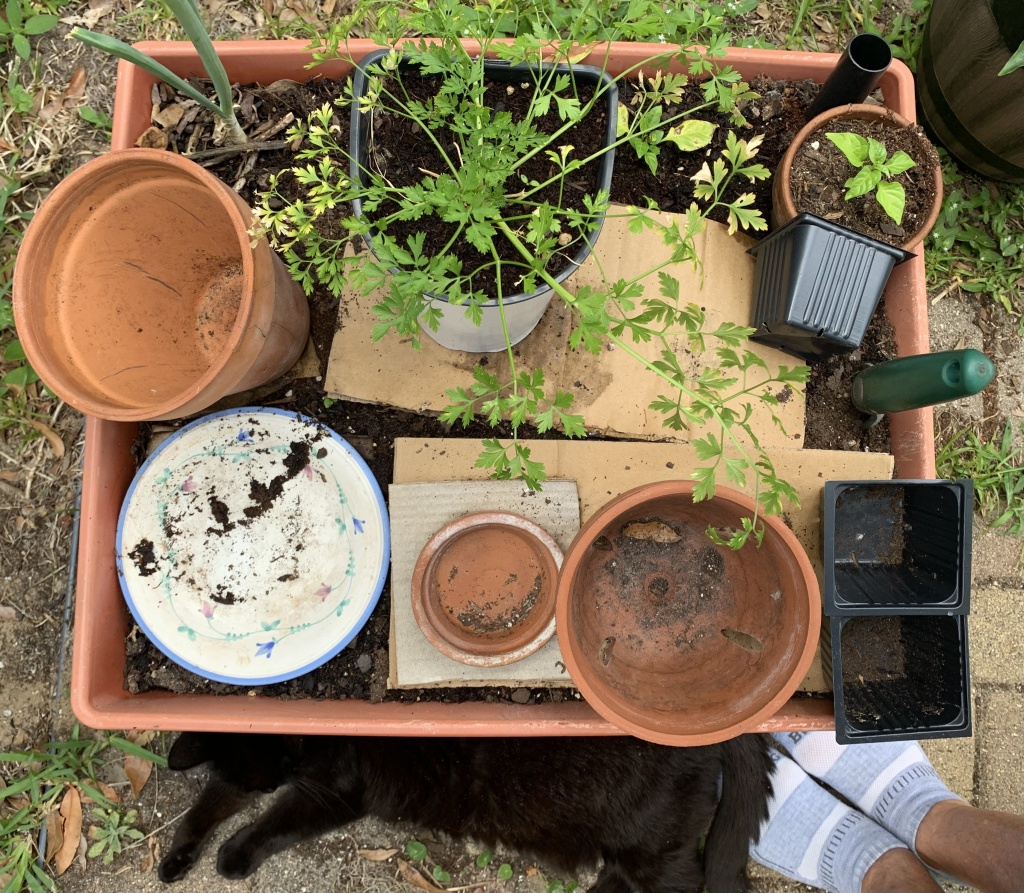
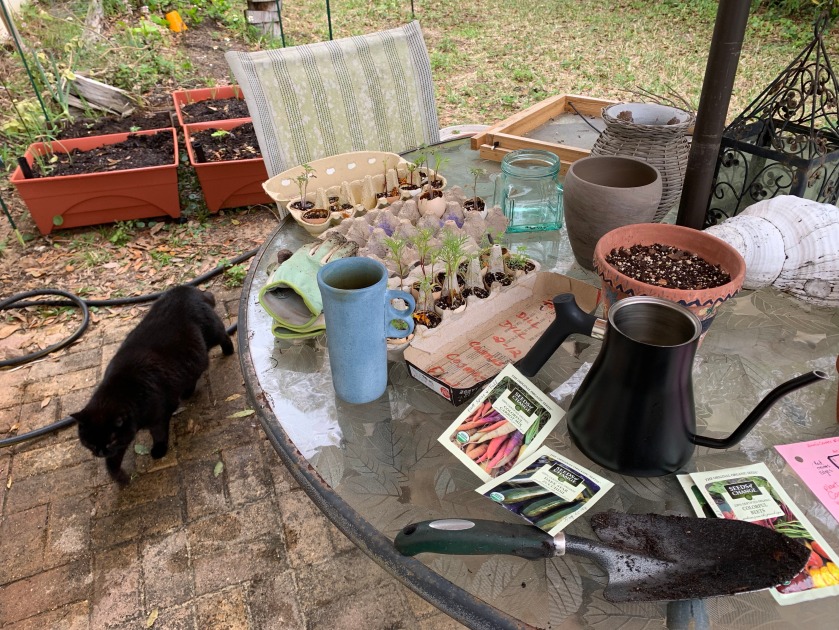
Gardening table in the backyard, with seedlings and seed packets ready to plant.

I was a little tired of setting the eggshells outside and having to check on them. Something was eating some of the plants too. The seedlings were mostly large enough for the ground. Rain was in the forecast, so it was a good day to plant.

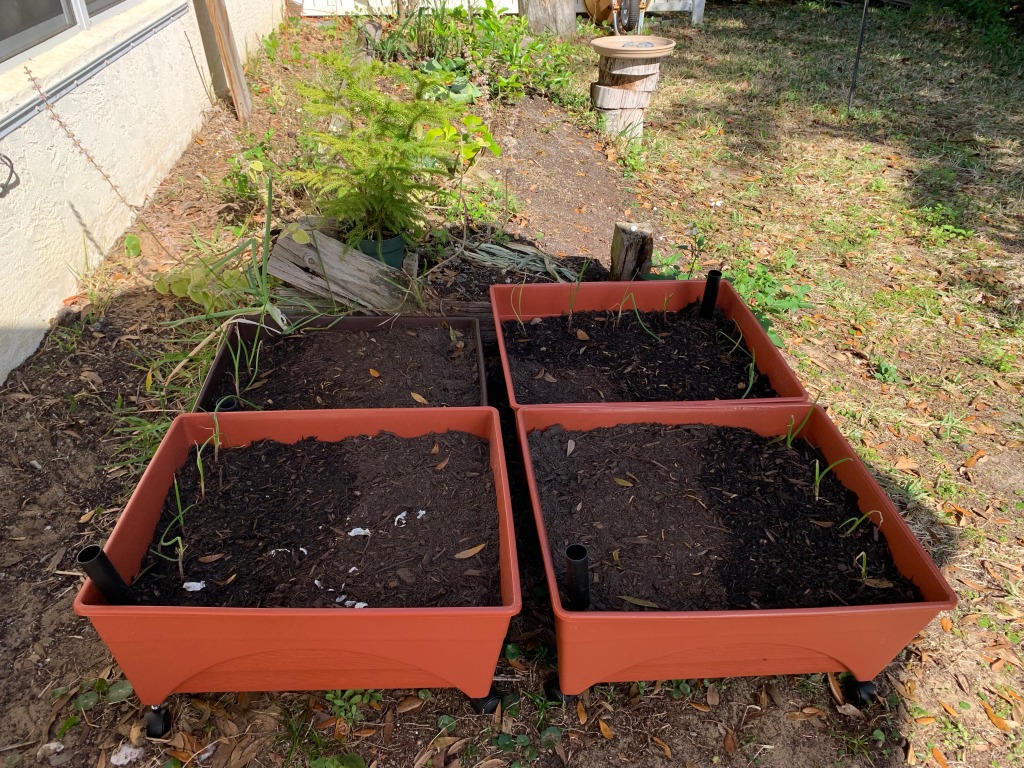
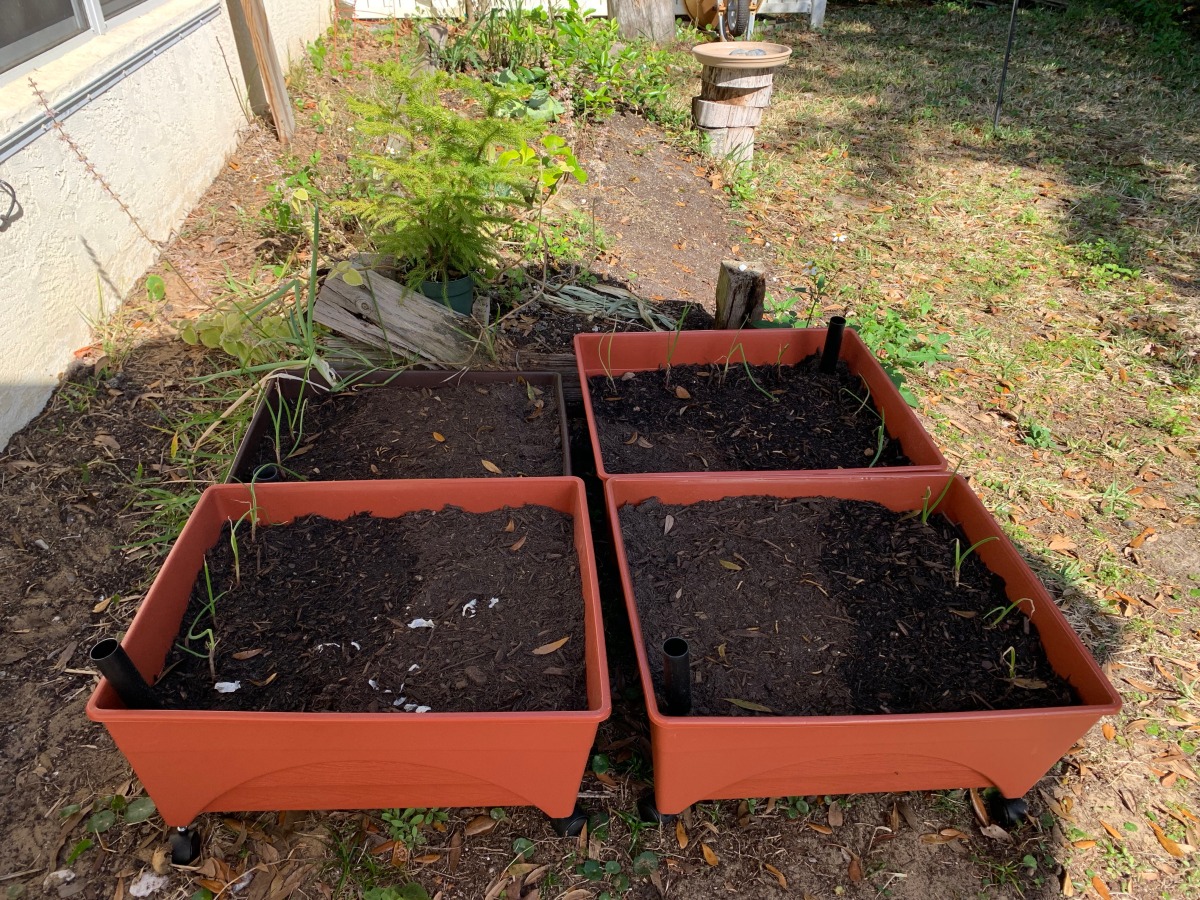
You can see my three new garden boxes in the background. I also have an old grow box to make four total in the group. My old raised bed is in the background. The wood has rotted and it is no long usable. We’ve switched to using smaller garden boxes.

The grow boxes I used were similar to the one below (which is an affiliate link to Amazon), but I bought mine at Home Depot. I bought them early before the growing season really began, just in case they were hard to find.

The box is called self-watering because you pour the water into a tube which sticks up in one corner. A mesh layer keeps the dirt up and away from the bottom and the idea is for the water to soak up through into the dirt. I also water from the top because anything with shallow roots will need that.

Really, I treat the box as a regular garden and don’t count on the self-watering part. Florida gardening is very different from other places.

Transplanting the Seedlings

I spent some time researching and studying where my little seedlings would go. Each box is quite small and will not hold a lot of plants. Things can’t be too crowded.

My tomato seedlings (2 only) went into the old box in the back. Planting tomatoes is easy because they can be planted deep. Some people plant them on their sides too. What this does is cause more roots to grow from the stem to create a (hopefully) better plant.

Cherry Tomatoes

I planted both cherry tomatoes deep in dirt up to the top leaves. I added cosmos plants, basil and a marigold.

Two cherry tomato plants
Cherry tomato plants in grow bed

Zucchini

One garden bed has zucchini seeds. I put three seeds in a mound in the center. I will probably keep only the best one. I planted little marigolds and cosmos on one side. The red onion plants were put in a few weeks ago when the dirt was added.

Zucchini seeds planted
Will be zucchini

Cucumbers

Two cucumber plants are the main items in this bed. Parsley, cosmos and dill are also in this garden. I don’t have much luck with dill and the plants don’t look all that great. More onions line one edge.

Cucumber garden

Carrots and Beets

This garden has four rows of seeds. Two rows of carrots – which I never have much luck with, and two rows of beets, which I’ve never grown. This is a bit of a trial and error box for me. One little parsley plant was also added and there are onions along one side.

Like the zucchini, I decided to use seeds here and not try to start root vegetables in eggshells. There is no reason to.

Carrot and beet seeds planted in grow box

Transplanting from Eggshells

I wrote a previous post about growing seeds in eggshells. This year was the first time I attempted this. Some plants did better than others and altogether I believe it was a good thing to do. I was able to keep a close eye on the little plants making sure they had sun and water and could be indoors during the cold.

As far as transplanting goes, I carefully broke most of the eggshell away from the roots and then set the plant into the dirt. The broken shell can stay in the garden, but I wanted to be sure the little roots would be able to spread.

This was pretty easy to do. You can see all the roots on this cucumber – he was ready to be set free!

Cucumber seedlings going into the ground.

The Garden is Planted! March 15th

Once all my little seedlings had a new outdoor home, I put up some posts (also bought at Home Depot) and wrapped the whole thing with some mesh I had. I only did this to keep my cats out of the garden! When they see fresh dirt, they think it’s an outdoor litter box.

I draped some Spanish moss, picked up in the yard, all around the mesh so hopefully birds won’t get entangled.

Four planting boxes with seedlings

I will take down this mesh fence once the plants get larger and the cats are no longer interested. It’s a good way to keep the raccoons out too, I hope.