How to Begin Growing Vegetables in Florida

Some things I did and places I bought seeds to get my Florida vegetable garden going.

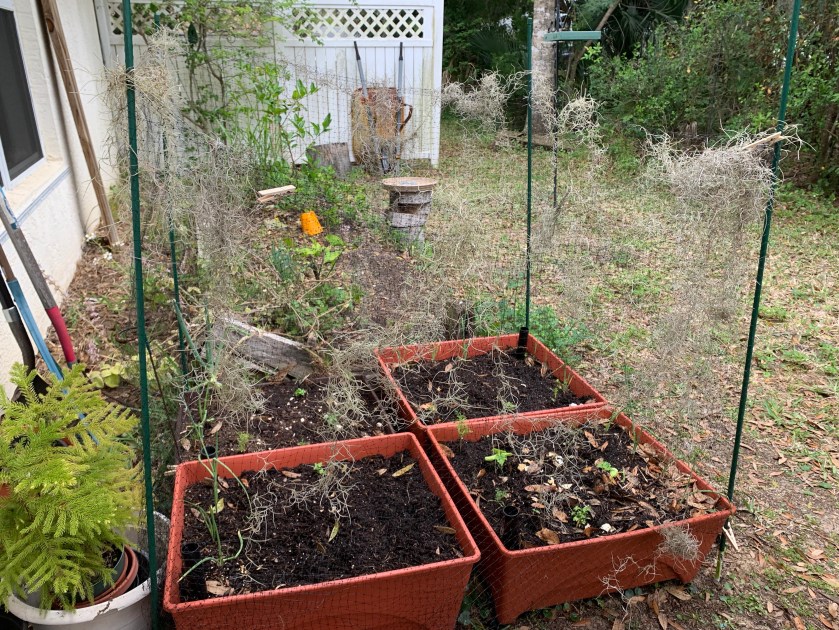
Although I have lived in Florida for most of my life, I have not done much growing of vegetables. Now, I am interested, and have begun to slowly add garden beds to the backyard. But how to know what will grow here and where to find the plants and seeds?

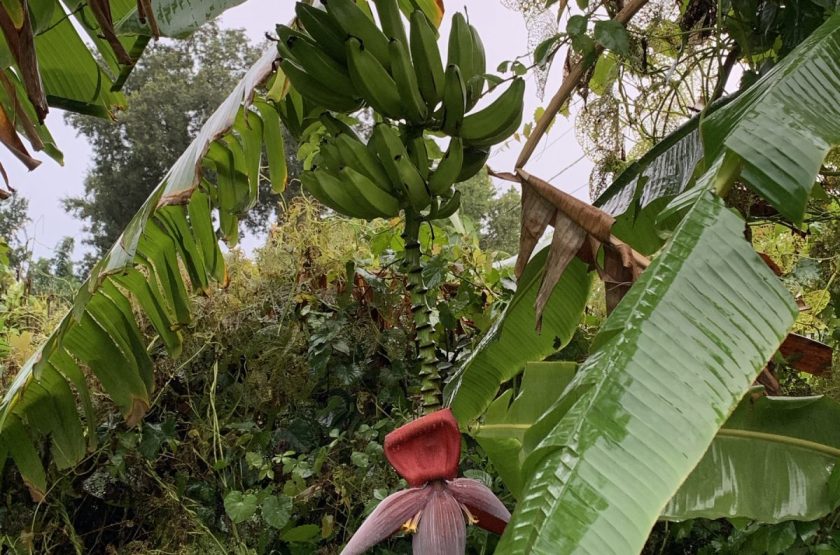
I always assumed that nothing would grow in a Florida summer. But, if you look around, the citrus and banana trees do just fine. Some vegetables are specifically known as being southern, such as collard greens and okra.

Bunch of bananas hanging from a tree in the yard
Bananas in my backyard

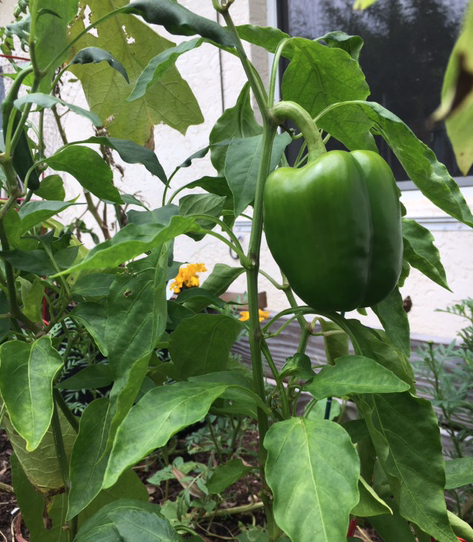
There is a definite advantage to having a very long growing season here in Florida. In New Hampshire my bell pepper plants would just be looking pretty good when suddenly it was cold again.

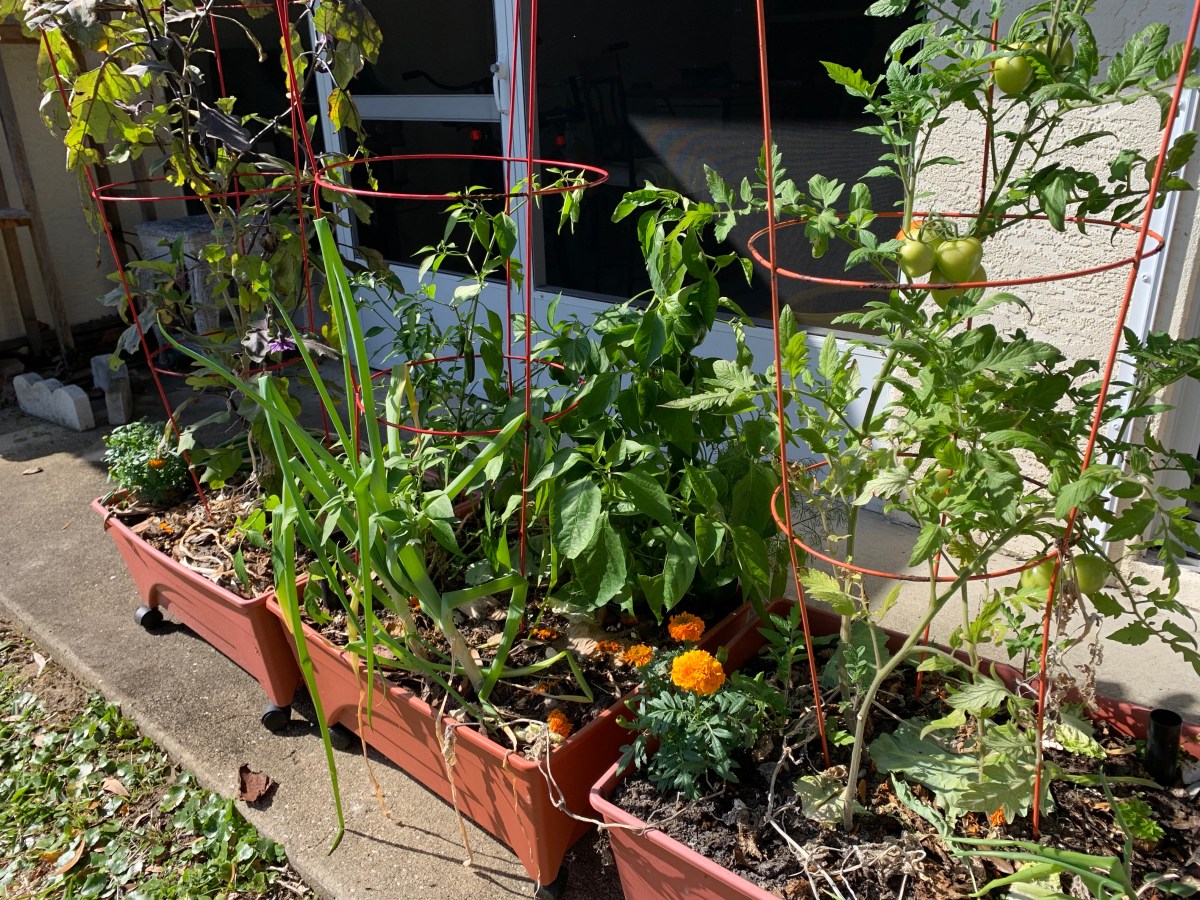
Peppers like it hot, and I’ve had good luck growing some types of peppers (jalapeƱo, Serano, and bell) in my southern location. If the winter is not too cold, they will come back and produce more peppers the following season.

green pepper
Green Bell Pepper

Begin the Search

It’s tough to know what to plant and when, but the University of Florida has a collection of excellent advice for the southern gardener. This page, for central Florida gardening, is filled with flower, herb, lawn and vegetable advice.

Narrow it down by viewing the vegetable planting guide, and you will be ready with a list to use when seed shopping. Decide which foods you and your family will eat and see how to go about making it happen.

When I view the lists of warm and cool weather crops for Florida, I do disagree with some of the vegetables listed. This means that maybe each gardener will have different degrees of luck with certain crops.

Maybe I have planted at the wrong time, and maybe I need to try again and take notes. But at least these vegetables have a chance of growing and are worth a try. I have not had luck with carrots or beets.

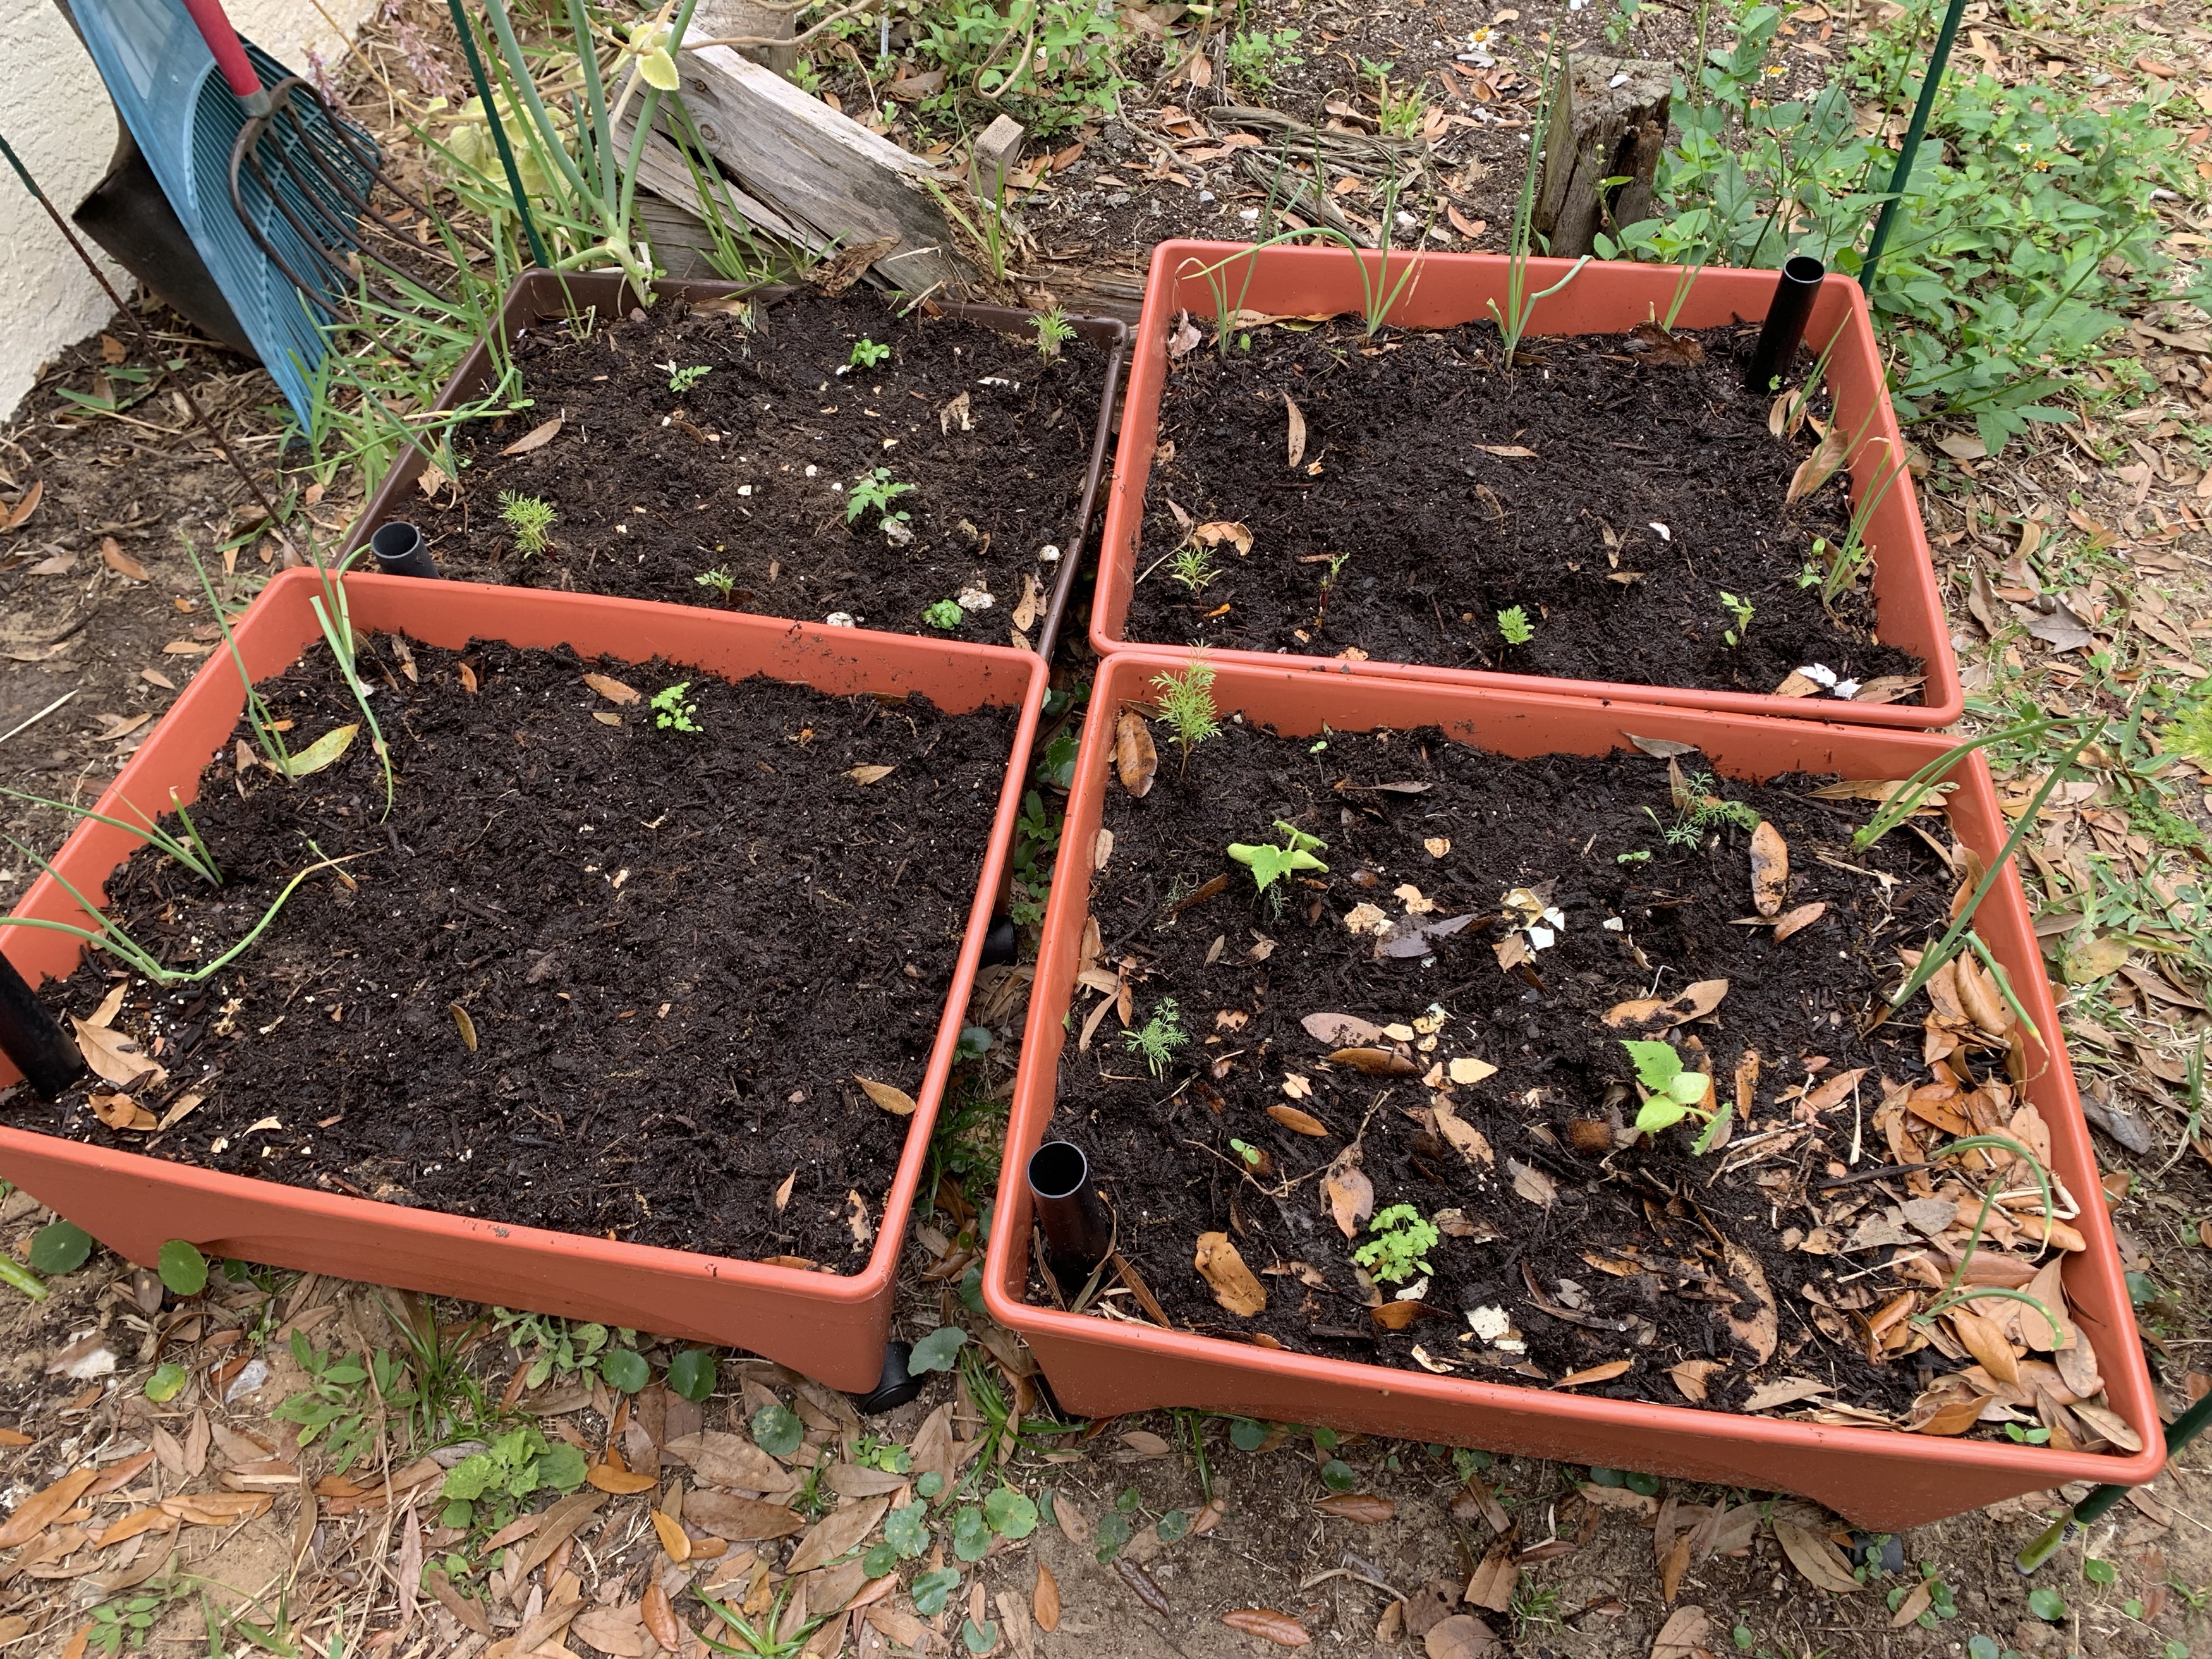
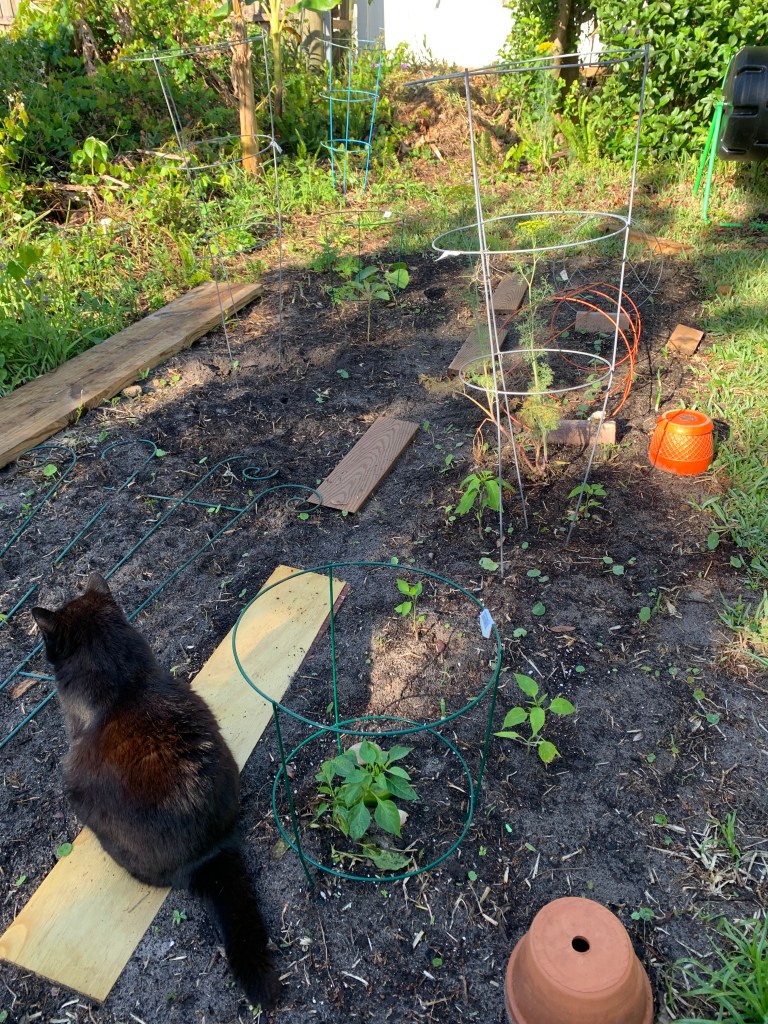
If broccoli is a favorite with southern gardeners, I will put that on my “cool weather crops” list. Now I have expanded to have a ground garden where I can rotate “warm” and “cool” crops. The only thing is… many vegetables continue to grow year round – the growing season does not really end. I have had eggplant plants and pepper plants grow for years! So one garden may not be enough space.

backyard Florida garden plot planted with seeds and seedlings
Peppers, dill and eggplant growing in the ground

Where to Buy the Seeds and Plants For This Climate

If you live near a nursery that sells plants that will grow locally, you are lucky! Big box stores like Home Depot don’t seem to specialize in selling local plants. I’d rather give my money to a small business but I can’t seem to find the plants and seeds I want at a location nearby.

The Farmer’s Market and flea market are places I plan to scour further. Sometimes local farmers will have plants for sale.

Shopping for Seeds Online

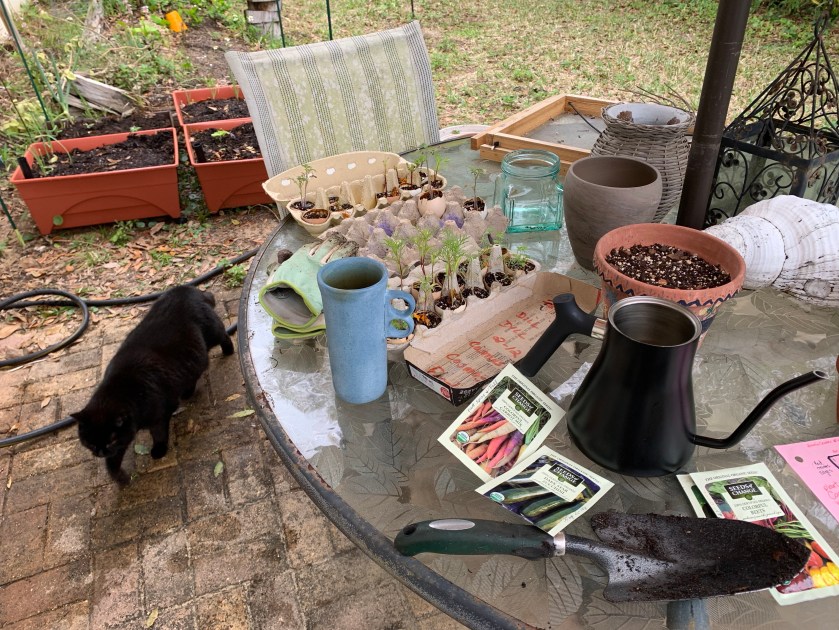
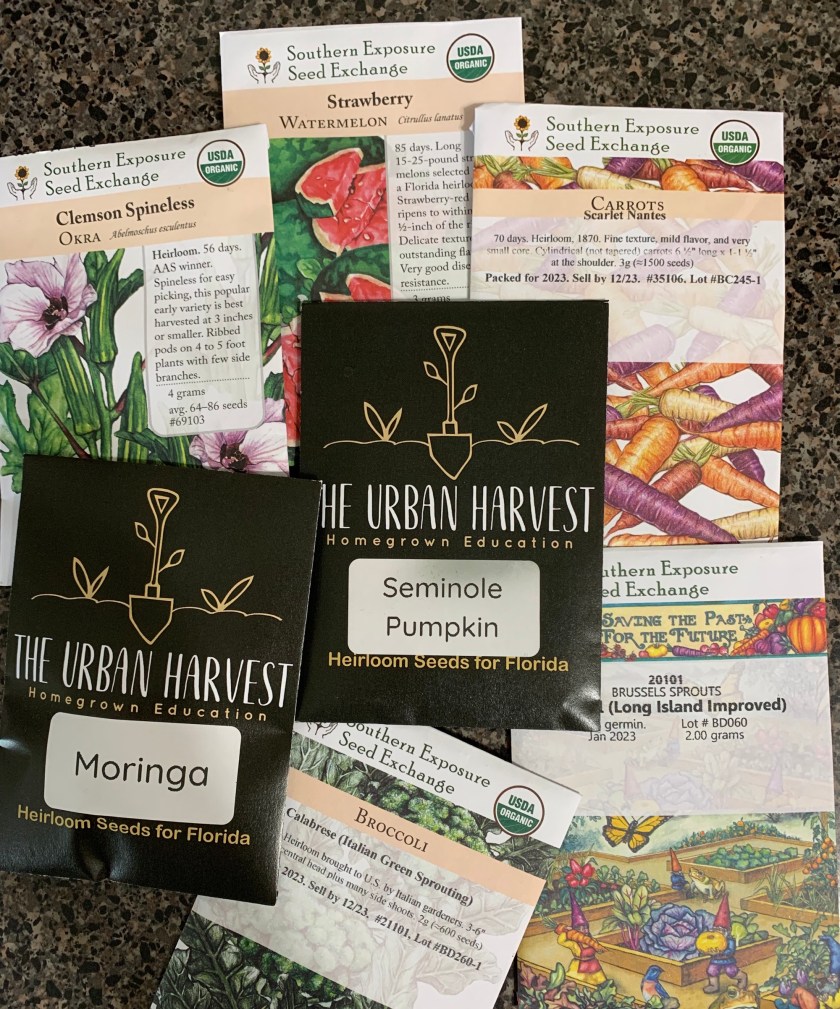
First, I bought seeds from The Urban Harvest, which is a central (west coast) based seed and plant seller – they also have many YouTube videos. I have had good luck with the seeds germinating, but they were sold out of many items I would have liked. If you live near them in St. Pete (I believe) they have a garden center where you can pick up live seedlings.

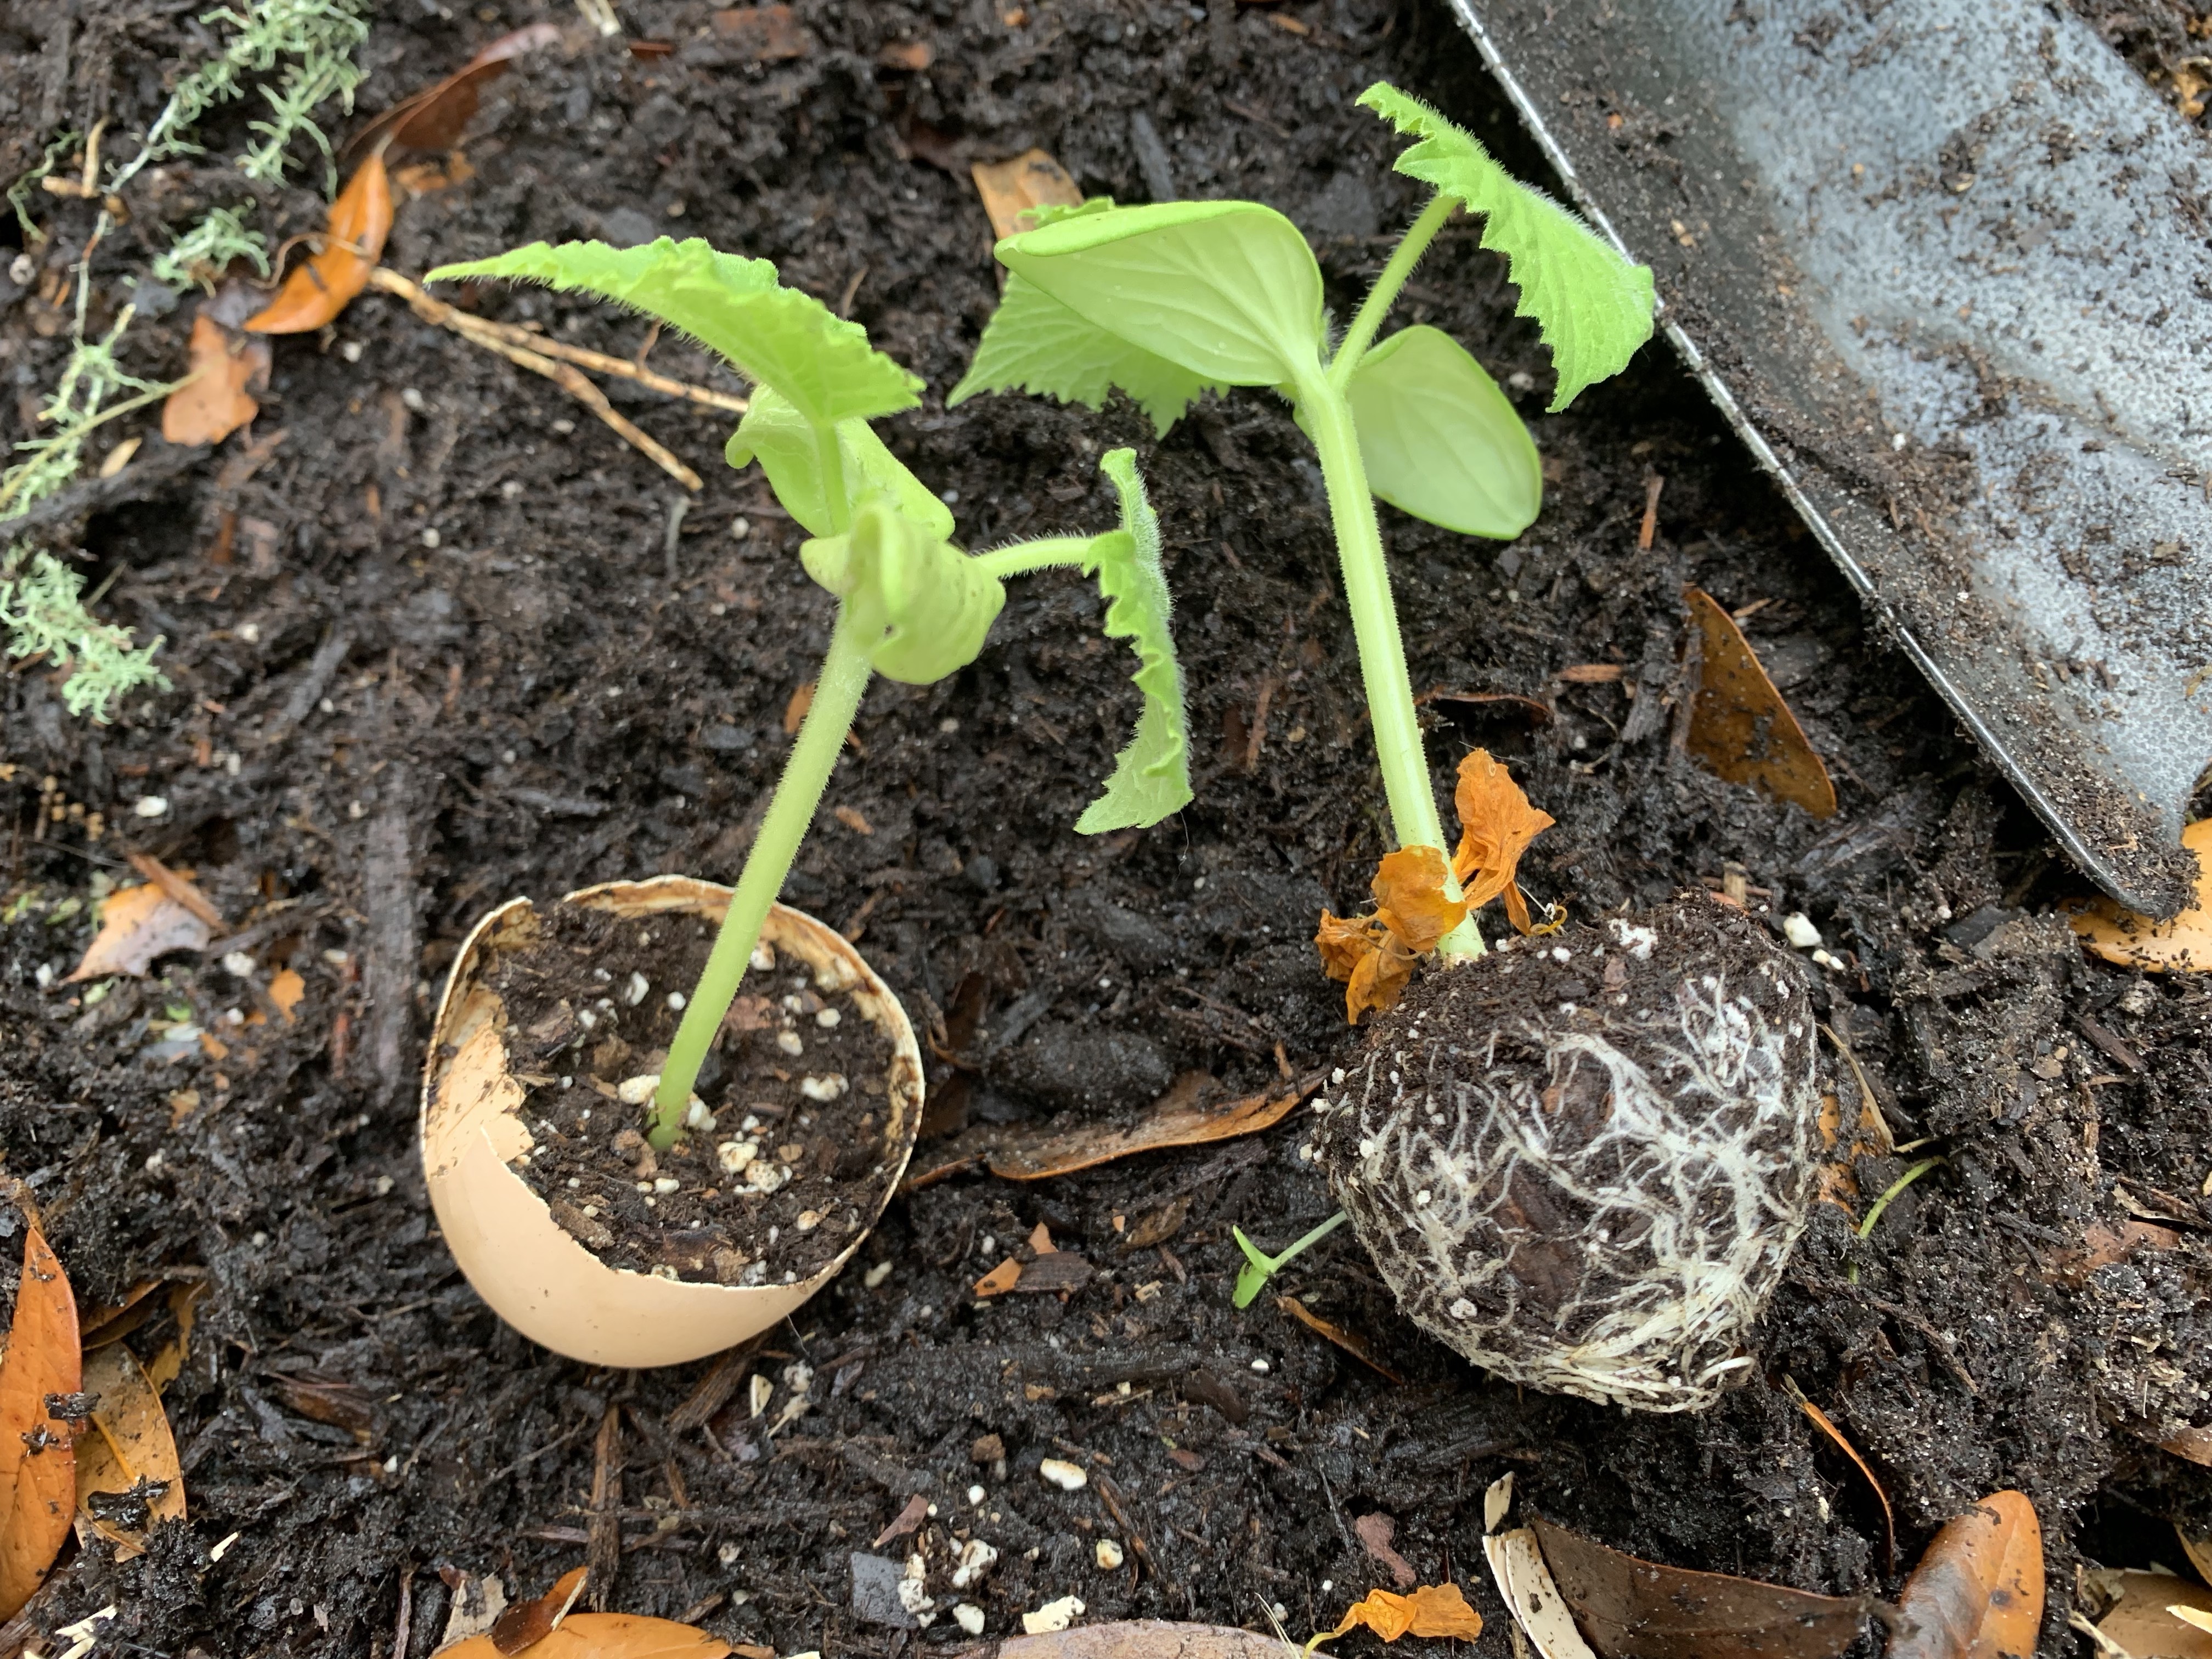
Some of the seeds I got will be planted in Fall, but I did plant the pumpkin, okra, and Moringa this Spring. I don’t know what to expect from okra, but the UF site has a whole page about okra.

seed packets from the Urban Harvest, a florida based company
Seeds from Urban Harvest

So, I continued to look online. Johnny’s Selected Seeds had a nice variety, including heirloom and organic vegetable varieties, but they wanted $11.50 for shipping just a few packets of seeds! I moved on.

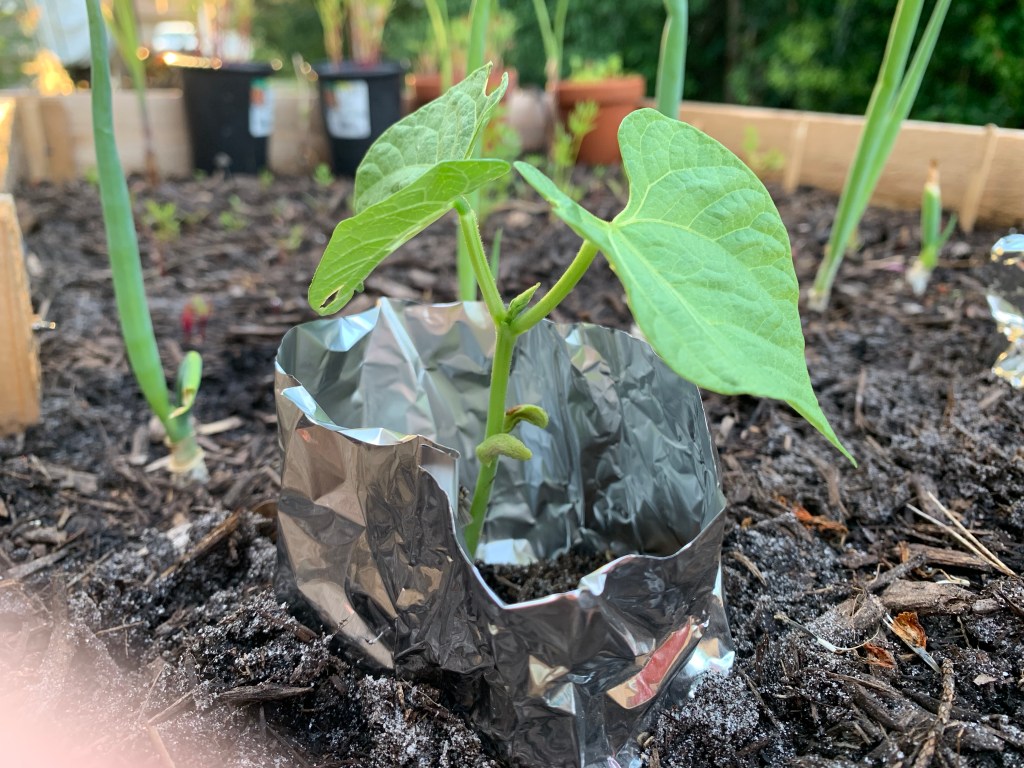
Mary’s Heirloom Seeds has a good selection of beans especially, but the seed potatoes were sold out. I liked this site, but had already purchased some seeds from the Eden Brothers site.

I found mimosa seeds (a flowering ground cover) at the Eden Brothers, and it is something I had been looking for. Then I found more flower seeds and a few veggies and placed my order. This time shipping was only $3.98 which is much more reasonable.

Most seed sellers do not specify what does well in a sub-tropical climate, so have that list of specific, Florida friendly crops, ready before you shop.

If you are a Floridian and have a favorite online place to buy seeds, please let me know! I also appreciate any helpful advice when it comes to gardening in our climate.

In Closing…

Check for vegetables and herbs that will do well in our area / your area of Florida. Decide what you have room for, and plant what you want to eat! Search for a place that can supply the seeds. Local nurseries, farmer’s markets, or online. Maybe a neighbor is also a grower and would share some seeds with you!

Remember that most seed packets are packed for a specific year, so don’t load up on seeds that you can’t use within the year.

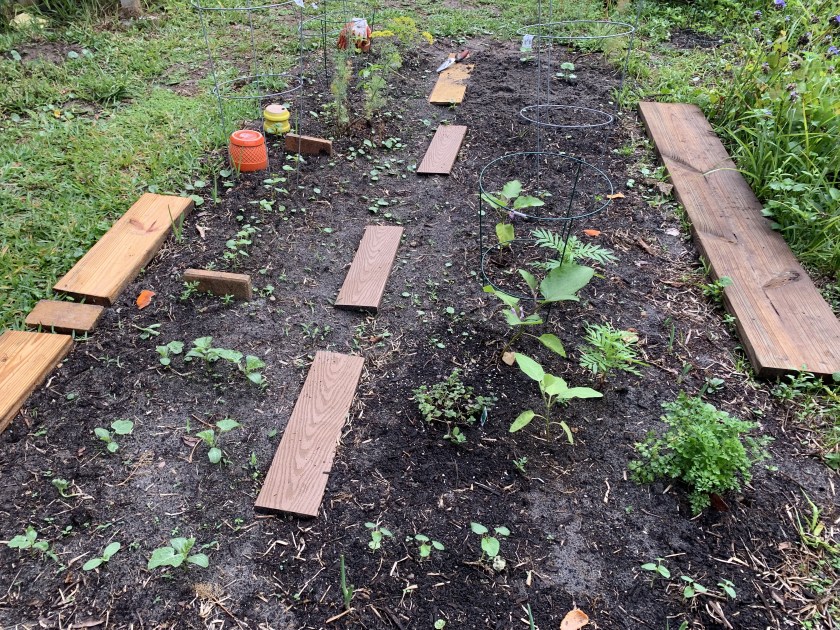
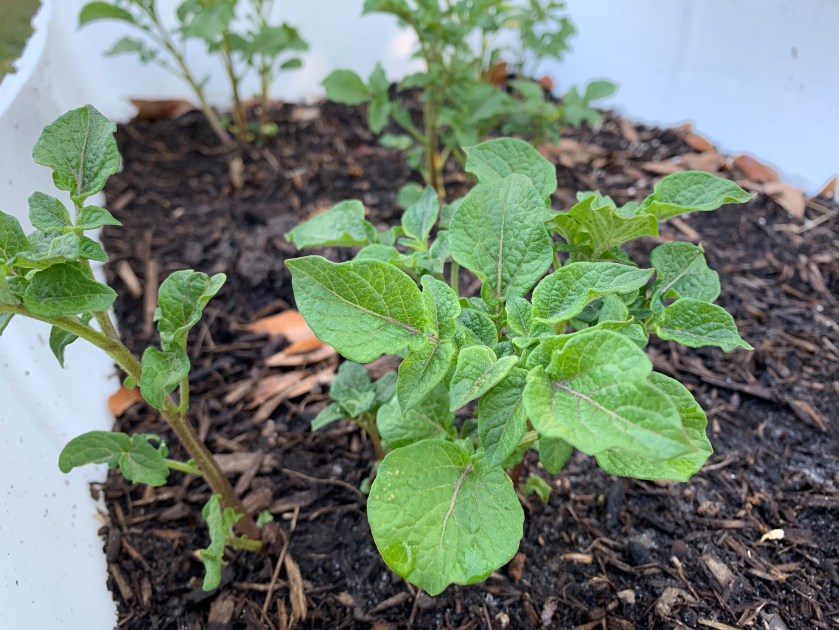
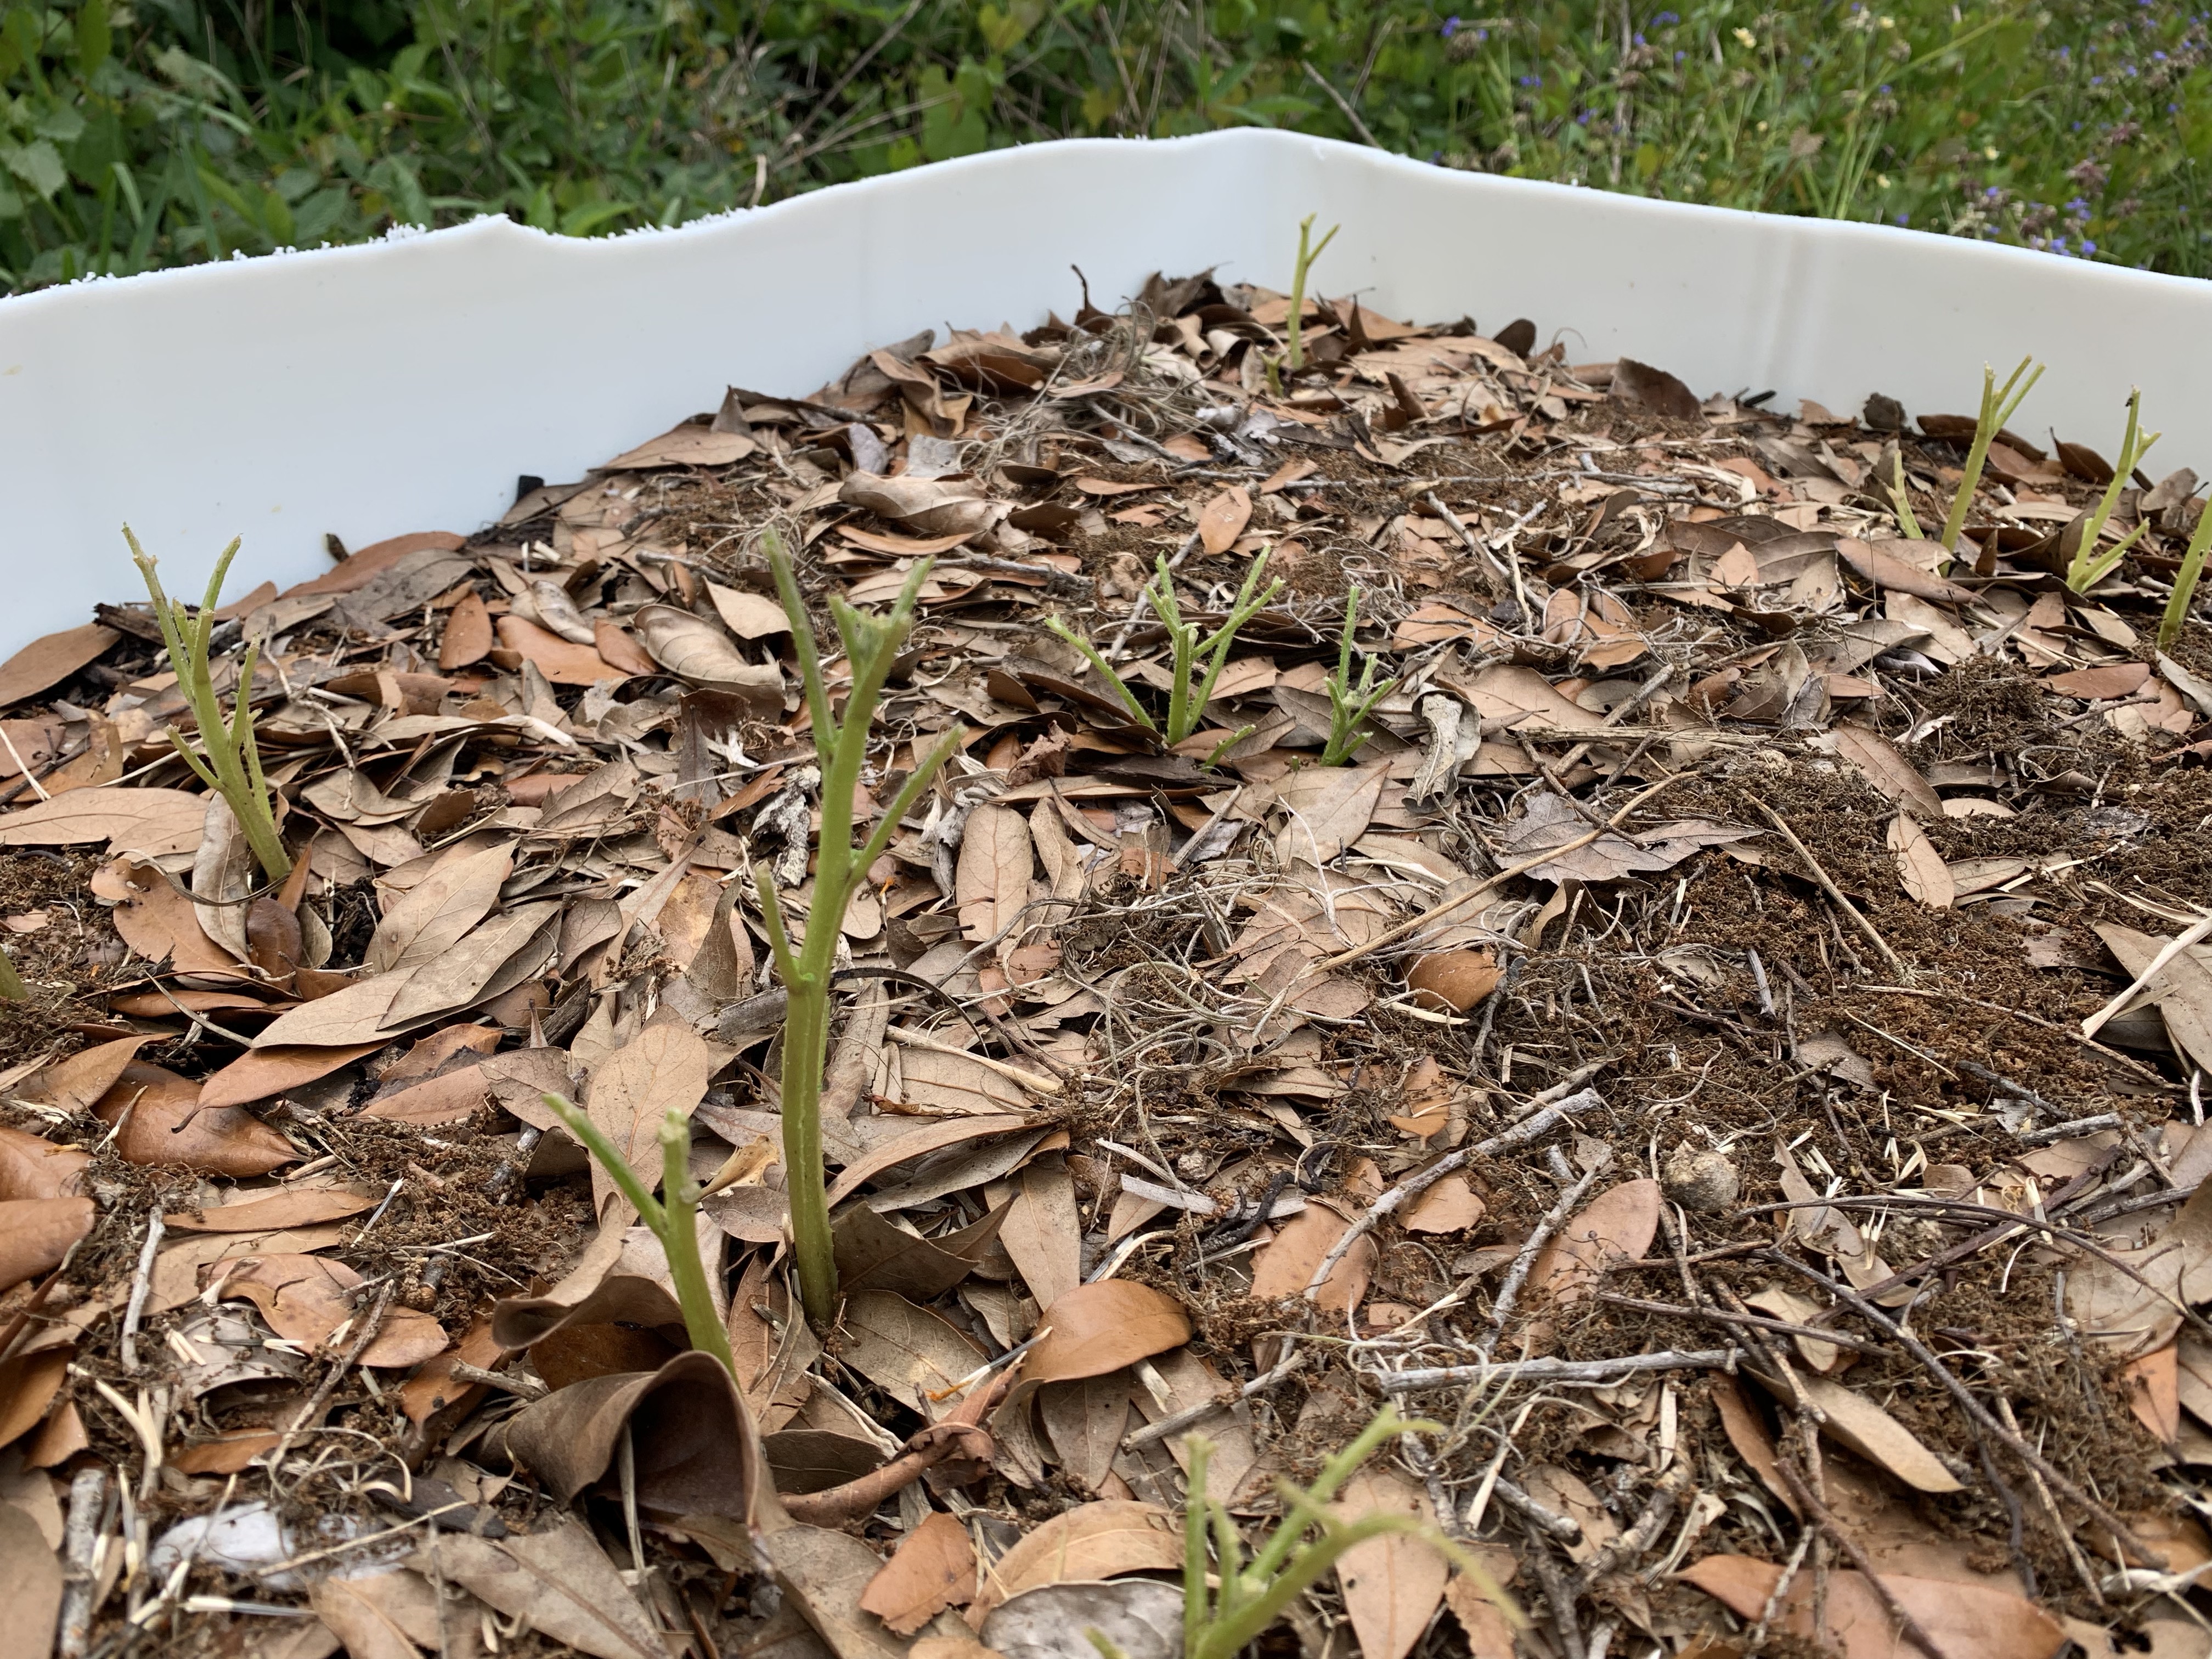
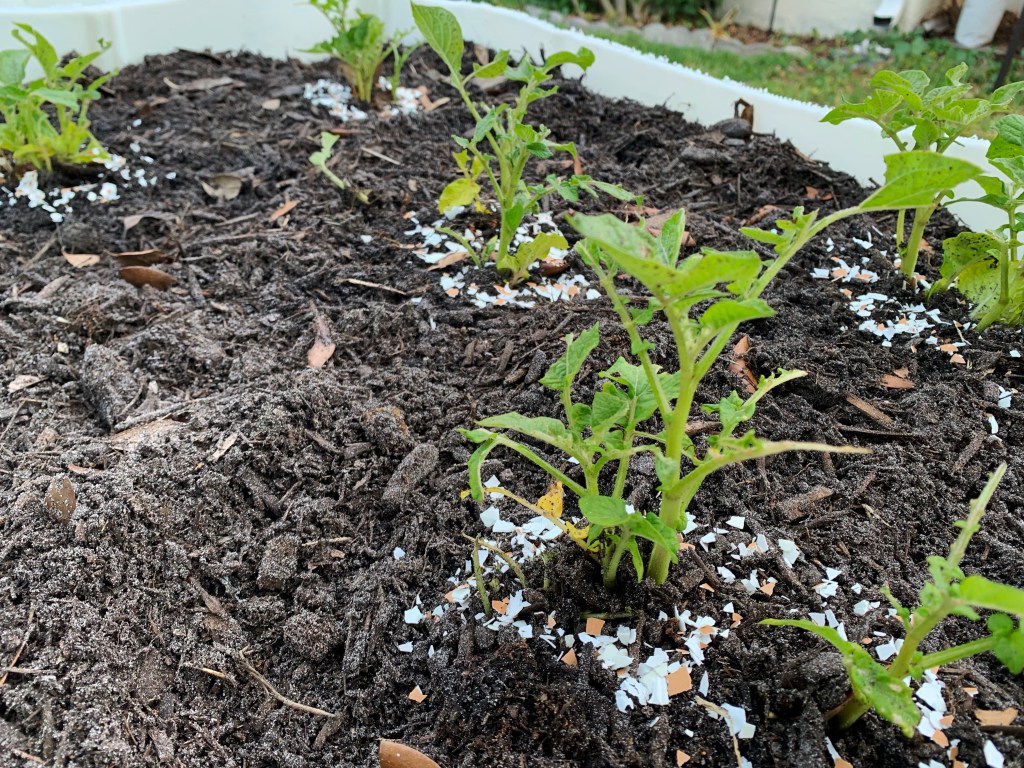
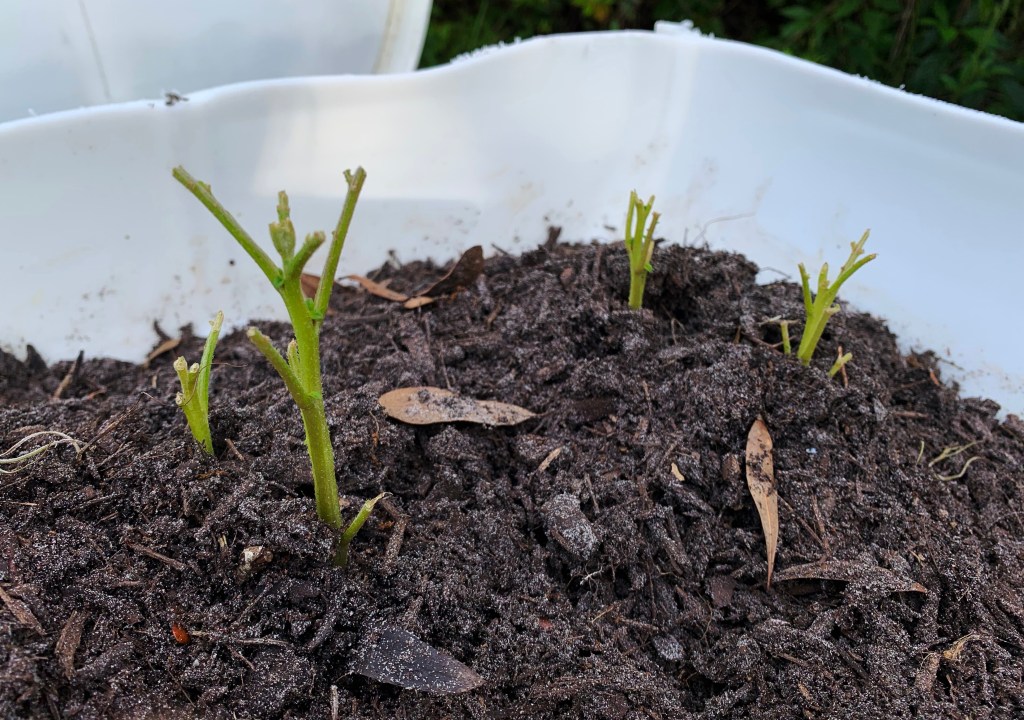
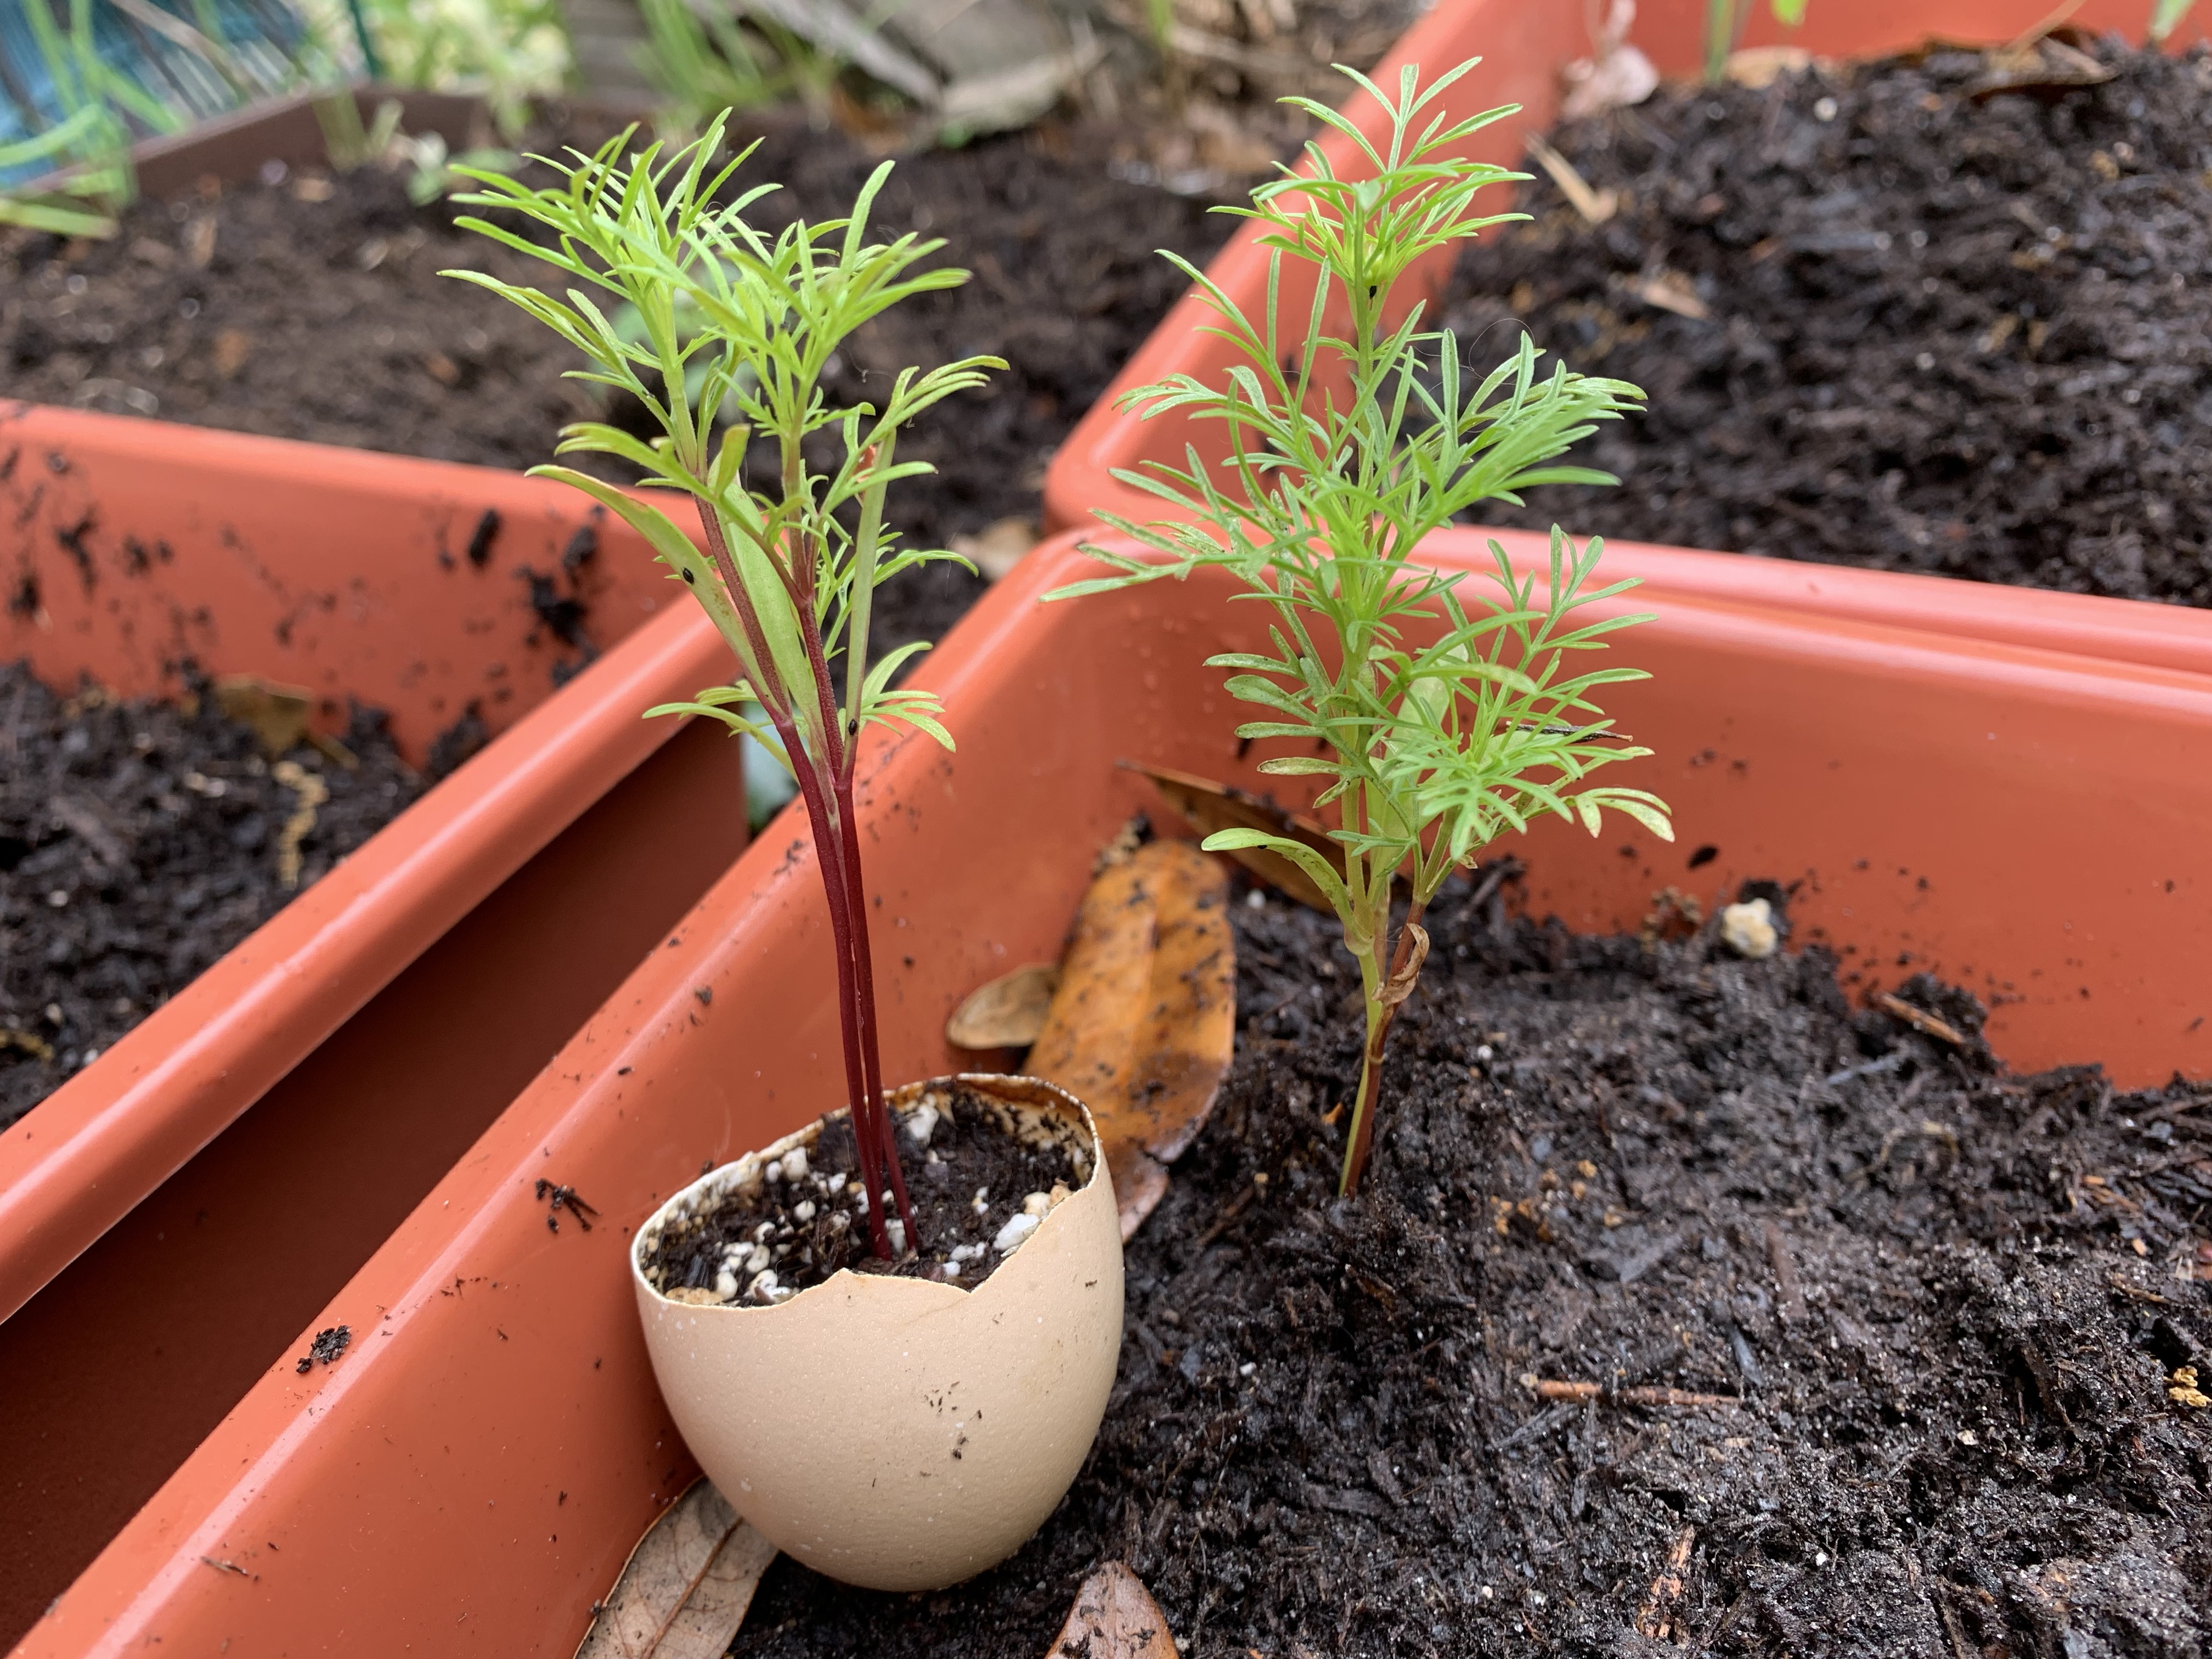
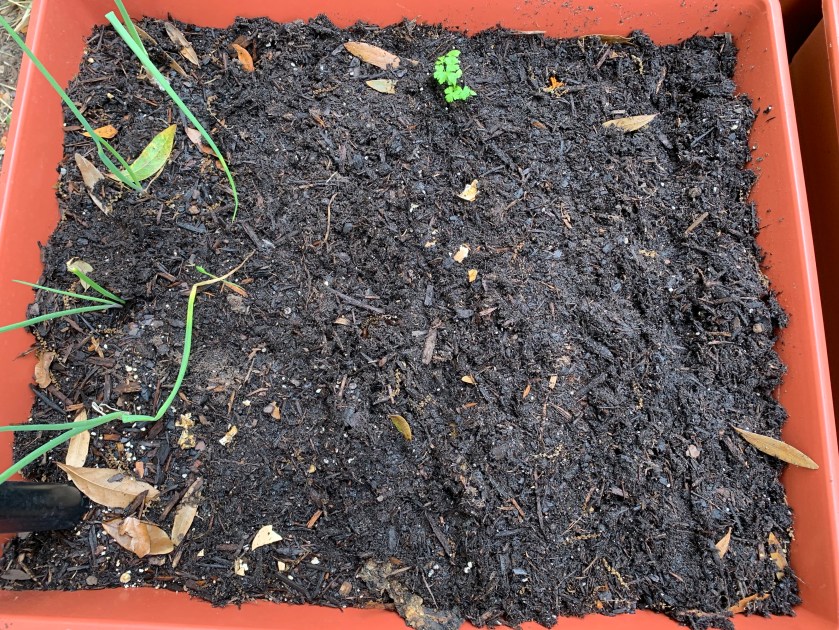
I’ll be updating this blog with my garden stories as I try to grow more vegetables. Currently my “in the ground” garden is planted and doing well.

backyard garden with vegetable seedlings
The new garden – Nearly full, end of April

Keep Reading ….

Digging, Planning and Planting a Backyard Food Garden in Florida

Digging and planting a backyard garden takes muscle and planning, but is worth it to pick homegrown food. Here is my small beginner garden in my little Florida backyard.

I live on the central east coast of Florida. As a gardener, who knows quite a bit about gardening – in New England – this area has been a challenge. In fact, I have given up trying to grow my old favorites. Squash and zucchini turns moldy right away and even tomatoes seem to struggle in the heat. All I have had luck with are peppers and eggplant.

Time to change my outlook and ways, and adhere to a new way of growing things in this subtropical climate.

Over the past couple of years I have invested in a few grow boxes. My son made a few raised beds last year. We’ve been growing (or trying to) in these beds somewhat successfully.

This Spring I purchased a Tiller. It was not cheap but it did the work of creating a fairly small garden out back.

garden area tilled earth

I have removed a lot of the roots, vines and horrible grass that grows in tendrils. Next I mixed in three bags of compost.

The “dirt” in the ground here is sand. I never saw a single worm, which is typical. I think it will take a lot more compost over the months to create a decent place to grow things. For now, this will have to do. I can amend later with compost from the Hot Frog.

Spreading bags of compost into a freshly dug garden

First I found some boards to set down the center. I remember from my northern gardening that mashing down the earth is not a good thing. If I can remember to stay on the boards, the remainder of the dirt should stay loose for growing.

Next it was time to plan the layout for planting. I had to think about which things would be long vines (watermelon and sweet potato) and those would be in a place where the vines could go out into the grass.

Okra gets tall, I guess… have never eaten it or grown it … so I planted those seeds along the edge. I only planted it because it’s a southern thing and should grow well.

I saved a spot for the sweet potatoes yet to come, and will fill in the rest with some pepper plants and more eggplant.

My basic sketch for planting is subject to change.

backyard garden planting

I managed to get some watermelon seeds and okra seeds planted. Then an eggplant, which I covered with a piece of rug to give it shade.

It was so hot by then, that I took a break inside and waited for the clouds. The forecast called for rain later, but all I got was tons of hot sun!

Some dill plants went in the corners, along with a parsley plant. Last of all, I threw in some saved Marigold seeds.

Backyard garden planted with seeds, dill, parsley, peppers and eggplant

As soon as I took the rug covering off the eggplant, it began to wilt. They really cannot take the midday sun. I quickly watered the whole garden (each plant got it’s own soaking as I planted it) and put the rug back.

Already I am thinking of moving the okra to in front of the eggplant to give it some shade. I can’t run outside every day to cover it because of the sun. (Side note here – the okra was popping up out of the dirt on day 4!). The seed packet says this okra will be 4 -5 feet tall!

okra seeds sprouting
Okra – tomato cage animal deterrent

Although my summer garden may not do well due to the heat, this section of yard will remain a garden bed. When winter comes I can plant lettuce and kale. Also, I will continue to look for hardy, Florida crops to plant.

Bought My Seeds From Urban Harvest

I found this wonderful gardener online who has a YouTube channel called: The Urban Harvest – Homegrown Education. She lives on the west coast of central Florida and has lots of videos about growing things that actually will grow here in Florida! Immediately, I bought some of her seed packets.

The Urban Harvest website

seed packets from Urban Harvest
Seeds from Urban Harvest

I bought some organic Coconut Coir blocks and have added seeds and other things to the pots. I’ve never used the stuff before and I will compare to planting in dirt.

I’m getting ready to post this on April 15th and noticed this AM that one of my pumpkin seeds has sprouted! More about this unusual, southern Seminole pumpkin to come.

More Gardening Stories on the Blog

Cutworms in the Garden

Cutworms can quickly defoliate a plant and ruin garden crops. How do you know if itā€™s cutworms chewing on the leaves and stems?

How do you know if your garden problem is cutworms?

The short answer to that question is that whole stems will be cut off at the base. This is how the cutworm gets itā€™s name. The other part to that answer would be you wonā€™t spot anything that could be doing the damage. It will seem to be a mystery.

Unlike many insects and worms that show up in a garden, the cutworm hides. When inspecting damaged leaves, youā€™ll likely see nothing. Cutworms sleep in the dirt during the day and feeds at night. Sneaky little buggers!

I noticed that something was eating my potato leaves. I was thinking ā€œpotato beetleā€ or slugs, and kept inspecting the plants and leaves closely. I saw nothing. Each day more leaves were eaten, and then the stalks began to fall – chewed off at the base. That clicked, because I know Iā€™ve dealt with this before. Cutworms! Now, what is it they do? And how do I deal with them?

Organic Spray Did Not Help

I got my handy organic spray and sprayed the heck out of the plants. That didnā€™t seem to stop the problem one bit. I have two raised beds of potatoes and one was doing very poorly and then it began to show up in the other bed.

It was time for drastic measures. This meant researching online. Sure enough, it seemed the culprit was cutworms. I read that they overwinter in the soil and emerge in spring.

My Mistake

I believe I brought the cutworms into the raised beds when I added leaves from the yard as mulch. The potatoes were planted in dirt – new this year – from bags purchased at the local Home Depot, so I think the only way they could have been introduced was through the leaves and Spanish moss I added.

While researching the problem, I read that slugs will also eat potato leaves and mounding the soil around the plant will help. ( This page about slugs and potatoes is a good one for advice if you have that problem.)

I began scraping away all the leaves I had on top of the gardens and throwing it in the woods. Then I began digging up hills to mound around each of the plants. And that is when I saw it – a big cutworm! Altogether I found about 6 worms, large and small. One was greenish, one was pink and the small ones were black.

The pupae stage is when the worm / caterpillar has become a cocoon. The adult moth will emerge from this reddish orange shell to fly around and lay eggs that become more worms. But the worms are the worst in Spring – just in time for planting.

This hard orange-red thing in the dirt is cutworm pupa.
Cutworm pupa is reddish-orange

Getting Rid of Cutworms

My potato gardens are small. I have two raised beds with a total of 10 plants growing. I simply continued to dig around in the dirt searching for the worms.

Hand-picking

The cutworms I found were placed into my tray bird feeder and within a couple of minutes a cardinal was having the worms for a meal! This is a very simple way to get rid of the worms while helping out the birds. If you donā€™t have a tray feeder, just set them on a board or rock in the yard where birds visit. The birds come fast for the juicy meal.

I also went out at night to inspect the plants and found one more worm which I hand picked off. I continue to check for worms but havenā€™t found any more.

Eggshells and Coffee Grounds

Lots of online sites have advice about getting rid of these destructive worms, but I like to do so as naturally as possible. I had a few eggshells leftover from my eggshell seed starters project, so I crunched them up and sprinkled them around the base of the remaining potato plants. The only problem with this is that the shells get moved around when watering.

Also, the worms do not like coffee grounds so you could do the same thing with leftover grounds.

Eggshells sprinkled around the base of potato plants

Make a Collar

After checking on my potatoes, I came over to the other raised bed and one of the bean plants was totally chewed off! Just in case the cutworm was to blame, I made tin foil collars for the other plants. They have to be pushed down into the dirt and must surround the stalk.

This is best done when the plants are very young so the roots will not be disturbed. I used foil, but other things work. Think toilet paper and paper towel cardboard. Plastic cups, plastic bottles, and anything round and open will work.

Now my potato plants (in garden number 2) look like bare stalks. Iā€™ll continue to check for worms and watch to see if the stalks come back.

Ways to Prevent Cutworm Problems

The worms emerge from eggs in Spring and they have been existing underground. Till the garden or dig down a few inches to search for the worms and remove them before planting. Take precautions by using the collars mentioned above – this is not that difficult to do if the garden is small.

Please visit this page at The Real Dirt Blog which is full of excellent information and advice about the cutworm.

How to know if you have cutworms in the garden, and what to do about them.

Read more here about cutworm stages: adult larvae and pupa drawings.


Transplanting Eggshell Seedlings to Grow Boxes

It is now mid-March and my grow boxes have been readied for vegetable seedlings. Just as I was thinking that the cold was behind us here in central Florida, we had a night in the 40ā€™s. That will be rare from here on out.

I wouldnā€™t be in a huge hurry, but I know that the heat is coming. Yes, vegetables need sun and heat, but not the kind of heat Florida throws at us. Iā€™m not even planting peas until September because I am sure it will get too hot for them now.

So here it was, a cloudy, somewhat cool, morning and I decided to get the seedlings into the grow beds.

Gardening table in the backyard, with seedlings and seed packets ready to plant.

I was a little tired of setting the eggshells outside and having to check on them. Something was eating some of the plants too. The seedlings were mostly large enough for the ground. Rain was in the forecast, so it was a good day to plant.

You can see my three new garden boxes in the background. I also have an old grow box to make four total in the group. My old raised bed is in the background. The wood has rotted and it is no long usable. Weā€™ve switched to using smaller garden boxes.

The grow boxes I used were similar to the one below (which is an affiliate link to Amazon), but I bought mine at Home Depot. I bought them early before the growing season really began, just in case they were hard to find.

The box is called self-watering because you pour the water into a tube which sticks up in one corner. A mesh layer keeps the dirt up and away from the bottom and the idea is for the water to soak up through into the dirt. I also water from the top because anything with shallow roots will need that.

Really, I treat the box as a regular garden and donā€™t count on the self-watering part. Florida gardening is very different from other places.

Transplanting the Seedlings

I spent some time researching and studying where my little seedlings would go. Each box is quite small and will not hold a lot of plants. Things canā€™t be too crowded.

My tomato seedlings (2 only) went into the old box in the back. Planting tomatoes is easy because they can be planted deep. Some people plant them on their sides too. What this does is cause more roots to grow from the stem to create a (hopefully) better plant.

Cherry Tomatoes

I planted both cherry tomatoes deep in dirt up to the top leaves. I added cosmos plants, basil and a marigold.

Two cherry tomato plants
Cherry tomato plants in grow bed

Zucchini

One garden bed has zucchini seeds. I put three seeds in a mound in the center. I will probably keep only the best one. I planted little marigolds and cosmos on one side. The red onion plants were put in a few weeks ago when the dirt was added.

Zucchini seeds planted
Will be zucchini

Cucumbers

Two cucumber plants are the main items in this bed. Parsley, cosmos and dill are also in this garden. I donā€™t have much luck with dill and the plants donā€™t look all that great. More onions line one edge.

Cucumber garden

Carrots and Beets

This garden has four rows of seeds. Two rows of carrots – which I never have much luck with, and two rows of beets, which Iā€™ve never grown. This is a bit of a trial and error box for me. One little parsley plant was also added and there are onions along one side.

Like the zucchini, I decided to use seeds here and not try to start root vegetables in eggshells. There is no reason to.

Carrot and beet seeds planted in grow box

Transplanting from Eggshells

I wrote a previous post about growing seeds in eggshells. This year was the first time I attempted this. Some plants did better than others and altogether I believe it was a good thing to do. I was able to keep a close eye on the little plants making sure they had sun and water and could be indoors during the cold.

As far as transplanting goes, I carefully broke most of the eggshell away from the roots and then set the plant into the dirt. The broken shell can stay in the garden, but I wanted to be sure the little roots would be able to spread.

This was pretty easy to do. You can see all the roots on this cucumber – he was ready to be set free!

Cucumber seedlings going into the ground.

The Garden is Planted! March 15th

Once all my little seedlings had a new outdoor home, I put up some posts (also bought at Home Depot) and wrapped the whole thing with some mesh I had. I only did this to keep my cats out of the garden! When they see fresh dirt, they think itā€™s an outdoor litter box.

I draped some Spanish moss, picked up in the yard, all around the mesh so hopefully birds wonā€™t get entangled.

Four planting boxes with seedlings

I will take down this mesh fence once the plants get larger and the cats are no longer interested. Itā€™s a good way to keep the raccoons out too, I hope.

Getting Ready to Grow Veggies in Florida

gardening
Enter a caption

I’m not there yet, but soon I will be learning to grow veggies in Florida. Ā I’m quite aware of the central Florida climate, as I lived there for over twenty years. Ā I didn’t have much time to grow my own vegetables but I plan to do a lot of that once I move back.

I’m wondering how well certain things will grow, and if there is no point in even trying to grow crops that prefer it cool. Ā I have a good, informative gardening book, but it doesn’t say too much about choosing crops for Florida.

So I searched for Florida vegetable gardening blogs. Ā A well-written blog can be better than a book. Ā Personal experience with local gardening can be extremely helpful. Ā I’m coming across a lot of blogs that prefer to show off their tropical shrubbery and well-manicured landscapes and fancy backyards, but have little in the way of helpful information about choosing and growing vegetables.

I think there are a couple of reasons for this. Ā  Continue reading “Getting Ready to Grow Veggies in Florida”

Planting Day is Coming Soon

greenhouse and seedlings
Almost planting time
I realize that many people have already planted their vegetable gardens, but here in the northeastern U.S. we just had snow this past Saturday! Not in southern NH where I live, but in the north. It was very cold and windy.

I have learned the hard way to be patient and wait for warmth (June) to plant my store bought tomato, basil, and zucchini plants. If seedlings are planted before the ground is warm enough, they won’t grow well. This is especially true for certain veggies, like green peppers. The reason we are told to make hills for planting squash and such, is so the little mound of dirt will warm up.

In the northeast we have had a ton of rain over the last week or so. I have put out a few seeds (carrots) and on the one nice day we had I added some marigolds to the garden. But my tomatoes, basil, cukes, and zucchini are still waiting in the green house. If the sun comes out, I move them out onto the deck for direct sunlight, but they go back into the green house for overnight. I love my little green house! It has really come in handy to store the seedlings and they are doing quite well. Some 90 degree days are coming this week, so I’ll get them into the yard by the weekend.