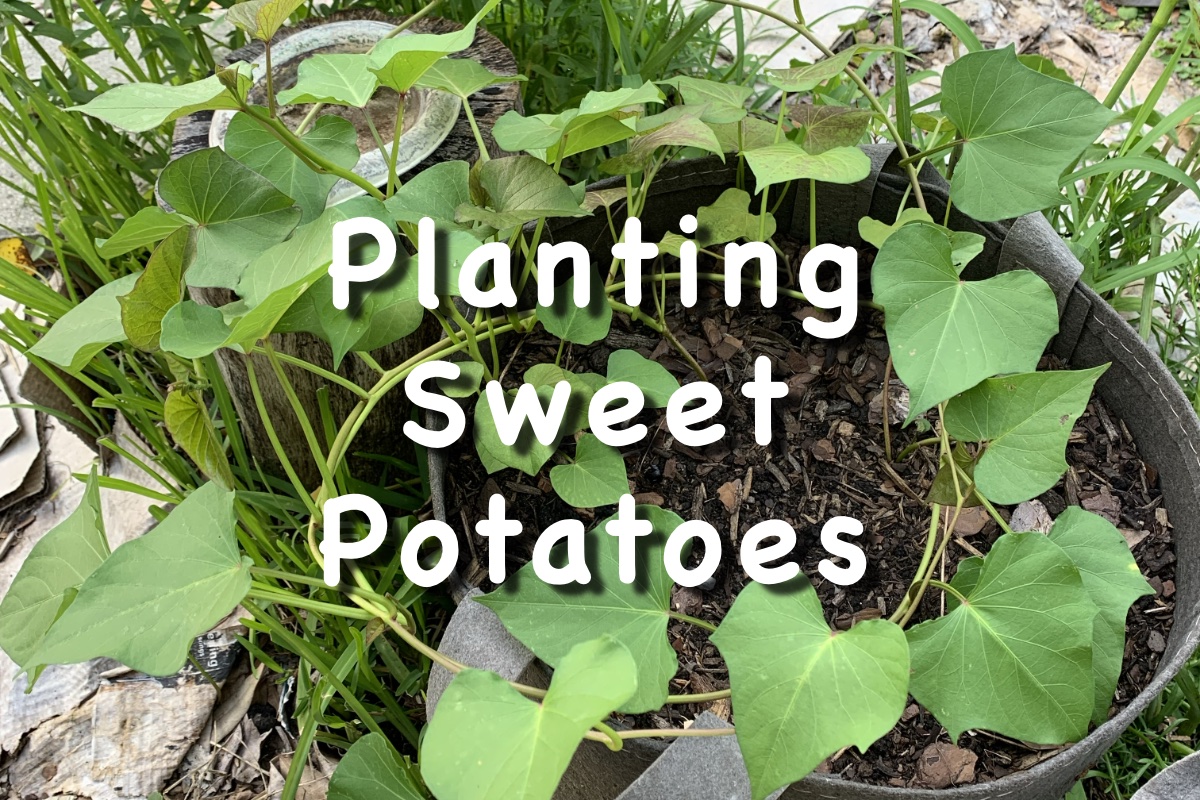
Way back in April I planted the sweet potato slips that I had started myself. And before that – back in January – I had pre-ordered a variety of sweet potato slips from Southern Exposure Seed Exchange.
I had expected them by mid-May. When June arrived and I hadn’t heard anything, I e-mailed SESE (Southern Exposure Seed Exchange). After a few days, I got a reply saying there was a problem with the postal service or something. I got my slips the next day.
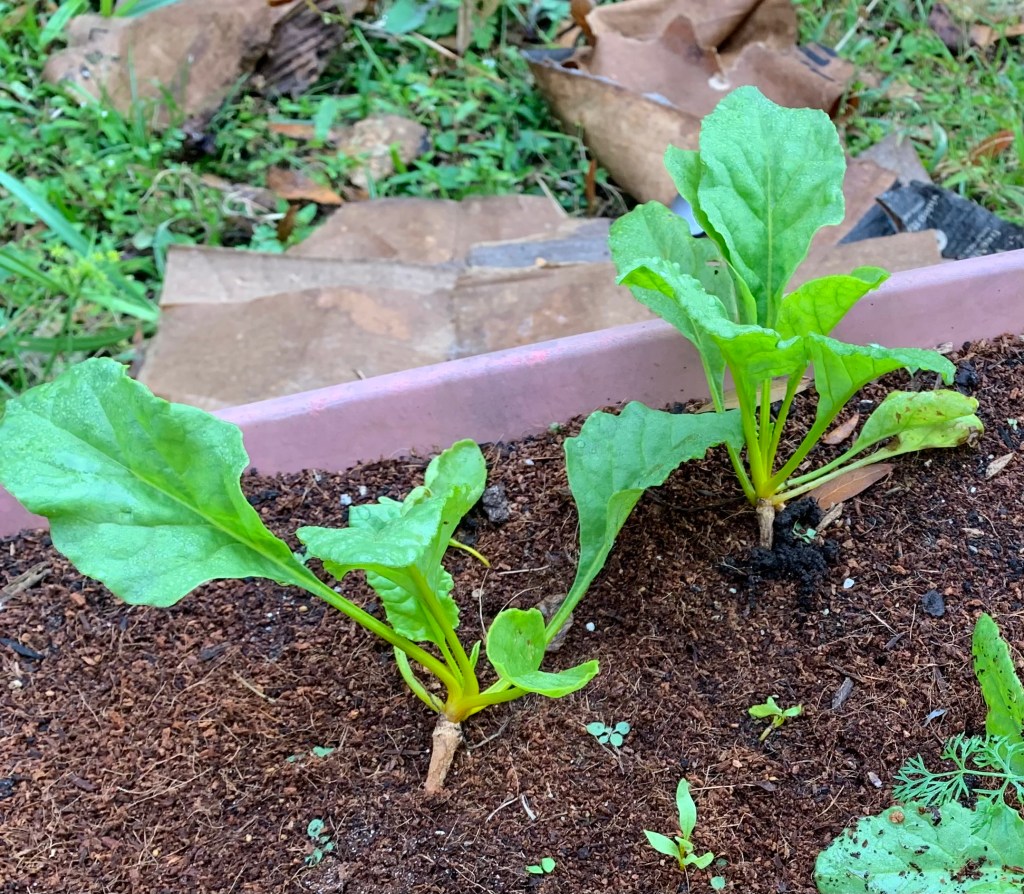
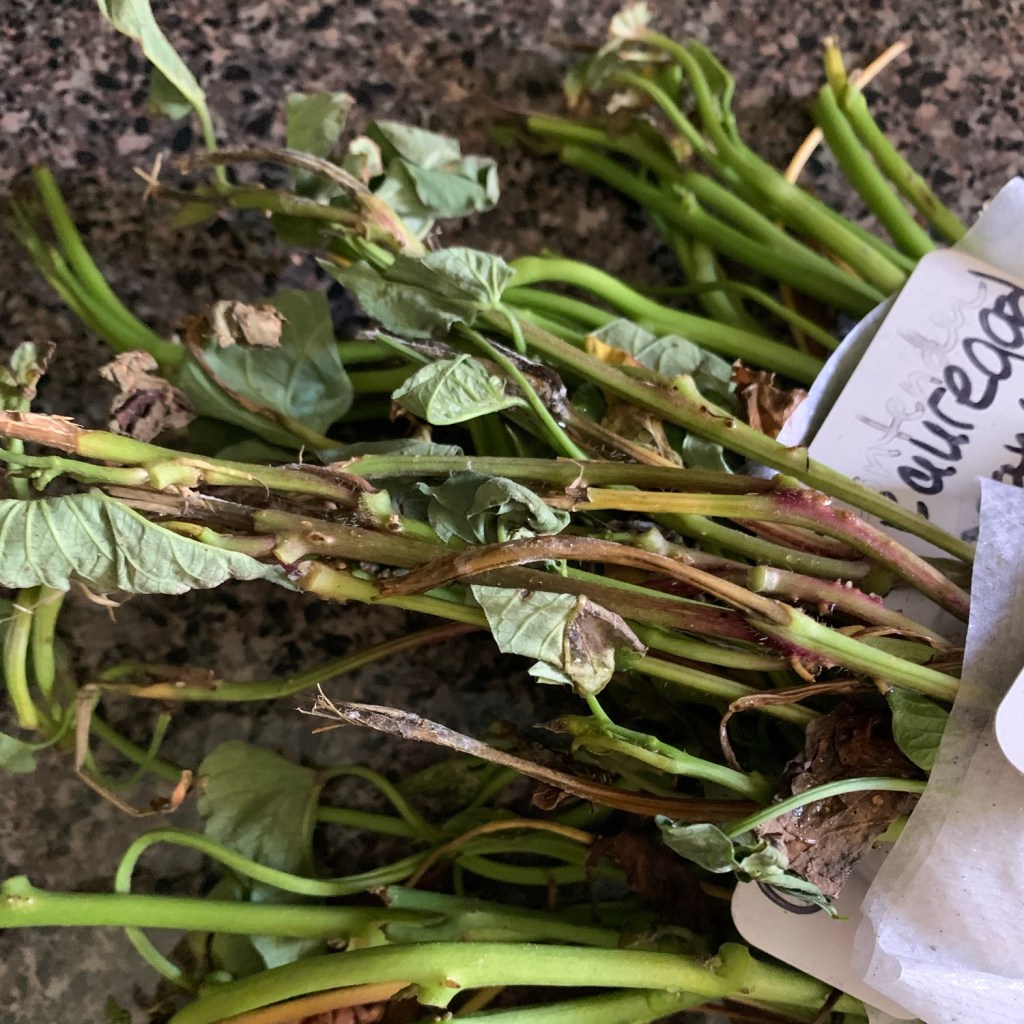
Now it is June 15th and finally the sweet potato slips are here. They are basically a bunch of green stems. Pretty much all the leaves are brown and have fallen off. I know that sweet potatoes are hardy, so I am confident they will come back once they are planted.
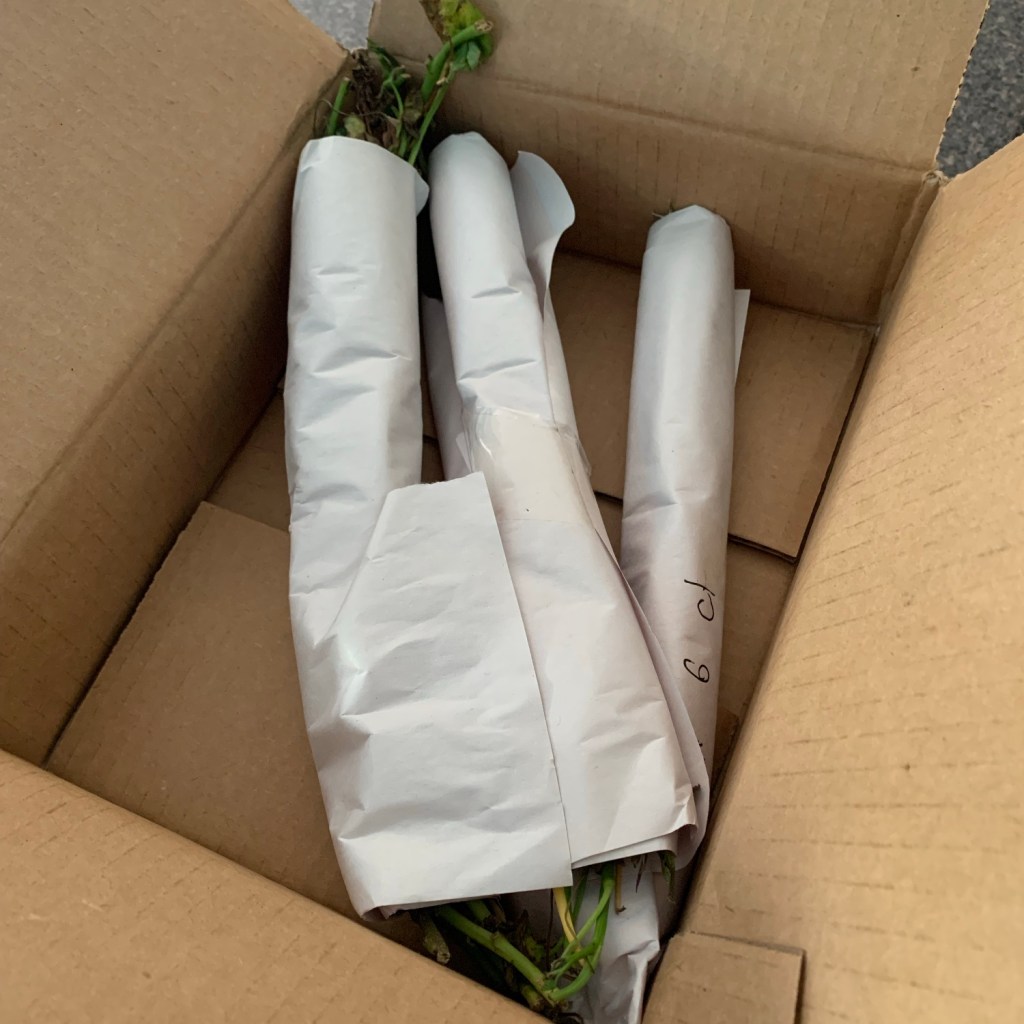
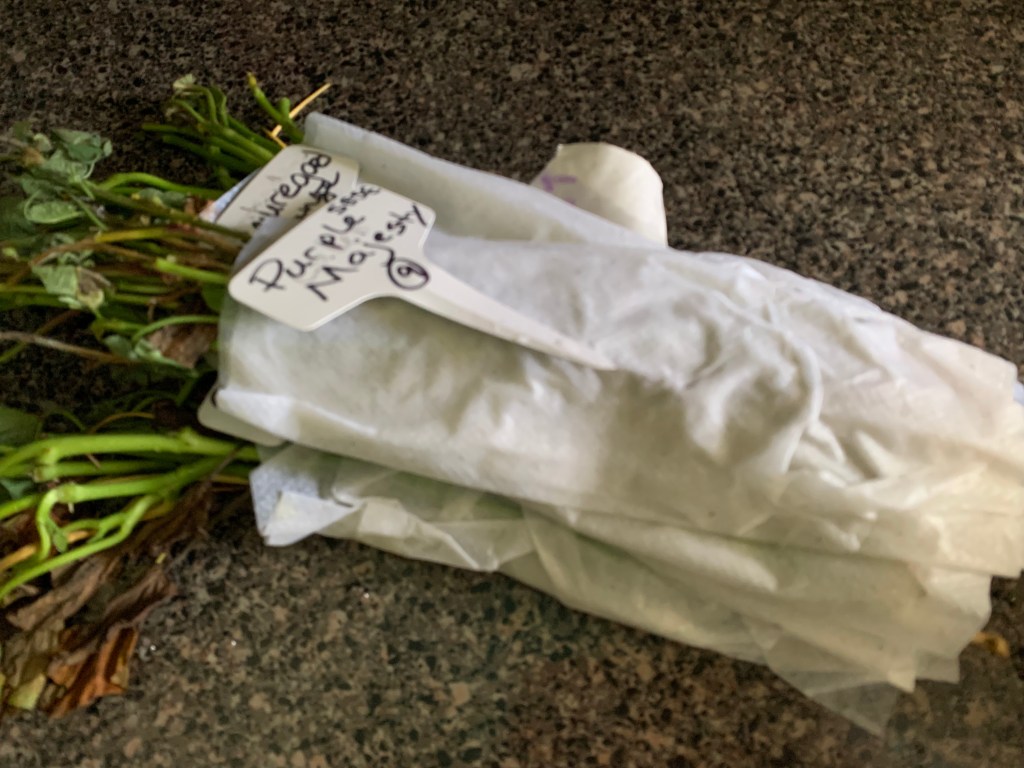
I wrapped the stems in wet paper towels and left them on the counter overnight. All three of my raised beds are ready for planting, so I’ll be gardening in the morning.

Mailing Time is Off For Florida
Sweet potatoes like heat – I get that – but it’s been hot here for months. I could have easily planted my sweet potatoes two months ago. And it wouldn’t have been as hot for me to do the work!
I get that most places aren’t dealing with this climate, but an earlier shipping date would have been nice.
Once I get this variety to grow, I will save potatoes and make my own slips for planting next year and I can plant early. I ordered them to have a variety. It is an experiment to see which ones grow and taste best.
The Sweet Potato Slips
I discovered my box of sweet potato slips on the front porch on June 15th. It has been very hot and humid here for weeks. I opened the box and unwrapped my slips. It was very hot and sunny, then we got thunderstorms, so I planned to plant them the following morning.
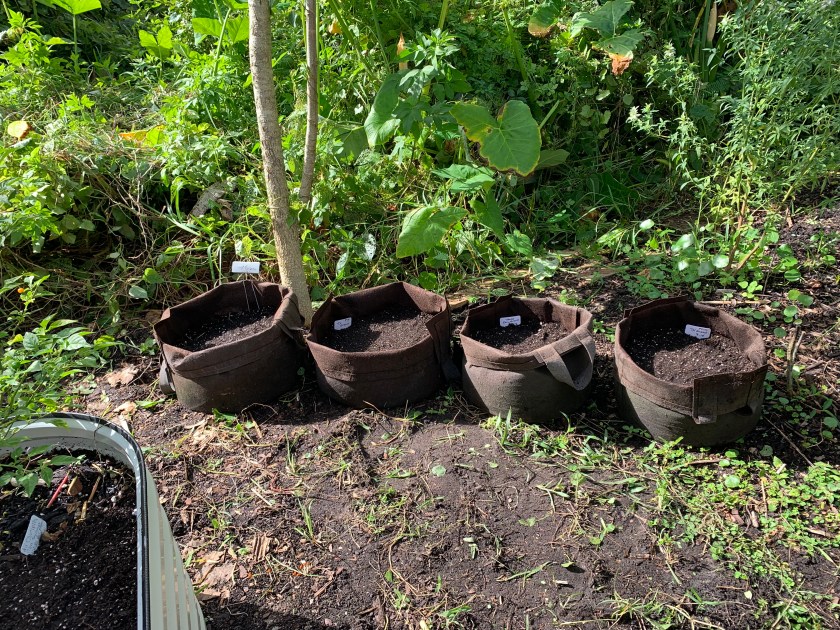
I ordered six slips of four different types of sweet potato and I counted 9 – 12 slips of each type when I unwrapped the papers. This means I received many extra slips. I will not have space, I already know this. I was pushing it at 4×6=24 and now I have more like 40-45 slips.

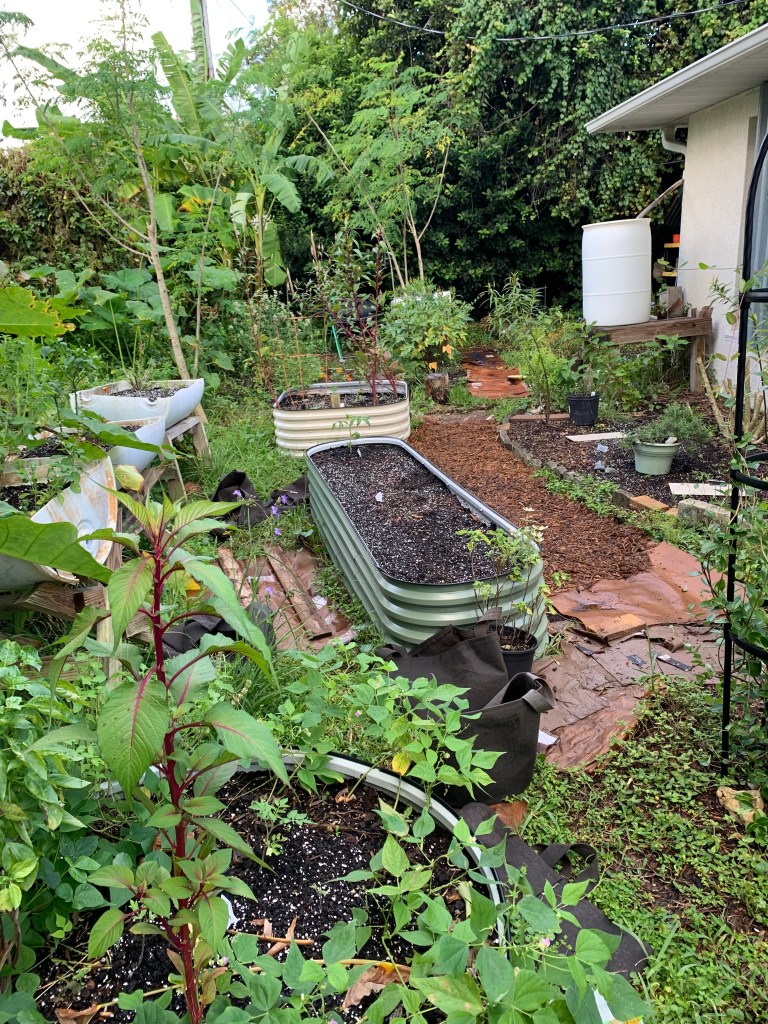
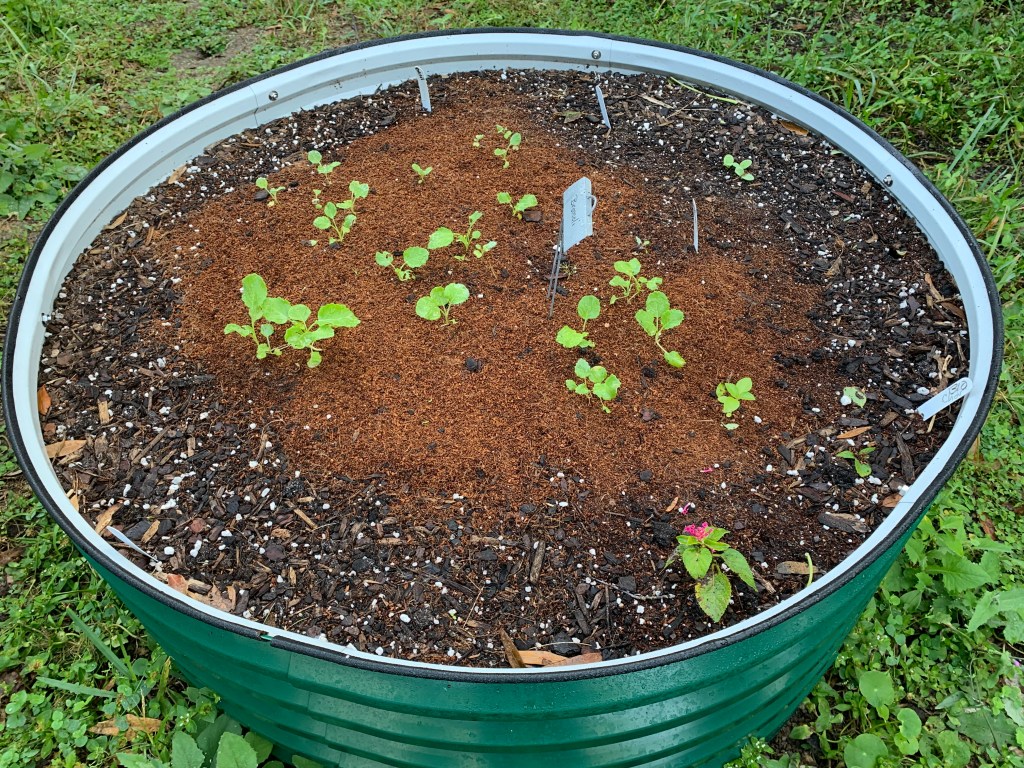
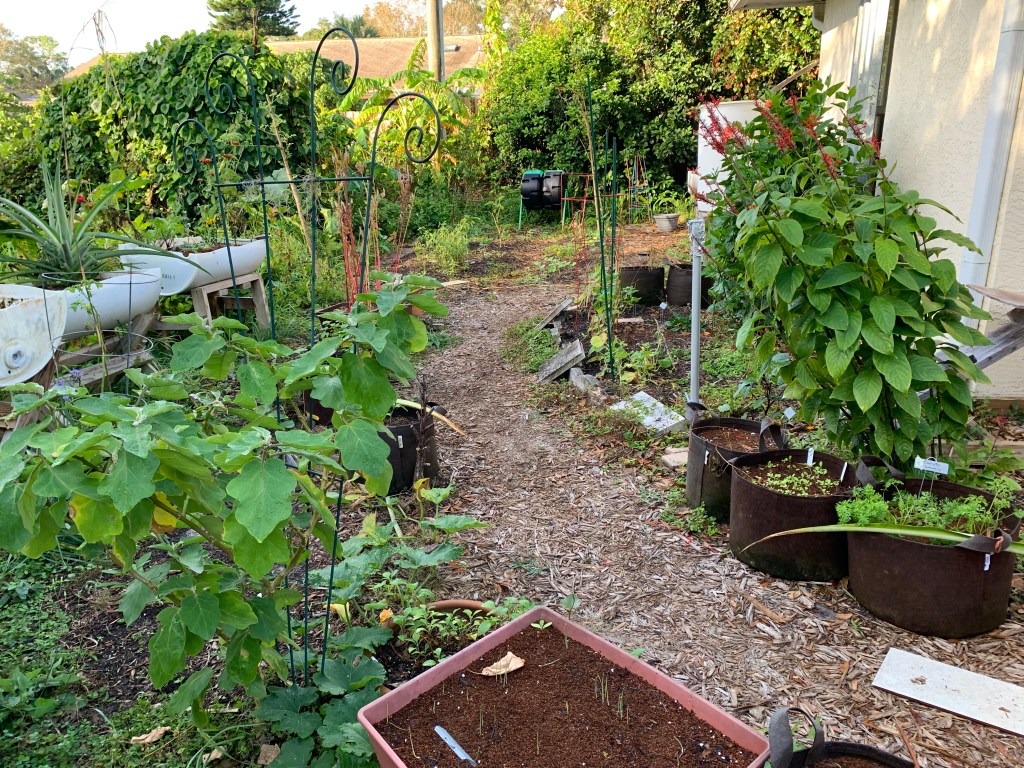
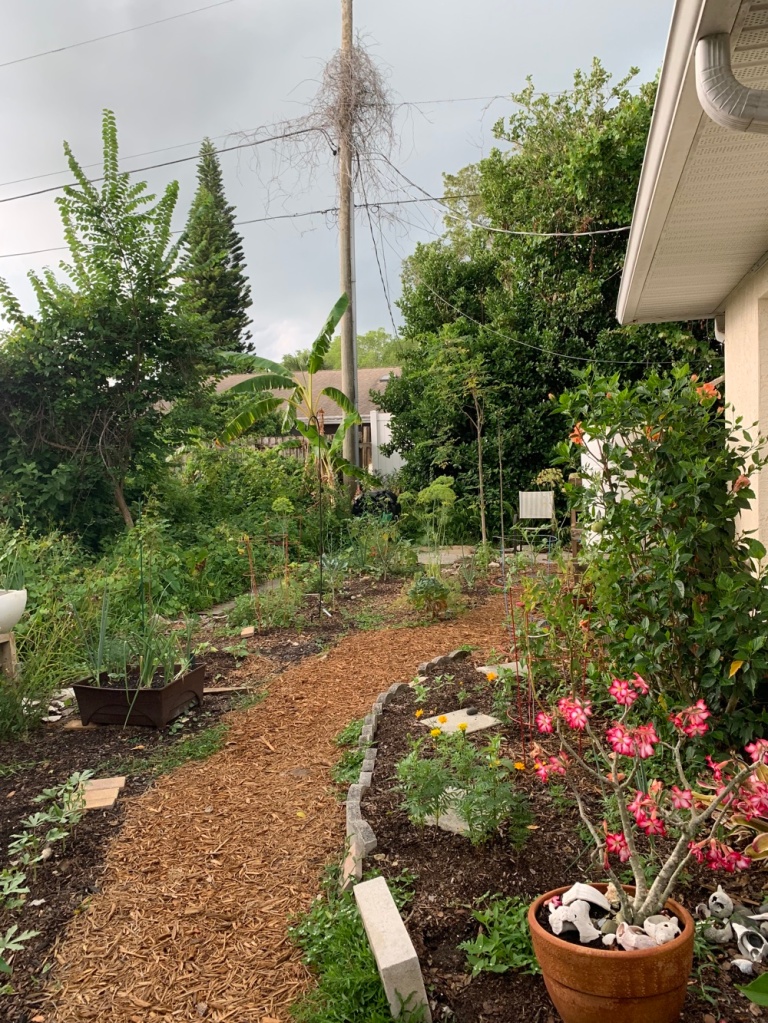
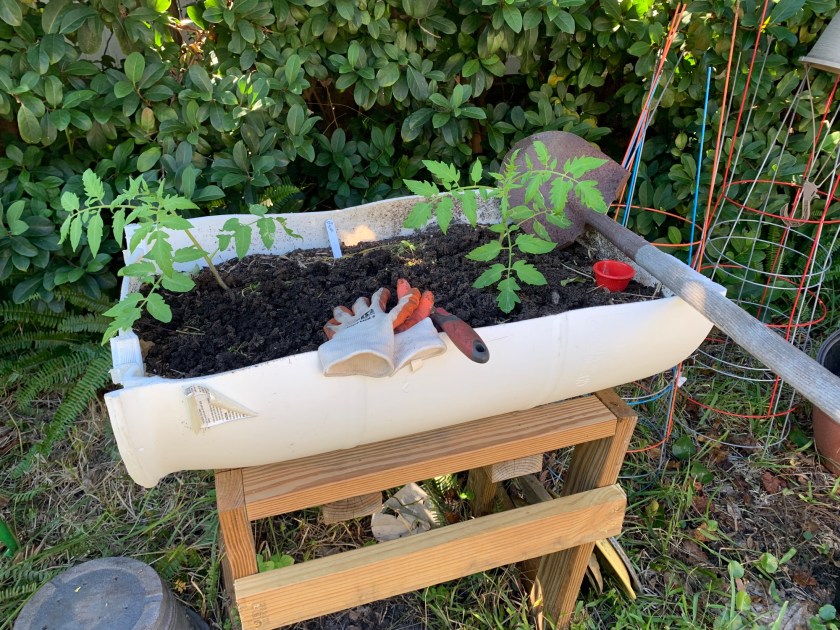
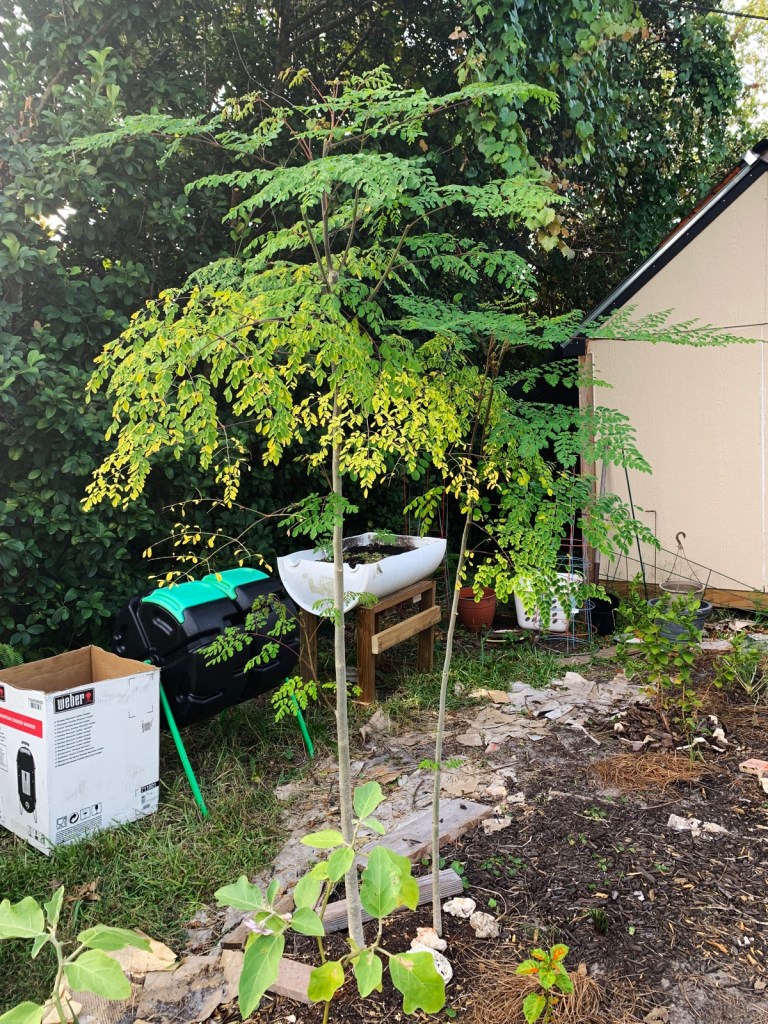
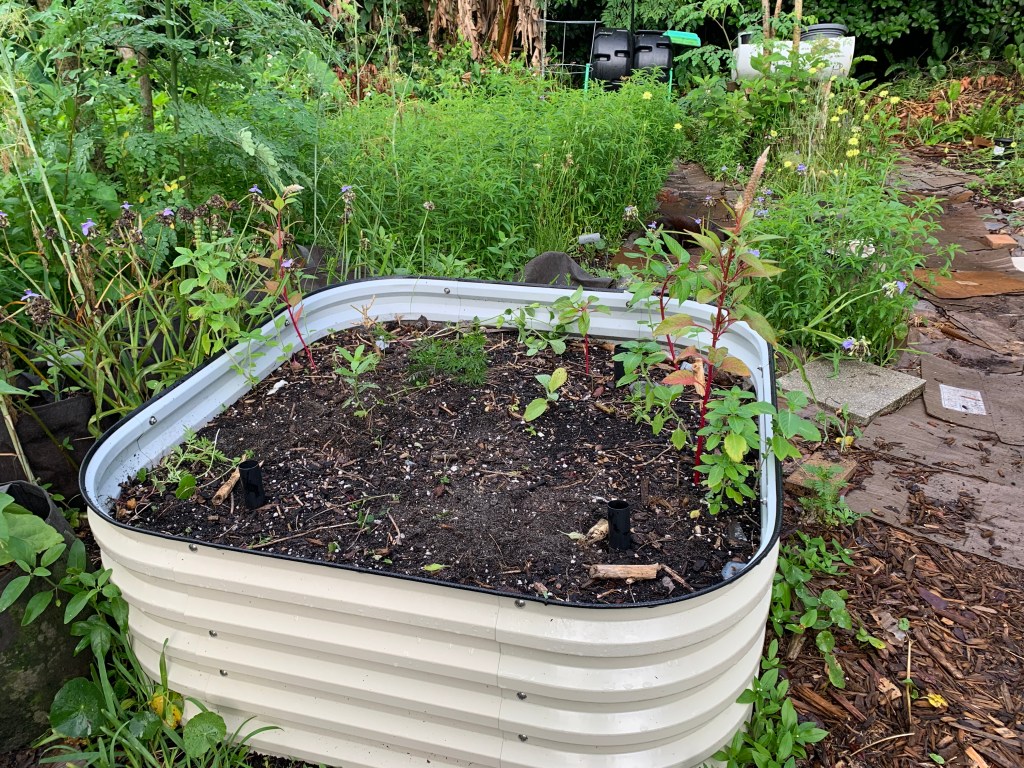
The Potato Beds
Originally I had planned to clear some area in the yard to grow things like sweet potatoes. Now, I realize that raised beds work better. Controlling the soil and moisture is easier in a container. I’ve already successfully grown many things in my Vegega metal beds.
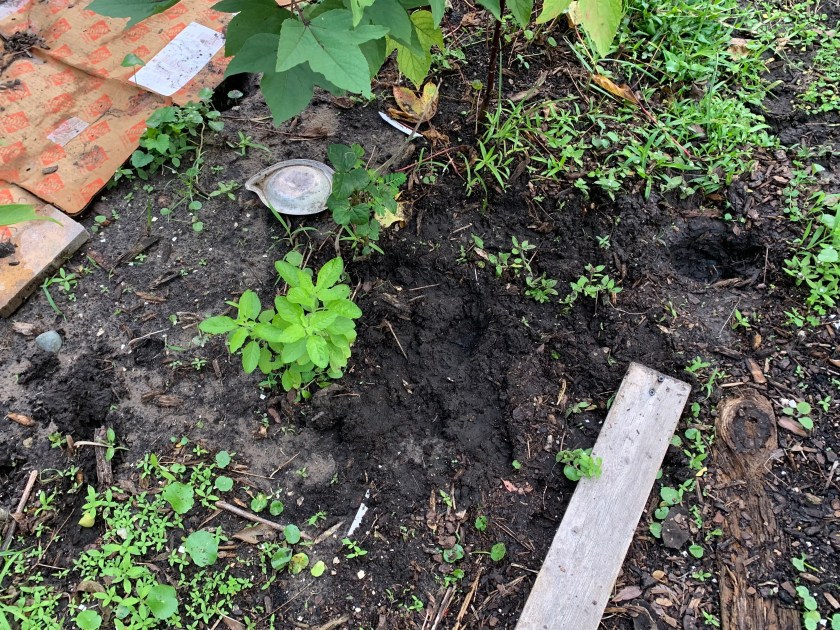
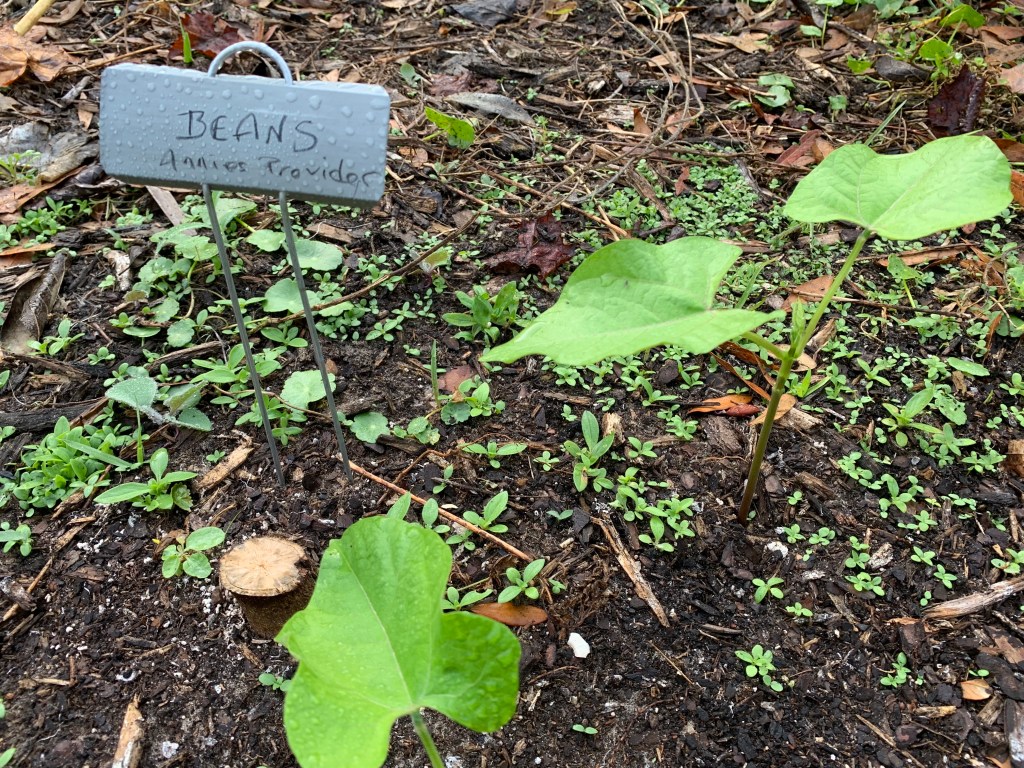
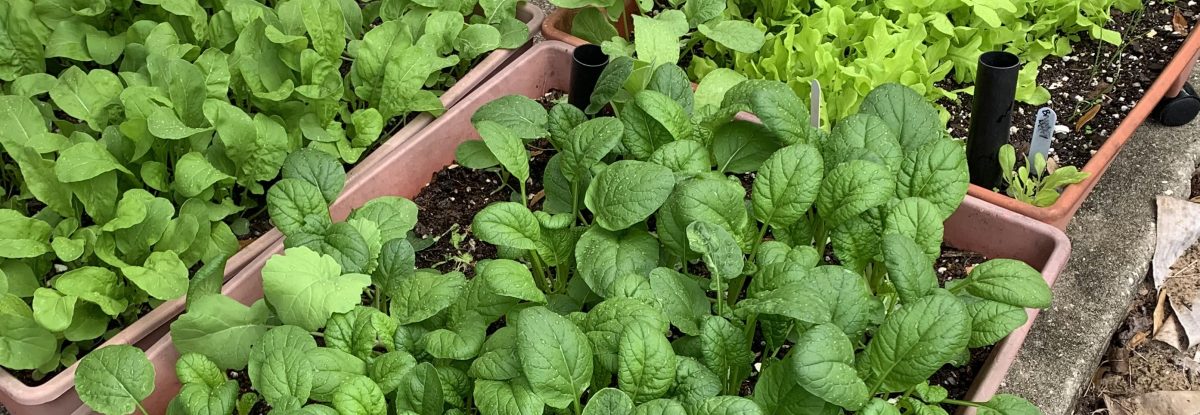
Over “winter” here in Florida I grew a lot of green beans. I planted them intermittently in all three raised beds. I knew the beans would be gone by the time I needed the beds for the potatoes.
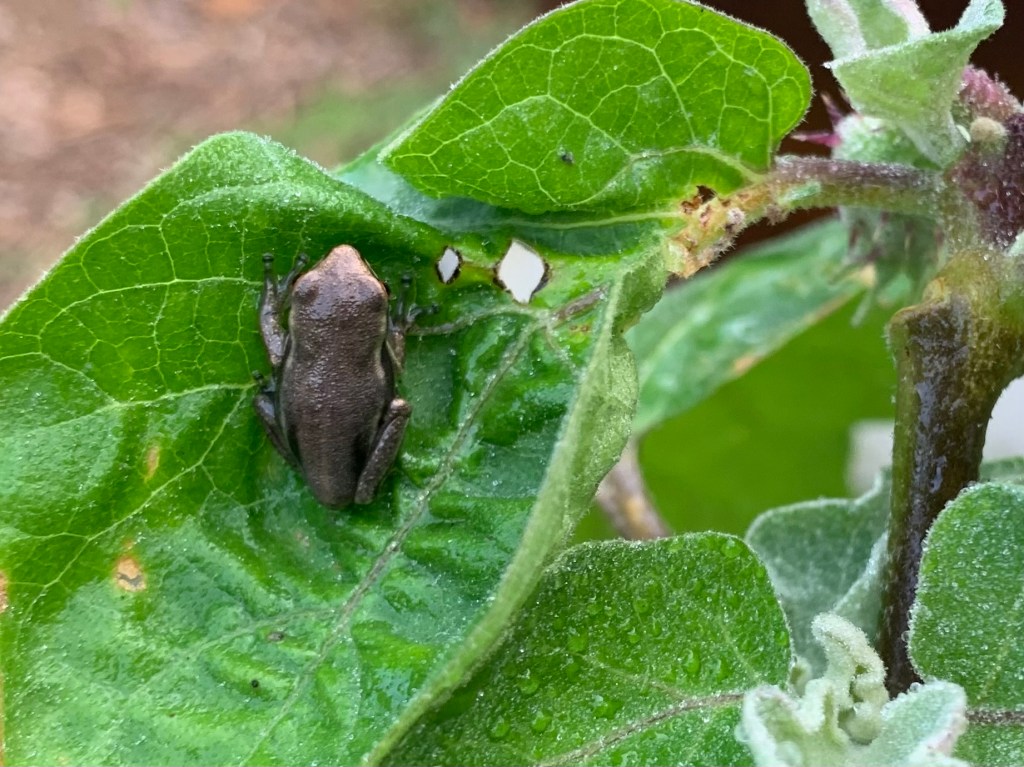
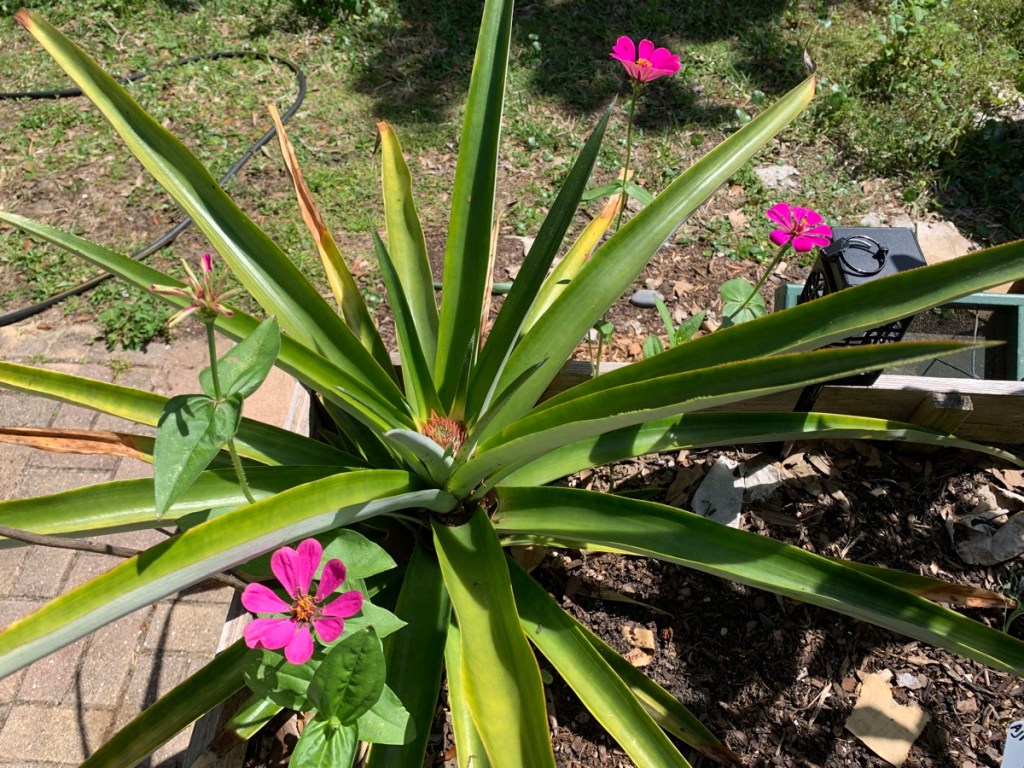
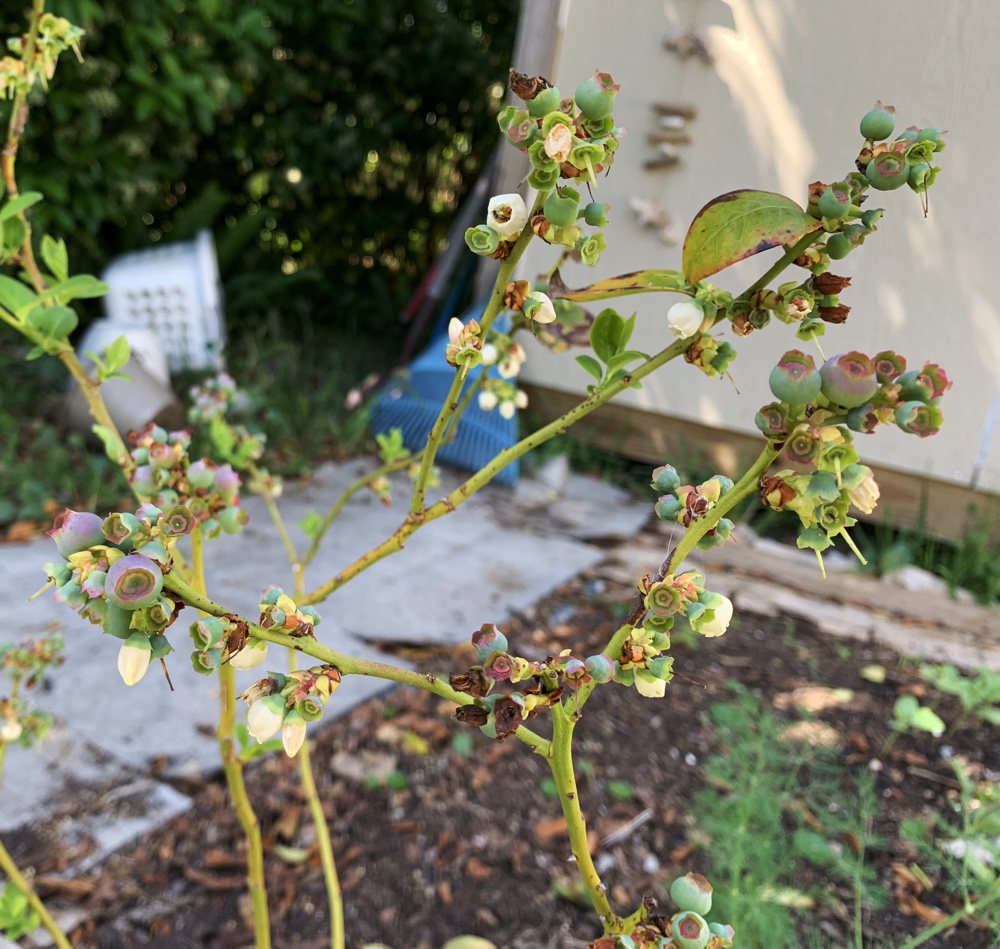
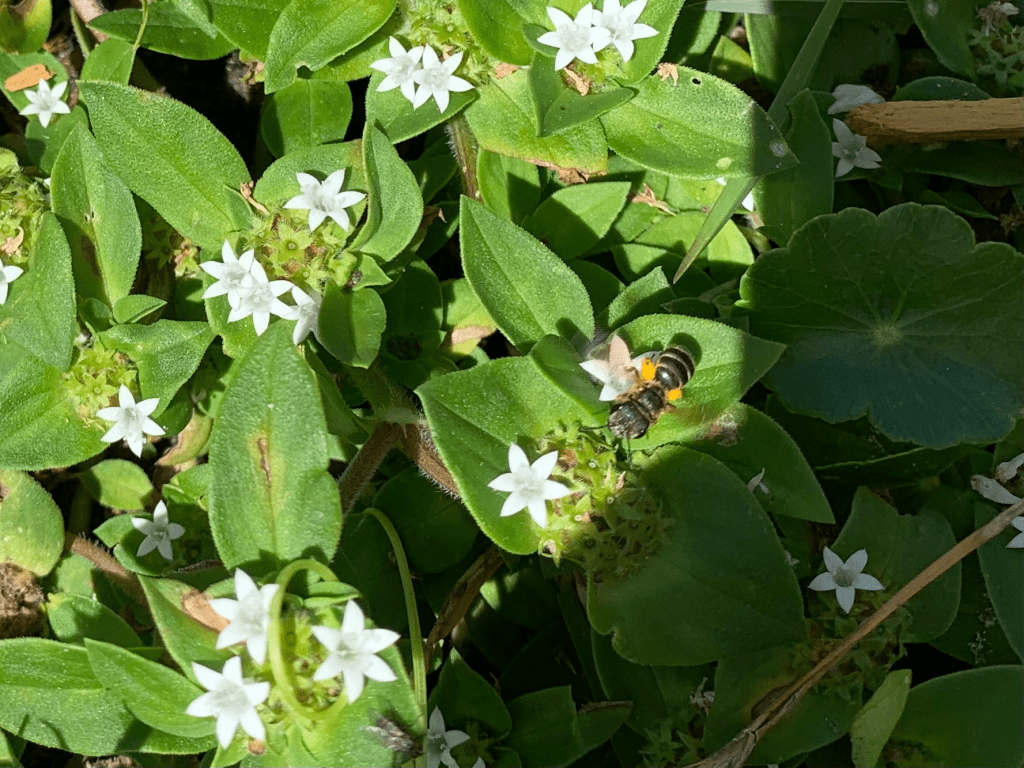
The gardening goal is to always have something growing. Some Tulsi (holy basil) is growing, along with kale and random marigolds. I’m not worried about planting the sweet potatoes among these things. Most of them I pulled out, but it will be a while before the potatoes grow and take over the bed.
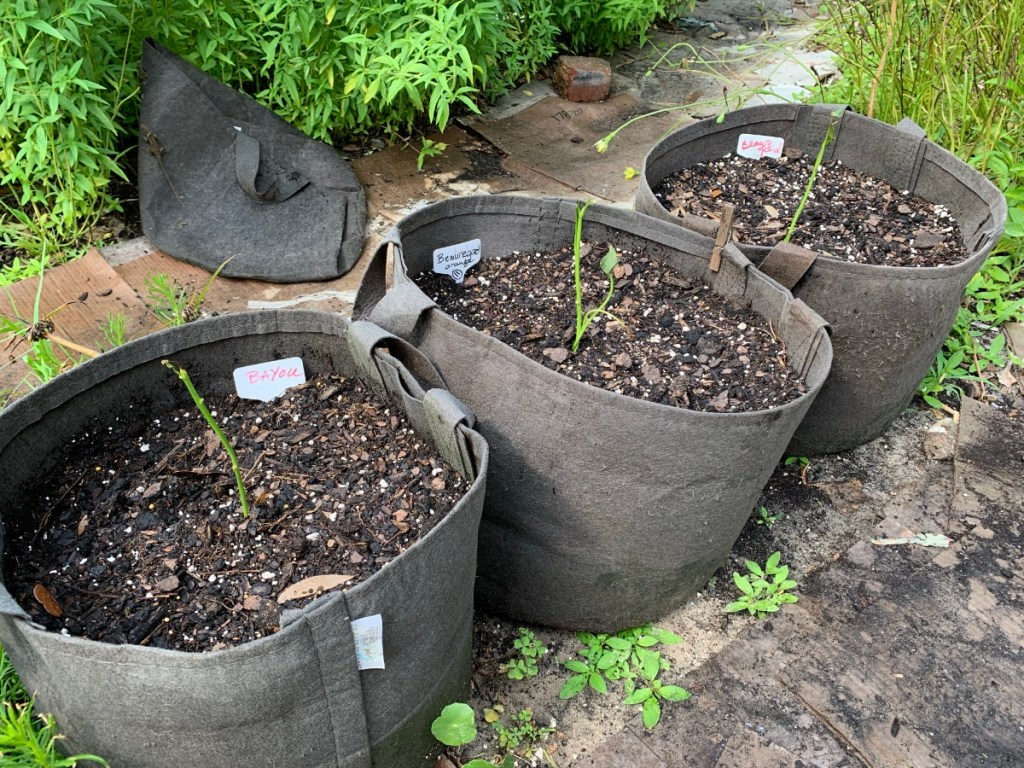
Sweet Potato Types I Planted
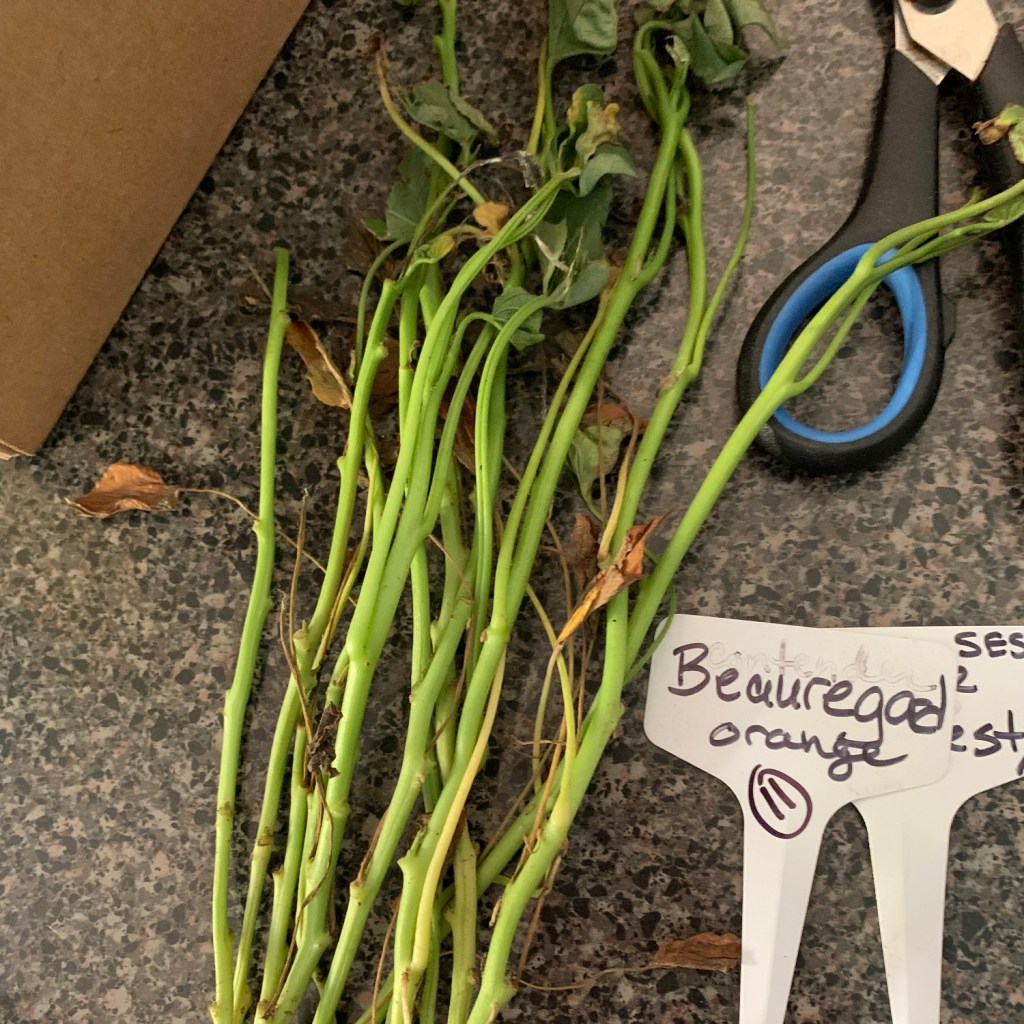
- Beauregard
- Bayou Belle
- Covington
- Purple Majesty
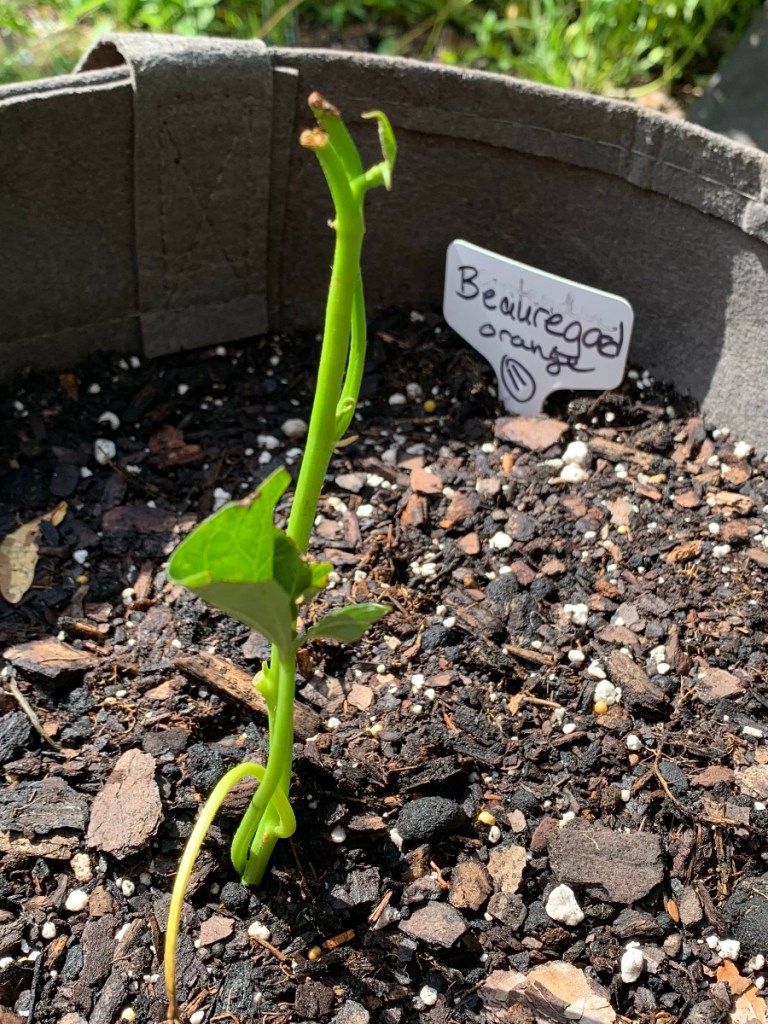
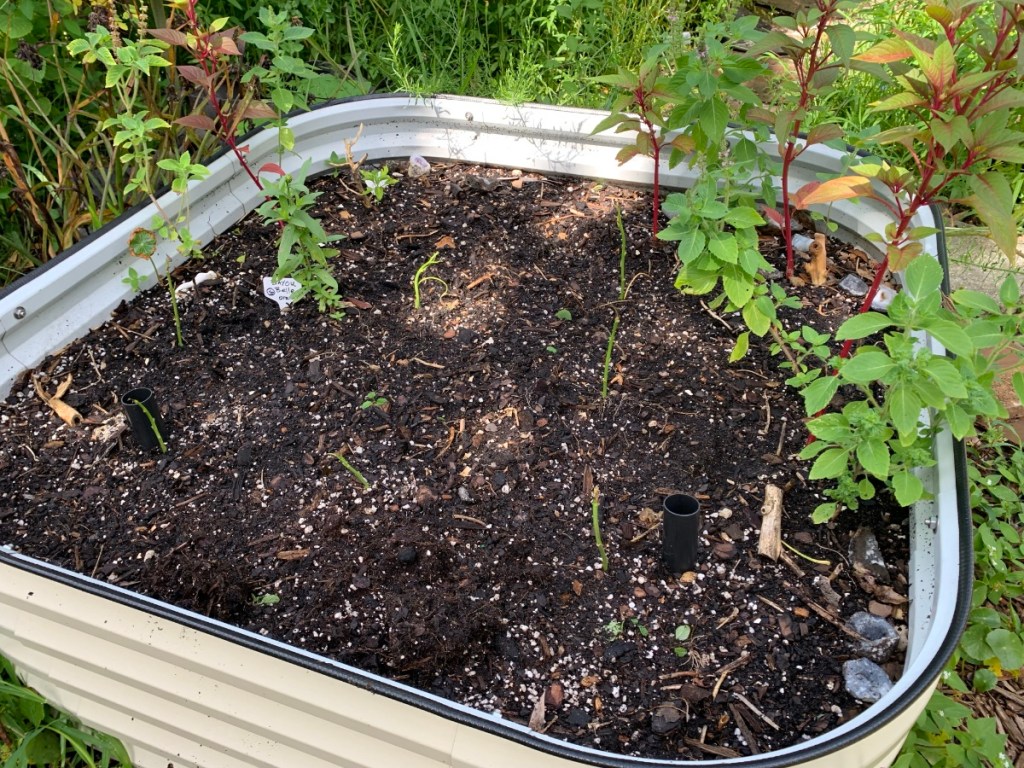
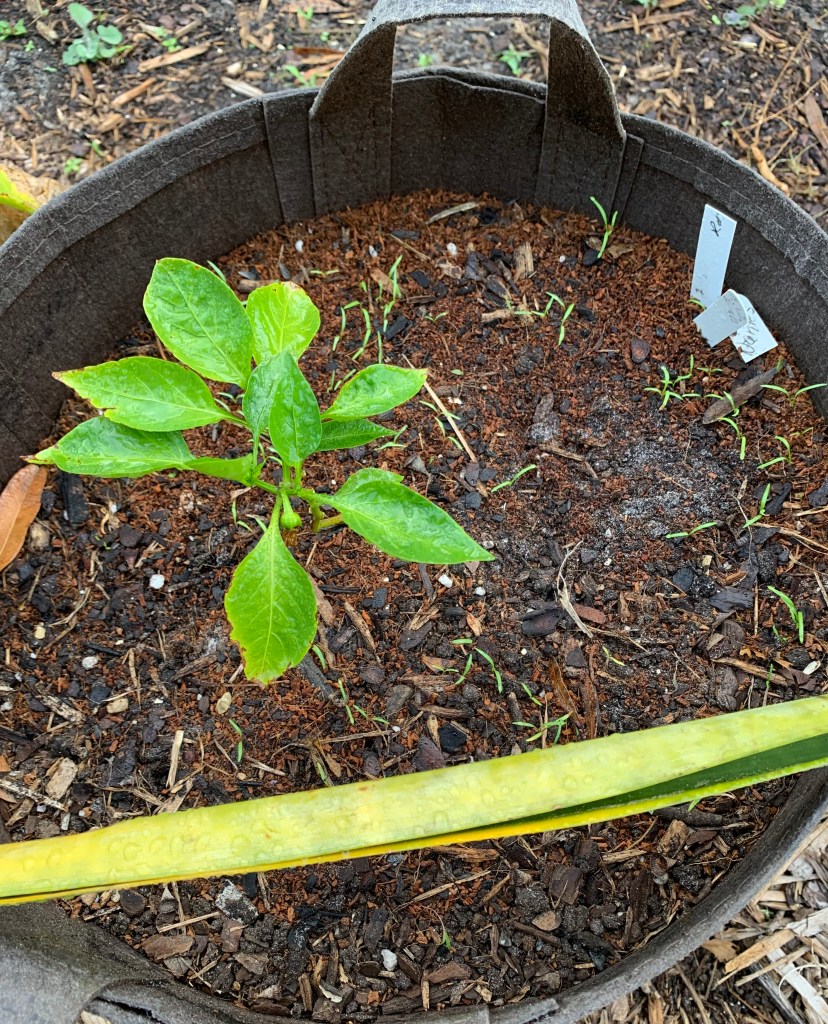
On June 16th, I put on my long UVskinz clothing to keep the mosquitoes off, and got outside by 8 AM. We still have not had enough rain, so every place I planted the slips needed to be watered. I had to add dirt to the bags and some beds. The temperature was 80 with 90% humidity, so it was super muggy to be gardening. I had no choice.
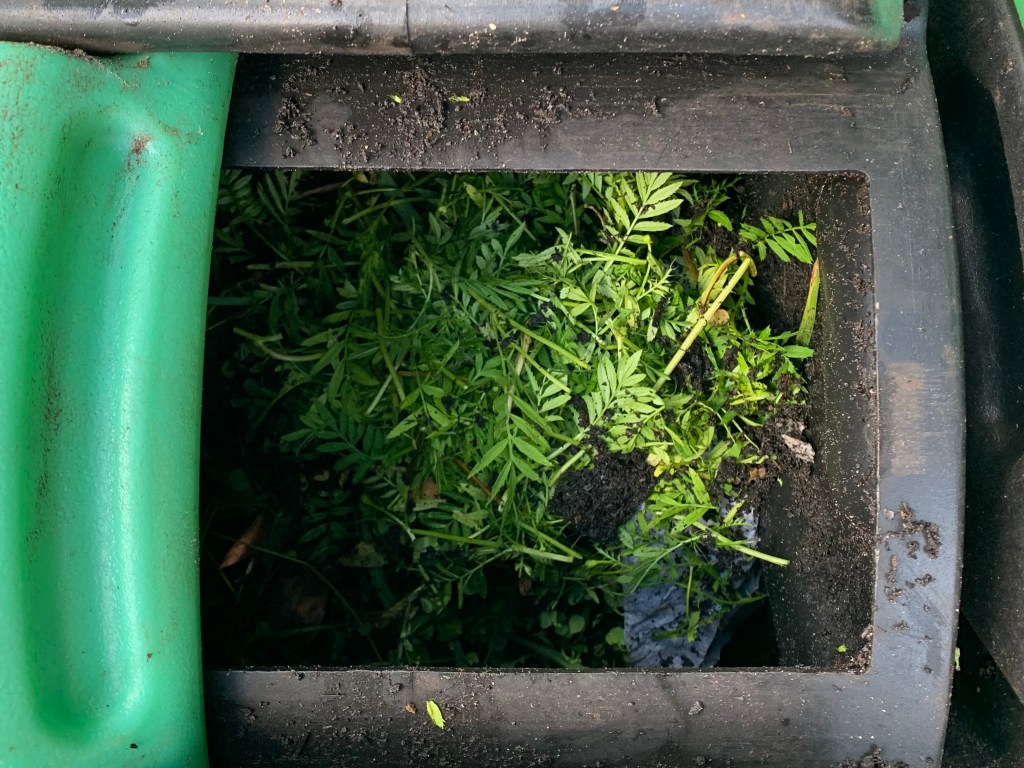
The potatoes were planted before the sun hit my yard, which made it bearable. But I was hot and dirty after a couple of hours of lugging dirt and planting. The leftover slips will go into my compost and I did manage to find space for a lot of the slips. By the end of September into October, I should be digging some potatoes.
I do not plan to have to order slips again. As long as the potatoes grow well, I can create my own slips for next summer. By the way, I believe you can order sweet potato slips early to be sure you get them. That is the way SESE does it.