Saving Seeds: Lettuce and Arugula

How to go about saving seeds from lettuce and arugula plants.

Gardening in Florida is still a new thing for me. Even though I have lived here in Florida for many years, I never had a vegetable garden until recently. Typical tropical plants and flowers I understand, but I never had time to try to grow crops like lettuce and arugula.

Finally, I think I am beginning to get the hang of it. I realize I can’t grow what I used to grow in New Hampshire’s short summers. I’ve tried to grow cucumbers and squash without luck. Maybe the seeds were bad, I don’t know. This is such a different climate. Everything is backwards as far as planting seasons.

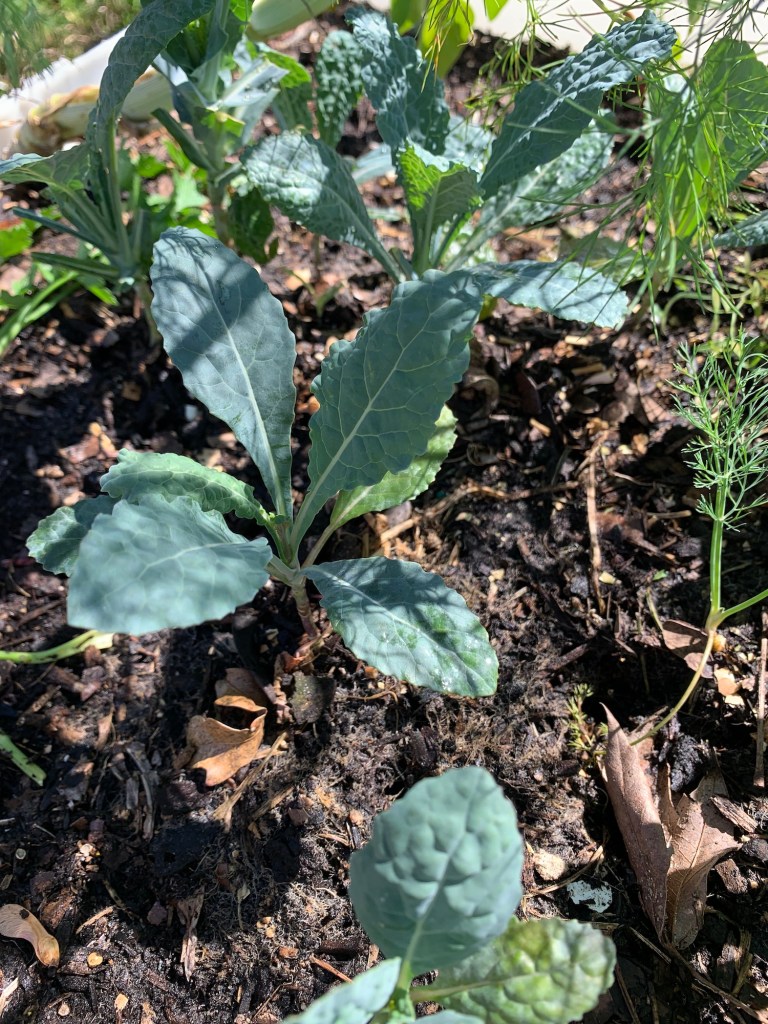
Lettuce and arugula (and kale) like cooler temps. I planted those seeds in Fall. They have done well over the winter months, even with Christmas temperatures in the 20’s.

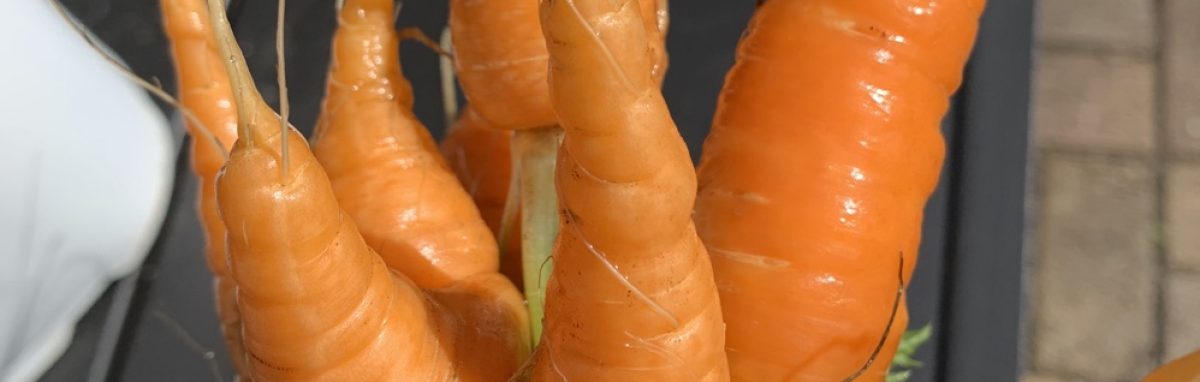
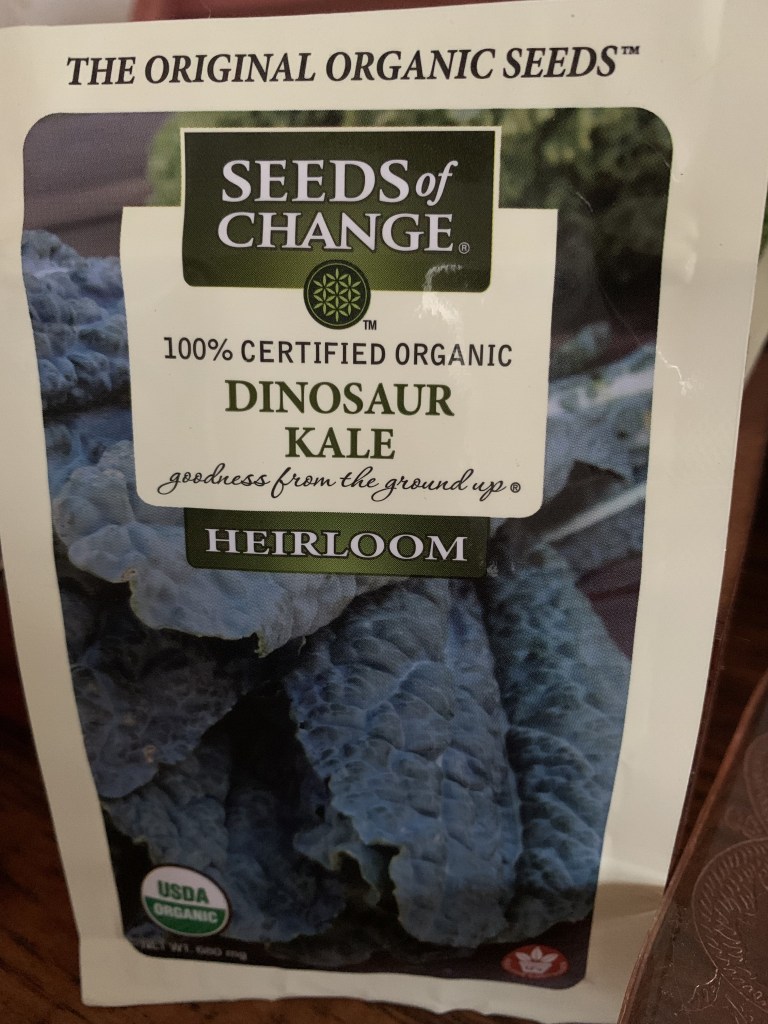
Now it’s time to save the seeds. My plants began from a company called Seeds of Change. I bought the seeds at my local Home Depot. The seeds are certified organic, and nearly everything I planted has done very well. I absolutely recommend this brand of seeds.

kale seeds organic

Collecting Seeds From Lettuce

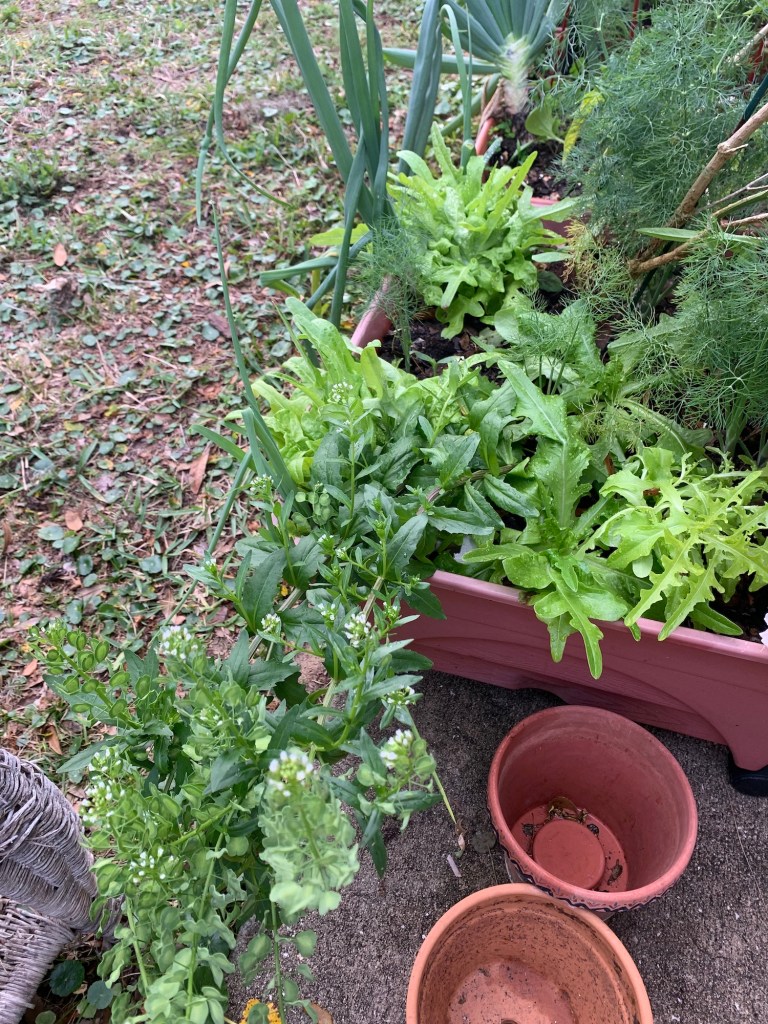
The lettuce was planted in with some peppers so I didn’t have much space. I wasn’t too hopeful for it to do well. But it did! I never ate any because it was bitter, but I have collected the seeds to try again next season. I’ll have to save space for a lettuce garden.


Now that it is March, the hot weather is on the way, so I want to let my greens go to seed so I can collect those seeds. I’ll save them inside the house to plant in the Fall.

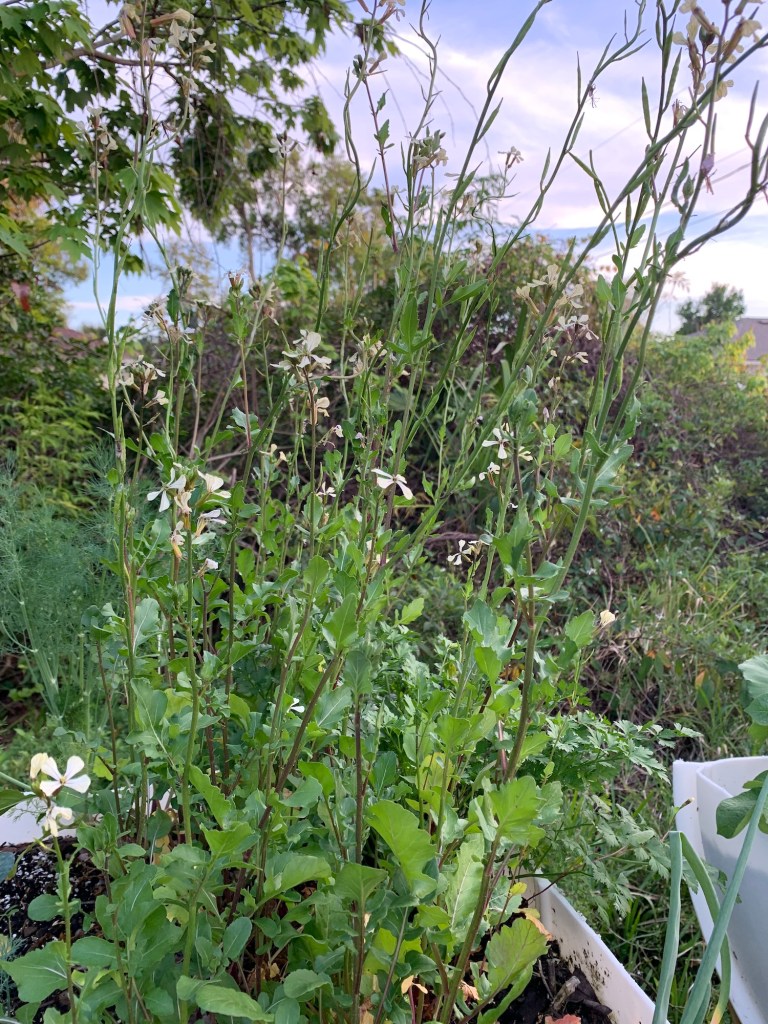
I’ve never had luck growing lettuce so this was a complete surprise. My lettuce was a mix, so I am not sure which types these were. But one of the plants sent off this long shoot which ended up hanging over the side of the garden bed.

The green leaves ended up dying back and the stems became full of seed pods!

The spiky, thin stems each held dried pods holding little black seeds! I have collected a bunch of them.

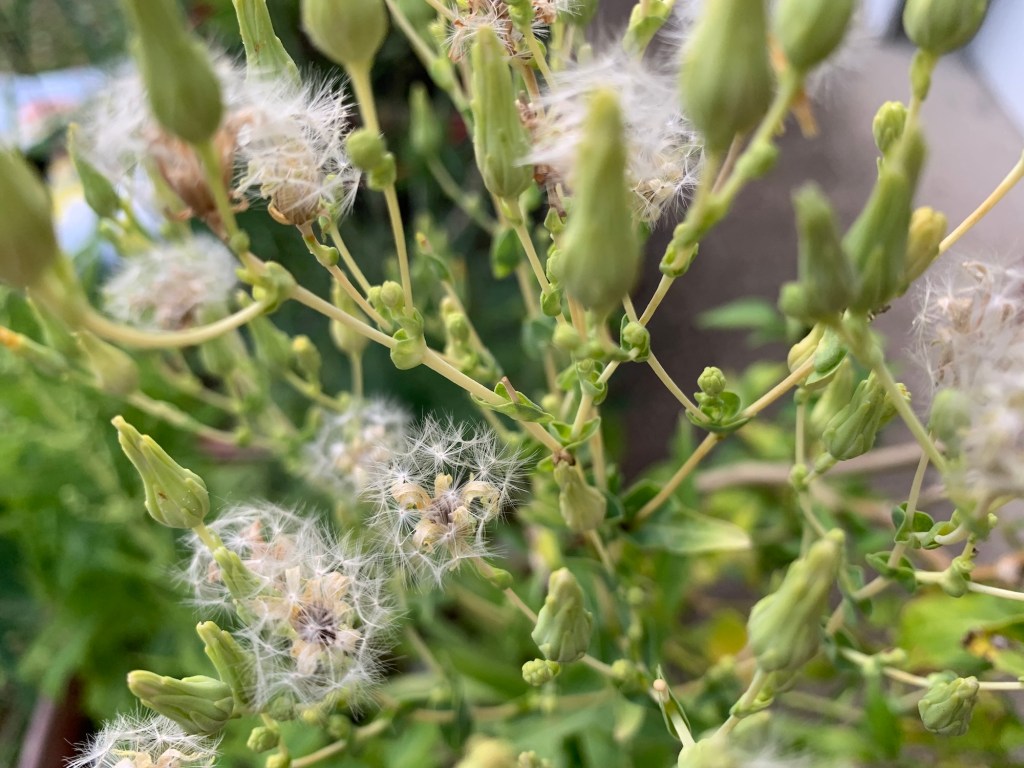
I’ve also collected seeds from a flowering lettuce stem that produced dandelion type heads. Once the weather gets cool again, I will plant them and see what happens.

Collecting Arugula Seeds

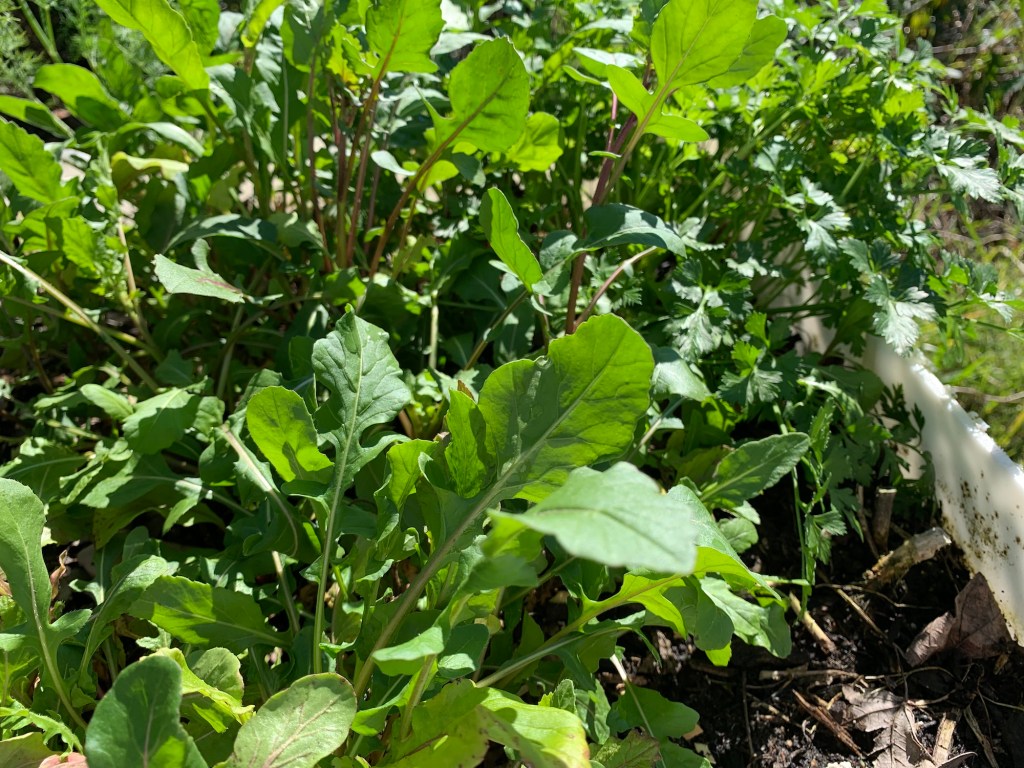
I’m sorry to say that I am unfamiliar with arugula. I tried some of the leaves, which are peppery and really good, but without something to mix them with, I rarely ate them.

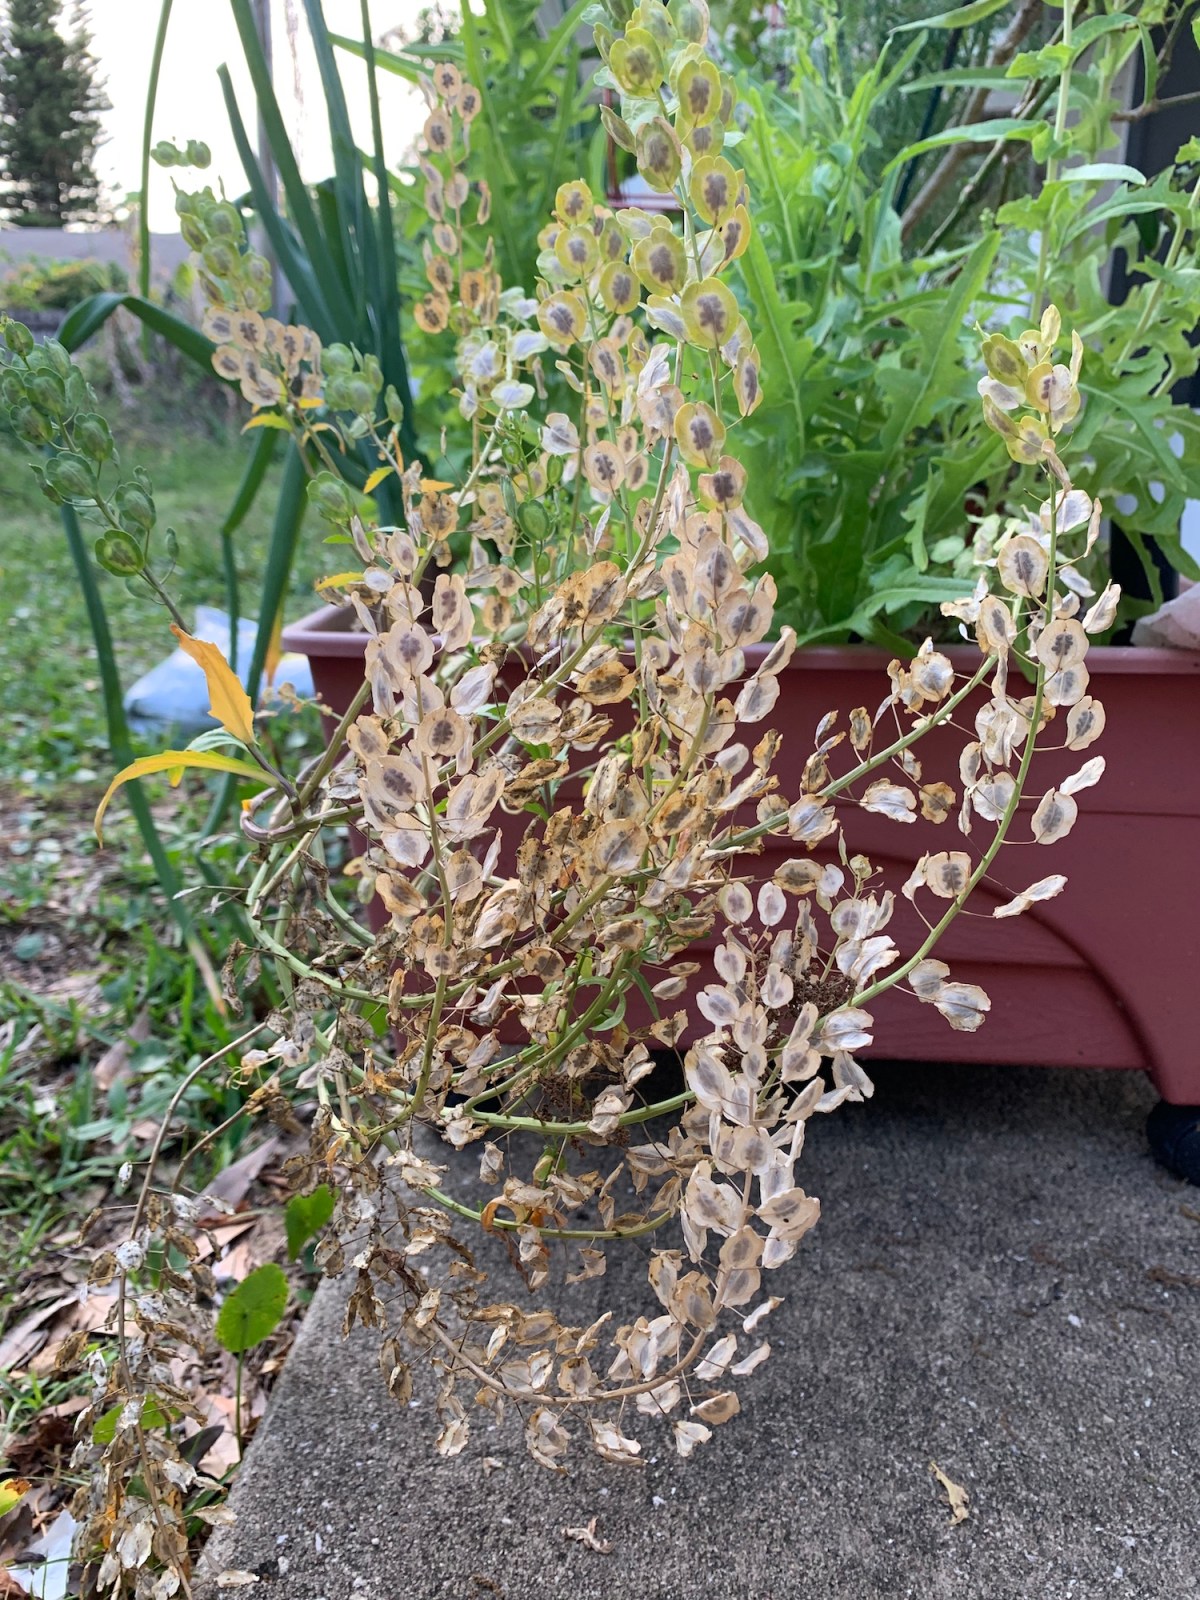
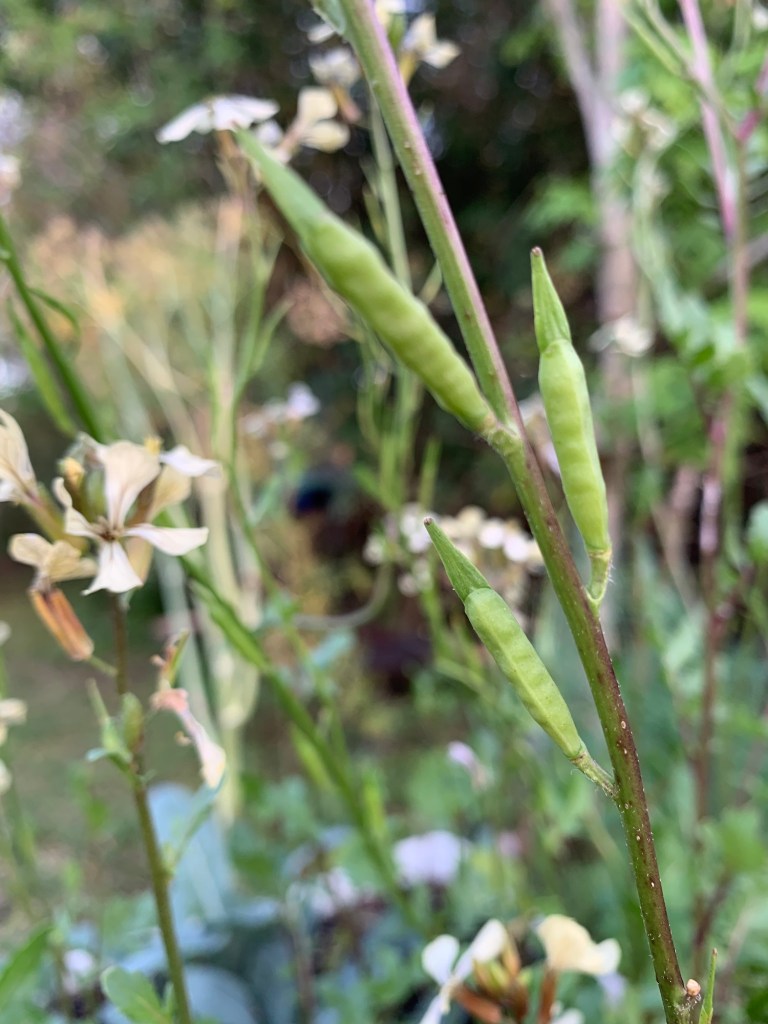
Now I am letting the flowers grow to get the seeds. I didn’t realize that the stems hold the pods that will dry out and give me seeds, until I noticed them!

I’ve seen honey bees and many other insects on the arugula flowers. Even if you don’t use your greens or other herbs and vegetables, let them grow and create flowers to help the insects. Also, the stalks dry out to become useful sticks. I used those to direct my watermelon vines where I wanted them to go!

How to Save Seeds

In general, plants will “go to seed” once the growing season is done. Also called “bolting” it means the energy of the plant goes into making seeds to continue the vegetable / herb. Lots of flowers have seeds in the dead flower head and can be saved that way.

marigold seeds
Marigold seeds

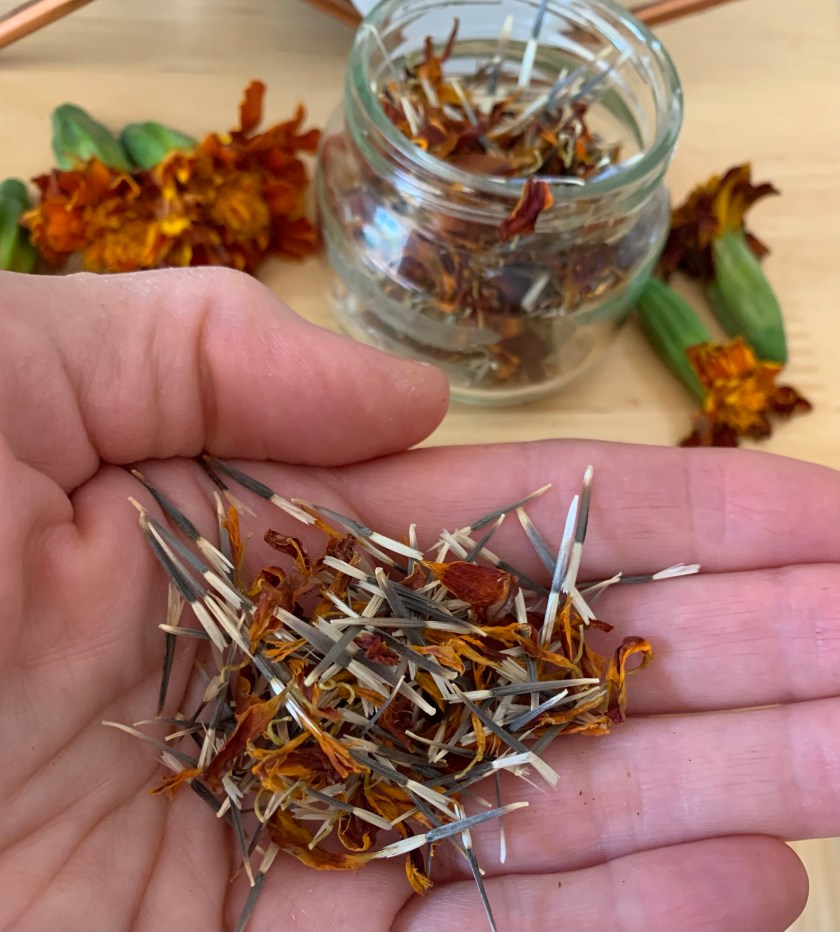
Left alone, the seeds will dry, fall to the ground, and self-seed next time. But we can let the seeds dry and then collect them to plant.

The only trouble is, that plants may create seeds in different ways. Some seeds come from the “fruit”, like tomatoes, cucumbers and squash. Others “go to seed” and create seeds from flowers or pods.

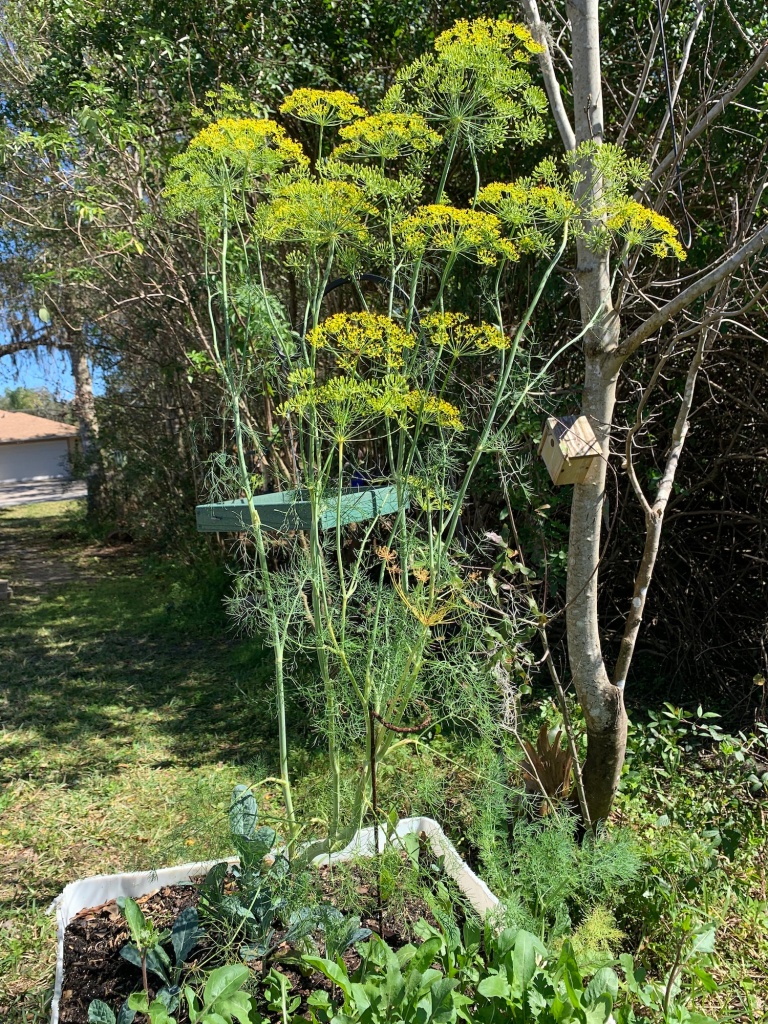
Here is a photo of the dill plant that produced beautiful flowers that turned into hundreds of seeds.

Dill flower heads turned to seeds

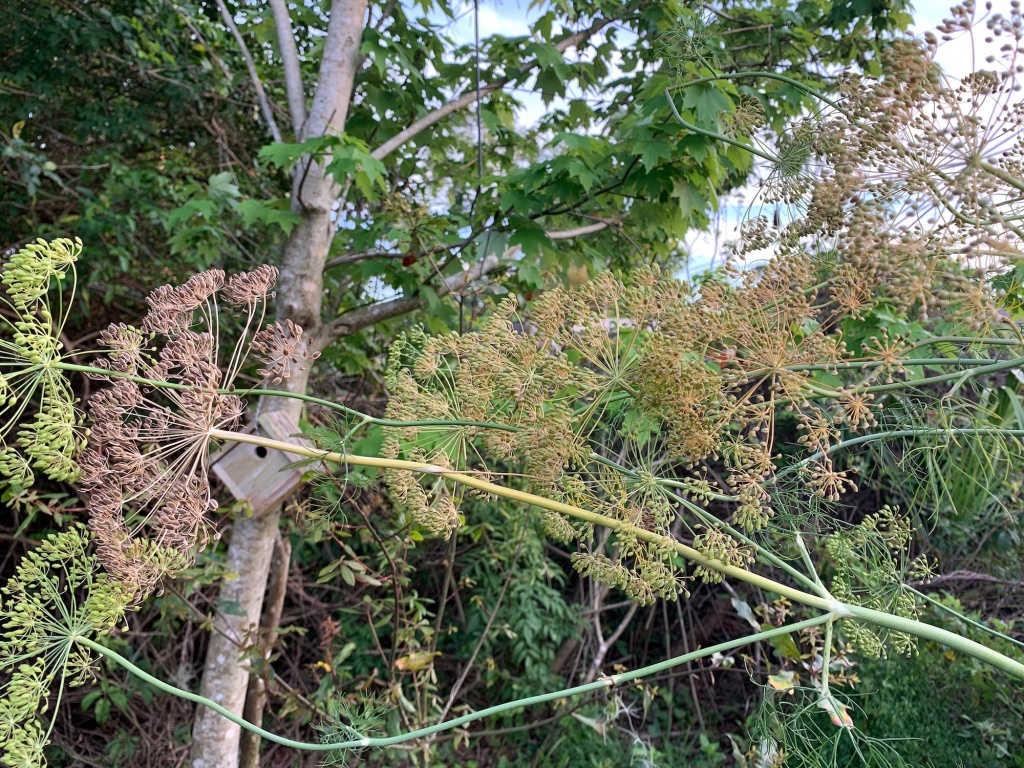
I ended up with too many dill plants. I dug them up and put them all around the edge of the yard. They are very hardy and don’t need much attention. I love dill and fennel (they are very similar looking) because their flowers attract beneficial insects. I do collect the leafy parts to chop and use when cooking.

Dill and fennel are also host to swallowtail butterfly larvae. The caterpillars feed on the plant and are then eaten by cardinals – in my yard. If you are lucky, some will create cocoons and a new butterfly. Either way, the caterpillars are useful.

More garden stories for you

Planting Potatoes in a Container Garden

My son had collected a couple of big white barrels to use for rainwater catching from the roof. He cut one in half crosswise and built stands for both halves to create raised garden beds for growing potatoes.

I’ve grown potatoes a few times, and fresh dug potatoes are delicious. Now, I have no yard space to grow them, so they will go into the containers.

homemade DIY barrel raised garden beds

The potatoes I used were simply old red (and one white) potatoes from the kitchen that had developed growth from their eyes.

I know that most information about planting potatoes says to buy special seed potatoes, but I never have. The reason for buying seed potatoes is to prevent disease, which is a good reason. I already had the sprouted potatoes so I used them. Also, orders are for pounds of potatoes – which I don’t have room for.

Read this page at Microveggie for ideas on where to buy seed potatoes.

The potatoes from the grocery store usually sprout on their own if left long enough, but I’d love to begin with the good, disease free ones, and keep planting from there. Don’t ever use the green parts of potatoes for anything – planting or eating!

March Potato Planting

I’m in Florida, and March is the time to get serious about planting a garden. This year I grew seeds in eggshells and purchased new grow boxes for the vegetables.

red and white potatoes with eyes

Beginning of March: After adding bags of organic garden dirt to the barrel beds, I mixed in some leaves to loosen the soil, bone meal (good for developing good roots) and blood meal. I add the “meals” this because I use these amendments in all my gardens each spring. Otherwise, no fertilizer needs to be added to potatoes while they are growing.

Compost would be nice to add, but presently I am in the middle of making my own compost using the Hot Frog Composter. It might be ready for Fall planting.

planting potatoes in raised container beds

Potatoes should be cut with only a couple of eyes in each piece. Plant each cut piece with eyes facing upward and cover with a couple of inches of dirt.

I put five cut pieces into each bed. This is probably too many. Also, the barrel beds are really too shallow, but I have no other place to grow potatoes. I will see what happens.

Potatoes in soil

We had a lot of rain for a few days after they were planted. My son had drilled holes in the bottom of the barrels for drainage. After a week or so the green leaves began to show. (Leaves are poisonous, so keep pets and kids away.)

potato plant
Potato plant
potato plants in grow box
Potatoes

As the green stems grow and get tall enough, I am adding more dirt. The potatoes will grow off tubers under the soil. The more dirt for them to spread out, the better. Unfortunately I don’t have much land for growing potatoes in the ground.

Building up the soil around the greenery

Potatoes grow well with green beans planted nearby. This is what my gardening book advises. If your garden is in the ground, and you have space, maybe do this.

When Are Potatoes Ready to Dig?

Once the tops – those green parts – die back, the potatoes need to be dug up. How long does it take? In general, three months, give or take.

It is possible to gently dig around the plants before this to pull up small potatoes for eating. After the plants have been growing for a couple of months, it is possible to carefully dig around and find a couple of small potatoes to eat. In a small household, like where I live, this is a good idea so I won’t end up with all the potatoes being ready at once.

In the ground, I would use a pitchfork and carefully lift the soil around each top. They can really branch out, so dig around.

Because they are in the barrel, I’ll choose a time when the soil is dry (hopefully) and dig with a hand shovel and gloves.

When all the potatoes are pulled out of the dirt. Let them sit in the sun to dry a bit. DO NOT RINSE THEM… just brush the dirt off. Often gardeners will say to cure them, which toughens the skin for storing. If your harvest is large, see what to do here at “How to Harvest and Store Potatoes”.

Potato tops can go into the compost pile. Leaves of potato plants are poisonous if eaten, but can go into the compost to be broken down. Only do this if the plant shows no sign of disease. Read more about composting questionable poisonous plants.

I will follow up with more information about my potato garden as the season progresses.

More Gardening News

Can Borage Grow in Florida?

This winter I have been experimenting with growing various herbs and vegetables. Borage is something I always loved…

Rubber Trees in The Florida Landscape

It all began with one indoor rubber tree plant. When it started to look gangly, I cut it back and stuck the cuttings in water to see what would happen. You can read about the rubber tree trimming here. Many of the cuttings did root and I simply planted them in the ground. A few never rooted for whatever reason.

rebber plant cuttings
Cuttings in water

I ended up with four rooted stems which I planted straight into the dirt outside. I’m finding that my rubber tree babies are growing wonderfully in my Florida yard. But is there a drawback to having rubber trees in the yard?

Continue reading “Rubber Trees in The Florida Landscape”

Starting New Crotons From Old Plants

It’s easy to start new croton plants from cuttings.

Finding plants that will propagate easily has always been a goal of mine. Starting new crotons from old plants is easy. In fact it’s easier than propagating most things I’ve tried.  Cut the stem, put cuttings in water and wait a few weeks.  More detailed explanation below.

It is possible to propagate hydrangeas, but that takes time. It’s worth it, because in the end you have a new, lovely hydrangea bush. In fact my baby hydrangeas grew quite large before I had to move.

But back to the crotons. These plants love sun and heat and can live through a draught. The wilted leaves come back after getting some water. Crotons like well-drained soil, and the sandy soil of Florida helps this plant to love it outdoors. It can even survive the cold nights we sometimes get here in Central Florida.

This first photo below was taken over the winter months, when the leaves are duller in color with more green and dark purple colors.  Or maybe this one just needed better care.

crotons and birdhouse
Winter Croton

In this second photo, you can see that this plant’s leaves have turned stunning red, orange, yellow and pink from the bright Florida summer sun.  I’ve also given it fertilizer and cleaned out the pot a bit.  It was full of ferns.

croton
Summer Croton

So, to propagate this croton, I waited until Spring when it began to grow some new leaves. Then I cut off the top of a longer stem, also making the stem long enough to drink from a vase of water. Remove the lower leaves of that cutting, and put it in water.

croton
Bright Orange Leaves of the Croton

You will want the stem to not be touching the bottom of the vase, so find one that leaves it hanging. The new roots will grow out of the bottom of the cut stem.
Wait a few weeks and the roots will emerge. Be sure to change the water in the vase daily! Once you see roots, it won’t be long before they are long enough and you can plant the new croton in a pot or the ground.  Don’t plant until the roots are at least an inch long.

propagated croton plants
Three New Croton Plants

These are my three new croton plants. Their leaves are not as bright because I took the cuttings before the mother plant’s leaves turned so pretty. But once these new plants are in the ground, in a sunny location, they will turn just as bright.

As you can see below, the baby croton is turning color.  I need to fertilize these plants for better result, but even without much attention, crotons will grow beautifully.

croton

What I’ve Learned About Planting, Harvesting and Drying Garlic

Information on how to plant, harvest, dry and store your own garlic.

hardneck garlic bulb cloves
Planting, Harvesting and Drying Hardneck Garlic

I live in southwestern New Hampshire and each year I attempt to grow my own garlic.  After much trial and error and reading articles and books, this is what I’ve learned about planting, harvesting and drying garlic in my area of the country.

The first couple of years I had little luck, but I didn’t know what I was doing.  I wasn’t sure exactly when to plant it, and it never grew very large when I did manage to grow a few bulbs. As time went on, I read more, and realized that it needs to be weeded well. Weeds will compete for nutrients and keep the bulbs small. Also a little fertilizer when the stalks begin to grow can help. Continue reading “What I’ve Learned About Planting, Harvesting and Drying Garlic”

Baby Hydrangea In Second Year After Propagation

Hydrangea planting
New Plant - Second Year

Want to see my baby?  This little hydrangea bush was propagated from a large one.

Sometime in the summer of 2009 I noticed that the big, blue hydrangea plant in my front yard had a “baby” growing next to it. It didn’t have a bloom, so I dug it up and put it by the front steps.

**Note: I’ve since read that before digging up a new plant, first chop it from the “mother” plant and then leave it where it is for a while to let it get accustomed to growing on it’s own. After a month or so it’s safe to dig it up and it will be more ready for life out on it’s own!

Anyway, it is thriving and even has little buds showing this year. Last year, summer of 2010, it grew two long stalks, but no flowers. I was worried about it this winter with all the snow we had, but the brown stalks were still there once the snow was gone and leaves began to grown from it quickly. Besides new growth on the stalks, it is filling in with more stems and I look forward to seeing the flowers of course and am a bit curious what color they will be. I am thinking blue.