Three Ways to Begin Vegetable Gardening in a Small Space and Not Using a Raised Bed

Want to grow your own food but don’t have much time, space or money? Start small with a grow box or fabric pot and see how it goes.

If you have been bitten by the gardening bug, but don’t know where to start, I suggest you start small. A small space is easier to manage especially if one person alone will be tending it. I am not covering raised beds that cost a lot to buy and / or build. The garden ideas I mention here are inexpensive to create.

Take your time and abilities into consideration. Begin with a small, manageable space outside, such as a grow box, fabric pots, or little area of the yard to plant. All of this works for growing flowers too.

Plant For Your Climate

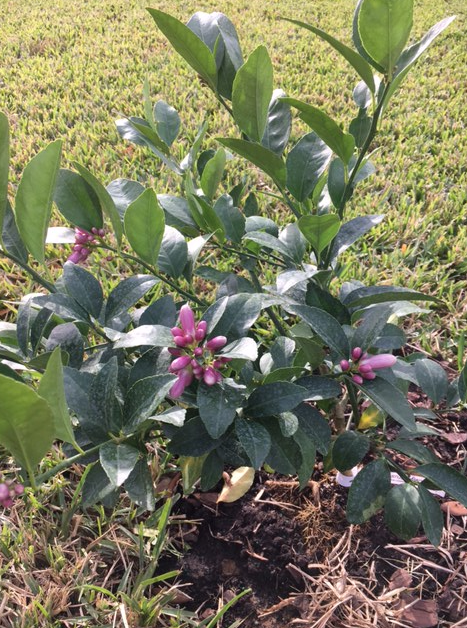
No matter where you live, do some research about what grows well in your area. I made the mistake of trying to grow the same types of veggies I grew in New Hampshire when I moved to Florida! It was a disaster and I became very discouraged. 

I live in east, central Florida where gardening can happen year round, if the correct types of veggies are planted.

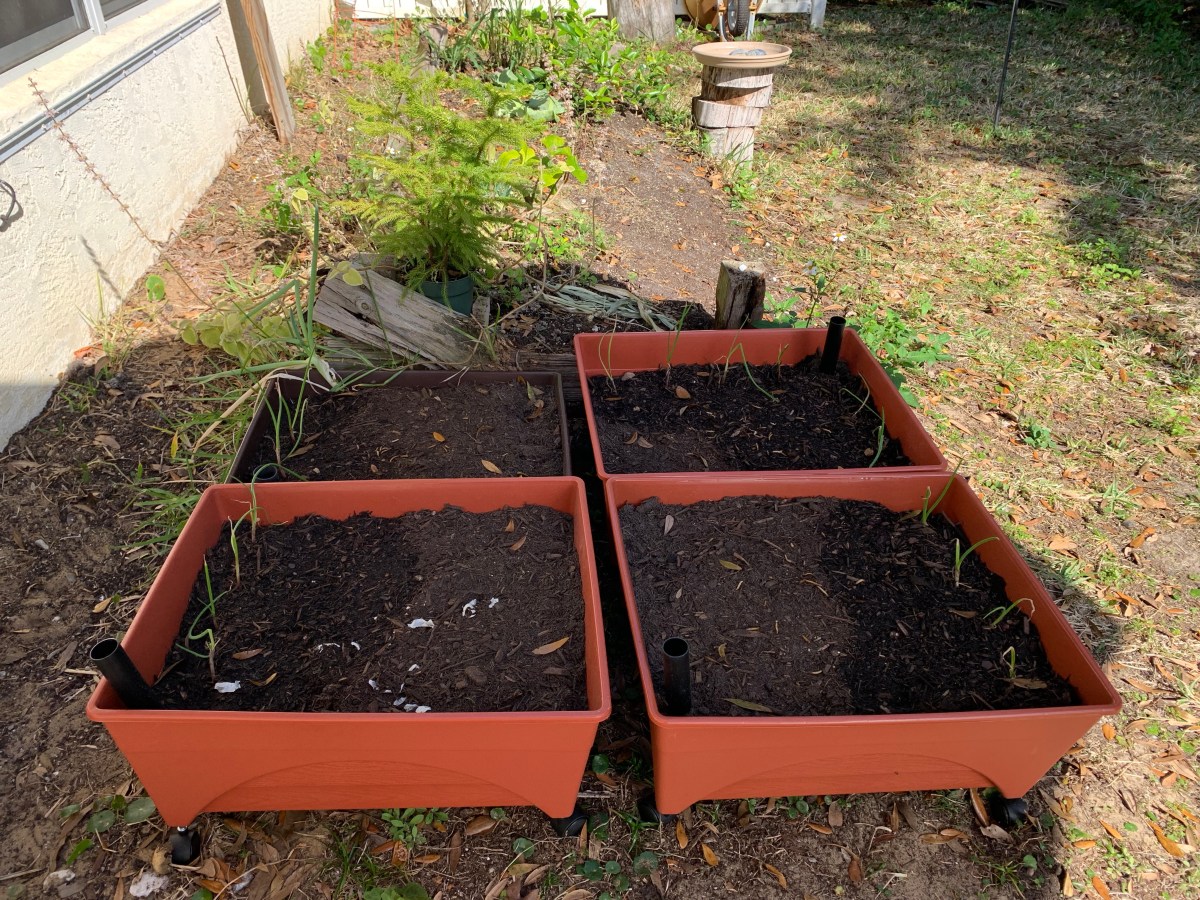
Grow Boxes Keep Everything Contained

I started my Florida gardening journey with a few grow boxes. I bought them at Home Depot and filled them with potting soil. This was a great way to get started without having to dig up the yard or do sheet mulching. The boxes are on rollers which makes them easy to move on my patio.  Weeds can’t grow in, but you will see some pop up.

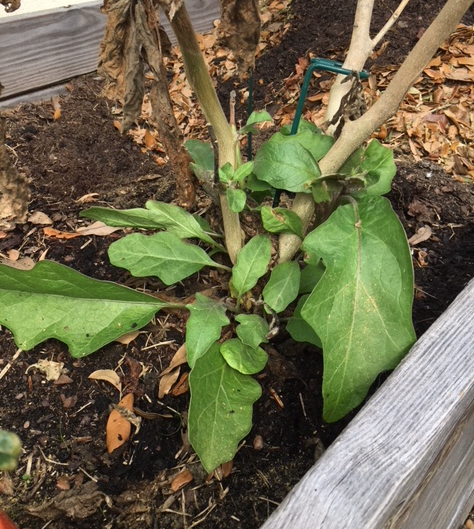
The downside of grow boxes is that they are not very deep. But, I have grown green pepper, eggplant, and tomatoes in these boxes. If you attempt this, keep it down to one large plant per box.

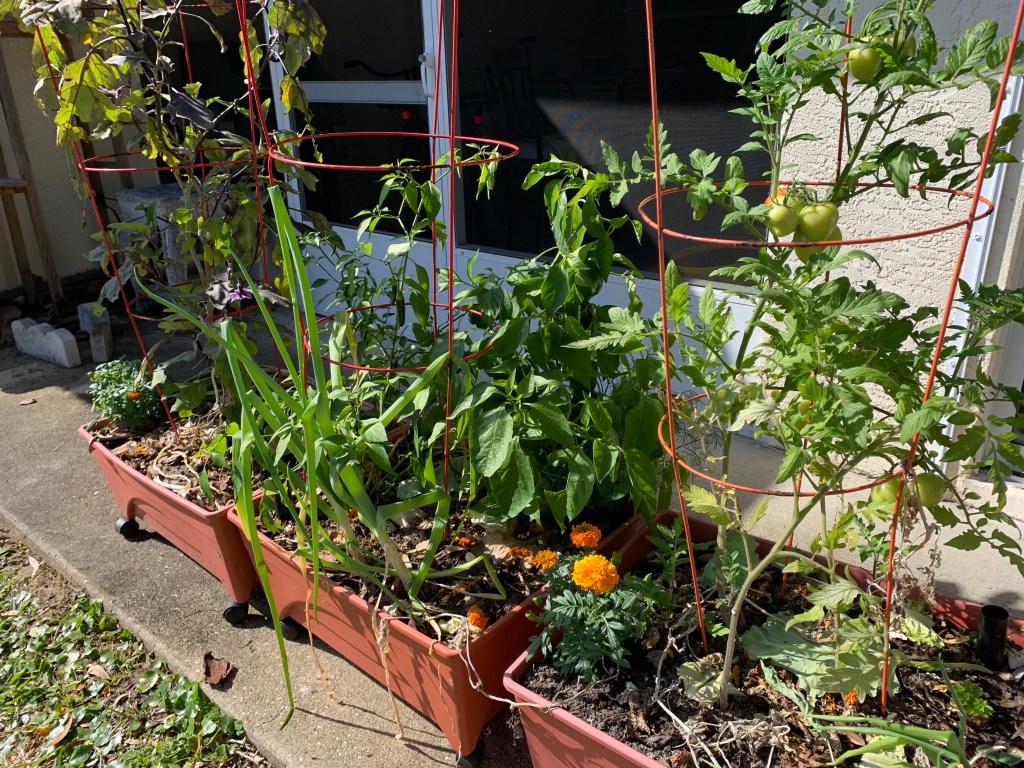
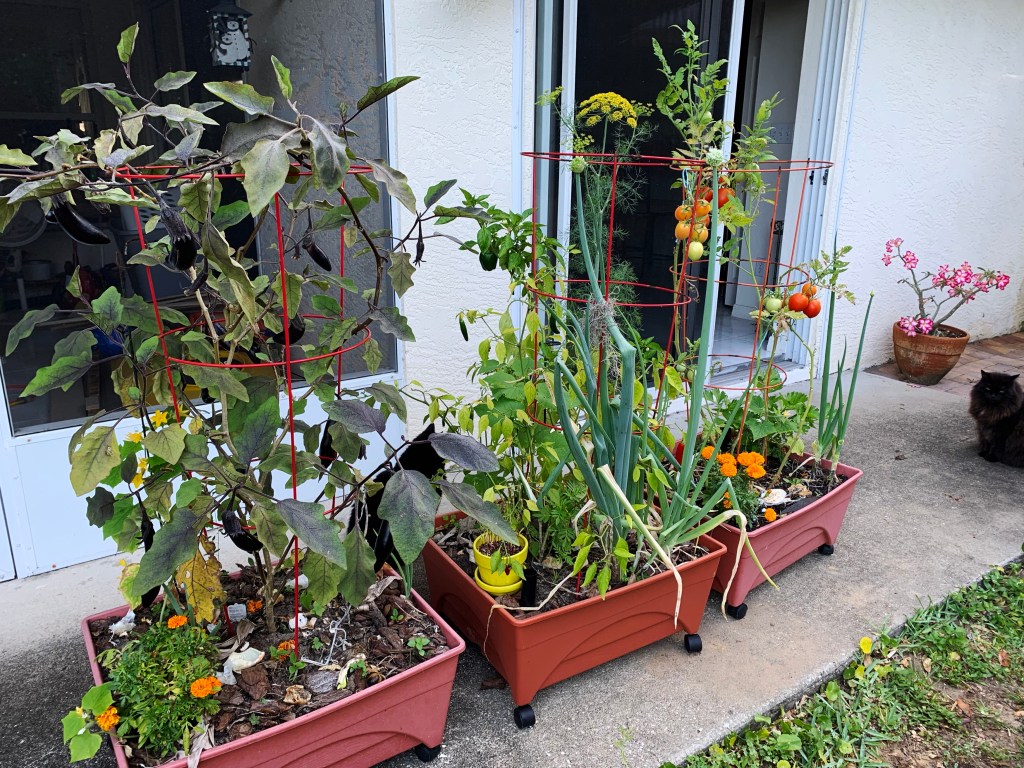
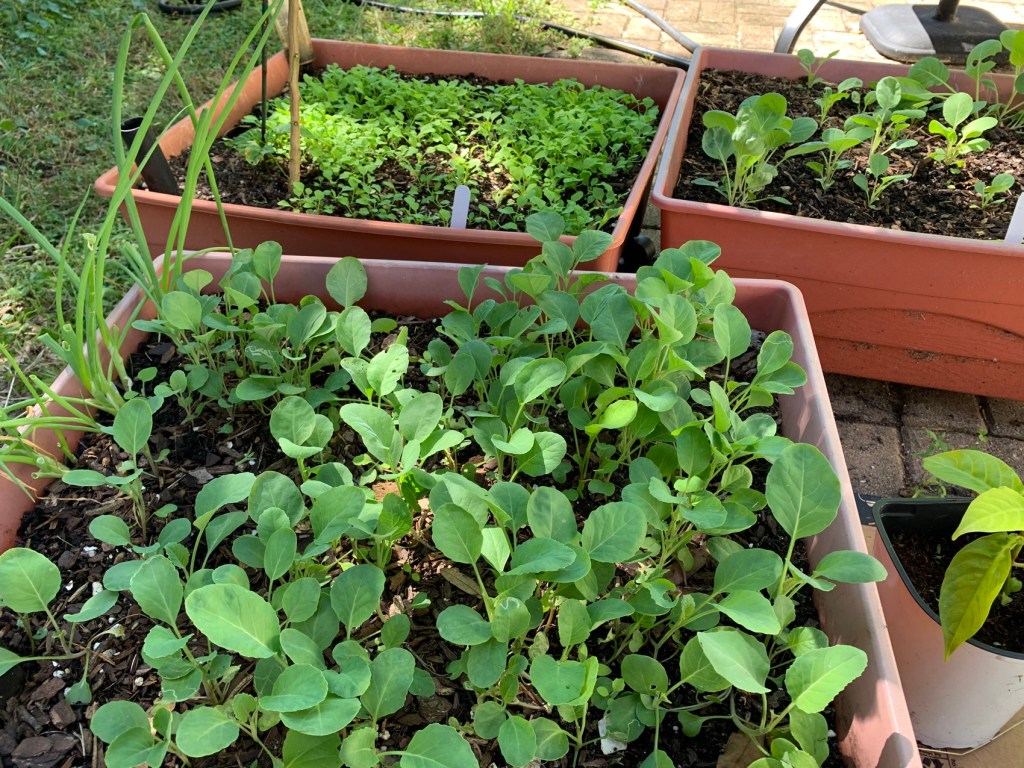
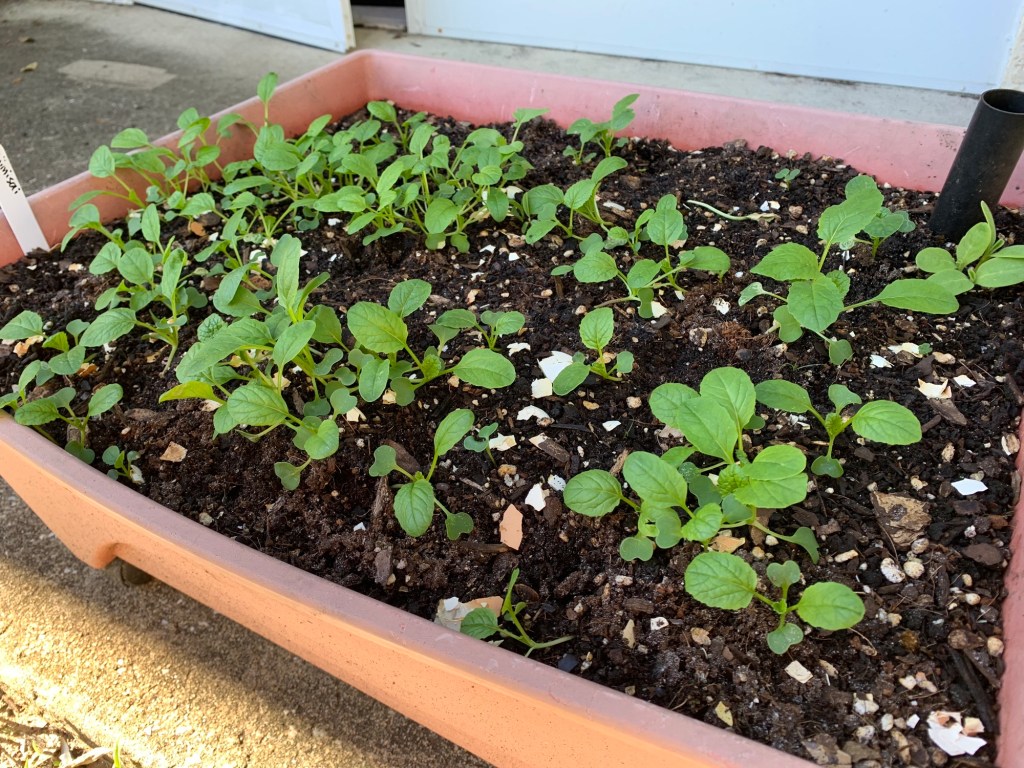
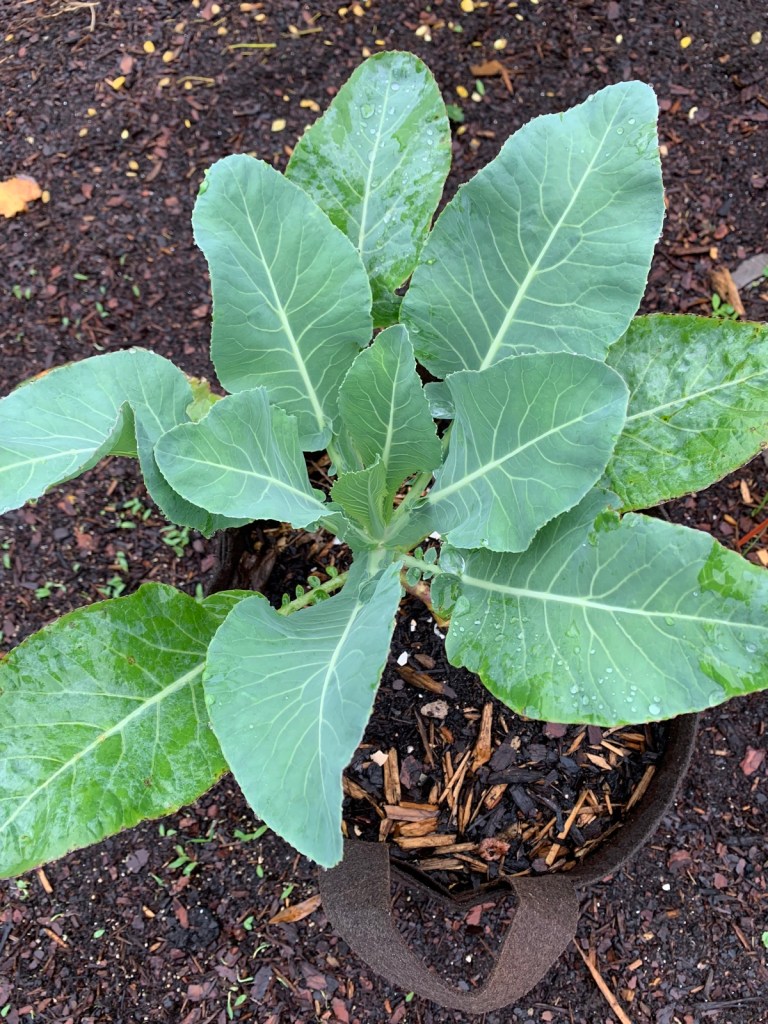
These boxes will easily hold some herbs or greens such as spinach, arugula and lettuce. A flowering plant, such as a marigold could be added, or plant scallions along the edge.

Raise some worms

The boxes are also great for starting worm families. I am not a worm grower, but when I added a few worms from the yard to a box they multiplied! From there the worms can be added to other boxes, or back into the yard. Worms are excellent for making the soil better.

A place for some compost

At the time, I did not have a compost area, or my Hot Frog, so my fruit and vegetable skins, tops and leftovers were chopped and added right to the soil in the box. Mostly I added banana skins and coffee grounds, and I didn’t overdo it.

My boxes are similar to the ones in the Amazon link below. They come with a tube where the water is supposed to be added, but I treat my boxes normally, watering from the top, unless it’s very hot and dry.

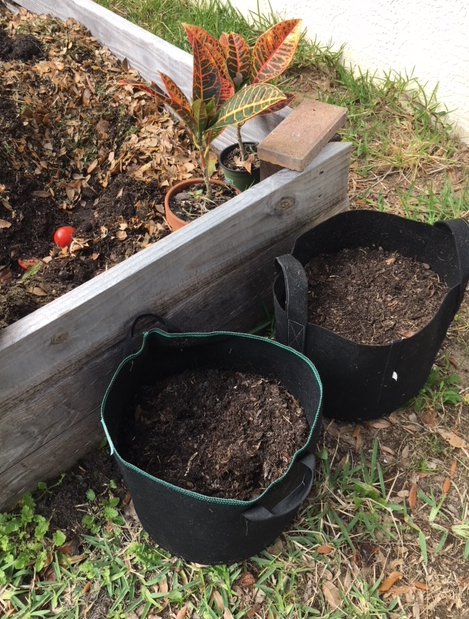
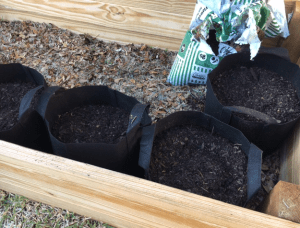
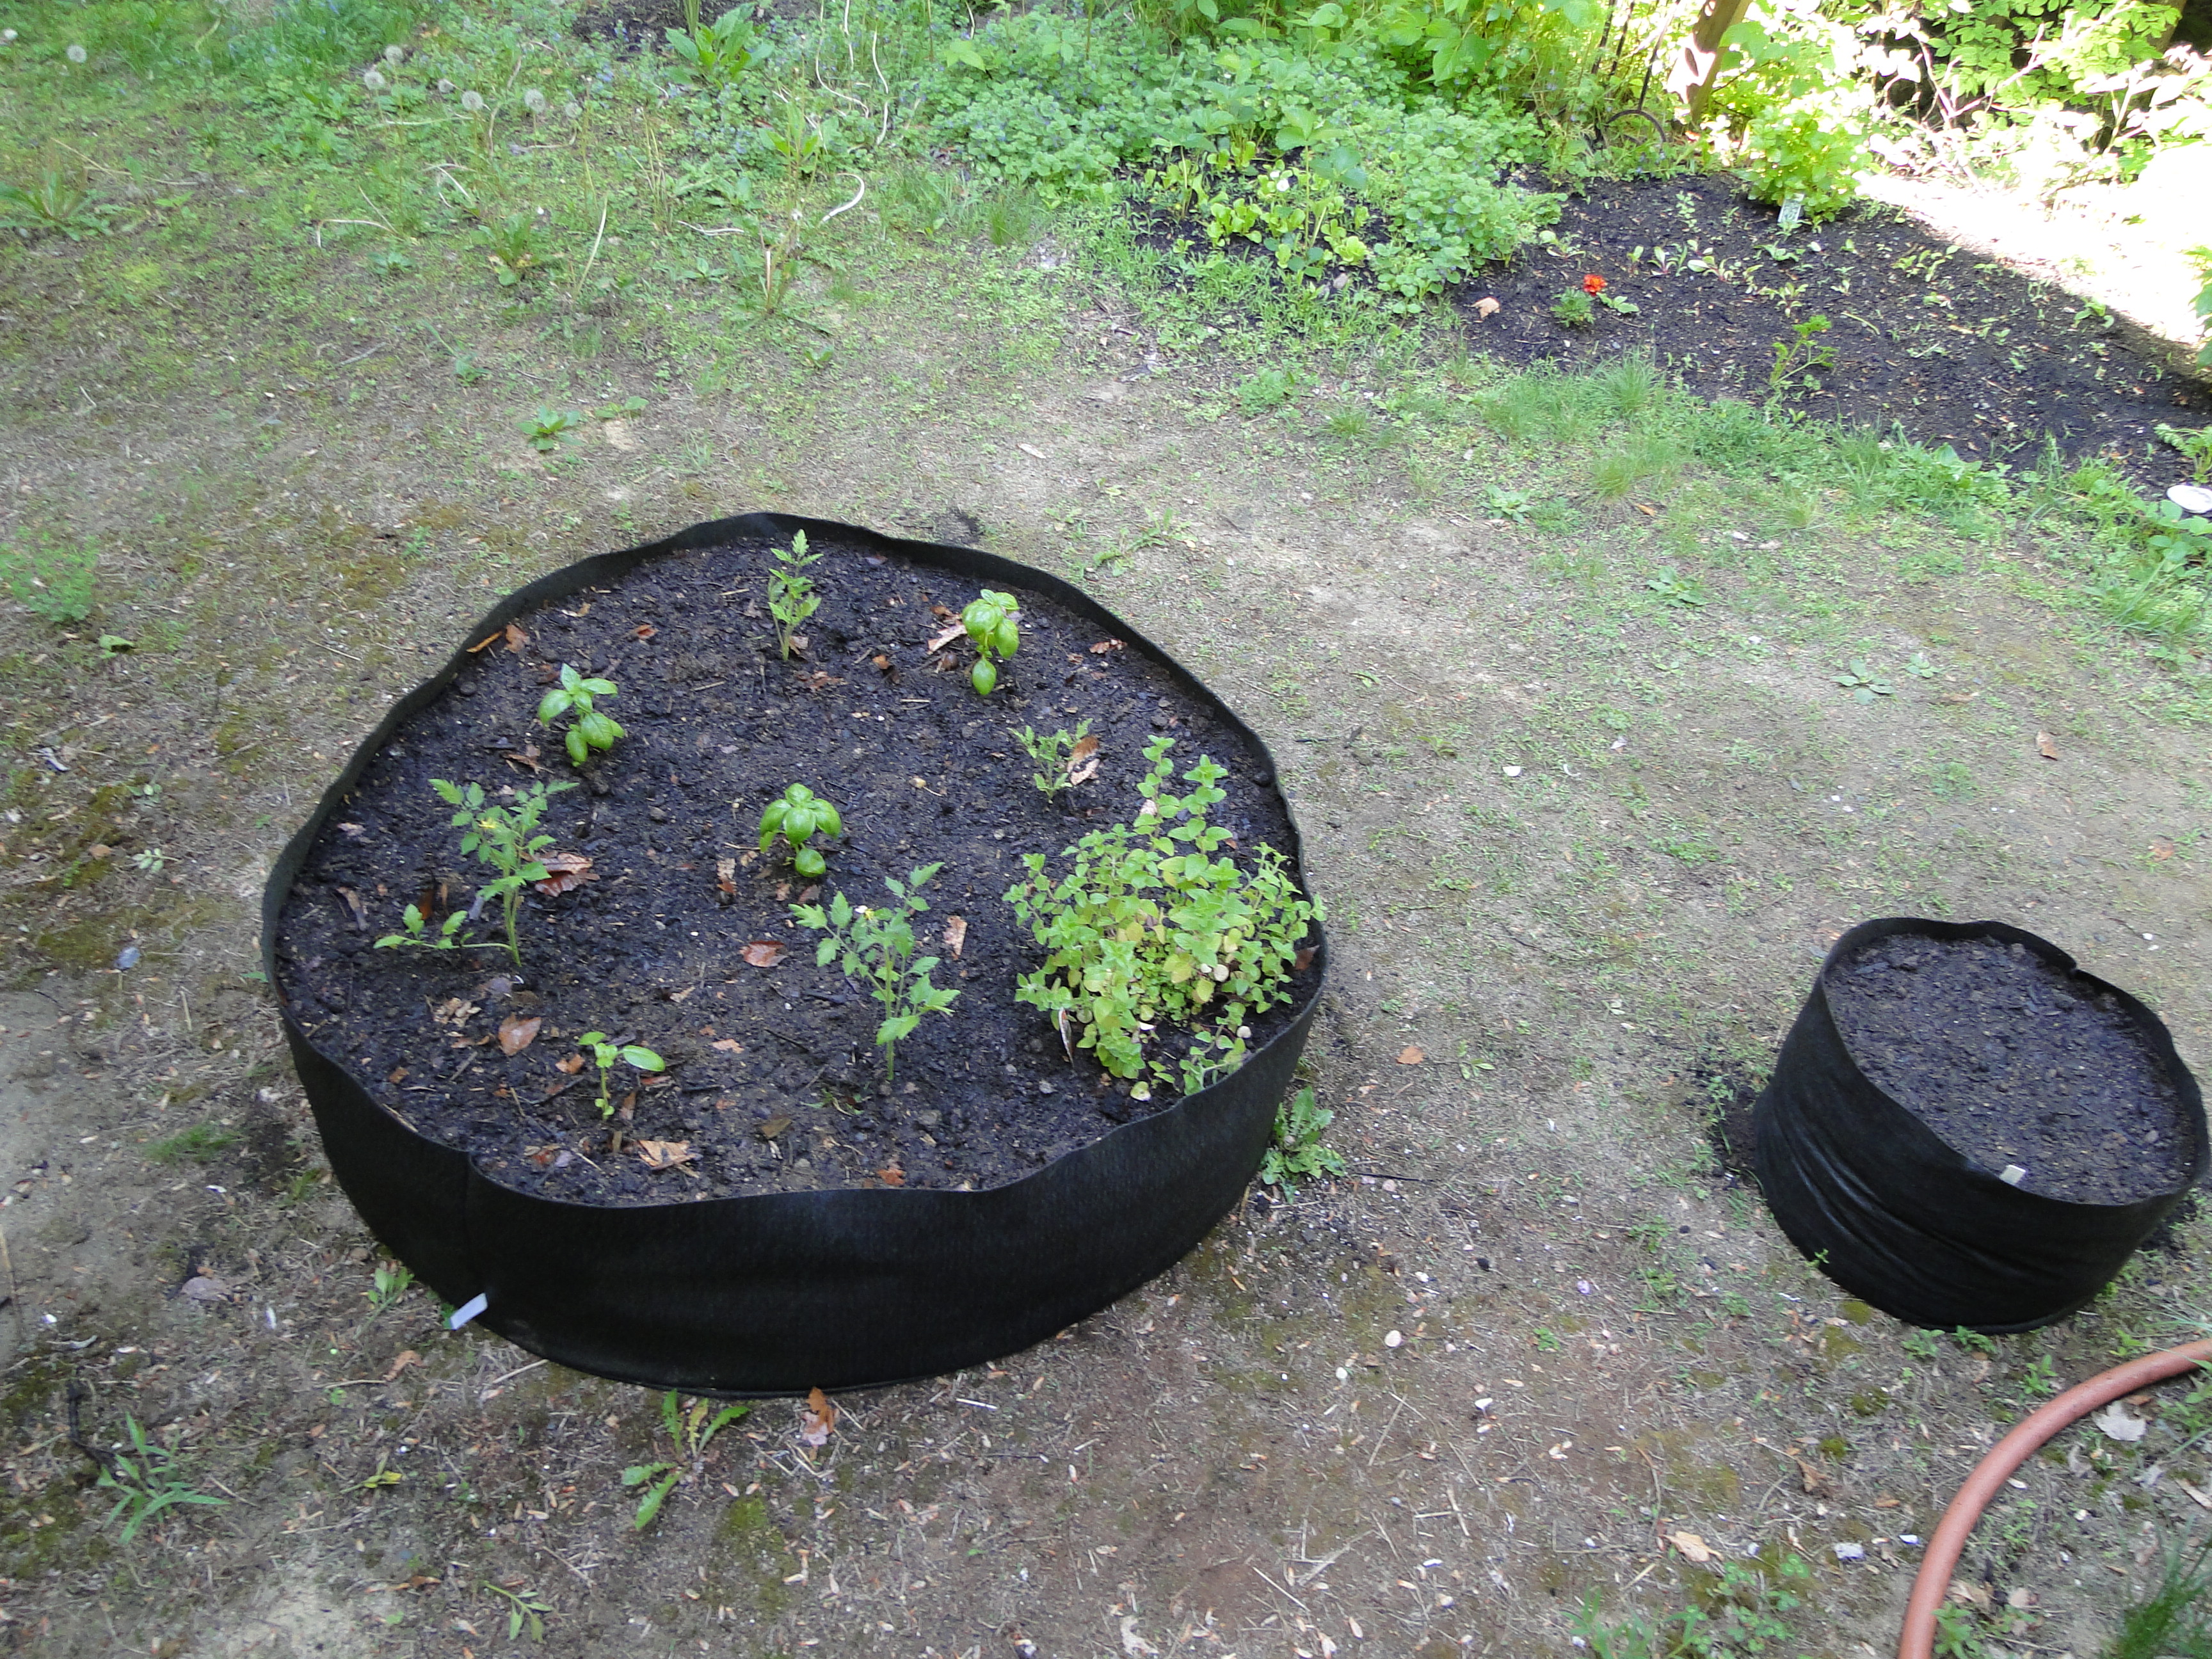
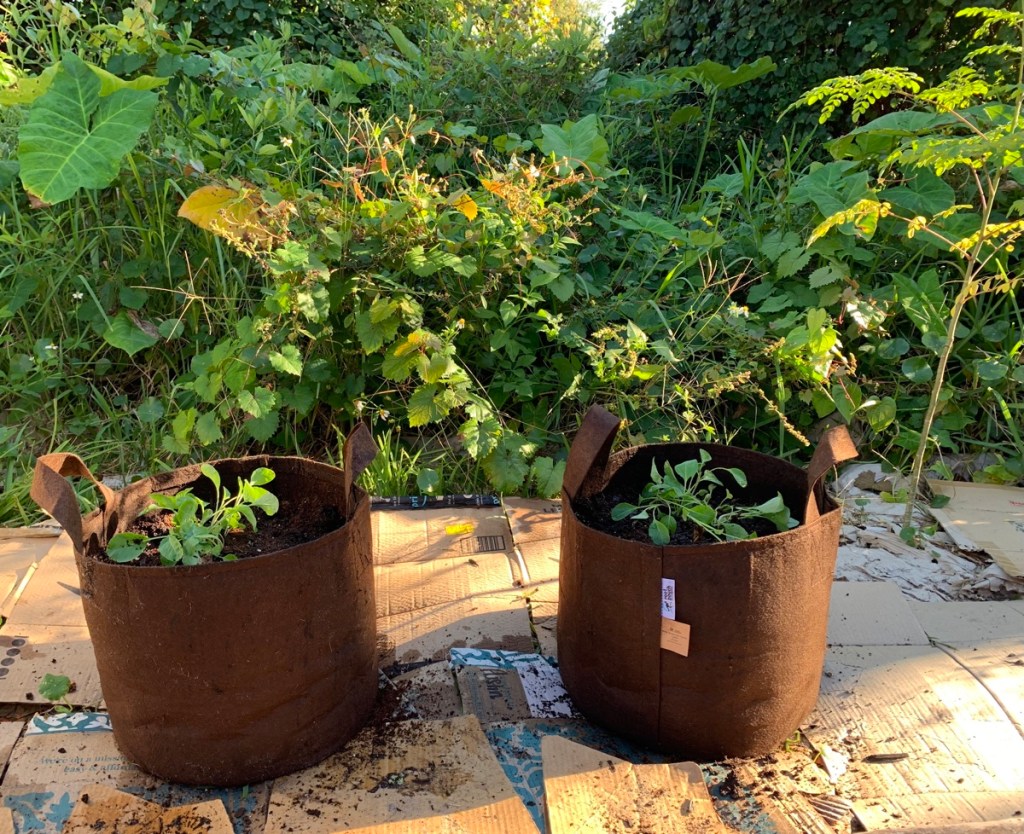
Fabric Pots For Vegetables

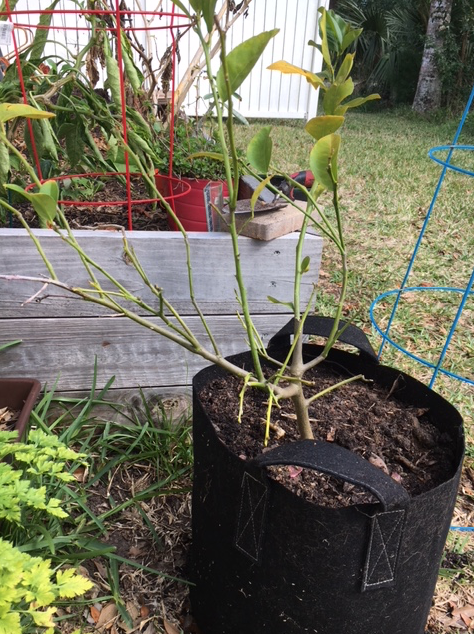
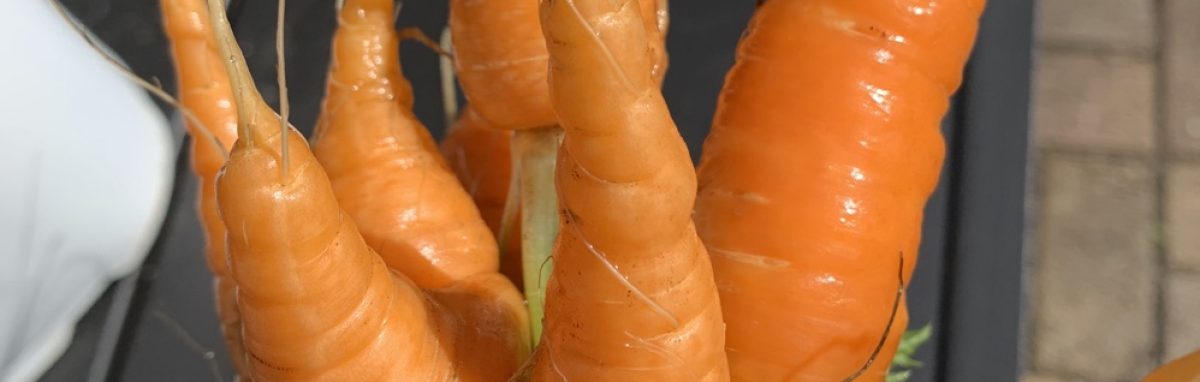
Fabric pots come in many different sizes and can work to grow small amounts of vegetables. Either use one bag to grow a large type plant, such as eggplant or tomato, or fill it with carrots, greens, or herbs, that can be grown closer together. The pots are usually taller than the boxes, but not as wide. Be careful not to overcrowd vegetables. 

I wrote a whole page about Gardening in Fabric Pots and my experiences in New Hampshire and Florida. Dark colored pots can help warm the soil for growing in the northeast and other colder climates with a short growing season. In Florida, I like the ability to move the pots out of hot sun as needed.

Most pots have handles and can be carried, or dragged, to a new location. Do this before watering, or when the soil is fairly dry. Be aware that water runs out of the bottom and sides of the fabric.

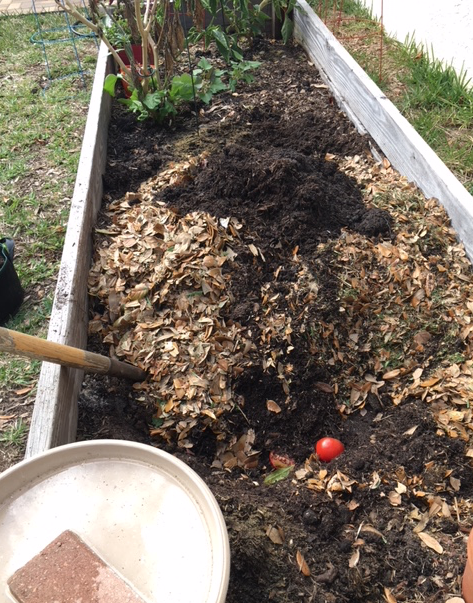
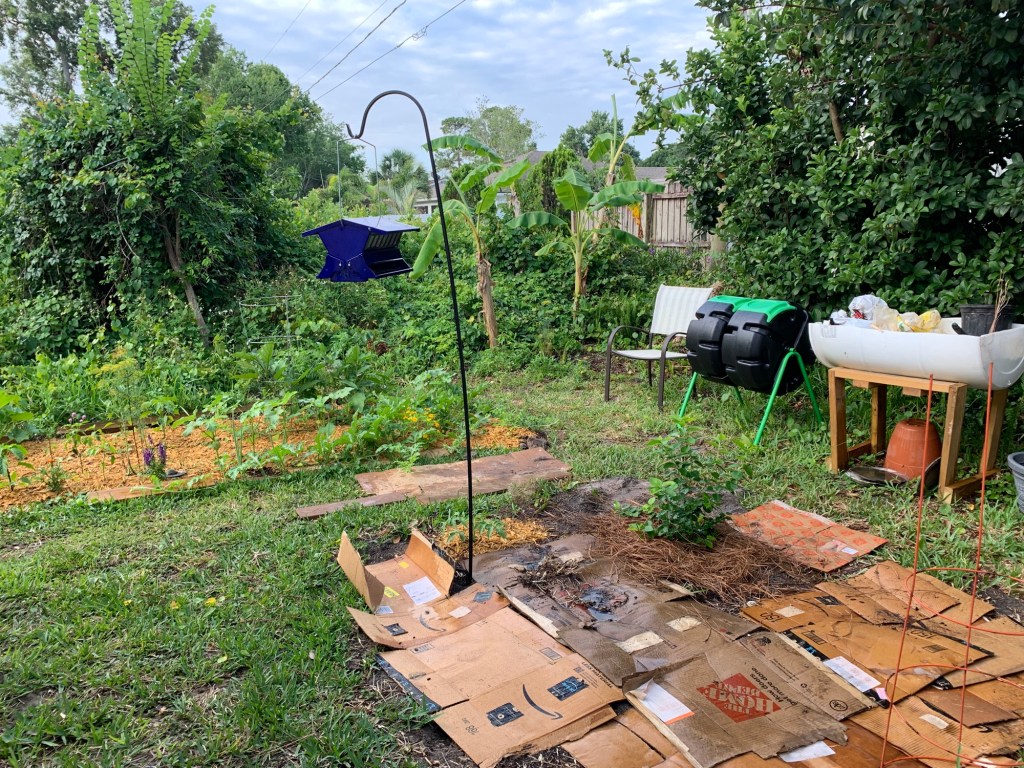
Sheet Mulching in Small Spaces

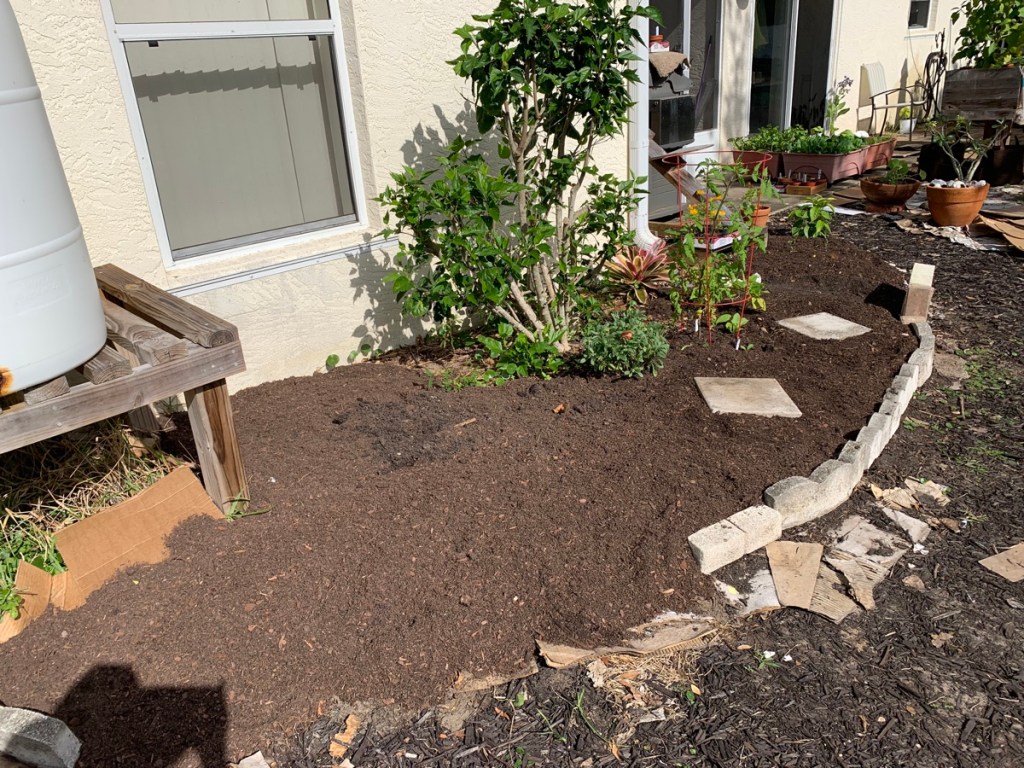
This small gardening idea would be a permanent addition to the yard and is recommended for someone who knows they want to garden, and will continue. Sheet mulching will kill the grass. This is also a time intensive way to garden.

If you have never heard the term “sheet mulching” it is simply this; not digging up what is already there. Cover the lawn / garden area with paper / cardboard with dirt or mulch on top. (Buy dirt and mulch = expense.)

Why do it this way? If your yard is grass, as many are, and if you are not heavily spraying or using chemicals on the grass, things will be living just beneath the surface. Worms tend to be crawling around the grass roots. You may not like bugs, but they are necessary and all have a role to play.

Using a rototiller or digging with a shovel, disrupts whatever good is already there. Putting down cardboard or newspaper leaves it all alone. Yes, the grass will die, but the dirt will remain in good shape. But this is just the beginning. Amendments to the soil and fertilizer will have to be applied. This is the start of “real” gardening.

Also, please note that cardboard and newspaper will break down and eventually weeds may begin to come up. More cardboard can be added, or mulch, but this is an ongoing process. Sheet mulching just gets you started.

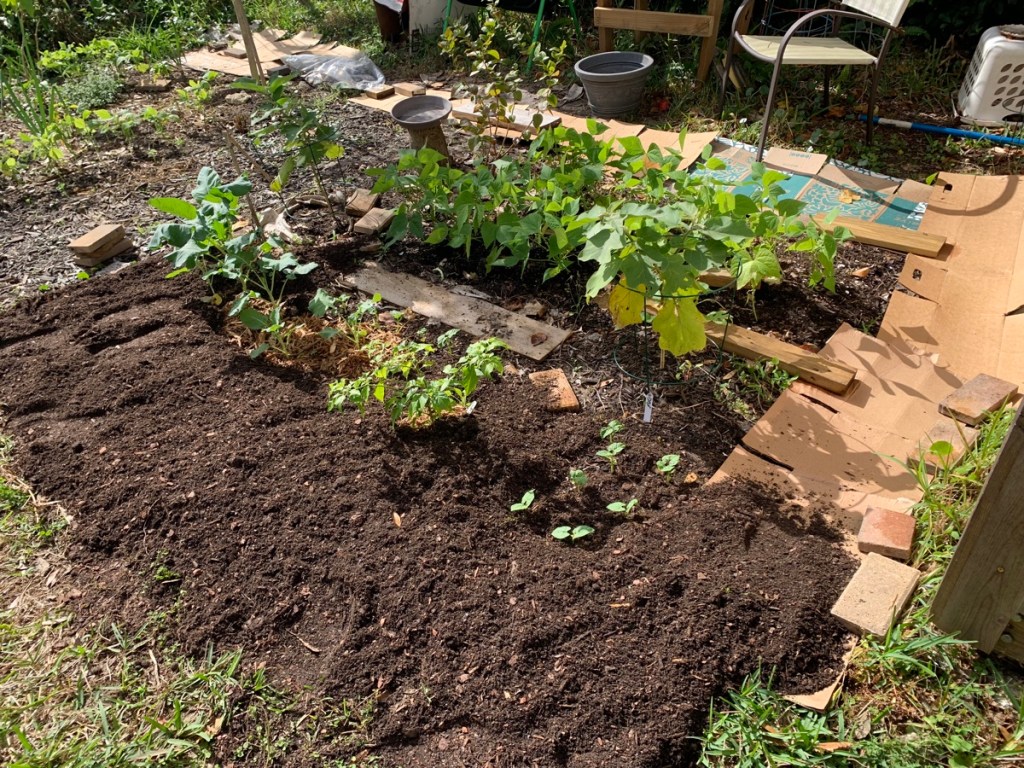
My yard, Spring to Winter using cardboard

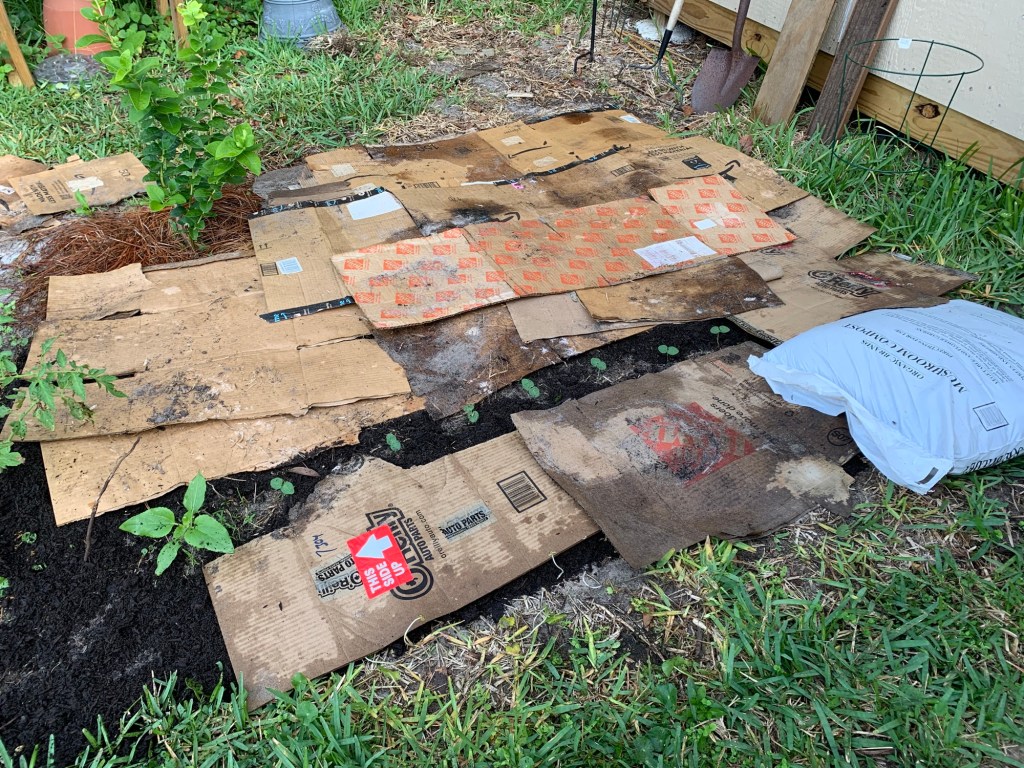
Above – Spring and summer cardboard. Below – Dirt added for garden space (Fall and winter seasons).

If you choose to go this route, save boxes and / or newspaper and plan to spend quite a bit more in dirt and mulch. A ground garden needs to be weeded continuously, unlike boxes and bags. Probably the biggest problems with gardening normally, in the ground, is that critters that will destroy crops. I deal with destrucion by raccoons and armadillos.

My Thoughts on Grow Boxes, Fabric Bags and Planting in the Ground

I use all of these types of gardens, but I began with a couple of grow boxes and expanded from there. I’m still expanding, saving cardboard and buying dirt and mulch. In Spring 2023 I dug up (yes, dug) an area for the first phase of my garden and I am continuing to expand.

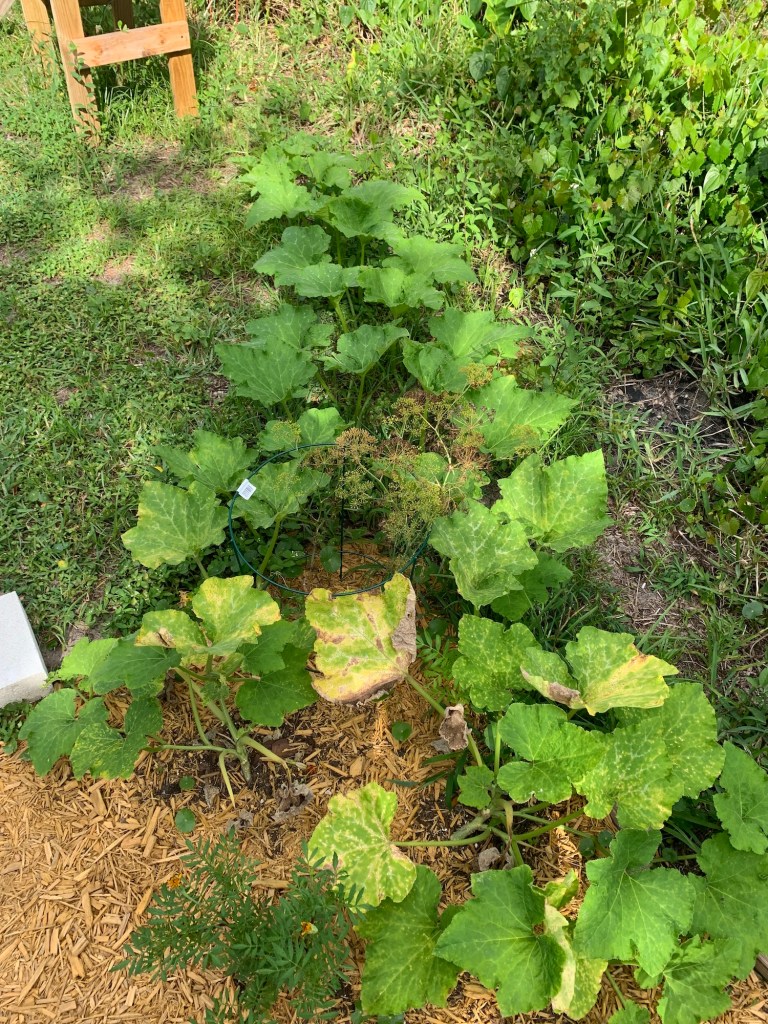
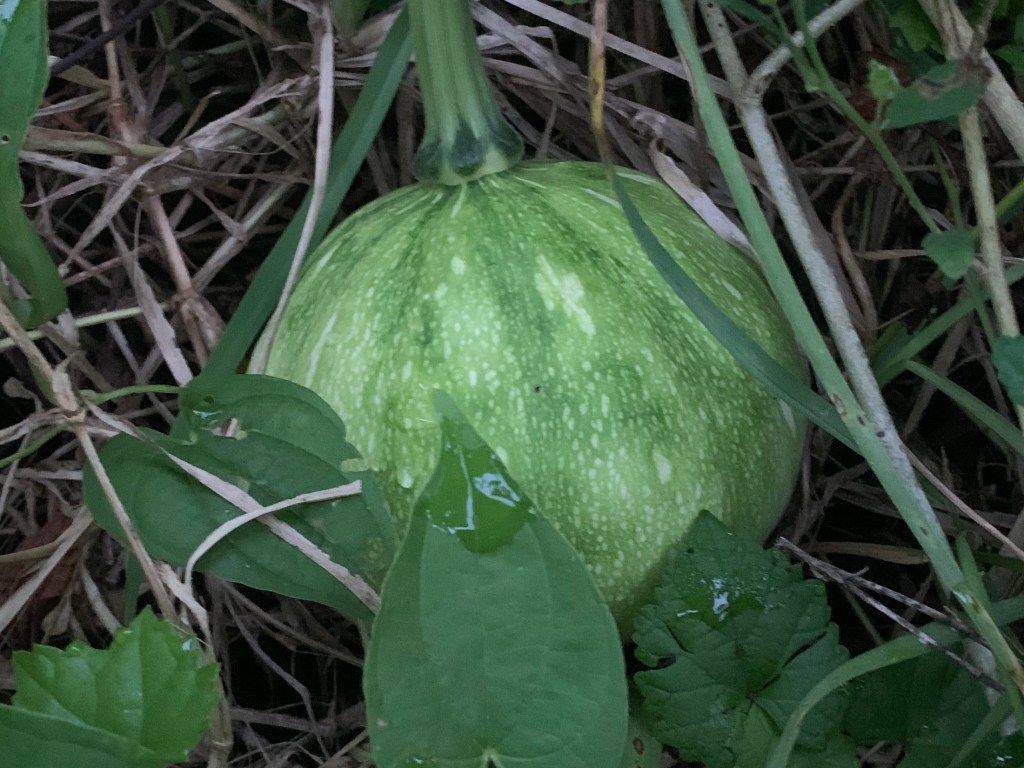
Each type of garden has its own good points. Gardening in the ground is a lot of work, but the plants have space to expand as they need. I’ve always believed that anything planted in the ground will do better than in a confined space. Some things, like watermelon and pumpkins, need to be in the ground.

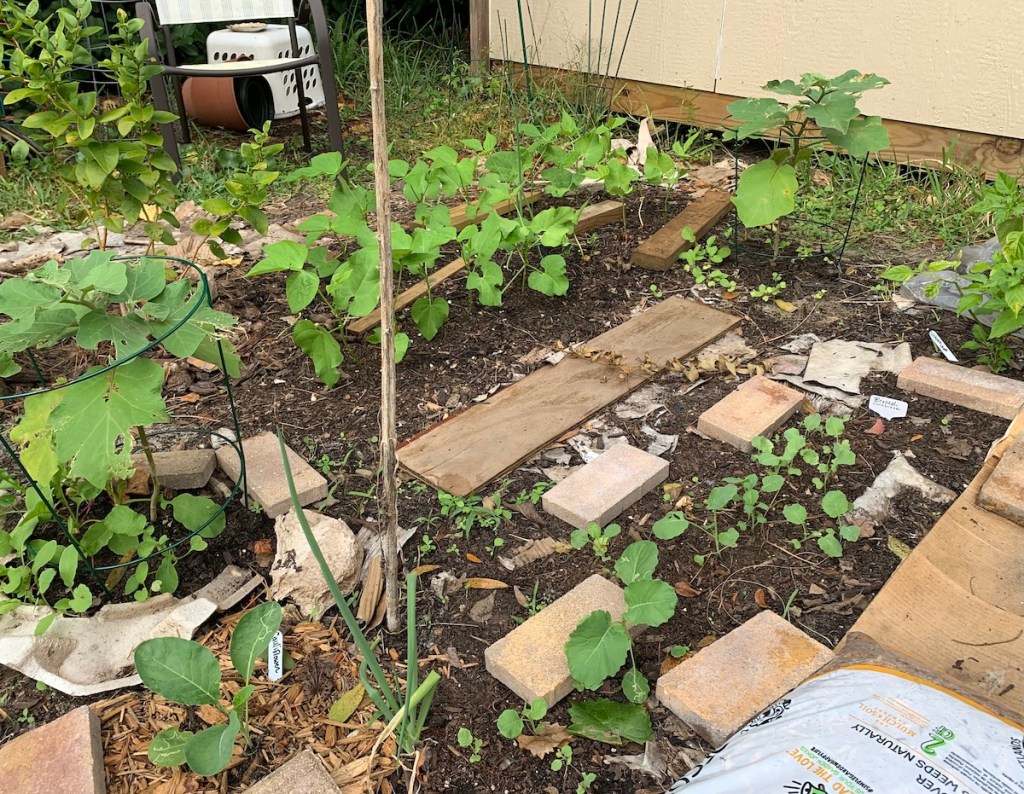
Vegetables that normally grow and die by winter don’t always do that here in zone 9b. Anything that continues to grow for years could work in a fabric bag, leaving garden space for other vegetables. My boxes are used mostly for greens now, or as nurseries to begin plants that will be moved to the garden when they grow.

Time vs. Food

I am an older woman with a job, but my kids are grown.  I have a lot of time to garden as I want, and I do it all by myself. Consider the time you have and want to spend gardening, and figure out what you want to grow (eat) the most. If it’s herbs you’d like for cooking, a grow box is the way to go. If you love fresh tomatoes, maybe a large fabric pot or two would be best (one plant per bag).

Once your garden (in whatever form you choose) is ready to plant, determine the right planting time in your area, buy seeds or seedlings, and get gardening! I wish you luck.

Keep reading my garden stories:

February Yard Work Getting Some Planting Done

This past weekend (mid-February) I did some garden work and planted a few seeds. It was a hot day but I decided it was time to move the lemon tree from the front to the back yard. Thanks to that digging and lifting my back was aching the next day. But I have high hopes that the tree will recover and give me some lemons one day. (Photos below)

The raised bed still needs more soil. While my son was cutting the grass he bagged up some oak leaves (oak leaves are small here, not like the majestic oaks of the north which drop big leaves) and dumped them into the bed.

raised bed garden
Adding oak leaves to the raised bed

Creating good garden dirt takes a lot of adding and mixing, not unlike making a good soup or stew. All the ingredients together will give me some delicious dirt to help my vegetables grow well.
I still have two potted crotons which were cuttings taken from the big croton out front – which is now dead thanks to the cold. I’m not sure what I will do with them.
fabric pots
Filling the fabric pots to be ready for planting

Bone meal and blood meal was added, and I threw in an old tomato (I regularly add kitchen scraps to make compost within the bed. I’ve even seen a couple of big worms in the dirt recently …. yay!
gardening in February
Eggplant coming back after the freeze

During the winter months it’s not a good idea to trim back dead growth, but I made an exception with my eggplant. With all the top brown branches trimmed away I can more easily cover it if cold temperatures come back.

I planted lettuce seeds in one black pot and yellow squash in another. I should have planted the lettuce earlier, but oh well.

The Lemon and Lime Trees

About a year ago I added a Persian lime tree and Lemon tree to my yard. The lime tree has done very well, providing me with loads of limes in the Fall season. I kept it in it’s original pot and it’s in the backyard.

The lemon tree was planted in the ground in my front yard. Right off it began to have problems. When I planted it, I wasn’t used to our new home location yet. I didn’t realize that front yard gets a lot of wind which makes it an inhospitable place for most plants. Even though the new tree bloomed and grew some lemons, it’s leaves fell off and none of the lemons were nice enough to eat.

lemon tree
Moved the Lemon tree – Feb. 2018

This was a lesson in choosing a good spot for my trees and shrubs. I doubt I will try to grow anything out front.

I really thought the tree would be dead by now. Besides the wind, we’ve had a few nights of cold temperatures. I covered the tree, but lots of things died even though I covered them. Still the tree lived on.

Many of it’s branches are bare and it looks like some animal maybe had been chewing on the stems. Plus my son often hits the branches with his weed-eater.

Even after all this, the lemon tree still grows. Below you can see how pretty the Lemon tree was when I planted it. Because it is still trying to live, I feel guilty for leaving it unattended for so long.

I’m hoping that with it’s new spot in a fabric garden bag in my backyard, I can bring this tree back to it’s original beautiful form.

screen-shot-2016-12-31-at-8-57-26-am
Meyer Lemon Tree – 2017

Florida Gardening in February Cool Weather Crop Planting

I am new to this Florida vegetable growing thing, but today I decided to plant some cool weather crops.  Because my “garden” is made up of soil-filled fabric bags, I don’t have much space for planting.  But I will do what I can.  I’ve only lived here for a few months, so garden building is an ongoing process.

My son made me a raised garden bed a few weeks ago. Because I had used fabric pots when gardening in New Hampshire, I filled what I had with organic soil and placed them inside the wooden frame.
raised garden
Today I looked through my Florida Gardening book to see which crops could be planted in February. Cool weather crops are still cool weather crops, no matter where I live. But down here in the south, winter is the cool time instead of early spring and fall.

So I bought some seeds and today I planted carrots, potatoes, and bib lettuce. The carrots came in seed tape form, which I had never used. The potatoes came from my kitchen. I’ve been eating lettuce from the backyard but it’s getting old and tasting bitter, so I need a new batch.

Now potatoes are easy to grow, but I can never remember exactly how to do it. I should buy “seed potatoes” but I only have what came from the store. So I’m growing them. On the website Rodale’s Organic Life, I found an interesting paragraph about growing potatoes in a bag, like I am doing.

He says to put just a little soil in the bottom and then plant the potatoes. Cover with 3 inches of soil, and continually cover the growing potatoes with soil until the bag is full. I cut the sprouting potatoes I have, and put them near the bottom of my largest pot and covered them with organic soil. As they grow I guess I will cover them, leaving just a bit showing. I never grew potatoes this way, so it’s an experiment.

black fabric pots
7 Gallon Grow Pots Filled with Organic Soil

The pots I purchased are 7-Gallon size. I believe the ones I have from before must be 10-Gallon. The 7-Gallon bags have handles which is very handy if you plan to move your pots around. 

Update:  I used these pots for a year or two but discovered that they are too hot to use in Florida.  They are great for a northern climate though.

At the time I bought them, other sizes were also available. The 7-Gallon size was a little small for me, but it’s manageable when filled with dirt. Plants grow really well in this type of pot because air can get through to the roots from all sides, whereas in a plastic pot it cannot.

For more information about planting crops in your US Zone, I’ve come across this informative article at Porch.com: Gardening 101: Choosing the Right Plants for Your Zone.

A Raised Garden Bed Made of Fabric

large fabric raised garden
The Bigger Fabric Garden

This weekend I ordered more dirt and filled up my larger fabric “pot” to create a raised garden for some tomatoes and basil. The smaller one in my photo is planted with beans, and next to that I have used one for growing potatoes. What I love about a raised bed is the fact that there is plenty of good dirt for the roots of the plants. I guess that is one of the great things about a raised bed. Digging in the ground means creating layers of great dirt, over time – and it can take a while if the dirt under the garden is fill dirt, or something else that is not good for growing.
My house was built on the side of a big hill. Fill dirt was brought in to make the site level, as often happens. Fill dirt, is usually sandy stuff and that is what I find when I dig down a few inches in my back yard.   You can see that there is little growing in the spot of yard where I put this bag.  I used the loam mix that was delivered from Agway along with my own compost and added a little bonemeal, so I know that my plants are in good soil.
This garden has four tomato plants with some basil and one Italian oregano plant. I don’t know if four tomatoes are too many for this space, but I have other tomatoes planted in the ground too. In fact I made another raised bed using cinder-blocks and set that up out front where there is more sun.

That is the great thing about using these fabric pots and gardens – set them up anywhere!  Find a sunny spot and add a little vegetable garden.  They have allowed me the chance to plant more while I continue to expand my gardens in the ground.

If these black pots can be used year after year, the investment will be worth it.  I don’t know much about them at all.  Can they stay up all winter, or will I have to empty it and store it?  If they don’t last, I will stick to the smaller ones only.

Growing Potatoes in a Fabric Pot

potato plant leaves
Potato Plant

I’ve entered a phase of experimental gardening with fabric pots. Right now I think these things are the greatest idea ever. I’ve wanted raised beds but haven’t had the time to create any so little bags to hold dirt is the closest I’ve come. I planted two pieces of potato in this bag a few weeks ago and as you can see, they are growing nicely.
I am going to admit that I am a dummy when it comes to potato growing. I always thought the potatoes grew off the roots, but I guess they grow from the stem as it shoots upward. I do know that when the tops die, it’s about time to harvest the potatoes. This page at the Food Gardening Guide site has a good explanation of what to expect when growing potatoes.

Next year I will get my potatoes planted earlier as they like the weather cool.  I hope this fabric pot works out because it is certainly an easy way to grow them.

Next to the potatoes I have planted some green beans that haven’t sprouted yet.  On the other side I have one more pot where carrots are sprouting.

Another plus to using these pots, for me anyway, is that my cats stay out of them.  I wondered about that, since they seem to think my gardens are the best place to do their business.  I was hoping they wouldn’t think a pot of dirt was their litter box.  Next you will have to see my large fabric garden.  It’s like this potato holder, but much bigger.

A First Attempt at Fabric Pot Gardening

fabric pots
Growing Potatoes in Fabric Pots

I first learned about fabric pot gardening while reading a Wizzley article written by someone who also loves growing things. On his page he suggests growing potatoes in a pot made of black fabric or burlap.

Instantly, I loved this idea!  I don’t have to dig up the ground and get it ready to plant – whoo hoo – I hate that part of gardening.  I ordered three yards of compost / loam mix to add to all my garden beds and just used some of it to fill my black fabric bags.  The one on the left in my picture has potatoes and you can see one sprout shooting up through the dirt.  Once the shoots grow to 6 or 8 inches I will add more dirt.

The other pot has carrot seeds.  I figure they might do well in a good bag of soil instead of in my yard.   It’s always a chore to get the garden areas ready for planting.  I started at this house with an overgrown backyard so my first year here was spent clearing out the weeds and blackberry bushes.  Last year I expanded the garden area and added good dirt.  This year I am adding more dirt, but it’s easier to add it to bags and the chance of weeds invading a bag is minimal.

My backyard is quite small and my garden holds vegetables as well as flowers I’ve planted and flowering weeds.  Flowers of all kinds are good for attracting beneficial bugs to the garden area.  I am currently growing cold weather things like peas, basil, and strawberries (from last year).  I will have to wait until the first of June to get the cukes, tomatoes, basil and zucchini into the ground.

This type of gardening is experimental, but I am hoping for good results.  I even bought a large, round fabric bag and will set that up as soon as I get more dirt.  I started my own zucchini plants (5 of them!) this year from seeds I saved last summer and I may have to put a couple into that new pot along with some of my tomato plants.