


Bread is something I eat sparingly, but I love the idea of baking my own bread. I’ve done it before and I’ve even used starter before, but that was many years ago. The starter I used back then had sugar in it and it made the most delicious loaves of bread. These days I avoid sugar and carbs… so let’s make bread!
I figured why not begin a starter again? The first time, the starter was given to me, so I didn’t have to begin it myself. I just fed it and used it to bake.
The first starter I tried was Paul Hollywood’s apple starter (and watched a video about it too), which called for 4 cups of flour. It ended up a disaster, and I threw it away. Do not cover your starter tightly… the gasses have to be able to escape. The top of that starter was looking pinkish after a few days, and that is not good.
After looking around online, and finding so much conflicting advice about starter, I jumped in and did what I thought might work, using less flour to begin with. A lot less. This sourdough page at SeriousEats would have helped me quite a bit – if only I’d come across it weeks ago.

I put my largest, and last, batch of starter into this big blue container. I didn’t get a photo the next morning, but it had risen about an inch and looked good. It was ready to use.
Here We Go
If you are ever interested in beginning a starter and making some bread, I will be listing exactly what I did right here on this page. I’m writing this for myself also, as a reminder of my sourdough starter adventure and the things I would change if I ever make this bread again. That’s right, it’s a lot of work and mess, so unless this bread is something super fabulous (the dough is rising as I write), I will not make this bread recipe again! But… I may use this starter to make another type of bread, like that sweet bread I used to make.
Making the starter is a bit messy also, but may be worth it depending on how the bread is.

Simply mix flour and water and cover 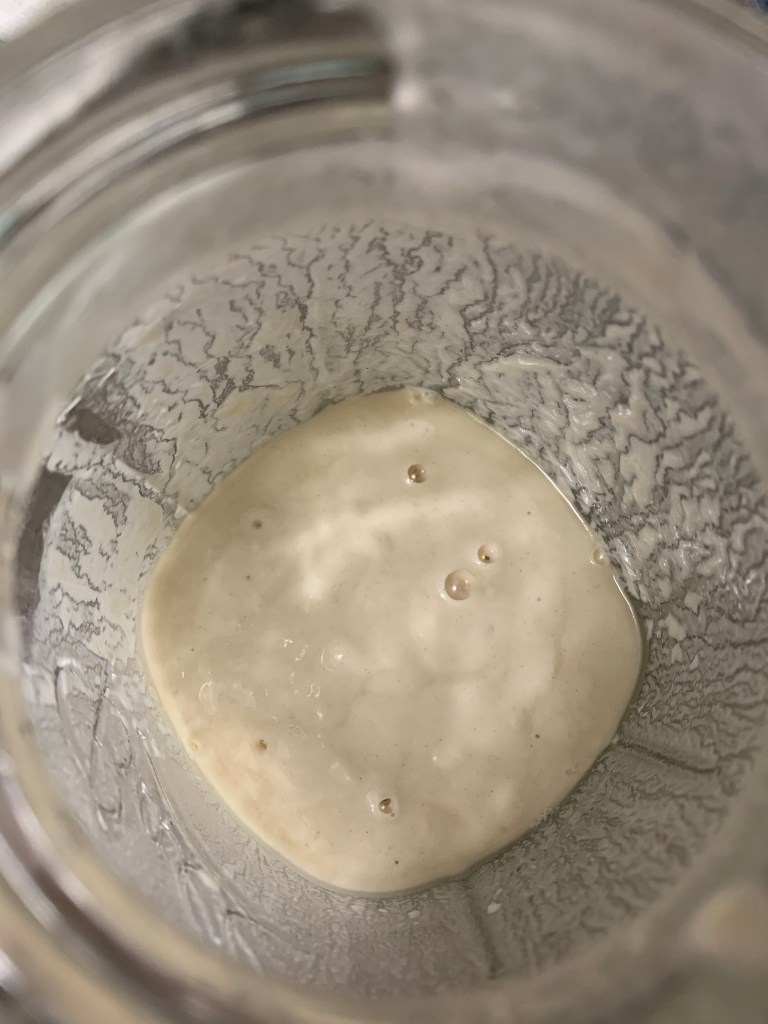
Starter looks good with little bubbles 
The starter needs to be covered but with holes for gases to escape
This is what I did, mistakes and all.
- DAY 1: To begin the starter, mix 1 Cup regular, unbleached flour (I used regular flour for all feedings), 1 Cup warm water, a little honey. (The honey was my choice, you don’t need it.) Pour into a mason jar (2 cup, wide mouth) and cover with lid and saran or wax paper, with a few holes in the top. The starter sits out on the countertop – not refrigerated.
- DAY 2: Do nothing but observe. By the afternoon it was up about an inch. I put a little piece of food label tape on the side of the jar to mark the level. That way I could see if it was rising or not.
- DAY 3: Stirred. Removed 1/2 cup starter and dumped out the rest. Mixed with 1/2 cup flour, 1/2 cup water and a little honey. Dumped back into Mason jar. It began to separate with liquid on top, so I stirred it. At this point I was not adding enough flour, I assume – see Day 5.
- DAY 4: AM – Did feeding as above, Day 3. Fed again at night by stirring in 1 spoonful of flour. Didn’t figure out the ratio until Day 5.
- DAY 5: Discovered that the ratio should be (according to someplace online) to mix equal measurements of starter and water, and then double that for the flour. Mixed 1/2 cup of starter (discarded remainder), 1/2 C. water, and 1 Cup flour. Starter was bubbly, not much rise.
- DAY 6: Same as day 5. Once I began adding more flour, I didn’t have the “hooch” liquid on top again. The liquid forming means that the starter is hungry and needs to be fed.
- DAY 7: Same, remove 1/2 c. starter and mix with 1/2 cup water, 1 c. flour and put back into a container. I switched out Mason jars at some point to wash the first one. The starter was not rising much, so this mason jar (2 cup) was the perfect size.
- DAY 8: Saw a bigger rise in the AM. Saved more starter since I need 2 1/3 cups of starter for the bread recipe, and the starter seems ready. This time I removed 1 cup starter to mix with 1 cup water, and 2 cups flour. I left this in the bowl I mixed it in and covered for overnight.
- DAY 9: In the PM I did the same as day 8, mixing 1:1:2, and adding a little honey. I put it into a big plastic container. The leftover starter did not get thrown away this time – I put it into a mason jar, covered tightly, to store in the fridge. It will have to be fed once a week to stay good.
- DAY 10: 9:00AM – Made the dough, combining 2 1/3 C. starter, 3 1/3 C. bread flour, and scant Tbsp. salt. See the video / recipe on YouTube.

Mixing with a spoon 
This dough stuck to everything! 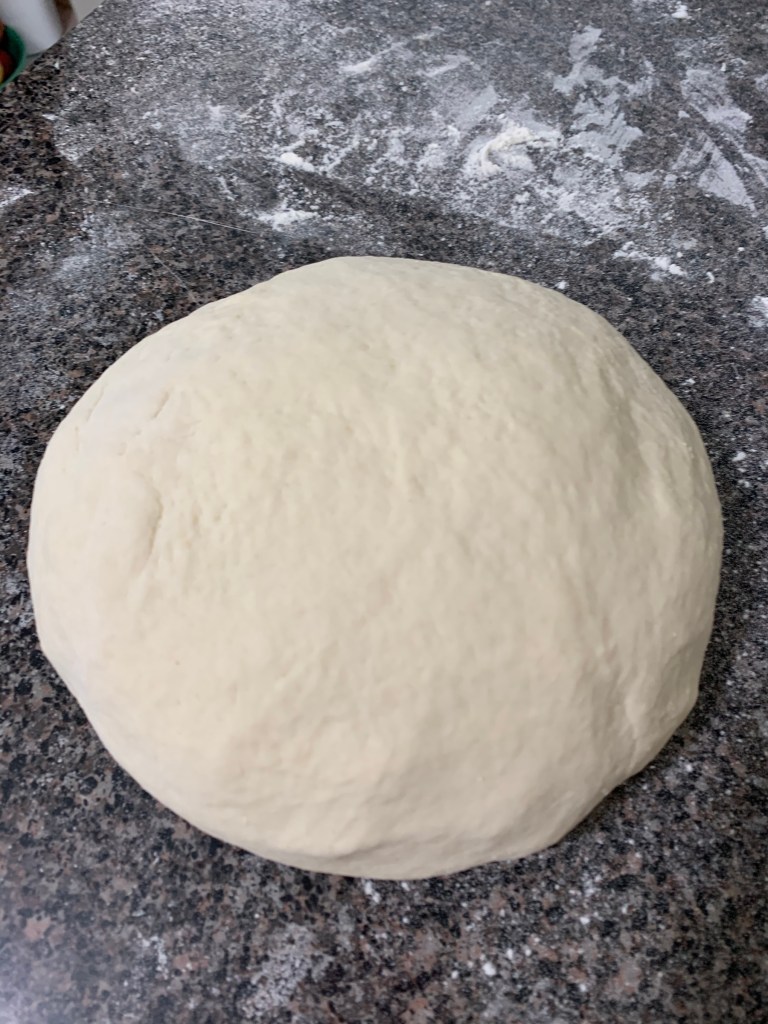
Done kneading this sticky dough 
Two loaves will be covered to rise for 4-12 hours
The ingredients were mixed together with a spoon then turned out onto a mat to knead. This dough was extremely sticky. Ridiculously sticky! It stuck to the mat, to my hands, and although I put flour down constantly, it would turn sticky again quickly. By the way, you will use LOADS OF WATER to rinse everything off. I ended up taking my pastry mat outside to hose it down. Here’s a video about sticky dough and how to knead it. I definitely need a scraper.
Because this dough was so godawful sticky this whole experience turned me off. I enjoy kneading dough, but this stuff was not fun. Clean up is pretty awful as well. Every bowl, mat, utensil, and measuring cup must be rinsed thoroughly or washed immediately.
I kneaded it for 20 minutes, cut it in half, shaped the dough and put in Ghee-greased bread pans. Now the 2 pans are covered with towels for the loaves to rise. Next I will bake at 400 degrees for 30 minutes.

After waiting for ten hours, and also using the Proof setting on my oven for a couple hours, the bread did not rise much. I baked it anyway and got two relatively flat loaves. It is edible and certainly tastes homemade. I can taste the sourness and toasted it would be delicious.
My plan is to slice and freeze it, after I make some french toast for breakfast. Bread keeps for 3-6 months in the freezer.


One thought on “Sourdough Bread Starter Adventure”