Experimenting in September With Vegetable Seed Planting

Fall planting time is nearly here in my area and I’ve begun to sow seeds already. Although the weather is hot, I’m hoping the seeds will grow.

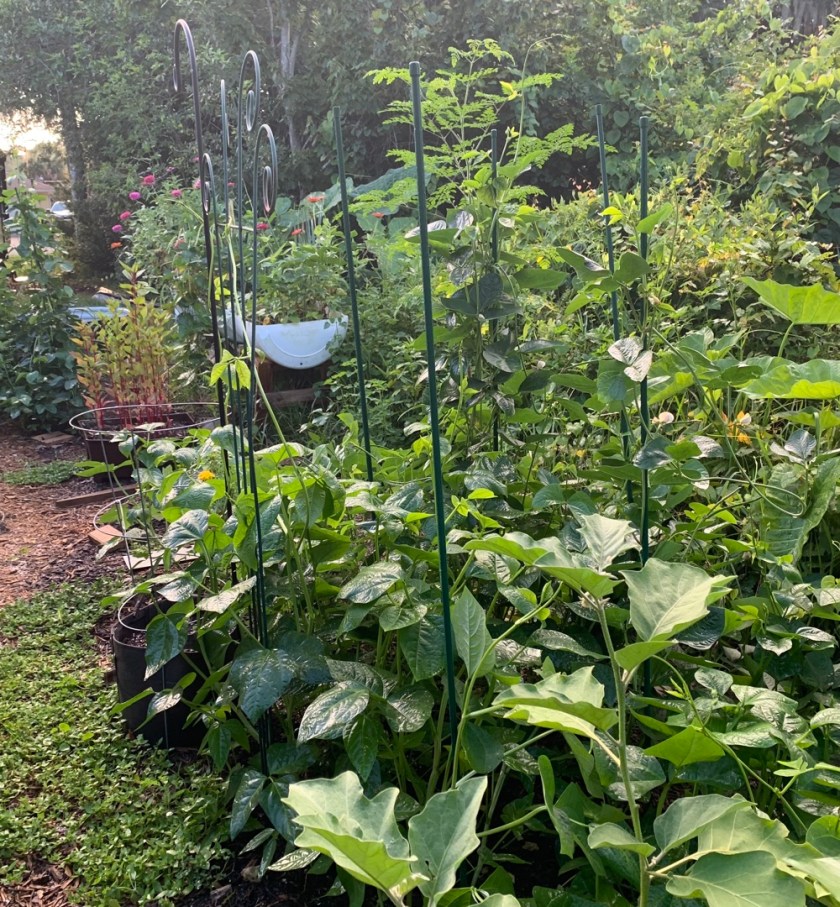
I live in east, Central Florida, which is growing zone 9b. It is September, and I have planted a few different vegetable seeds as a trial. I don’t know if the weather is too hot for them. Last year I waited until October. So far, I have seen some nice sprouting.

Here’s a list of the seeds I have planted, and where they were planted (in ground or pots). They are all growing, but some look better than others.

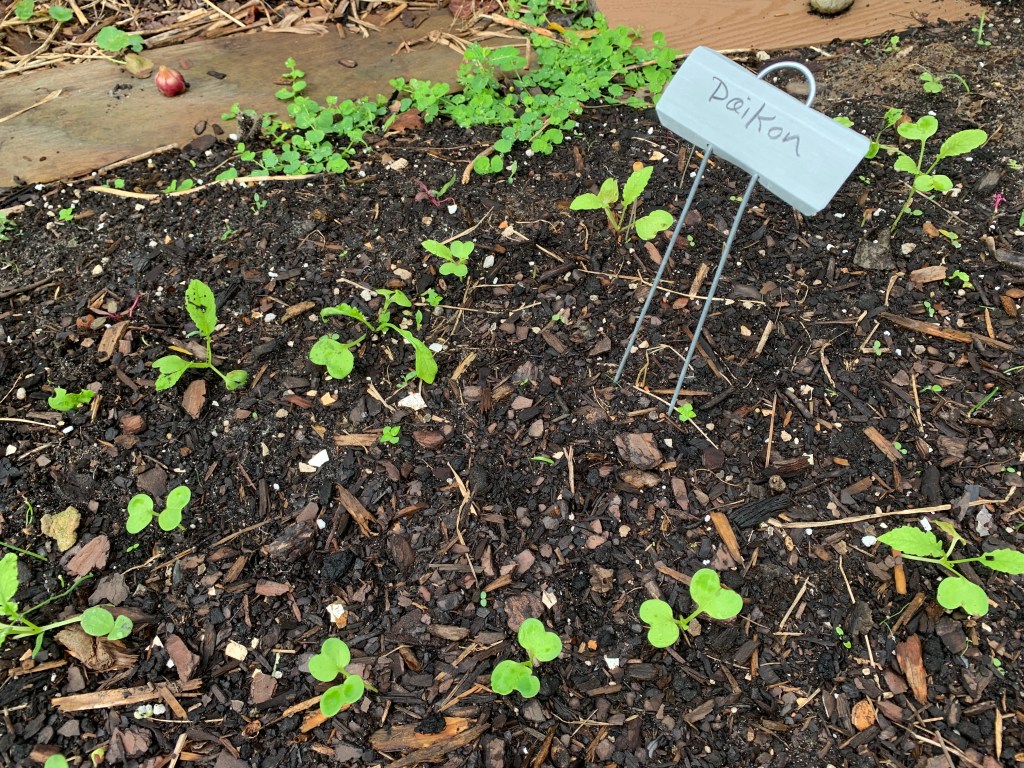
  • Daikon radish – these seeds were put into the ground.
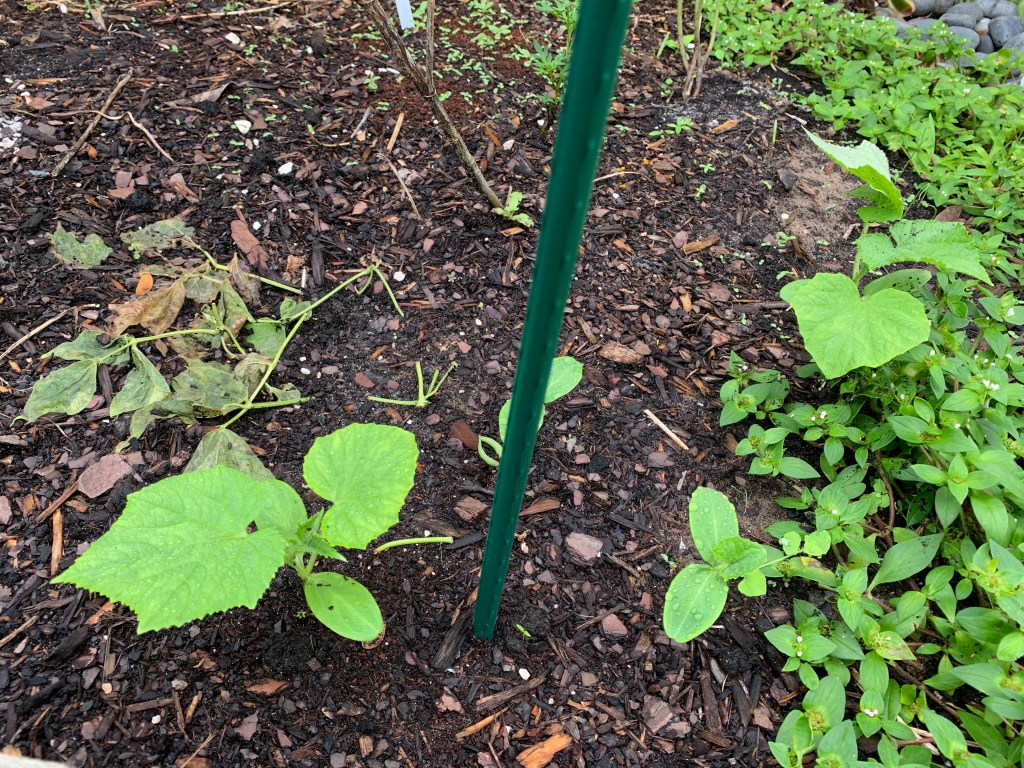
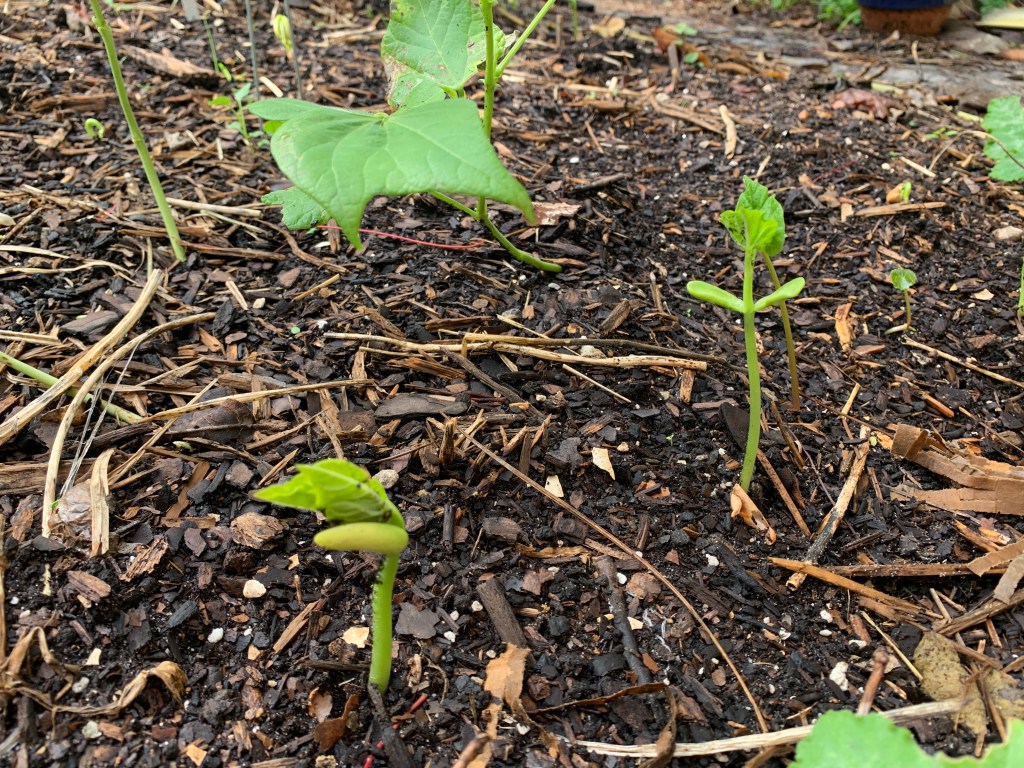
  • Cucumber – first set of seeds didn’t do much, so I’ve planted more from a newer packet. (in ground)
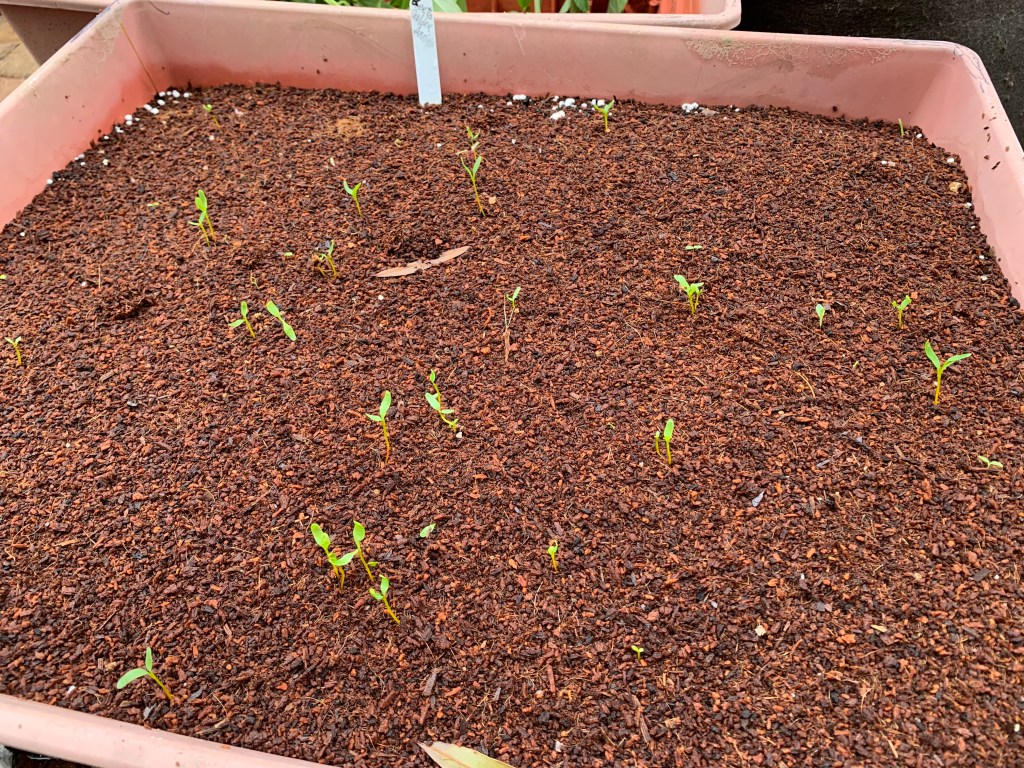
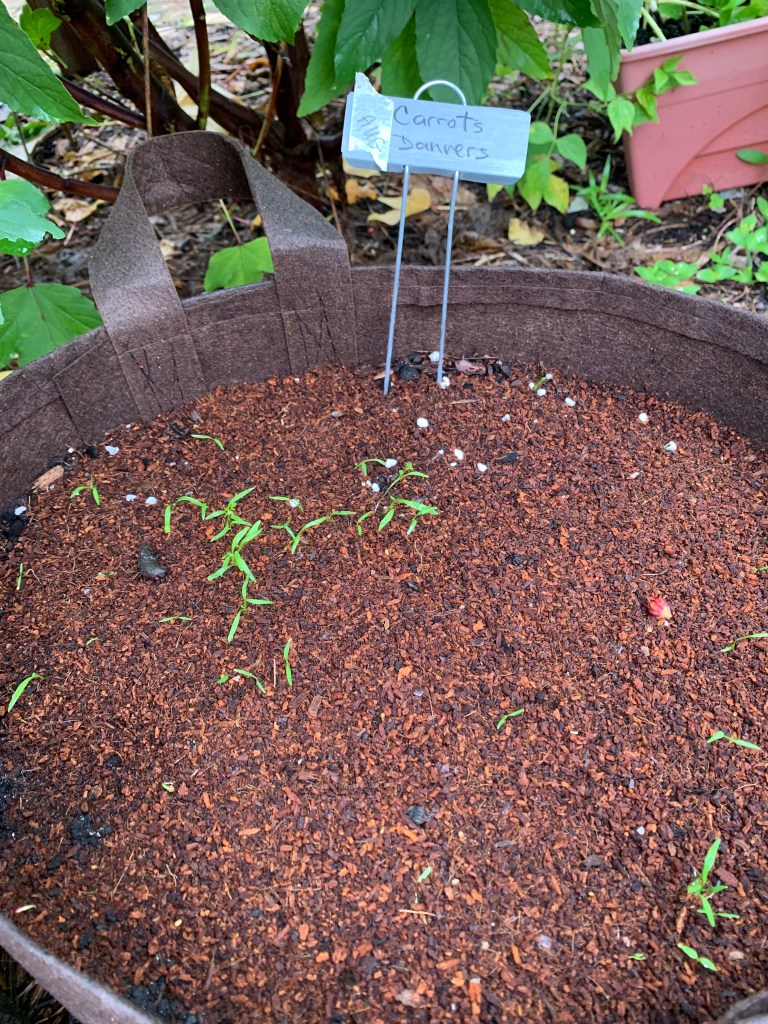
  • Carrots – in fabric bag
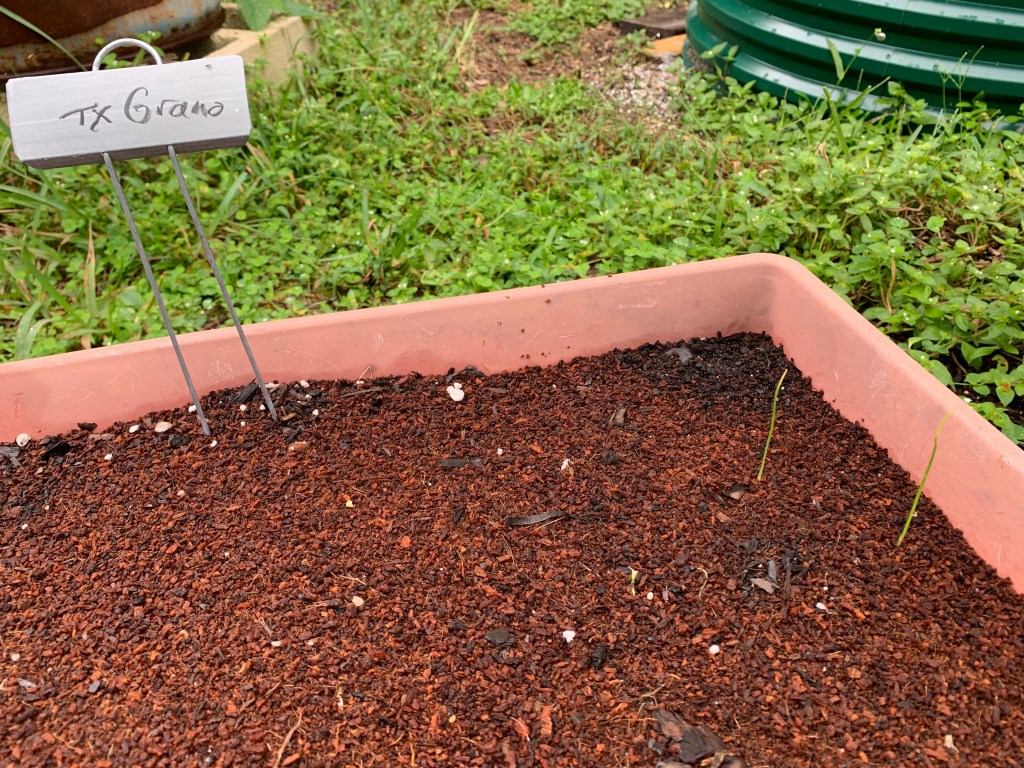
  • Texas Grano onions – will probably have to re-plant in October (grow box)
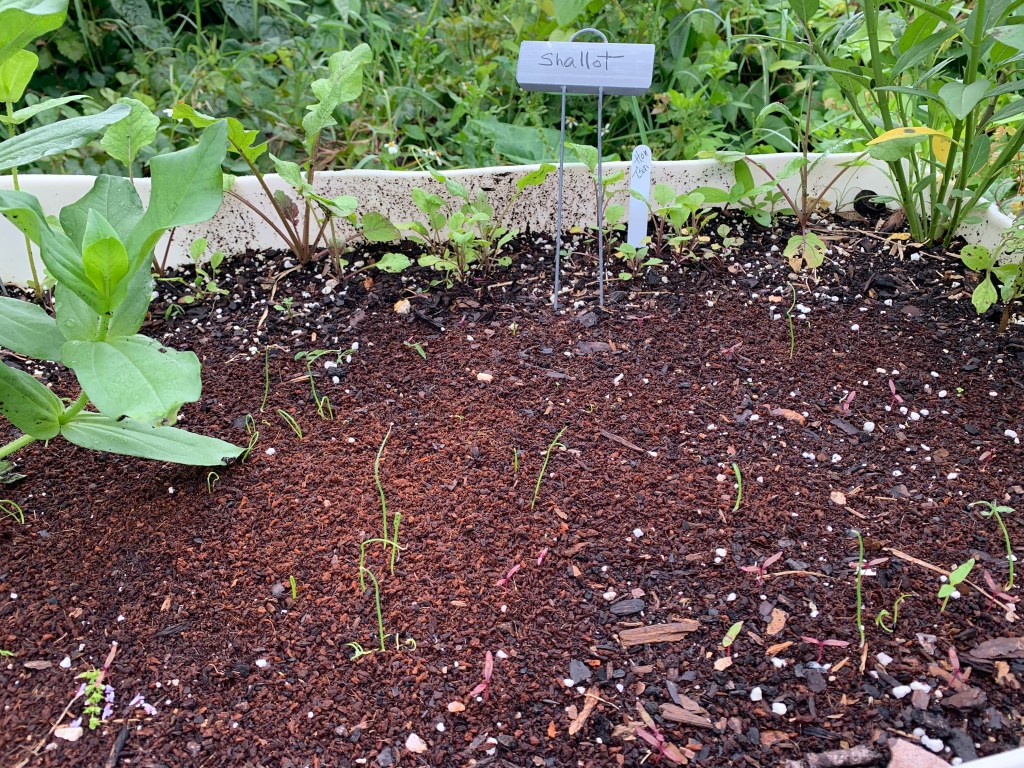
  • Shallots – barrel raised bed
  • Seminole pumpkin – edge of Vegega to hang over the side.
  • Golden beets (fingers crossed these do well) – in grow box.
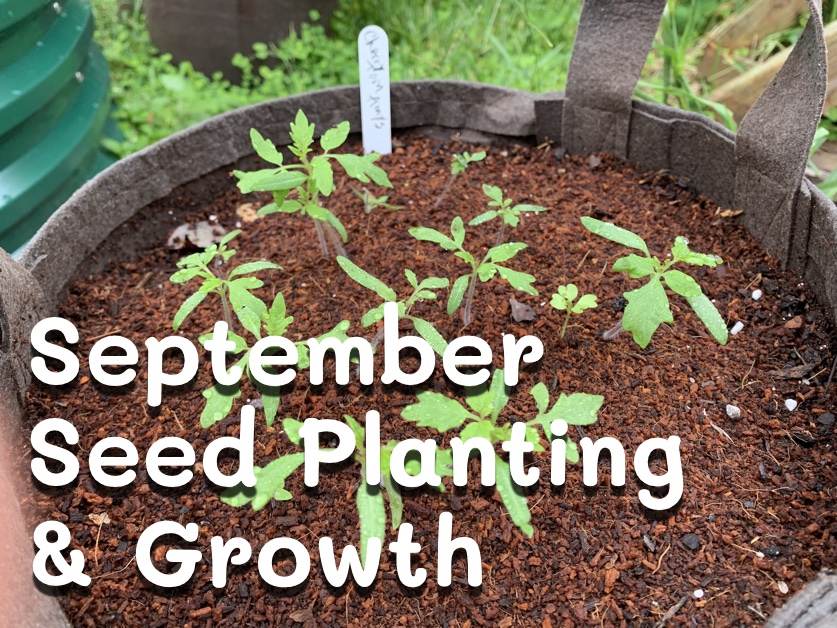
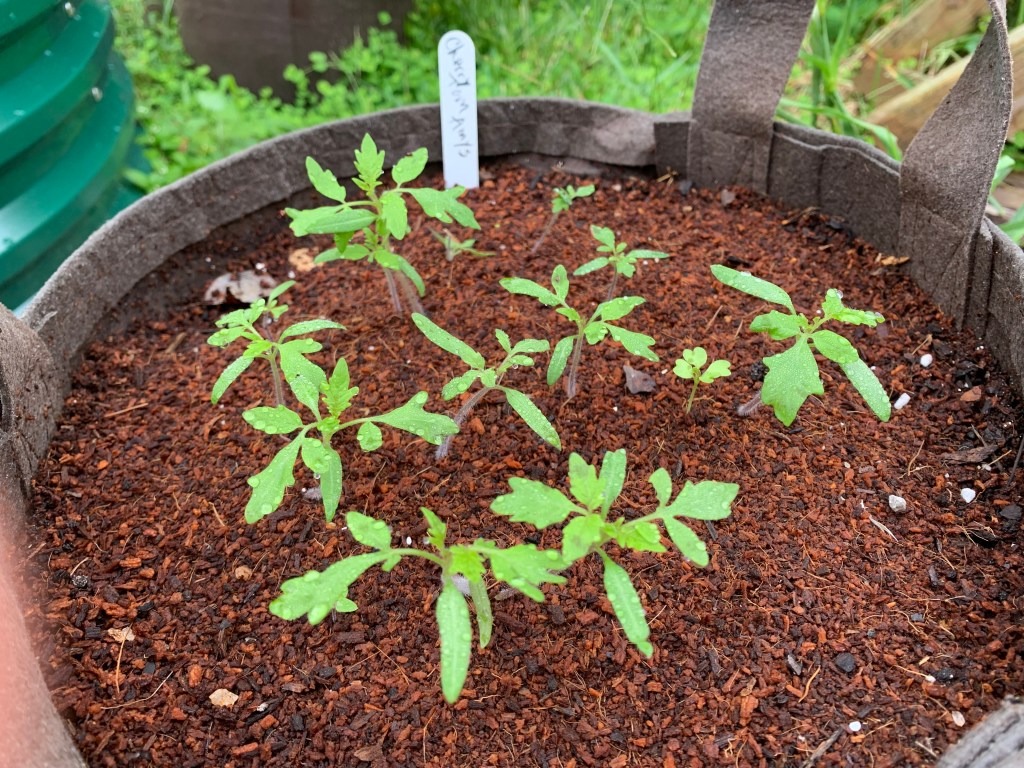
  • Tomatoes – cherry and Mortgage Lifter (normal size) – both in fabric pots

The summer months have been unusually dry. Now, we are getting lots of rain. I only hope it won’t be too much for my seedlings.

This time, I purchased multiple seed packets from my favorite online places. That way I can experiment and see if things will grow this early without really losing much. I have a lot more seeds, which I will plant in October.

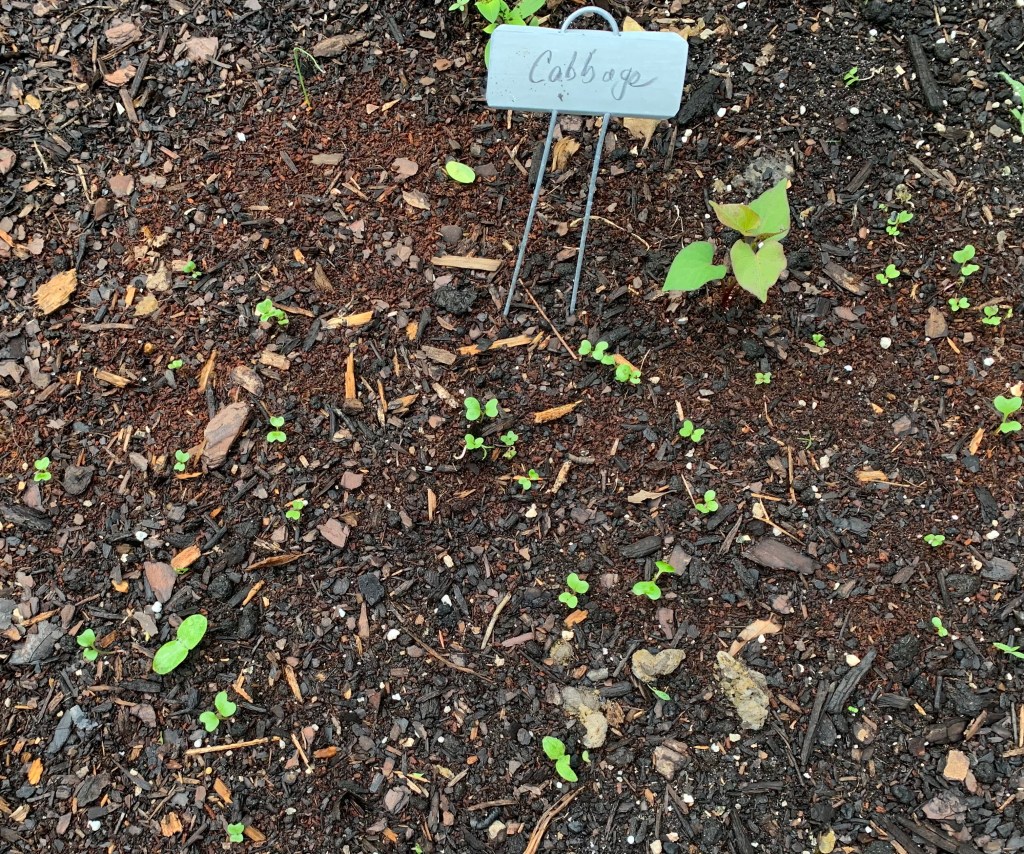
The beds are not completely ready, even though I have tried to be organized. My usual problem is a lack of dirt and compost. I buy and buy, but it gets used up so quickly. I still have time, because some of the seeds I planted did not do well. The Tatsoi, arugula, and broccoli will need to be planted again in October.

Each of my square grow boxes needs an overhaul. This means digging out all the dirt, drilling holes in the bottom and re-filling. I’ve done about half, but have three, or four boxes left.

Grow Box Refurbishing

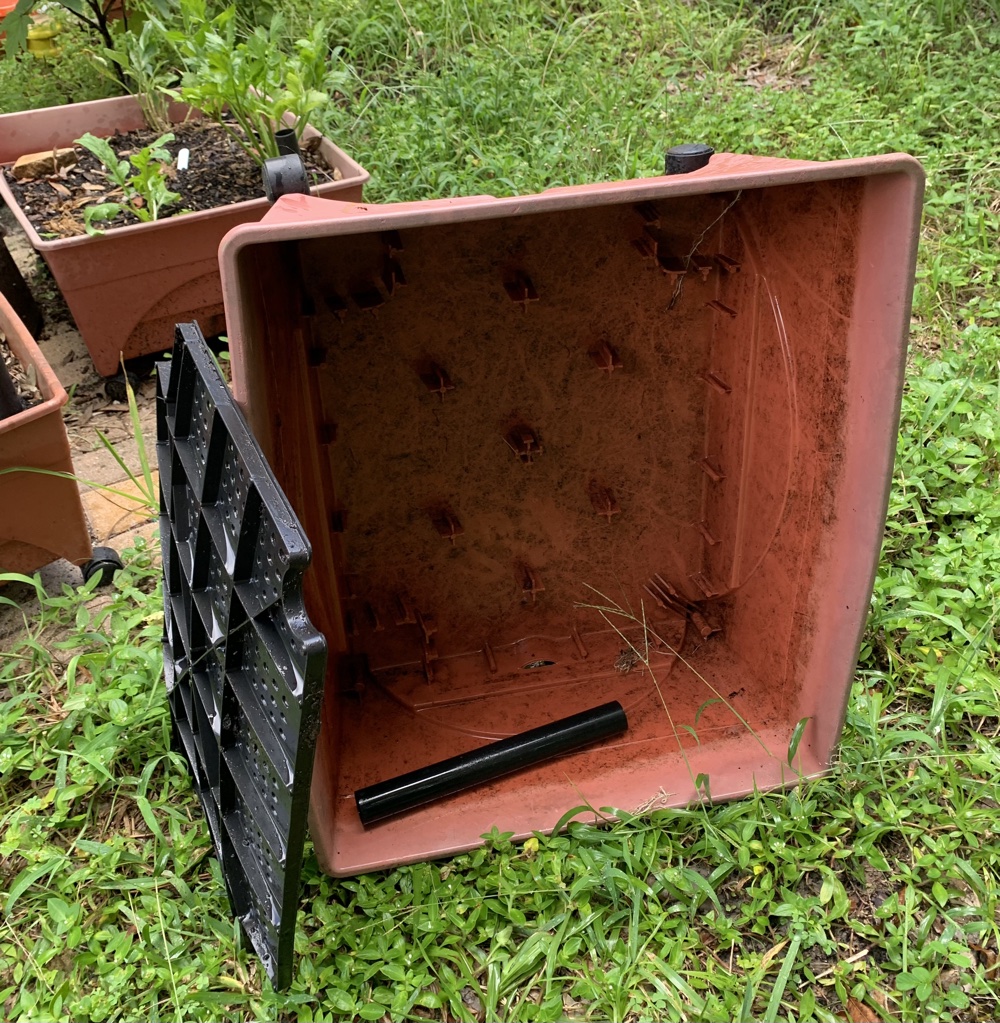
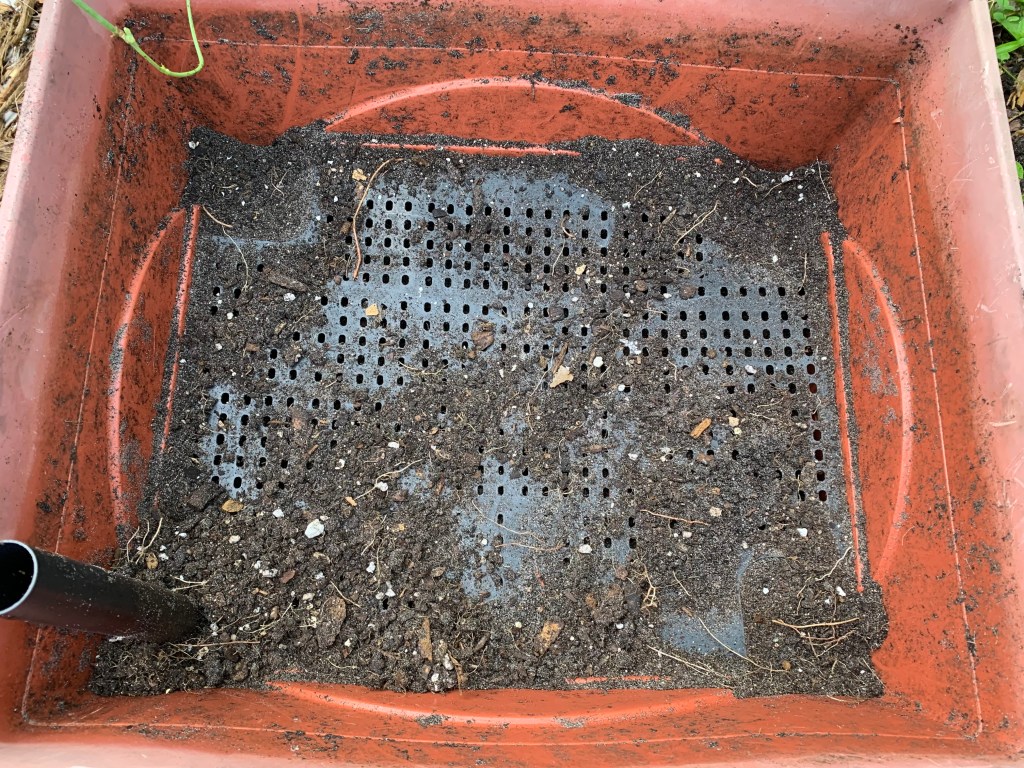
The grow boxes I purchased have a drainage panel near the bottom. They also have a tube that reaches up through the dirt where watering is supposed to happen. The idea is to fill the bottom with water so it can be pulled up by the roots of the growing plant. There are side vents for water overflow. (When you tip the box and no water comes out, it could be because the bottom is full of dirt.)

The idea is good, but flawed. Seeds need moisture and must be watered from the top in this big box. It is unavoidable that dirt will sift through those drain holes. If roots get long, they can clog the base also. Even if you keep the drain system in place, cleaning out the entire box is advised. (Raccoons actually pulled up one of my drain pipes, and it can’t be put back without emptying the box.)

The boxes are still very nice and sturdy. They come with wheels, which is really helpful if the box is on a deck or patio. I will continue to use them, but without the drain panel. Instead, I am drilling holes into the bottom of the box itself.

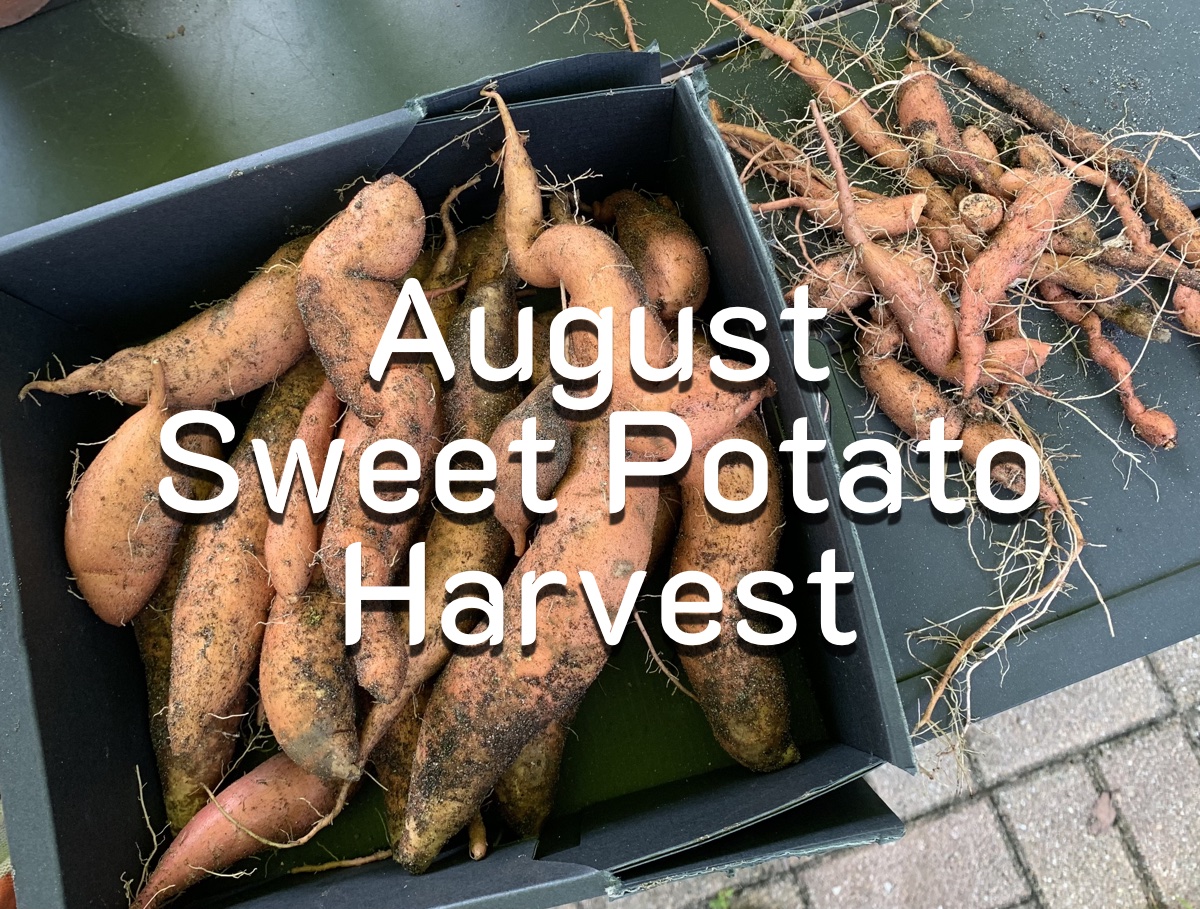
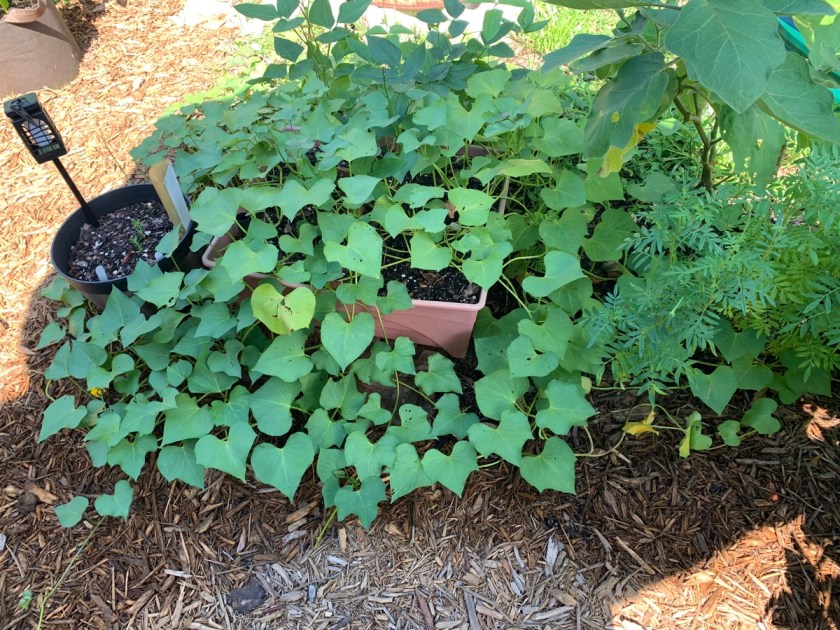
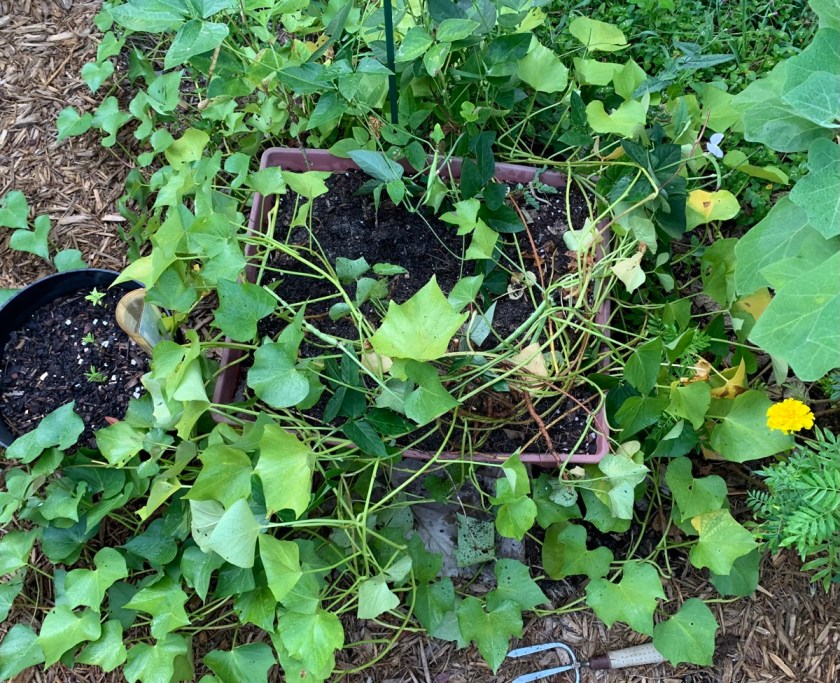
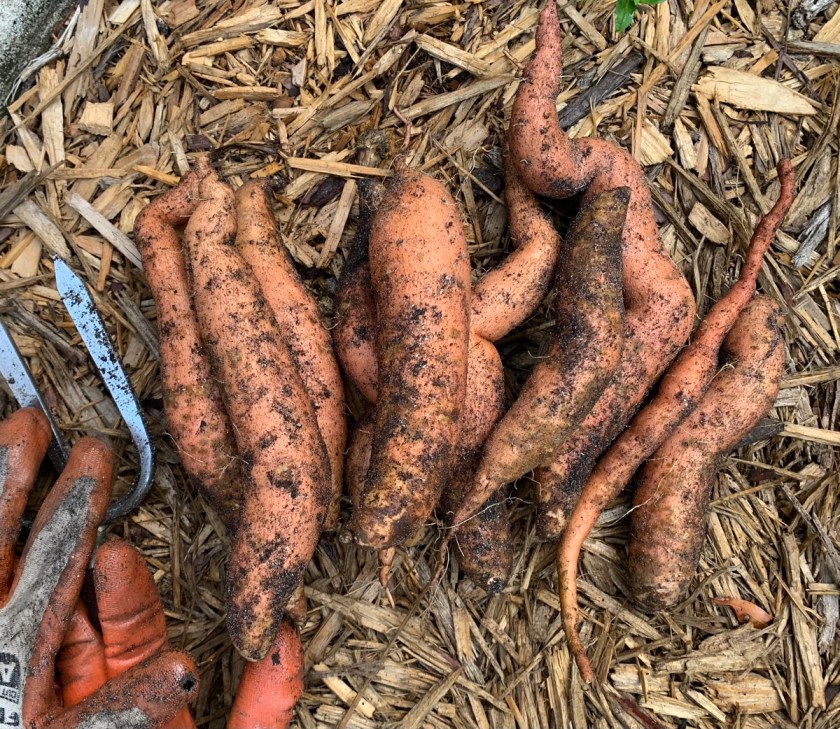
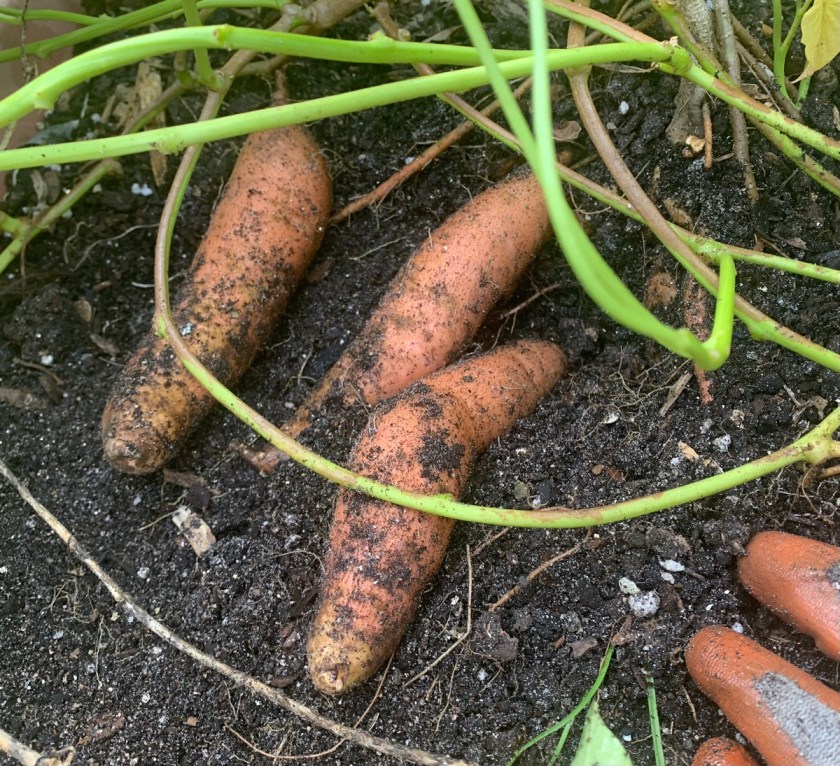
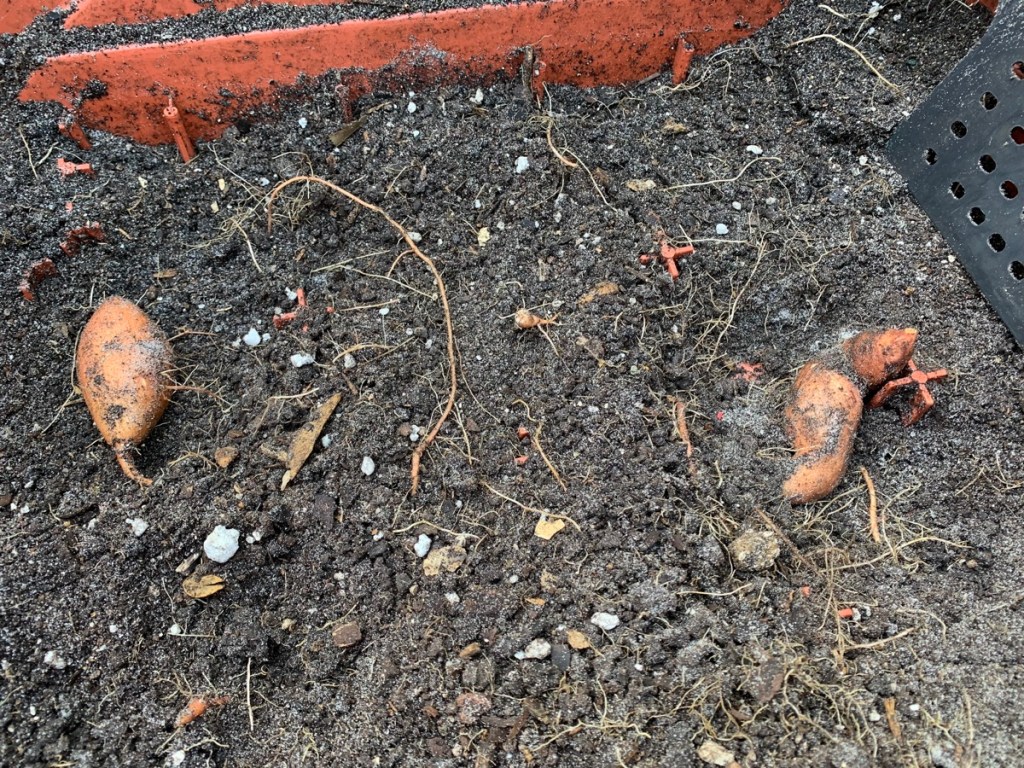
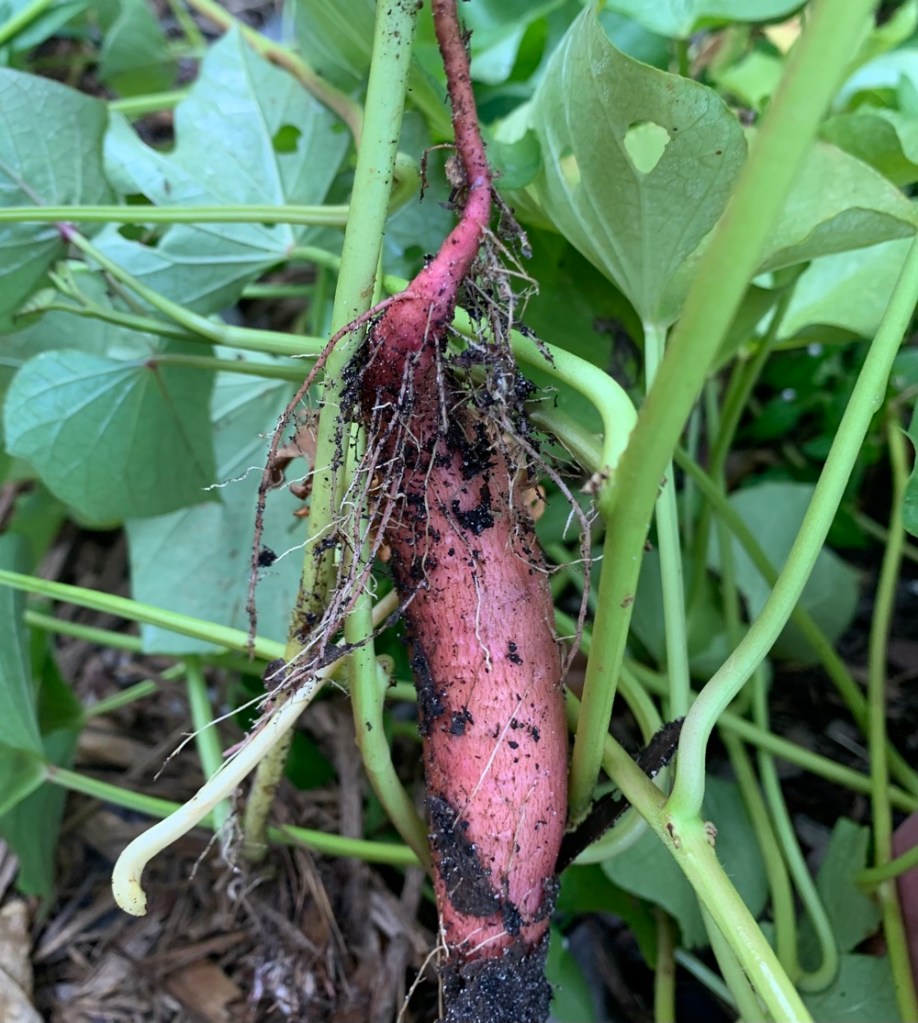
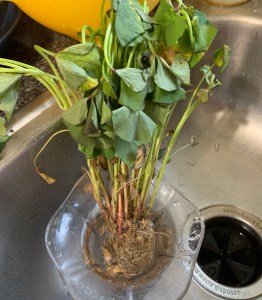
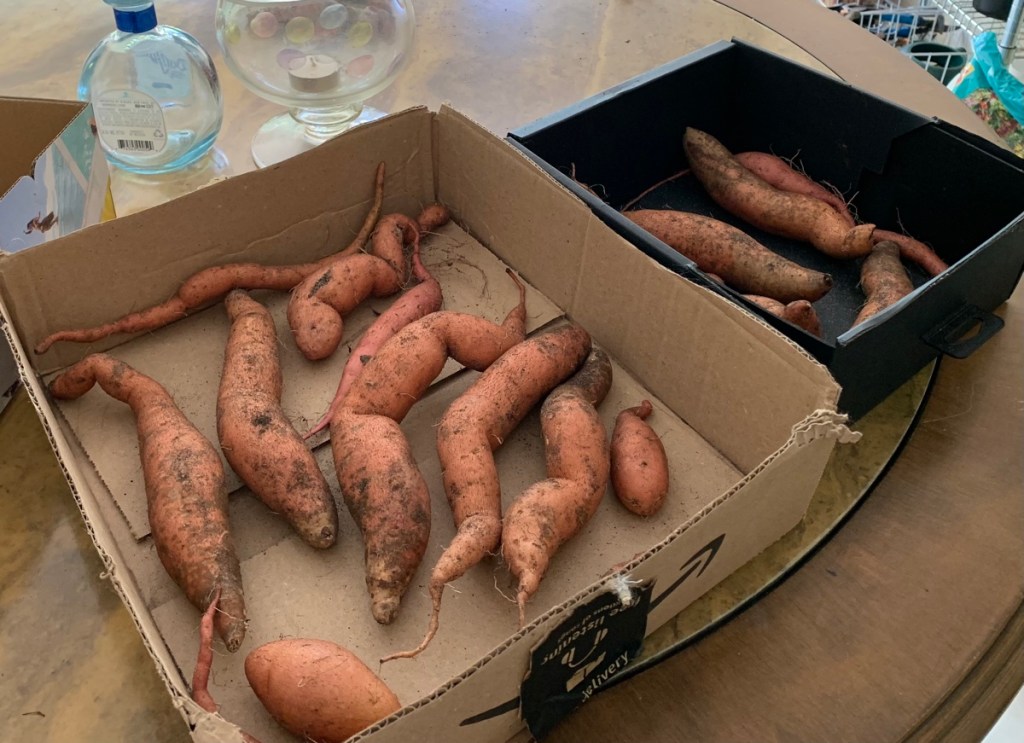
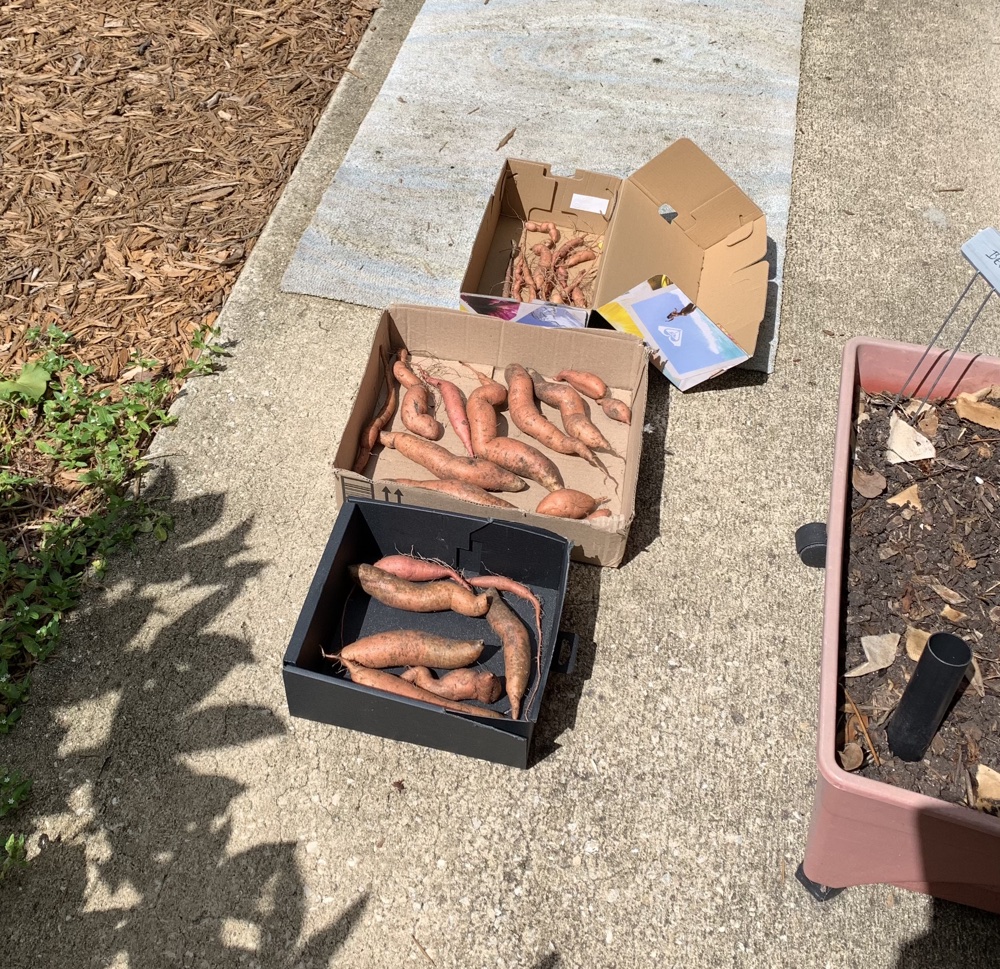
Last April, one sweet potato slip was planted into a grow box. It grew like mad and gave me some funny looking sweet potatoes. There was not enough depth, but I was desperate for space when I planted it. Once I began digging out the sweet potatoes, I realized that dirt had filled up the water reservoir – and I found a few small sweet potatoes down there as well!

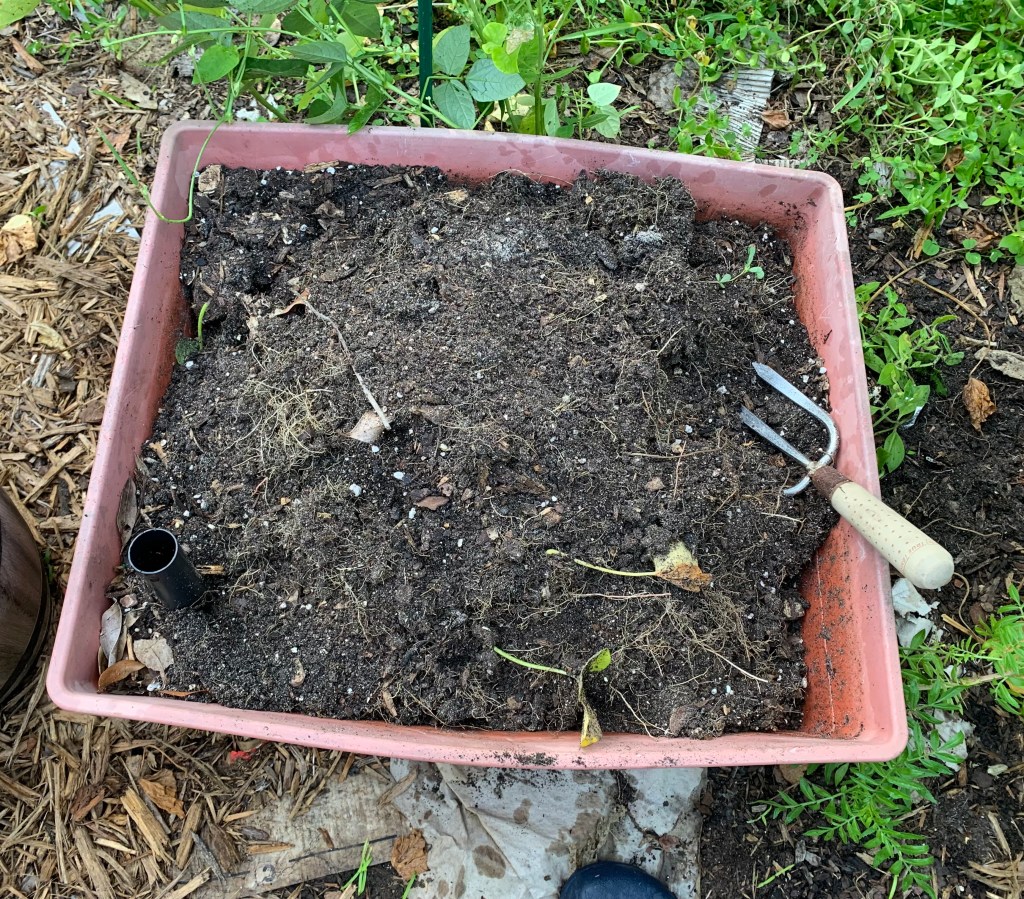
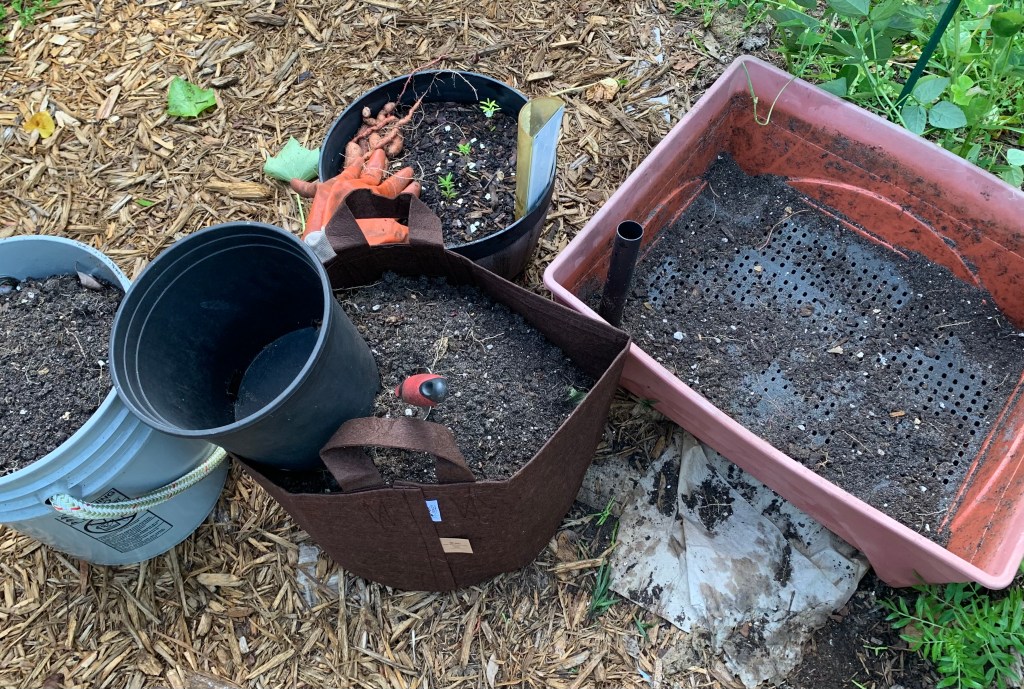
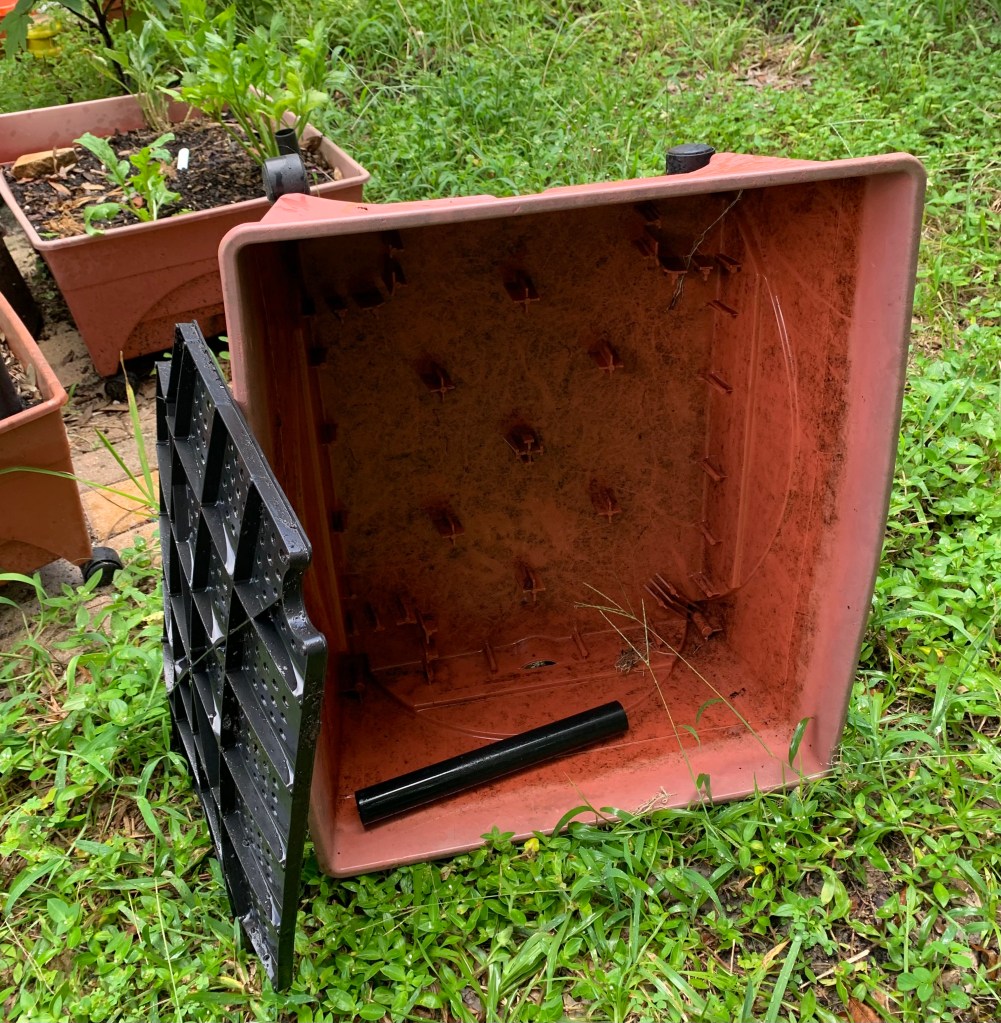
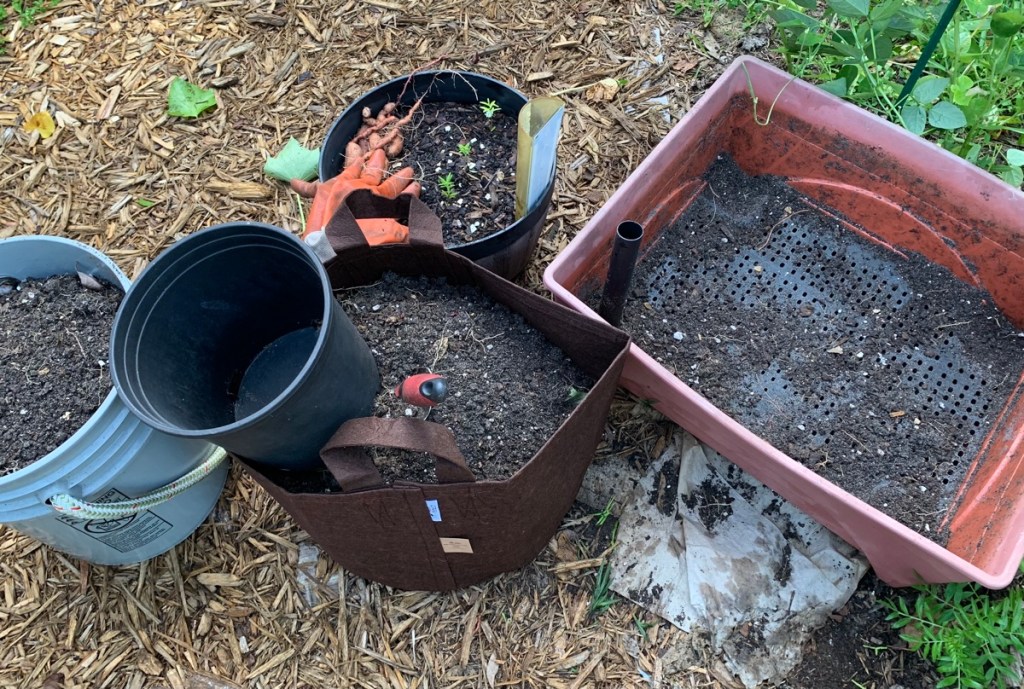
Now I am going through all my grow boxes to empty the dirt, remove that screen, drill holes in the box, and re-filling for planting.

Filling the Grow Box

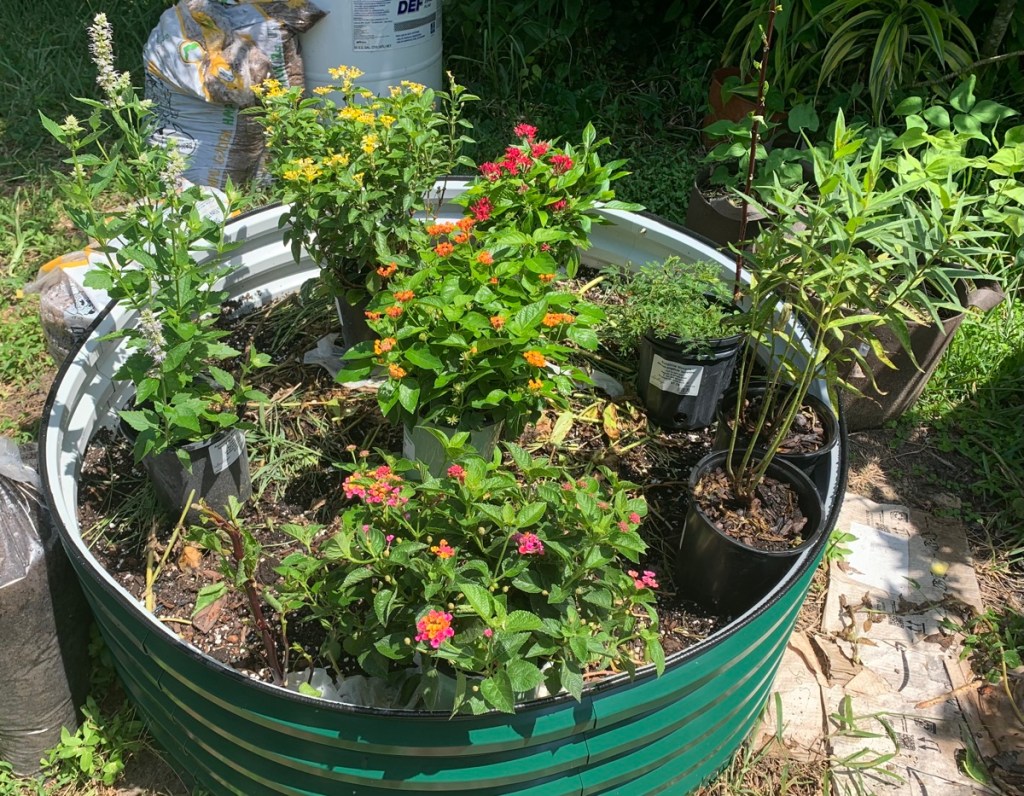
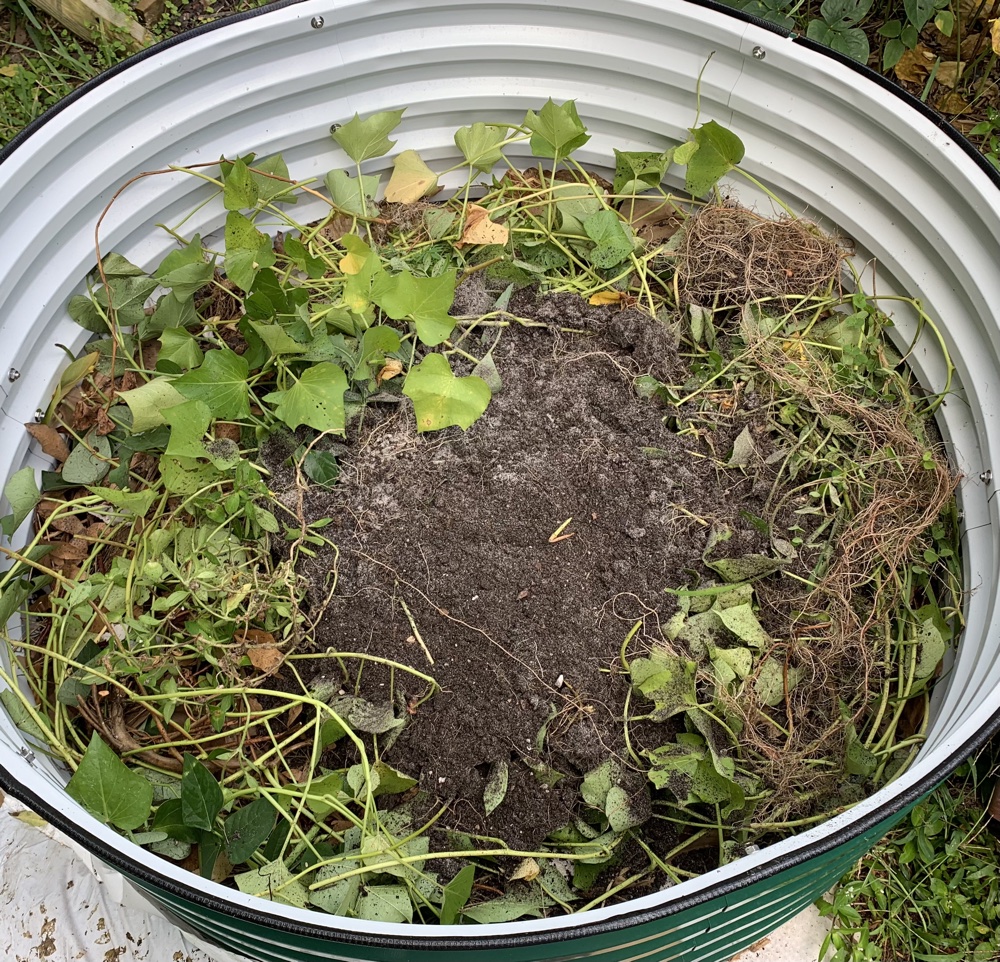
Any time a grow box or fabric pot needs filling, a combination of products is needed. First, drainage should be addressed. For the box, I used a thick layer of pine straw (literally long pine needles) in the bottom. Then, I added some granite stones. After that I mixed potting soil, compost, and perlite, along with some bone meal to create a good growing compound.

The new idea I had, was to put a layer of coconut coir on top of the dirt before I plant the seeds.

One last suggestion is to add earth worms! I have them in all my boxes, raised beds and fabric bags. I found them in the yard and gave them a new home. They tend to multiply and make the dirt loose and fabulous!

Problems Planting in the Ground

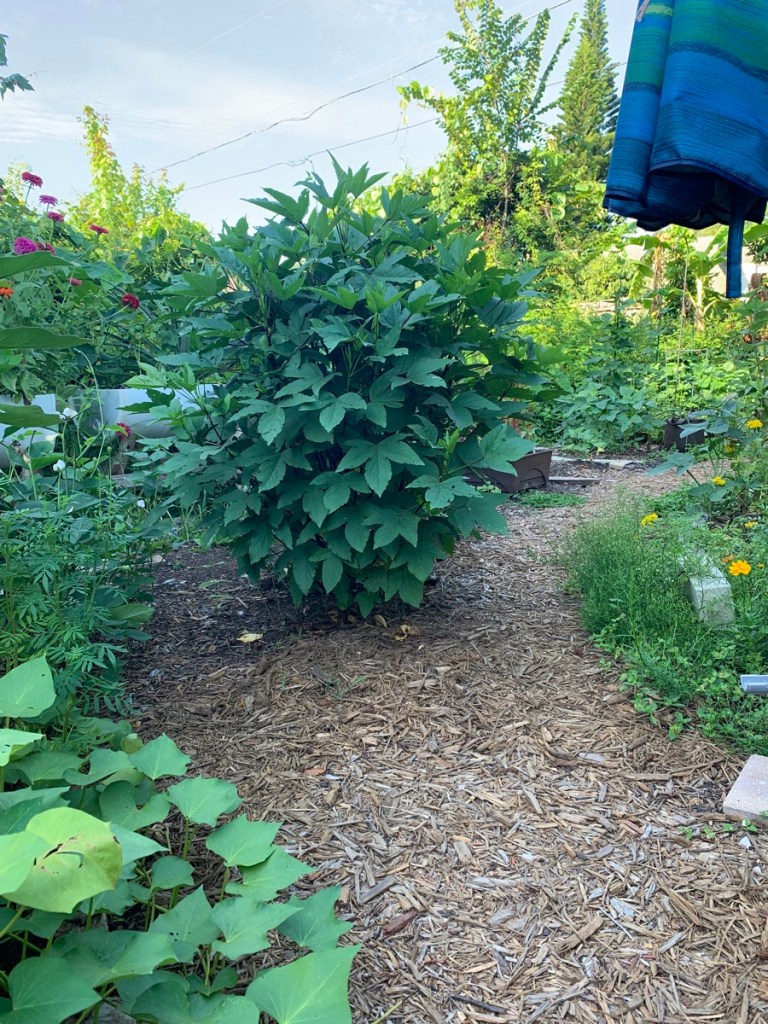
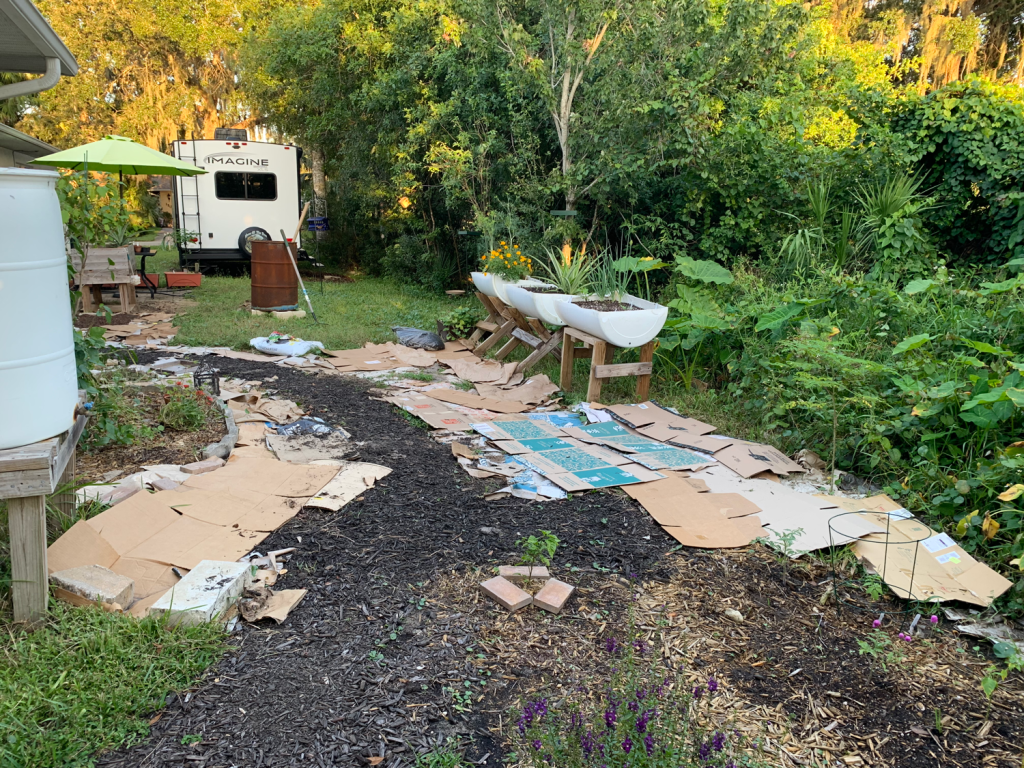
I’d love to have rows and rows of vegetables growing, but I don’t have the space. Also, I have overnight visitors (raccoons and armadillos) who continually dig up the ground. Each morning I check on things, and usually there are numerous holes randomly dug all over the garden.

My small garden area
My backyard, September 2024

In order to resolve this problem, I will need to buy more raised beds. I’m hoping for a winter sale because they are expensive. It will be too late to use the beds for this year, but I can work on getting them ready for next fall. Filling those beds takes time.

Amazon Links to Some of the Products I Use

I am an Amazon affiliate, which means these links can provide a small income to me if someone clicks the link and makes a purchase. It does not affect the price of the item.

  • Grow boxes. If you have read this page you will see that I decided to not use that drain. It works well for a while, but the dirt eventually clogs up that space, and there is no drainage after that. Without proper drainage, plants will die.
  • Perlite, organic – loosens the soil, and is especially beneficial when beginning with new dirt. Once the dirt becomes really good – from compost, previous roots, and amendments – it should be naturally loose.
  • Bone meal, organic – helps growing plants create strong roots.
  • Coconut Coir, organic – good for water retention and starting seeds. It does not clump together, so used by itself, not good for transplanting seedlings. Mix with potting soil, or use on top of dirt to start seeds (see my photos above).
  • Garden plant tags – I have purchased two packs of these tags and they are great! The raccoons have not pulled them up. The writing stays. Just what I needed for seed planting.

Are you growing anything in September? Have you begun your Fall growing? It is the best time of year to grow in my area, but I may be starting a little too soon. What do you think?

vegetables divider separator

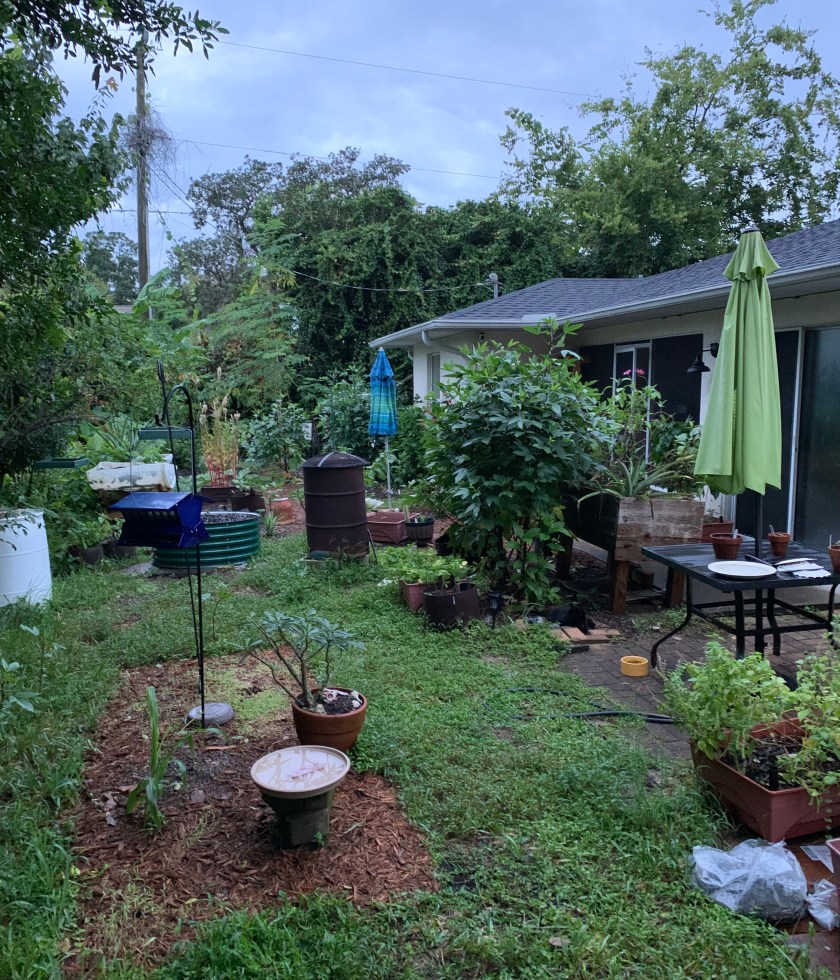
More about my garden journey

Something went wrong. Please refresh the page and/or try again.

Is it Worth Growing Cowpeas as a Summer Cover Crop?

This is the first time I’ve planted a summer cover crop. The cowpea plants (produce dry beans) grew like crazy.

Have you ever planted “cover crops” in your Florida garden? I garden in a very small area. I have all types of plants growing all over the place. I do not have rows and rows of crops. So, do I need to plant a cover crop?

Why plant a cover crop, of any kind?

Cover crops are seeds that will grow when nothing else will. Or that is my understanding. For instance, if it is too hot, or too cold, for normal crops to do well, then plant a cover crop.

It keeps the soil covered, adds roots to the earth, and nutrients as well. Beans, and cowpeas, are nitrogen fixers. They create nitrogen and it goes into the soil. Most vegetables need nitrogen to do well. Whatever is planted next, in that spot, can use that nitrogen to grow. Legumes, beans and peas do not need to be fed nitrogen fertilizer. They make it themselves.

Other plants are also nitrogen fixers. Here are a few we can grow in Florida: Sticking up For Life site.

Growing the Cowpeas

Florida summers are horrid. No one wants to venture outside and certainly there is little hope for gardening in the heat and humidity. I can only be outside very early, or very late, in the day. The idea of planting cowpeas, that do not need attention, is appealing.

So, I bought a few packages of summer beans, or cowpeas. If, like me, you don’t have a clue about “cowpeas”, they are simply all kinds of dried beans. They can be hulled from the dried pods and cooked to eat. I bought a few different kinds, and really didn’t pay attention to what went where. Some grew great – I think they were the Mandy Big Red Ripper variety, although the pods aren’t red.

But, I don’t really have a lot of empty spaces. The Seminole Pumpkin is still growing. I also have a few watermelon vines which are trailing around the perimeter. I did plant cowpeas around them.

The area where the cucumbers were planted seemed like the perfect spot for summer cover crops, but they are not really growing. I think something is wrong with the dirt in that space.

The cowpeas that are growing are crowded together, and I’m not too worried because I plan to make them into mulch. This is the first time I have tried this, and I’m all for improving the soil.

Later… (July)

poles up for cowpeas
Tall poles give the cowpeas something to grow up

The beans are really growing. They are not deterred by the heat and lack of rain. My vining pumpkin is trailing through the beans. (No pumpkins growing.)

Each day I am picking the dried beans. They can’t really “dry” in this humidity, so I pick them when they turn brown. Some have become moldy looking.

Just a warning, ants love these things.

The beans get a pretty white, or light purple flower, which the bumblebees love!

cowpea pods on the plant

Later still… August

I have cut down all the cowpeas and left the stems and leaves all over the ground in the garden areas. Any pods that were left on the vines have begun to grow! I’m pulling them up and leaving them on the dirt.

I purchased more bags of dirt and have covered the sections of the garden where the bean leftovers are. Now I will plant seeds here for a winter crop.


Colorful Blooming Plants for Bees, Butterflies, and Me

Filling the yard with blooming plants to feed the bees and butterflies can take time. Even though I don’t have many, the insects come.

My focus has been on growing vegetables in the yard, but now I am focused on adding blooming plants.

I still don’t have a car, so getting out is tough. My son took me to a local nursery and I used a gift card (from Christmas – it’s September!) to buy some flowers.

I gravitate to the bee covered flowering pots at the nursery, but once the plants are home, it’s a wait for my bees and butterflies to find the flowers.

I chose red, orange, yellow and “blue” flowers. The bumblebees like small yellow flowers and tall spikes. They come every day to my Holy Basil (Tulsi) which has very tiny flowers (pictures below). However, some also like the big open pumpkin flowers. It’s best to have a variety.

The Following Morning

I get out into the garden as early as possible because of the heat. My goal this morning was to get the Vegega bed filled with dirt. I always scout out the gardens in the morning. When I went to the back area, I discovered that both recently planted plants- were torn completely up out of the ground!!!!!

The blue Agastache and yellow lantana were lying on the ground with their roots exposed! The big planting holes were empty. (I was too mad to take pictures.)

lantana
Red orange lantana plant

Re-planting and Moving On

The good news is that both re-planted plants are now doing fine. The yellow lantana has not bloomed again, but I’m sure it will. I had made the mistake of adding fish bone meal into the potting holes. I’m betting the raccoons smelled it, and dug to find the “fish”. The plants were simply in the way. Lesson learned.

Gardening means dealing with pests of all kinds. For me, the Raccoons cause the most trouble. They are often destructive without purpose – as far as I can tell. They steal tomatoes and rip holes in them, but don’t consume them! They pull peppers off the plants, and dig up seedlings. Last year they stole one of my watermelons off the vine.

In the meantime, here’s what else is blooming in the yard:

  • Sunshine Mimosa ground cover with powderpuff pink flowers
  • Spiderwort weed is a pretty blue
  • Firespike with tall red flowers
  • Celosia flowers

Thank you For reading

The Tomato Hornworm Doesn’t Need Tomatoes To Be Happy

It is August and hornworms are showing up in my Florida garden. There are no tomato plants, but they also like the eggplant and peppers. Eventually the birds find the worms and have a nice feast.

Over the past few days, I’ve found tomato hornworms in the garden. Not on tomato plants – I can’t seem to grow those, and especially not in August – but they are happily eating eggplant and Aji Dulce pepper leaves.

Hornworms love all the nightshades it seems. I found three hungry caterpillars on the eggplant, but by the next day they were gone. I didn’t see what got them, but my best guess would be cardinals.

Hornworms are hard to miss. From their big brown turds all over the leaves (eggplant), to the bare stems, they leave proof of their presence. Their green bodies are the only thing that help them to blend in, but they are good size once you see these signs.

Now, I have two more hornworms on the Aji Dulce pepper plant. I have only three nice pepper plants left, and now this one has lost a bunch of leaves to chewing.

The plant was somewhat sheltered among the Roselle so I dragged it out into the open. I’m hoping this way the cardinals will see the worms easier and have a nice meal.

I checked the plant a few hours later and found only one worm left. He was hiding under a leaf. I decided to put him, along with his leaf, into the tray feeder. He won’t last long.

tomato hornworm in a tray feeder

In my yard, caterpillars of all kinds become food for the birds, eventually. It’s a matter of deciding how much of the plant I am willing to lose before that happens. Nothing gets past the keen eyes of the cardinals, and they come in groups of 5 or 6 every day. However, I believe a blue jay ate this worm off the tray feeder.

I’d love to have enough plants to shelter hornworms and allow them to turn into the beautiful sphinx moth. Instead, I have to let nature take its course, maybe with a little help, to save my plant.

Next time you want to get rid of a hornworm, consider letting it become a bird’s meal. Where I live, I can feed the birds year round. Sunflower seeds bring birds to the yard, who will then naturally look for food in the garden. Tray feeders (paid link) are perfect for depositing unwanted grubs and worms.

green divider leaves long

Sweet Potato Harvest in August

My sweet potato plant was ready to dig and I got a funny-looking, but excellent harvest.

Sweet potato slips were ordered and planted in my Florida yard this past April. I’ve read that they should be ready in 90 to 100 days. It’s August, and time to check for a crop.

One of the 12 slips, received back in April, was planted in a grow box. That plant did great! It had many vines sprawling everywhere all around the ground. I was able to eat the leaves in my salads as well. None of the other sweet potato plants, planted in the ground at the same time, look this nice.

Grow box – 1 slip planted
sweet potato vines
Grow box with sweet potato plant

Today, August 2, and it’s been over 100 days. I decided to dig and see if the potatoes were ready. The sweet potatoes (Beauregard variety) I harvested are not huge, but slim and long. I think they will be delicious!

The crooked ones formed because of the box. They were a bit packed in. This was not the ideal location to grow, but I’m happy with the amount that grew.

sweet potato harvest
Sweet potato harvest!
digging sweet potatoes

The Dig

It is exciting to have a harvest that comes from underground. Gardeners are unable to really see what is growing until it’s time to dig.

I loosened the soil and reached in with my hands and found the biggest potatoes just under where the slip was planted.

The grow box was emptied of dirt, which was full of roots – and more sweet potatoes! When I pulled up the black drain piece, I found three more potatoes at the bottom.

While pulling up the vines, many had rooted in the ground. I found a few more small potatoes while doing that. I’m emptying the box to create a better system for drainage. It also needs new dirt and amendments for whatever is planted next.

All the vines went into my Vegega raised bed. I’m using it as a compost pile until I can get some dirt. All these nice vines will help fill it.

Buying Sweet Potato Slips to Plant

Sweet potatoes grow from slips, which are little plants that are set into the ground. Nurseries grow them and ship them out when it’s time to plant in your location.

This past year I ordered from Annies Heirloom Seeds. I did not know when the plants would arrive. Minimum order was 12 slips, which I really didn’t have space for. Of course with my luck, they arrived right before I left for vacation for 2 weeks! I had company and then I flew north. I barely had time to get them into the ground, and a few I didn’t.

It was hot and rain-free while I was away – of course – and I couldn’t care for the little seedlings like I should have. Currently, I have only 7 more plants growing. They need longer to form the potatoes, so I’ll check them later in the season.

sweet potato slips are wilted when they arrive.

I plan to buy my sweet potato slips from SESE in December, which is when pre-ordering begins. I like that I can get only 6 slips instead of the 12 (minimum) at Annies. They ship to various locations when it’s time to plant and ship from mid-May to June. I plan to have some good beds or ground areas ready by then. This next year, I will be ready!

Curing Sweet Potatoes

I had to search for info on curing the potatoes and found it at Southern Exposure Seed Exchange. They have a page full of information, if you are wondering about how to care for slips, plant, grow, harvest and cure sweet potatoes.

They need heat, and they grow very well here in Florida, so northerners probably can’t grow them. I’d like to know.

I look forward to eating these potatoes. The garden is not giving me many crops in this heat, so finally having food is awesome!

butterfly divider flowers
More Stories From the Blog

Garden After A Year

In the beginning of 2023 my plan was to create a small vegetable garden space in what little bit of yard I have. I’ve been blogging about some of my journey, and this page has photos of the before and after. A lot has been accomplished in a year.

When I came across these old photos from last year I thought it would be fun to show the difference.

Before…. and …..After

For much of the past year I have been working to create dirt spaces and pathways. Occasionally I have also grown some veggies! I can work outside year round, which is beneficial, although there is little rest.

The Roselle hibiscus bushes have grown like crazy. They were grown from seeds planted in Fall. The Moringa tree has also grown after slowing down for the winter months.

Before I had a chance to finish writing this page, the garden has filled in even more. Some plants really enjoy the extreme Florida heat and humidity.

It is now July, so this photo is after about 1.5 years of gardening.


More from the blog