New England native, Florida resident. Blogging about boating, beach-combing, gardening, camping, and knitting. Work for Zazzle as a designer since 2008.
One of the most fun things about gardening is seeing the changes day by day. Each morning I go out and check on things. I look for what is growing, what is being eaten, and what new bugs have arrived.
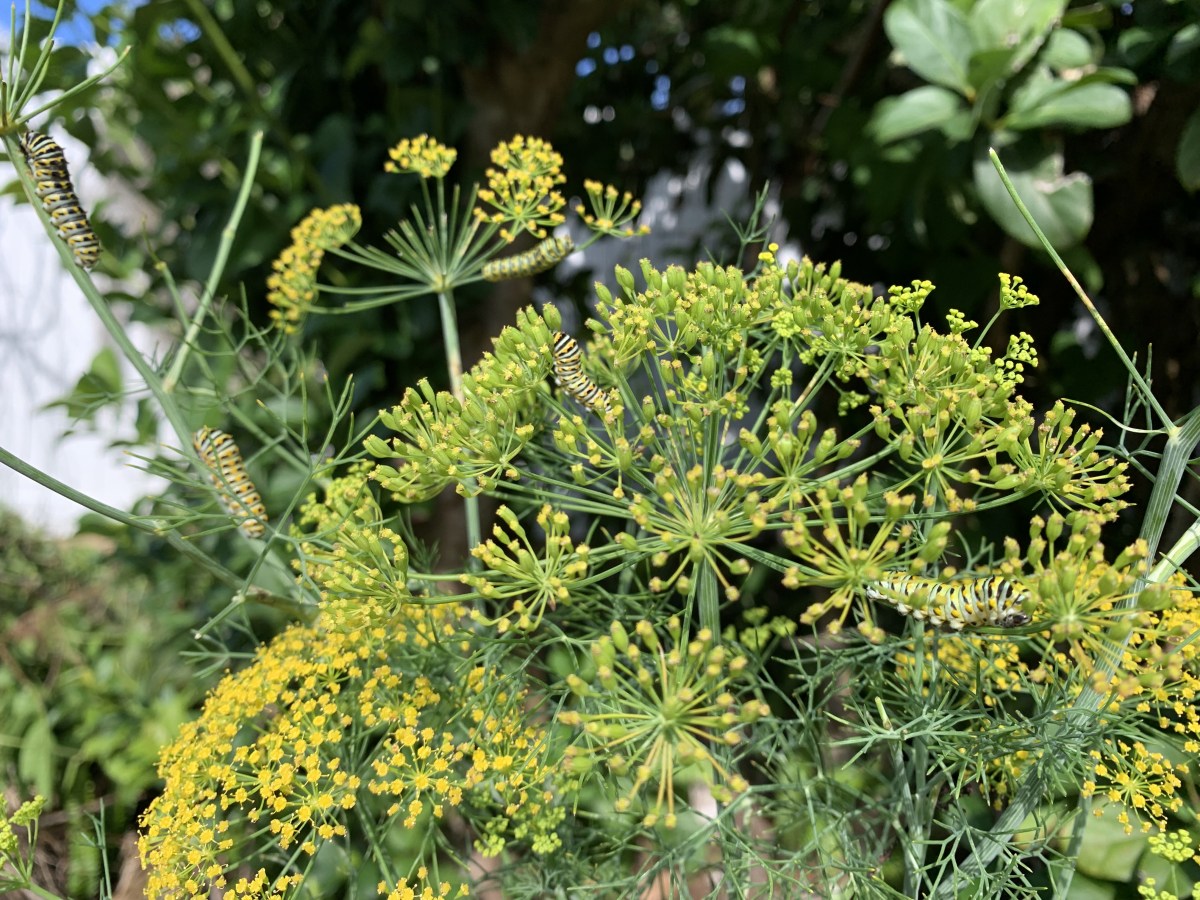
The caterpillars on the dill were doing great, until the cardinals spotted them. Those cardinals have eagle eyes and will pick off bugs and worms in no time.
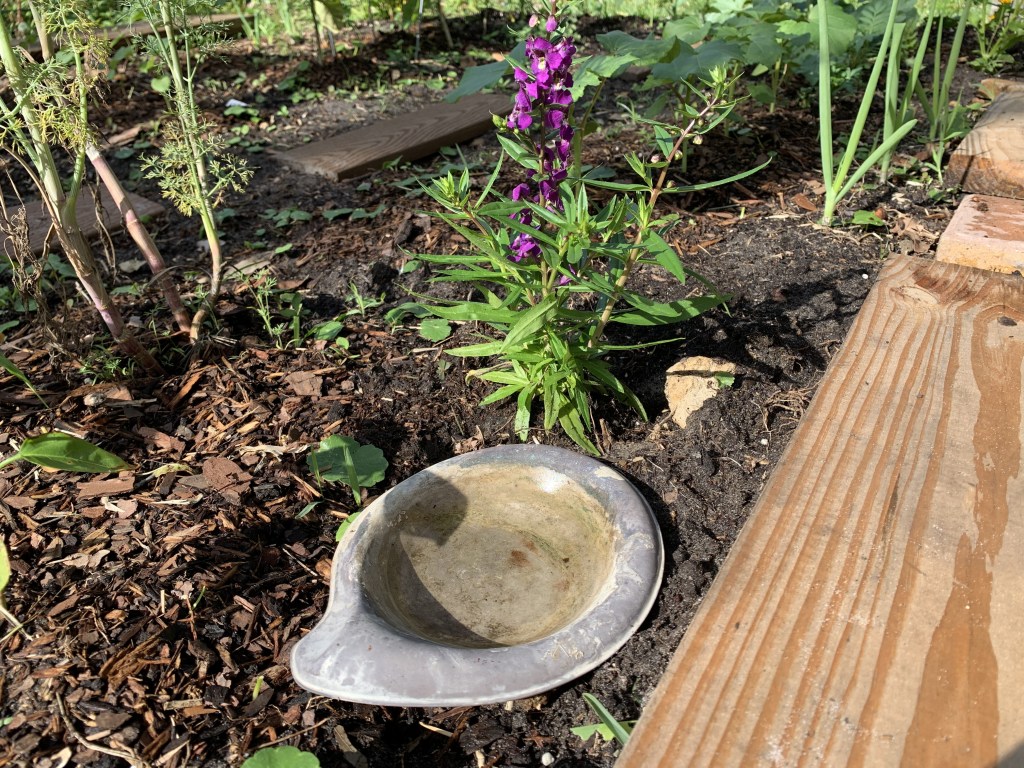
Water Source For Bugs
Small bugs and butterflies appreciate a water source that is shallow. Leaving little containers around the garden can help them find water.
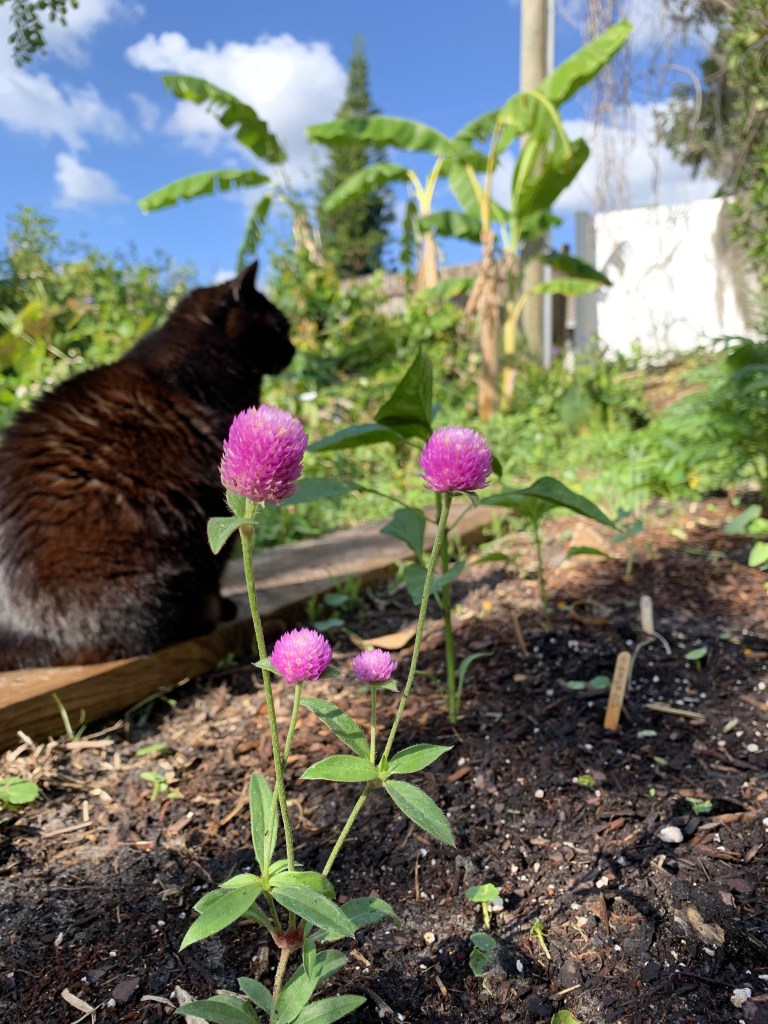
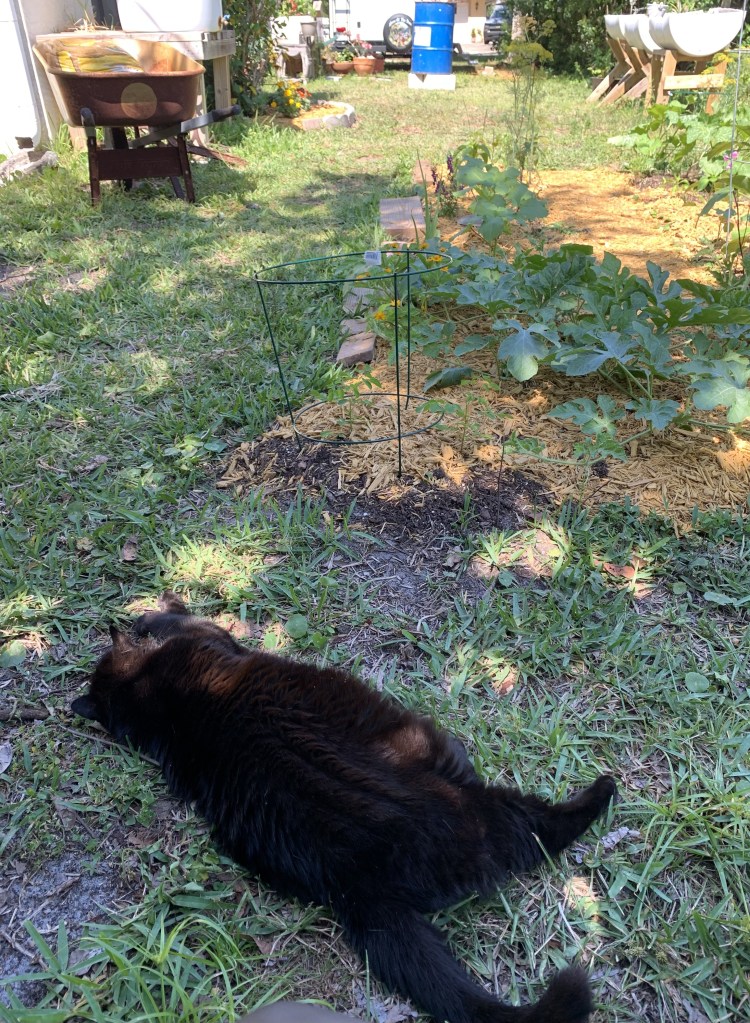
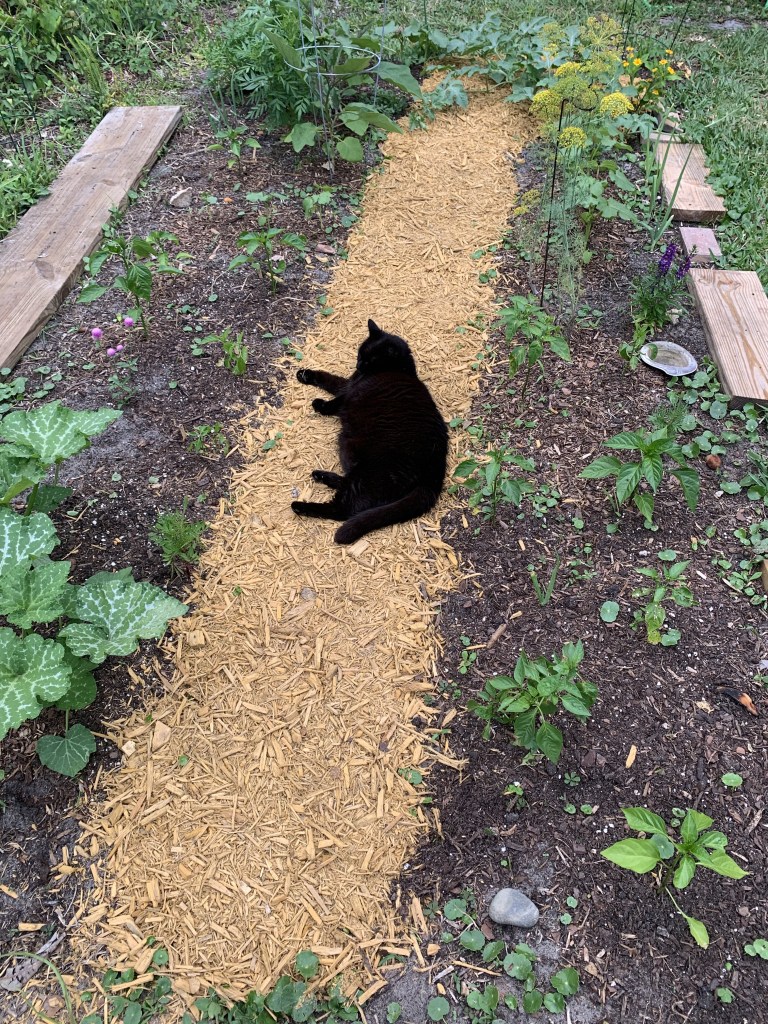
Cats in the Garden
My cat Skittle loves to walk among the garden growth. She will sleep on the garden path and follows me when I go out to check on things.
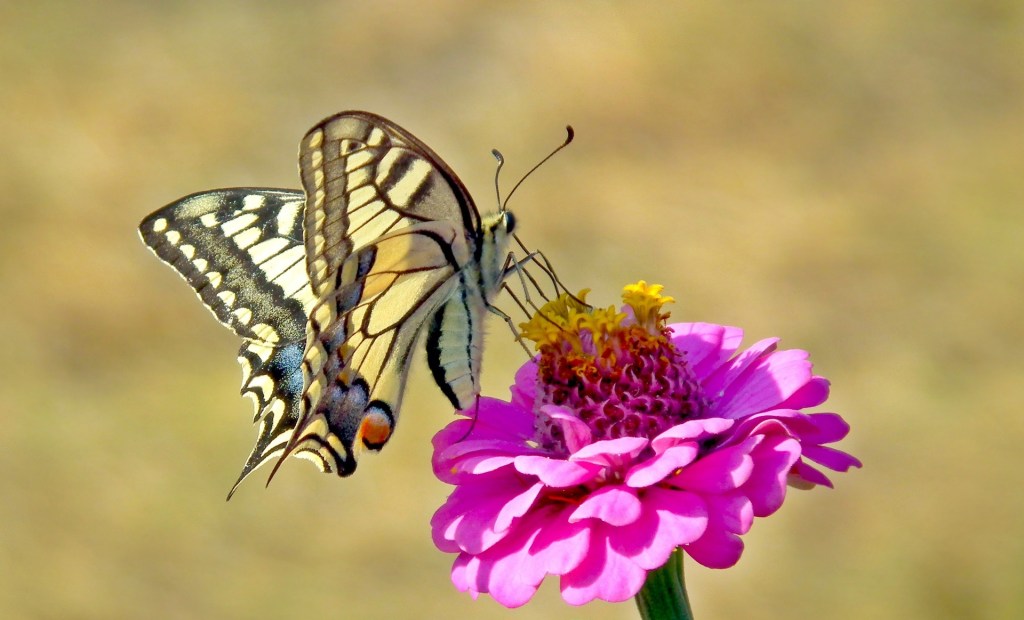
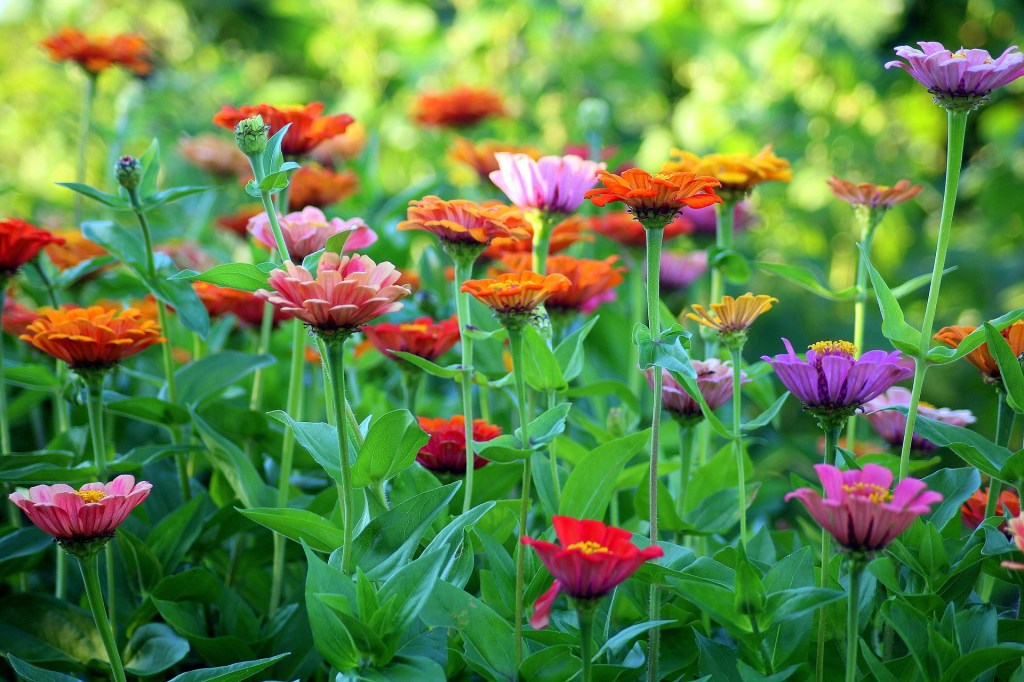
Here in Florida we can plant and grow Zinnias. I never knew this, but the Urban Harvest sells seeds and they sell things that will grow in Florida. Sure enough, Zinnias are heat tolerant and should grow all summer long.
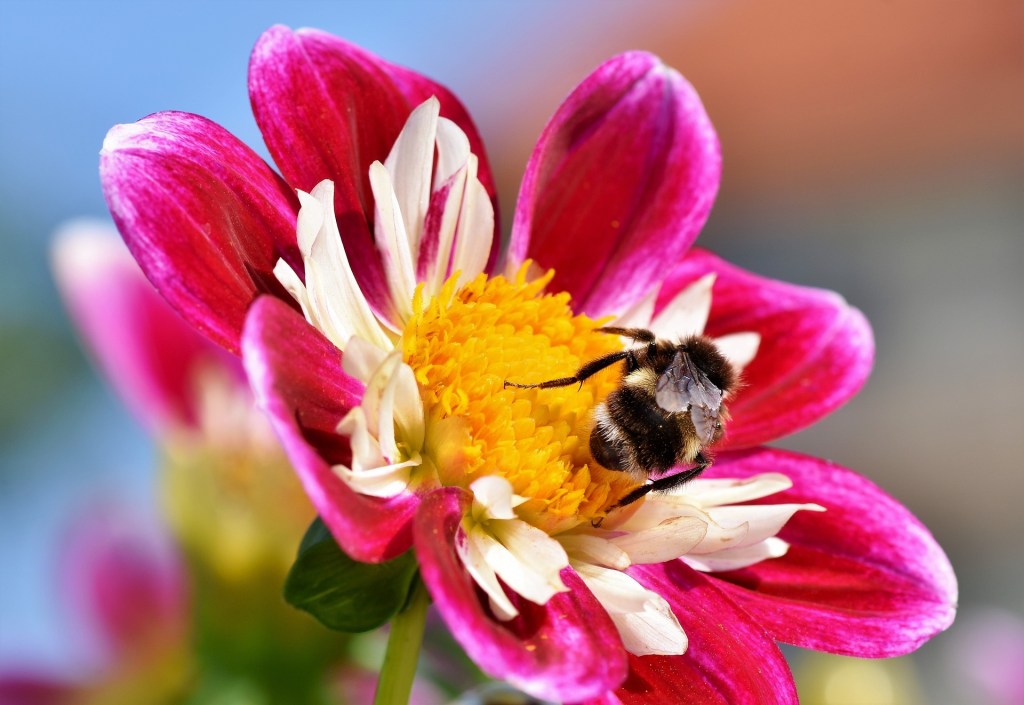
Zinnias attract bees and butterflies and they come in beautiful colors. This is why you should plant them.
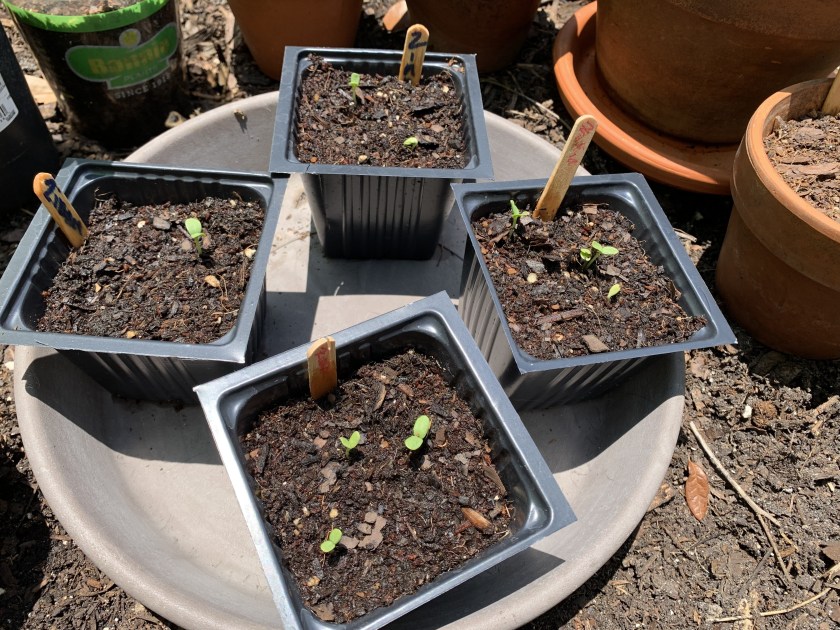
A few days ago I placed my third seed packet order from The Urban Harvest, a Florida based grower. Within a few days my seeds arrived. I planted the Zinnia seeds into small pots on May 19th. The next day– May 20th – all seeds had sprouted!
Zinnia seeds after one day!
I don’t believe I have ever in my life seen seeds sprout in one day’s time. To say I am amazed is an understatement. I have great results growing seeds from The Urban Harvest.
Currently I have Okra growing that was planted directly into a raised bed and it came up in four days. Of the 15 seeds planted, there are 12 growing. But, what is eating my okra?
Much of what is growing in my gardens have come from seeds bought at The Urban Harvest.
Zinnia Seeds Sown Directly Into the Garden
It also works to sow zinnia seeds right into the dirt. I did this around the edge of my small garden space – which is quickly being overrun by watermelon vines.
Worms will multiply if they are supplied with good things to eat in the dirt. Create a worm box to get started.
One thing about worms is that they are particular about where they live. If you can create an area that appeals to them, they will multiply readily. I’ve watched it happen.
I’m not into growing worms artificially indoors in a bin, and it’s not necessary. Keep them outside in their element, but also keep them enclosed so they can be found. Once you have bunches, move them elsewhere to improve another area of soil.
Grow Box Worm House
Now that I have a few grow boxes set up in the yard (similar to the Earth Boxes on this Amazon page – this is an affiliate link), I don’t use them all for planting. This one is currently my worm house. It’s also where I mix soil for small pots when I plant seeds.
Important to know…
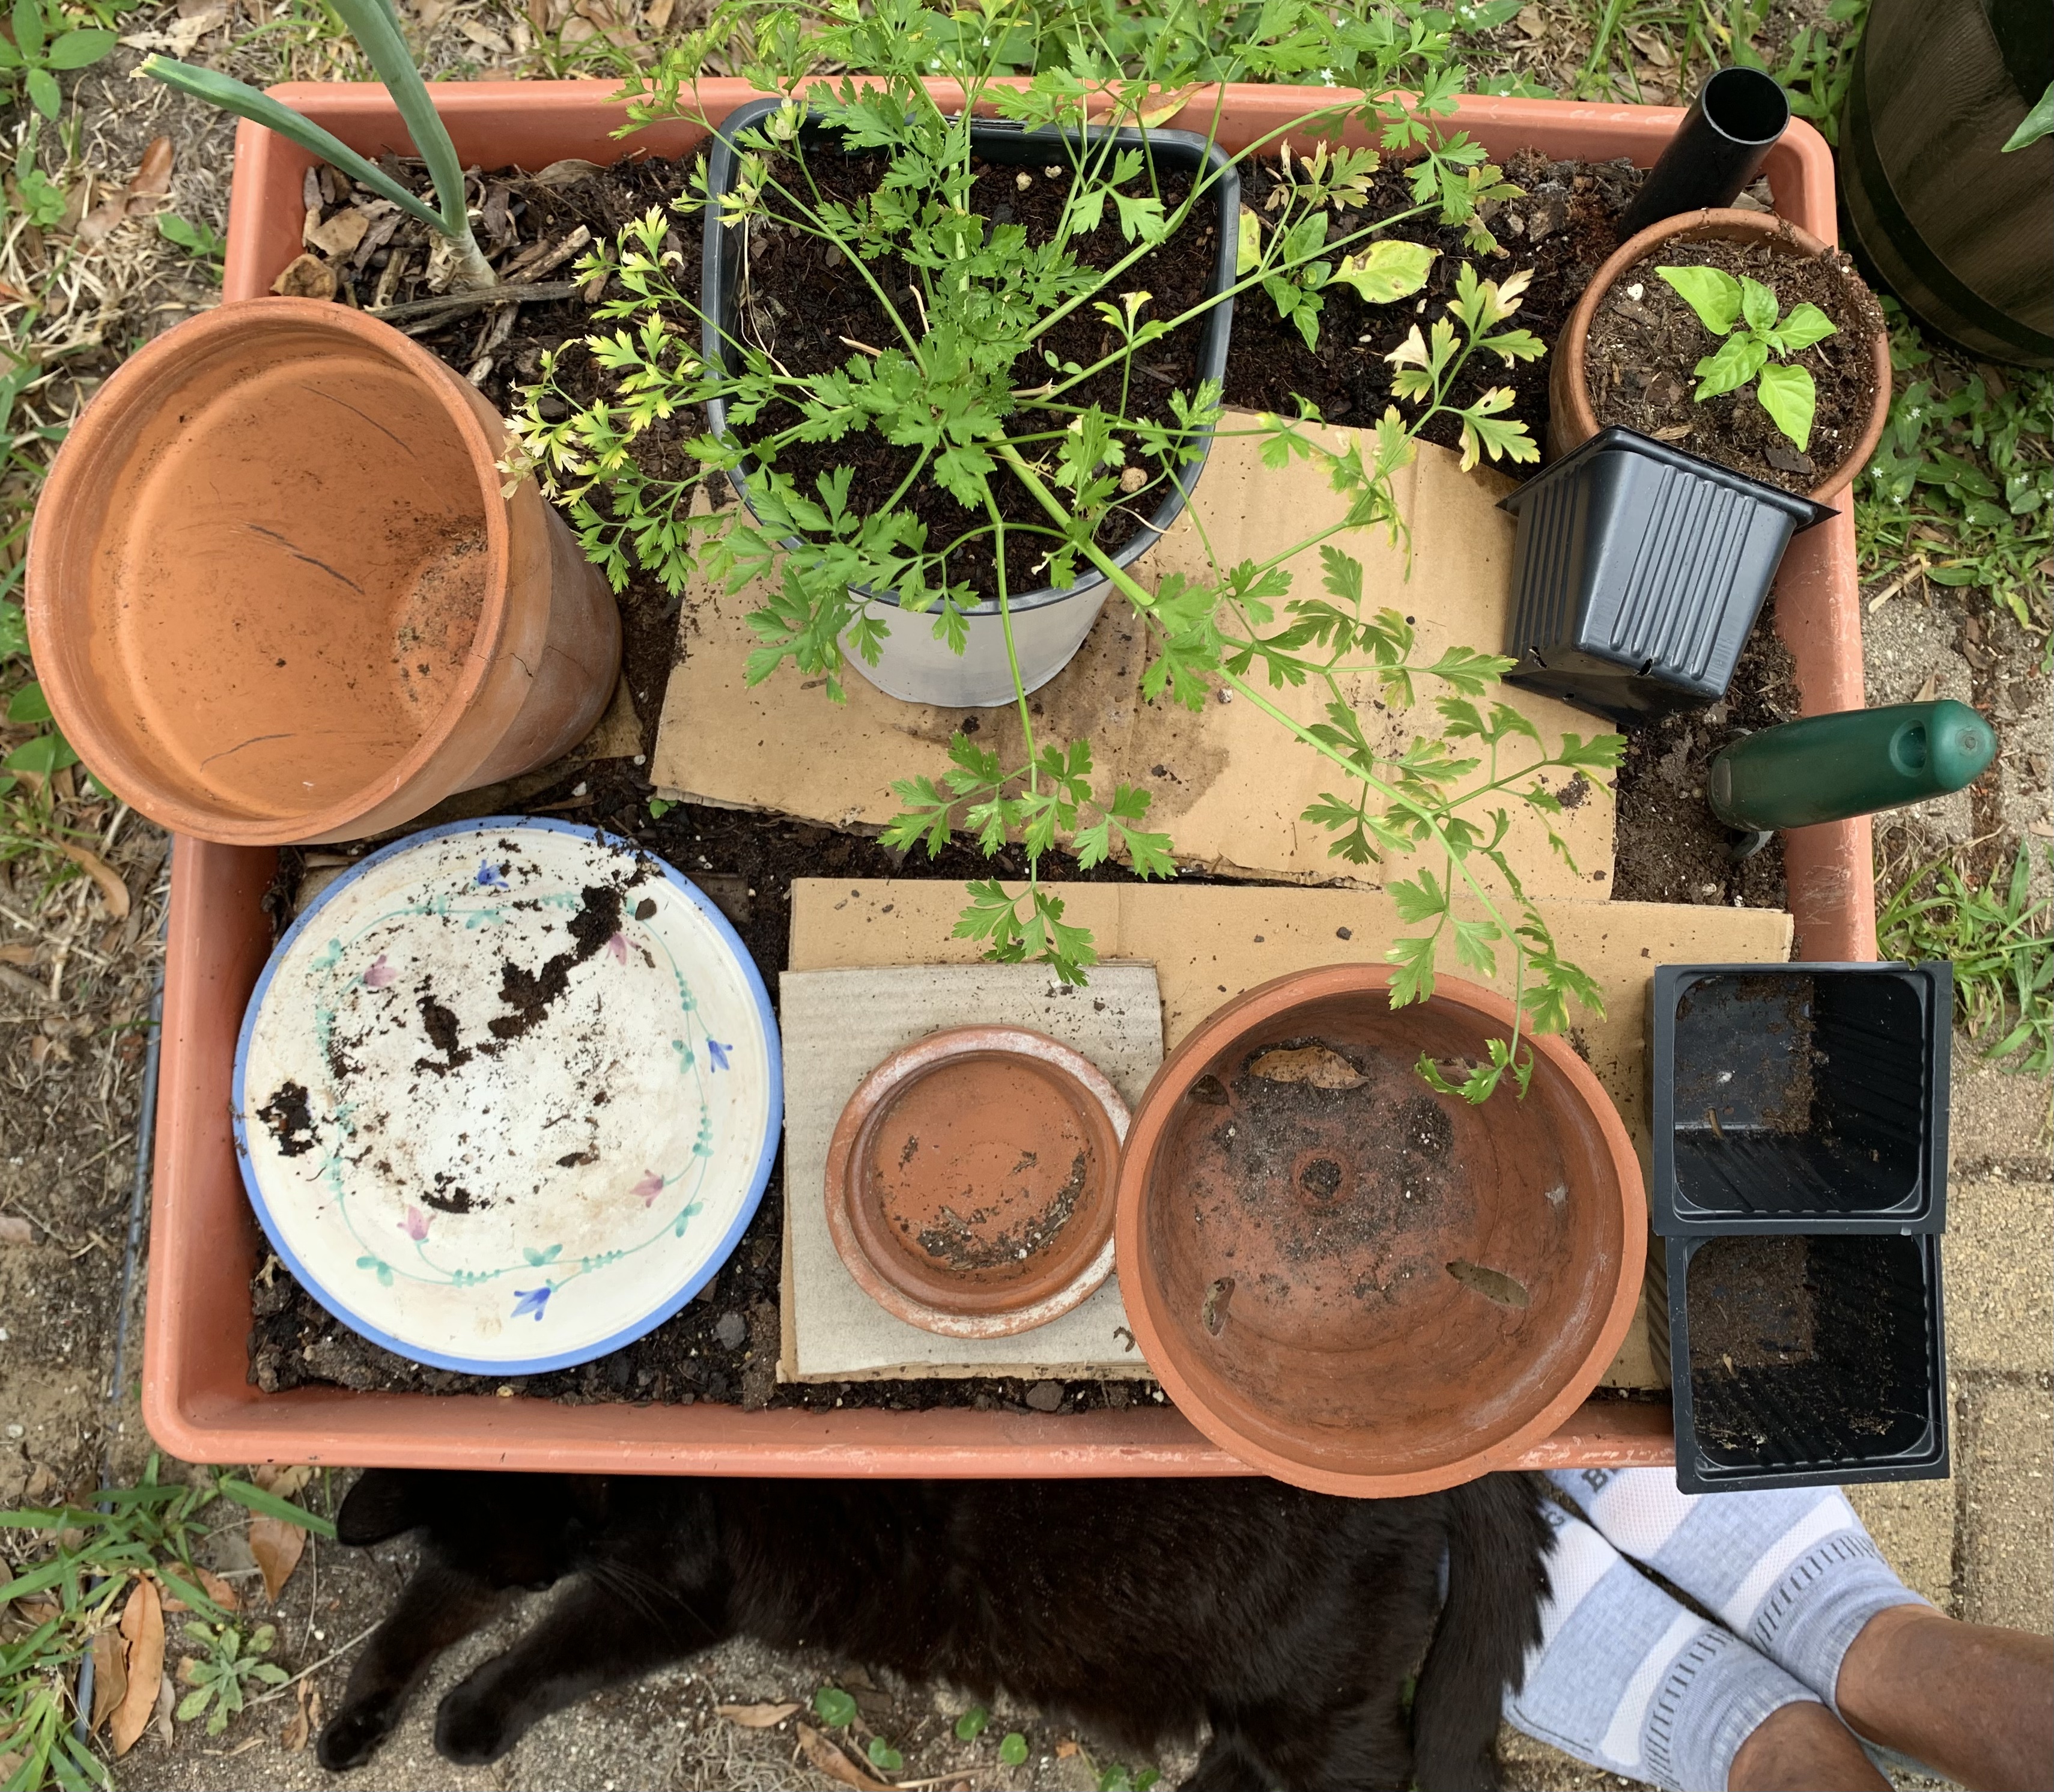
This type of box has wheels, which allows it to sit up off the ground. You need some way to keep pots and boxes elevated so fire ants won’t set up house in your bed! I had a large pot – shown to the right in the photo below – which became filled with ants because they came up from underground directly into the pot. Now my pots always sit on a saucer, cardboard, bricks, or something so the ants are deterred.
To get started with any grow box or raised bed, you need dirt. We bought bags of dirt from Home Depot to begin, but now buy our dirt, compost and mulch from The Yard Shop in Edgewater.
Direct Composting
The dirt needs good stuff added so plants will grow, but this also feeds worms. It can take a while to make your dirt worm ready. Worms eat organic matter and each morning I would put my coffee grounds into my gardens. Eggshells were saved and crushed, and banana peels or old bananas were added to the dirt in my grow boxes. I did not have a compost area at the time so anything leftover from fruit and veggies went into my grow boxes. (Not onions – worms don’t like them.)
Plants were also added, along with organic fertilizer. Worms like roots. This is one reason you should cut off old plants and not pull them out, removing their roots. Have you ever dug up a patch of grass and discovered worms among the grass roots?
Adding Worms From the Surroundings
Adding worms to the dirt means going out and finding worms. It’s not that easy here because there are few worms to be found in a Florida lawn. I dug at the edge of the yard where natural growth and unbothered, wild plantings were growing. I found a few worms near an old tree stump that was decaying and moved them to the boxes.
Truthfully, I only found a few worms. Each time I came across an earthworm, I collected it for the boxes. I had no idea if they would live.
Oh Ya… We Have Worms!
When I finally had more grow boxes and other homemade boxes for my plants, I began to transplant.
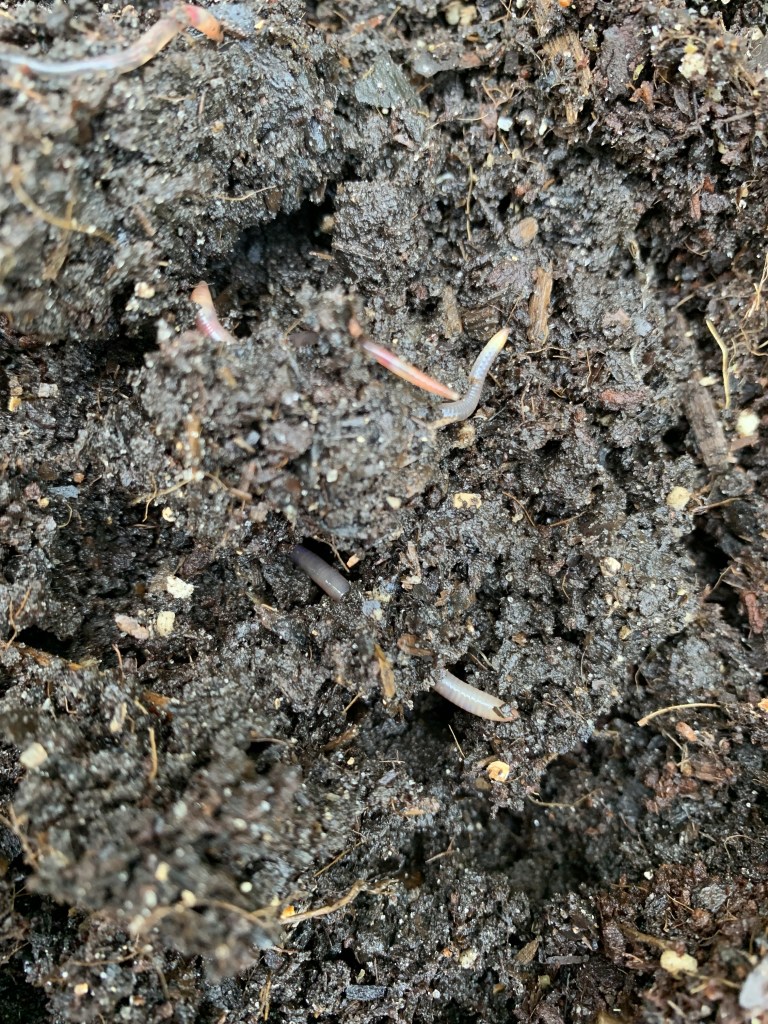
While my plants were growing, apparently the worms were too! It was impossible to tell because until then, I had not dug in the grow box dirt.
Happily I saw loads of worms of all sizes. This box is stuffed full of wonderful earthworms. I’ve been moving them to other places for fresh, yummy dirt to enjoy.
Keep the Dirt Covered
I noticed that if I set a pot or saucer on top of the dirt, when I lifted it there would be worms ducking back down into the soil. The covering makes the soil cooler, which is important.
Creating Good Soil
It takes a while to have good garden soil. You may buy dirt, compost and organic things to mix together for dirt, but only nature can create the best, real soil. Eventually our diligent attempts can create good dirt, but it does take time. Manmade is never the same, or as good, as what Mother Nature has created over time. If we are careful, we can come close enough to grow some food to eat while providing a healthy environment where all kinds of life can flourish.
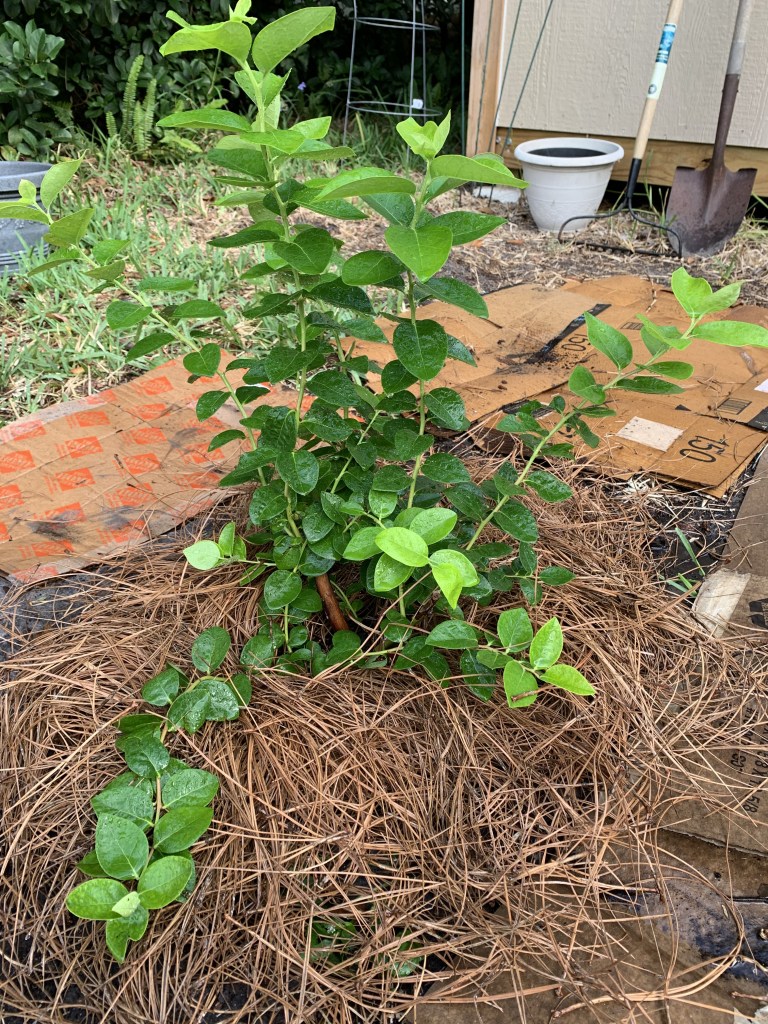
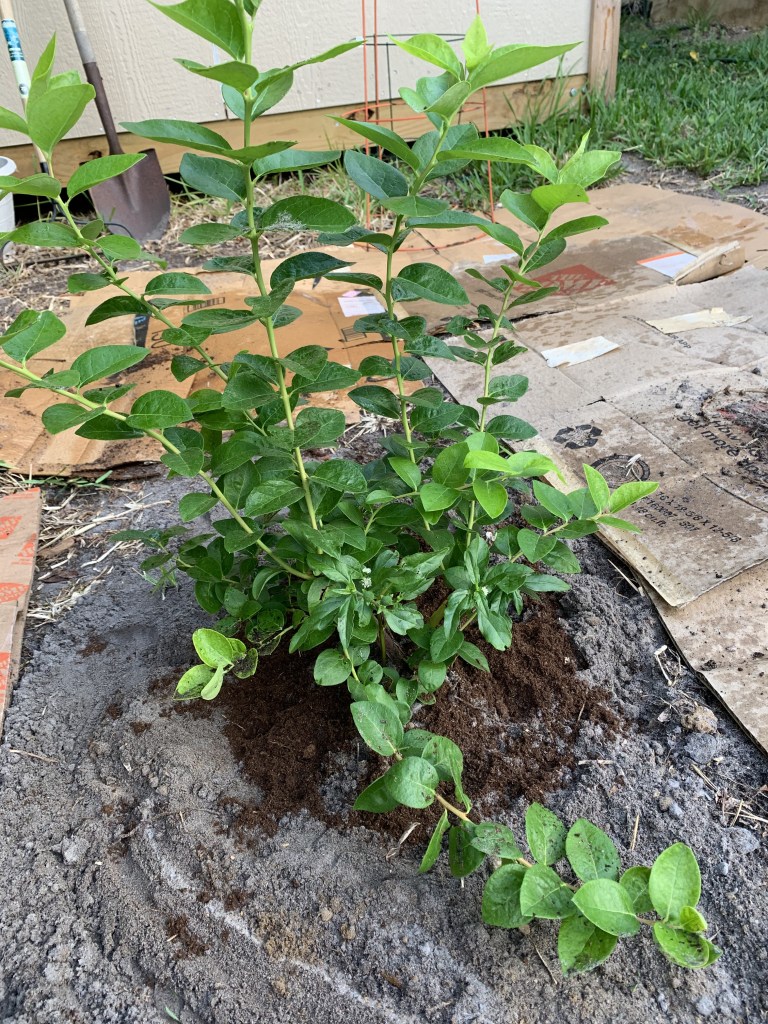
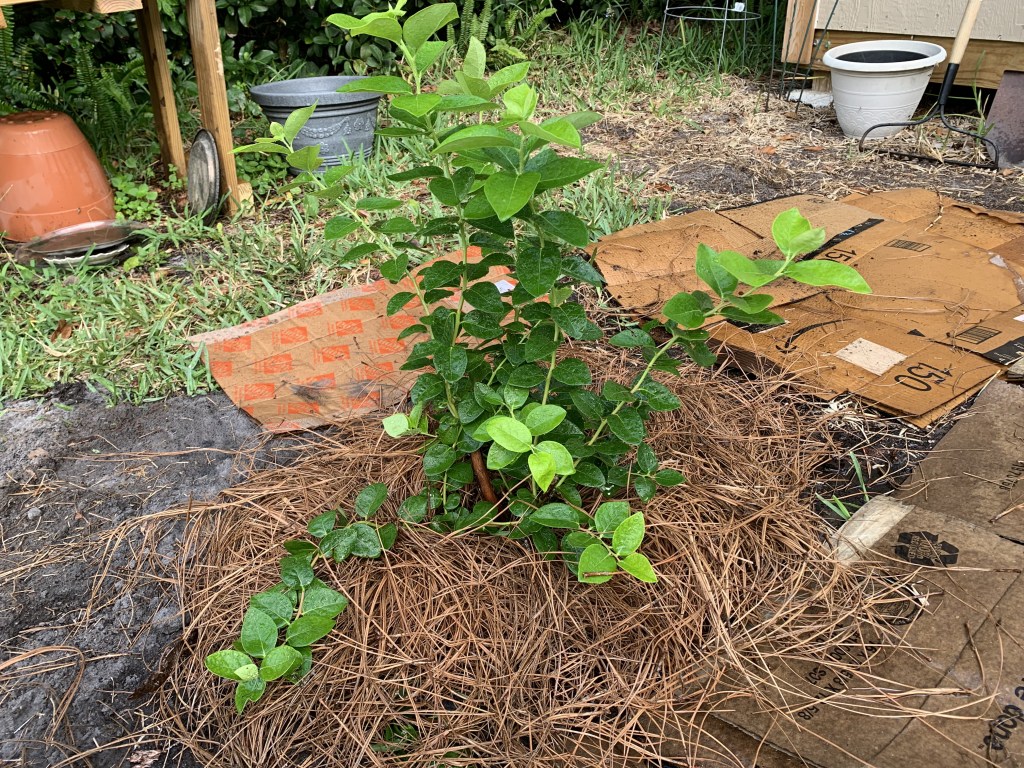
Newly planted blueberry bush in my Florida backyard.
I may be excited for no good reason, but I’m happy to have this blueberry bush in the ground.
This is a perfect example of why you shouldn’t buy things on a whim. I know that blueberries are hard to grow, and if I do manage to get berries, the animals will probably eat them before I can.
Florida Blueberry Shrubs
Certain types of blueberry shrubs grow in Florida, and if you want to succeed at growing blueberries here, find the right kind for your location. Normally blueberries need long cold winters. This is why they grow all over the place up north.
Special cultivars have been created for our warm winters here. Rabbiteye and Highbush are the types suggested – no lowbush berries here. Read the link below for more information.
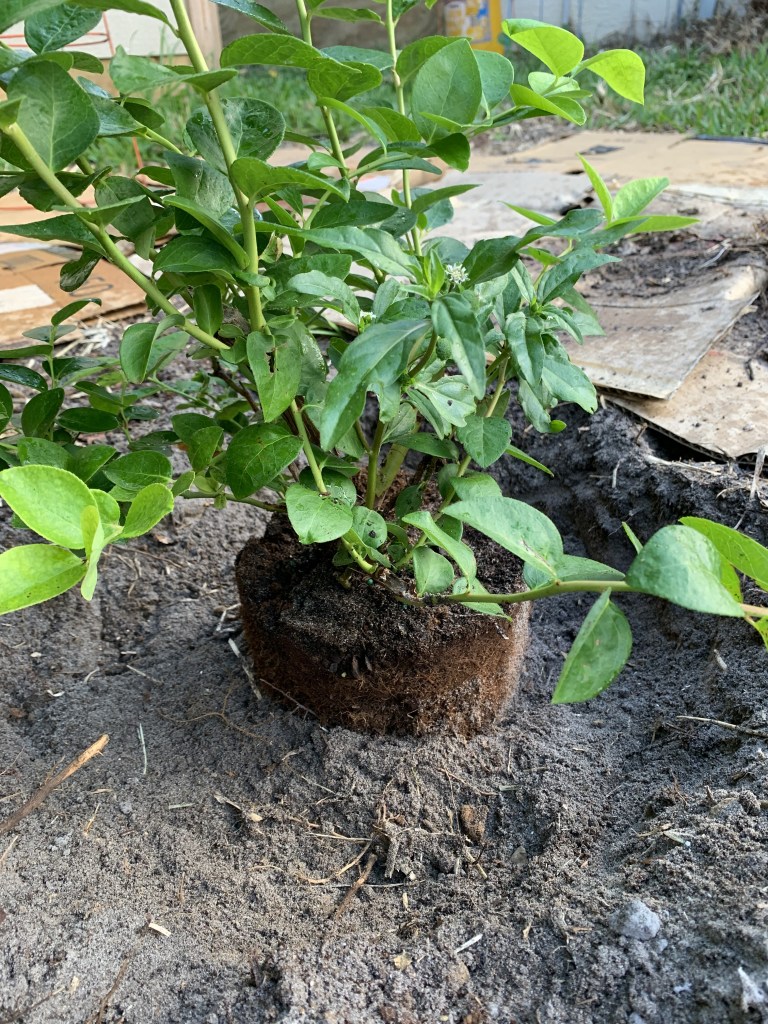
This bush was purchased at the Farmer’s Market. I only know that it is a “blueberry” and is supposedly “self-pollinating”. Three varieties are listed on the back of the card that was attached to one of the stems; Pink Lemonade, Sunshine Blue, and Emerald + Sharpblue.
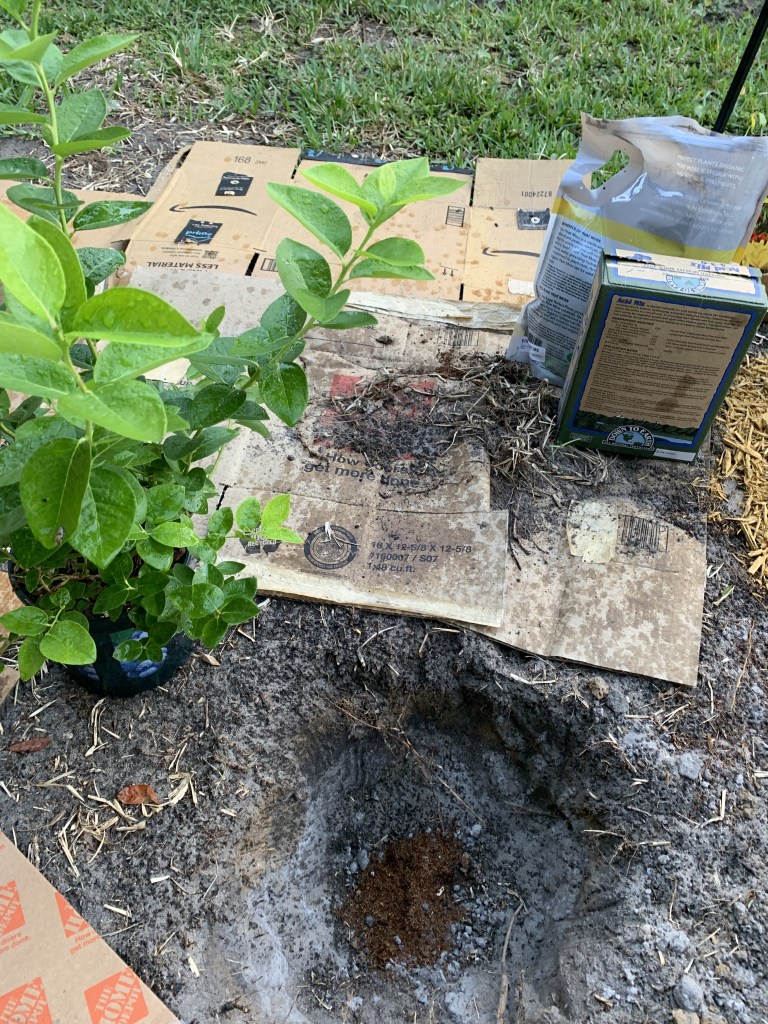
I’m not one to let a shrub die if I can help it, so into the ground it went. The plan was to put it into the ground in a more out of the way spot, but because of roots, I couldn’t dig there. It had to go where I could dig a large enough hole.
My hope is that it will live and maybe be an attraction for birds and bees.
Although the card claims it is self-pollinating, everything I’ve read advises growing more than one bush. Elise of The Urban Harvest suggests growing a mix of blueberry varieties (link below to her video).
Blueberry season is April here in Florida, so the plants should be fertilized in January, or thereabouts, for a good crop.
The plant was very root bound and I tried to open up the soil a bit, then added peat moss, compost and pine bark (in the bottom). I also added some acid fertilizer, which I’ve read I should not have done… but it is too late.
I don’t have the space to create an acid-loving section of the yard for things like blueberries. Some vegetables like the soil a bit acidic, but blueberries require more. This is just one more growing experiment.
I will probably trim those lower branches.
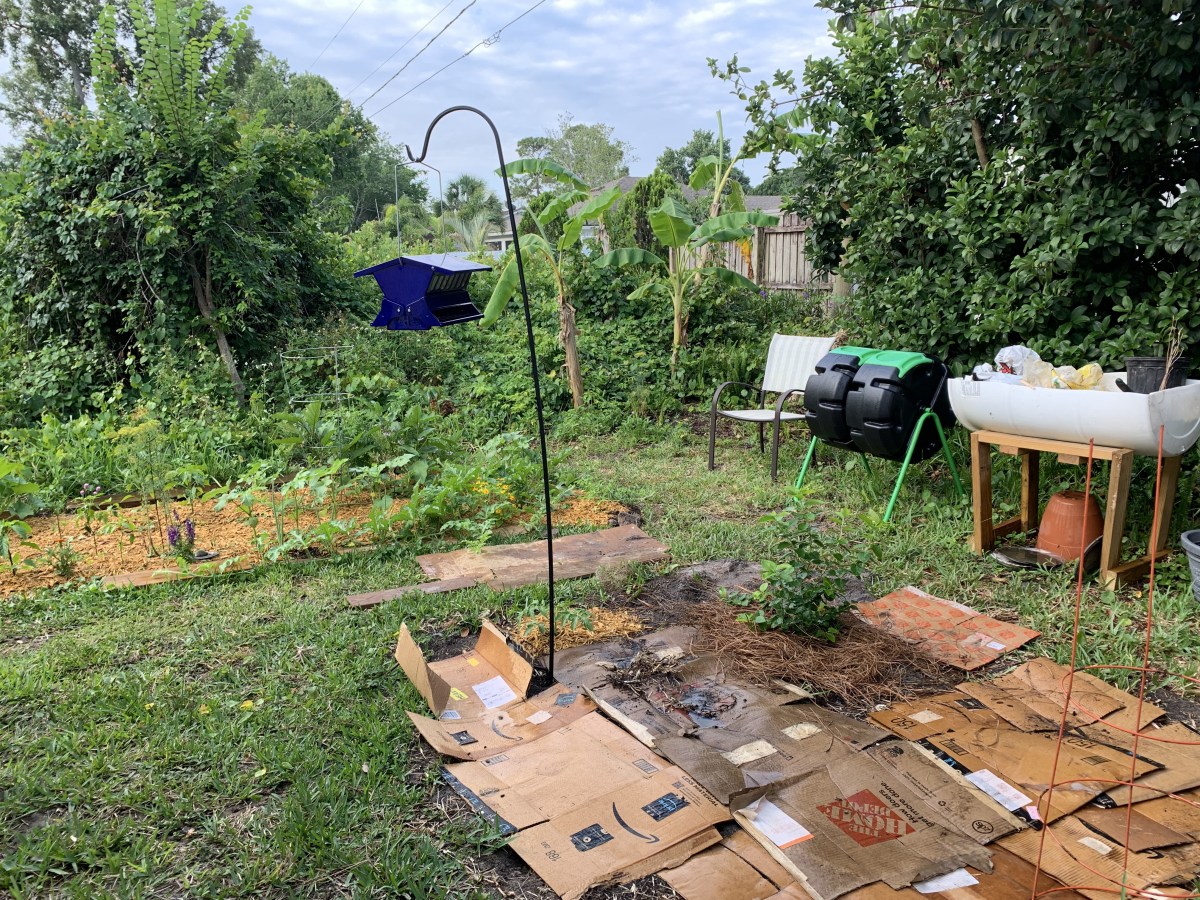
The new garden area is a place where I plan to grow vegetables, which are not necessarily acid loving.
The bird feeder was moved to this open area in an attempt to keep the squirrels away from it.
Cardboard has many uses in the yard. Im using it here to cover the sandy area that was recently tilled. I also used a piece of cardboard to kneel on while I planted the blueberry.
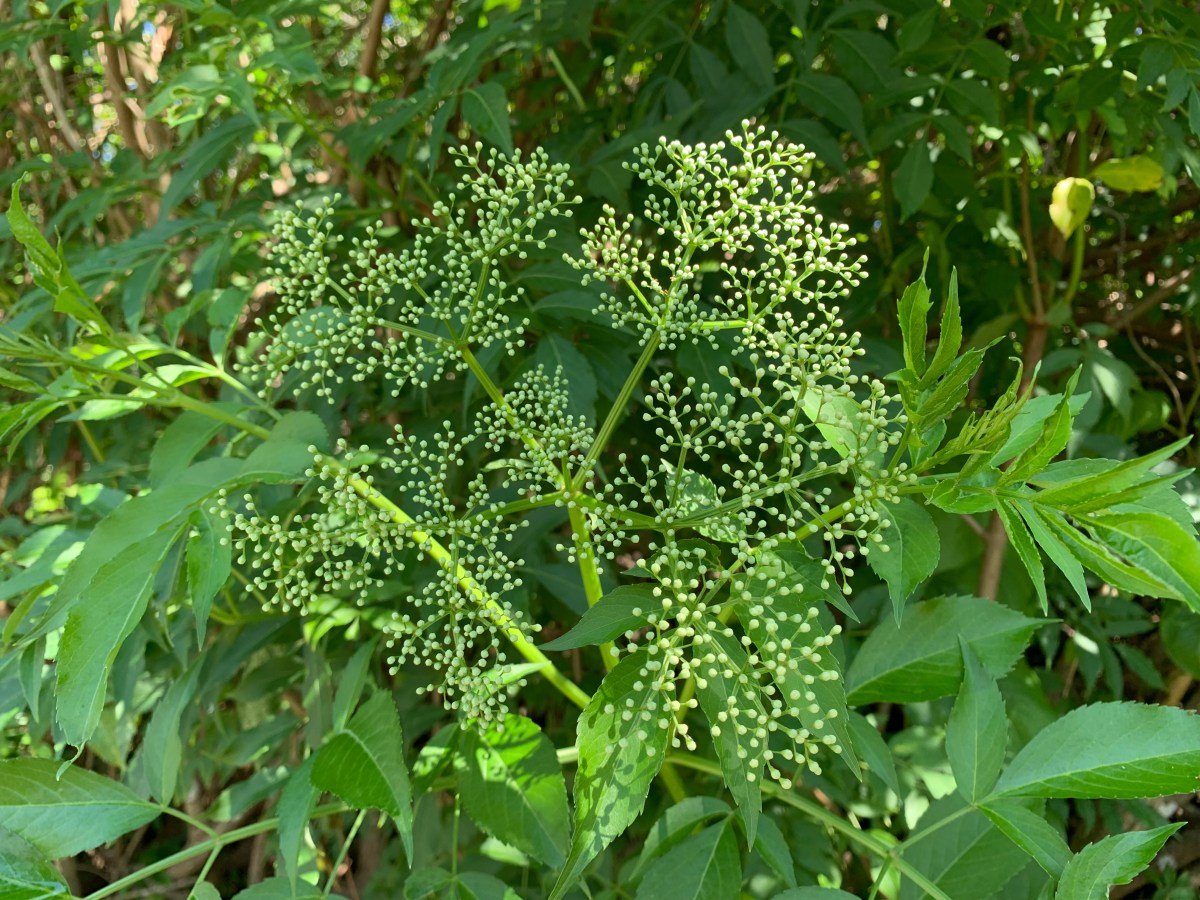
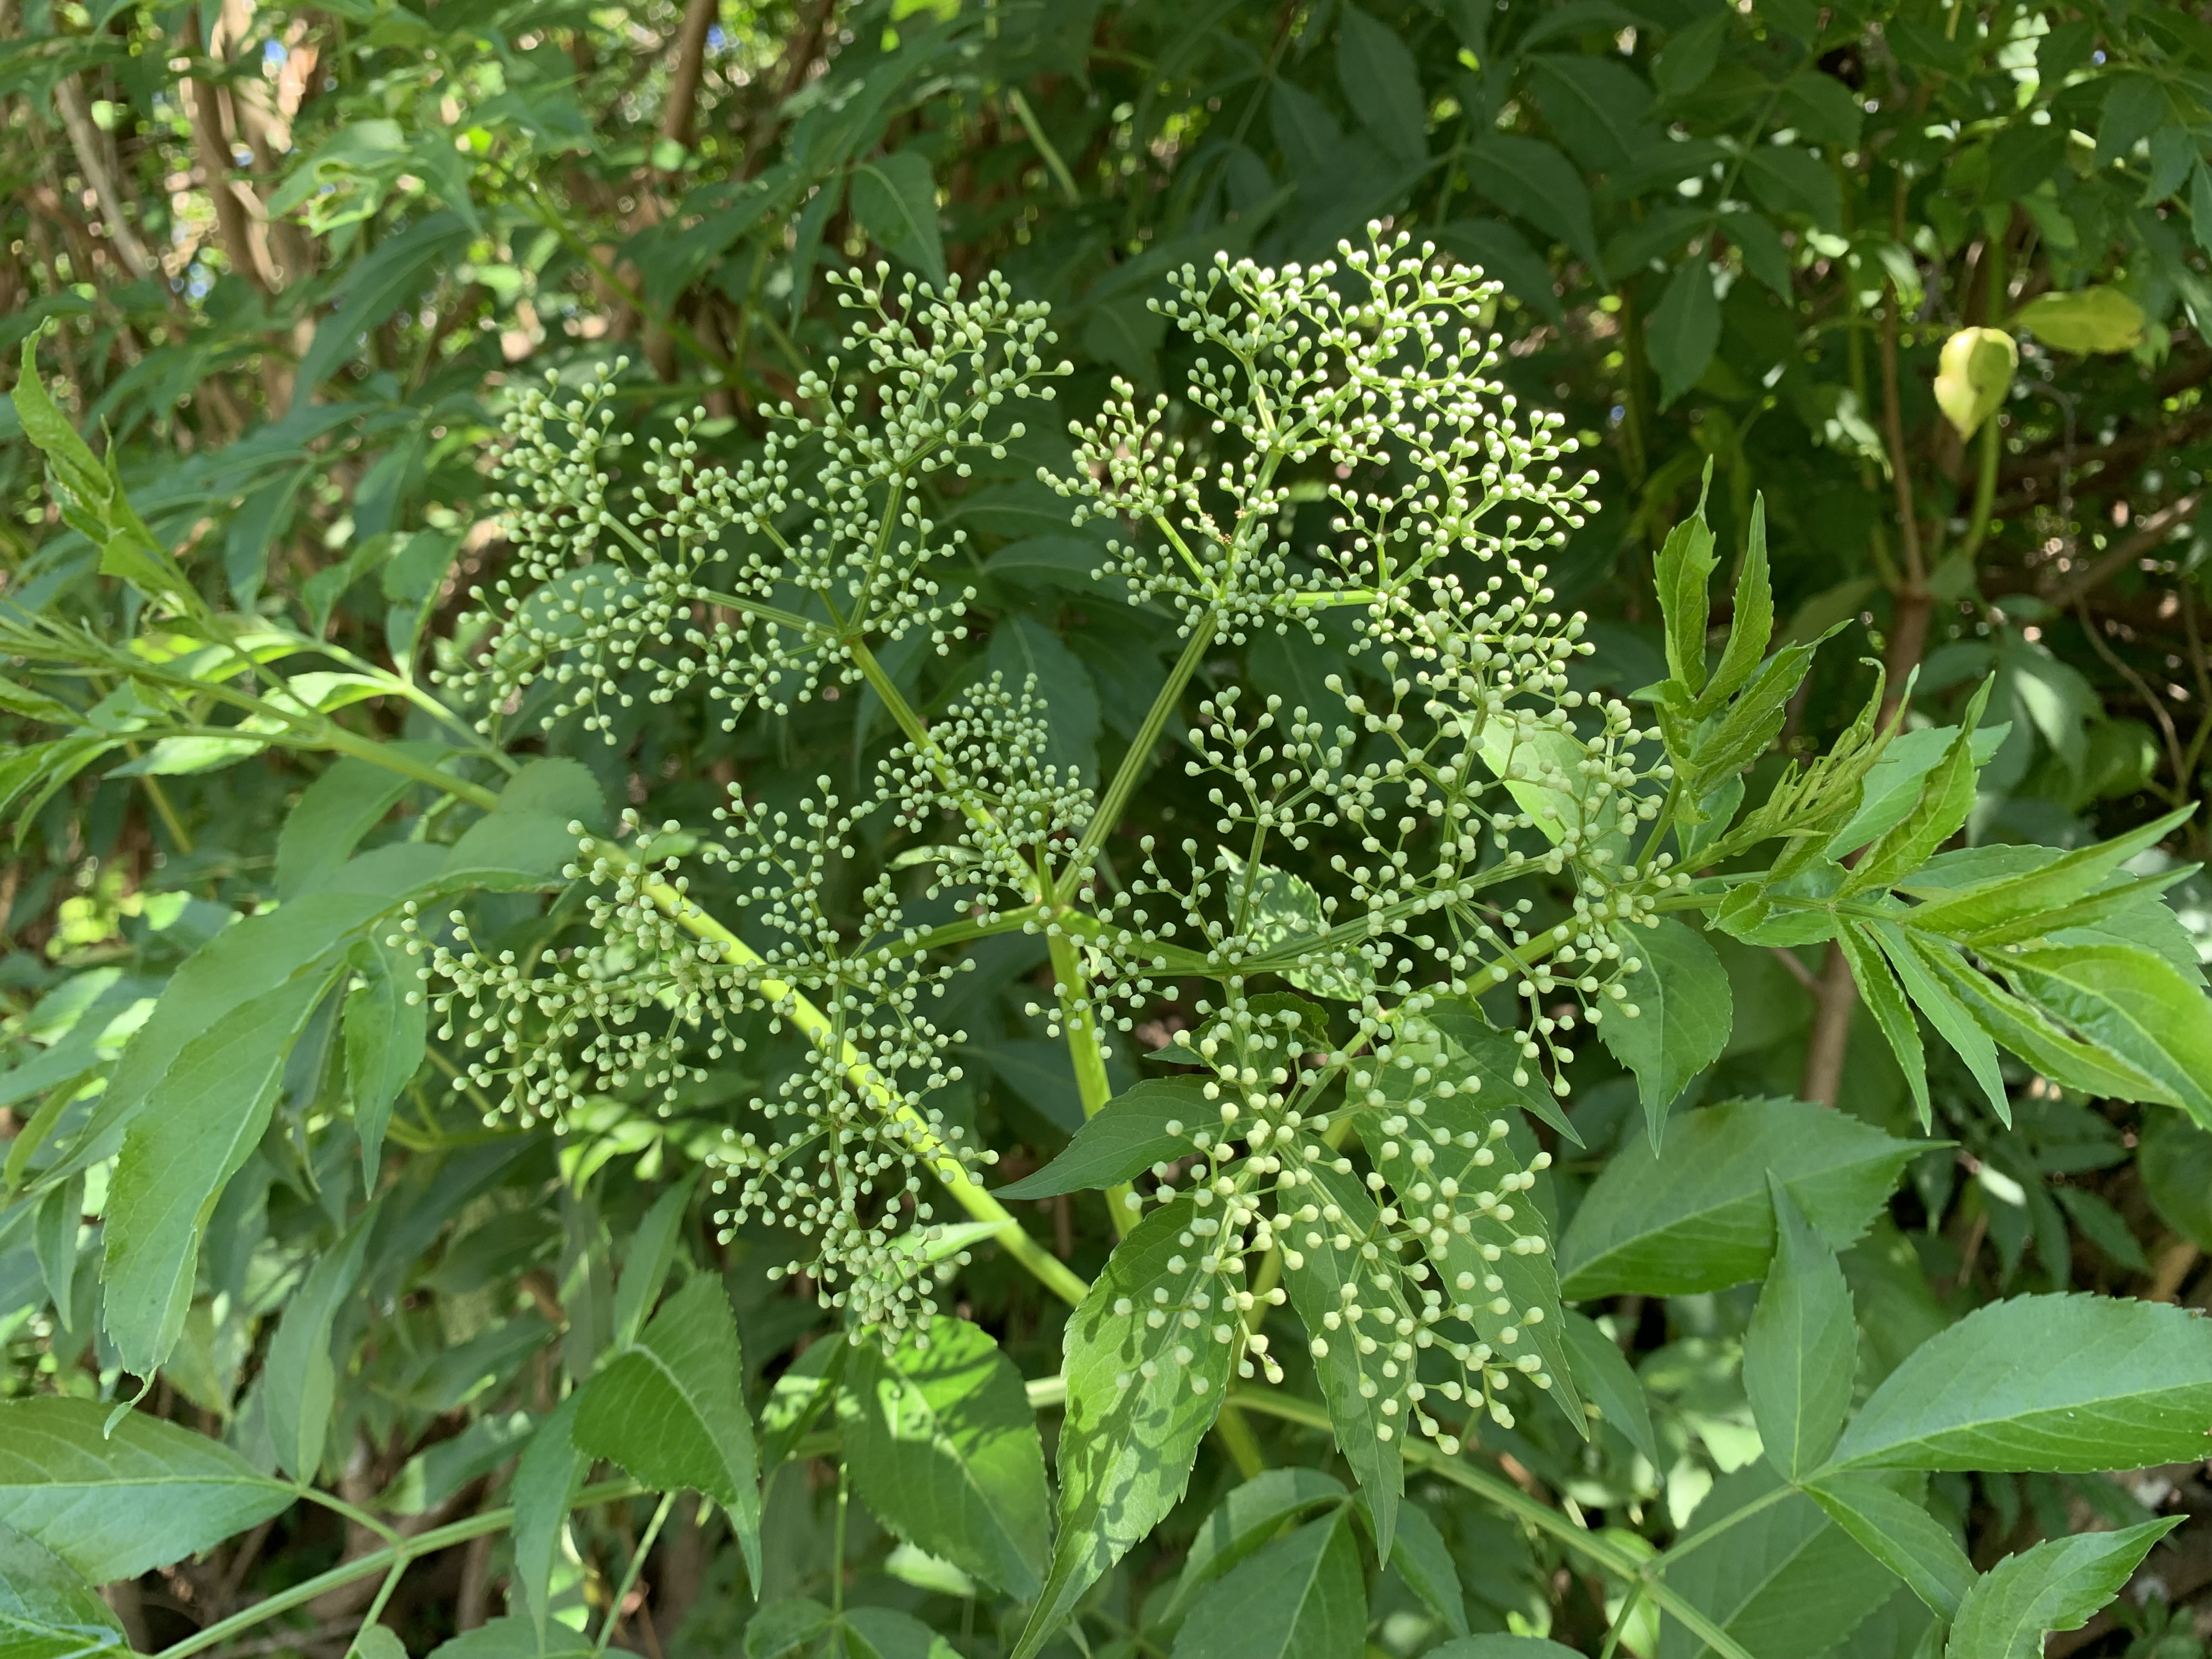
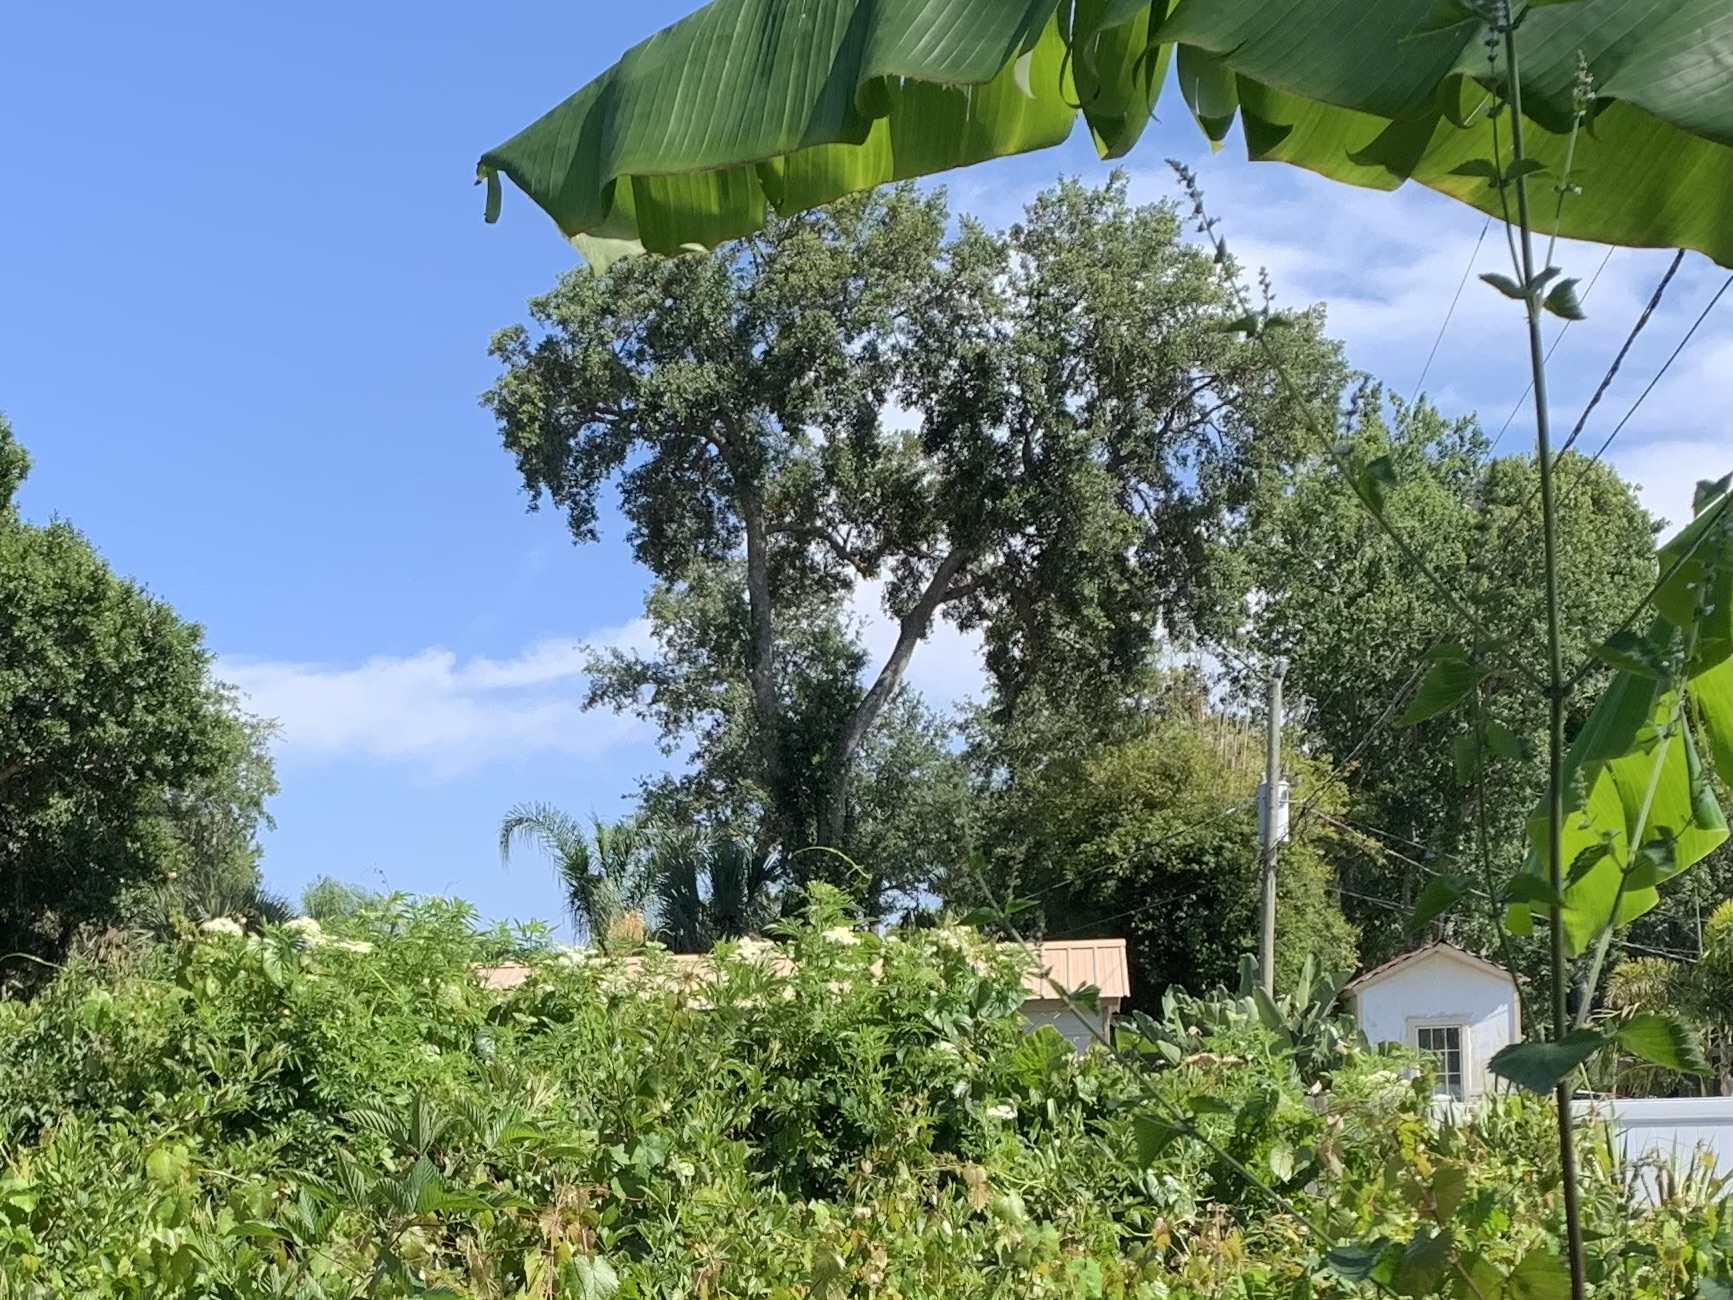
The elderberry plants are blooming their big white flowers in May.
The lot next door is full of elderberry shrubs. Now they are all blooming and the white flowers are very noticeable.
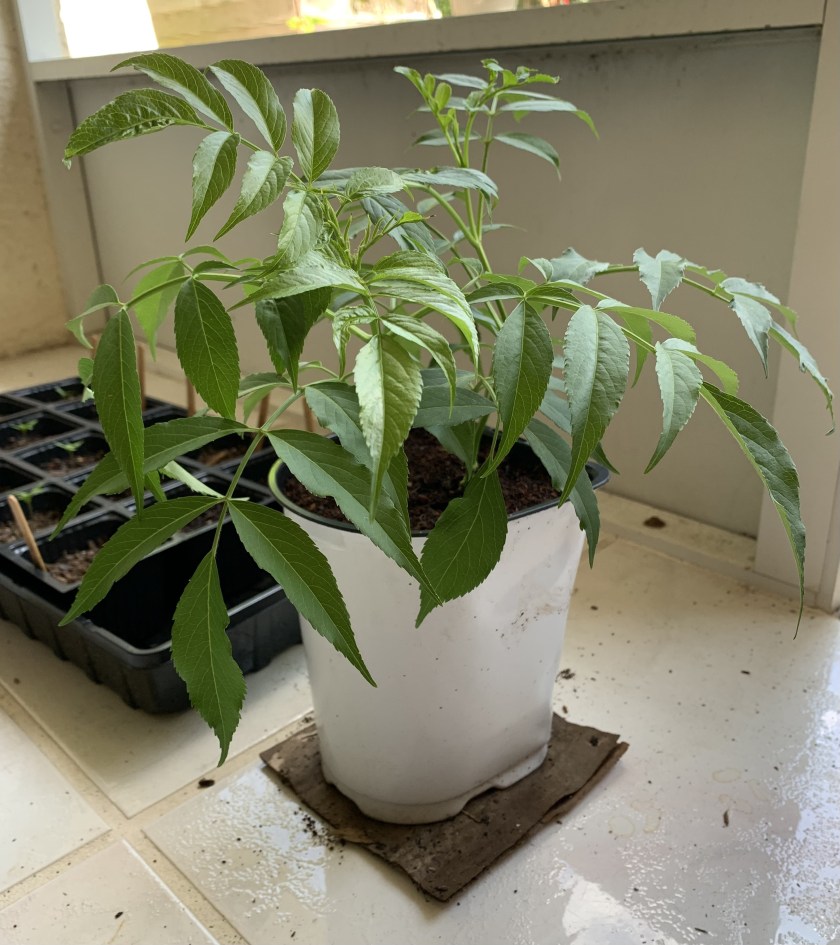
I took two longer cuttings from the elderberry that is next to my bird feeders. After they began to get roots while sitting in water, I put them into a tall pot.
They wilt quite a bit out in the sun, so they are growing on the porch for now.
I’ll need to find a good spot for this new plant. Maybe I will wait to plant it in Fall because it is very hot now.
Growing seeds from the Urban Harvest has been a rewarding experience. My small backyard vegetable garden is off to a great start.
This is a quick review of my experience with the Urban Harvest. This company is located on the western coast of Florida. Elise is the woman who does videos about growing vegetables in this hot Florida climate. I have linked to one of her videos below. She also has a beautiful website with information and seeds for sale. I am so happy to have found her, and very much appreciate her good advice about gardening.
I’m just getting started with my backyard vegetable garden, but so far I’m impressed with the growth from the seeds I bought.
Growing From Seed
Whenever you use seeds to begin a garden, it’s a guess as to how many seeds will actually grow. I’ve had very good luck with my seeds from The Urban Harvest. Everything has grown really well.
If you live in the St. Pete area of Florida (west coast), this company also sells living plants. See more at the Urban Harvest website.
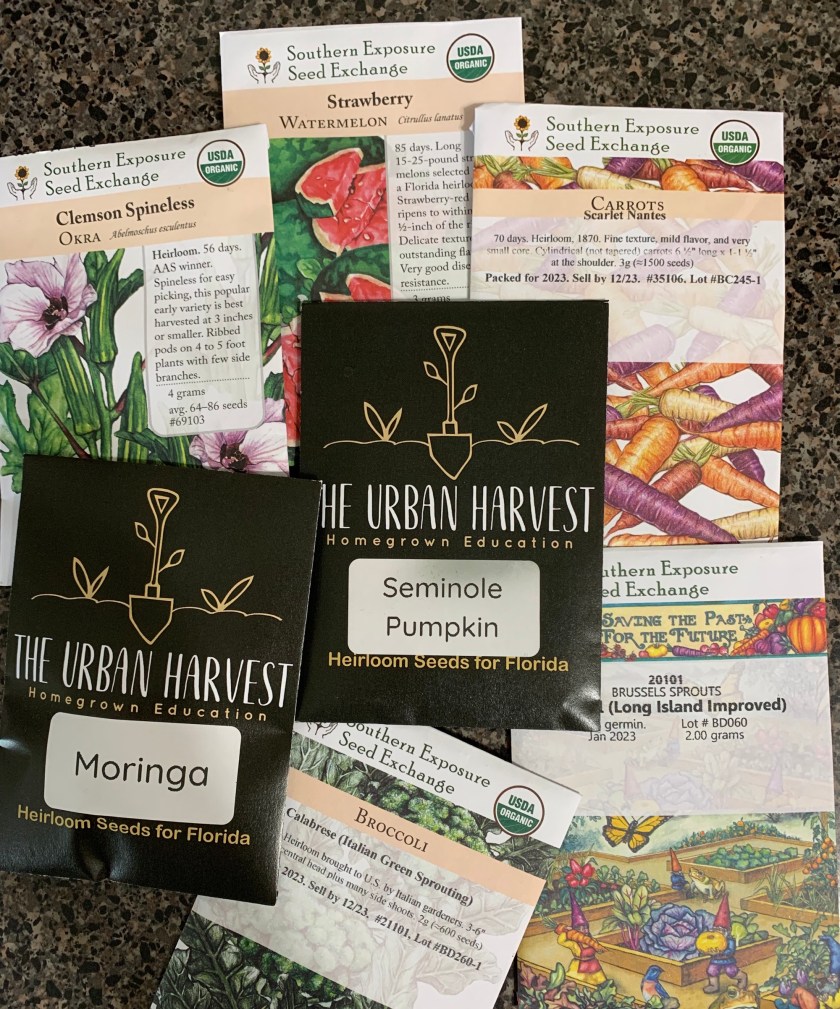
Seeds from Urban Harvest
Seed packets cost around $3.00 and all the packets above came from The Urban Harvest even though only two packets contain their label. Shipping was fast. I received a thank you e-mail. In my opinion, customer service is great!
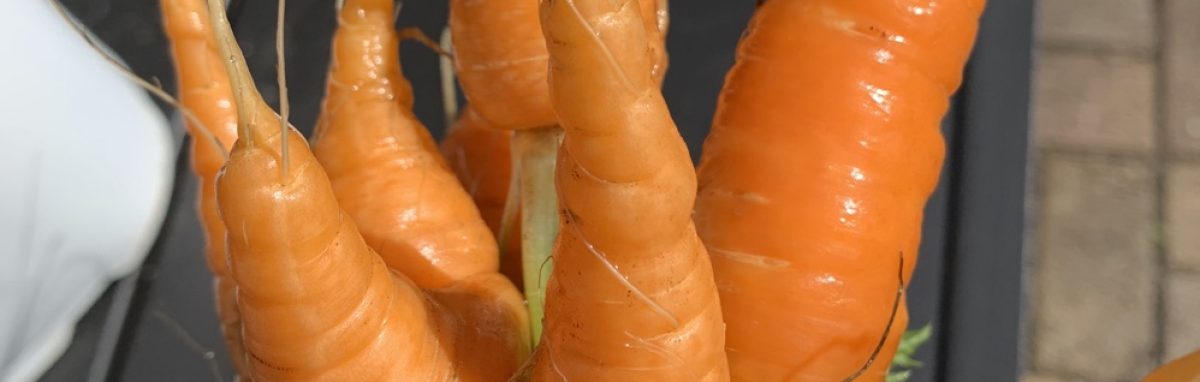
My seeds arrived in April, so I only planted what could handle the summer heat. (The carrots, broccoli and Brussels sprouts will wait until Fall.)
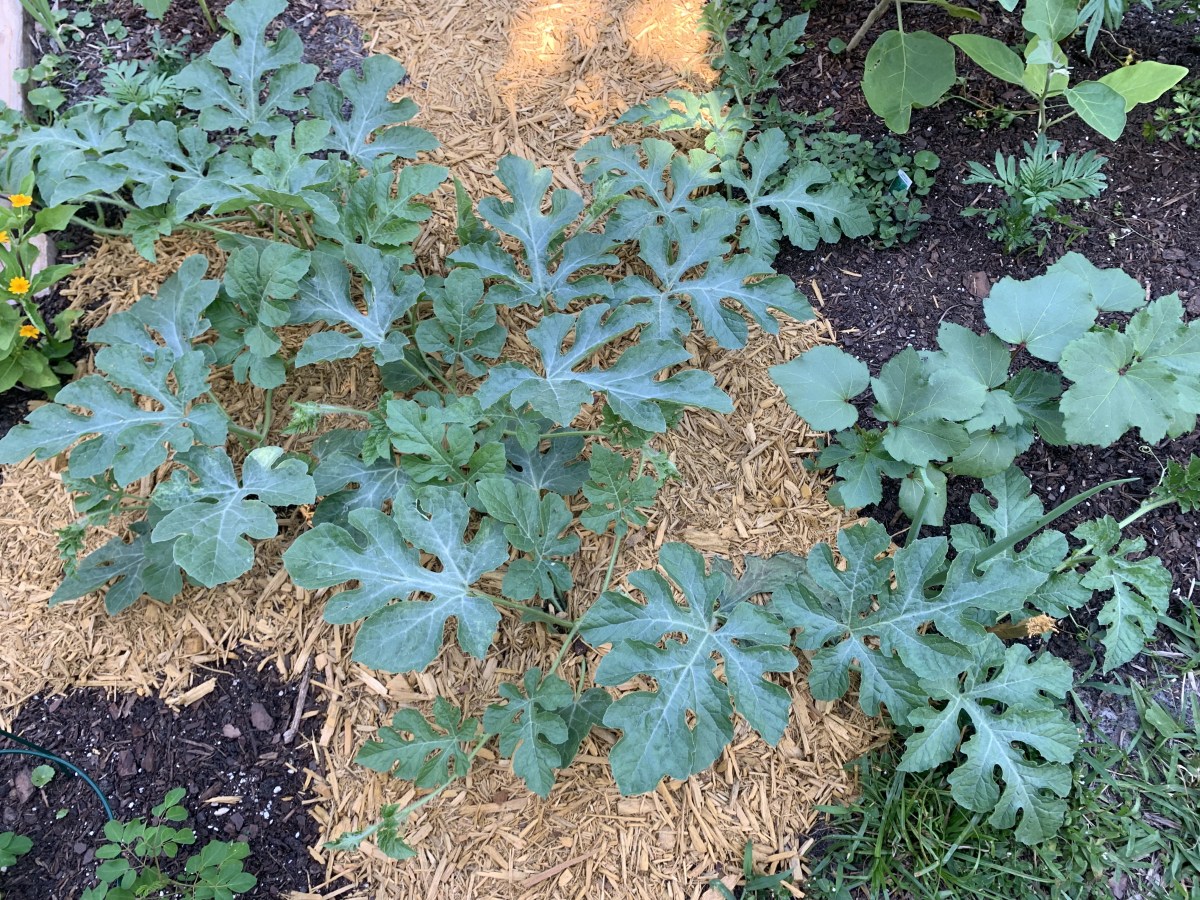
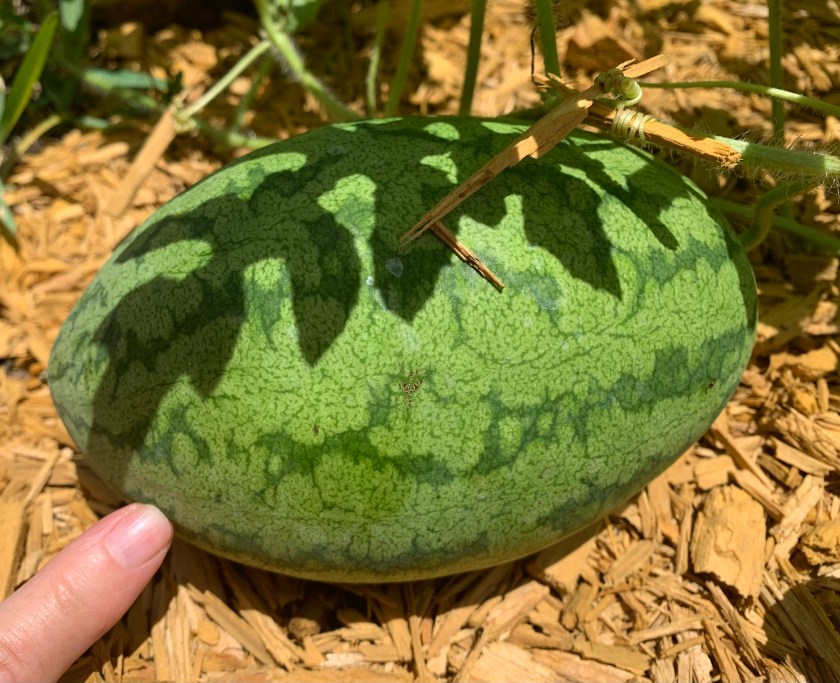
The watermelon and okra were put directly into the ground on April 8th. Of the 12 watermelon seeds I planted, 9 came up. I have thinned them to four plants. I simply don’t have a lot of space for them. (I should have thinned them to 2!)
Watermelon plants day 34
My largest watermelon – June 4th
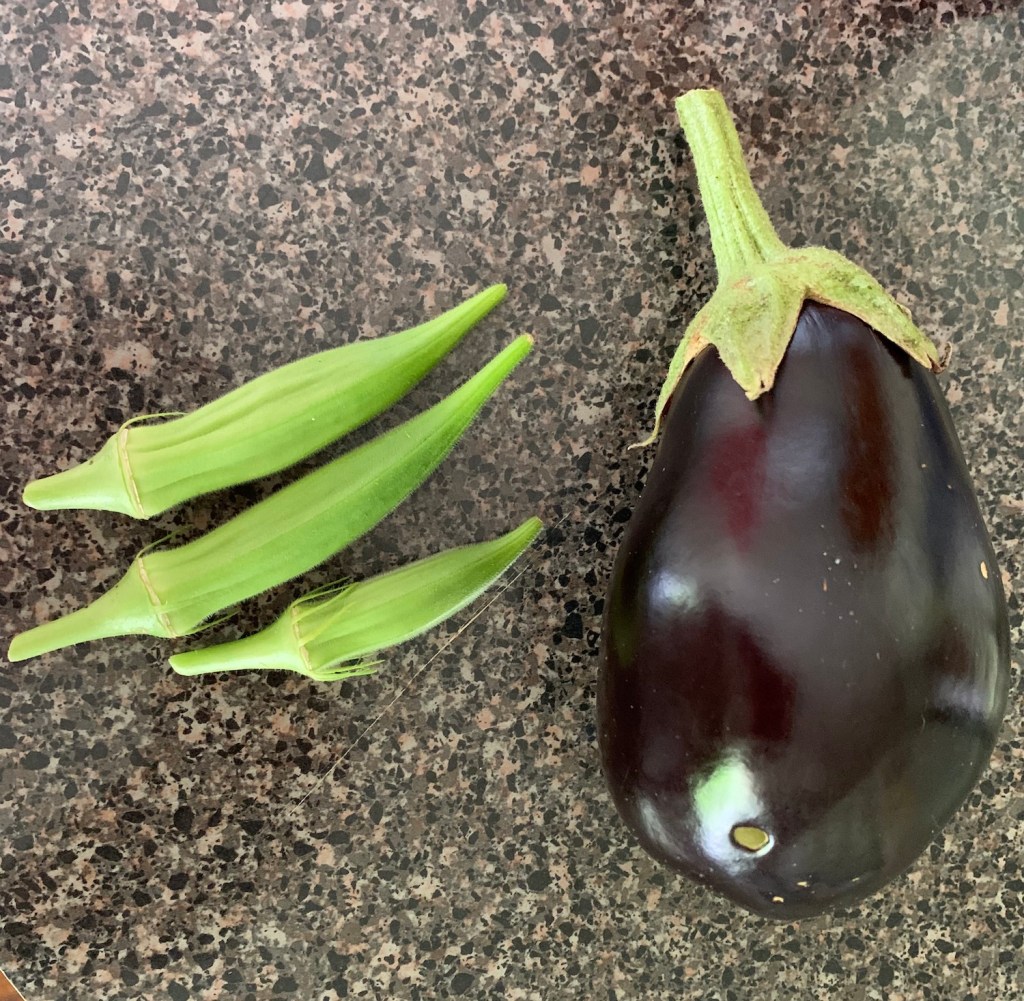
Okra
Almost all of the okra seeds sprouted. I transplanted a few of the seeds when thinning the rows, and I don’t suggest doing that. Those transplanted okra plants are not growing as well as the ones I left alone!
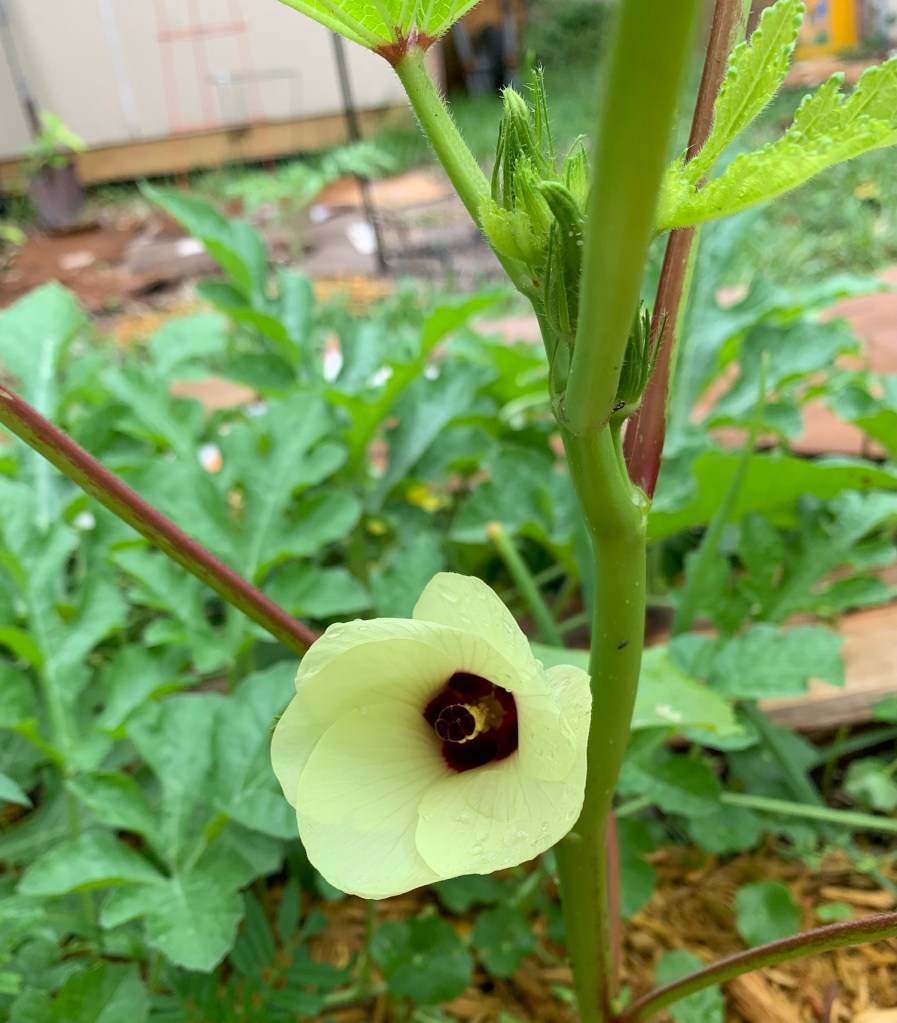
Okra
Okra flower
I’ve never grown, or eaten okra so I only planted three short rows. On May 25th I was picking some okra!
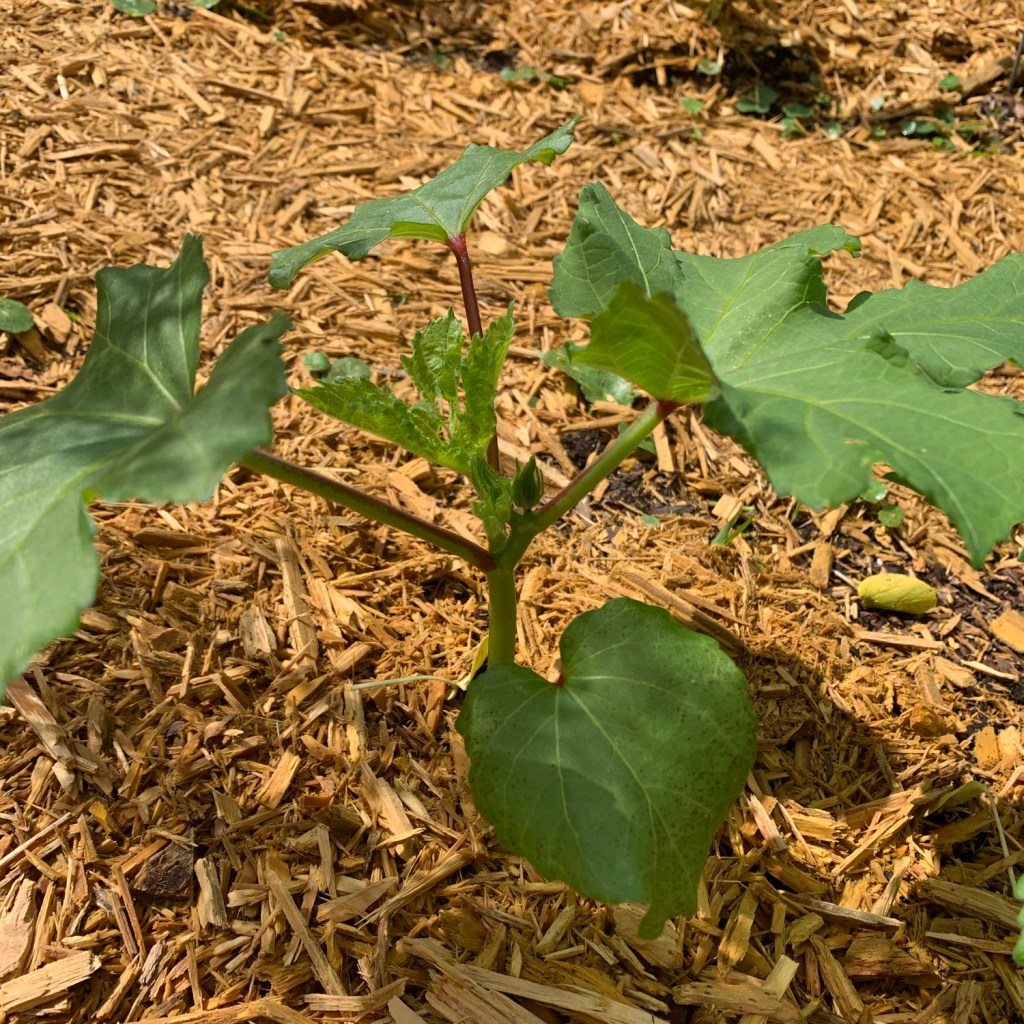
Seminole Pumpkin
On April 8th I put the pumpkin seeds into pots.
Here are the pumpkin seedlings at growing day 10.
Pumpkin seedlings – day 10
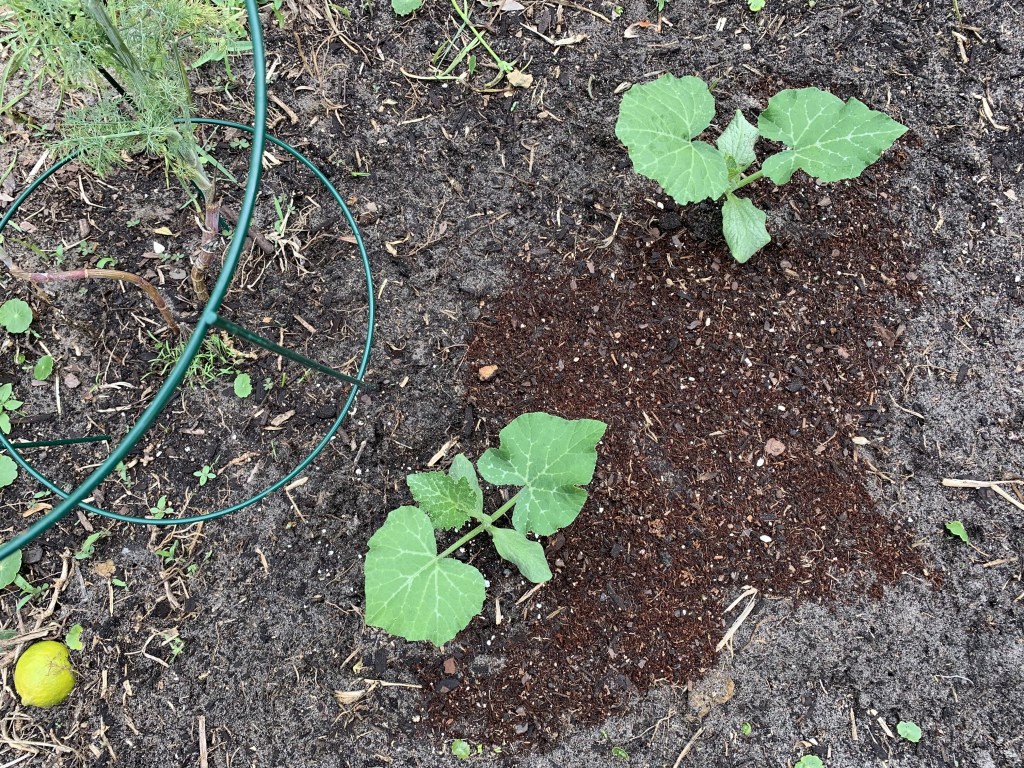
Pumpkins into ground and doing well.
Now the pumpkins have been growing in the ground since about April 29th. Today is May 12th so these two pumpkin plants are a little over a month old (photo below) from the time I first planted the seeds.
May 12th Seminole Pumpkin plants in the garden
Right now the pumpkin plants are growing upward and I hope they will trail off to the edge of the yard once they get going. I am very excited about these native Florida pumpkins! Search YouTube if you want to see how big the vines grow. They can even grow up through trees and produce hanging pumpkins!
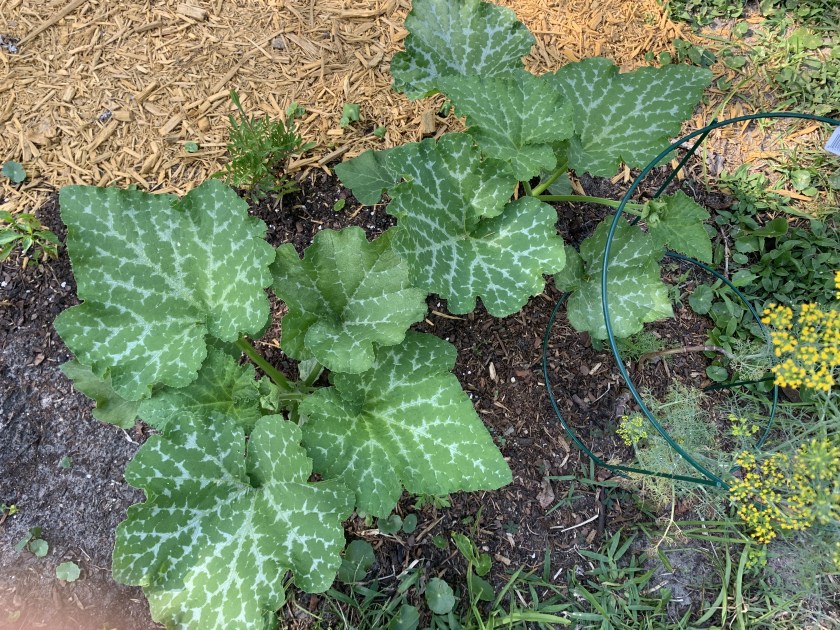
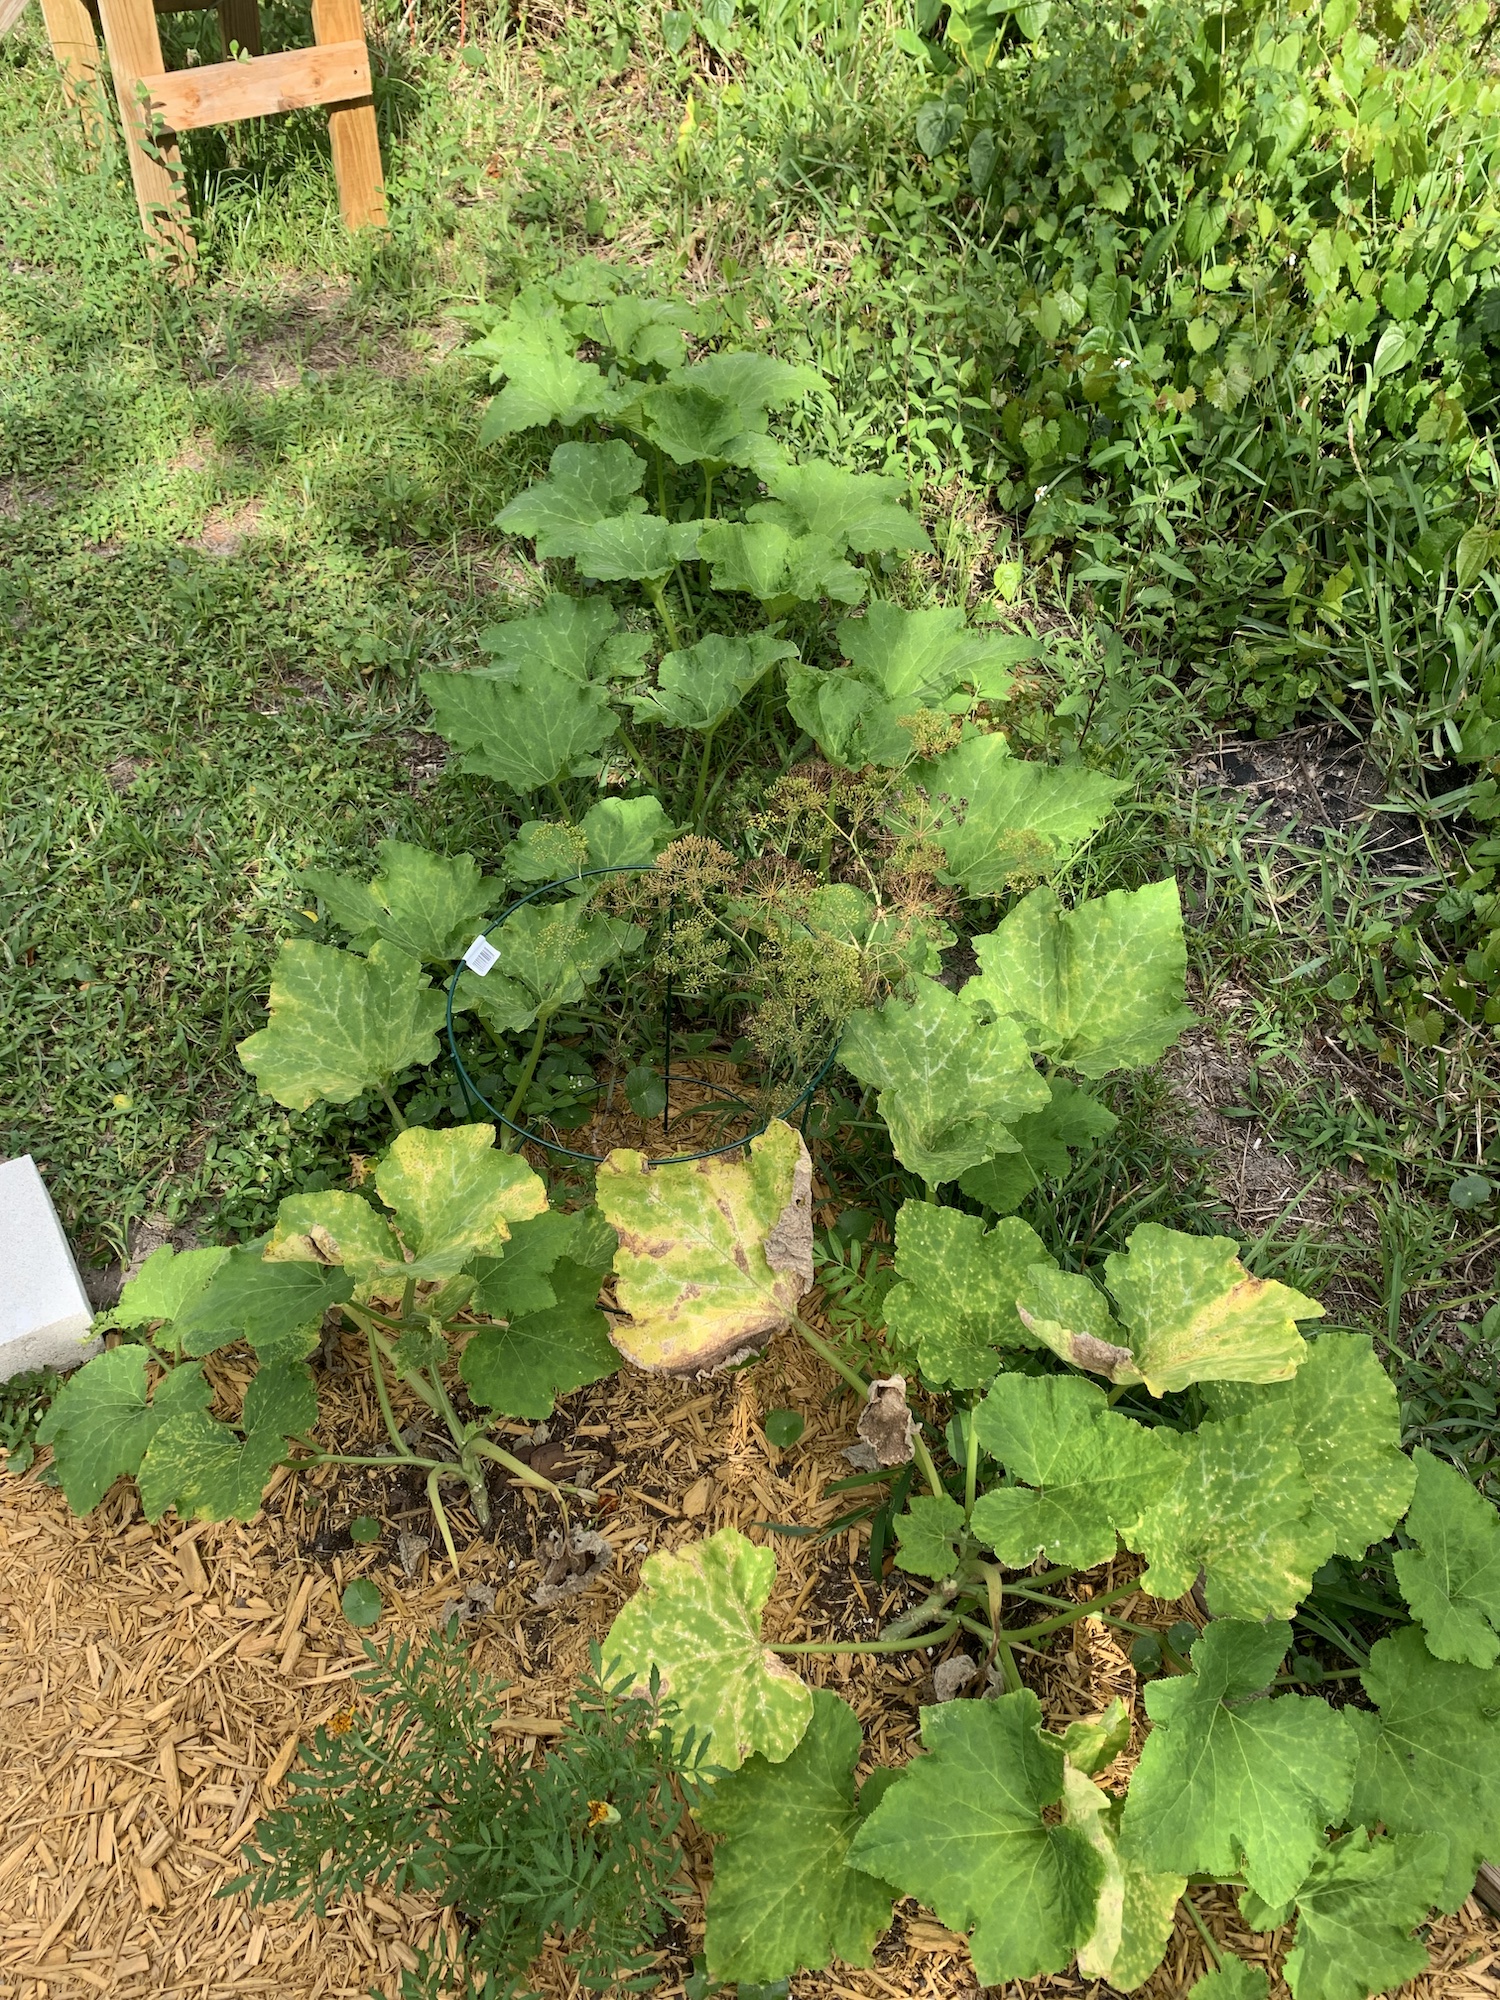
Update on the Seminole Pumpkin: Vines are long (June 4th), but no flowers yet. Leaves are turning yellow and I don’t know why. I’ve trained the vines to follow the edge of the yard.
Seminole Pumpkins
Moringa
I was totally unfamiliar with the Moringa tree. The Urban Harvest sells Moringa seeds and I have a three growing in the yard, and one in a small pot. All seeds that were begun in pots sprouted, whereas the ones I put directly into the ground did not.
I wish I had more space and knew more about their growth habits, height and so on. This will be an experiment. Right now I have three planted and growing, but they are small.
Elise of The Urban Harvest has a few videos where she mentions growing the Moringa tree. See one here: Three Tropical Survival Foods You Must Plant in Florida. She has loads of videos that cover all kinds of things to do with Florida gardening. I’ve already learned so much.
Moringa
The Moringa trees are also growing more slowly than I expected. They look good and I guess it will take a while for them to become truly tree-like.
Garden Progress
Creating a garden from a grassy space in Florida takes some work. There are many vines and deep roots to remove from all the natural invasion from the lot next door. Then I am left with sand which must be amended for growing.
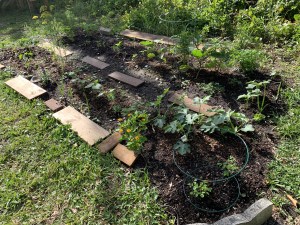
In the photo below, I have removed the grass, added compost, planted seeds and seedlings (and added more compost and fertilizer) and watered each morning. From here I will add mulch to conserve moisture and keep the ground cooler. Summer is nearly here and it is already too hot after 9:00am for me to do much gardening.
I ordered a second batch of seeds from The Urban Harvest and will definitely buy more at a later date. I highly recommend this helpful place if you are a Florida vegetable gardener.
My garden before the mulch
All plants are organic, and she promotes sustainable and eco friendly gardening practices. Again, how to find information: