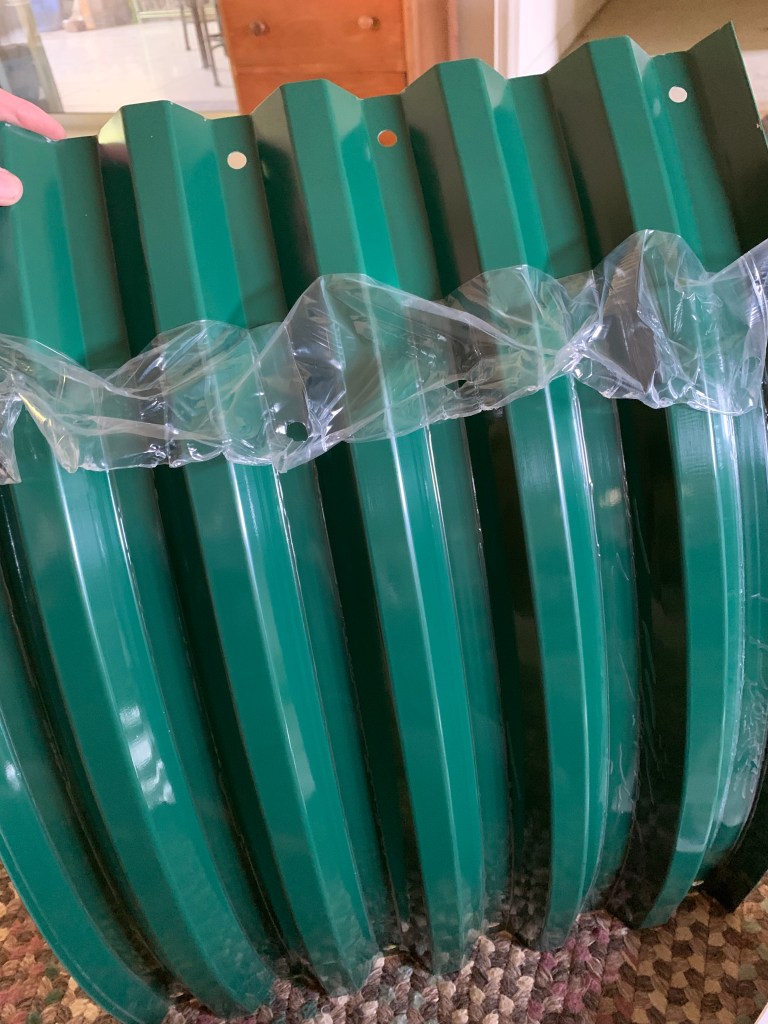
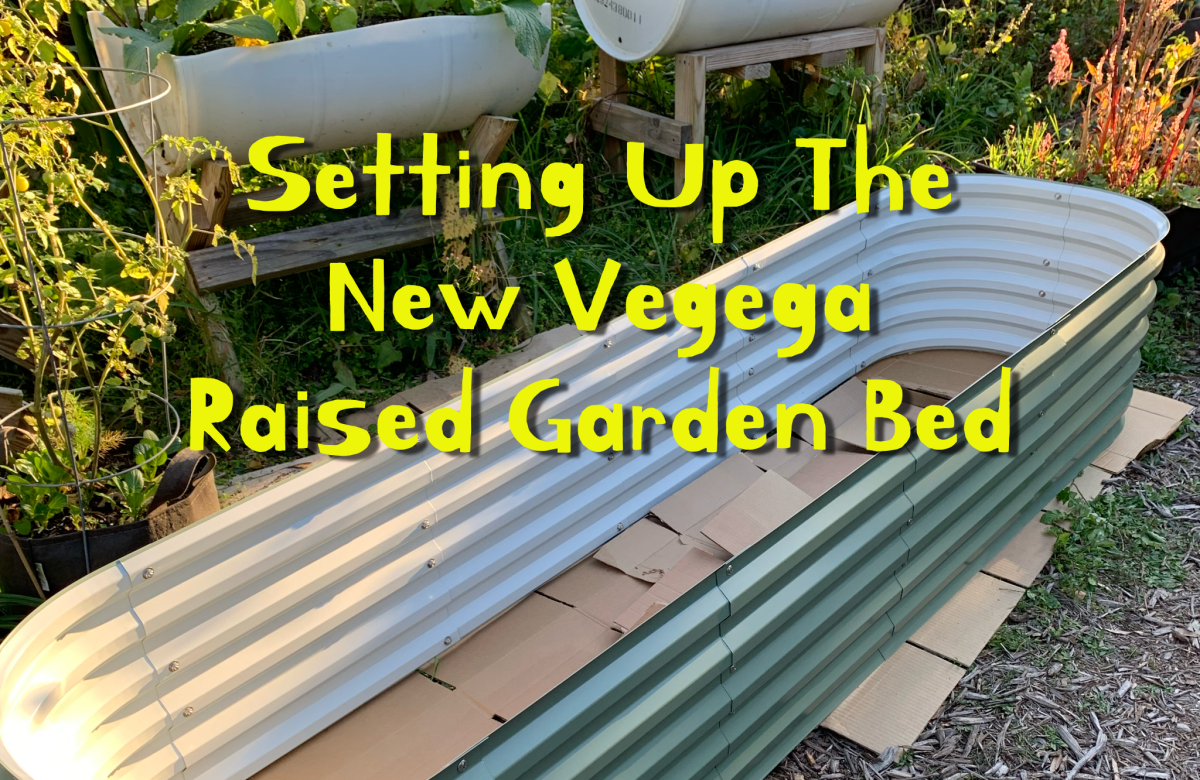
Today, and for days after, I have spent time putting together my Vegega raised garden bed. This is a metal, raised bed that is a long, skinny shape. The size is 8 feet long by 2 feet wide, and 17 inches high.
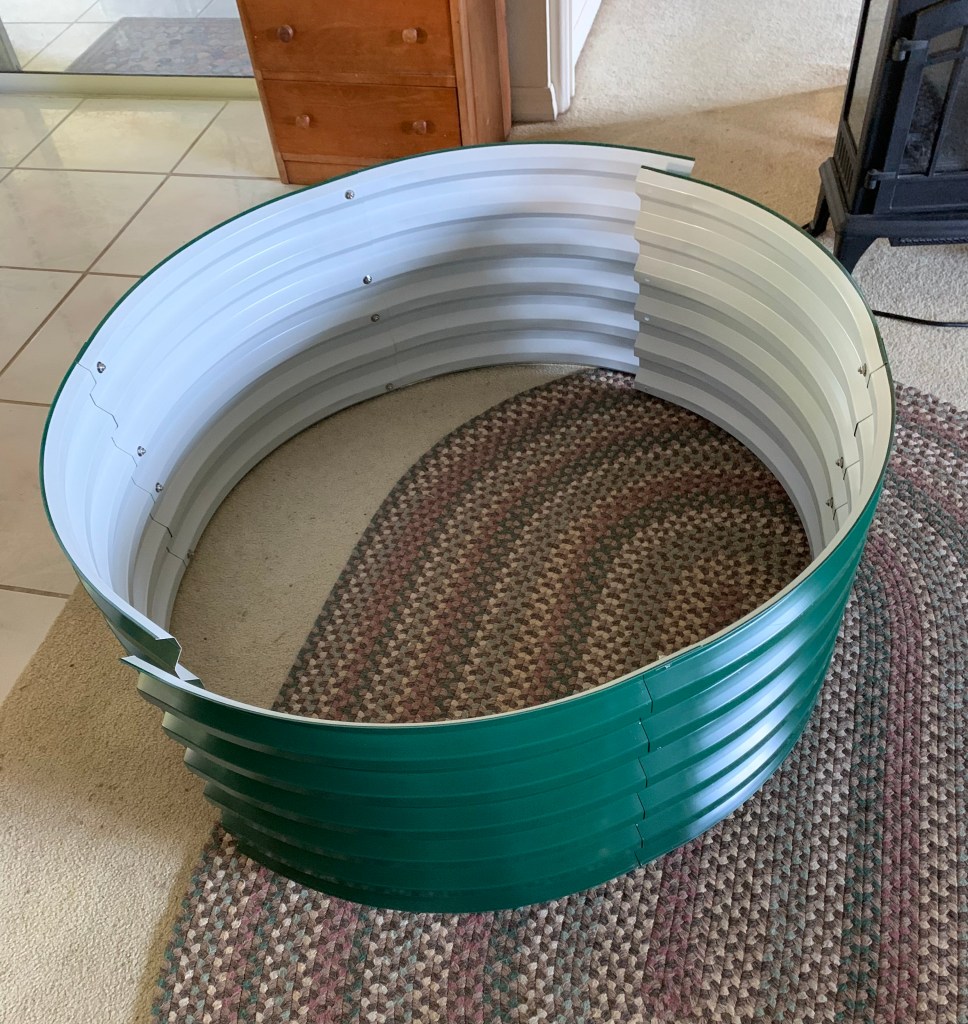
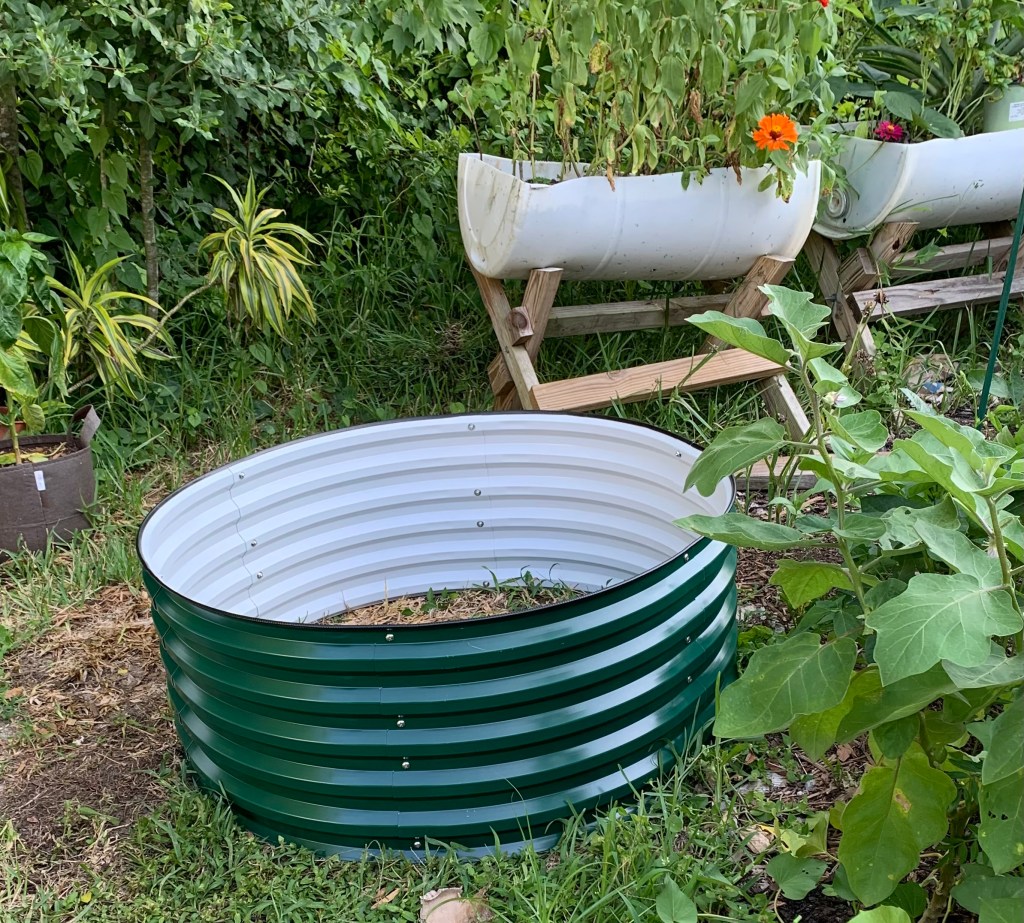
A while ago I bought a round bed and it was fairly easy and quick to put together. This new, larger bed was not nearly as easy. Having help, or better yet someone young, or a husband, to do it for you, would be ideal!

The round one went together fast. I did one half of the circle at a time, in the house. Then I assembled the two halves outside. I think I did it all in one day. The long bed took more effort because of it’s size and shape.
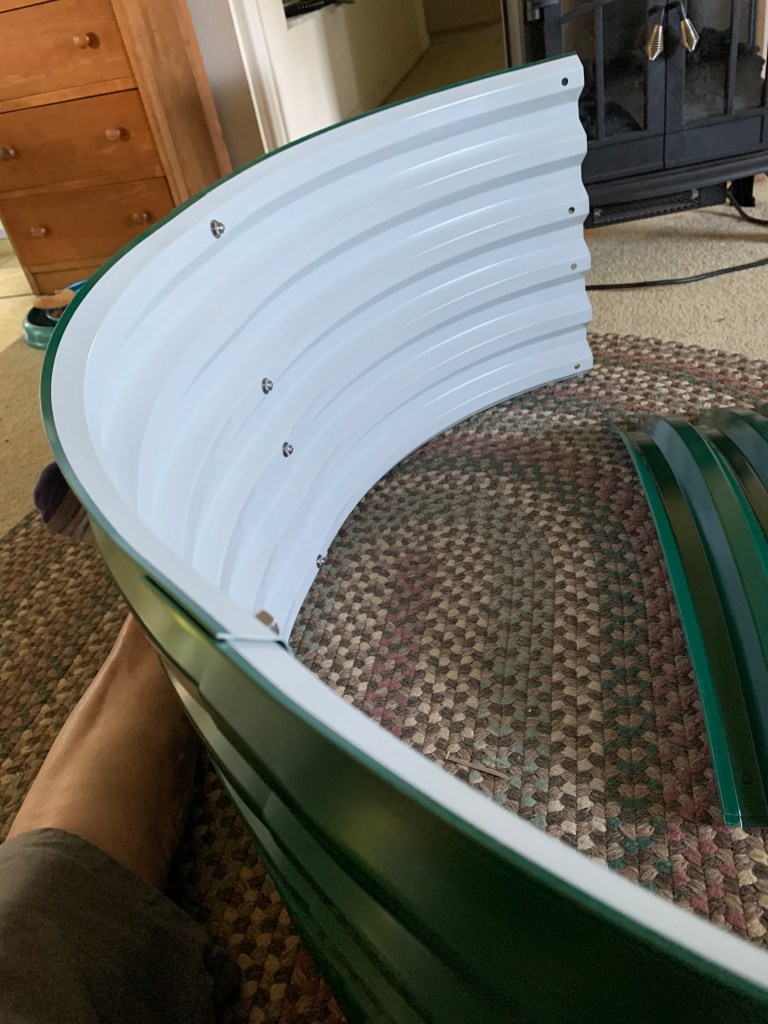
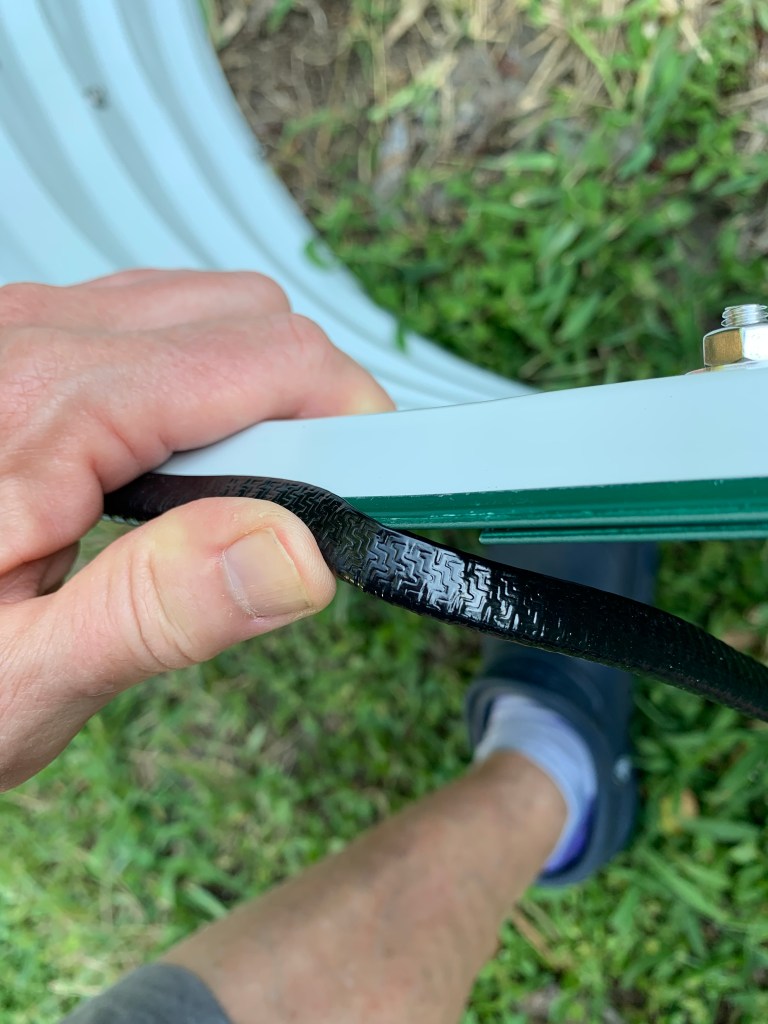
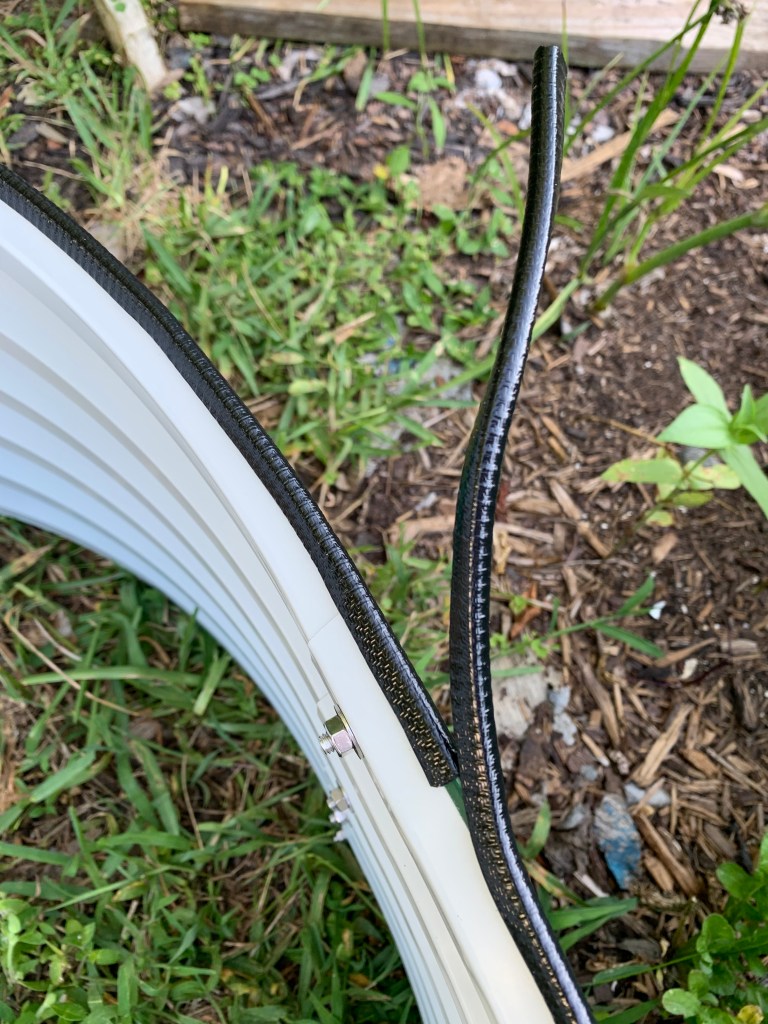
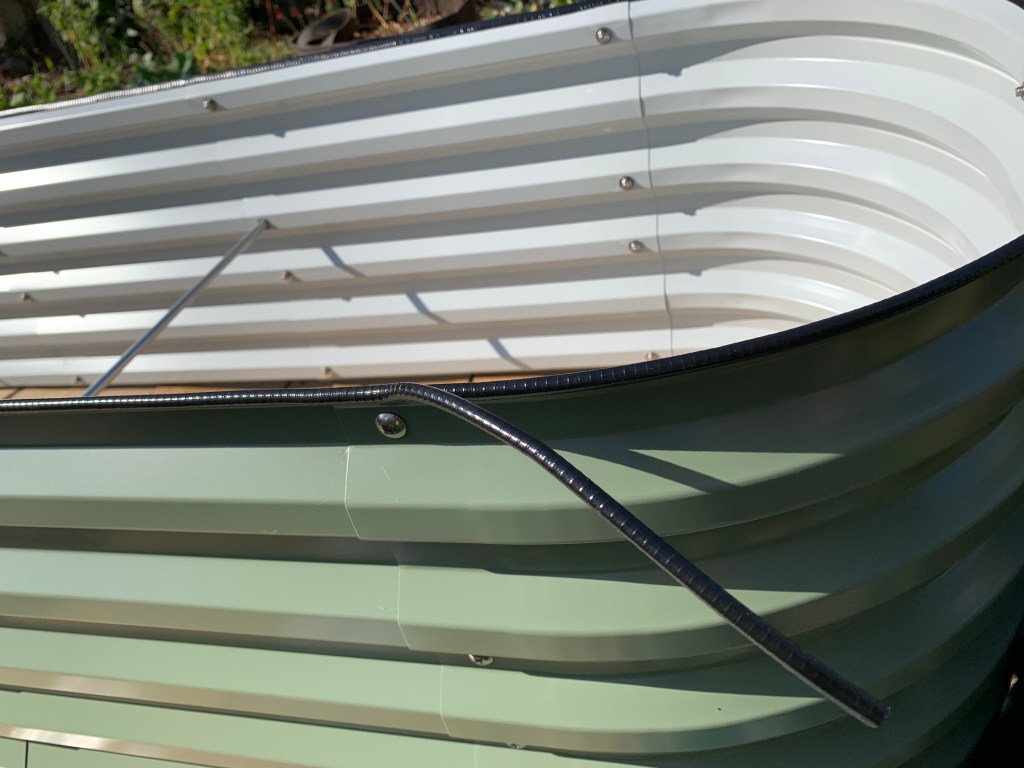
What is left to do? There are bars, to act as supports for the sides, that need to be placed. The directions are not great, but it appears they hook over the screws. – Nope, they take the place of the screws. A rubber edging needs to be applied all the way around to shield from sharp edges. I need to make sure it is fairly level, and then begin the filling.
The Beginning
I want my beds ready to plant by March. Time is passing. Not only do they (I have two) have to be set up and filled with dirt, there is prep work.
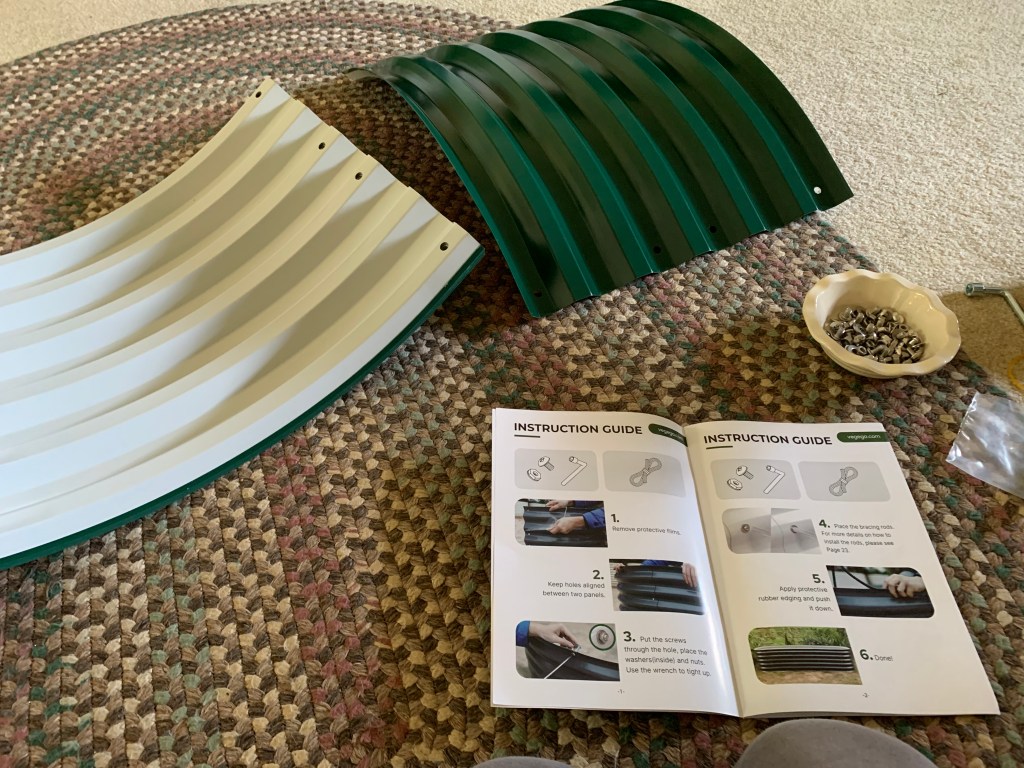
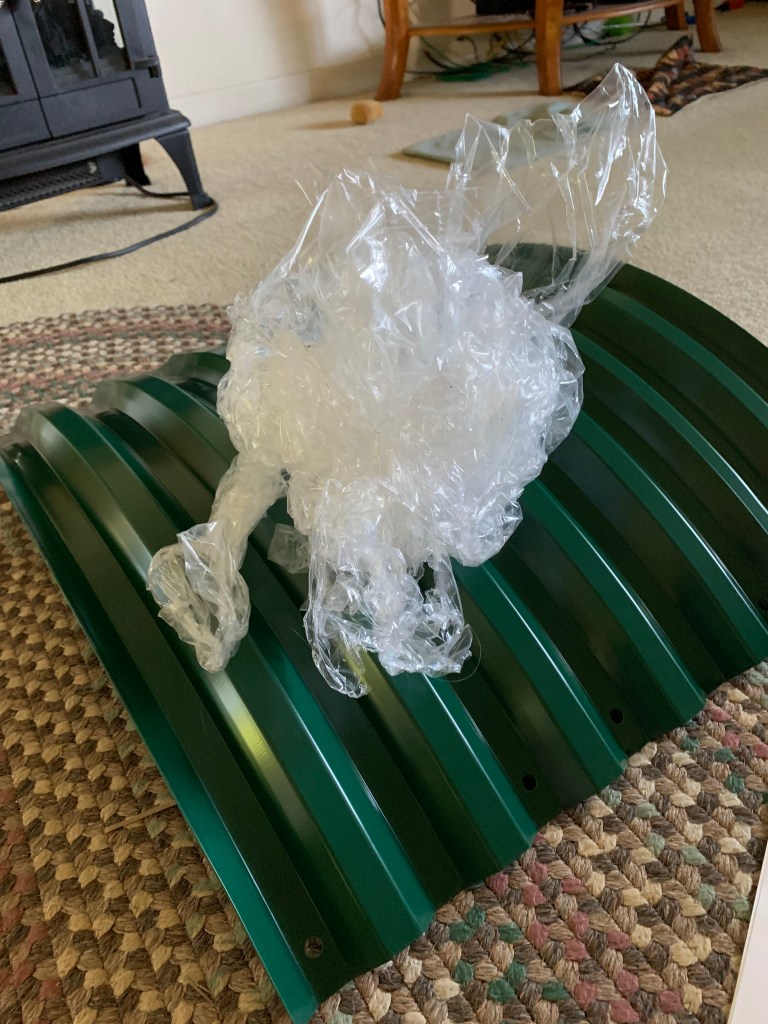
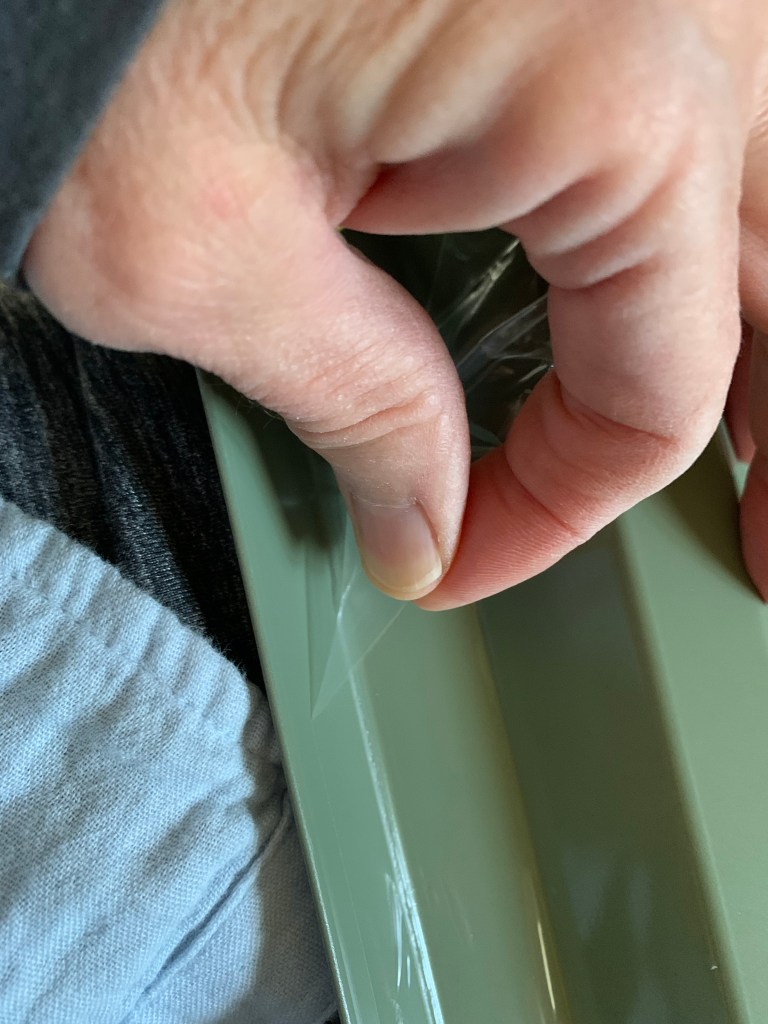
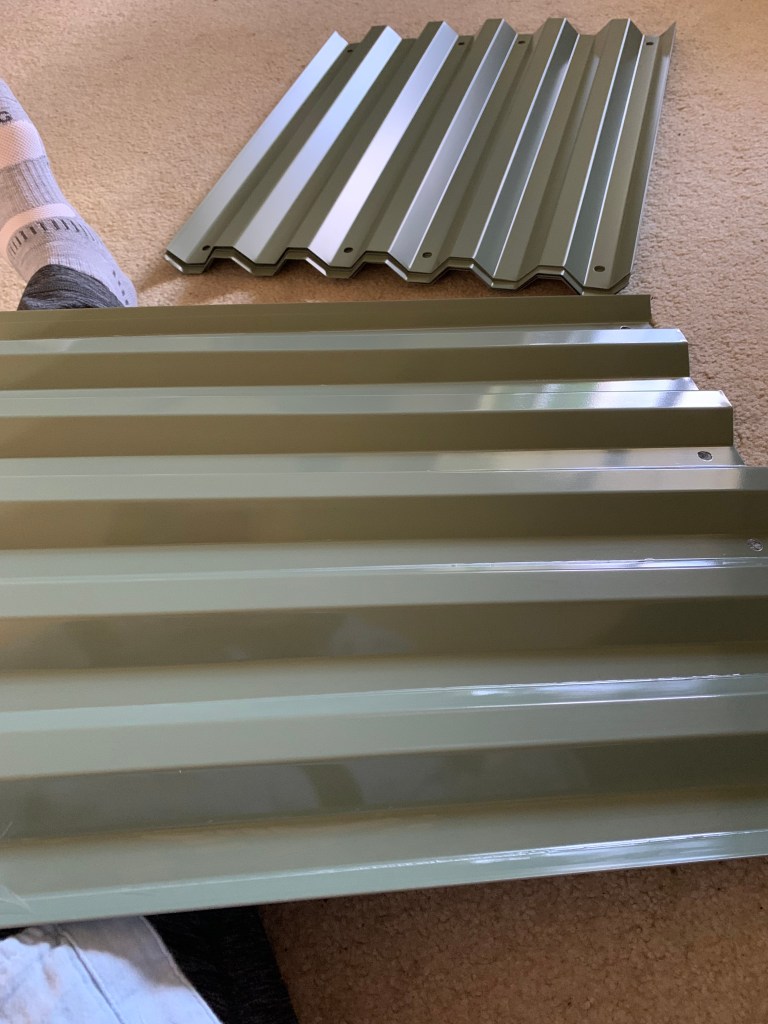
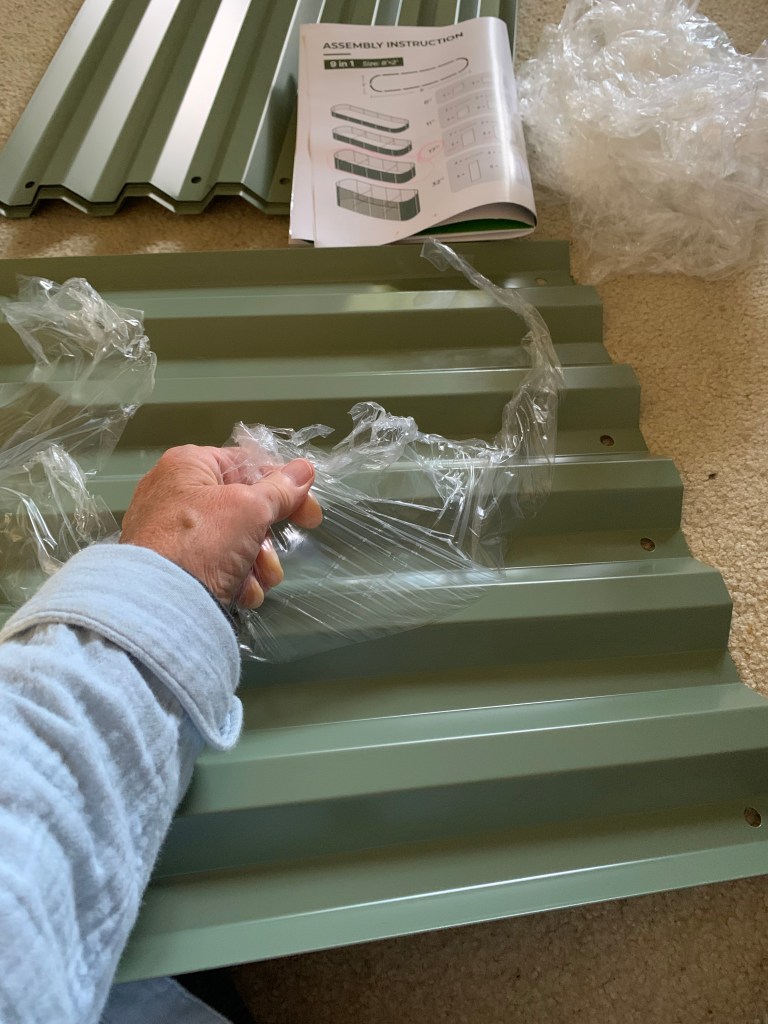
Each piece is coated. This bed has 12 pieces and the plastic coating needs to be removed from all of them. I did sit on the floor to peel all that coating off. This is almost the worst part. It comes off in one piece nicely, but there is lots of tugging to be done.
It took me 2 partial days to set up this bed, tighten the screws and add the two braces needed for this size. I did a few sections inside the house. I carried the sections out and attached them as I went.
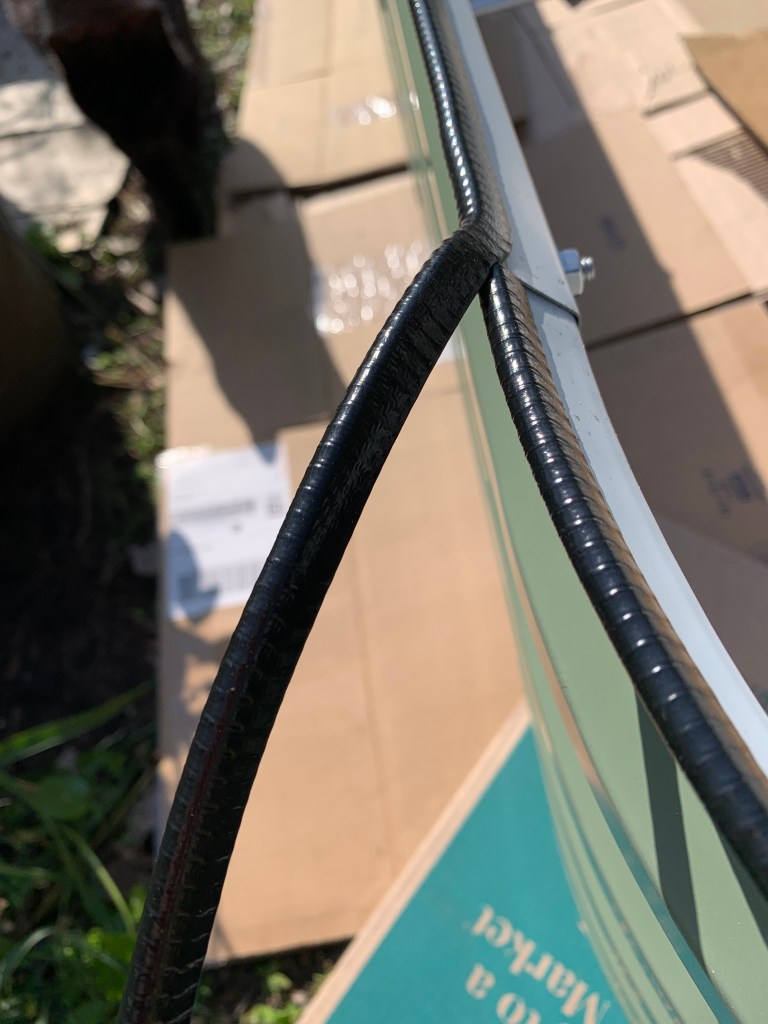
A few days later I added the support bars – of which there are no directions, except where to place them (image). They take the place of the nuts in two sections. After that, I tightened all the 1,000 screws. Just kidding, but seemed like it. The day was quite hot, and my new Vegega is directly in the sun.
It took 7 minutes to put the black edging on (yup I timed it), and there was plenty of it with a bit leftover.
I feel like the round Vegega was a LOT easier to do. It’s smaller, was easier to set up and quicker to finish. I kept waiting for a good sale, but they never had one. Each bed is a different shape. The next one is 4×6 I think. Hopefully it is easy.
Screwing it together took a lot of bending over. I don’t have a real problem bending, but the angle to tighten the screws was awkward. Also, did I mention? It was hot.
Filling The Raised Bed
I’ve found that the easiest, and cheapest, way to fill a raised bed for planting is to use a variety of things. I want this bed ready to plant by March. I only have a few weeks.
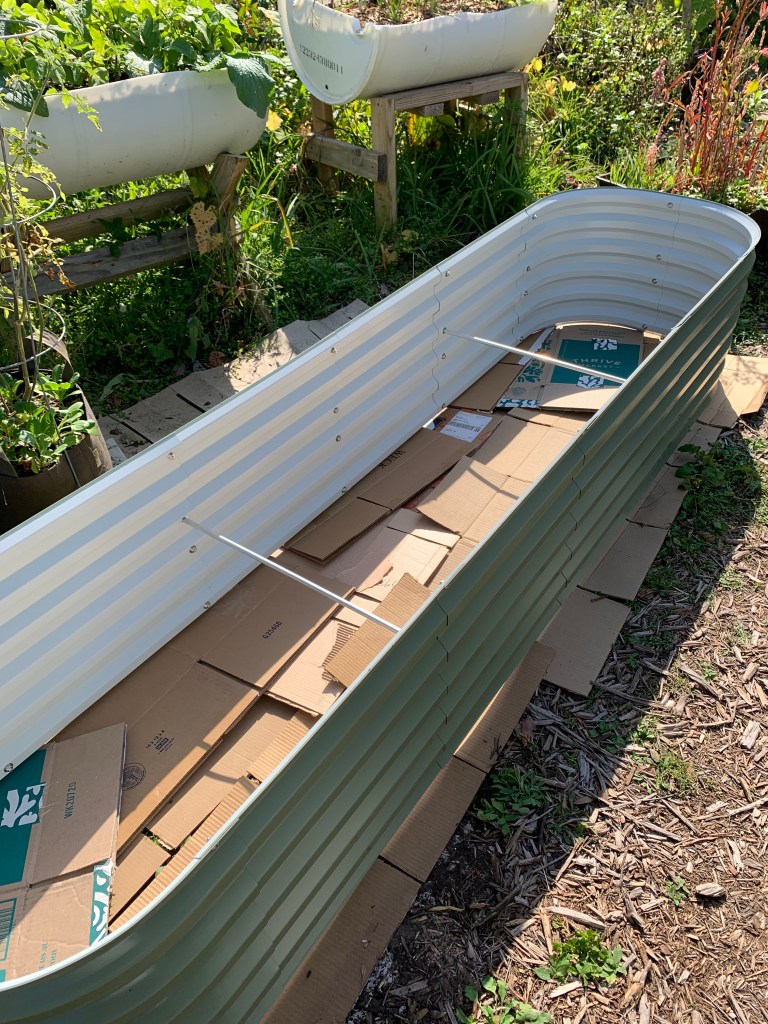
Cardboard boxes are something I save. They have been building up on my porch all summer. It is so hot that we don’t use the porch for much except storage, until the few winter months.
Cardboard works well to level the bed and fill the bottom. It is not there to keep weeds out! Weeds grow from the top, not 17 inches upward from the bottom. It amazes me that everyone puts black plastic under their beds to keep the weeds out! I like something compostable incase whatever I grow needs more root space beyond the depth of the bed. I didn’t do anything to the ground beneath the bed.
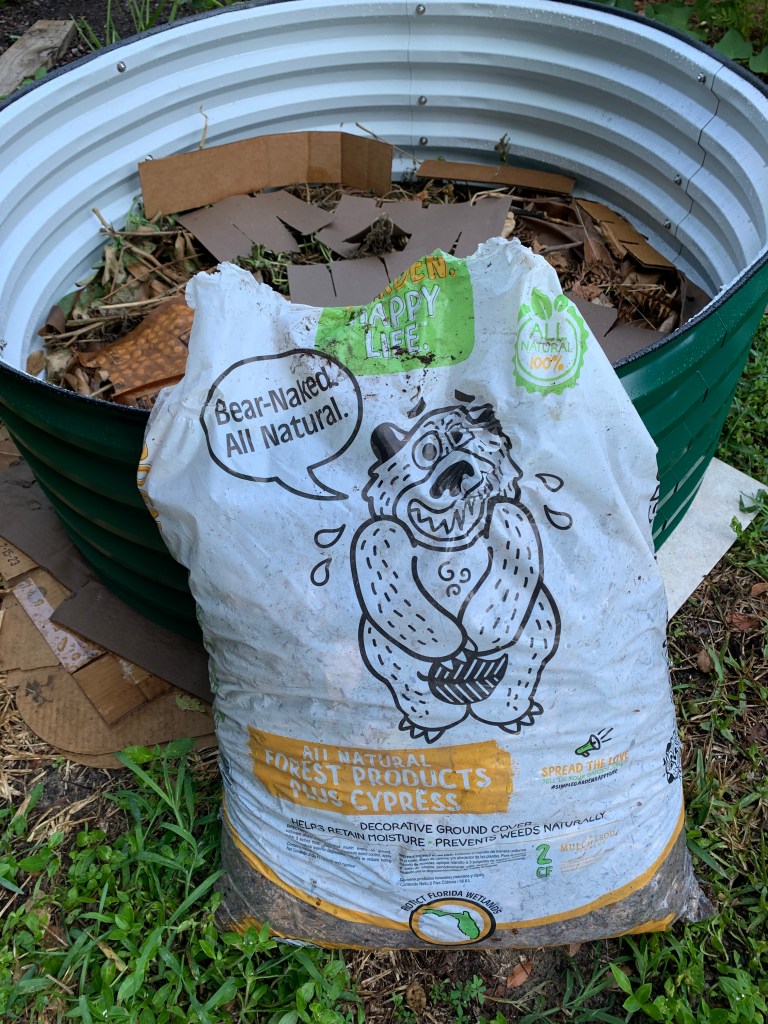
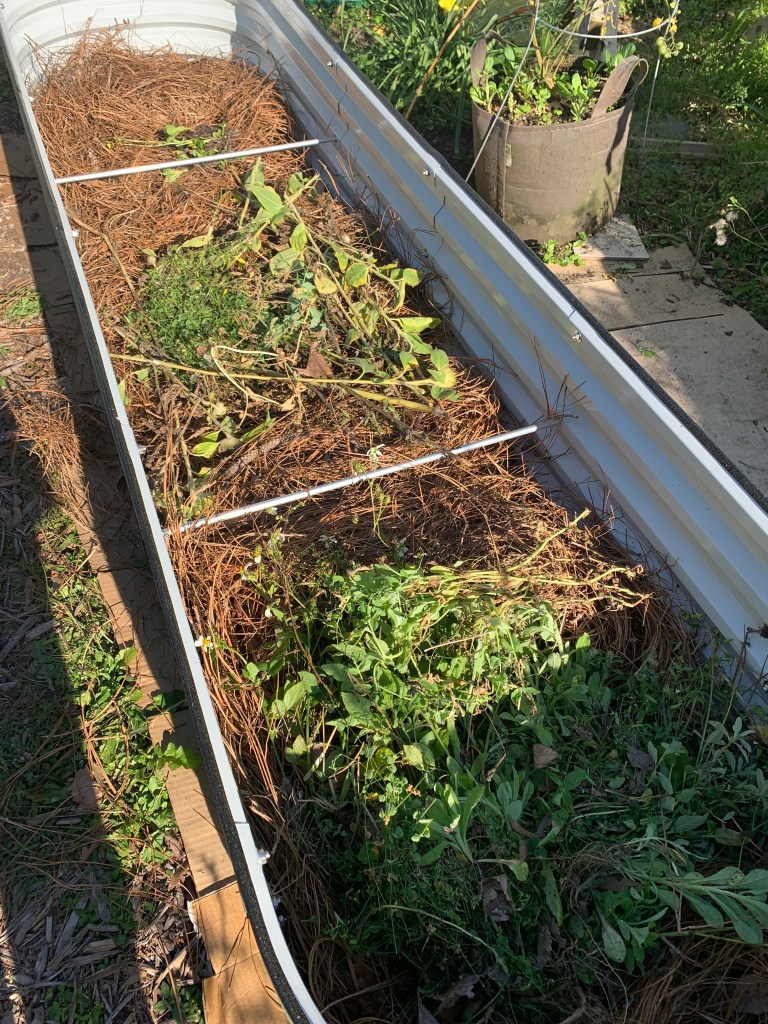
Next I added some paper filler that came in some deliveries. On top of that I added pine straw. The local Yard Shop only sells this and not regular straw. It will be flattened once the dirt is added. Pine is acidic, but it will be way down in the bottom and will eventually decompose.
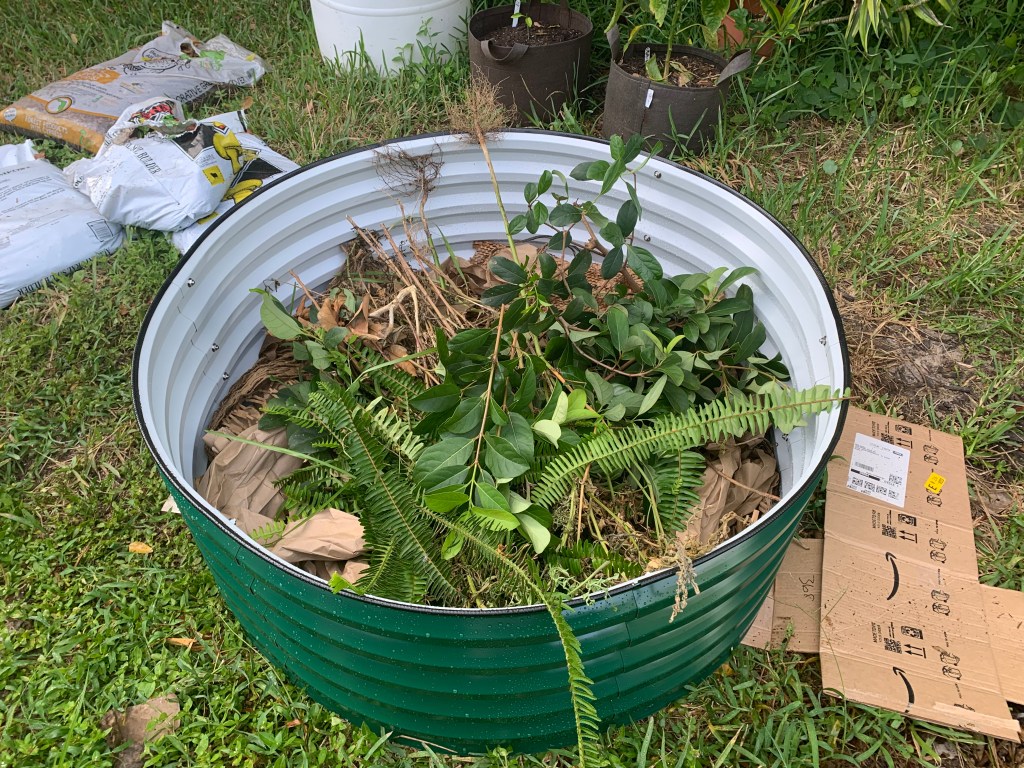
Cuttings from old vegetables, flowers, and shrubs are added next (nothing diseased). Sometimes I have dirt from a box or pot to throw in. I’ll be buying and adding more new dirt, along with fertilizer and homemade compost. I’ll mix the cuttings with all the other dirt to fill this bed. Some Perlite will be added to keep the dirt loose.
All of this will compost over time. It will break down and become part of the bottom layer of soil.
Mid-February: Still adding dirt, compost and cuttings to this bed. It’s taking a lot to get this thing filled. I still have to buy more dirt. In the end, I will have a nice, big bed for planting.

This metal bed is 17 inches tall, so most of what I grow in it will not have roots that deep.
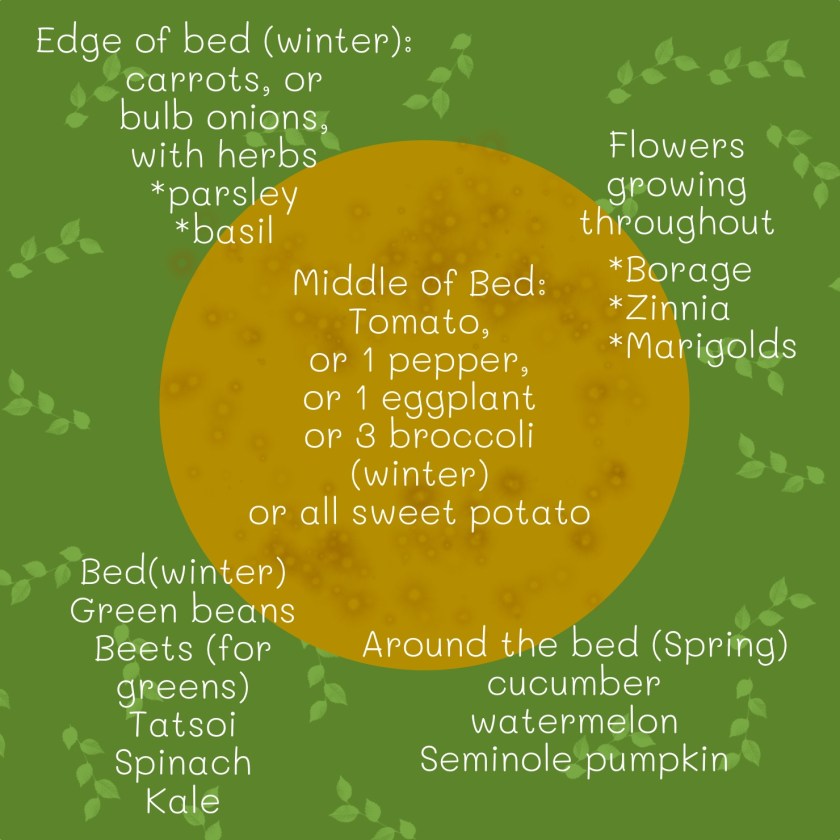
Ideas For Planting in This Raised Bed
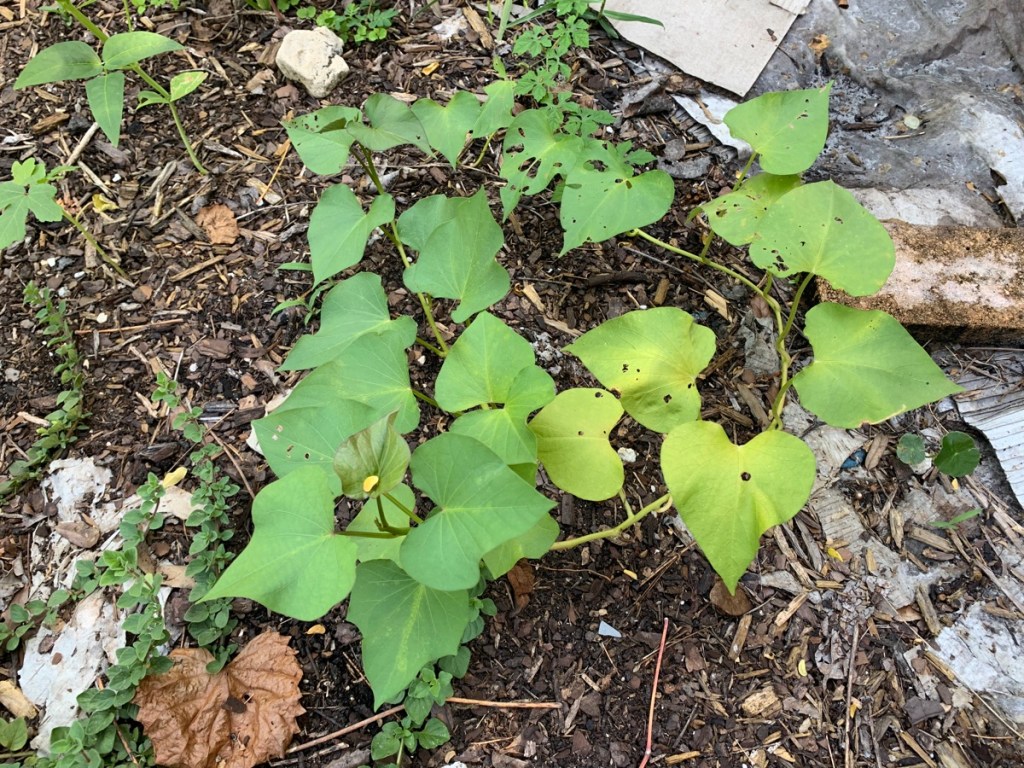
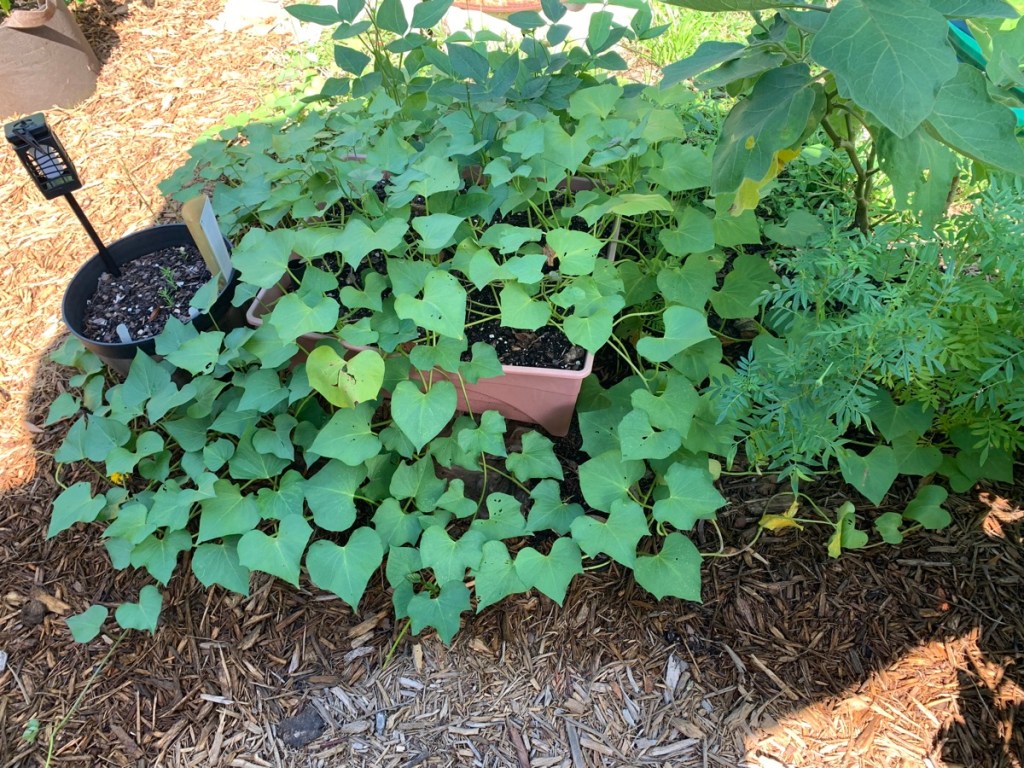
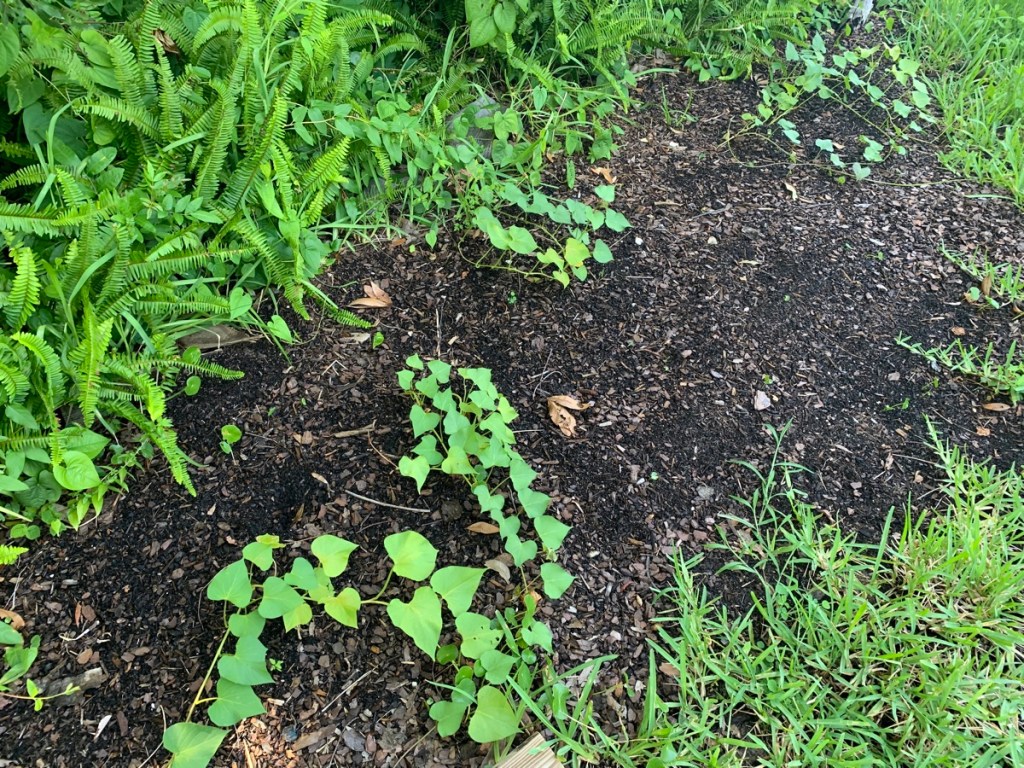
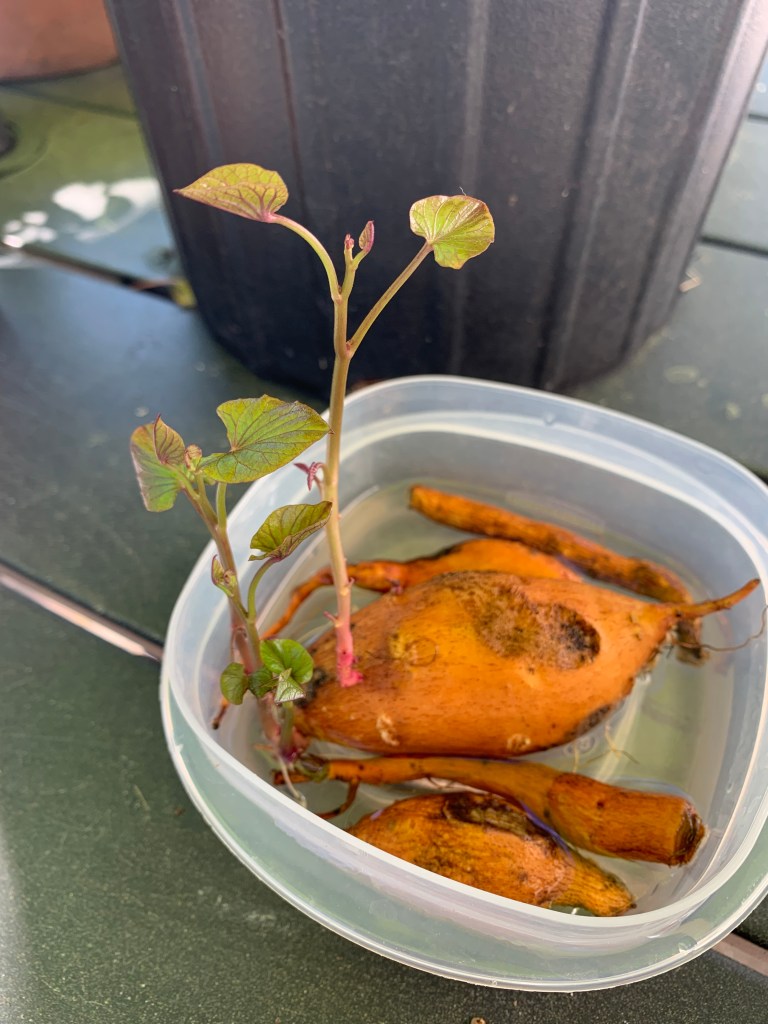
I have one idea for summer planting in this new raised bed. I will grow sweet potatoes. Maybe some Holy Basil plants will work next to the edge. Not much else grows in summer. At least nothing I would plant in this bed.
Next winter I will use this new bed for planting broccoli, onions, and carrots.