How to Grow a Flowering Hedge in Five Years

Propagated cuttings created this flowering hedge in my front yard.

Here is the simple way I grew a bushy hedge full of flowers. I did it in five years time.

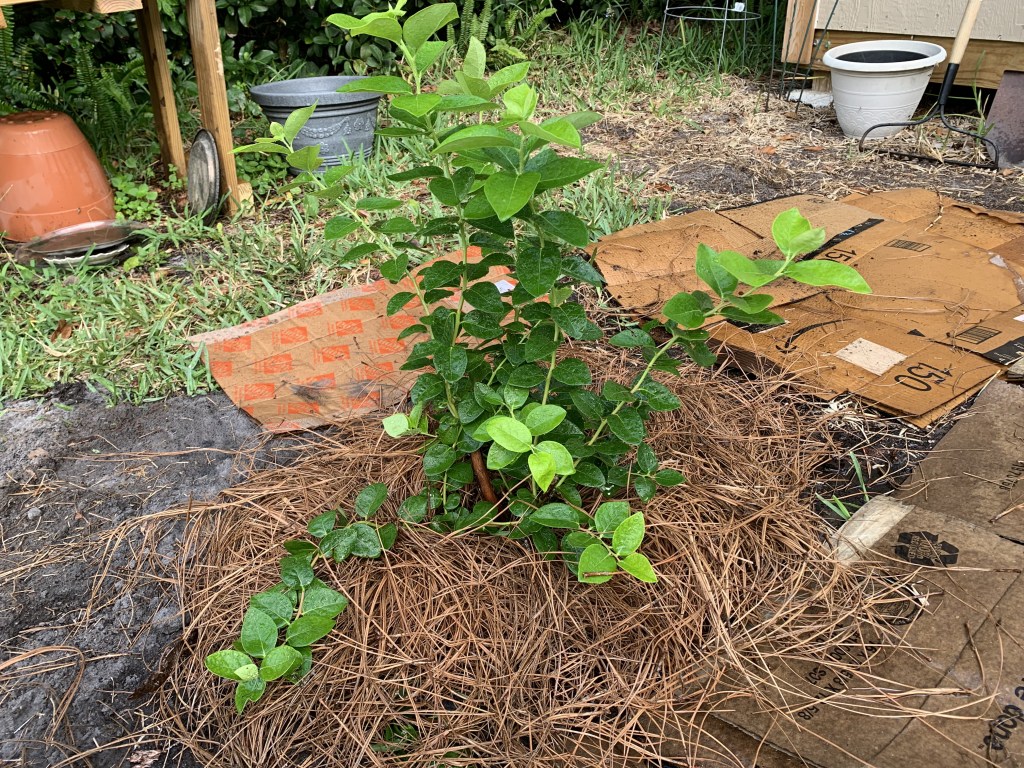
Actually, I did very little. I took cuttings from the tall shrubs in my backyard. When they rooted in water, I put them into pots. They kept growing. Once they were large enough, I planted them in the front lawn. I gave each shrub plenty of space.

I had considered putting a few bottlebrush trees between them, but it never happened.

The Premna Serratifolia is Quite Awesome

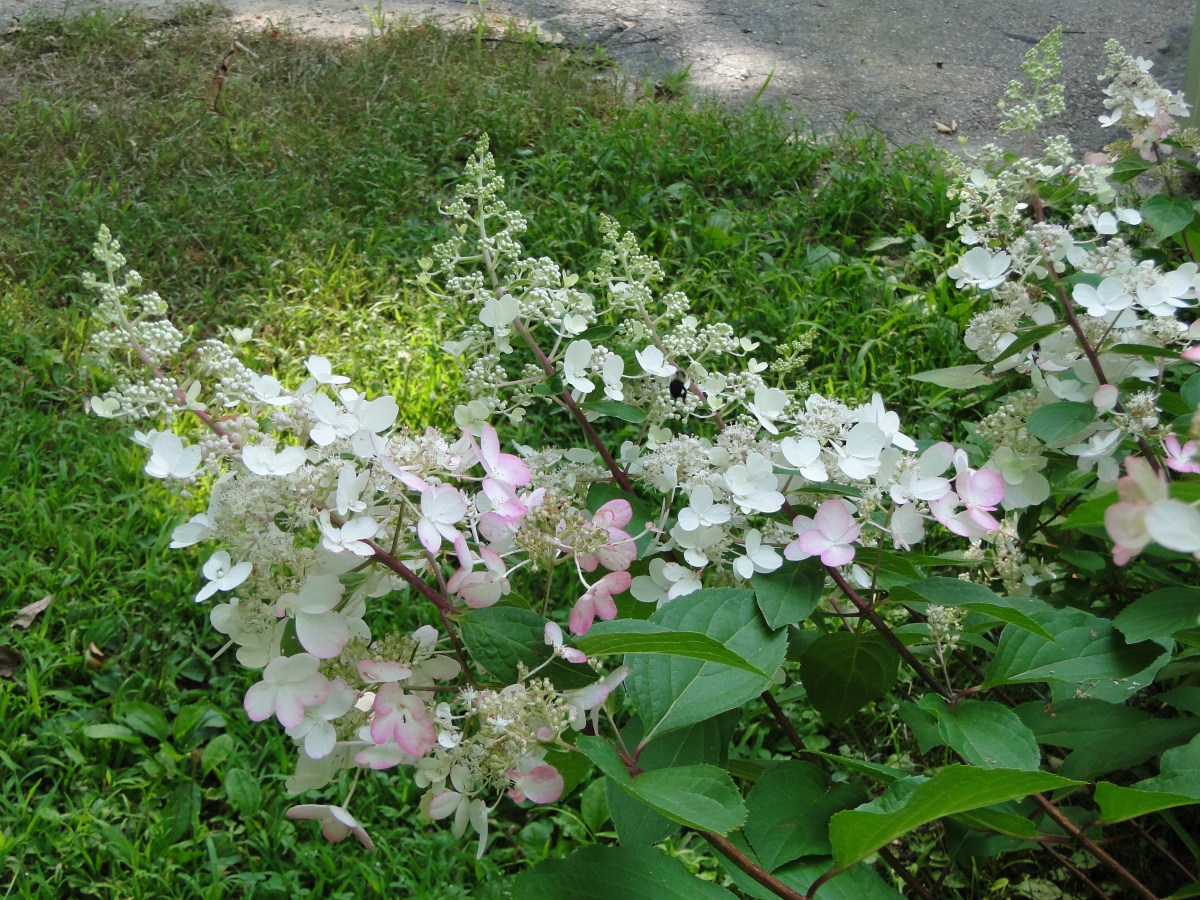
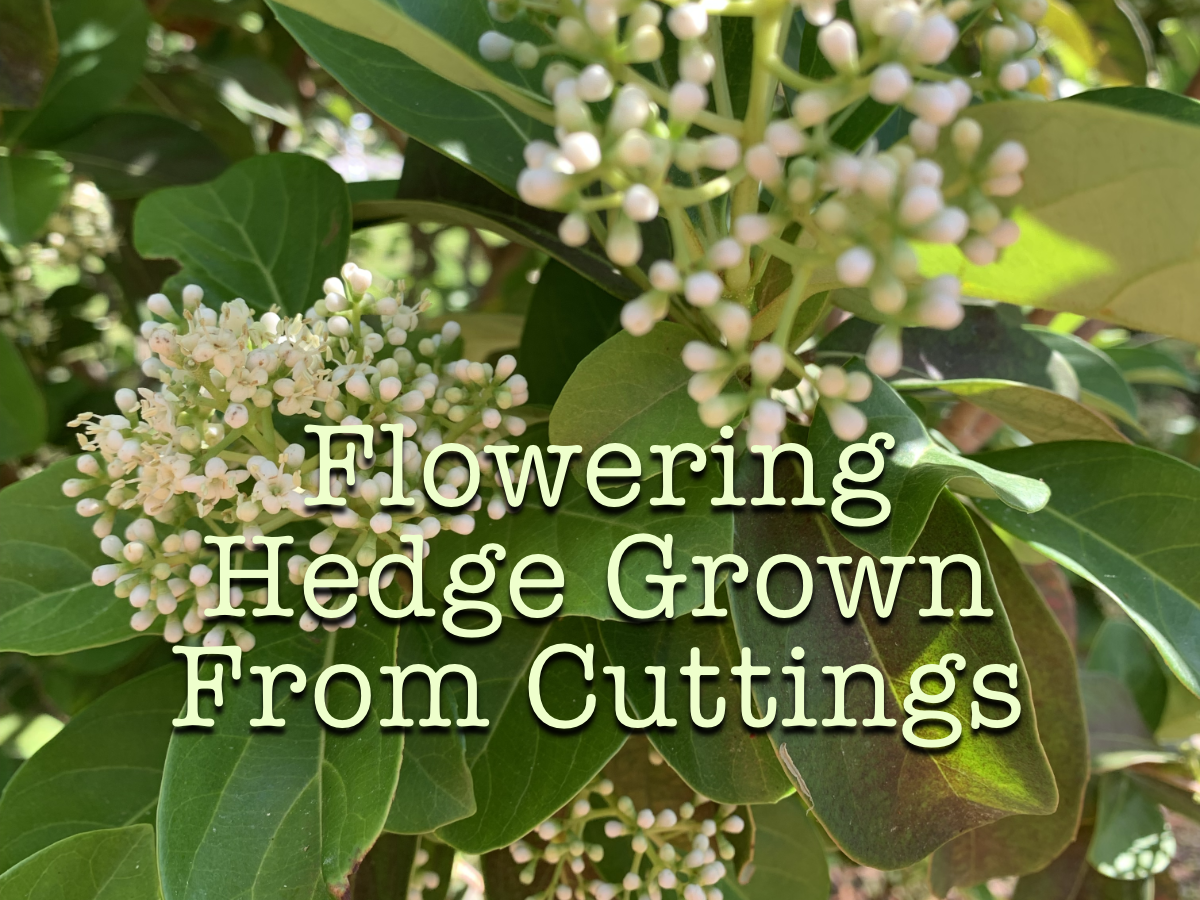
I had no idea what this shrub was until I researched it for this blog post. The Premna Serratifolia is fast growing and blooms profusely in March and April where I live, but only for a short time. The leaves supposedly have health benefits and are edible.

At the time I am writing this page (April 2), The blooms are already going by. The clusters of tiny white flowers smell wonderful, and attract all kinds of beneficials.

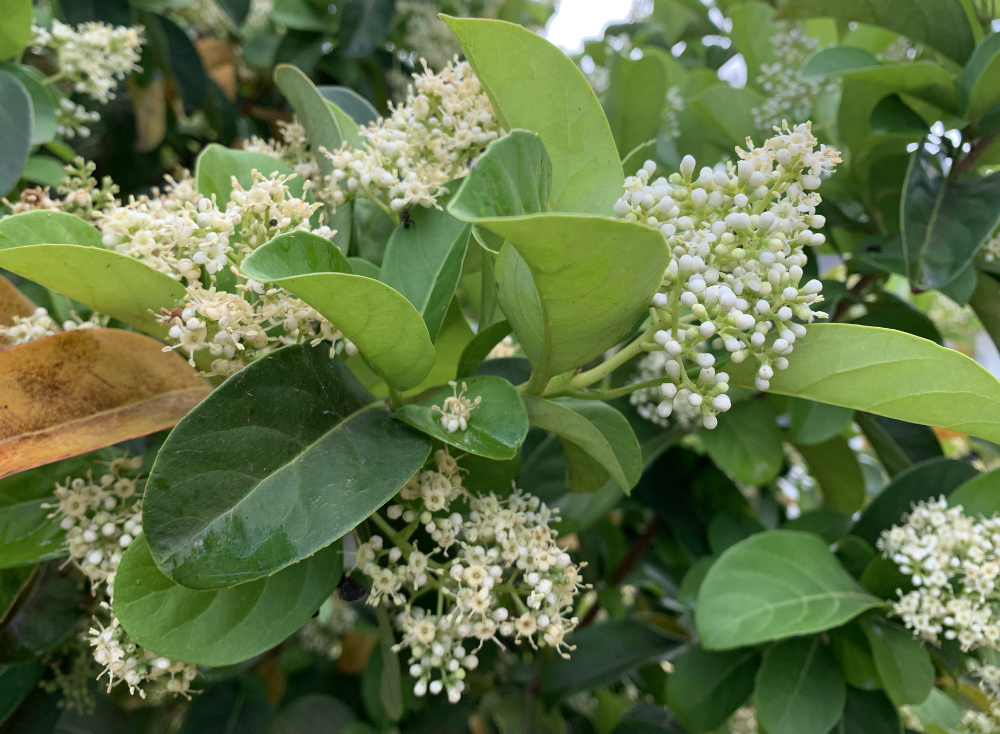
If I were a better photographer, I could show you the bee variety and even a few Monarch butterflies that were all around those flowers. This shrub is loved by the pollinators.

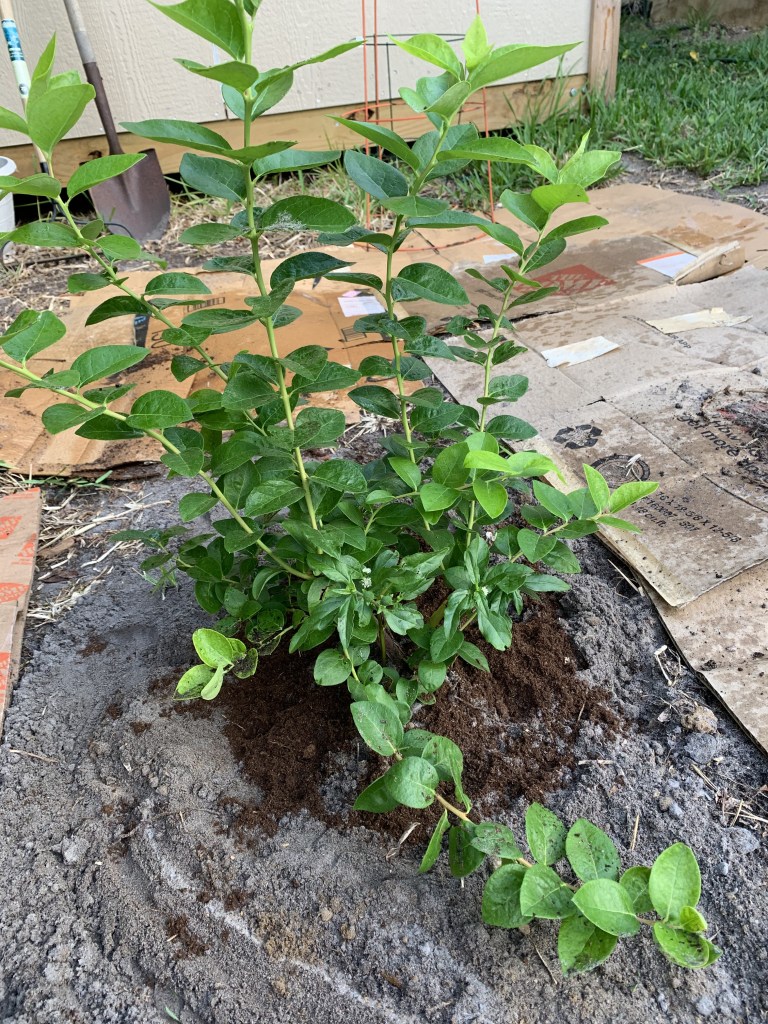
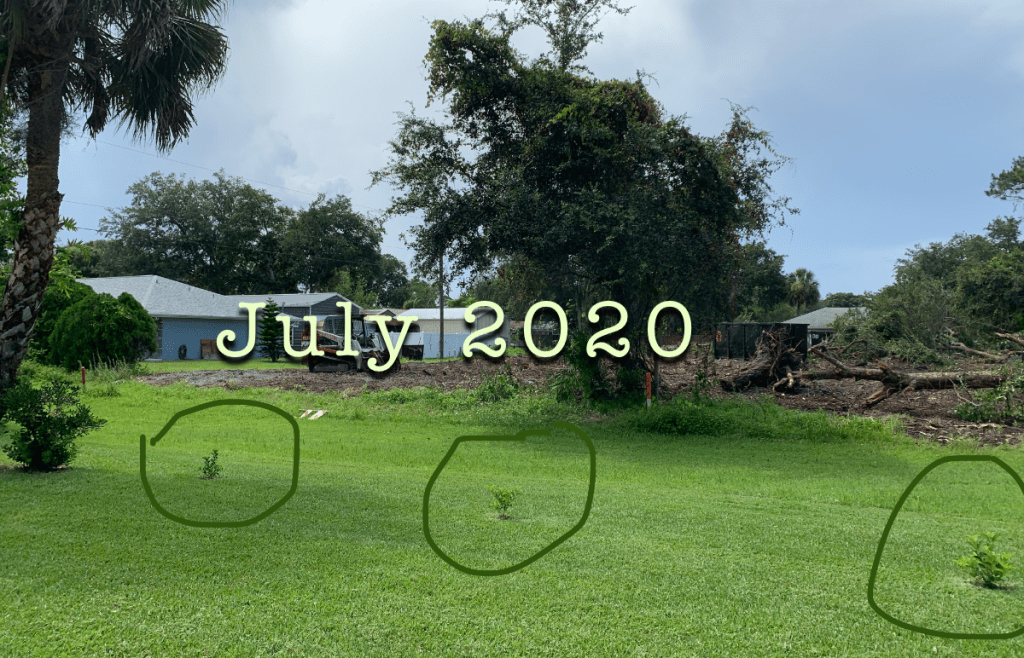
When we bought our house in 2016, the land across from us was wild. Once it went up for sale, I realized that we could have neighbors soon. That’s when I took cuttings from the shrubs in the back. I had no idea if I could root them.

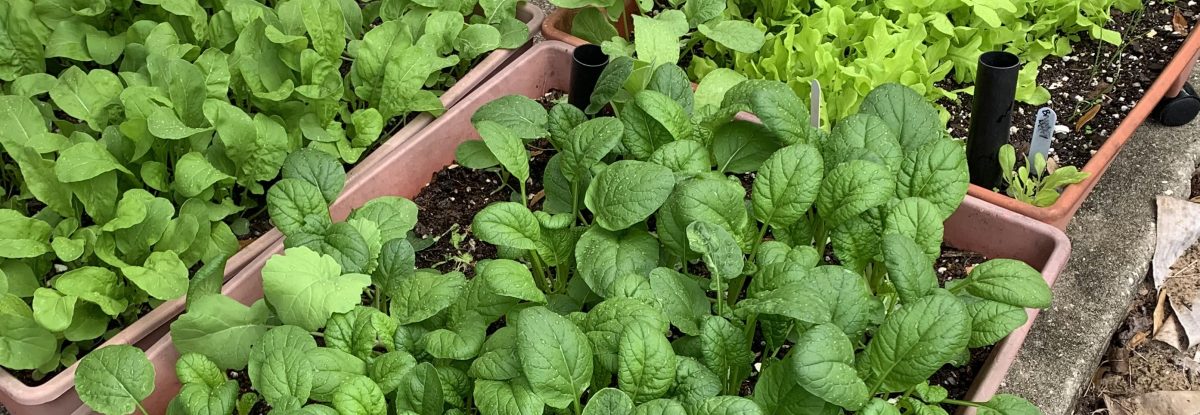
It turned out that this plant is very easy to propagate. Every cutting grew roots in water and then grew nicely in a pot. After a few weeks I ended up with five new plants.

The big mistake many people make when planting crops and new trees and shrubs is that they put them too close together. I gave these little cuttings a lot of room. The roots would not have to compete for water and nutrients.

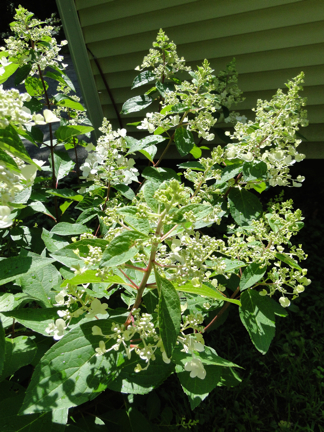
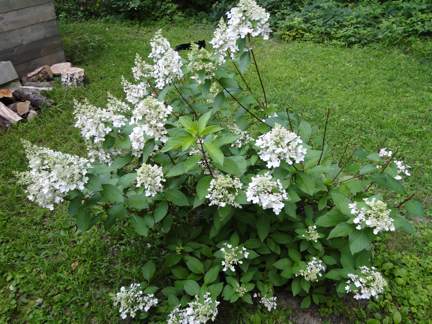
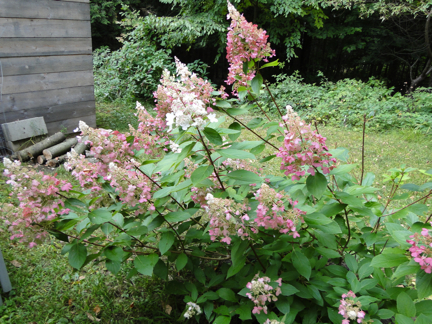
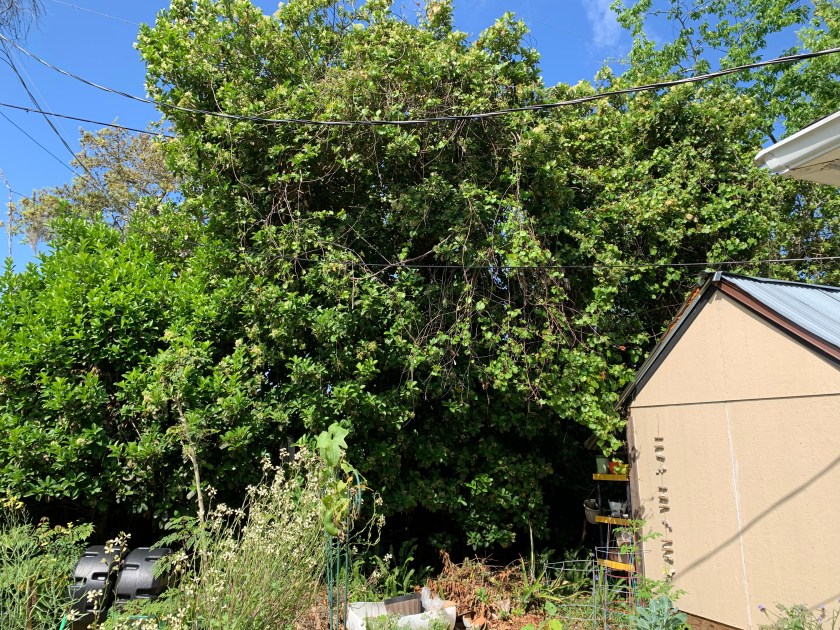
Below is a photo of the old plants behind our house. As you can see they are very tall. A lot of vines have taken over too. Typical of Florida.

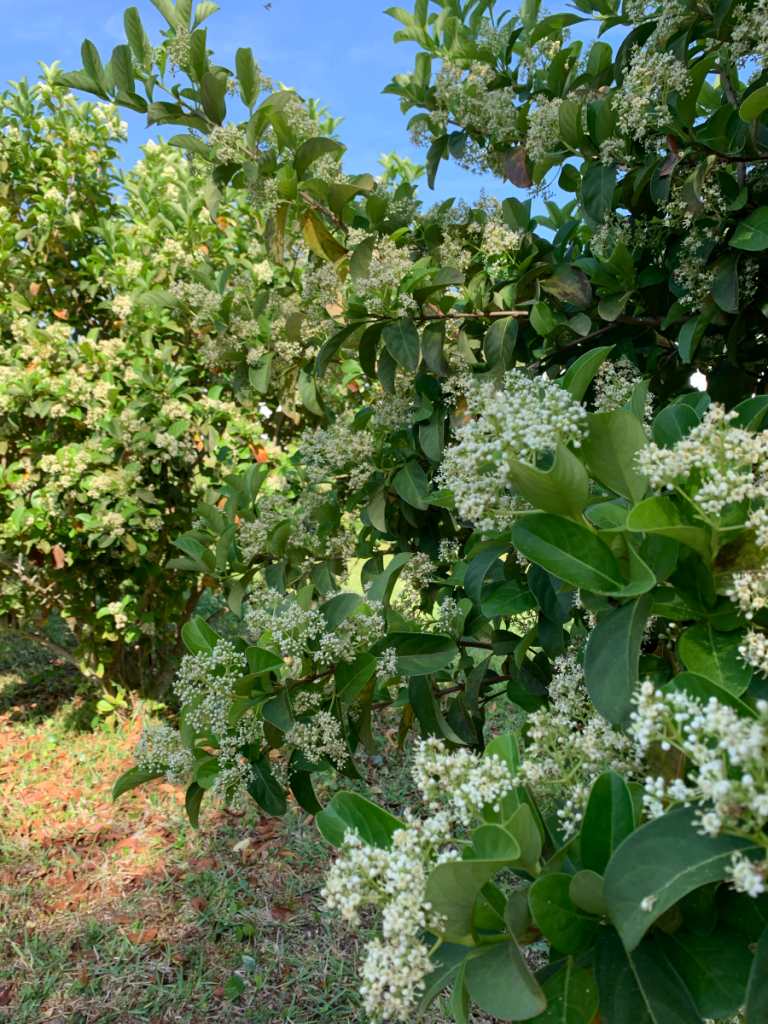
The flowers are now falling like snow from the tall shrubs.

Old plants

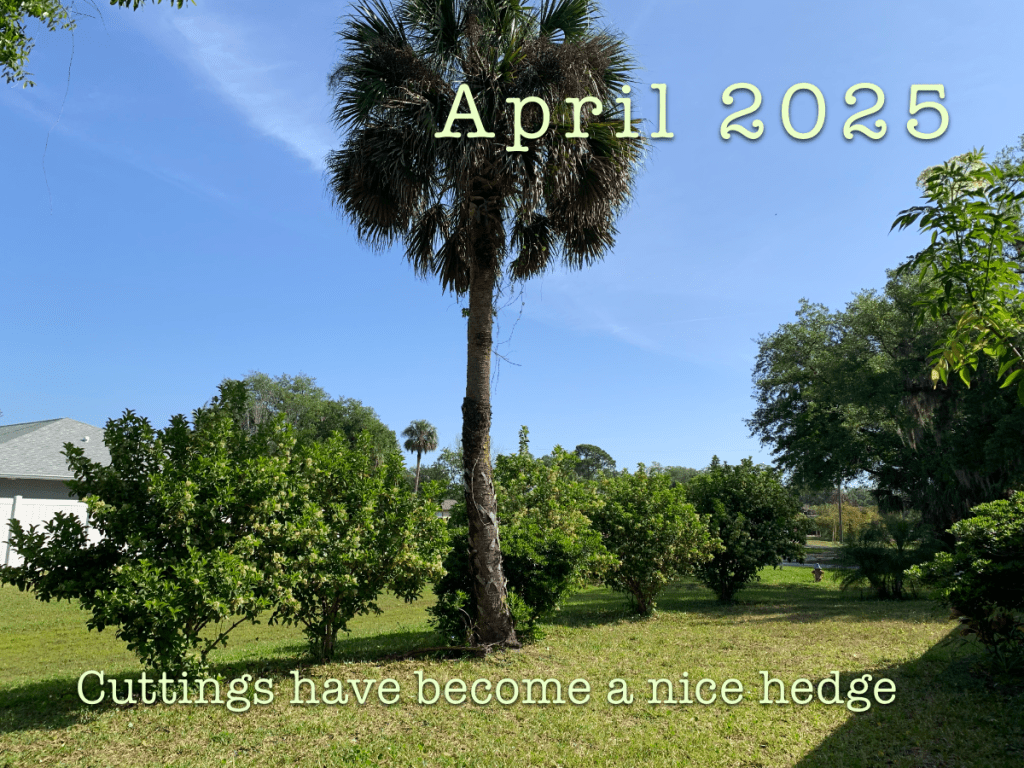
The “baby plants” are now taller than I am. I’m guessing they have reached 8-10 feet – in five years time. I think that is pretty fast growth.

The plants outback were probably planted when the house was built.

So now we have new neighbors where a Florida forest used to be. Three new houses went up, and every bit of vegetation was removed. Perfectly beautiful oak trees, pines and other things were torn up and removed. This is just one reason I dislike living here. Why not leave the trees that are not in the way of where the new house will go? Builders don’t care – just make it easy and remove everything.

My new, and free, hedgerow is growing up nicely and blocking the view. I also love that I’ve provided food and nectar for the insects. A living border also provides places for birds and other wildlife to hide.

I’m not sure if this shrub is available in local nurseries, but I think it makes a very nice addition to the yard. The Premna serratifolia is not a Florida native.

More stories…

Something went wrong. Please refresh the page and/or try again.

The Blueberry Bush is Planted!

Newly planted blueberry bush in my Florida backyard.

I may be excited for no good reason, but I’m happy to have this blueberry bush in the ground.

This is a perfect example of why you shouldn’t buy things on a whim. I know that blueberries are hard to grow, and if I do manage to get berries, the animals will probably eat them before I can.

Florida Blueberry Shrubs

Certain types of blueberry shrubs grow in Florida, and if you want to succeed at growing blueberries here, find the right kind for your location. Normally blueberries need long cold winters. This is why they grow all over the place up north.

Special cultivars have been created for our warm winters here. Rabbiteye and Highbush are the types suggested – no lowbush berries here. Read the link below for more information.

Find good info at the IFAS Blueberry Gardener’s Guide at the UF site.

pine needles around base of blueberry plant

This bush was purchased at the Farmer’s Market. I only know that it is a “blueberry” and is supposedly “self-pollinating”. Three varieties are listed on the back of the card that was attached to one of the stems; Pink Lemonade, Sunshine Blue, and Emerald + Sharpblue.

I’m not one to let a shrub die if I can help it, so into the ground it went. The plan was to put it into the ground in a more out of the way spot, but because of roots, I couldn’t dig there. It had to go where I could dig a large enough hole.

hole dug for blueberry bush

My hope is that it will live and maybe be an attraction for birds and bees.

Although the card claims it is self-pollinating, everything I’ve read advises growing more than one bush. Elise of The Urban Harvest suggests growing a mix of blueberry varieties (link below to her video).

Planting Blueberries – The Urban Harvest

Blueberry season is April here in Florida, so the plants should be fertilized in January, or thereabouts, for a good crop.

planting the blueberry

The plant was very root bound and I tried to open up the soil a bit, then added peat moss, compost and pine bark (in the bottom). I also added some acid fertilizer, which I’ve read I should not have done… but it is too late.

I don’t have the space to create an acid-loving section of the yard for things like blueberries. Some vegetables like the soil a bit acidic, but blueberries require more. This is just one more growing experiment.

Adding soil mix around blueberry bush

I will probably trim those lower branches.

blueberry bush planted

The new garden area is a place where I plan to grow vegetables, which are not necessarily acid loving.

The bird feeder was moved to this open area in an attempt to keep the squirrels away from it.

Cardboard has many uses in the yard. Im using it here to cover the sandy area that was recently tilled. I also used a piece of cardboard to kneel on while I planted the blueberry.

florida backyard gardens

Read more gardening stories

Pinky Winky Blooming Timeline

All season I have been photographing my beautiful Pinky Winky hydrangea shrub. Now I am ready to share my pictures, in a blooming timeline, to show the progression of the flower color from spring (summer) through fall.

The bush is lopsided because the deer decided that the buds would be a tasty treat (darn deer), but at least they left me some flowering stems.

So here you have the white to pink progression, with a surprise late white flower showing in my last photo. After all the blooms had turned totally dark pink, a lone white bloom appeared. It looks so pretty against the rest of the bush, that I made a hydrangea poster from the image to sell in my BlueHyd store.

If you are unfamiliar with this variety, the flowers begin as all white, then gradually become pink from the bottom up. As time goes on the pink darkens to a beautiful shade, which can be seen in my last image here.

budding hydrangea shrub
The Buds in July
white flowers hydrangea
White Flowers – side branches were chewed by Deer!
white flowers with pink
Some Pink Beginning to Show
pink hydrangea paniculata
Most flowers are pink by late summer
hydrangea flowers white pink
Sept: All flowers are dark pink except for one new white bloom

I don’t have the exact dates listed, these photos were taken from the end of July through September. The hydrangeas don’t really start to grow flowers in my area (southwestern New Hampshire) until summer. The pinky winky is a fun one to watch as it changes throughout the season. This bush also attracts a lot of bees. So along with being a beautiful ornamental for the yard, I am helping to feed the wildlife – deer and bees! I don’t mind the bees, but those deer have plenty to eat without ruining my hydrangeas.

Recent Blog Posts