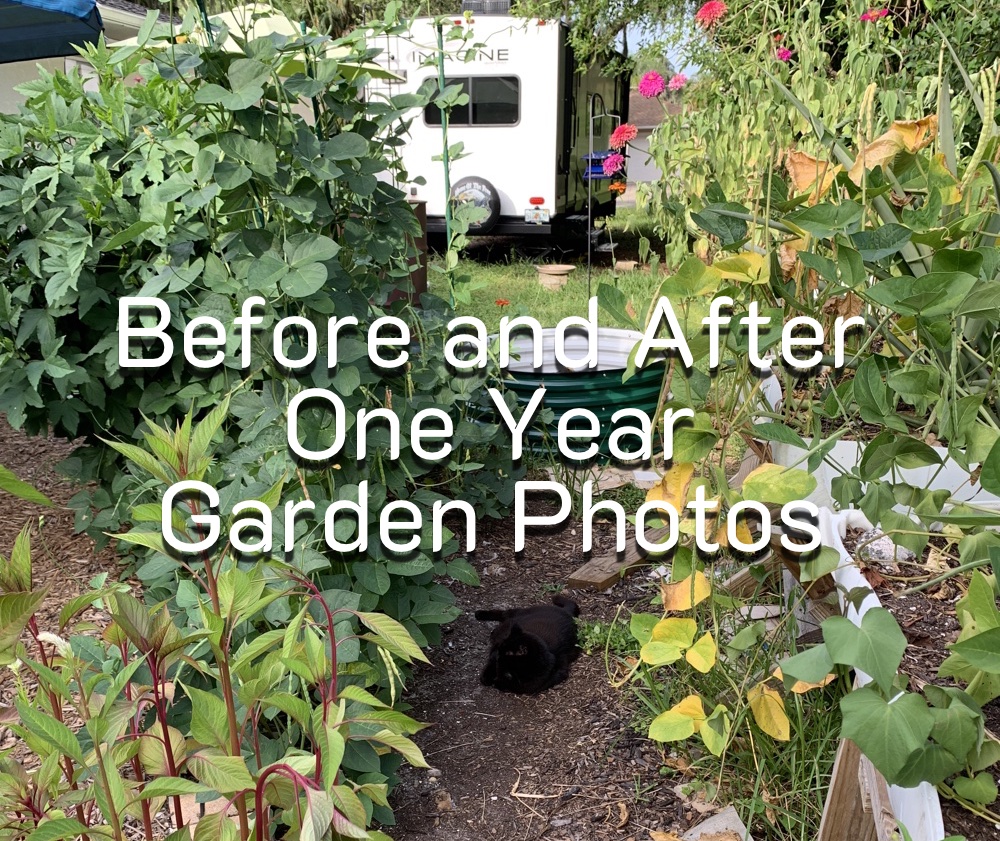
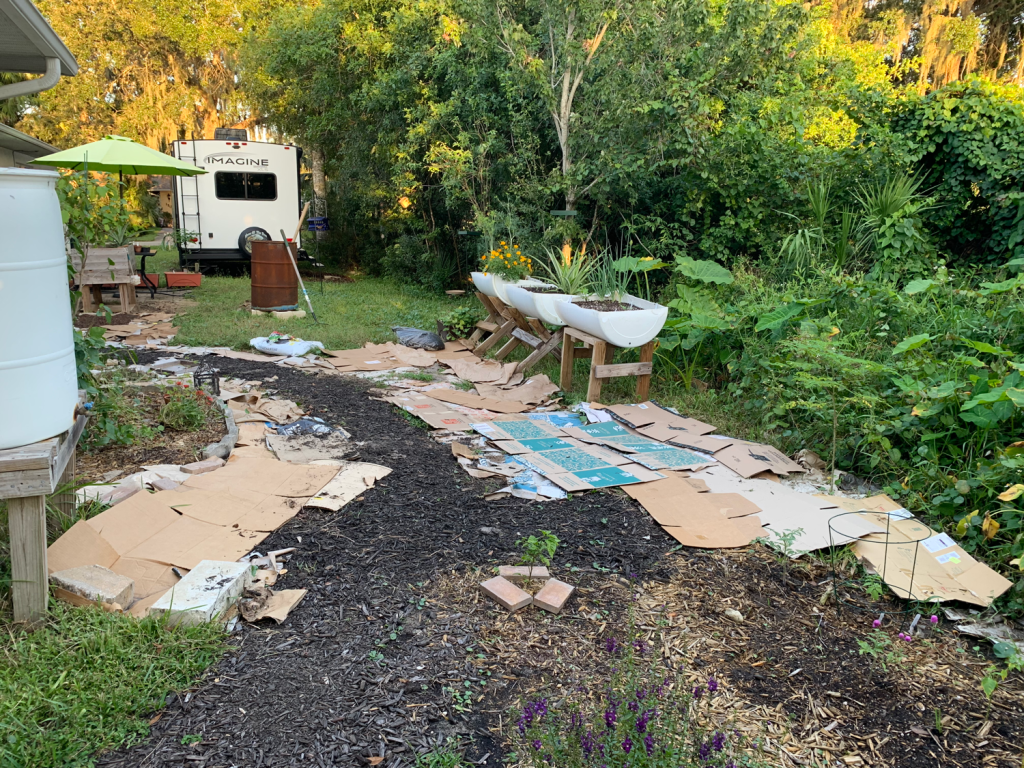
In the beginning of 2023 my plan was to create a small vegetable garden space in what little bit of yard I have. I’ve been blogging about some of my journey, and this page has photos of the before and after. A lot has been accomplished in a year.
When I came across these old photos from last year I thought it would be fun to show the difference.
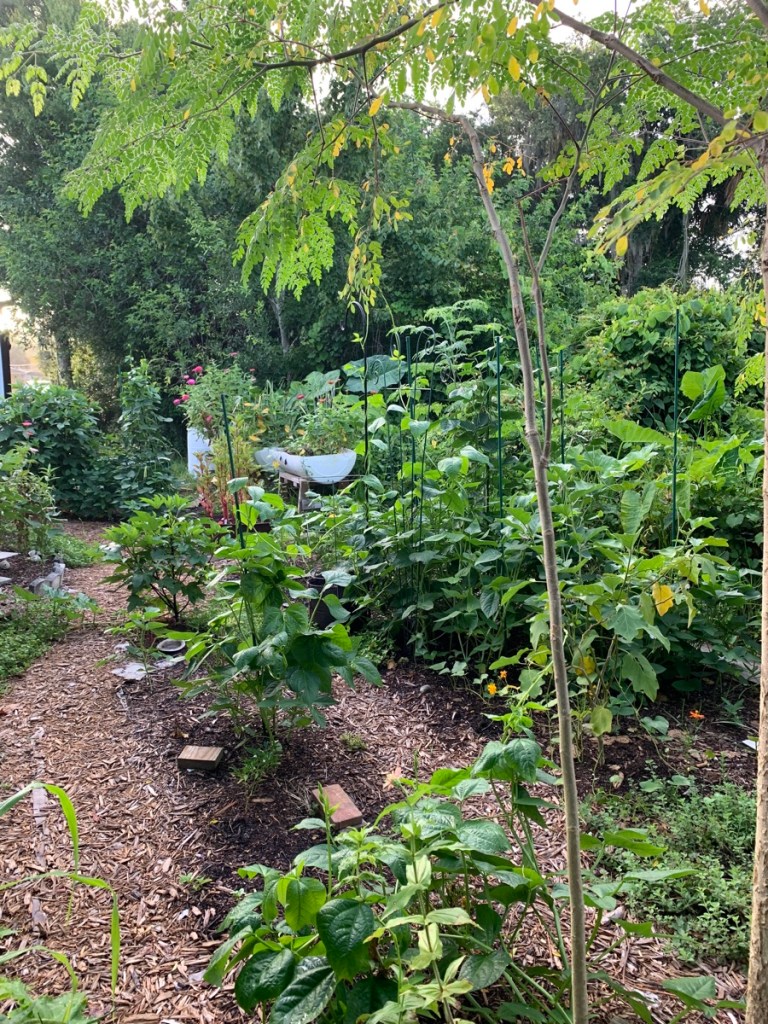
Before…. and …..After
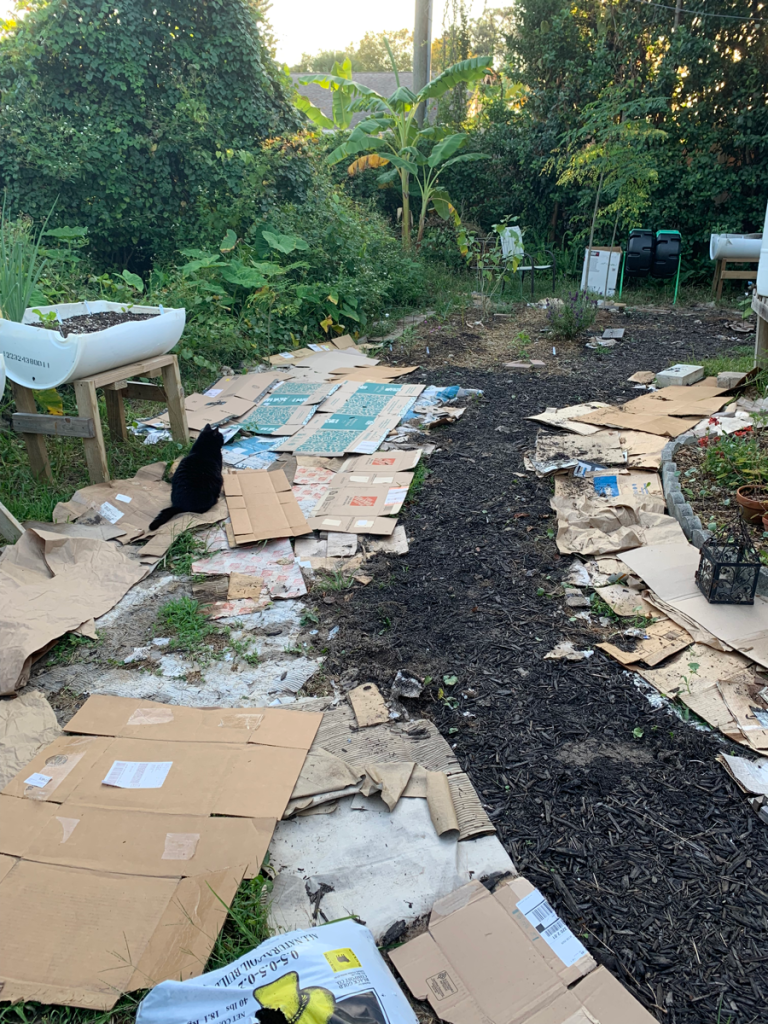
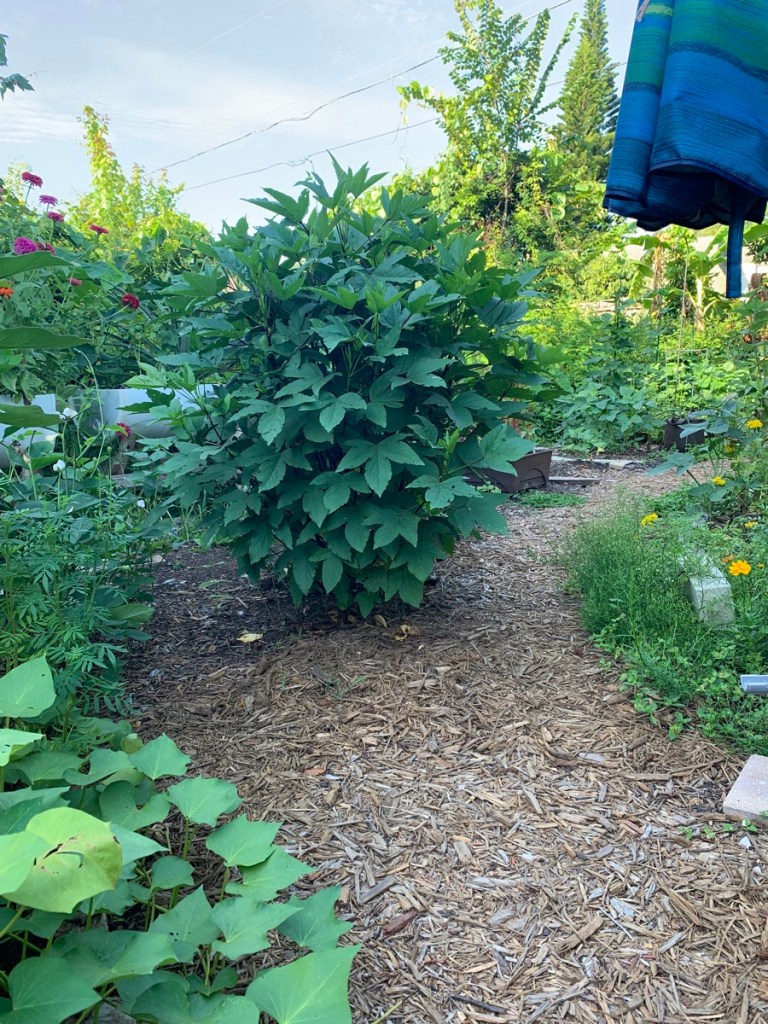
2023 Planning future vegetable gardens2024 Path to the back – Roselle bush
For much of the past year I have been working to create dirt spaces and pathways. Occasionally I have also grown some veggies! I can work outside year round, which is beneficial, although there is little rest.
The Roselle hibiscus bushes have grown like crazy. They were grown from seeds planted in Fall. The Moringa tree has also grown after slowing down for the winter months.
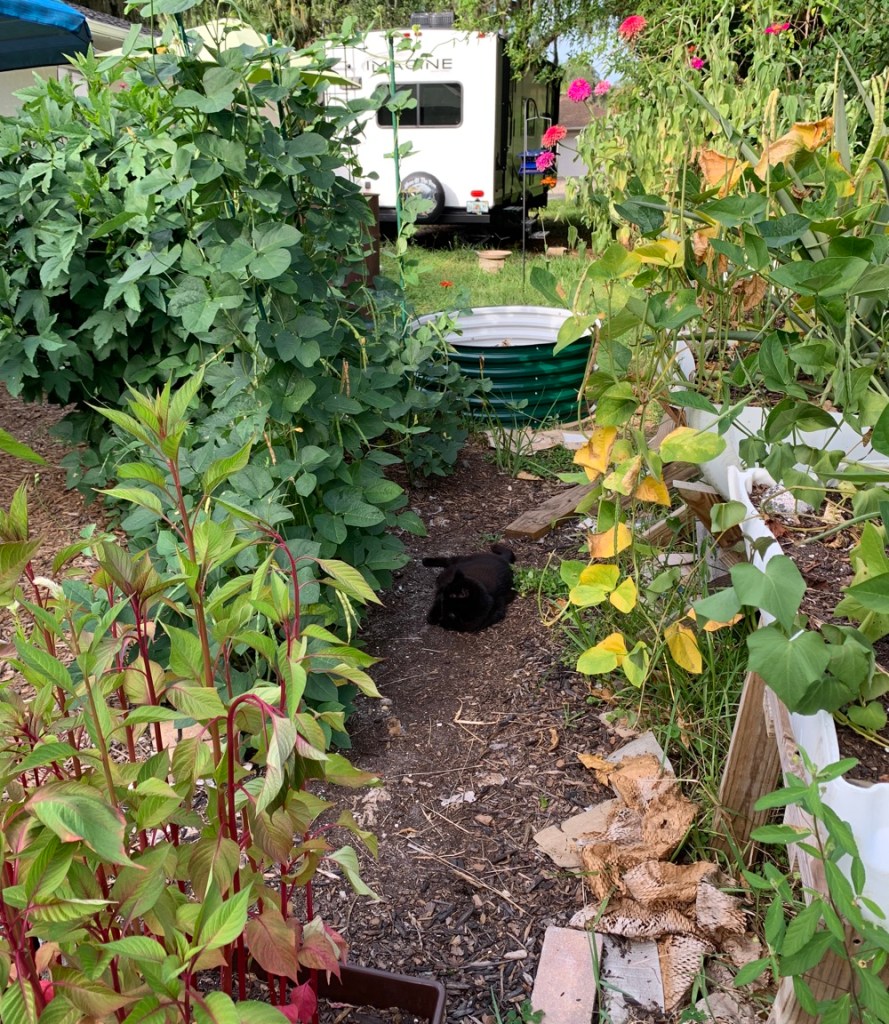
2023 Expanding gardens2024 Summer greenery
Before I had a chance to finish writing this page, the garden has filled in even more. Some plants really enjoy the extreme Florida heat and humidity.
It is now July, so this photo is after about 1.5 years of gardening.
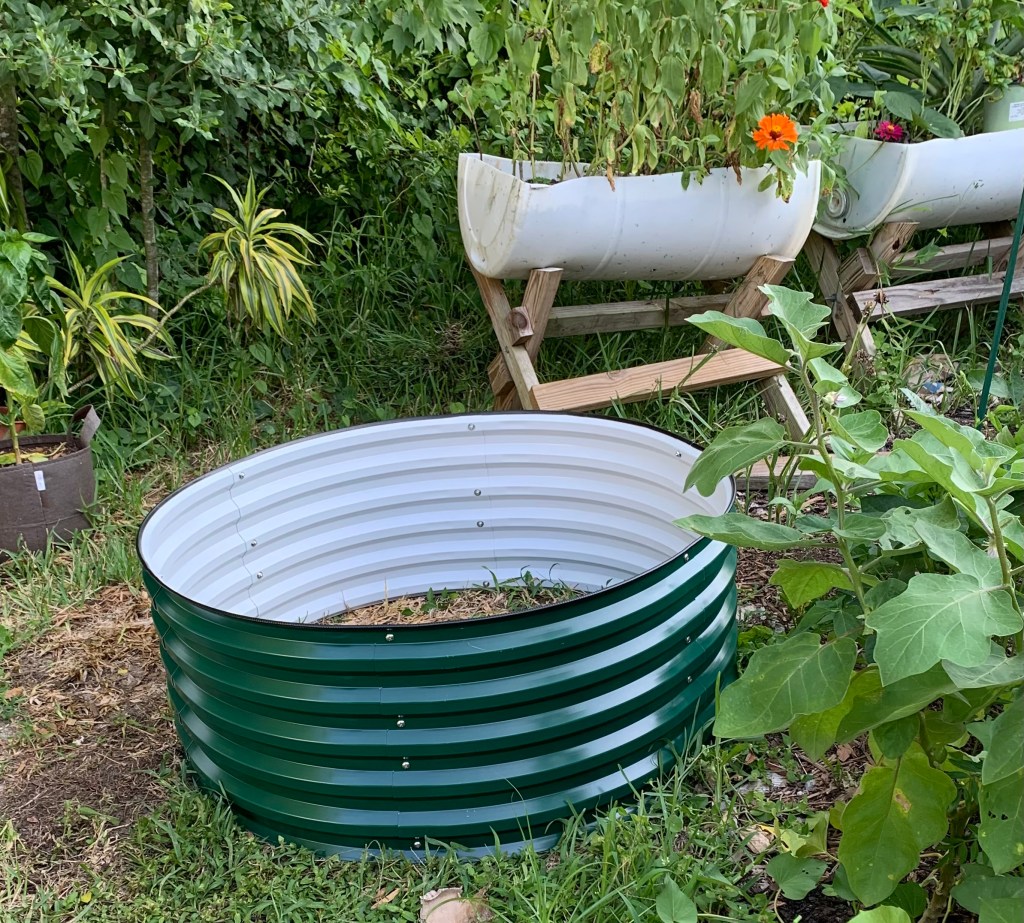
I’ve wanted a permanent (not made from wood that rots), large raised garden bed for a while. Raised garden vegetables are easier to manage than in the ground planting. I have better luck in a bed usually. This metal, round Vegega bed seems perfect.
Every time I have searched for metal raised beds, they have seemed way too expensive for me to buy. A few hundred dollars for one bed is way out of my budget. I had no idea of the quality either, until I found a review of the Vegega brand.
At Wild Floridian, I found a nice video review, and she offered a discount code to use for buyers. Her video convinced me to look into this brand further. See the review Vegega bed video by Wild Floridian where she has had the bed for a year and compares it to another type she had problems with (not named).
When I browsed the Vegega site, I liked the bed shape options. They offer sets that can be shaped as you wish once the product arrives – called 9-in-one, 10-in-one. Some of the pretty light colors were not available when I shopped, so I chose dark green.
My yard is small, and I was not sure where I’d put my bed. The round shape seemed perfect and I chose the 17 inch depth. This is a perfect depth to grow all kinds of vegetables including the ones with longer root systems like tomatoes, watermelon, and pumpkin. At this point, I have no idea what will be planted in this bed, but I will not be restricted by depth.
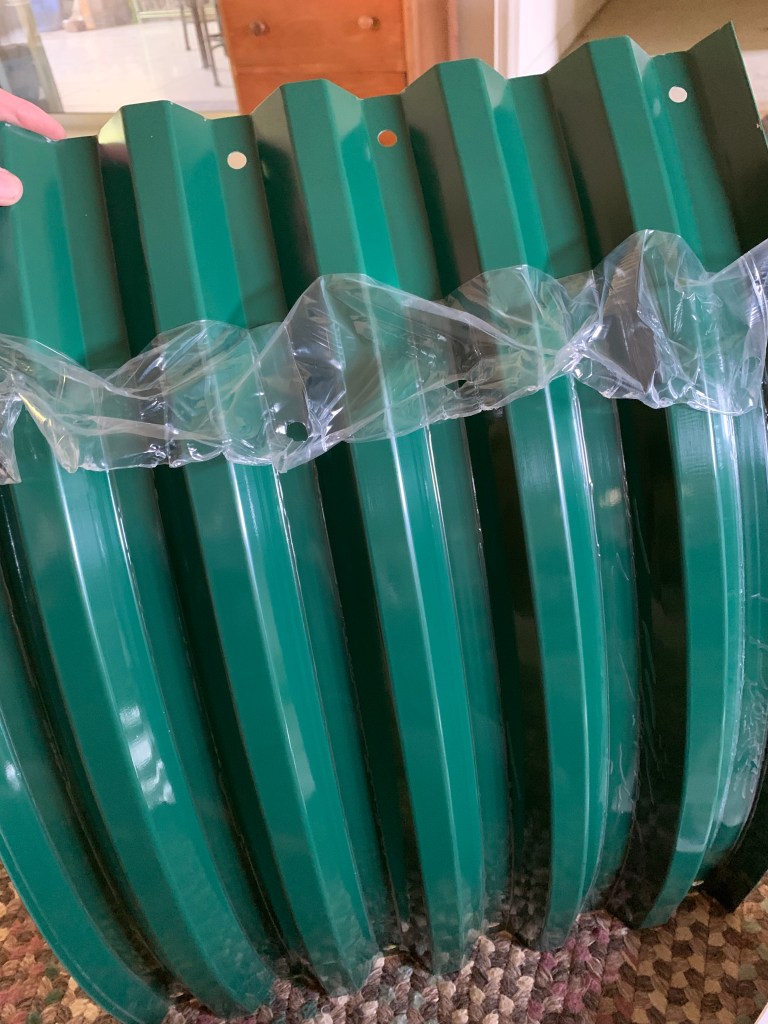
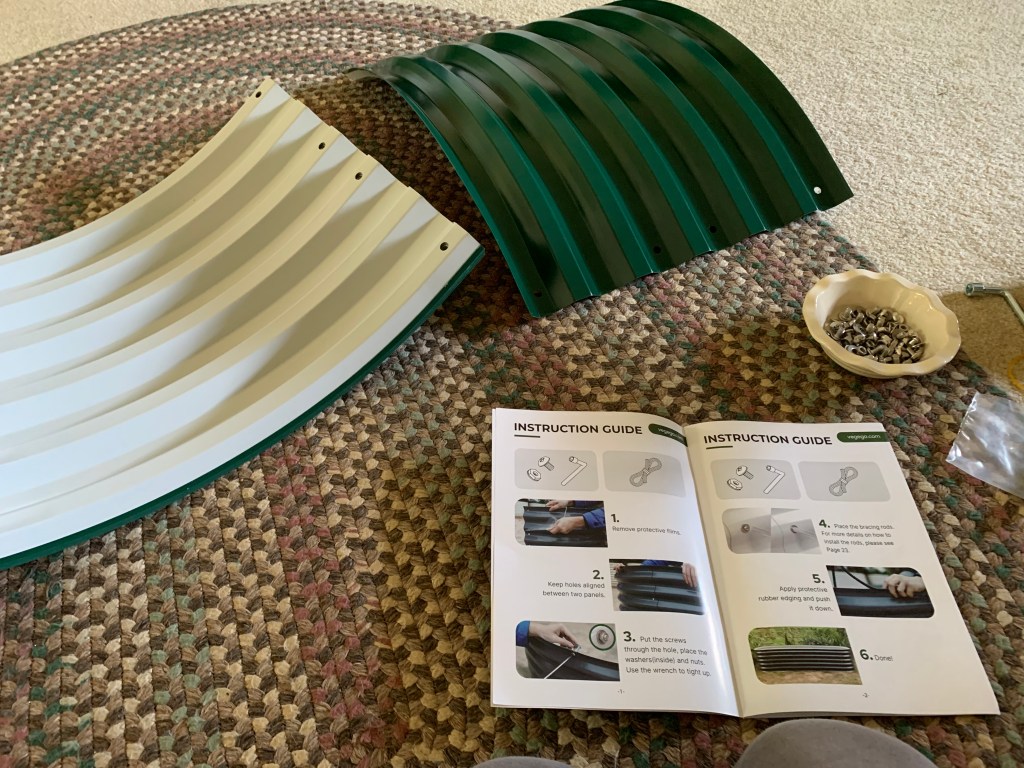
Putting The Vegega Bed Together
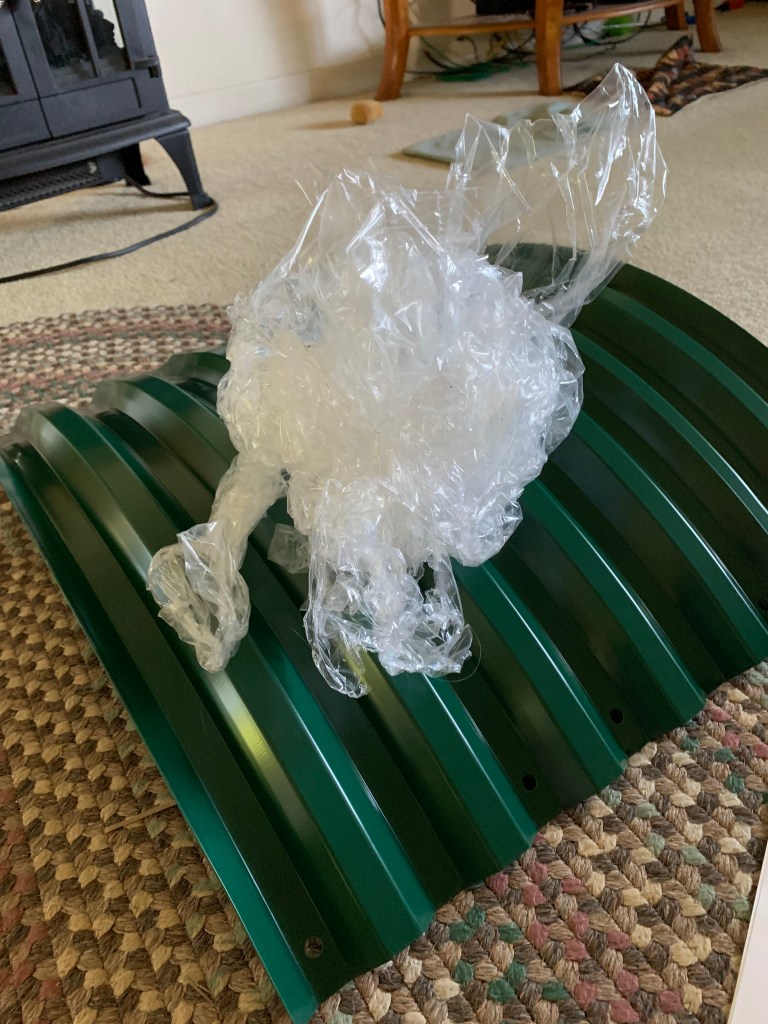
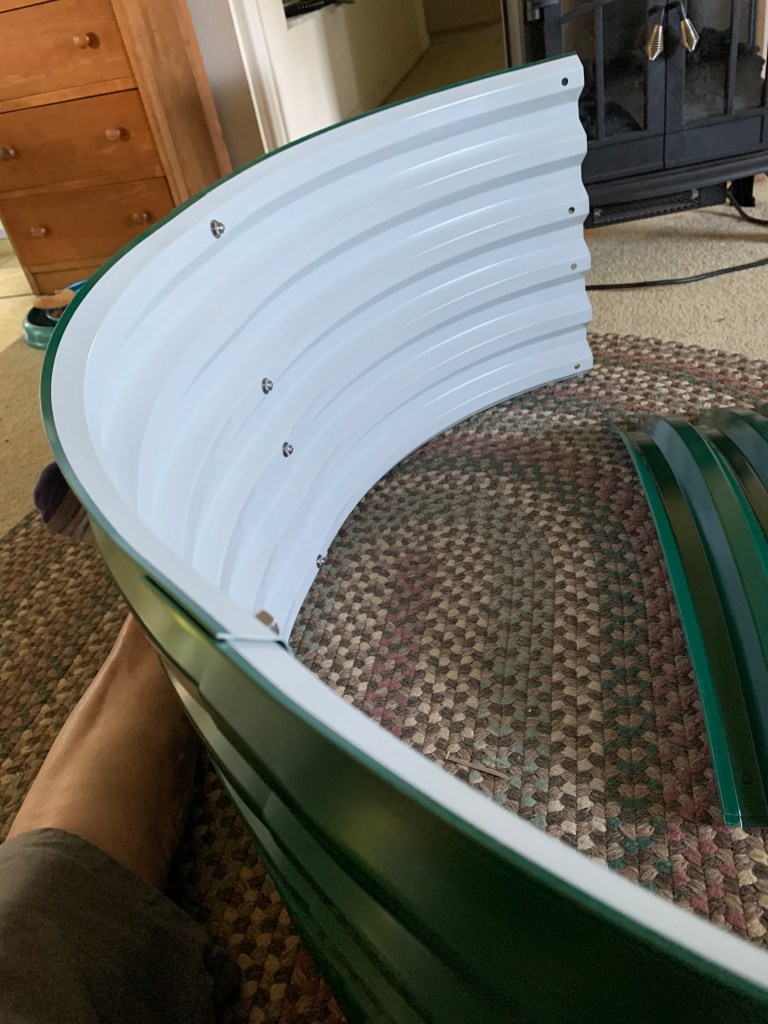
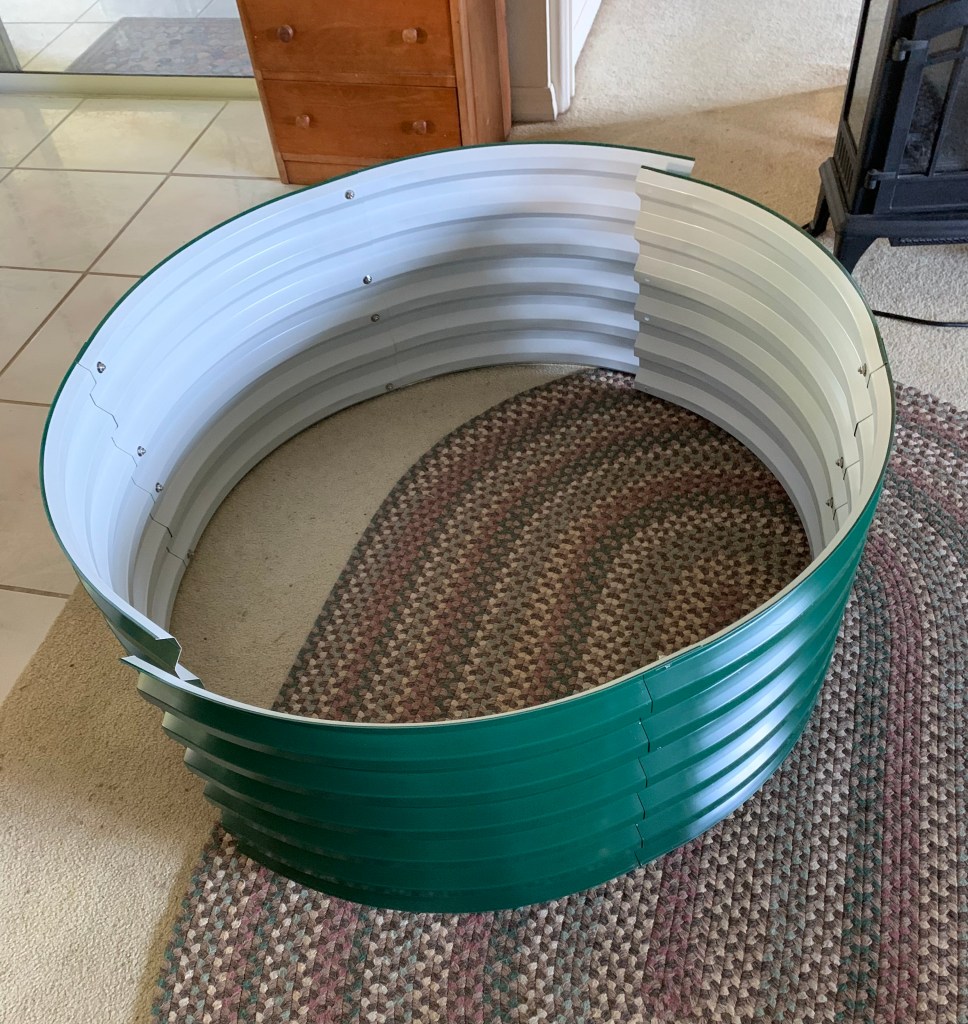
Assembly of the garden bed was fairly easy. I did it by myself in the house (it’s hot here). I think I spent the most time removing the film that covers each section! Screwing the pieces together was very easy. I decided to complete each half of the circle so I could move it outside in two sections to complete the assembly.
Remove filmGood directionsAll film removed!Indoor assembly completeNew bed for the garden
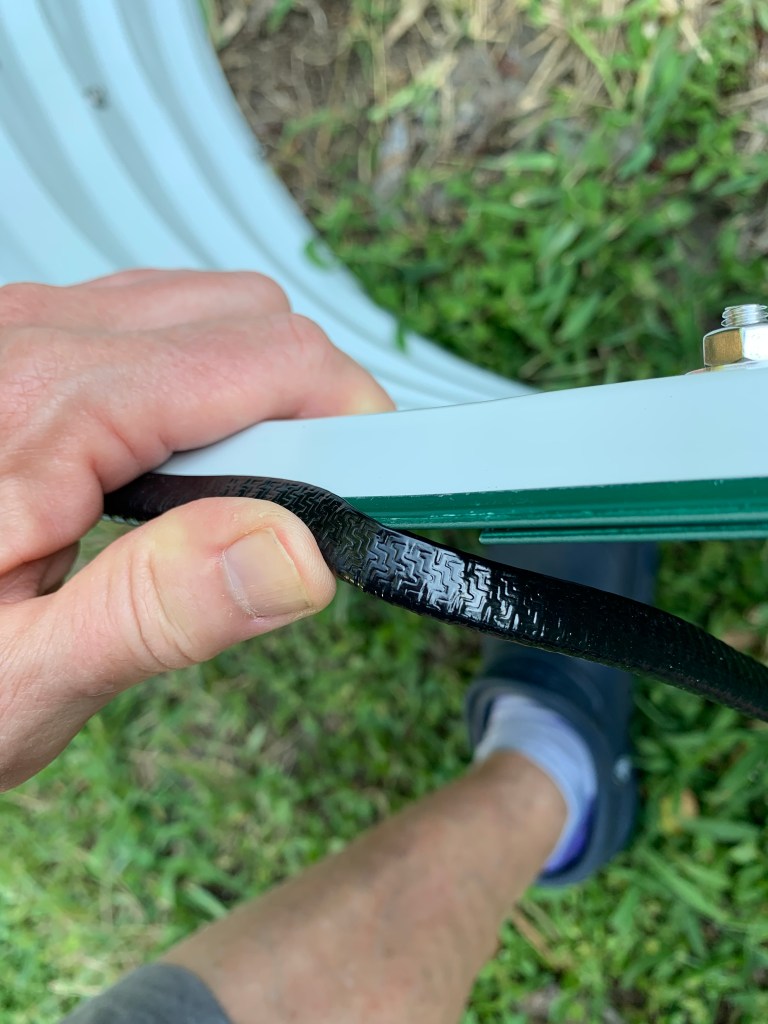
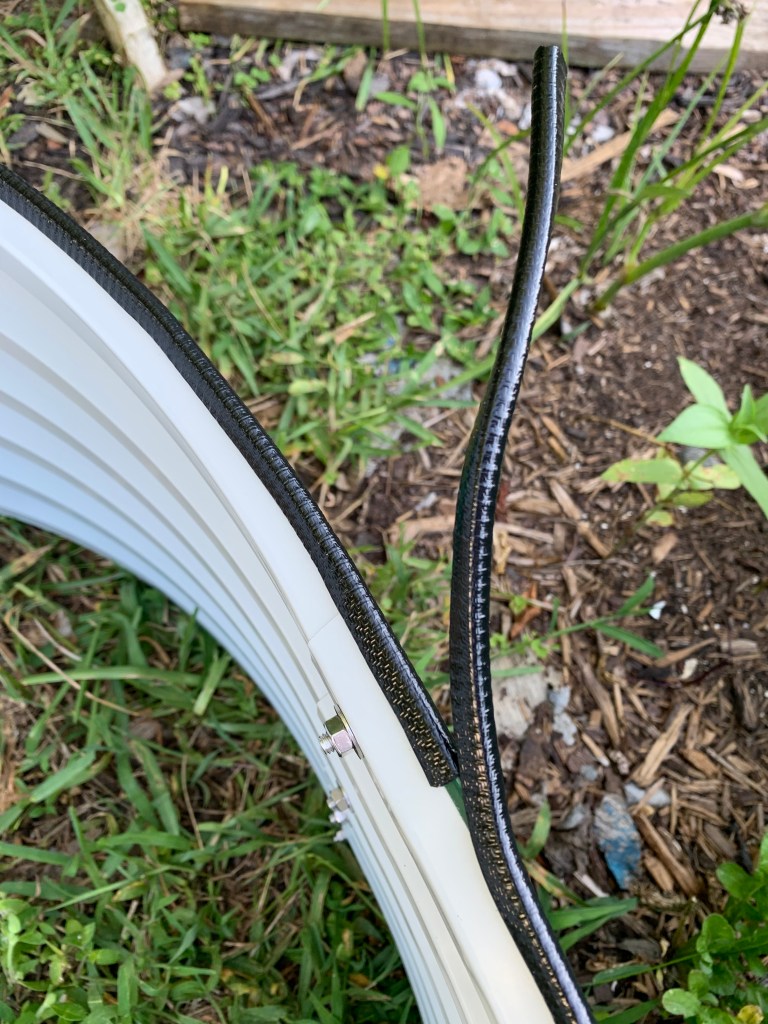
Once the sides are all screwed together, a rubber strip is added to the top. This also was very easy to do, with plenty left over.
Adding the rubberPlenty!
How I Am Filling My Raised Bed
I’ve read all about various ways to fill a garden bed. This is part of the expense, but it’s worth it to create a good environment for the vegetables to grow. I’m not in a hurry, as I won’t be using this bed for a few months.
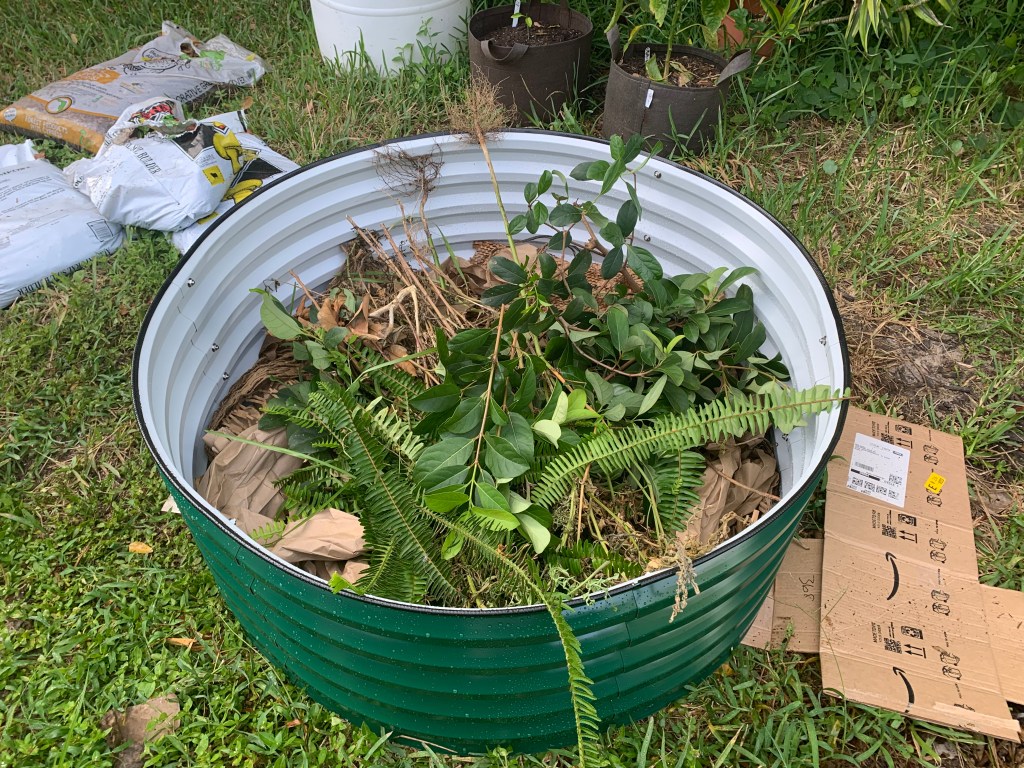
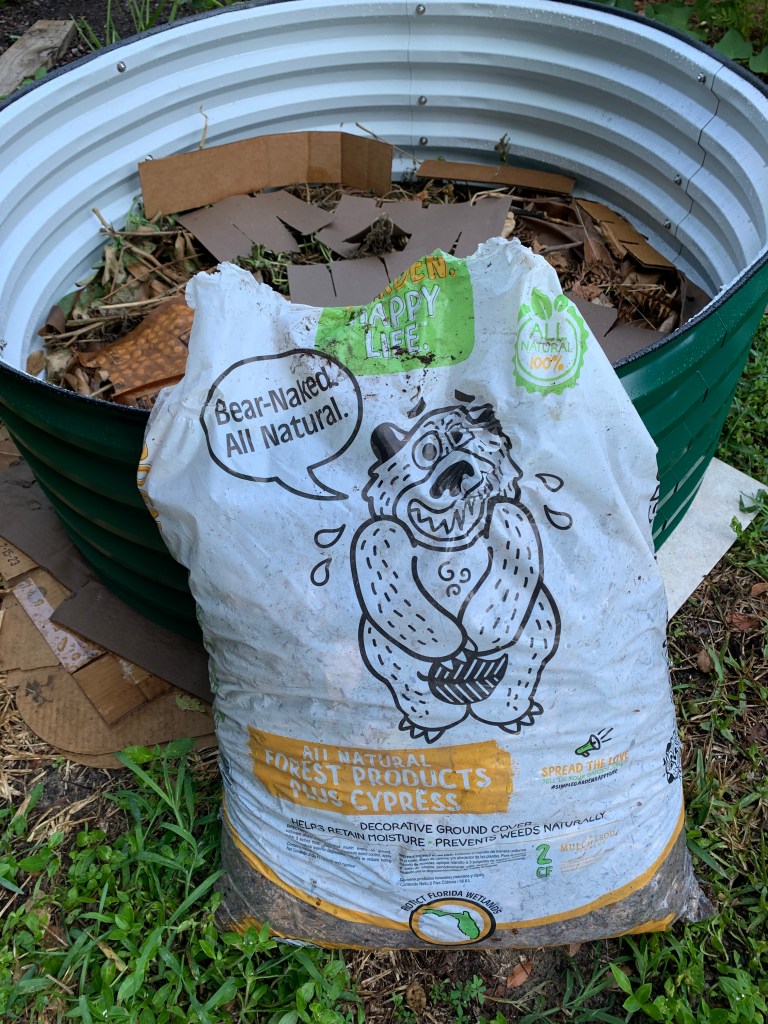
I have cardboard, so I am using it to level the bed. I also have added packaging paper, along with cuttings from the shrubs, and mulch to begin the fill.
Adding mulch
Don’t try to make your raised bed into a restrictive “container”. Leave the bottom open just in case roots want to expand. Also, think about water drainage. Everything I am adding here will eventually break down. Soon, the greenery will turn brown and decomposition will happen. All of this will become a layer of nutrients at the bottom of the bed.
As my marigolds die, I will cut them off and add them here. The same with any other flowers. I’m growing cowpeas now, and some of those plants may end up as a layer.
*FYI: I read someplace that using rocks in the bottom for drainage may not be a good idea, especially if you want to move the bed later on. The rocks will have become part of the earth and will be difficult to move / remove.
My Reason For Wanting a Raised Bed
I want raised beds because it’s easier to add and keep nutrients in the soil. Whenever I compare similar plants that are in the ground, to the ones in the bed, the bed / grow box plants are always doing better.
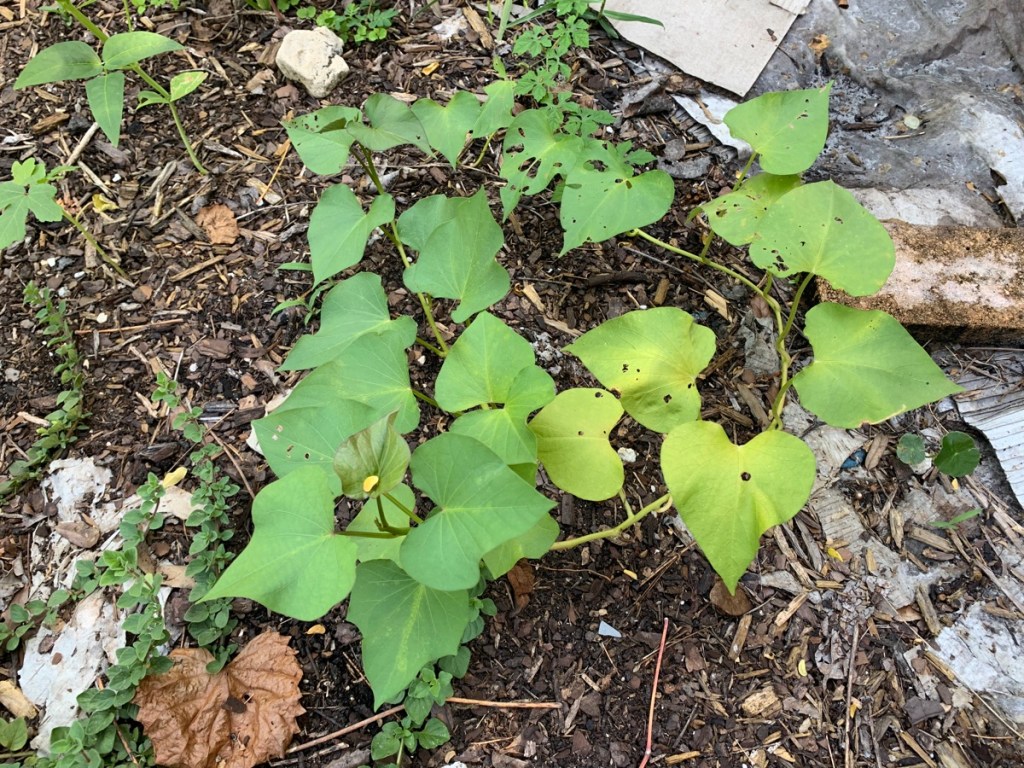
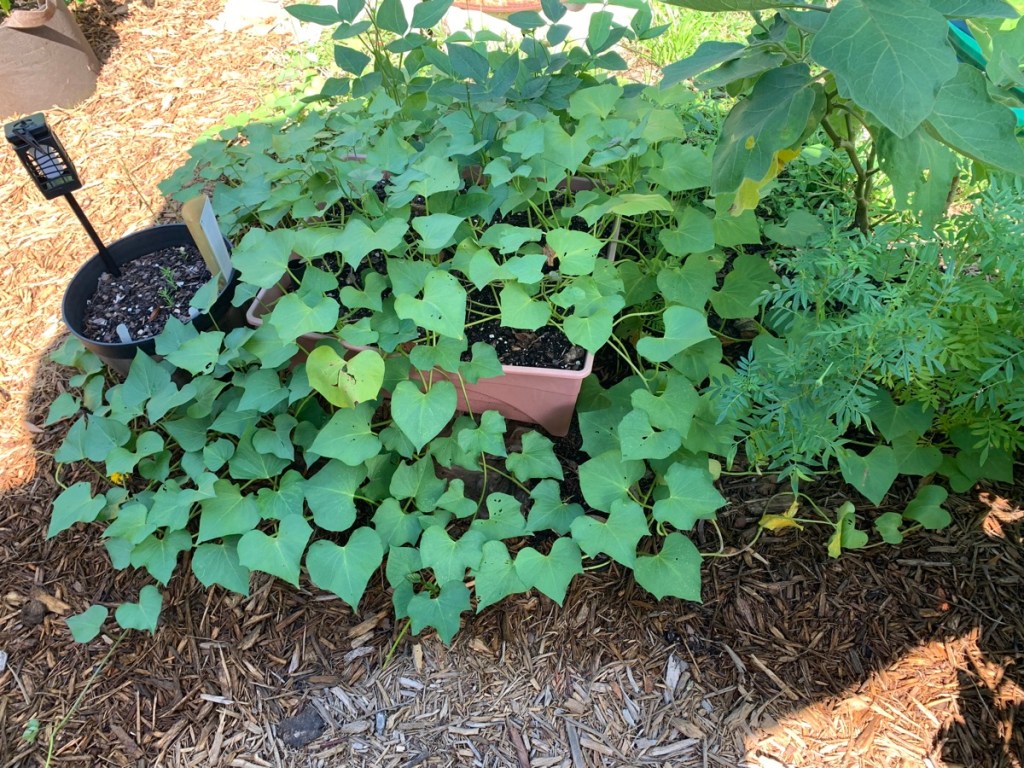
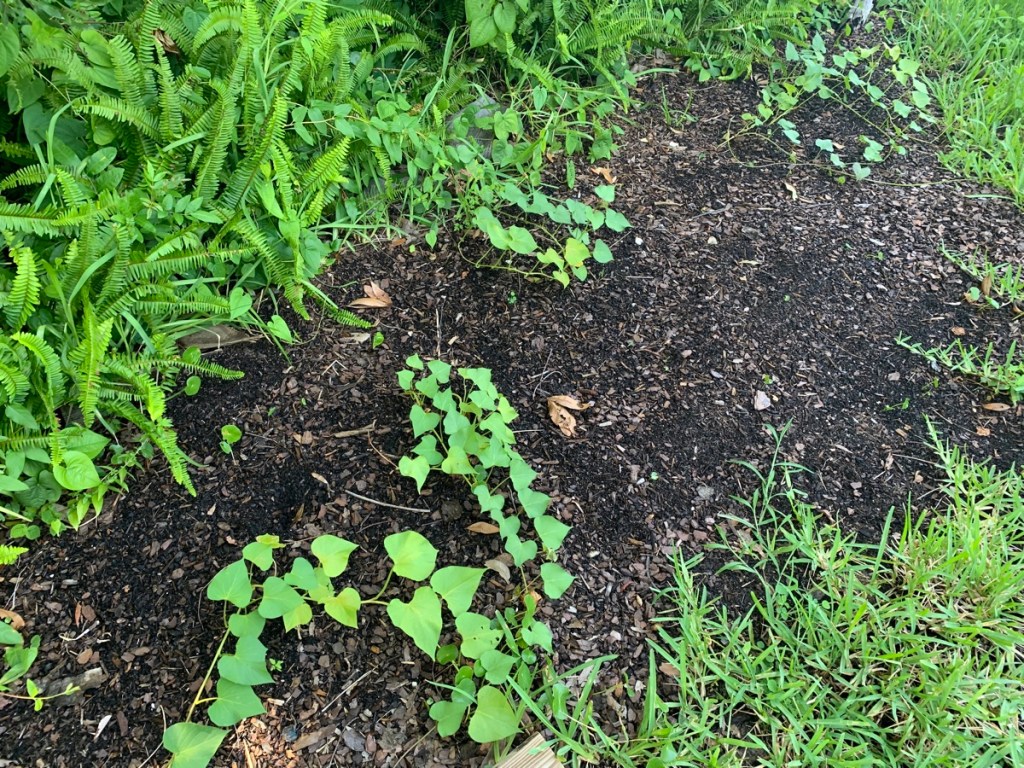
As an example, I bought and planted sweet potato slips just before my trip north. One slip went into a grow box (center) and others were planted randomly around the yard in the ground. The grow box sweet potato is going crazy with vines all over the place – even though that box is really not nearly deep enough. All the other sweet potatoes are much smaller. We’ll see in a few months if I get actual potatoes to compare.
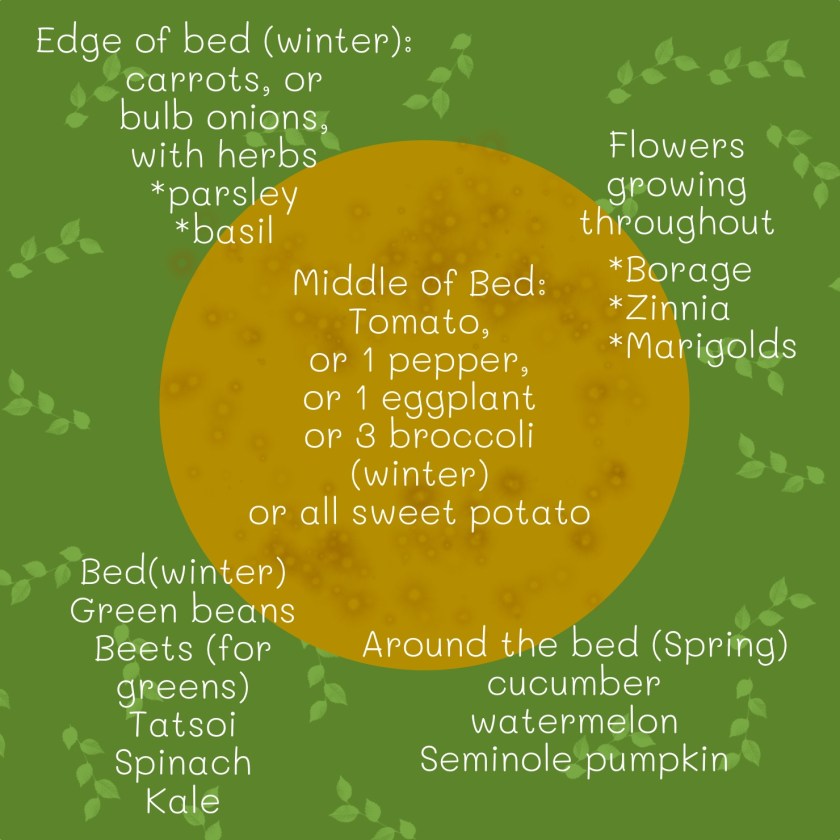
When considering what I have grown successfully (for the most part) I created this diagram with ideas for what to plant in my new, round raised garden bed.
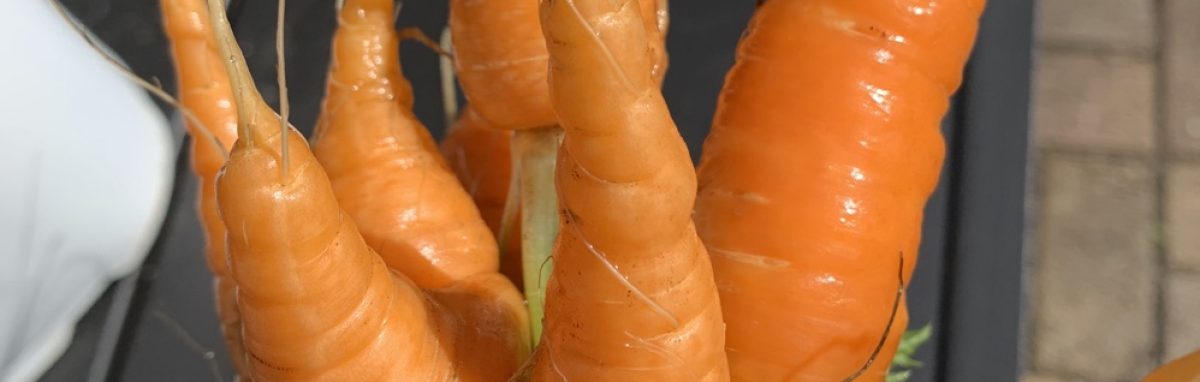
That big circumference is perfect for root crops near the edge. I’m thinking carrots and bulb onions (garlic for you northerners). Both onions and carrots take months to mature. Putting them in as a border – out of the way – leaves space for bigger crops in the middle. I’m thinking of planting broccoli here this winter.
Planting ideas
Eventually I will be adding garden soil along with perlite for good drainage. Before I plant, I will mix in some other amendments such as bone meal. More to come about planting in this new space. I’m already thinking about buying one more bed in a rectangle shape.