
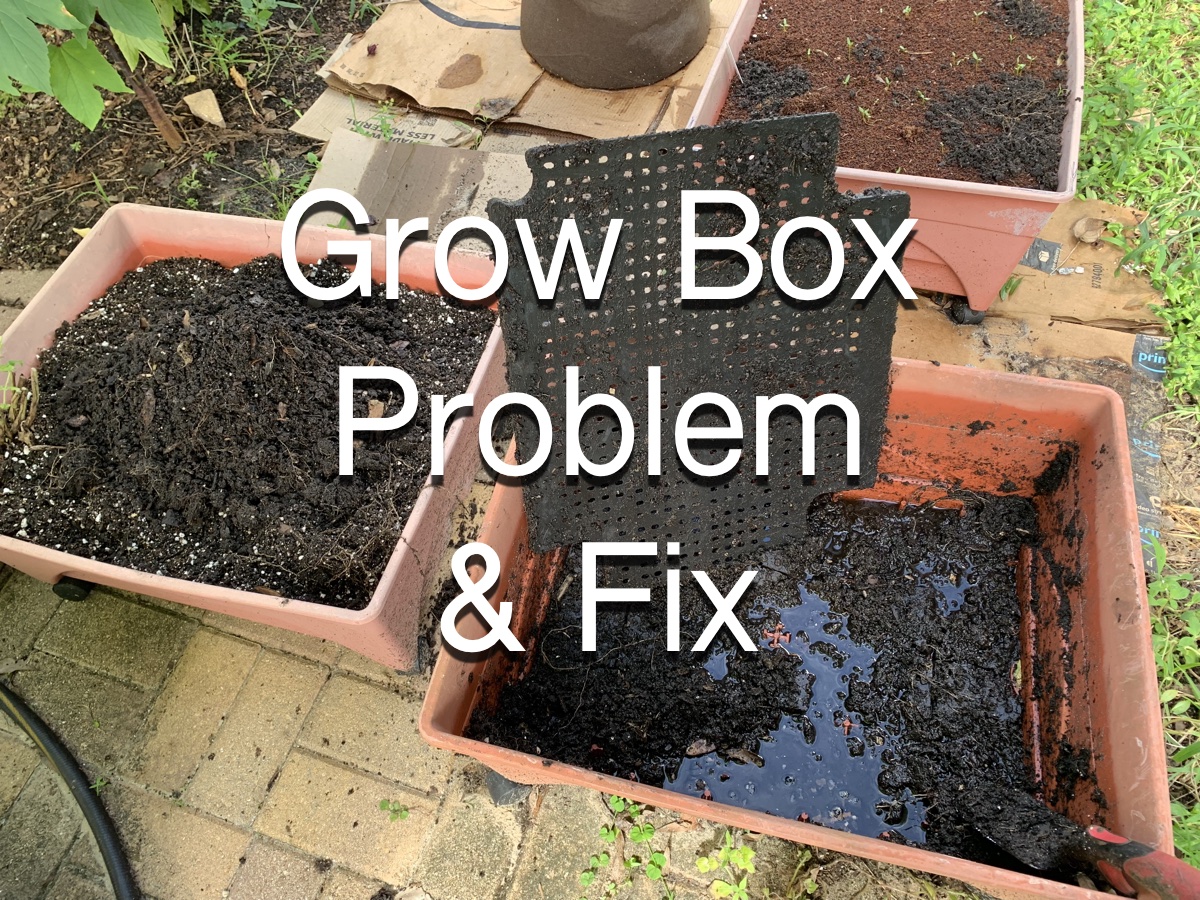
I’ve touched on this topic in my recent posts. My garden grow boxes need re-filling, but first the drainage problem must be solved.
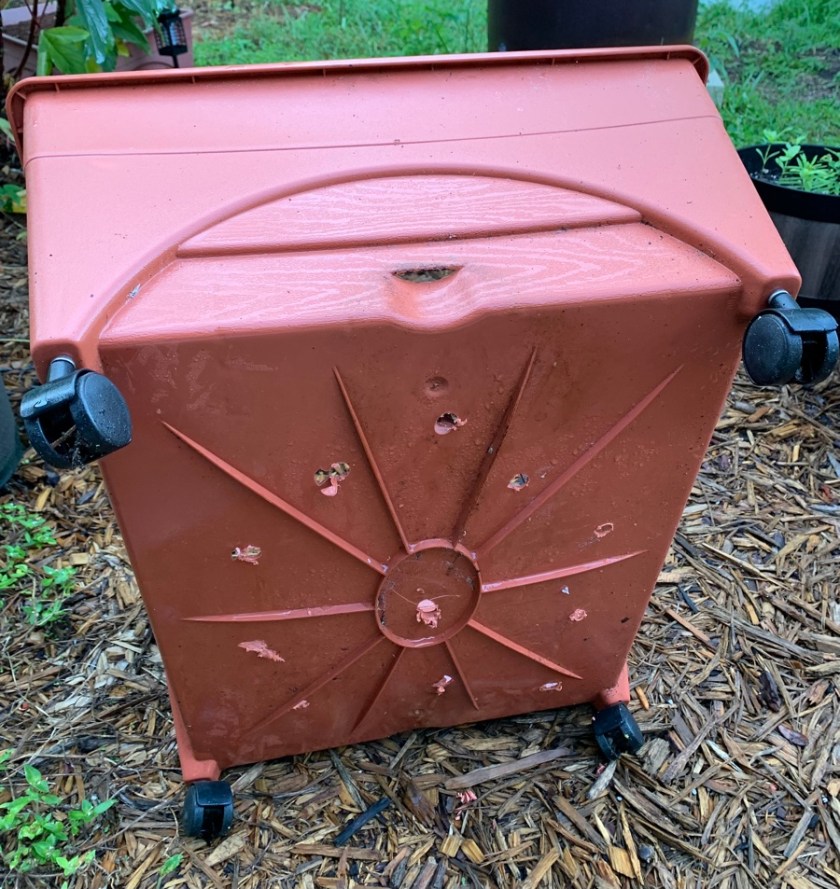
As I tackled the recent box I got some photos to better explain the problem. This is box number four or five in my line up. I have a few boxes left to fix. These are old boxes that I’ve had for a few years. Some are older than others, but they all need drainage issues addressed.

Grow Box System
The way this grow box is supposed to work, to my understanding, is that water collects in the bottom, while the dirt stays in the top. A plastic tube sticks up out of the dirt and that is how water is added. The roots of the plants pull water from the bottom, up through the dirt. A wide drain hole is located on each side of the bottom for water overflow. (See the box explanation on Amazon paid link – this is not my box, but very similar.)
This is a self-watering system, where you pour water in through the tube and the plants use it as needed. There will never be too much water because the excess comes out through the side drains. This only works for plants with roots long enough to reach the water reservoir!
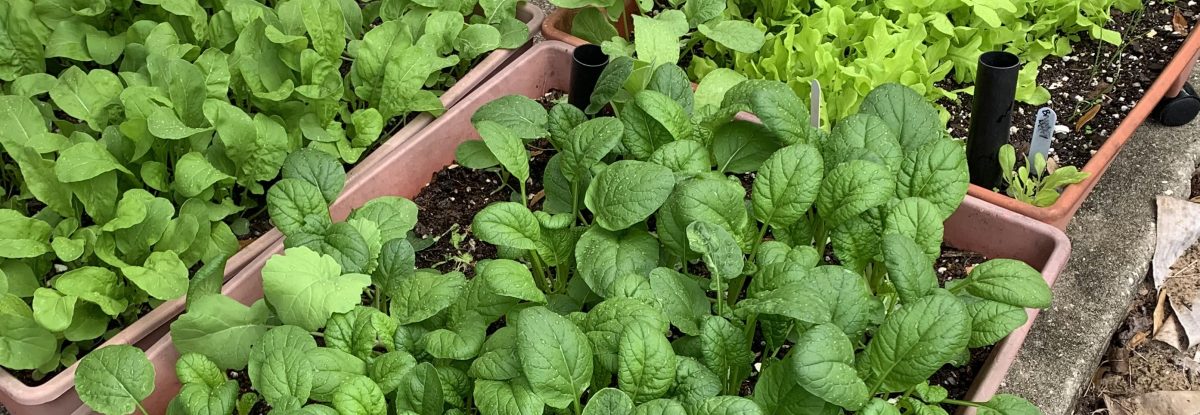
This box is a nice idea for gardeners who buy potted plants and add them to the box. Seeds and small plants will need to be watered from the top, which is how I have used these boxes. I grow most everything from seed.
Dirt tends to sift down through the holes over time. Once enough dirt has clogged the water basin, there is no drainage. The plant’s roots are sitting in mud and that means plant death.
Plant Death
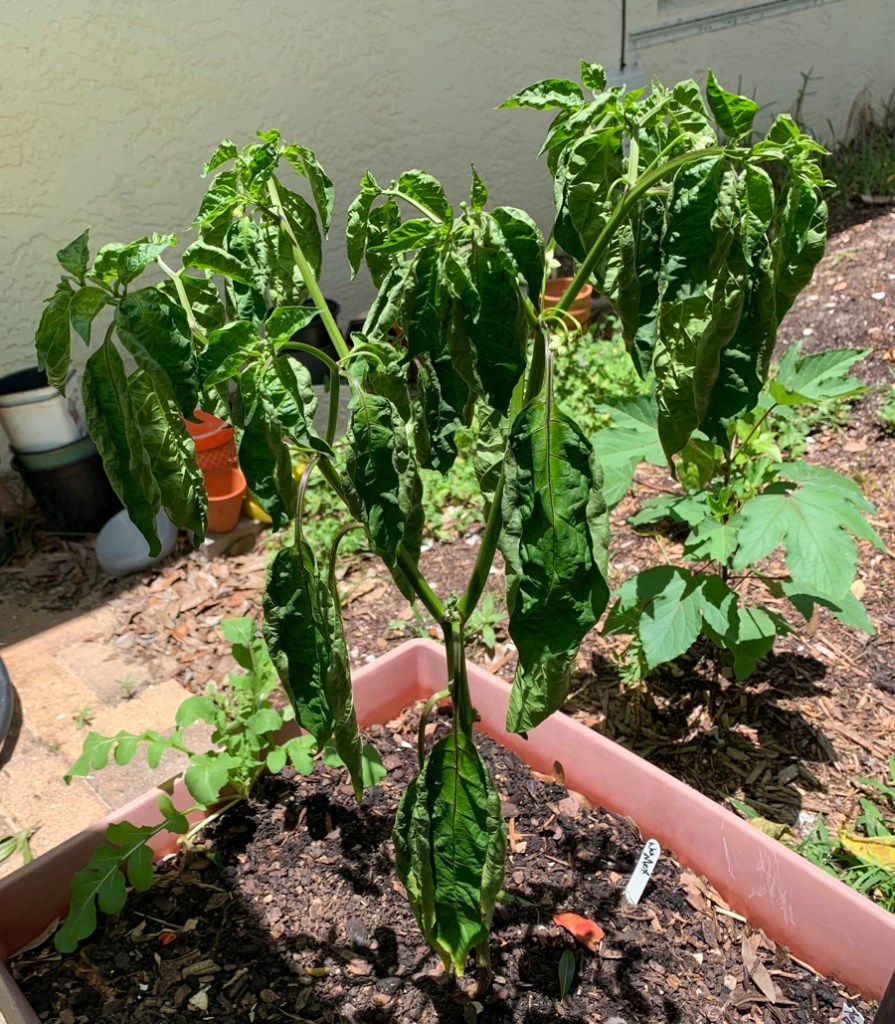
The sudden decline and death of a seemingly healthy plant brought this problem to my attention.
A gorgeous, Nu Mex pepper plant was growing in one of my boxes and it looked great. Suddenly, it began to wilt and ended up dying. As I pulled it out, I realized the dirt was soggy! The water had not been draining. It was the beginning of my grow box overhaul undertaking.
I’ve been waiting for the plants in these boxes to either die off, or look bad enough to remove. Then, I dig out the old dirt and fix the box problem.
The Fix
Unless I take the time to remove all the dirt each growing season to check for this problem, the set up itself needs to be changed. Only time will tell if my “fix” is working.
Using a trowel I dig out the dirt from the problem box and add it to a pail or fabric bag. I’ll re-use the dirt, with some amendments added.
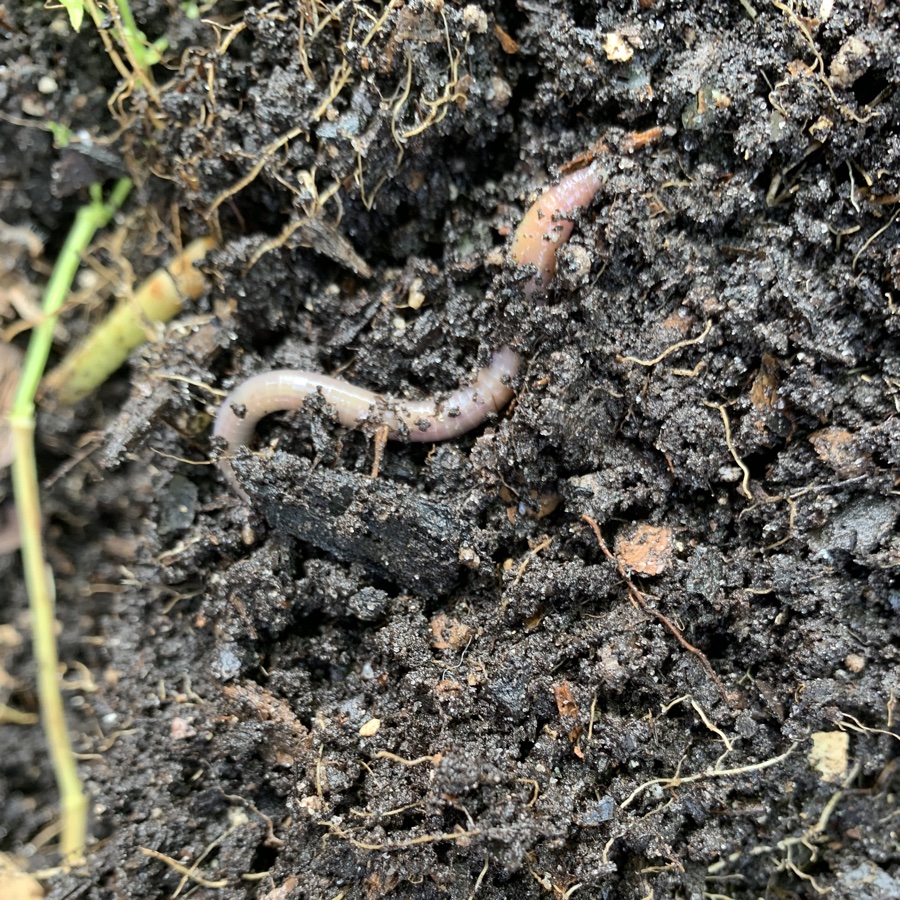
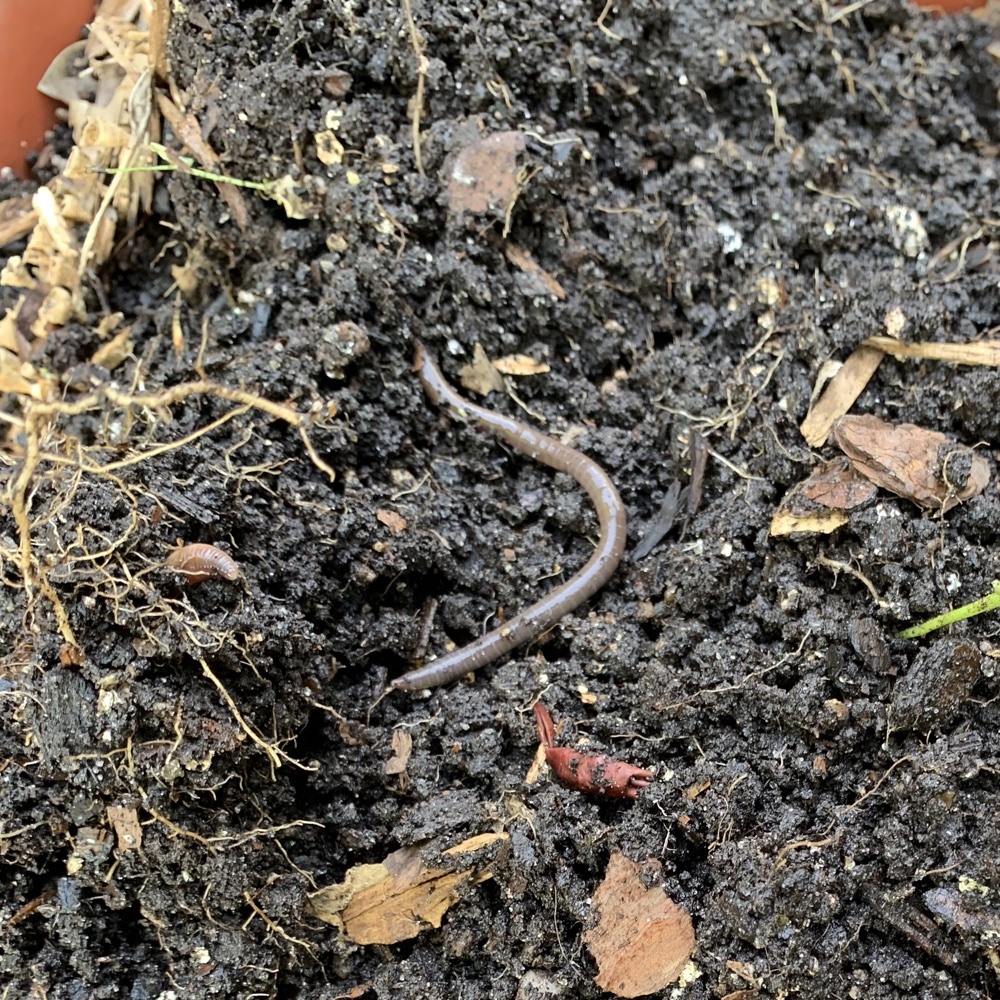
I found some lovely earthworms in this one. The dirt itself was crumbly and nice – thanks to the worm colony. Once I dug down to the panel with the holes, everything beneath it was mud. This was smelly, gross muck. As I dug through it carefully, I pulled out more worms. The worms were saved, and there were so many of them I added some to other pots and compost areas.
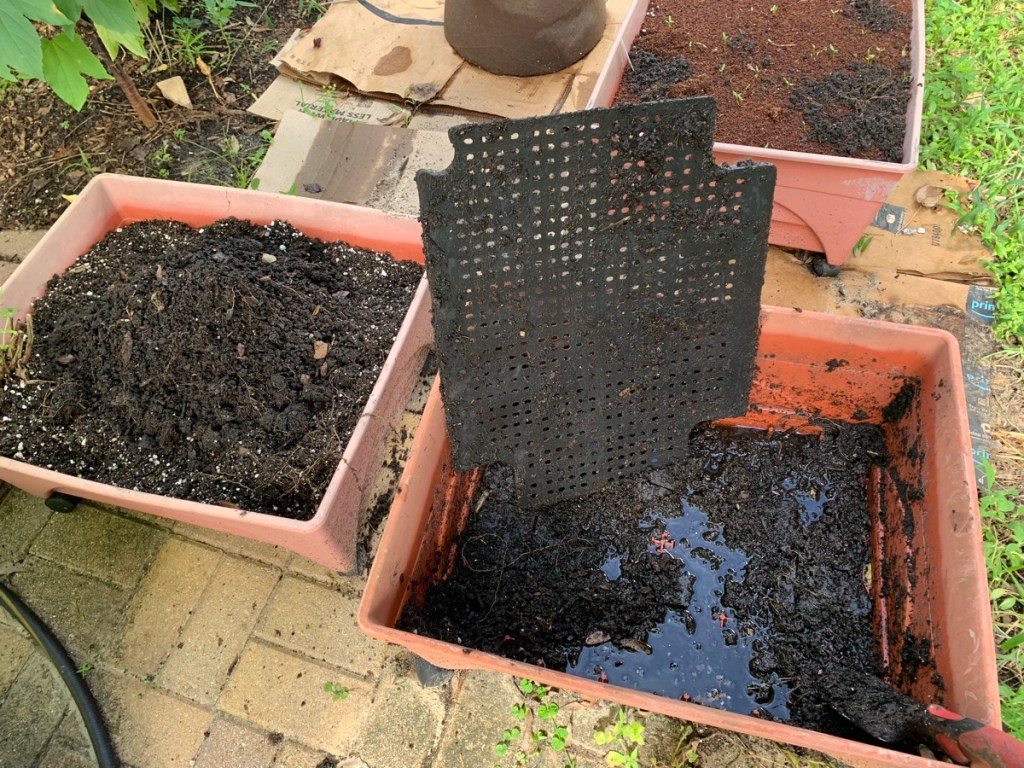
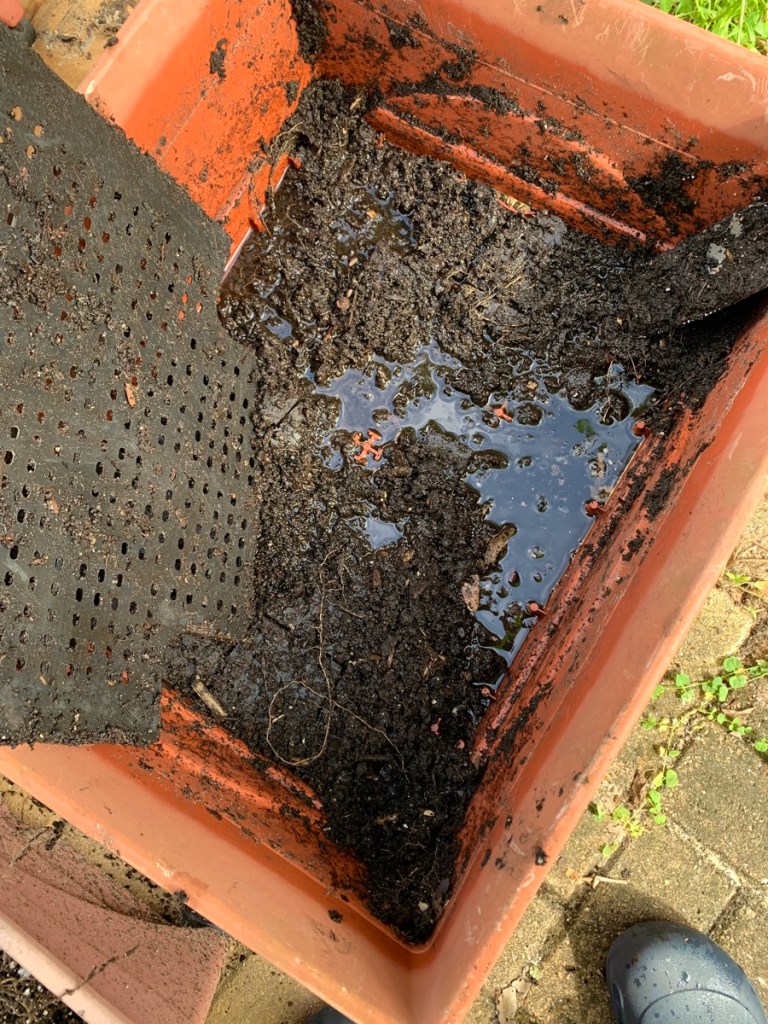
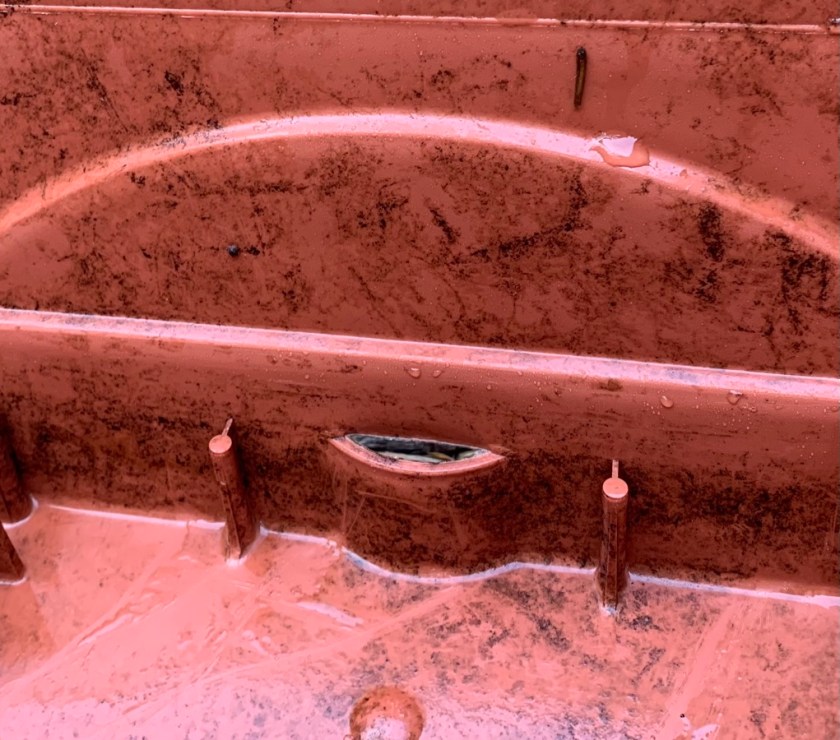
After the digging, the mud gets rinsed out. My son drills holes in the bottom of the box and it’s ready to re-fill.
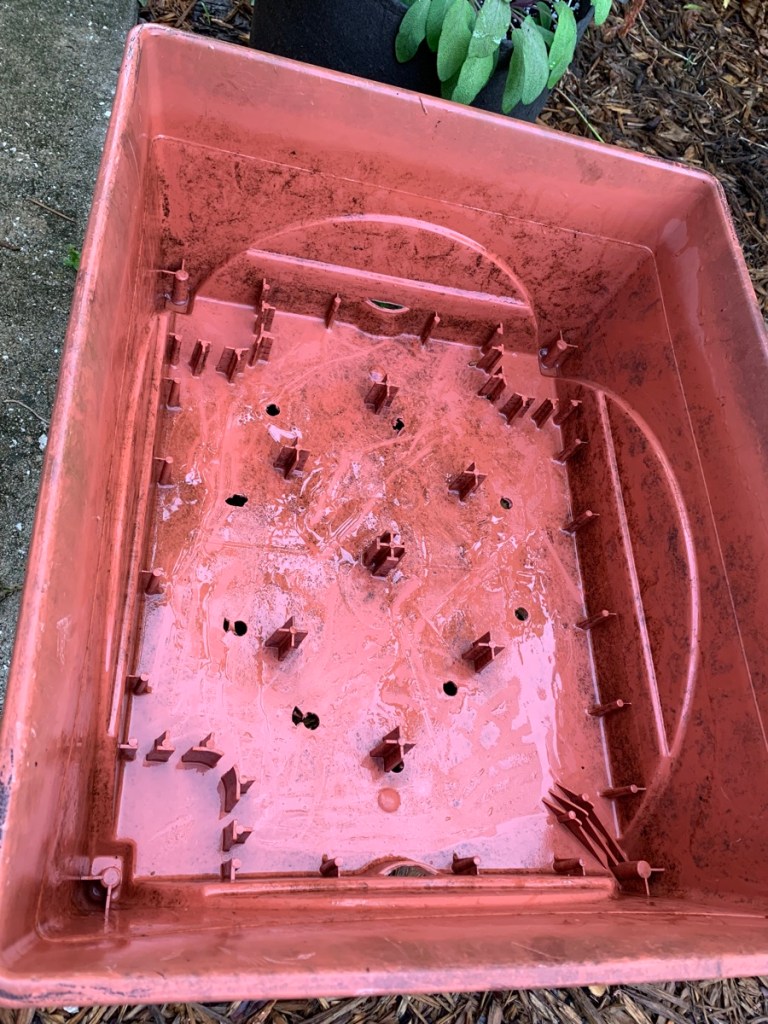
Before I can re-fill this box, I need to add something to the bottom for drainage. Dirt alone will end up clogging the holes. I don’t want another drainage problem!
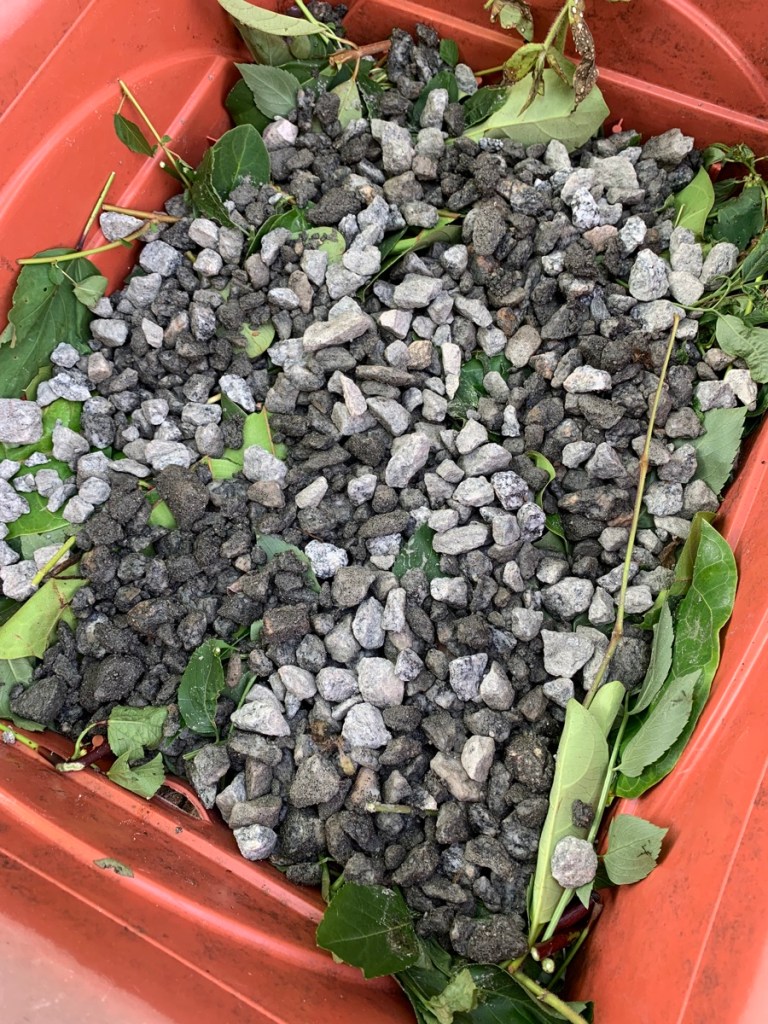
Ideally, I would have mulch for the bottom. I don’t have any, so I used cuttings from some of my garden plants. The granite stones were purchased a while ago from the local yard shop.
It’s good to keep stones of some kind around because they make good bottom-of-pot drainage in any situation. Because there are no rocks or stones to dig up here in Florida, I have to buy them.
The original dirt from the box (except for the mud) gets added back in. Perlite (paid link) is added to keep the dirt crumbly and draining well. I like to add Bone Meal (Amazon paid link) too for future root development. Eventually the cuttings in the bottom will decompose.
Coco coir is something I use to spread over the top of the planting space for seed development. This is a new experiment of mine. I’m thinking the looseness of the coir will be better seed starting.

I have planted beet seeds in this box. It might be too early for them (too hot) but the box is ready for growing anything with a shallow root system.
Recent gardening posts…


Something went wrong. Please refresh the page and/or try again.


Ah…. I had that problem with my worm farm – the worms take the soil
down into the base and then the soil clogs up the tap outlet! Resulting
in very wet soil behind the tap.
So if you have wonderful worms, you may find that the grid still gets
clogged up in the future.
🙂 Justine
LikeLike
Good to know. I still love my worms! And, I have your book downloaded and plan to read it soon. I have not been reading much lately. Also told my daughter about it – we share Kindle books. 😁
LikeLike
I hope that you both enjoy Dream Sisters!! I am not selling a thing on Amazon but then I am not spending money on advertising – I am selling more paperbacks here in NZ!
LikeLike