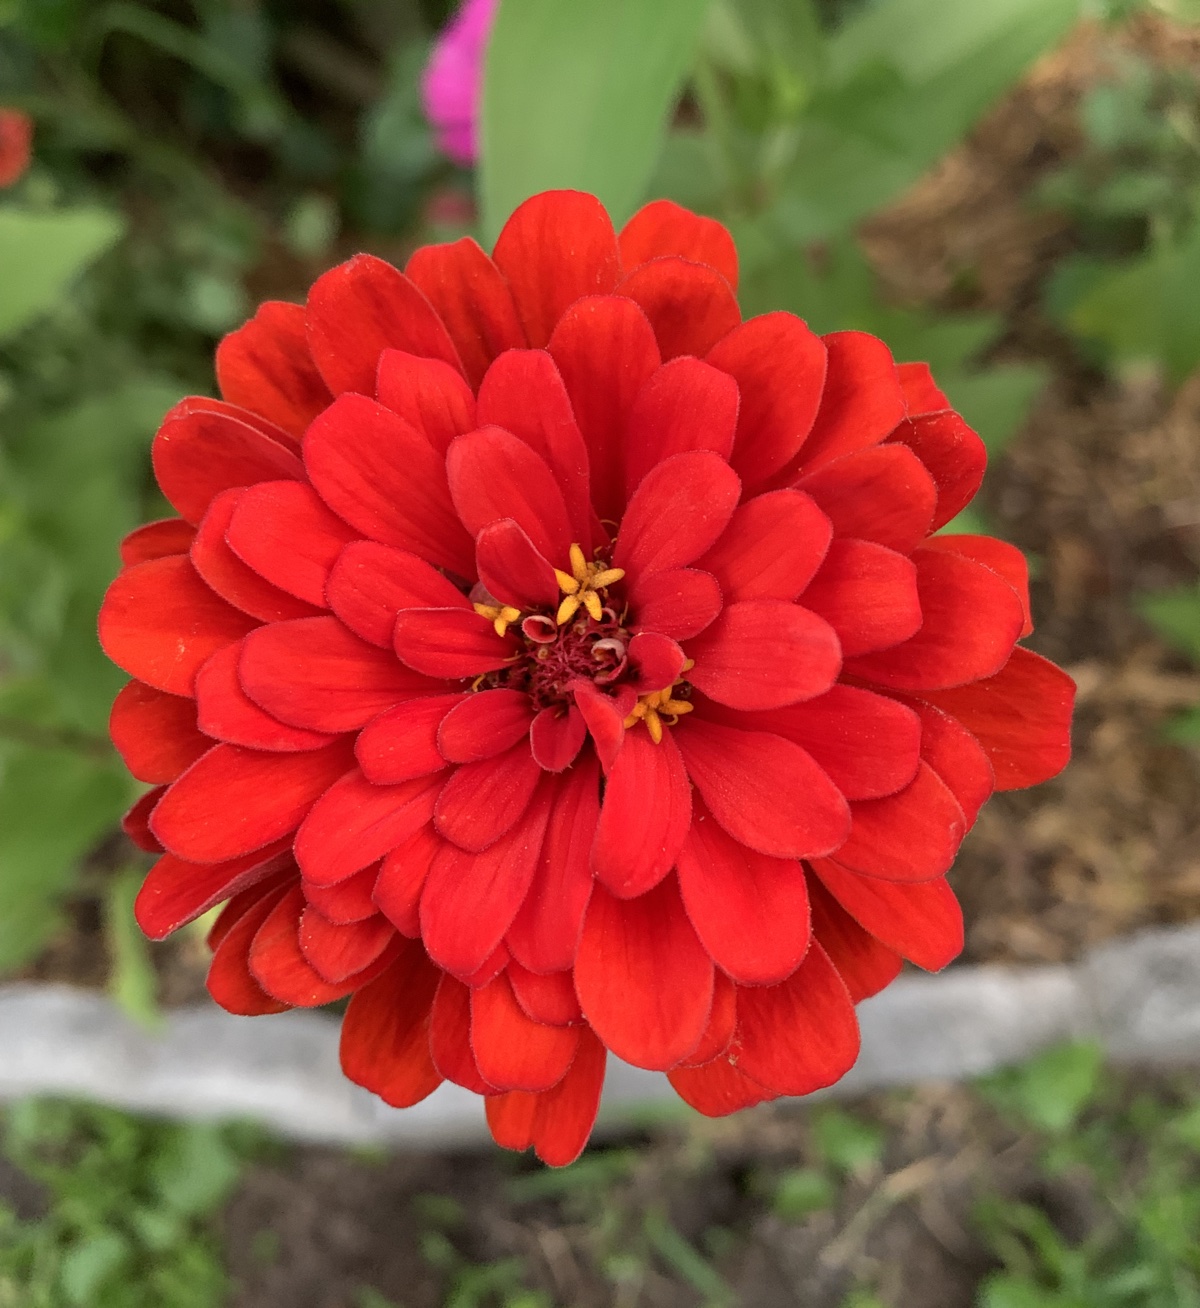
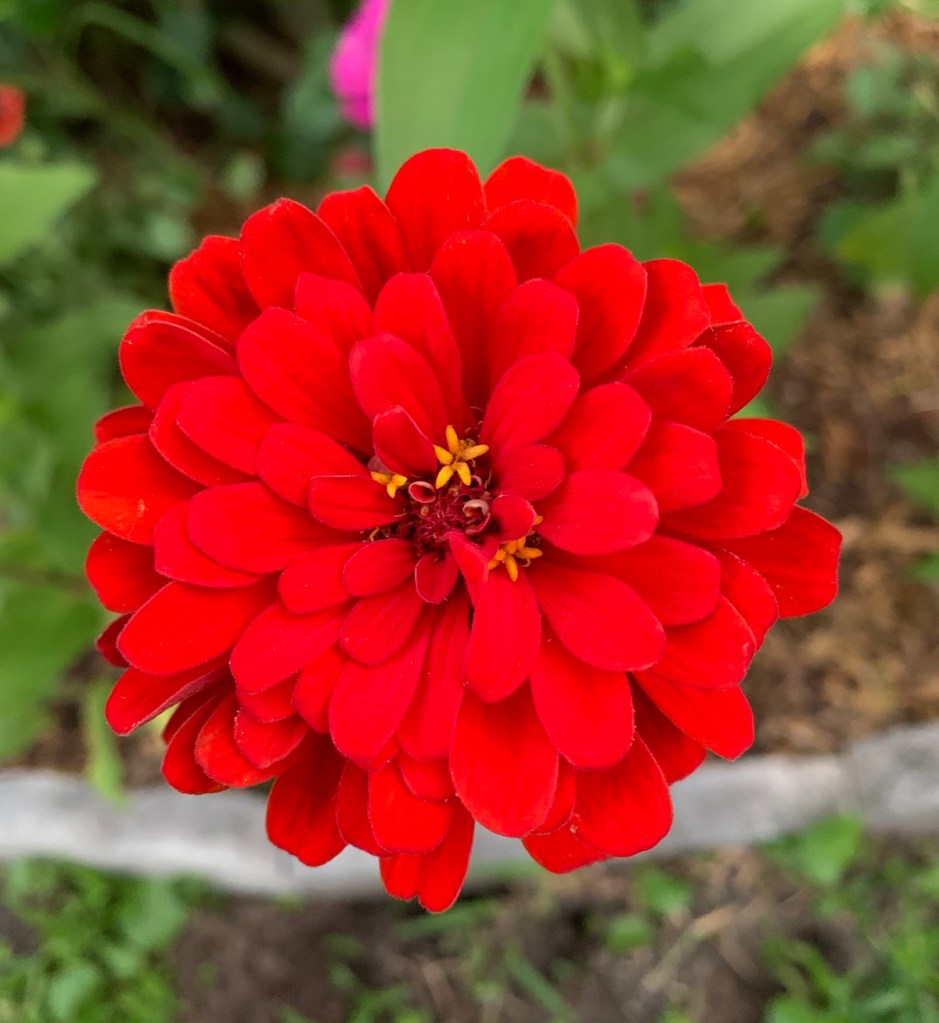
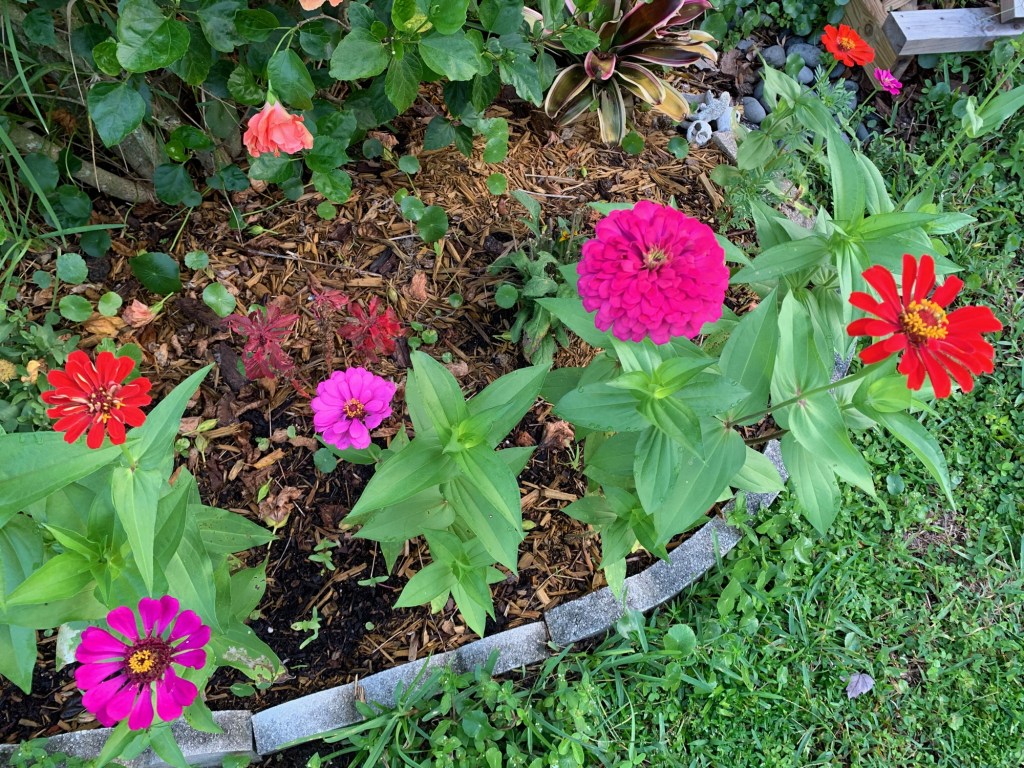
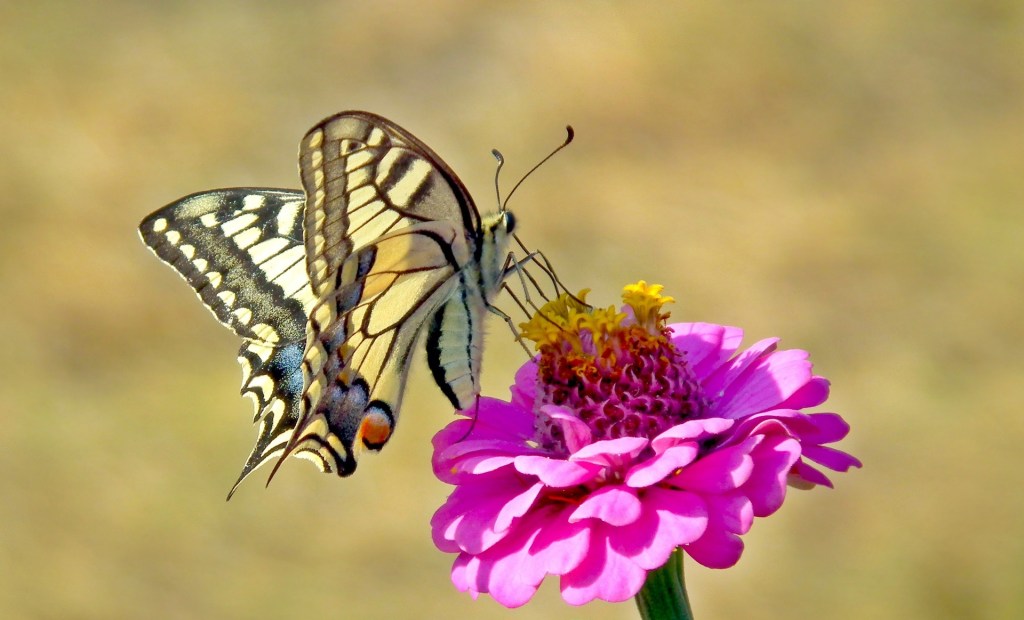
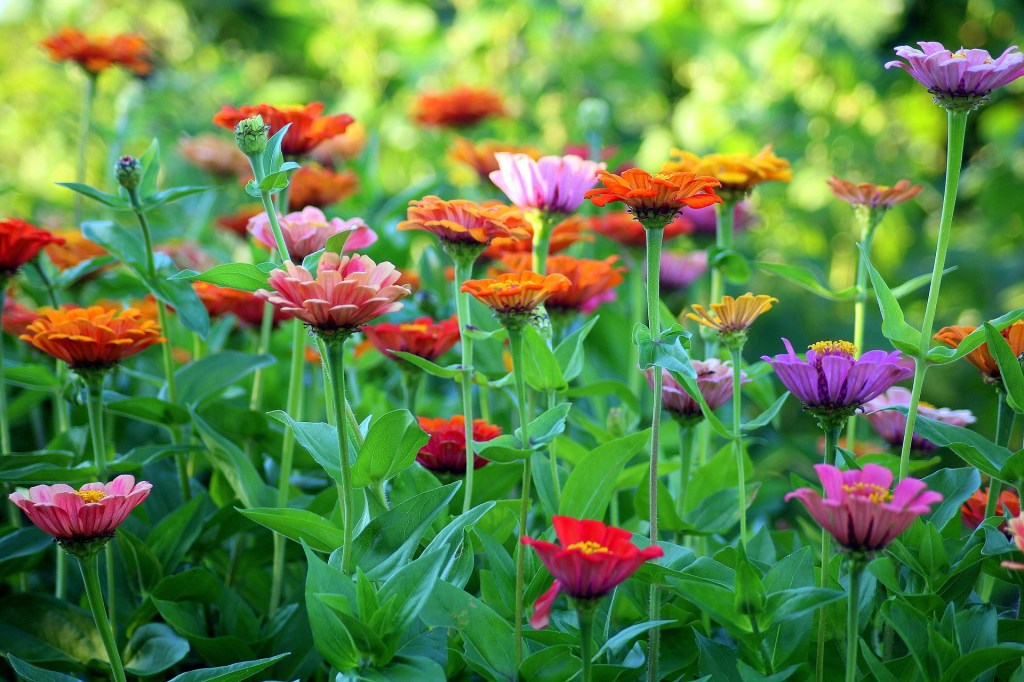
Zinnias are bright and beautiful flowers that also serve as a shelter for honey bees.
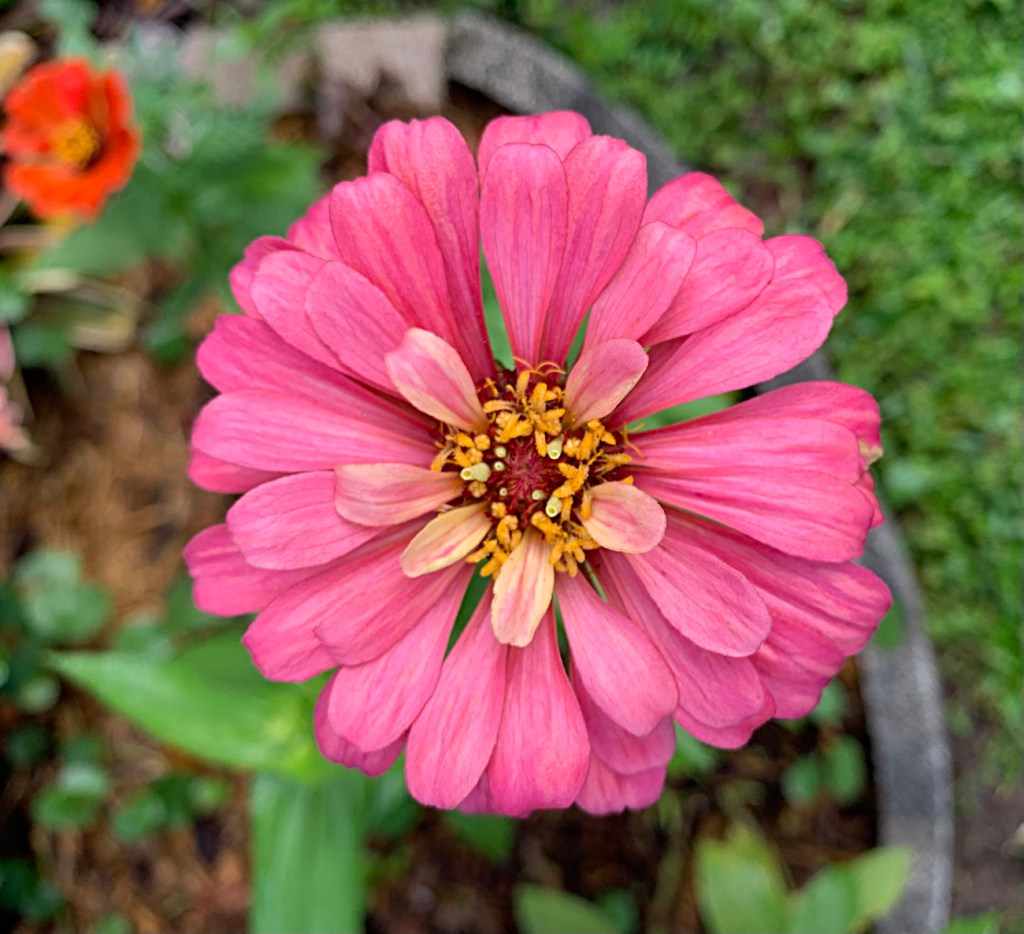
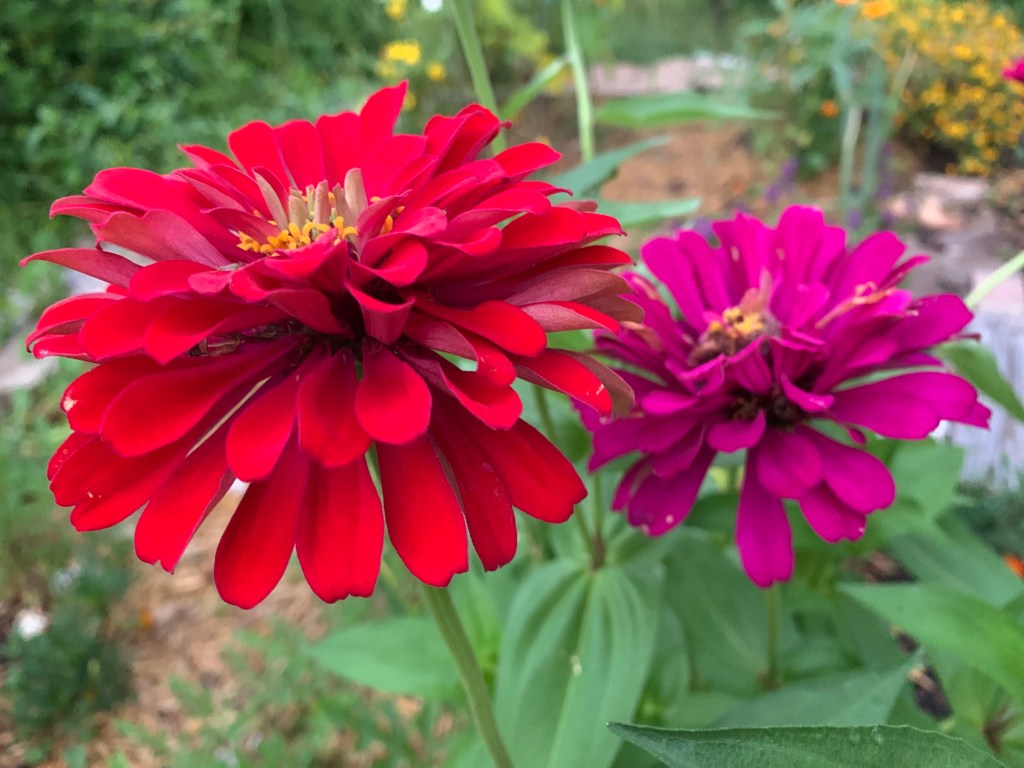
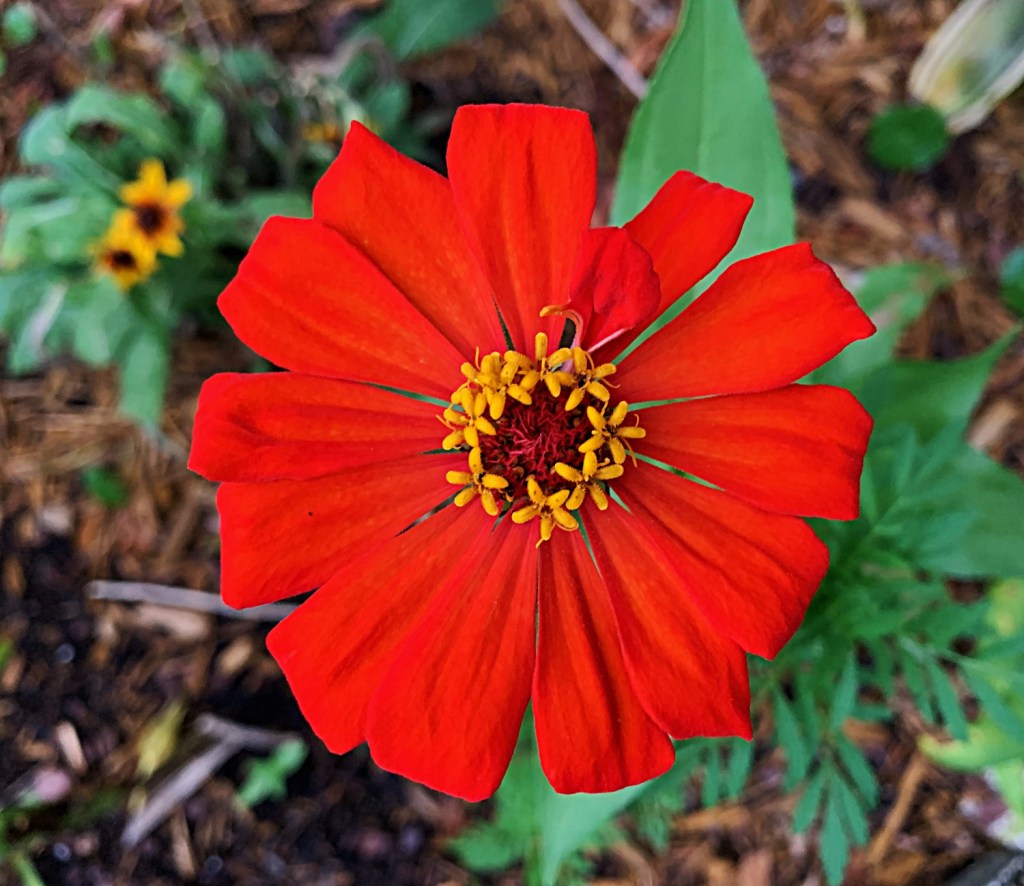
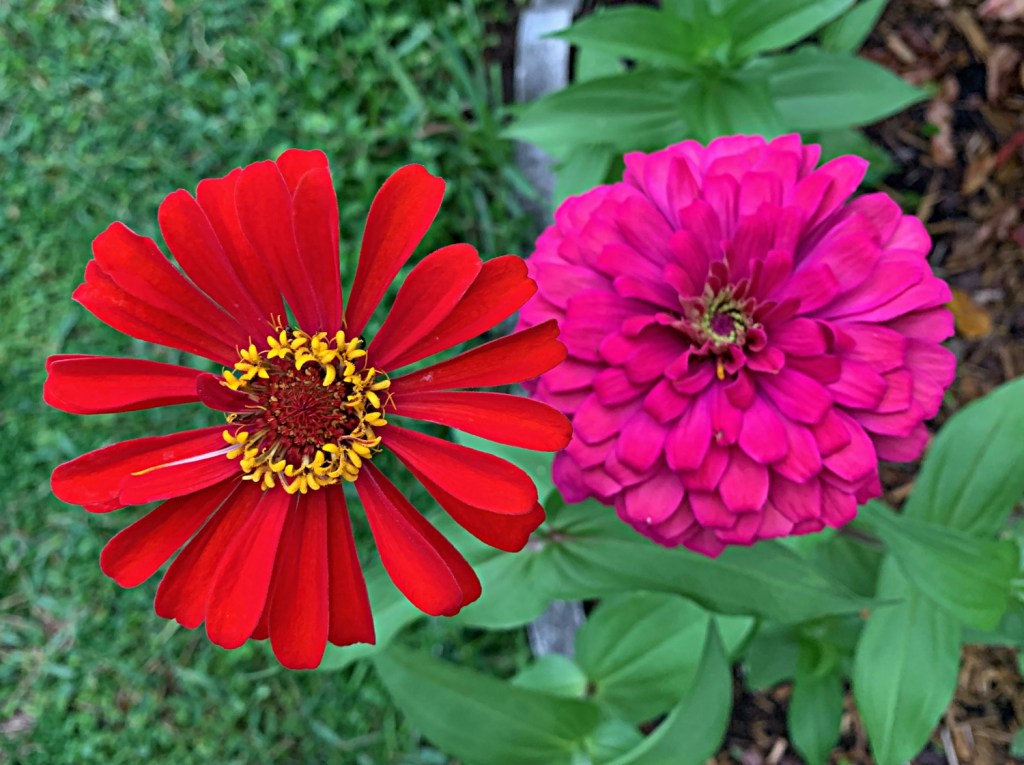
This summer I am growing zinnias from seeds. I’ve come to love seeing the new blooms pop out in this mix. Their colors have been stunningly bright. Some blooms have a more flattened appearance and others are very puffy and full.
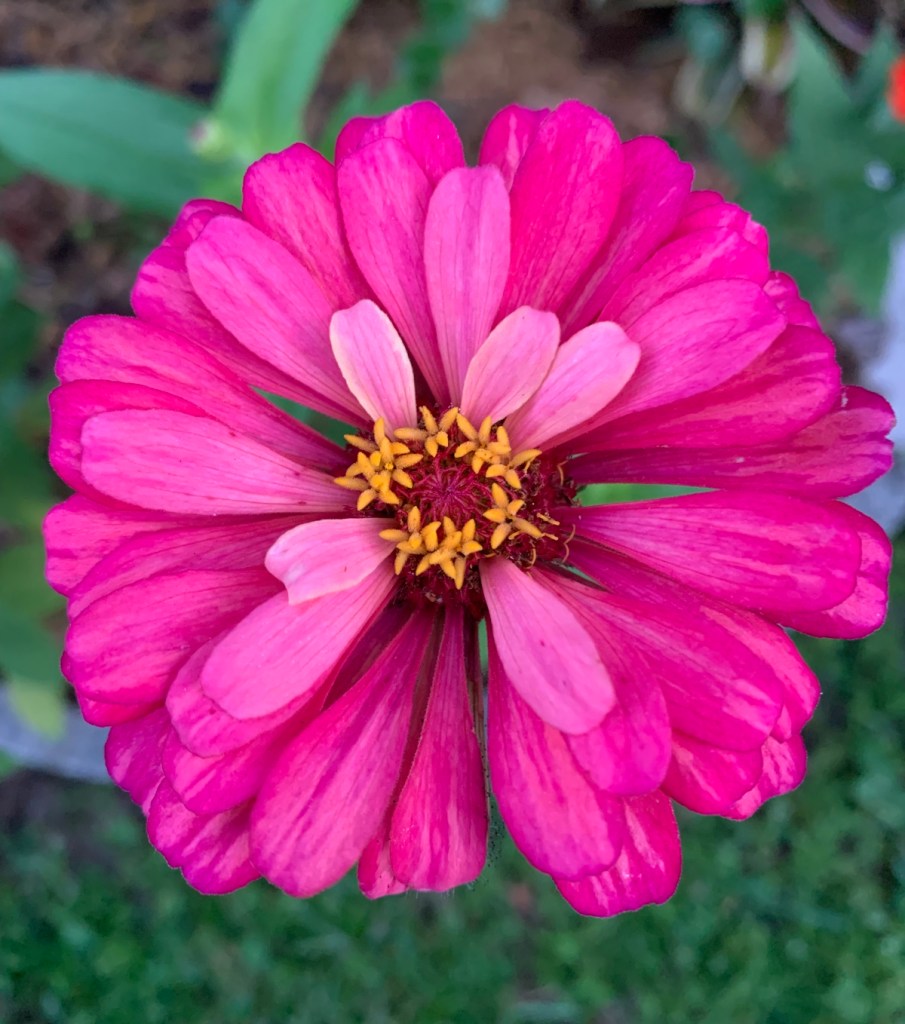
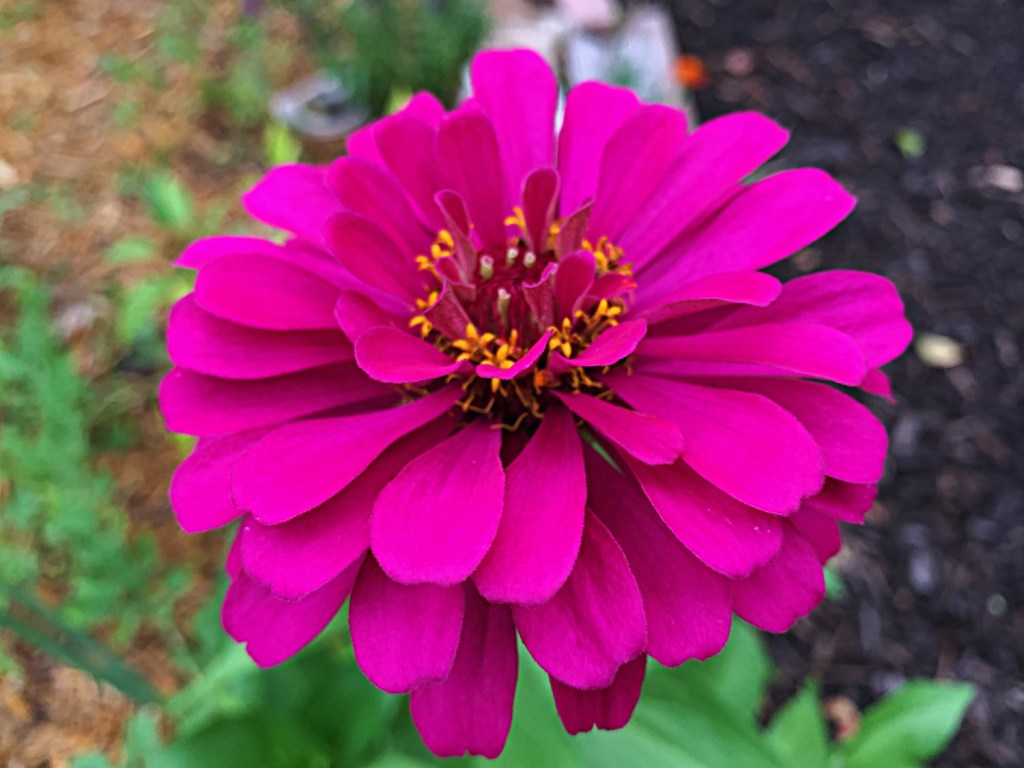
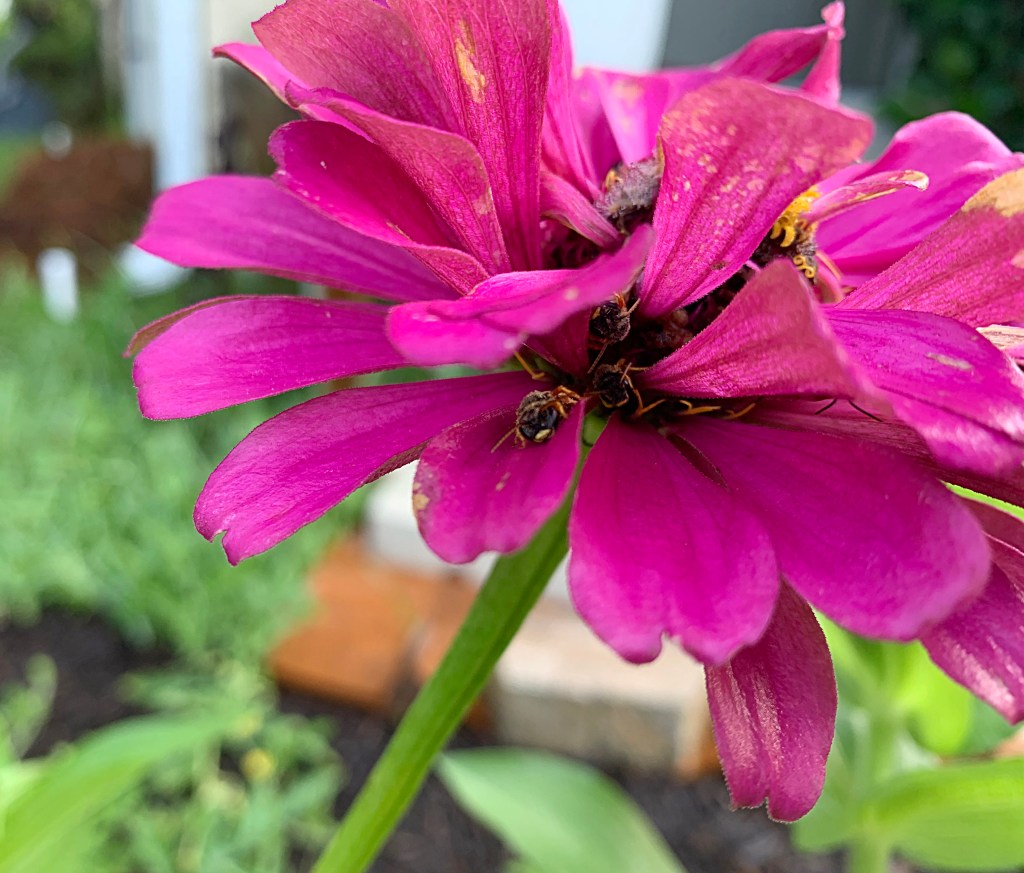
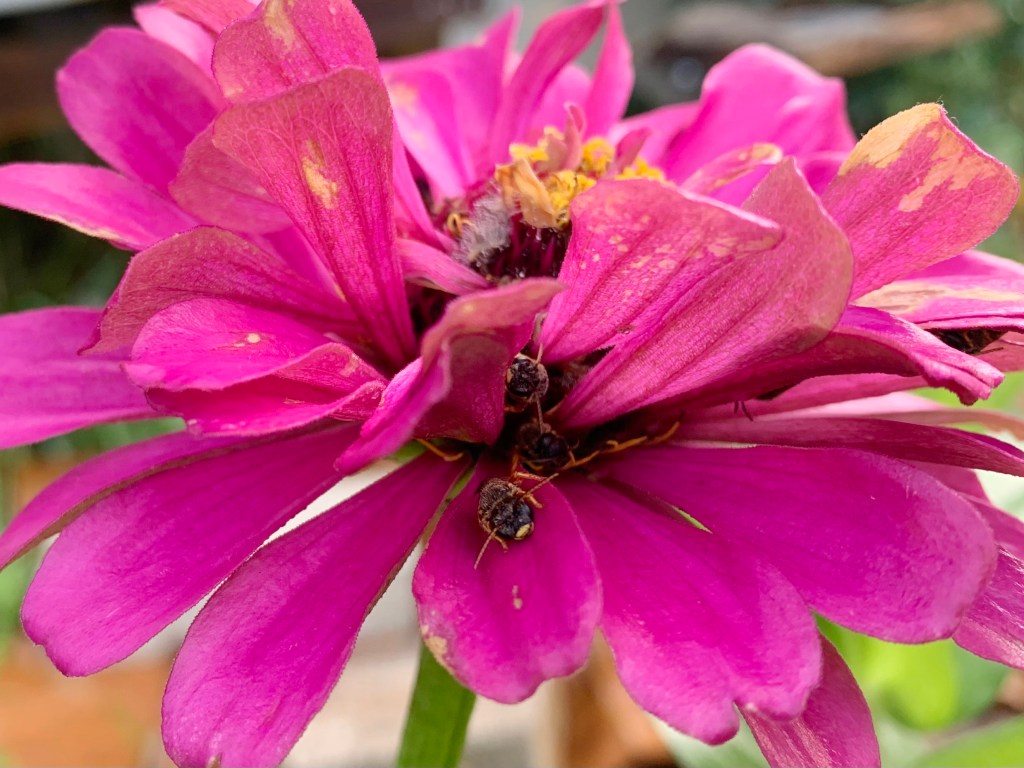
The petals of the zinnia also serve as a shelter for sleeping bees. Each morning I see them tucked among the pink petals of this one flower.
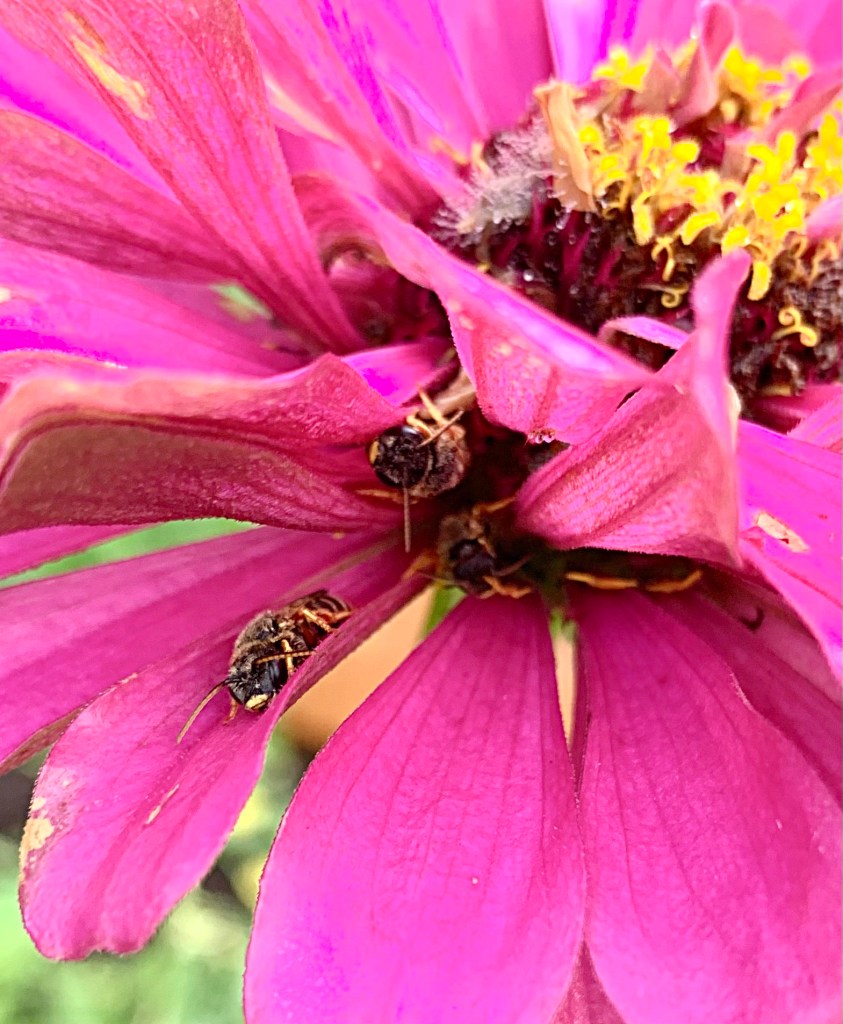
This magenta zinnia, which has a fading bloom, seems to be a favorite for little bees. They look like honey bees, and they crawl way up under the petals toward the center of the flower. I counted four bees, but I believe there were more.
Bees inside the petals
I’ve also caught tiny tree frogs in the petals, but they hop away as soon as I get close.
Zinnias are not the only flowers that make tired bees happy. I’ve seen them within the curl of marigold flowers too. We get accustomed to watching bees gather nectar and usually never think about where they go when they need to rest. Why, a zinnia hotel, of course!
Marigolds are beautiful and easy flowers to grow in a Florida yard and vegetable garden. They may also have some great benefits.
While many flowers I grew in my northern garden can’t be grown here in Florida, the marigold certainly can. The scent of marigolds will repel mosquitoes, which are a bother all the time in my yard. I’m not sure if they work on no-see-ums, but maybe! As my garden space grows, so will my number of marigold plants. They are colorful and so easy to grow.
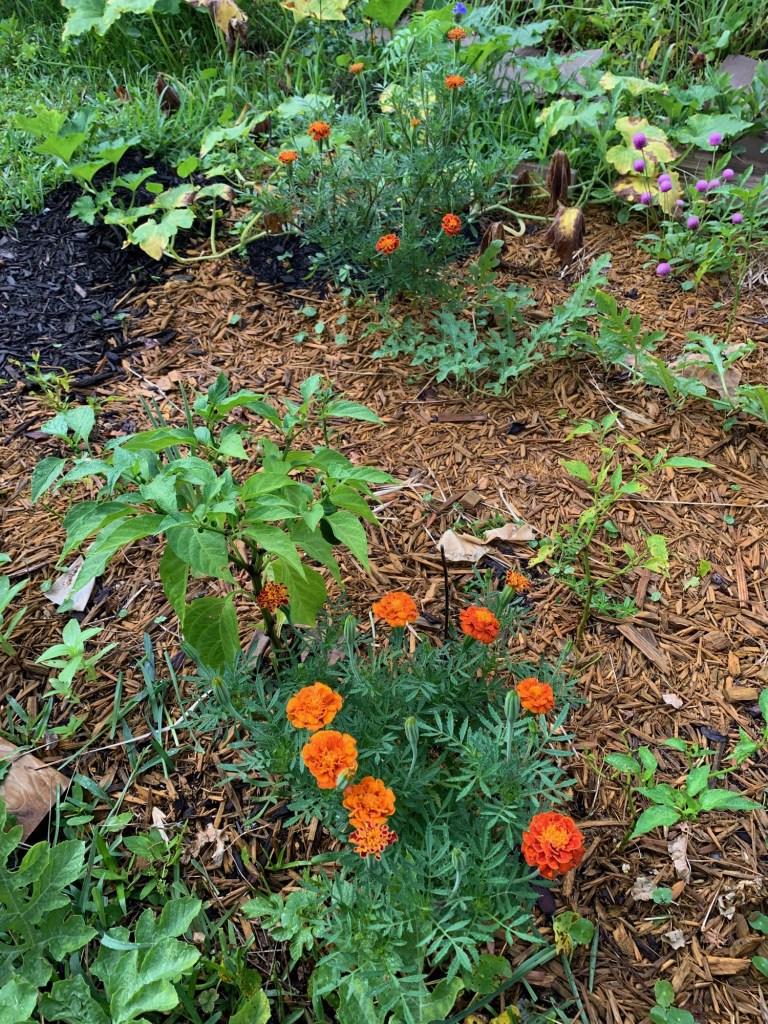
Marigolds grow among peppers, pumpkin, and watermelon
Marigolds and Nematodes
Marigolds may also help keep nematodes away (maybe not – read on). They do not hinder all types of nematodes, but do help with common root-knot nematodes. My Great Garden Companions book, by Sally Jean Cunningham (Amazon affiliate link), says to turn the entire marigold plant into the earth after the growing season is over.
To Till or Not To Till
My thoughts on cleaning out a garden is to cut off the plant and leave the roots for the earthworms. Disturbing the soil disrupts the ecology of the soil, or so I’ve read. BUT… if you have nematodes, doing this helps them survive! Maybe I just need to find out if I do have nematodes and go from there.
What is a nematode?
Once I began planting my garden I kept hearing about nematodes. I did not know what they were, only that they were damaging to crops. (Apparently there are also good nematodes.)
Nematode damage appears as yellowing and wilting of crops. The little buggers affect the roots in a way that removes the ability of the plant to take up nutrients and water from the soil. When nothing you do helps the plant, maybe it’s some kind of nematode (there are many types).
Don’t look for them with the naked eye because they are microscopic. (Think “monsters inside us”.) This page at the University of Florida gardening site has excellent nematode pictures to show the size of nematodes. It also explains them really well. So well, in fact, that you may be scared off gardening all together!
Reading all this info on nematodes is very disheartening. Florida can have all kinds of nematodes because nematodes love sandy soil.
The UF site says this: French Marigolds – particularly the yellow or gold “Petite French” Tagetes patula varietycan help keep certain nematodes (the root-knot) away. (This info was found in Table 2 in the link above.)
And then… I read this, on the same UF site: Garden Myths: Volume 1 which talks about Marigolds and false beliefs that they can deter nematodes..!!
Holy cow. I guess marigolds can’t hurt, but we can’t see them as the one great answer to destroying nematodes either.
Marigolds and Beneficials
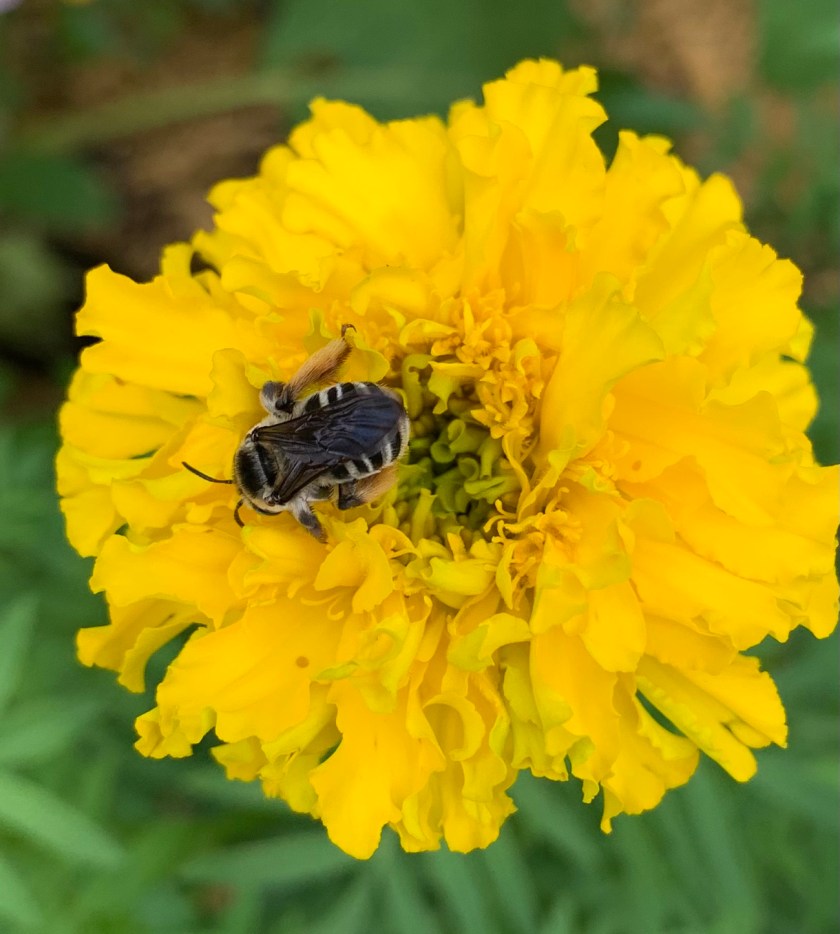
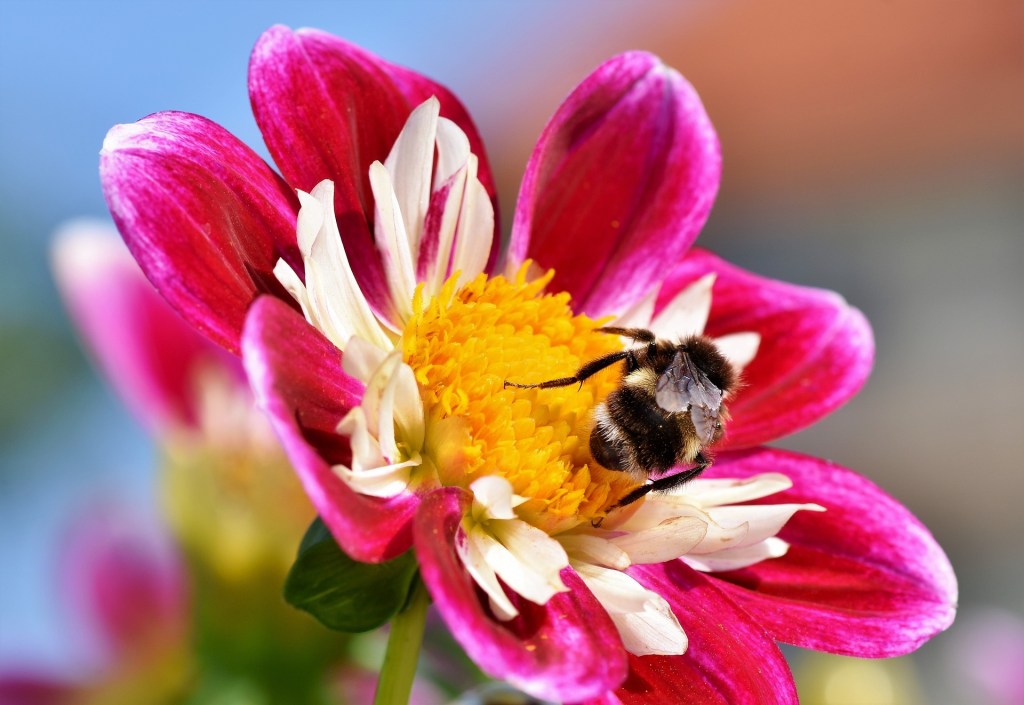
Not only do marigolds repel possible pests in the vegetable garden, and help deter nematodes (we hope), they constantly flower throughout summer – and more seasons here in Florida. That means butterflies and other bugs can enjoy the flowers as sources of food. They are not high on the list for nectar, but I’ve had bees and butterflies on my flowers.
Bee climbing through the marigold
Gulf Fritillary butterfly
I have marigolds growing in some raised beds and among the ground garden veggies. The tall yellow flowers wind their way up through eggplant and help shade the oregano.
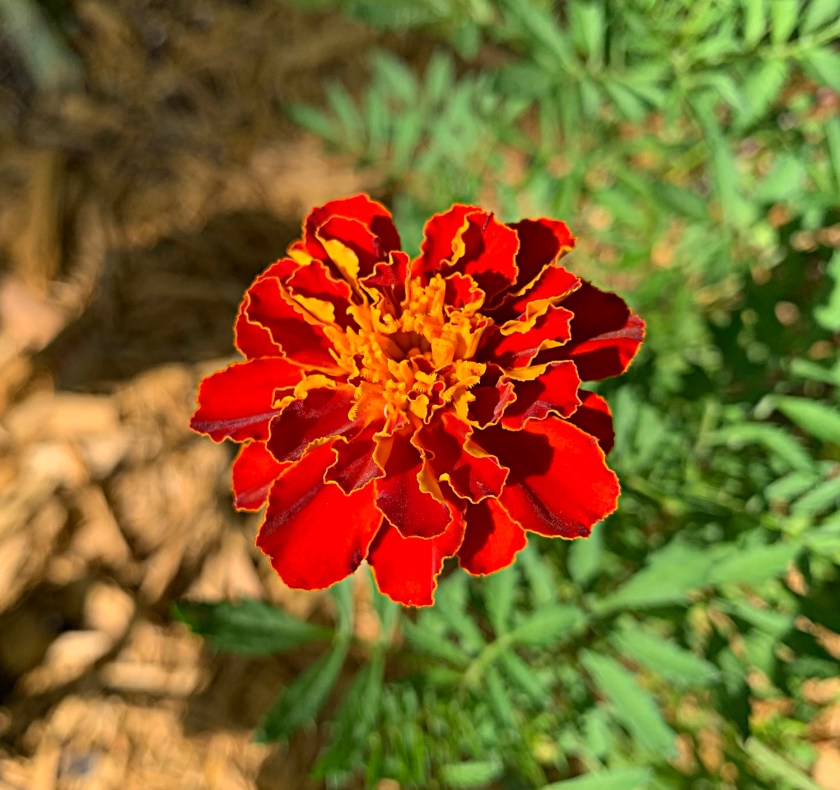
The fluffy orange flowering marigold is so pretty, I will save its seeds and plant many more. Saving marigold seeds is easy. I simply scatter the seeds around the gardens and see what grows. Or, they can be scattered in an empty grow pot and then the seedlings can be transplanted. They do very well when transplanted too.
My orange and yellow marigolds
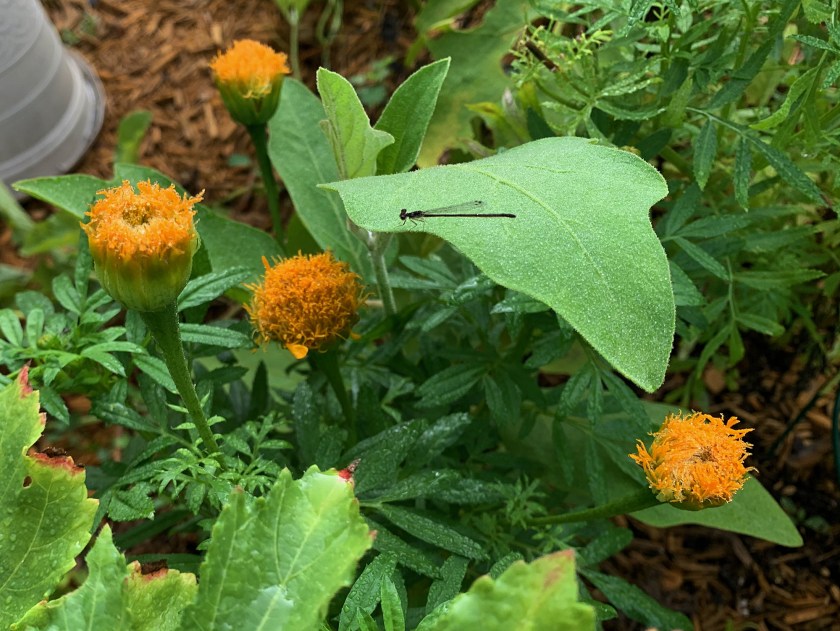
Little damselfly
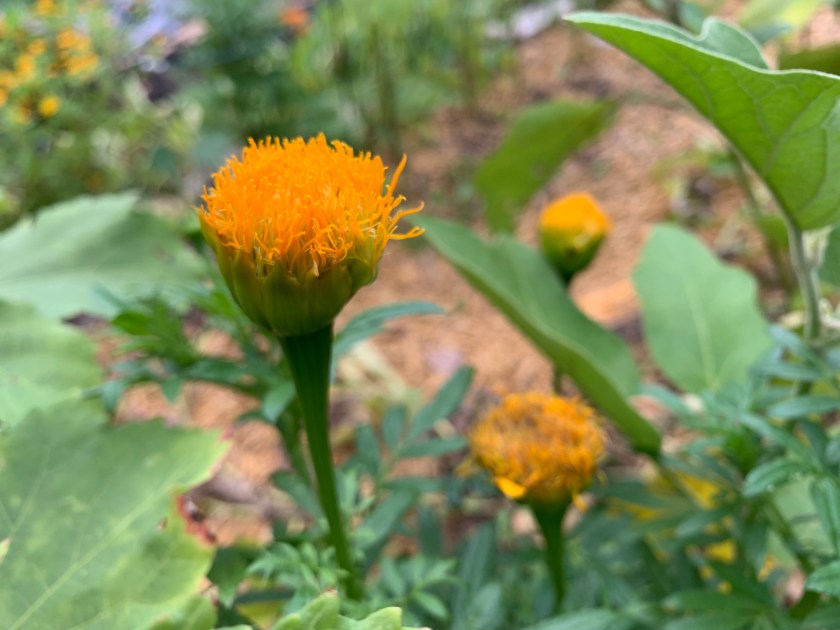
This frilly gold-orange marigold flower is interesting. I keep waiting for it to “open” but this is all it does. The older flower is now looking like it’s gone by. I hoped it would be more than this. It is different, and I’m not sure what type it is.
Marigolds Can Handle the Heat
Marigolds are wonderful choices for this humid and very hot location. I’ve never had them wilt or seem stressed by the baking sun. The big yellow flowers can get ants, but other than that, no pest problems.
Be Careful of the Rains
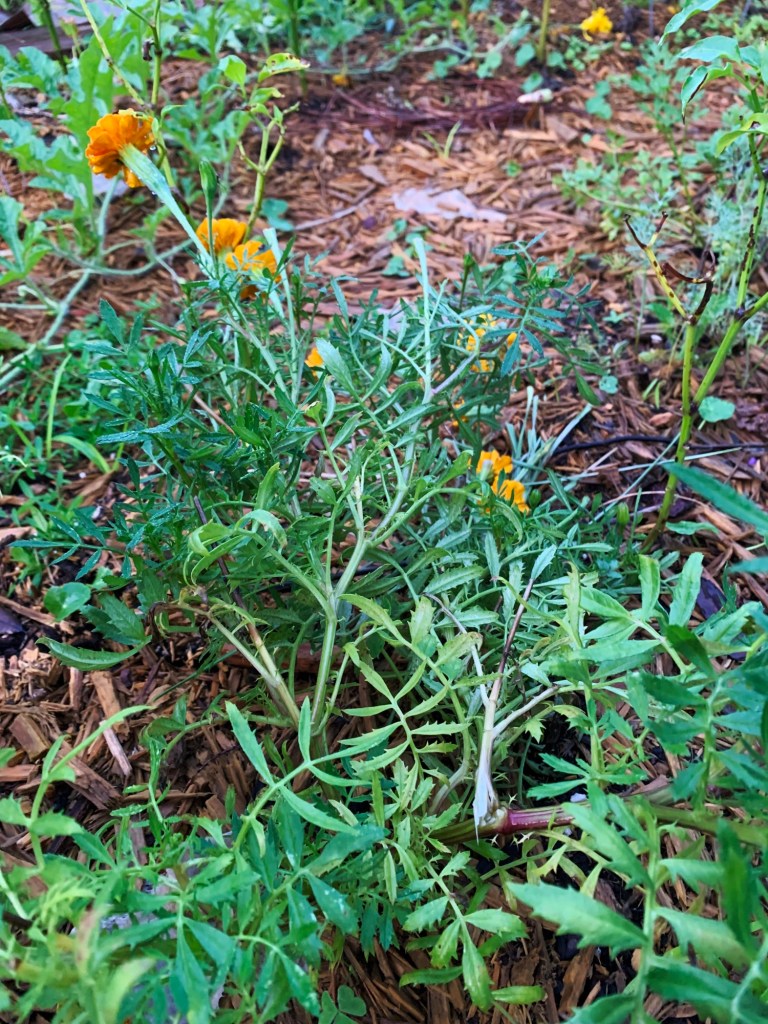
Once we began getting big afternoon storms (July), my marigolds fell over. Big sections of the plants just fell to the ground!
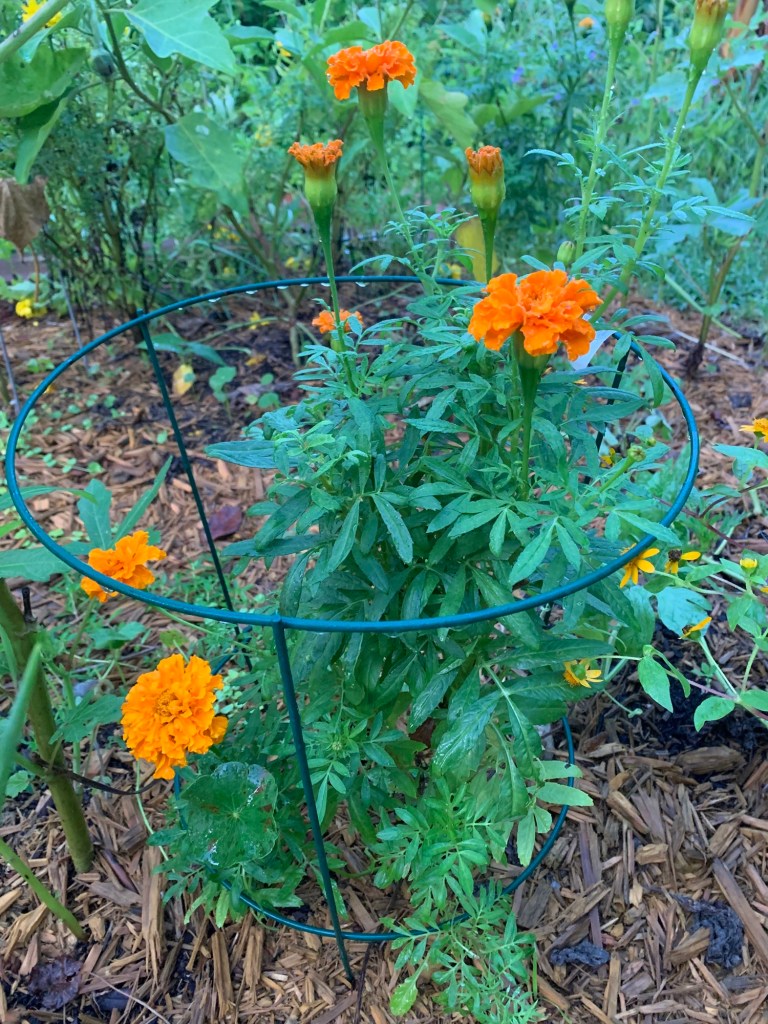
I’d already planned to put cages around the yellow marigolds because of their height, but it seems these orange ones need support as well.
The broken parts are going into the compost. Next year I will buy some short cages, sold near the tall tomato cages at Home Depot, and put them up for all the marigold plants.
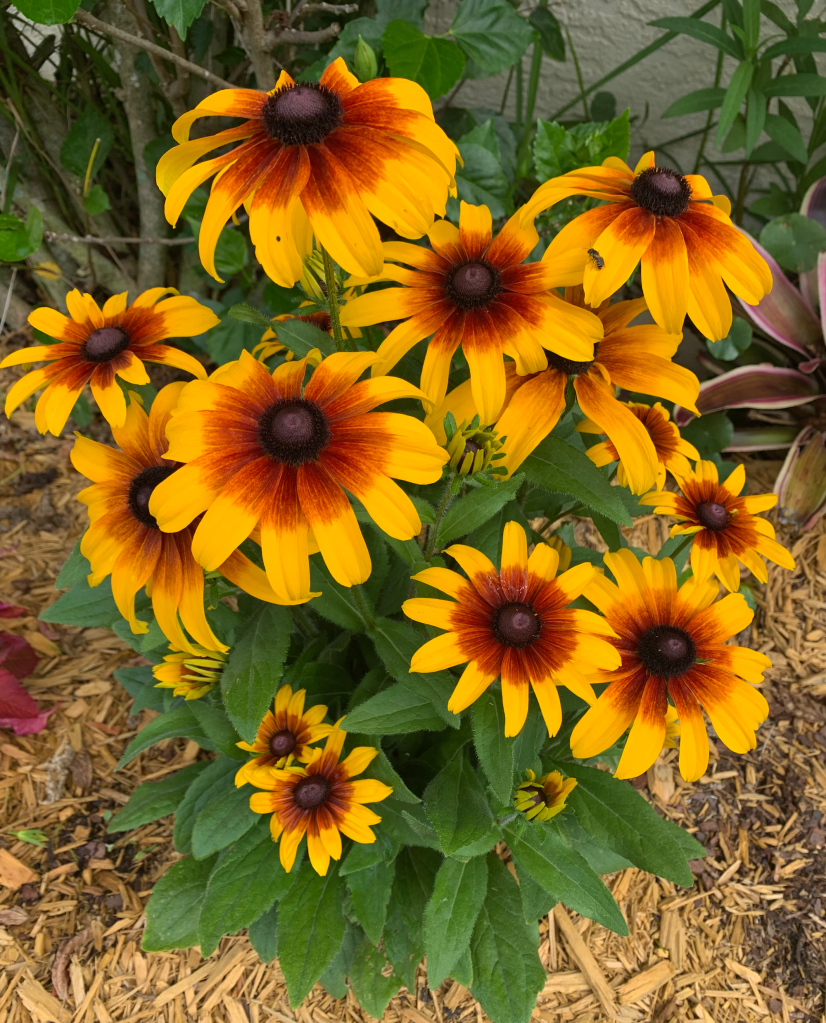
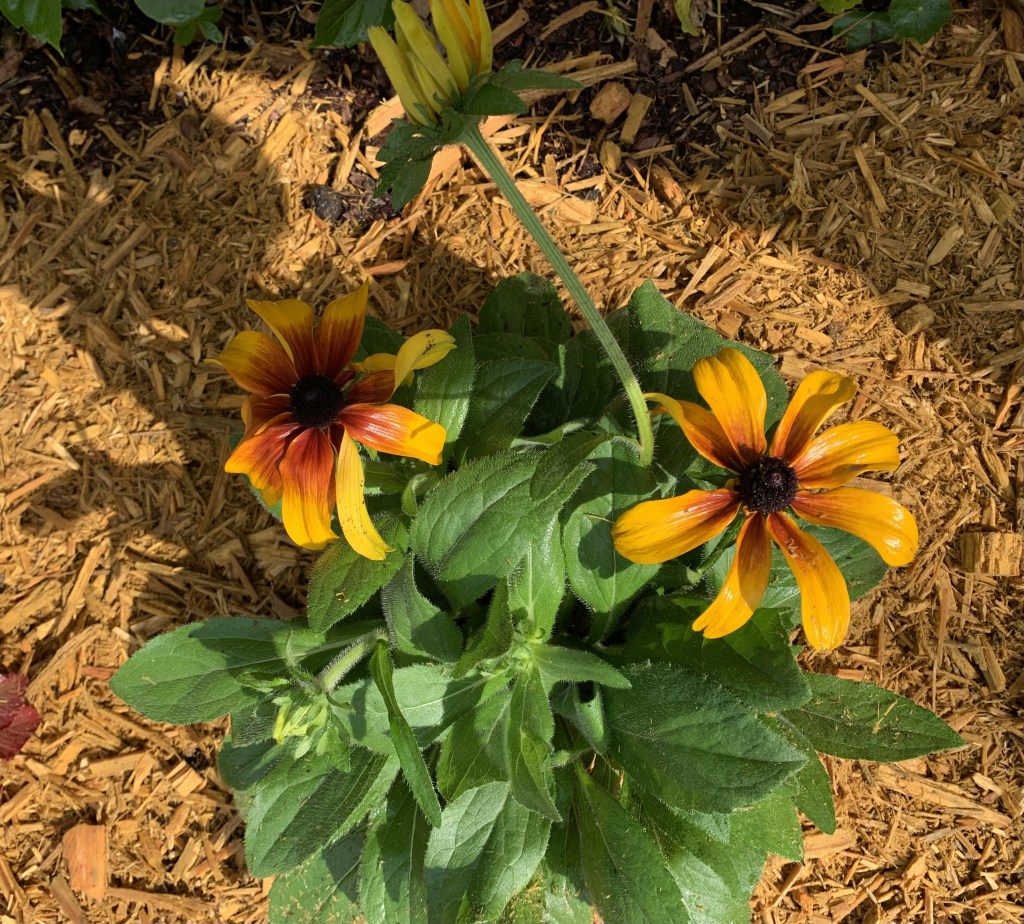
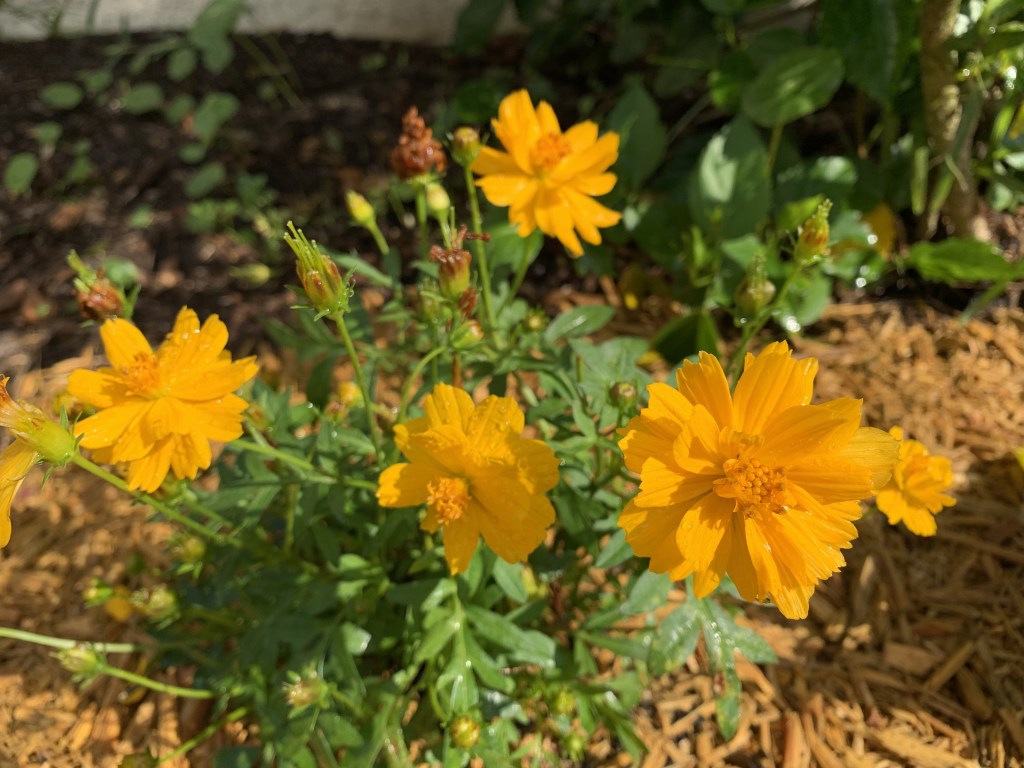
Growing the rudbeckia “Rising Sun” flowering perennial pollinator plant.
While dashing through the local nursery, I spotted this pretty yellow flowering plant. It was a Rudbeckia called “Rising Sun”. It had a couple of flowers and a few more buds. It went into my new little flower garden.
In a Nutshell
Rudbeckia is a perennial. It should be dug up and divided, once it is large, to propagate. It is easy to grow, after making sure it has plenty of water in the beginning. Grow in full sun, deadhead old flowers, and enjoy watching bees visit the flowers.
When planting, I added some bone meal and fish fertilizer along with compost to the hole. I do that generally for all transplants. I planted the new garden in May, so it was hot, but not horrible. I made sure to water the new plants every morning because we were getting no rain back then. I added mulch to help.
Rudbeckia plant
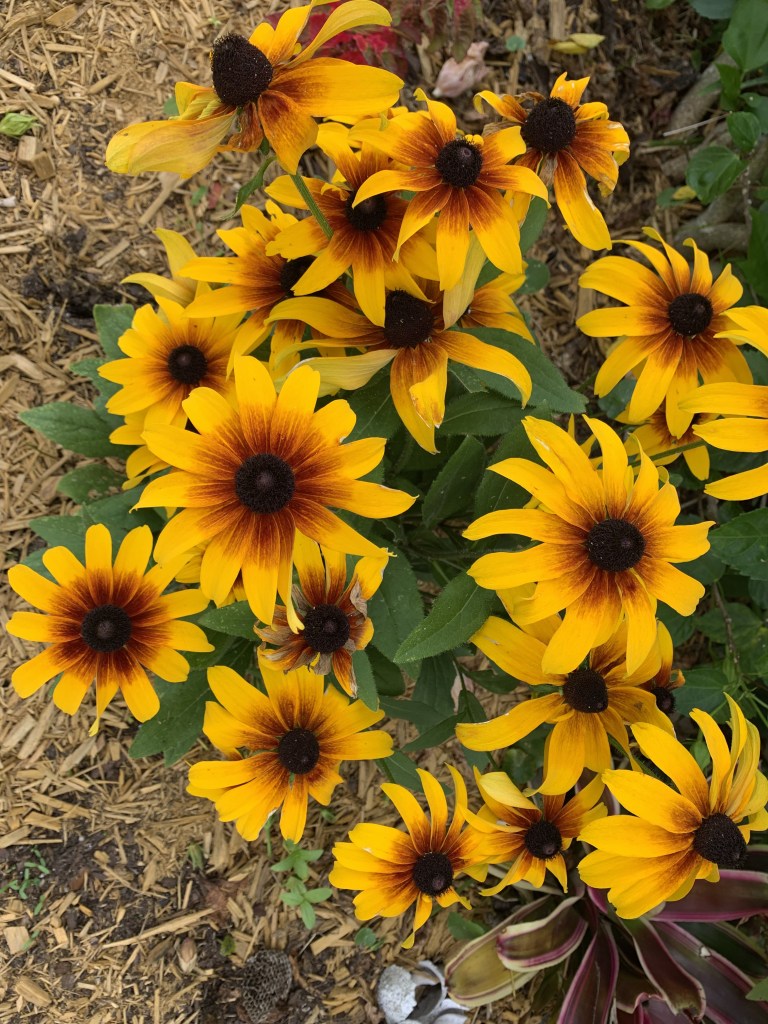
Because I went out every morning to water, it gave me the opportunity to view changes. It seemed to bloom with at least one new big yellow bloom each day! The plant grew and bloomed like mad, and is now just gorgeous.
Bees Love Rudbeckia
I was hoping to attract bees and butterflies and this plant is perfect. Each morning I see little bees crawling around the flowers. One day I saw a bee sleeping on one of the petals! He was resting or something because he was not moving, but he was not dead. On the photo above you can see a bee on one of the big flower’s petals.
Deadheading and Propagation
Rudbeckia needs to be deadheaded. As soon as I read this, I went out and cut off the old blooms. I brought them inside to see if I could get some seeds from the center when they dry fully. Deadheading helps the plant put energy into creating new blooms and not caring for the old, wilting ones. Many flowering plants benefit from this.
My Rudbeckia even survived us having a new roof installed. If you have ever gone through roof replacement, you know what a mess it makes. I was so worried about my garden and yard, but most things came through okay.
Rudbeckia spreads by rhizomes underground. In other words, when it gets too full, it can be dug up and split into two or more plants. This is one way to propagate. Every 4-5 years or so, or when the plant is really full and not growing as many flowers, it means it needs to be divided. This is similar to peonies. I remember doing just that to divide my beautiful peonies when I grew them in New Hampshire.
Also, apparently the rudbeckia can grow from seed. Each flower will drop little seeds from that center brown “eye”. So the flowers I cut will be saved to see if I can get seeds.
I would love to link to this info, but all the sites I visited had WAY too many ads! I won’t send my readers to them, but if you search for this info, you will find it elsewhere.
I’ve never grown the rudbeckia before, but I truly love it. At some point I will buy more of them to put into the landscape. This plant came from Lindley’s Nursery in New Smyrna Beach.
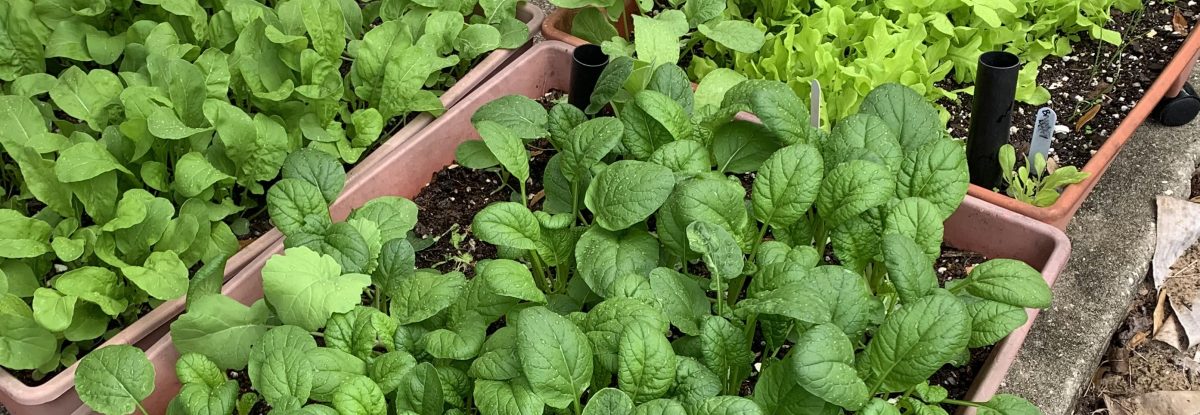
Here in Florida we can plant and grow Zinnias. I never knew this, but the Urban Harvest sells seeds and they sell things that will grow in Florida. Sure enough, Zinnias are heat tolerant and should grow all summer long.
Zinnias attract bees and butterflies and they come in beautiful colors. This is why you should plant them.
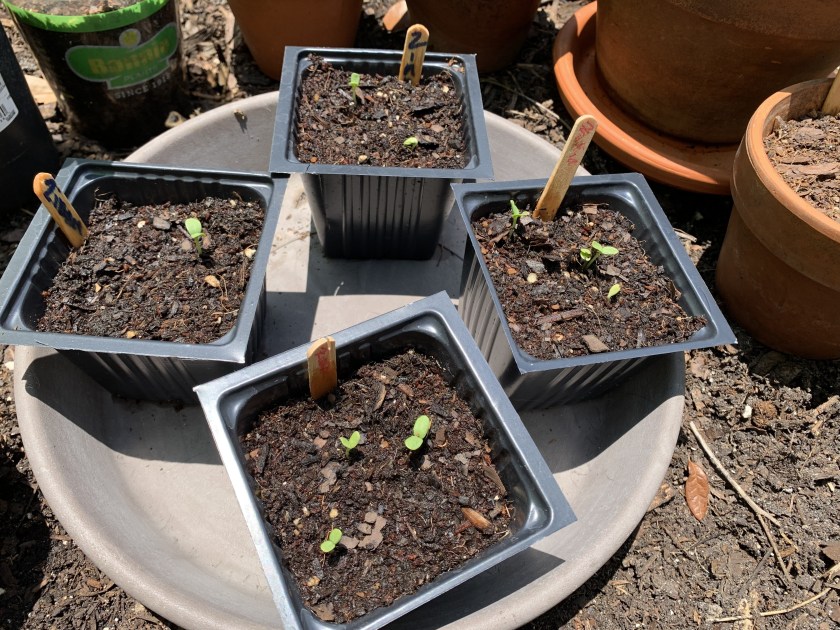
A few days ago I placed my third seed packet order from The Urban Harvest, a Florida based grower. Within a few days my seeds arrived. I planted the Zinnia seeds into small pots on May 19th. The next day– May 20th – all seeds had sprouted!
Zinnia seeds after one day!
I don’t believe I have ever in my life seen seeds sprout in one day’s time. To say I am amazed is an understatement. I have great results growing seeds from The Urban Harvest.
Currently I have Okra growing that was planted directly into a raised bed and it came up in four days. Of the 15 seeds planted, there are 12 growing. But, what is eating my okra?
Much of what is growing in my gardens have come from seeds bought at The Urban Harvest.
Zinnia Seeds Sown Directly Into the Garden
It also works to sow zinnia seeds right into the dirt. I did this around the edge of my small garden space – which is quickly being overrun by watermelon vines.
See how I planted a little flower garden in my Florida yard.
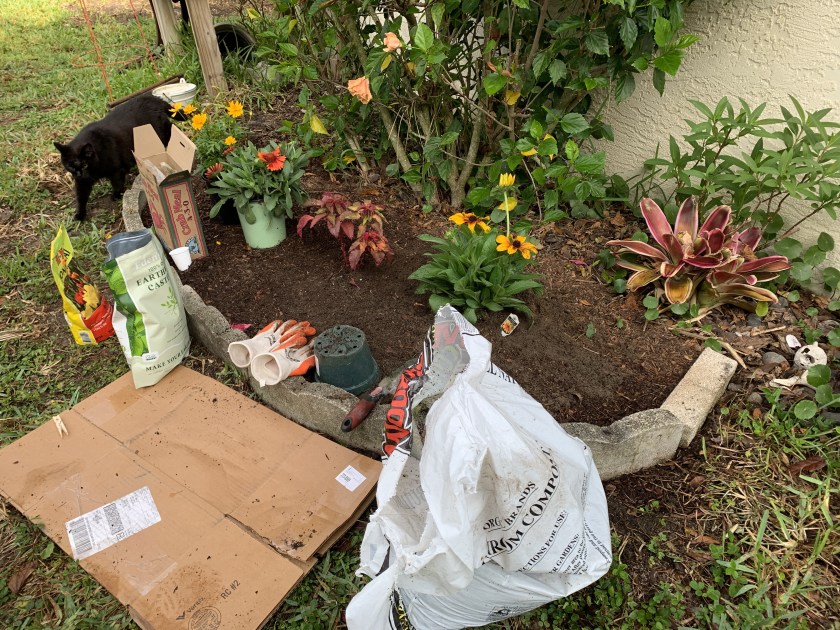
My son took me to Lindley’s Nursery in New Smyrna Beach the other day and I picked up some flowering plants for the yard. (More about Lindley’s further down the page.)
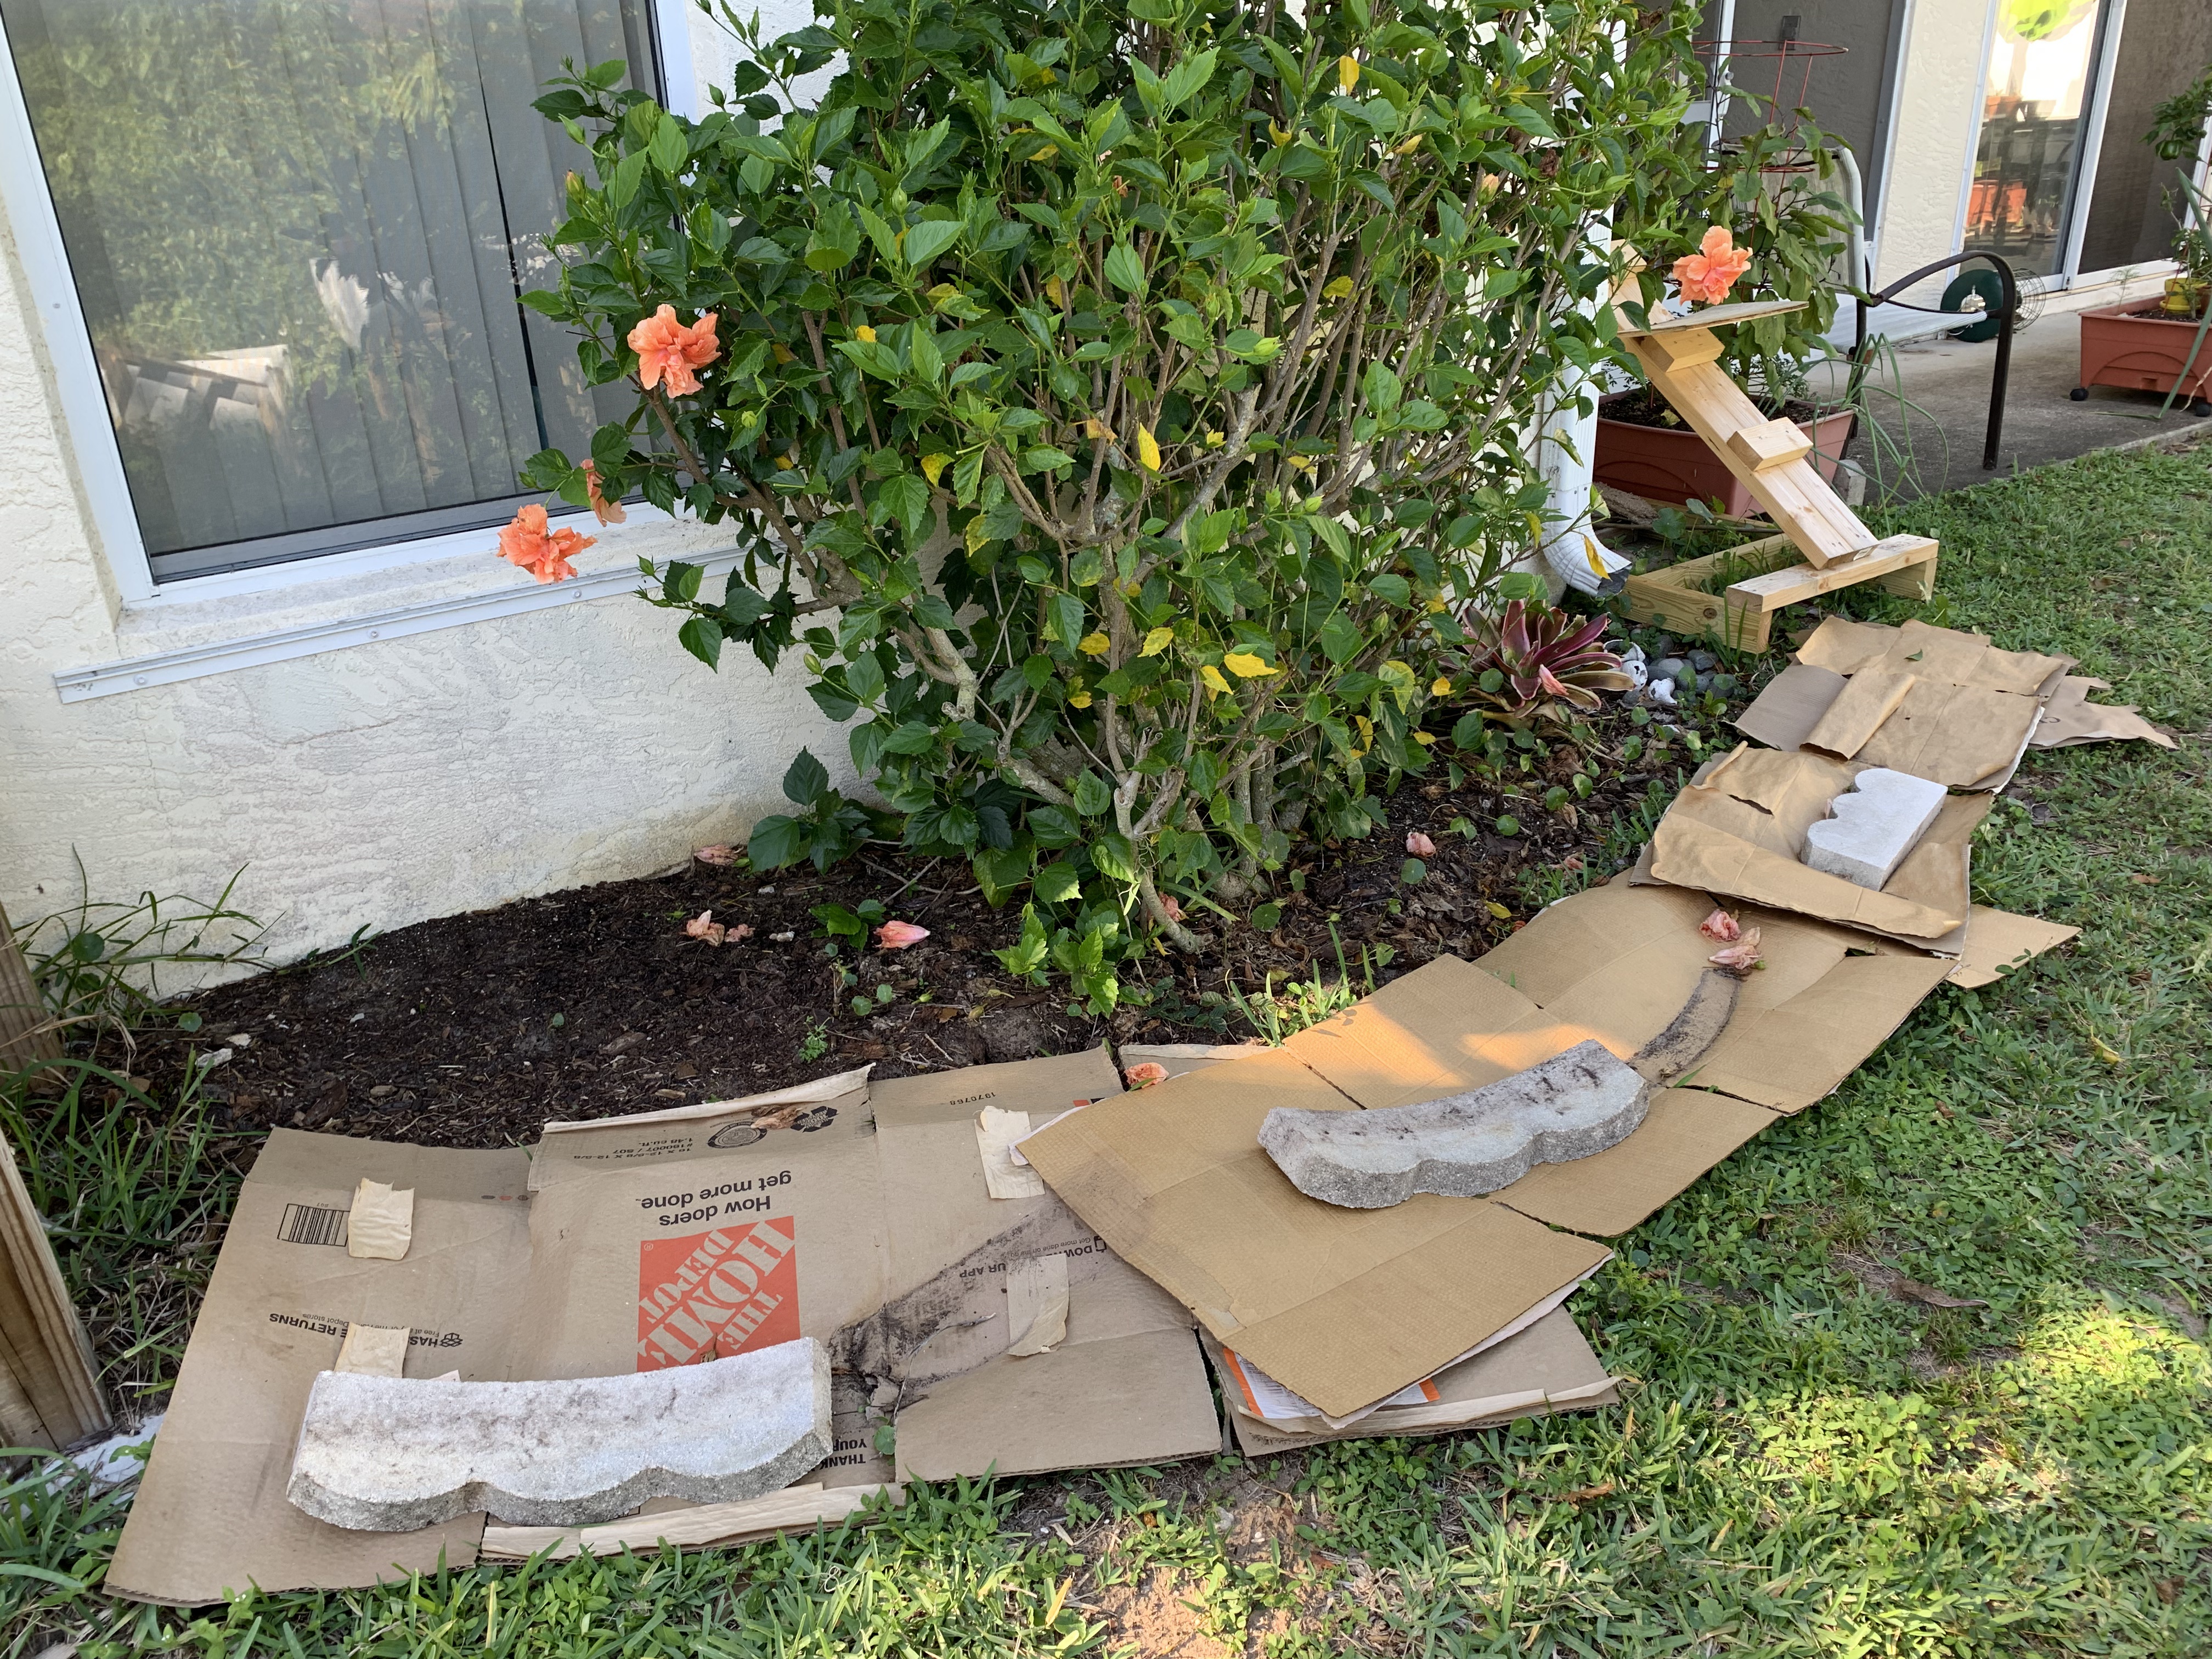
I’ve been saving cardboard boxes to use as grass killers in the yard. It is not that easy to kill Florida grass and weeds, but this type of thing works very well in New Hampshire! Haha… I’m not there, I’m here, so we used the rototiller.
Step Two
Dig up the grass, roots, and dollar weed (ugh) and pull it all out. (There is no way to remove all the dollar weed.) This leaves a sandy “dirt” to which I added a bag of store bought soil. (We buy our dirt, compost, and mulch from The Yard Shop in New Smyrna.)
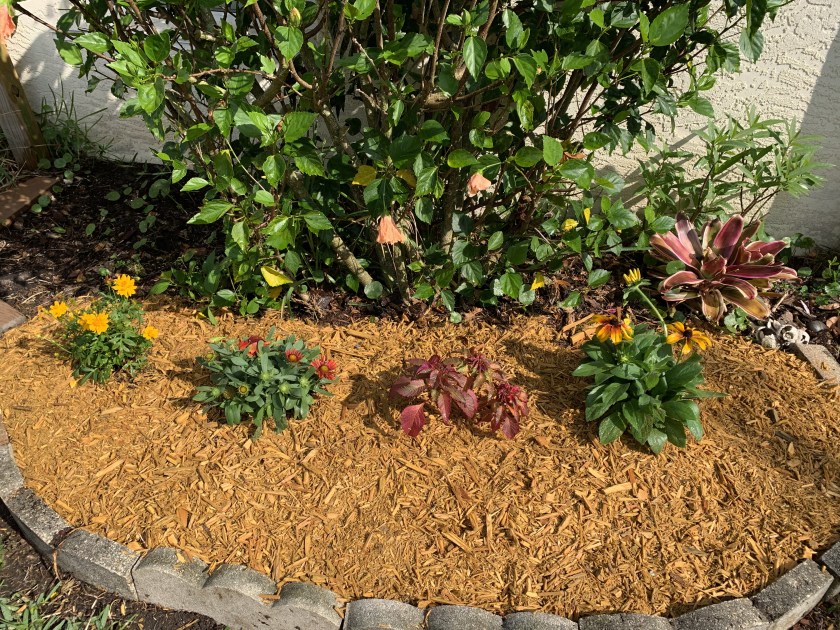
Nearly done with the garden
Plant the Shrubbery
I had four plants to put into the space and I planted them back a bit to leave room for something in the front. Also, I’m not sure how big they will become. I used a piece of the cardboard to kneel on while planting.
These plants came from Lindley’s Nursery in New Smyrna Beach. I was so impressed with the upgrades they had done to the place since my last visit (quite a white ago). I would have stayed longer because the grounds were beautiful and they had so many wonderful plants, but I was with my son who was not into plant shopping.
I grabbed some flowering things that seemed to attract bees (if the bees are on the plants while shopping, it’s a good indication!). All the Florida native plant names totally left my head, but I will probably go back at a later date to find more plants. They did not have any native milkweed because I asked. It was sold out – and there was no sign – so I’m not sure which type they were selling. I hope it was not the tropical milkweed.
The digging began early in the morning to beat the sun. I have until around 9:00am until this area becomes sunny. I did have to finish with the mulch and do the watering in the sun, but at least the digging was finished.
Finished!
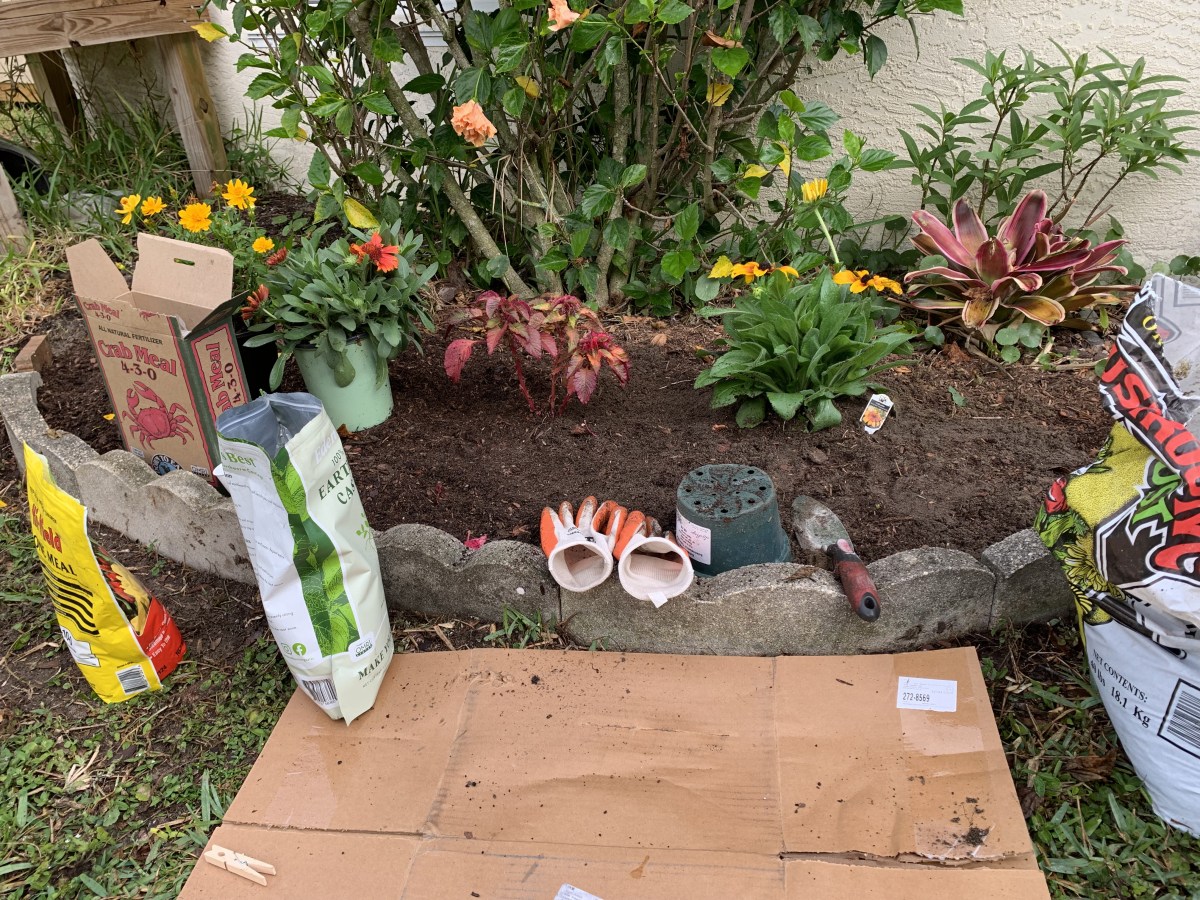
Planting Tips
For each plant I added to the garden, I included some bone meal, crab meal, earthworm castings, and compost. All these things should help improve the soil and keep the plants happy for now. I used these amendments because I had them, but bone meal only would have been fine for now. (All links are Amazon affiliate links.)
A couple of the plants were very root bound, so I disturbed the roots by pulling them a bit to keep them from being tight. This helps them to grow outward instead of round and round like they had to do in the pot.
All the soil amendments I mentioned above were mixed with the ground soil once the plant was in its place. After planting, each plant was soaked with water, and once the mulch was added, I watered them all again.
I’ve found a good place to buy milkweed plants online. Ordering plants online can be expensive, so the plants that arrive should be in great shape. Read my review…
May in the garden is mostly about finalizing the switch from winter crops to summer. This quick post shows photos of some of what I have growing at this…
Rethinking my use of fabric grow bags. The Florida climate dries out the plants too fast. Certain shallow root vegetables, grown during winter, might be the answer.
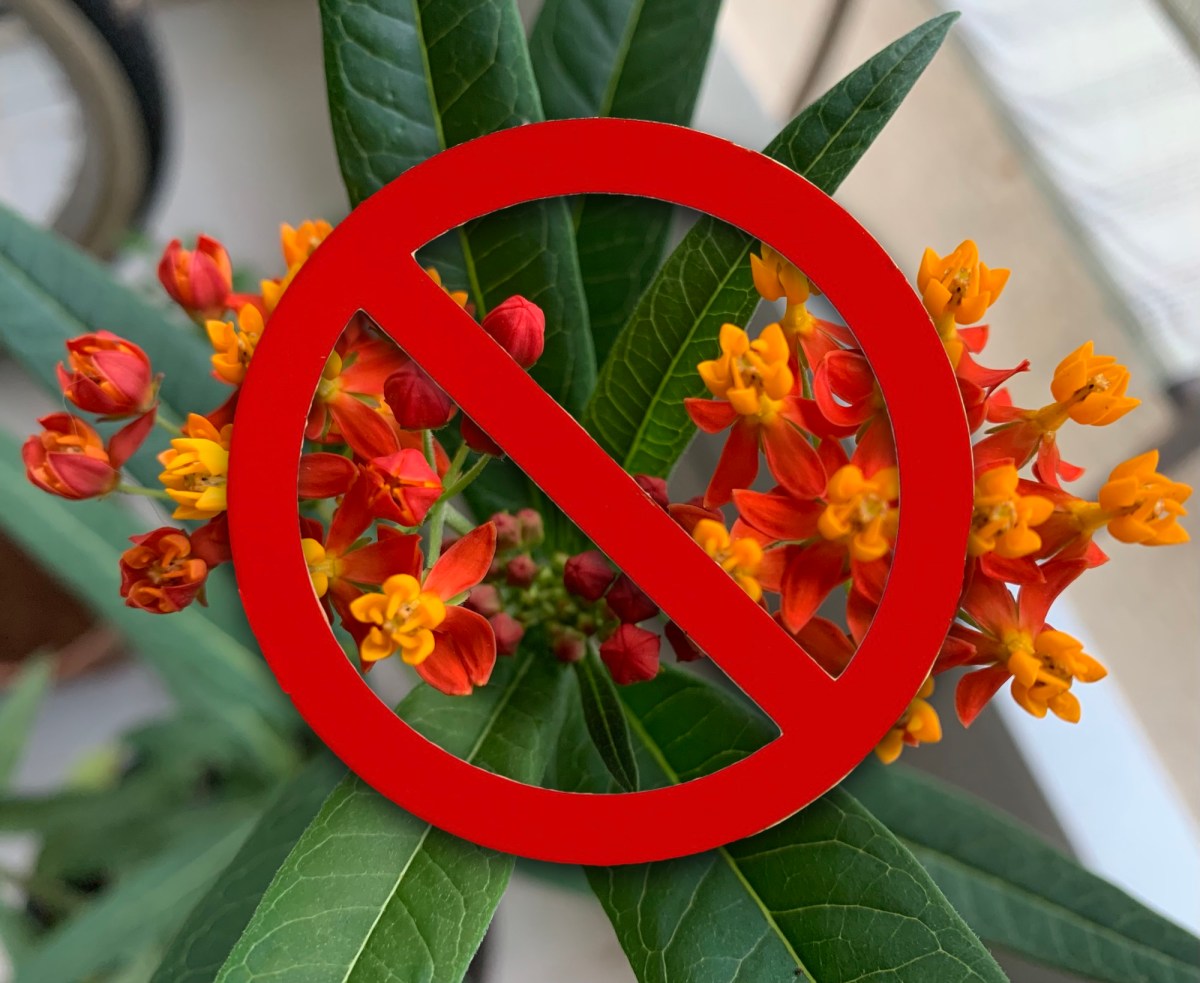
Be sure to select a native milkweed for the yard, or you could be harming the Monarchs instead of helping. Don’t take store and seller’s word for it – be informed.
When I wrote this blog post, over two years ago, I had read an article about Tropical milkweed being horribly bad for Monarchs. It seems that is not completely true. As I’ve continued to learn about growing milkweed, I think the Tropical variety can be used as a good stand in if native milkweed is not available. But it must be cared for correctly.
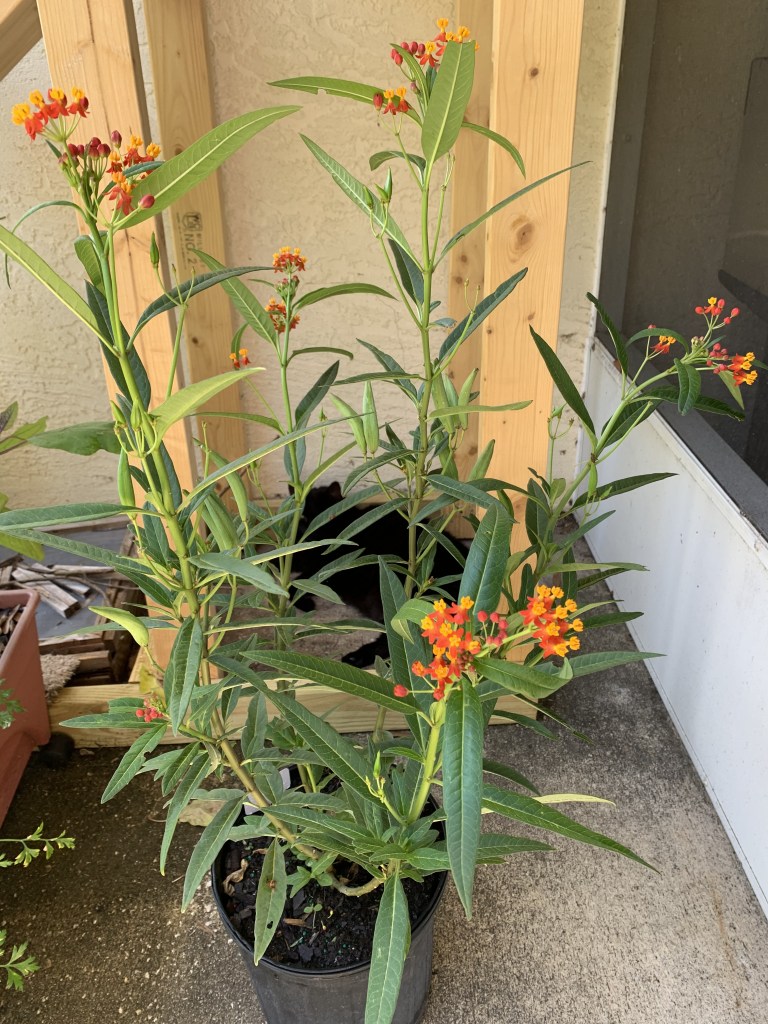
Back then: On a trip to the Farmer’s Market, we found some plants for the yard. I was happy to find this plant at the market. It cost me $15.00 but I was very excited to find such a wonderful, big plant to help the monarchs. What I didn’t realize is that it is NOT native. I bought Tropical Milkweed which is becoming a problem in the south.
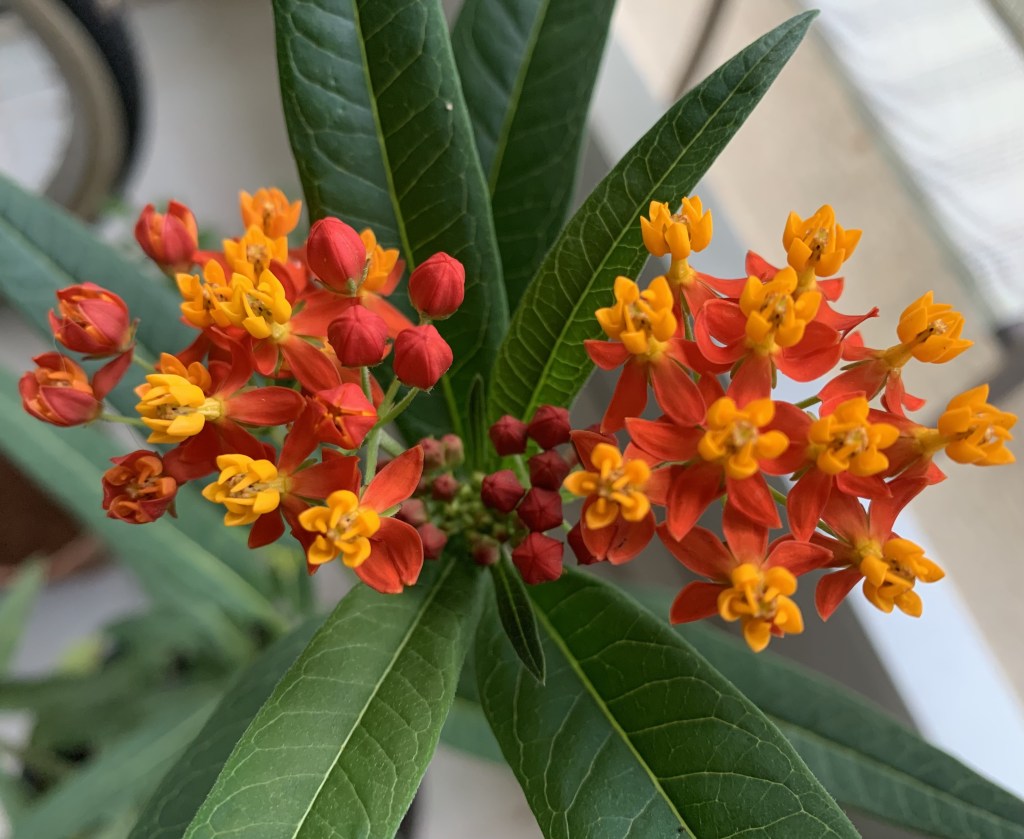
Two-colored flowers (red and orange/yellow) with pointed leaves – this is the non-native Tropical Milkweed. But, the only reason it seems to be a problem is that it does not die back in Fall / Winter.
Good Intentions
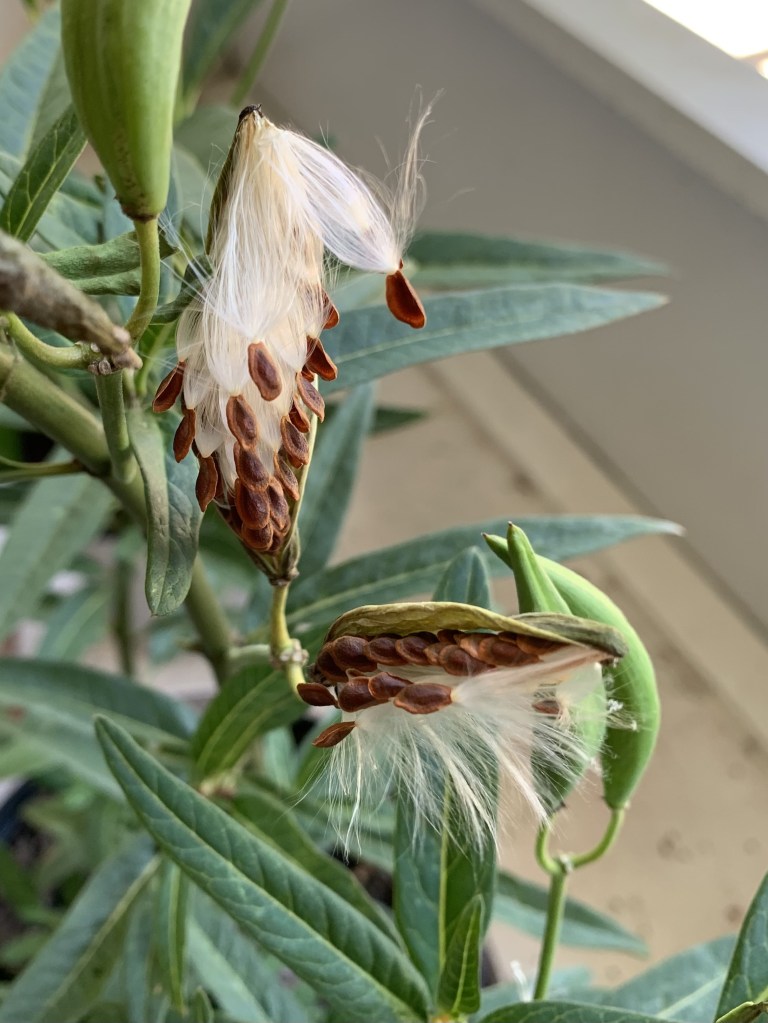
I want to fill my yard with food for the bees and butterflies (namely Monarchs)… BUT… this is not the right kind of milkweed for my area. When this milkweed plant began to drop its seeds, I looked for information about planting them. I’m so glad I searched for information. BUT, now there is more information.
I suggest removing the seed pods so the plant doesn’t spread into the wild where it can’t be cut back over winter.
This is when I realized that I have the wrong type of milkweed. Wrong meaning not native. It was time to learn more about milkweed.
Updated Info on Tropical Milkweed
Tropical Milkweed (Asclepias curassavica) is NOT a native Florida plant. It is native to Mexico. It’s always best to plant native. However, I have not easily been able to find nice, native milkweed plants at local nurseries and garden shops. Tropical milkweed is easy to grow, and it grows fast. No wonder plant sellers prefer this one.
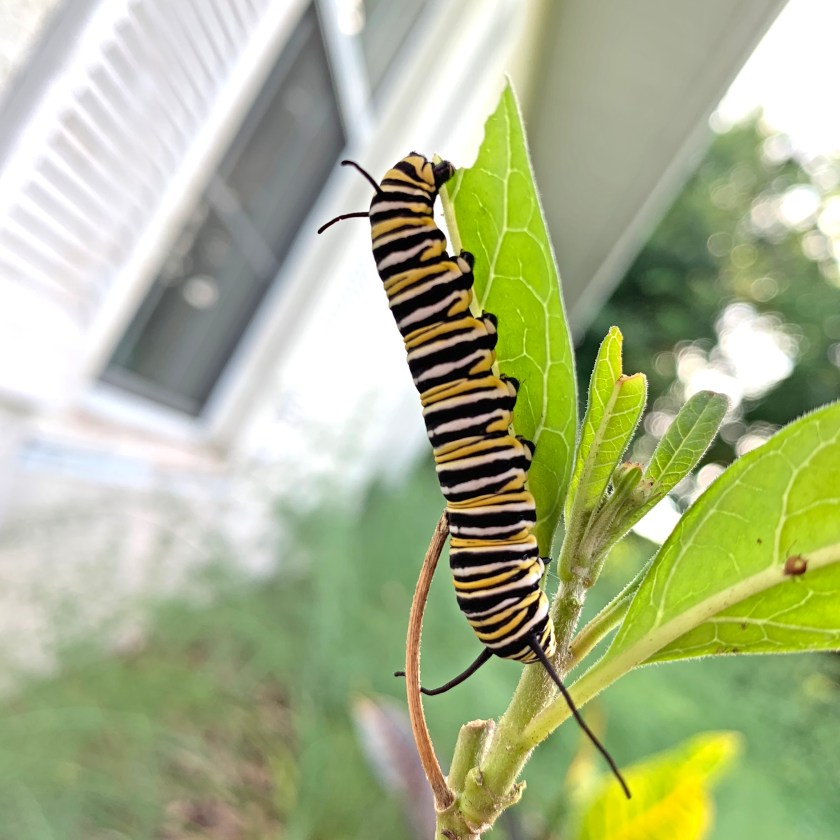
If you have tropical milkweed, the most important thing is to cut it back by December. It won’t die back on its own in many locations. This keeps the Monarchs from migrating. If they stick around and continue to breed, the caterpillars can develop a lethal parasite (OE). Read the article about this at IFAS for more info.
I doubt that many sellers of the tropical milkweed even realize it is not native to Florida. And many probably don’t understand the need for cutting it down.
Non-native, flowers are bi-color red and yellow.
If you are willing to cut back the plants in winter, and remove the seed pods so the plant won’t spread outside the yard, Tropical Milkweed should be okay to grow.
When is it Okay to Plant Tropical Milkweed?
So what if you have this milkweed growing in your yard? After I removed my Tropical milkweed plants, two more plants grew – 2 years later. Right away I began to see caterpillars. I knew this was the wrong milkweed, but it was feeding those hungry caterpillars. So, is it better to help the Monarchs even if the milkweed is not native? I say yes.
I now believe that having some tropical variety can be good to supplement the native types. Native milkweed is hard to find to buy. Certain types need sun and lots of moisture (swamp variety). Others need sun and dry conditions (Sandhill). Milkweed is meant to grow in Florida’s diverse ecosystem, which is vanishing. It should not be grown in a yard that is sprayed with chemicals.
All these things make native milkweed hard to find. With roadsides mowed, and lawns taking the place of fields, butterflies are now endangered. If we can help by providing some plants – native or not – I say let’s do it.
Right now I am trying to grow native milkweed for my yard. I have planted seeds, and purchased milkweed seedlings online. My goal is to have a variety, with many native plants (mainly) for the butterflies.
Florida Native Milkweed Links
Sandhill Milkweed – Big, dark leaves and pink flowers. Likes to grow in sand and doesn’t need lots of water.
Orange Butterfly weed – Not preferred by monarchs (so I’ve read) but great for butterflies and other insects.
Swamp Milkweed, white / pink – Moist, well-drained soil. Full sun to part shade.
Whorled Milkweed – blooms longer, into Fall, and can supplement if other native milkweed has died back.
Find Milkweed Seeds and Plants Online
You may find what you want, along with other Florida native plants, from this list of growers / nurseries on the Plant Real Florida site.
I have purchased seeds from Johnny Butterfly seed. They have sprouted at this stage, but are still tiny.