Sourdough Bread Starter Adventure

Bread is something I eat sparingly, but I love the idea of baking my own bread. I’ve done it before and I’ve even used starter before, but that was many years ago. The starter I used back then had sugar in it and it made the most delicious loaves of bread. These days I avoid sugar and carbs… so let’s make bread!

I figured why not begin a starter again? The first time, the starter was given to me, so I didn’t have to begin it myself. I just fed it and used it to bake.

The first starter I tried was Paul Hollywood’s apple starter (and watched a video about it too), which called for 4 cups of flour. It ended up a disaster, and I threw it away. Do not cover your starter tightly… the gasses have to be able to escape. The top of that starter was looking pinkish after a few days, and that is not good.

After looking around online, and finding so much conflicting advice about starter, I jumped in and did what I thought might work, using less flour to begin with. A lot less. This sourdough page at SeriousEats would have helped me quite a bit – if only I’d come across it weeks ago.

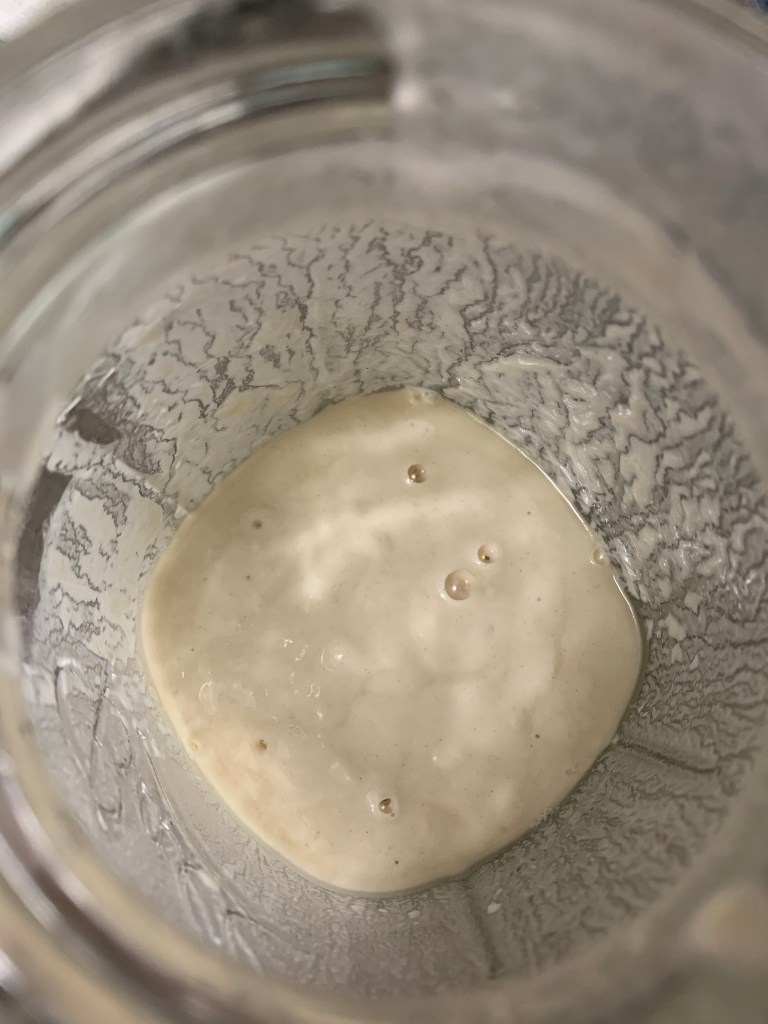
sourdough starter
Overnight this starter doubled – after building it for 10 days – and was the end product which I used to bake my bread.

I put my largest, and last, batch of starter into this big blue container. I didn’t get a photo the next morning, but it had risen about an inch and looked good. It was ready to use.

Here We Go

If you are ever interested in beginning a starter and making some bread, I will be listing exactly what I did right here on this page. I’m writing this for myself also, as a reminder of my sourdough starter adventure and the things I would change if I ever make this bread again. That’s right, it’s a lot of work and mess, so unless this bread is something super fabulous (the dough is rising as I write), I will not make this bread recipe again! But… I may use this starter to make another type of bread, like that sweet bread I used to make.

Making the starter is a bit messy also, but may be worth it depending on how the bread is.

This is what I did, mistakes and all.

  • DAY 1: To begin the starter, mix 1 Cup regular, unbleached flour (I used regular flour for all feedings), 1 Cup warm water, a little honey. (The honey was my choice, you don’t need it.) Pour into a mason jar (2 cup, wide mouth) and cover with lid and saran or wax paper, with a few holes in the top. The starter sits out on the countertop – not refrigerated.
  • DAY 2: Do nothing but observe. By the afternoon it was up about an inch. I put a little piece of food label tape on the side of the jar to mark the level. That way I could see if it was rising or not.
  • DAY 3: Stirred. Removed 1/2 cup starter and dumped out the rest. Mixed with 1/2 cup flour, 1/2 cup water and a little honey. Dumped back into Mason jar. It began to separate with liquid on top, so I stirred it. At this point I was not adding enough flour, I assumesee Day 5.
  • DAY 4: AM – Did feeding as above, Day 3. Fed again at night by stirring in 1 spoonful of flour. Didn’t figure out the ratio until Day 5.
  • DAY 5: Discovered that the ratio should be (according to someplace online) to mix equal measurements of starter and water, and then double that for the flour. Mixed 1/2 cup of starter (discarded remainder), 1/2 C. water, and 1 Cup flour. Starter was bubbly, not much rise.
  • DAY 6: Same as day 5. Once I began adding more flour, I didn’t have the “hooch” liquid on top again. The liquid forming means that the starter is hungry and needs to be fed.
  • DAY 7: Same, remove 1/2 c. starter and mix with 1/2 cup water, 1 c. flour and put back into a container. I switched out Mason jars at some point to wash the first one. The starter was not rising much, so this mason jar (2 cup) was the perfect size.
  • DAY 8: Saw a bigger rise in the AM. Saved more starter since I need 2 1/3 cups of starter for the bread recipe, and the starter seems ready. This time I removed 1 cup starter to mix with 1 cup water, and 2 cups flour. I left this in the bowl I mixed it in and covered for overnight.
  • DAY 9: In the PM I did the same as day 8, mixing 1:1:2, and adding a little honey. I put it into a big plastic container. The leftover starter did not get thrown away this time – I put it into a mason jar, covered tightly, to store in the fridge. It will have to be fed once a week to stay good.
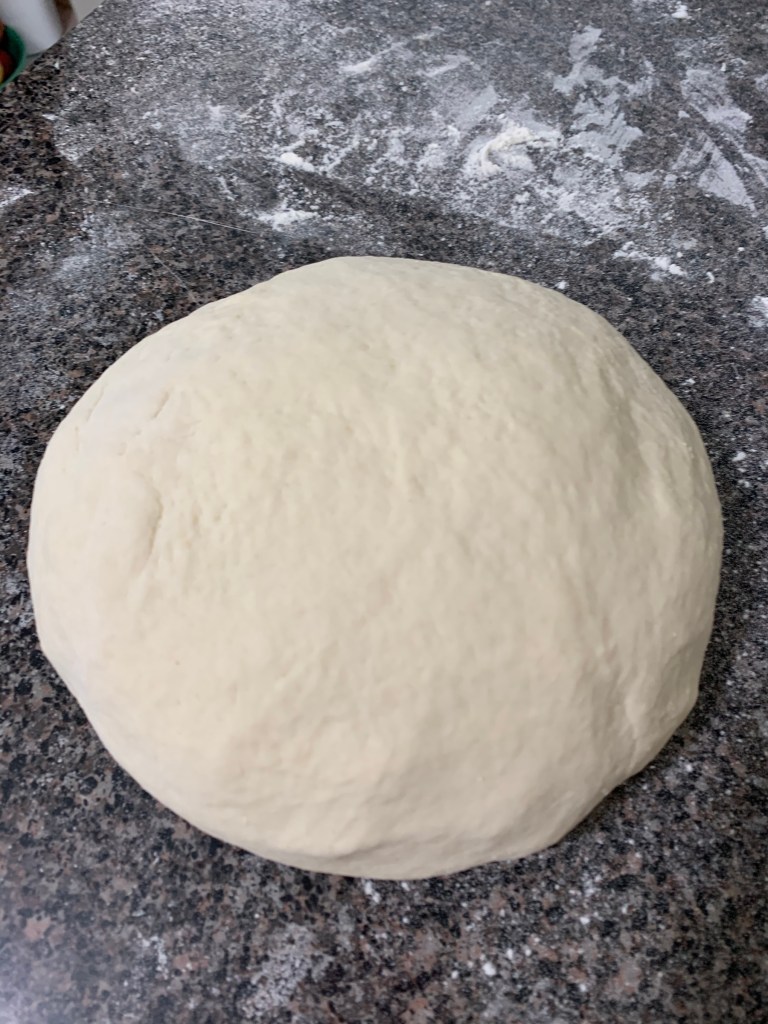
  • DAY 10: 9:00AM – Made the dough, combining 2 1/3 C. starter, 3 1/3 C. bread flour, and scant Tbsp. salt. See the video / recipe on YouTube.

The ingredients were mixed together with a spoon then turned out onto a mat to knead. This dough was extremely sticky. Ridiculously sticky! It stuck to the mat, to my hands, and although I put flour down constantly, it would turn sticky again quickly. By the way, you will use LOADS OF WATER to rinse everything off. I ended up taking my pastry mat outside to hose it down. Here’s a video about sticky dough and how to knead it. I definitely need a scraper.

Because this dough was so godawful sticky this whole experience turned me off. I enjoy kneading dough, but this stuff was not fun. Clean up is pretty awful as well. Every bowl, mat, utensil, and measuring cup must be rinsed thoroughly or washed immediately.

I kneaded it for 20 minutes, cut it in half, shaped the dough and put in Ghee-greased bread pans. Now the 2 pans are covered with towels for the loaves to rise. Next I will bake at 400 degrees for 30 minutes.

two loaves made with sourdough starter
Looks bad, tastes good

After waiting for ten hours, and also using the Proof setting on my oven for a couple hours, the bread did not rise much. I baked it anyway and got two relatively flat loaves. It is edible and certainly tastes homemade. I can taste the sourness and toasted it would be delicious.

My plan is to slice and freeze it, after I make some french toast for breakfast. Bread keeps for 3-6 months in the freezer.

A Blooming Orchid and Hydrangea Update

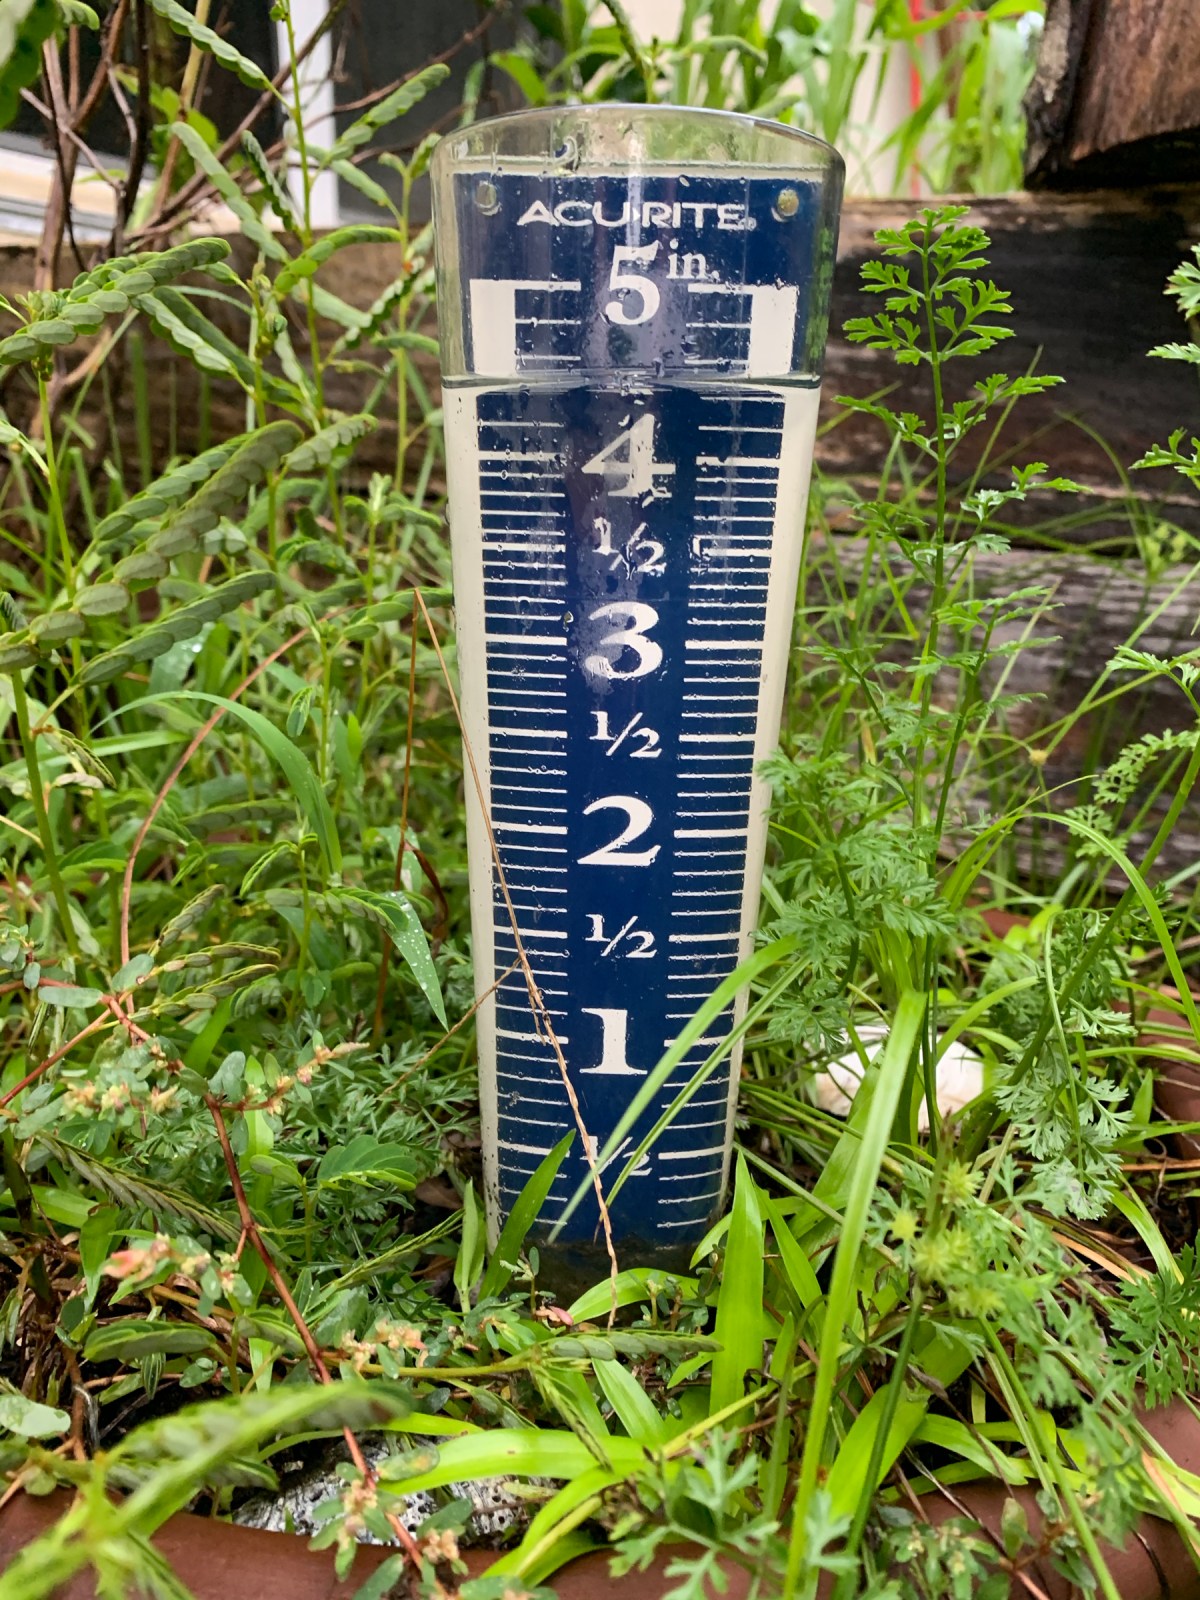
The other day we had a massive storm, with a tornado touchdown just west of where we live. It brought 4.5 inches of water, which filled the drainage ditches and low-lying areas. In Florida, rainwater seeps away into the ground fairly quick and we can handle that amount of rain.

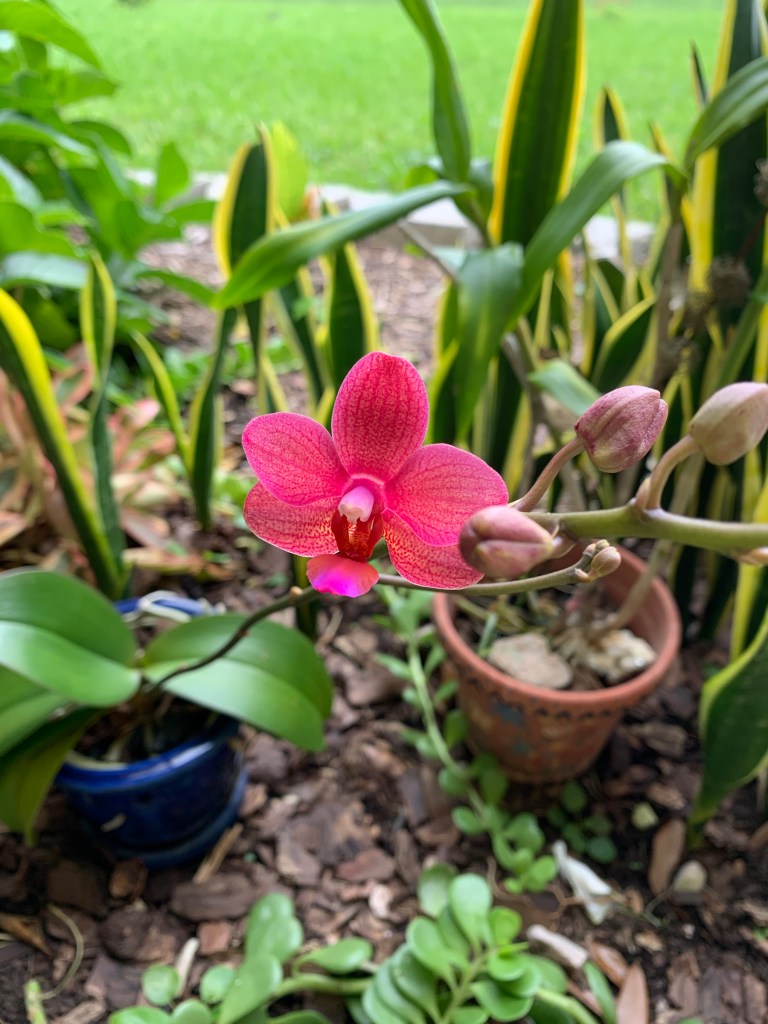
As I was picking up overturned plants and inspecting my gardens, I discovered that my old orchid plant had a stem full of buds! I have two orchid plants that sit outside in the shade of a bigger shrub. Orchids appreciate the humidity, but don’t like direct sunlight. That is the extent of my orchid knowledge, and I moved them outdoors where they can get what they need.

blooming orchid with pink flower
Finally – blooming again

This orchid was a gift from my daughter many years ago when she was a little girl. I’ve kept it, and traveled all over New Hampshire with it in all my moves. Now I (and it) are back in Florida, and the plant seems to be happier. I can’t remember when it bloomed last.

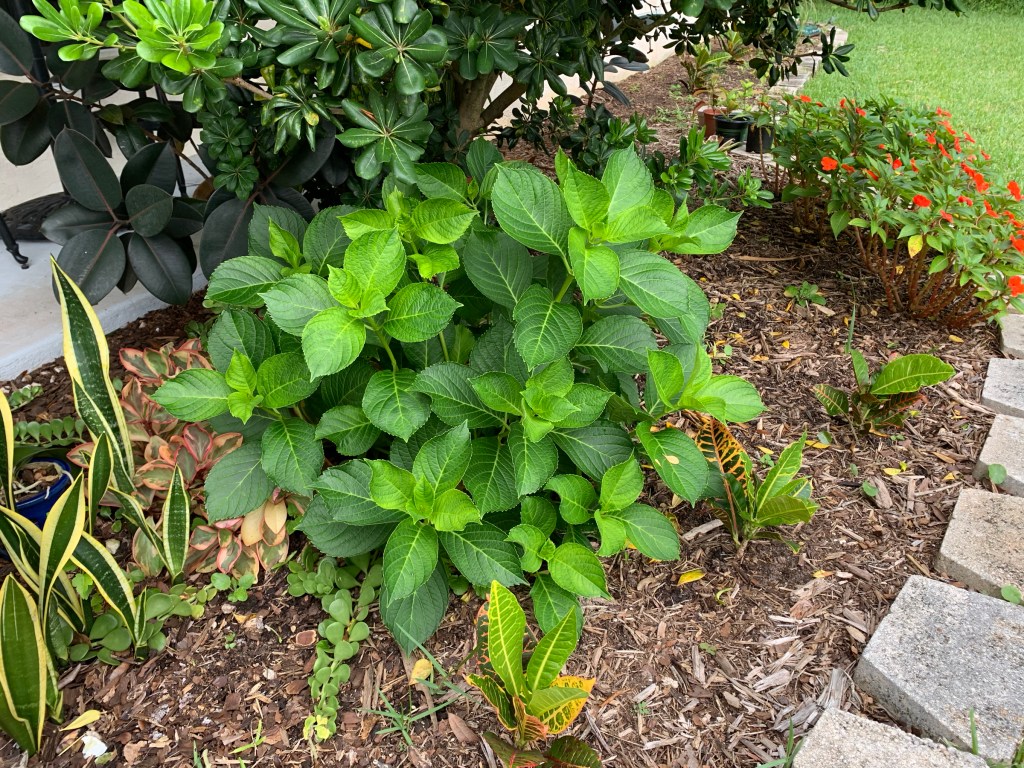
Just behind where the orchid sits in the garden is my hydrangea! It has really grown, but there are no flowers. See my first hydrangea photos here. It remained quite small for a while, but now it is taking off. Maybe the roots have taken hold, and the fertilizer has kicked in.

Florida outdoor hydrangea shrub

Did you notice my little croton starter plants in the photo above? I have four across the front of the garden (three in the photo). I rooted them from cuttings.

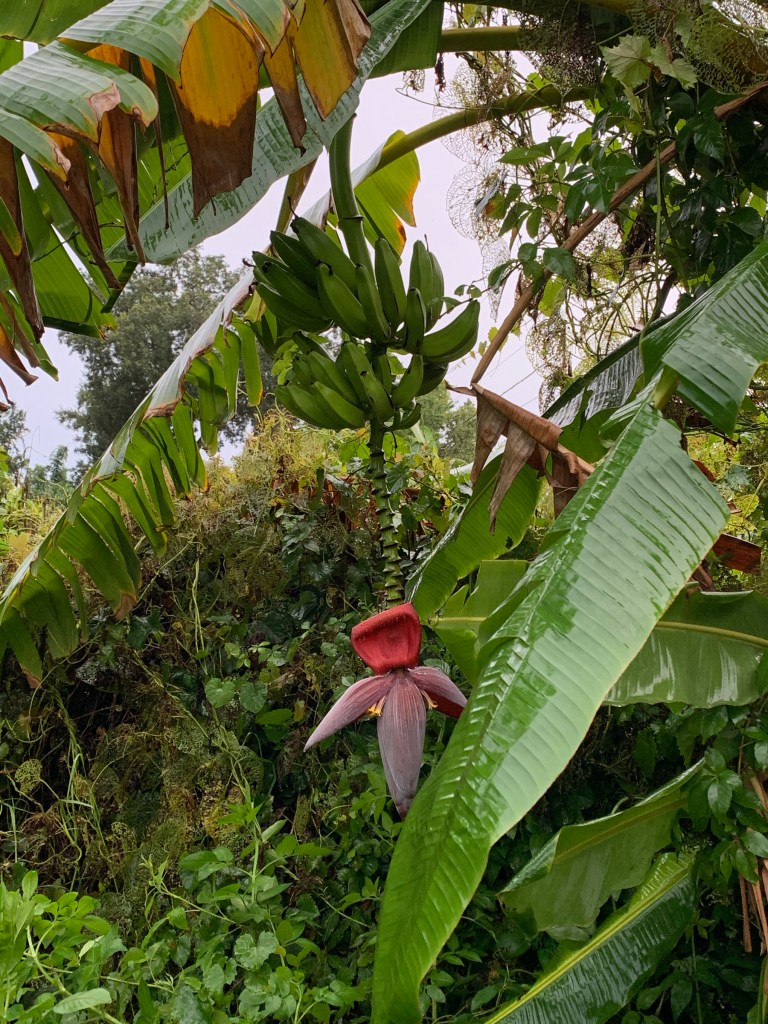
The wind blew the banana tree over a bit so now the bunch of bananas growing is reachable.

banana tree with bunch of bananas
Drooping bunch of bananas

Why I Prefer Cookbooks to Online Recipes

I consider myself fortunate to have grown up cooking new recipes from cookbooks. These days food photos and recipes dominate the internet, with very few good ones to be found. Most recipes seem to be carbon copies done over and over, saying the same thing. Once I wade through the advertisements on the page and finally see the actual ingredients, I’ve lost interest.

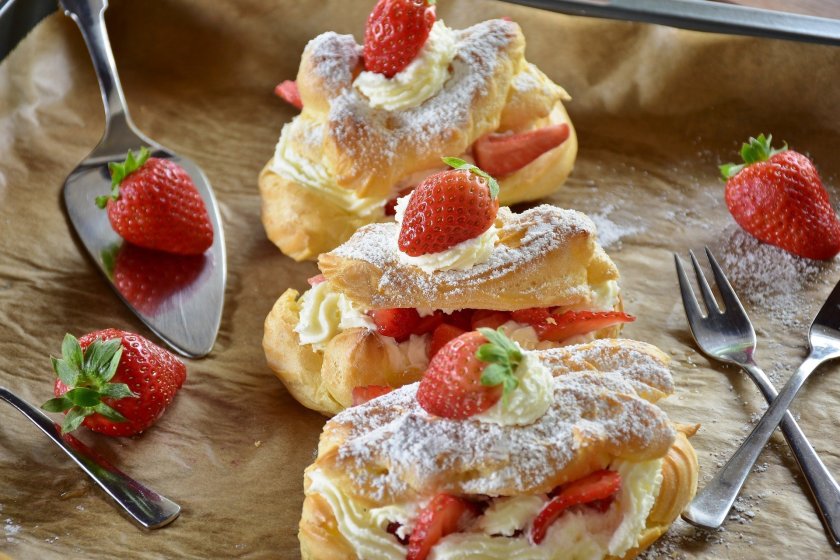
eclair sweets dessert

Does Everyone Really Own a Food Processor?

I love to find a nice recipe and then discover the meal was made with the help of a food processor. I’m kidding. I don’t love it.

Recently I was looking for a recipe to give me ideas about what to do with some cauliflower and mushrooms I happened to have. Was there a recipe that used both? Yes, some sort of Bolognese which, according to the recipe required all kinds of work, including using the food processor numerous times.

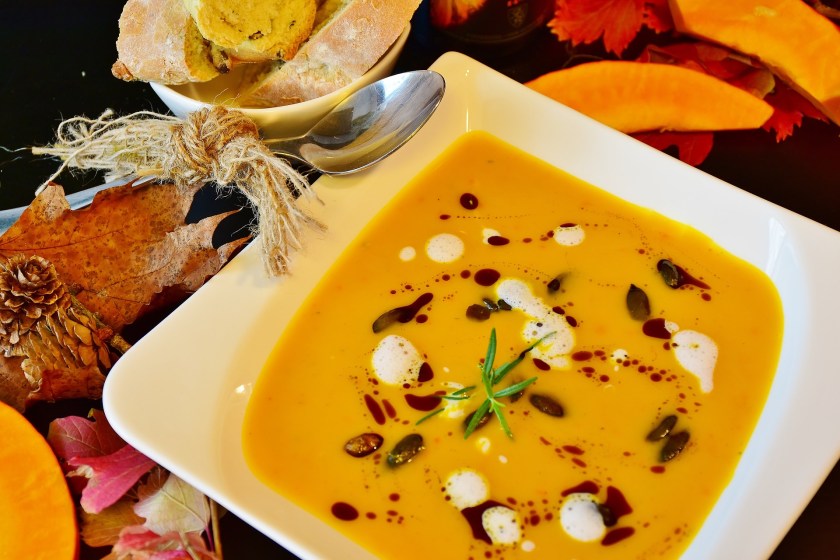
Pumpkin soup

These days when I search for a recipe, I am usually looking for ideas and not specific directions. I’ve been cooking long enough to know the basics. Except for beginner cooks, I can’t understand why people need to follow recipes to the letter.

Which brings me to the next gripe.

Don’t Trust All / Most Recipe Blogs

Aside from the long, advertisement filled pages of recipe blogs, many times the recipes themselves are simply not that good. Some say to add salt at every turn. Some list ingredients which really don’t go together. And many make cooking and baking much more difficult than it needs to be. They lead you to believe that they are sharing their own secret ideas for success.

Let’s face it, most food bloggers are writing to make money. We all have to eat, and mostly love looking at pretty pictures of food, so bloggers have that going for them. They will link to food items, kitchen utensils, and pots and pans while kindly sharing their recipe (which is just a copy of everyone else’s). They make money off those links, and the massive amount of ads which appear on the page. I don’t fault them for that, just the massive overdoing of it.

But do we believe that these bloggers make their own recipes? I suppose some do, but others sound so bizarre and awful, I can’t believe it. Their cutesy way of writing should not distract from the real reason the page was created.

Dig Out the Old Cookbook First

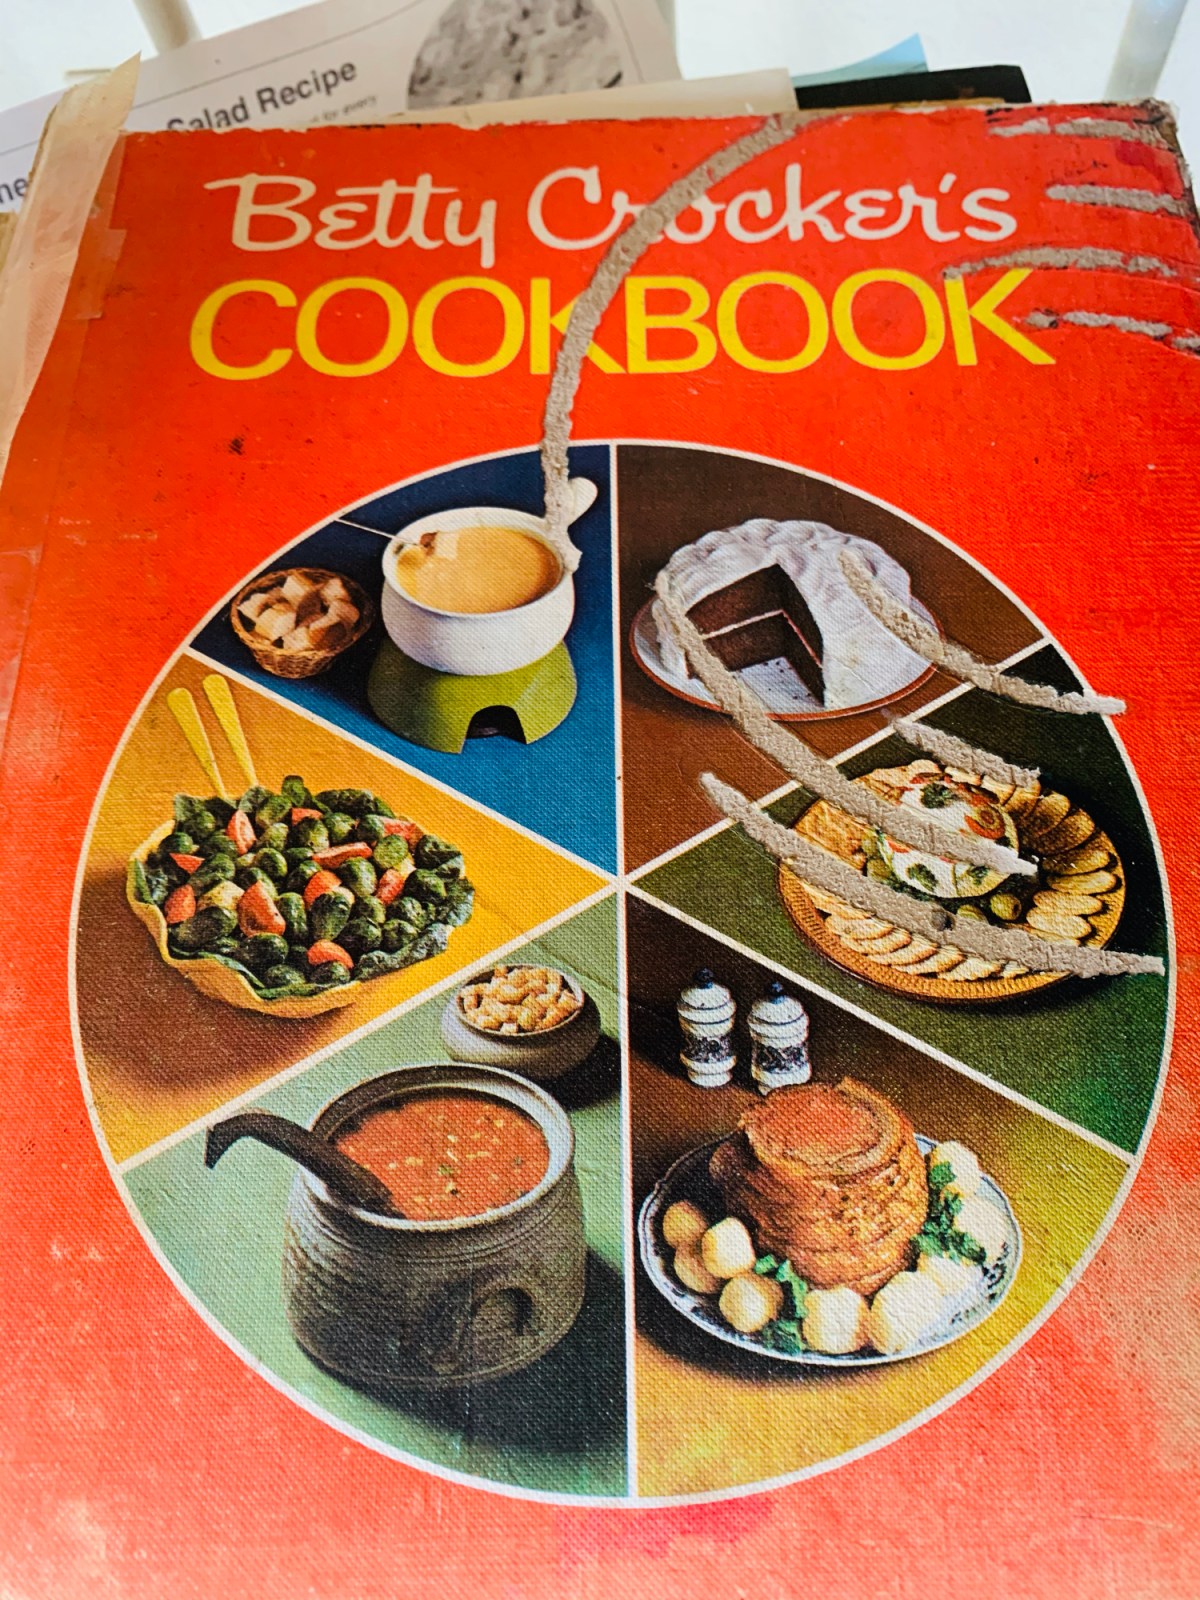
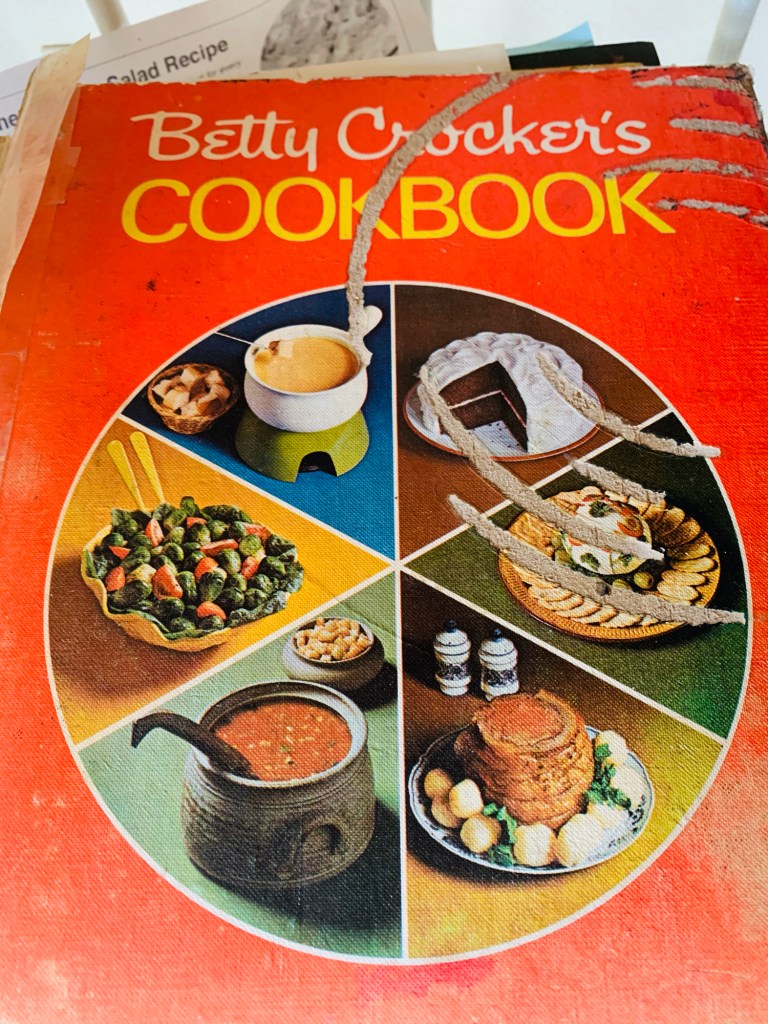
Because of all the moving I’ve done in my life, I no longer have many “things”, but one thing I have kept is my old cookbooks, namely Betty Crocker. Usually I check here first when making a recipe.

It’s falling apart and as you can see the front was burned by a hot stove coil at some point, but it still holds some wonderful recipes which I still use.

Old Betty Crocker cookbook
My 1970’s cookbook

Granted, it’s old fashioned. I don’t use “lard” to make anything, and fondue is a bit unpopular these days, but tried and true cakes, cookies, pies and casseroles made from this book are still the best basic recipes out there. No food processors necessary!

Bloggers have to have a lot of words on their pages for indexing and search engine optimization. That’s why they go on and on about all kinds of boring things when you first land on their pages. We hear about their hubbies, kids and baking mistakes, and blah blah… until we finally get down to the actual recipe.

But, open a cookbook, and there you have it, the recipe ready to follow.

Okay, okay… I realize that most younger people probably don’t have old, faithful cookbooks to follow. I’m just saying be careful of which recipe blogs you choose to use.

Thanks to Pixabay.com for the food images on this page.

May 2020 In My Florida Yard

While I am hanging out at home (which I pretty much do all the time anyway) I have given the yard some attention. I thought I’d share photos of what is growing in my Florida yard.

Here in my area of Florida we’ve had a few very cool nights (ya..60’s), but I’ll take it. By May it’s usually hotter than this, but I am not compaining. I’ve still been taking walks early without sweating too badly and it’s been nice outdoors for puttering in the yard.

Garden around a tree
Tropical garden plants

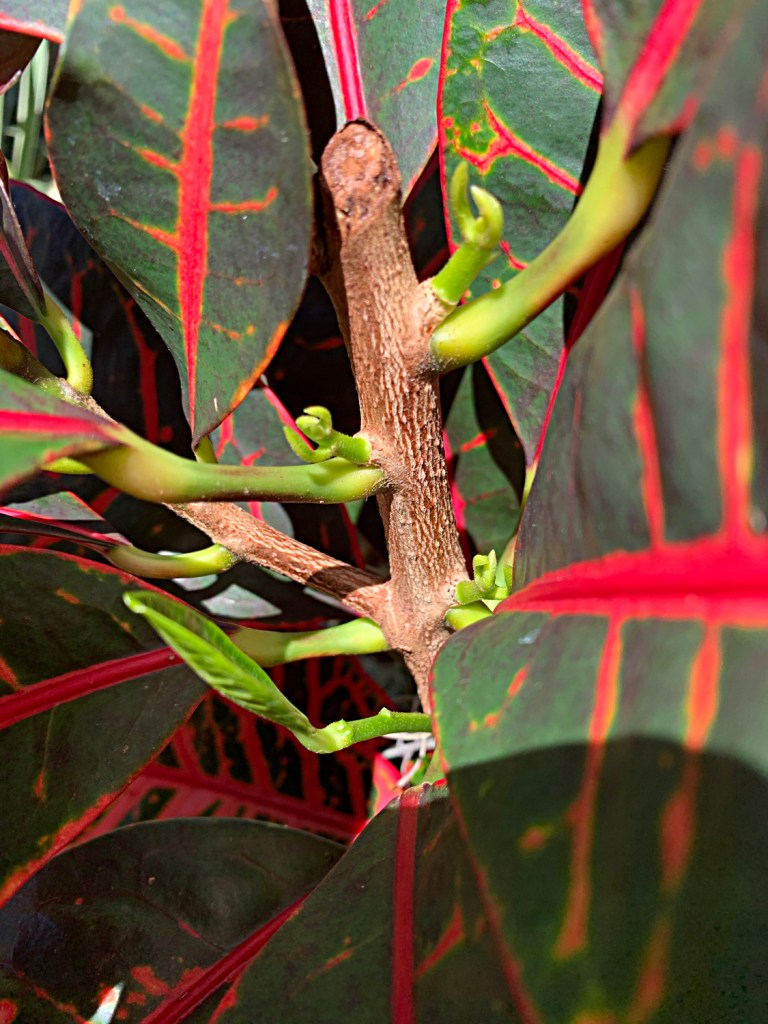
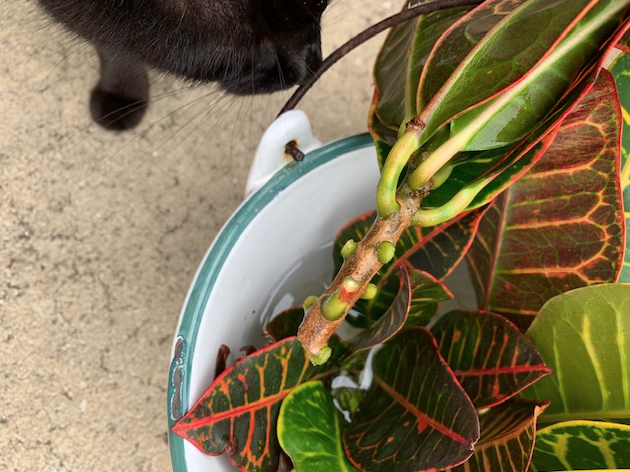
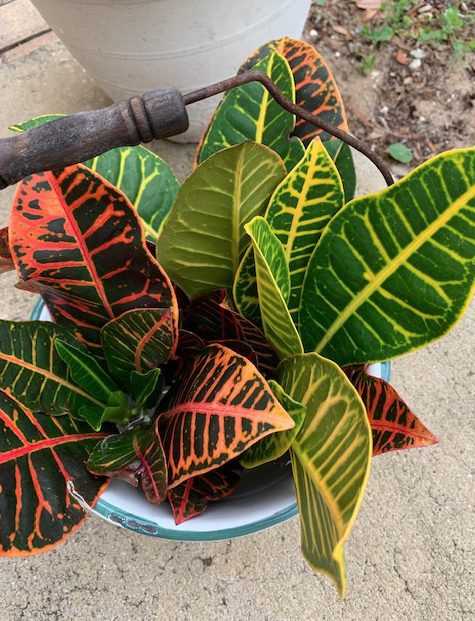
I took some croton cuttings the other day and they are sitting in a pail of water waiting for roots to grow. I’ve had success with propagating crotons, and Spring is a good time to get cuttings of new growth.

One of my previous croton cuttings, gave me a new cutting… and now that first plant is shooting off new growth. It’s a beautiful little plant with dark reddish orange veins. Because this croton grows beneath an oak tree, it does not get lots of direct sun and that keeps the leaf color darker. Now it will give me a new plant!

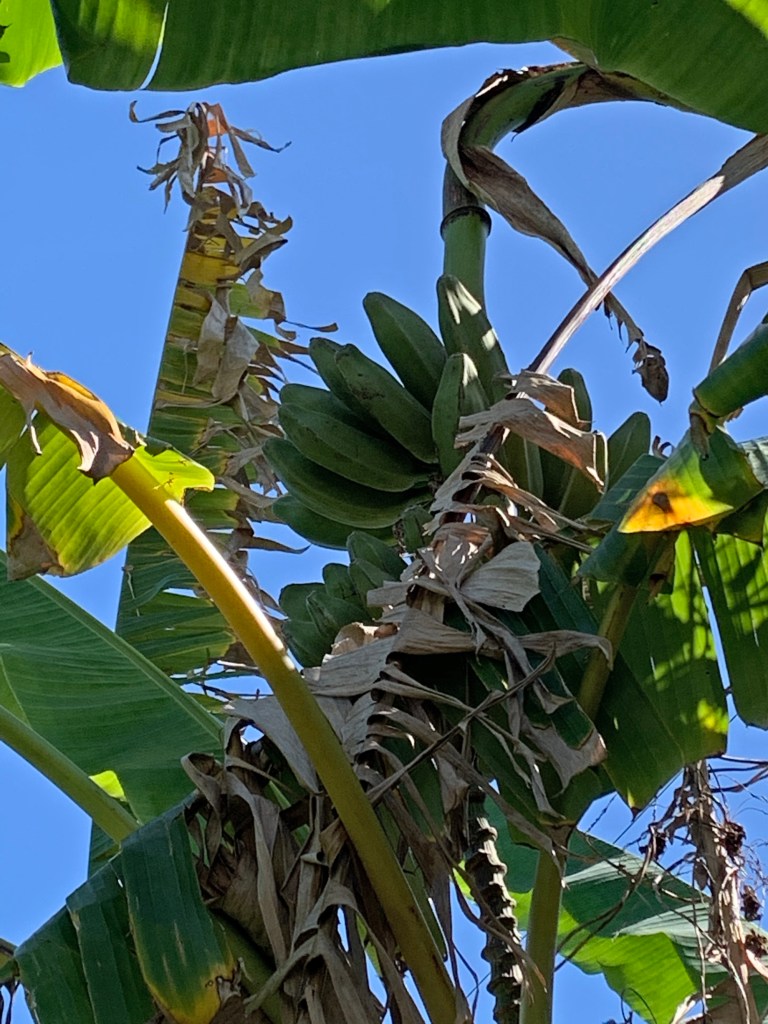
In the back corner of the yard are some banana trees. They have grown a bunch of bananas, but I can’t reach them. I zoomed in to get this photo because they are quite high. We could probably eat them if only they were closer. We did not plant these trees.

Bananas on the tree
Bunch of bananas out of reach

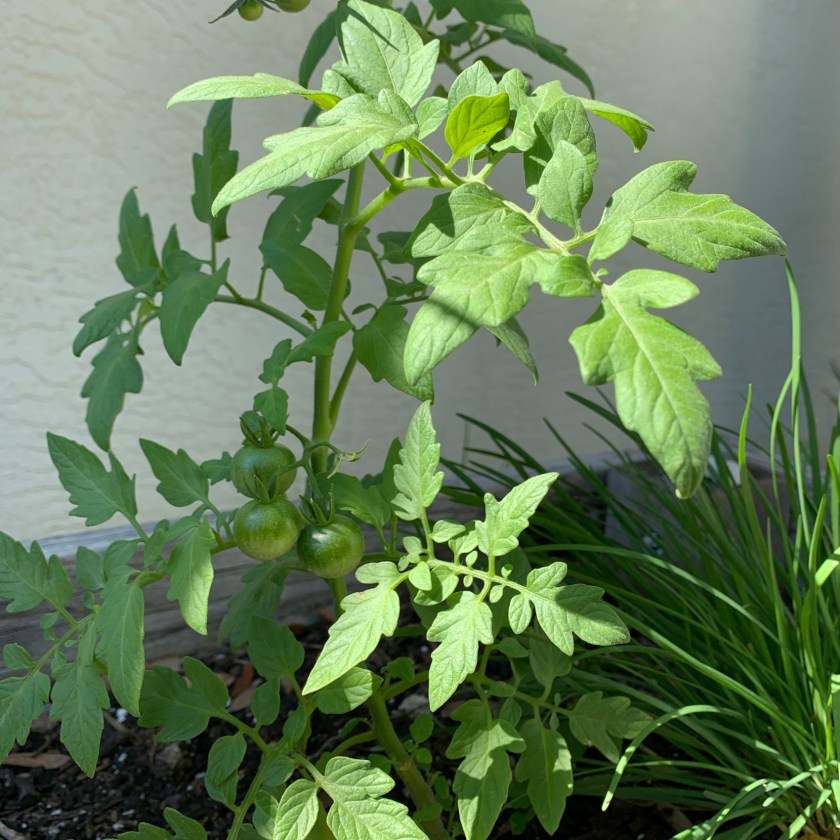
I don’t go out to the store, so I haven’t bought new dirt or seeds, so I’m working with what I have. A tomato plant began growing from seeds of a tomato I used as compost. I’ll cut up vegetables and just throw them in my garden. Now I’ve picked 2 semi-large tomatoes and have some cherry tomatoes growing also.

Cherry tomato plant
Some tiny cherry tomatoes

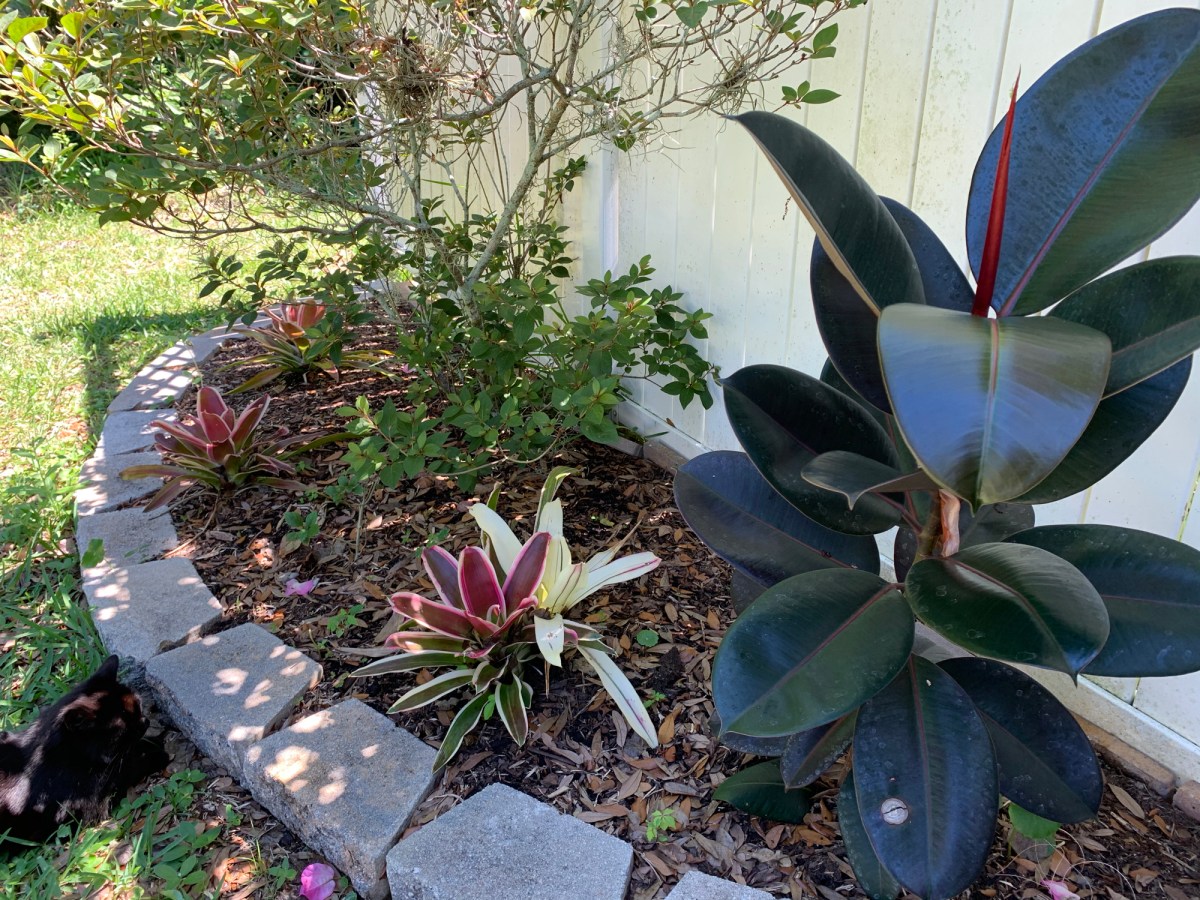
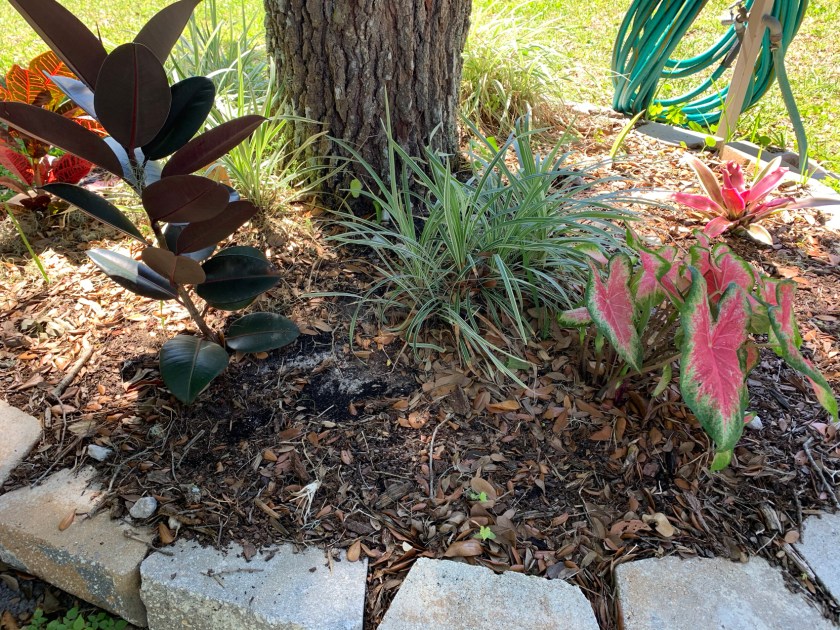
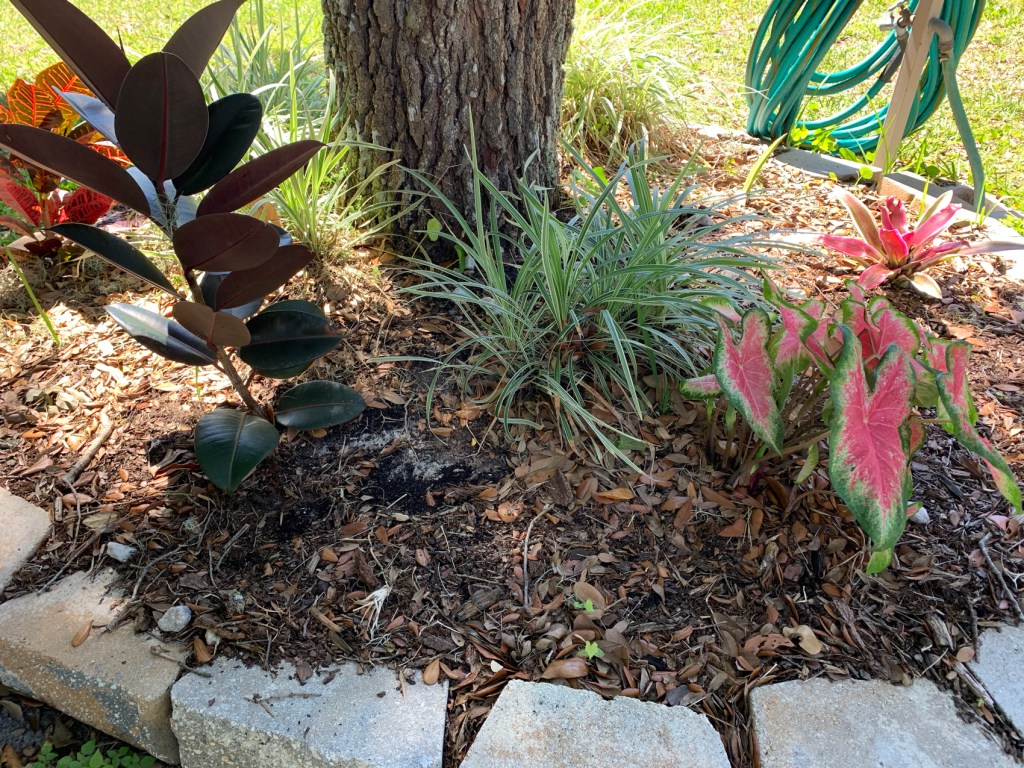
The front garden doesn’t get much attention from me. It’s where the croton is (see it upper left) and I planted a baby bromeliad – right. Front right is the pink caladium, which disappears underground for months and comes back in Spring. I also had a white caladium, but that has not grown back this year.

Garden around a tree with pink caladium, rubber plant, croton and grass.
Tropical garden plants
Florida garden
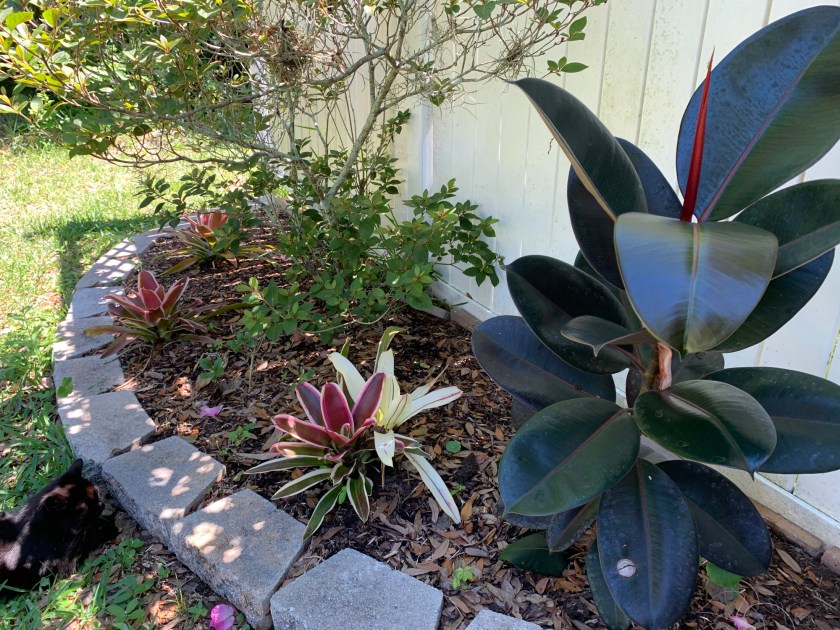
Skittle watches as I photograph my little garden

The Azalea is doing well with lots of green leaves. And the rubber tree – also taken from a cutting, is doing quite well. The Bromeliad double, which is white and pink, was the original plant I purchased. I’ve dug out babies and planted them around the yard.

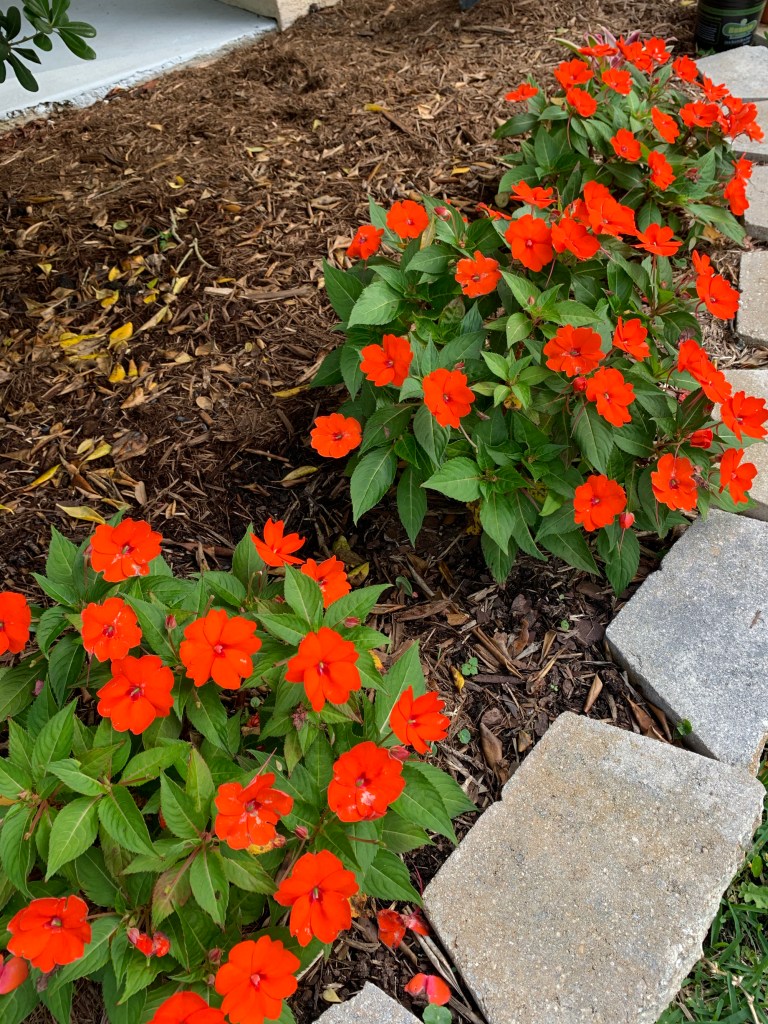
New Guinea impatiens do best with some shade. These will last a long time – sometimes over a year – with shade, water and care.

New Guinea impatiens

The green plants which make a low hedge across the front are filling in nicely. I had cut them back, added dirt and fertilizer and mulch. They looked very ugly and sparse, but no more. They will end up filled in and pretty. They just needed attention.

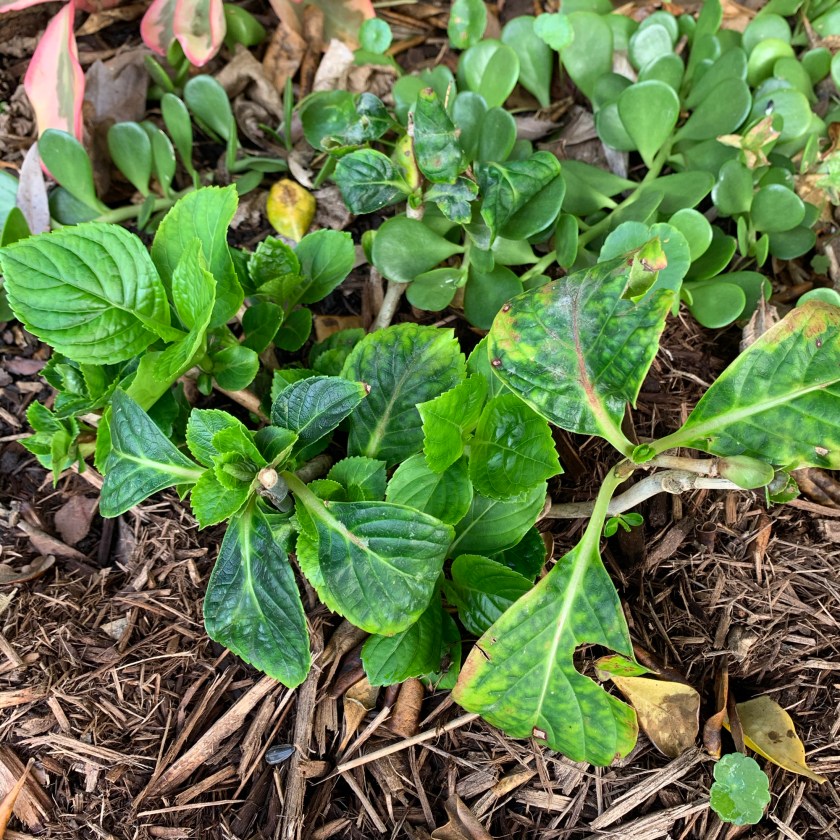
Last but not least is my hydrangea! It is alive, but very small at this point. It’s been fertilized, and watered, and I’ll watch to see what happens. It’s not at all like the hydrangeas I was used to in New England. Florida is like a completely different country.

Hydrangea in Spring
In May – the Hydrangea

I hope you are keeping busy while all this Covid virus stuff persists. Maybe it’s almost time for gardening where you are. I hope so.

Spring in Florida is Like Fall Only Uglier

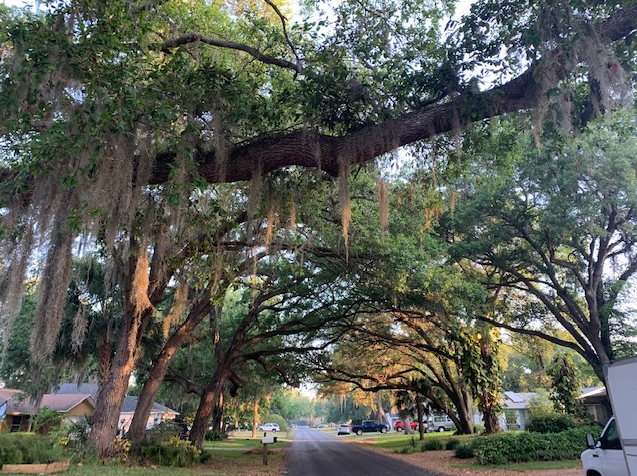
Some people will say that Florida is one big season that just gets hotter at times. But Florida does have a Spring. It’s when the leaves fall off the trees and pollen collects as a yellow film on everything day after day. Yes, Spring is like Fall / Autumn here, in a way. It’s a duller, more annoying, version of Fall.

Florida oaks with moss branching over a road
Live Oaks – Spring

There are no colorful leaves, or crisp air to breathe, like in a real Autumn. The trees turn a brighter green with the new growth and the oaks drop those long brown things all over the cars (that don’t fit inside garages because that is where everything is stored because there are no basements). Oak leaves are small here and not like the oak leaves where I come from.

That’s about it. Other than that, new growth will appear when bushes are trimmed, but that can happen at any time of year. No use looking for tulips, forsythia, daffodils, or anything that signals Spring in many places, because those flowers don’t grow here in the jungle.

Spring Trimming of The Shrubs

A seasoned Floridian knows when to trim the shrubs. Don’t trim in winter as it will promote new growth that will freeze if the temperatures drop, which they sometimes do. Don’t trim azaleas until after they bloom in March or April. Plant new perennials well before the summer heat arrives. (Not this year. The nurseries are all closed.)

Trimmed hedge
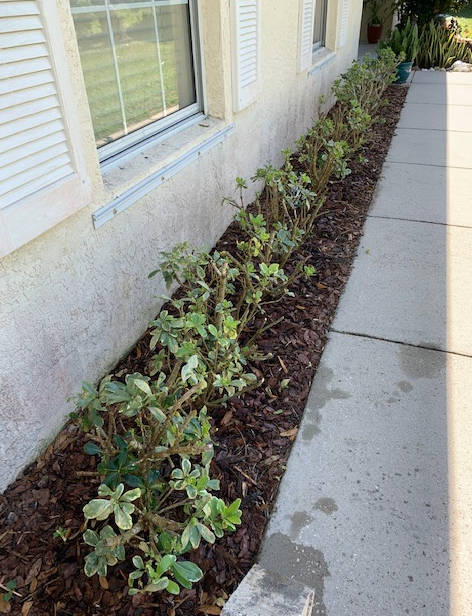
Trimmed hedge of little ficus?

I have decided this year to try and fix up the shrubs along the front by the garage. These are hardy little things that are slow growing, so they are perfect for this area. I’m not sure of what they are, maybe some sort of ficus. I imagine they were planted when the house was built. Unfortunately, the sprinkler system didn’t reach them, and they’ve been ignored since I moved in over three years ago. I’m so sorry, but you did well enough without my help.

new growth on the shrubs
New growth

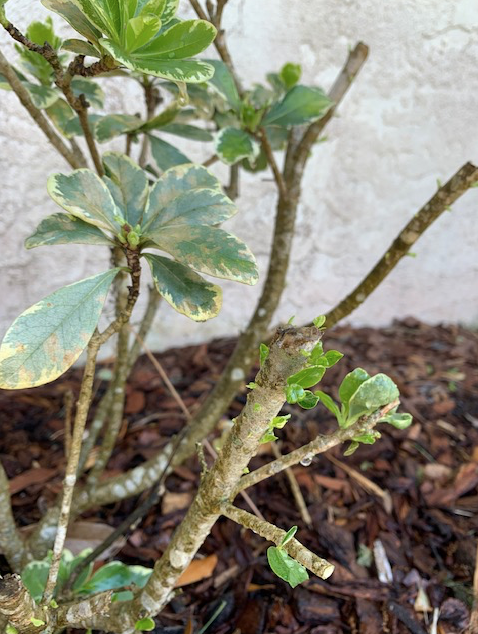
Now it’s time I paid attention and helped them out. I just recently cut them back a lot. The leaves were looking bad, as you can see I’m my photo. The stems had become spindly and leafless. I’m hoping that this trim will help them to fill out.

new growth on green shrubs

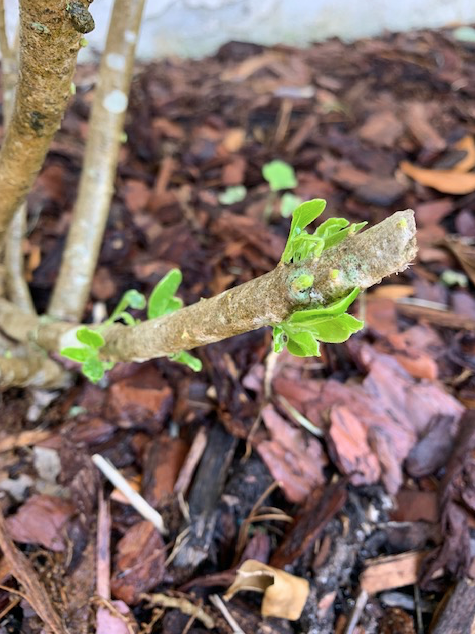
Already there is lots of new growth on the stems. I’ve added topsoil, fertilizer and mulch to this section of garden. My son bought, and installed, a little sprinkler head that sprays this garden specifically. It shouldn’t be long before this hedge is looking thick and lush.

Creating a Front Garden

Last winter and into spring, I decided to begin creating a front garden space to plant new perennials. When one older lady is doing this work herself, it takes time. I wanted to prepare the bed by killing the grass and weeds and adding some “good” dirt.

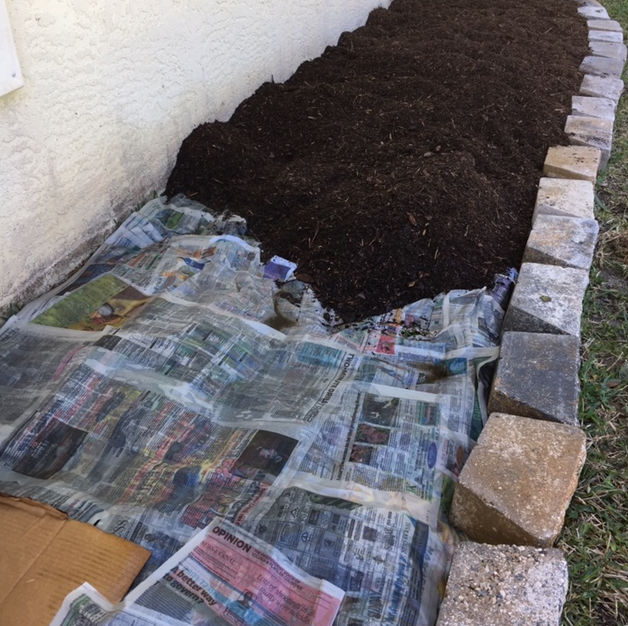
I bought the border bricks, which I put around a few other little gardens in the yard, and my son helped me move the bricks. I bought a load of dirt from a local landscape center and put that on top of my saved newspaper.

new garden
Getting the ground ready for a new garden

In New Hampshire this newspaper trick worked pretty well. Paper plus a layer of dirt kills the stuff underneath. I used to do it so it could sit over winter. But Florida growth is a different beast. For one thing it never really stops growing. There is no ice and snow to make it dormant. The newspaper and cardboard did help but some grass and lots of dollar weed came right up through everything.

Also grass here is not the slightest like northern grass. This grass is in vine form and it’s tough stuff. You don’t want to have to dig it up.

front garden area
The weeds are thriving

A strange tall weed began to grow and I let it. I still have no idea what it was. Once it got big, it had a few pretty little yellow flowers. Eventually the whole thing died and I pulled it out. Weeds can be interesting and beautiful.

Yellow flowers on tall weed
This weed had pretty little golden yellow flowers

All in all the work I did to remove the grass worked pretty well, but I still had a lot of stuff to pull up. The dollar weed is under control. The older part of the garden, as you can see below, is full of plants. My hydrangea looks pretty bad, but it’s alive. The blooming New Guinea impatiens are some of my favorites as they last a long time and brighten the yard for months. The red bromeliad was a Christmas gift from a friend.

Front garden with extension
Front garden Spring 2020

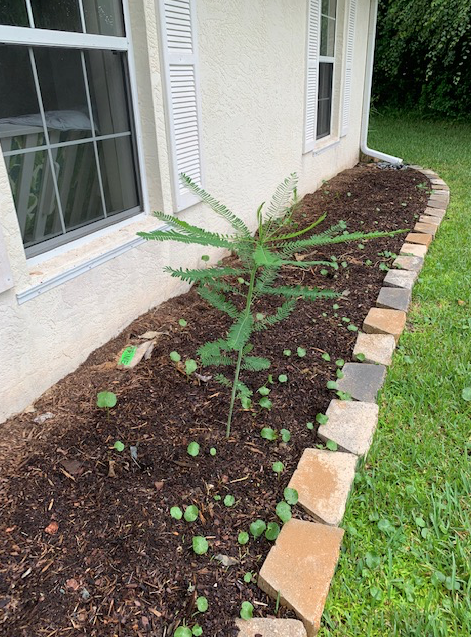
The new garden area, in the back on the photo above, contains only two crotons which I began from cuttings, and a spiky agave plant- at least I think that is what it is. I got it from a neighbor and haven’t been able to find a spot to plant it. Finally it’s “roots” were breaking the pot apart, so I stuck it here. But it will be in the way of the sprinkler head, so it might have to go. These things get huge!

Agave plant
New croton plant
The baby crotons are doing okay

My plan for this time of year was to buy some new plants for the front garden. I hadn’t decided for sure what plants, but a trip to Pells Nursery would have helped me decide. Now that everything is closed, thanks to the Coronavirus, and we have to stay home, I can’t very well shop for plants. So… change of plans.

I’m currently planning to plant some vegetable seeds I have saved in this empty garden space.