Mail Order Native Florida Milkweed Seedlings Review

I’ve found a good place to buy milkweed plants online. Ordering plants online can be expensive, so the plants that arrive should be in great shape. Read my review of Whitwam Organics and The Growers Exchange.

I need to get this recorded because I found a mail order company that sends nice plants. Here I am comparing the two companies that mailed me milkweed plants. The Growers Exchange and Whitwam Organics were the two I chose.

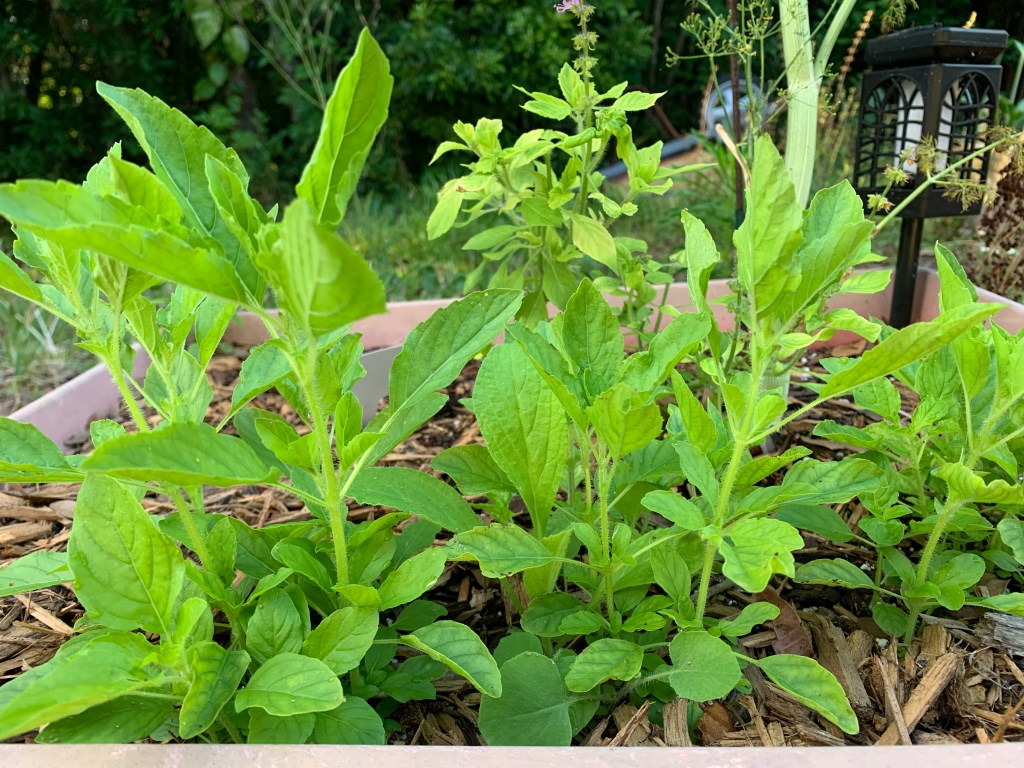
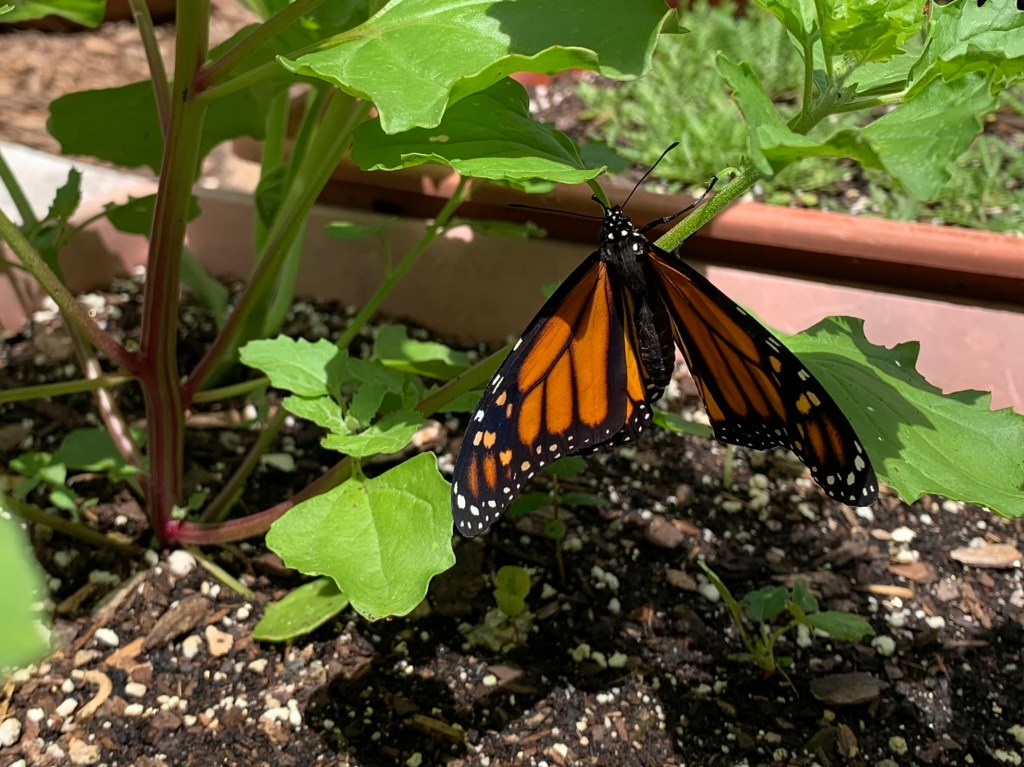
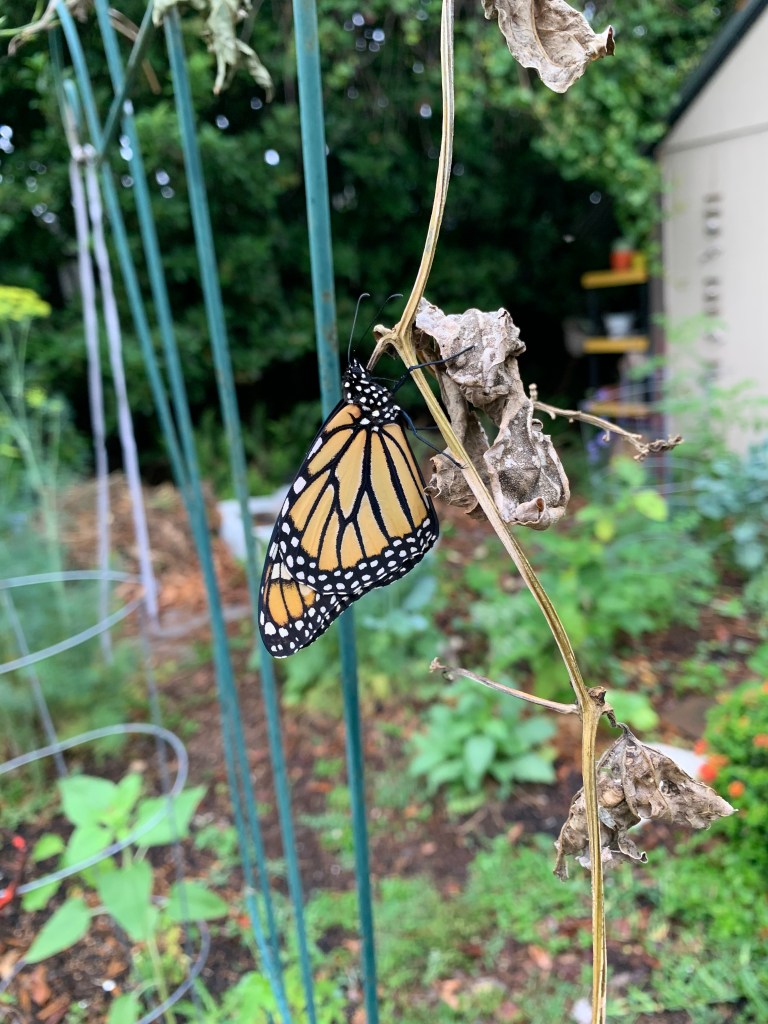
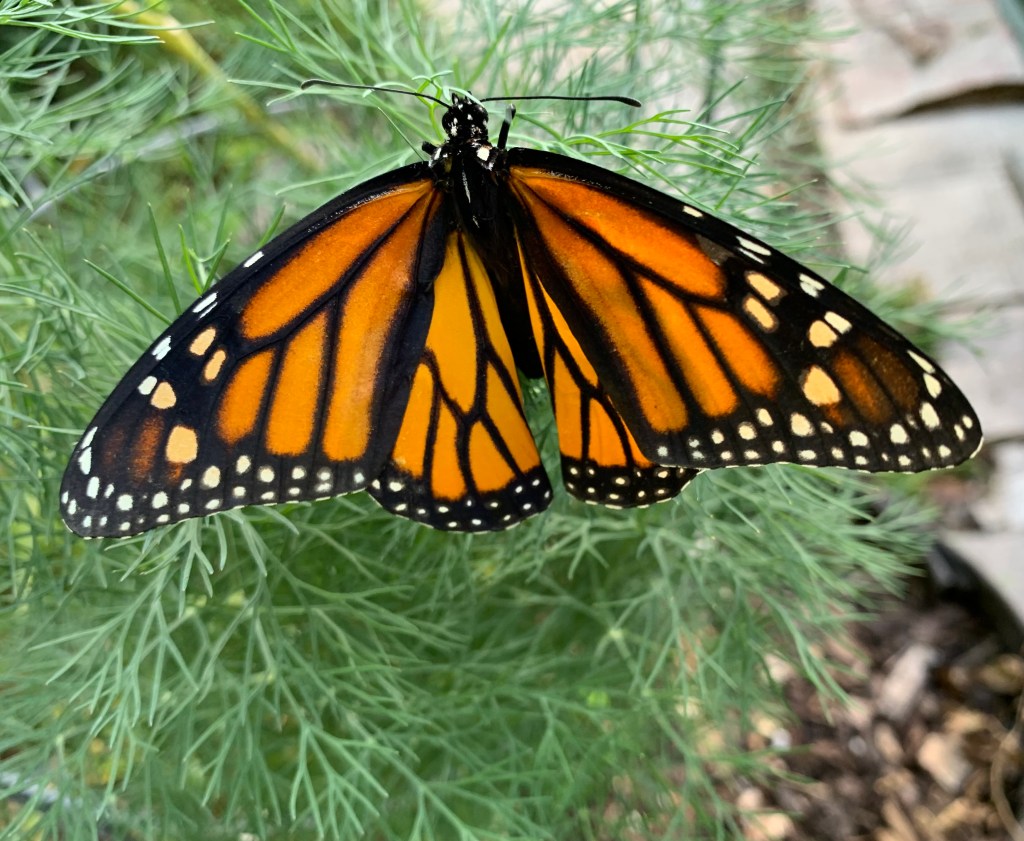
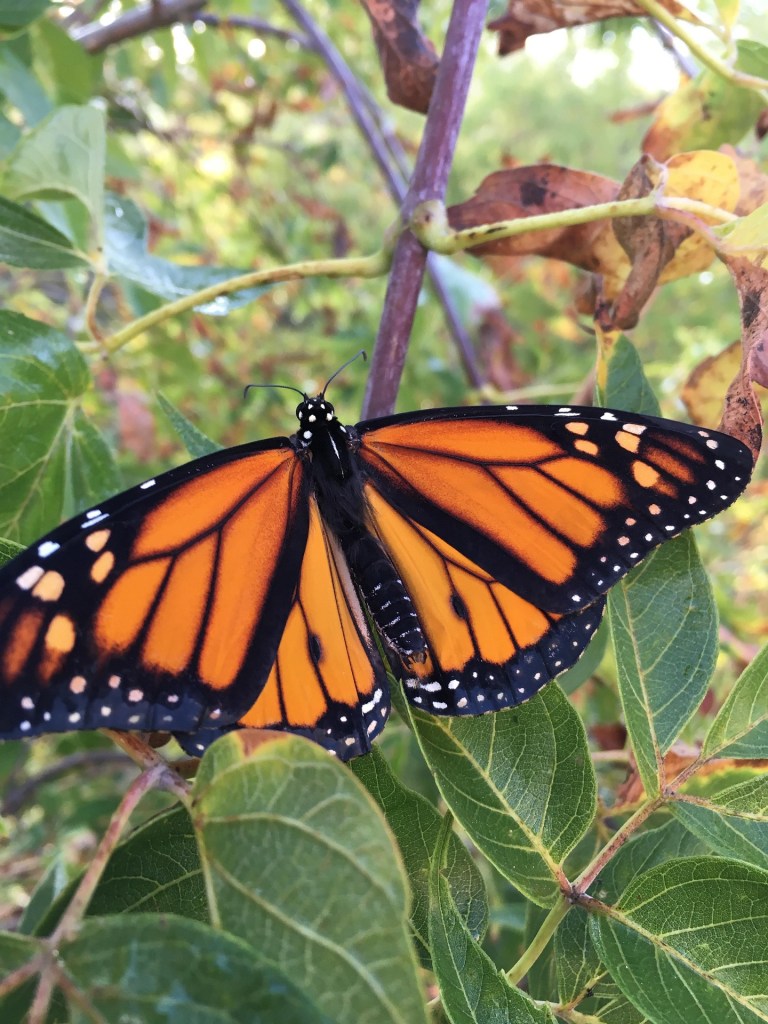
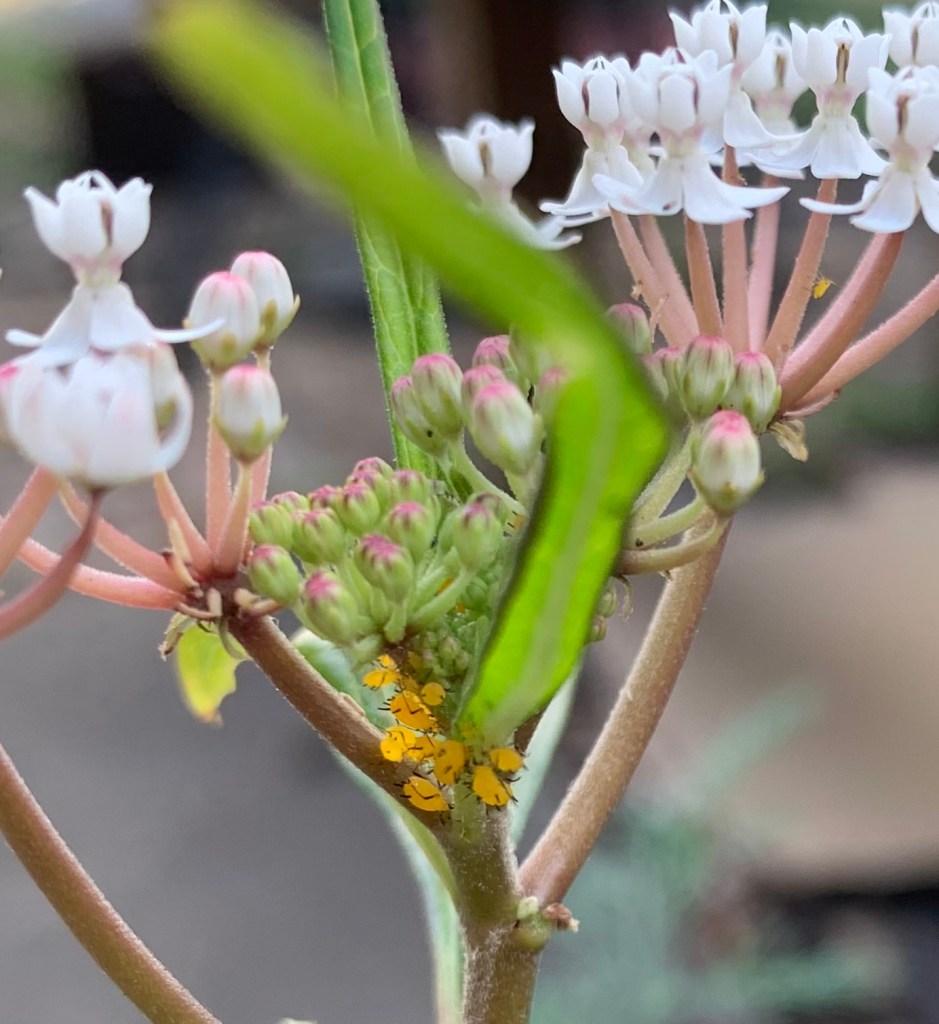
After my butterflies came out, I see all three of the Monarchs flying around the garden every day! The only milkweed currently available for them is the tropical type, and one small, blooming white Swamp Milkweed.

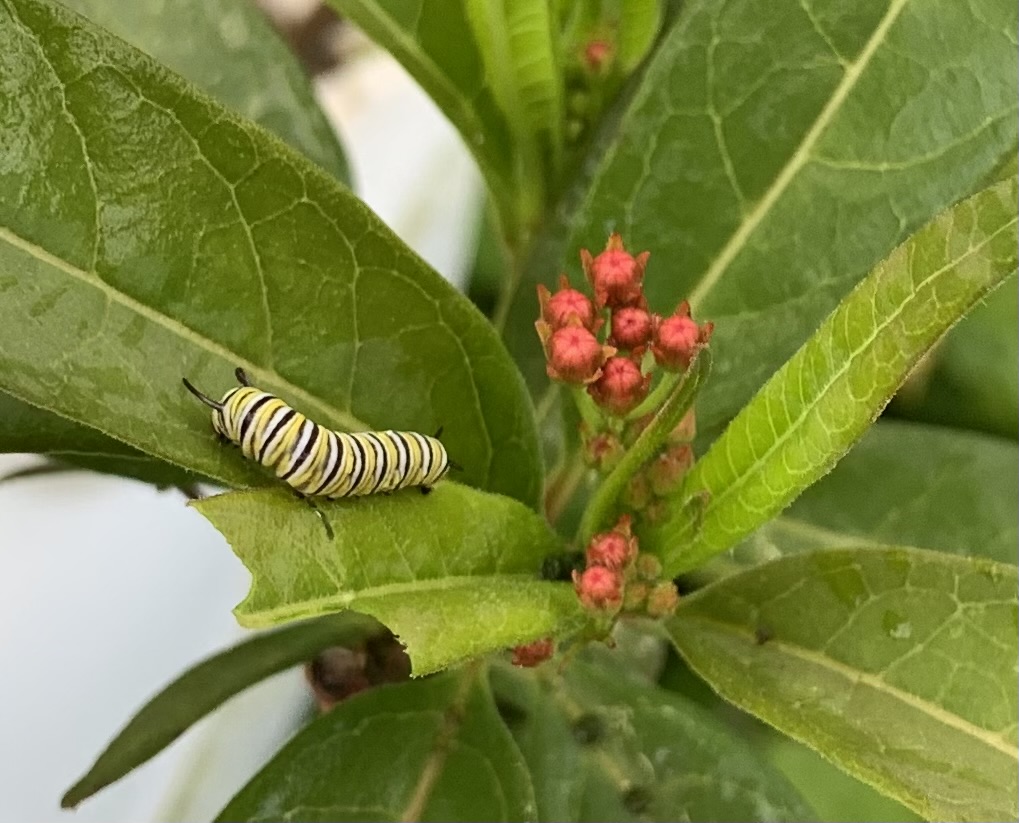
The more milkweed in the yard, the better chance for caterpillars to have enough food. At one time I believed that the Tropical milkweed was bad, but that may not be altogether true. Read more at the link.

The Need for More Milkweed

I ordered some seeds from Johnny Butterfly Seed. Those are popping up in small pots and beginning to grow nicely. Growing from seed can take a while. I wanted plants.

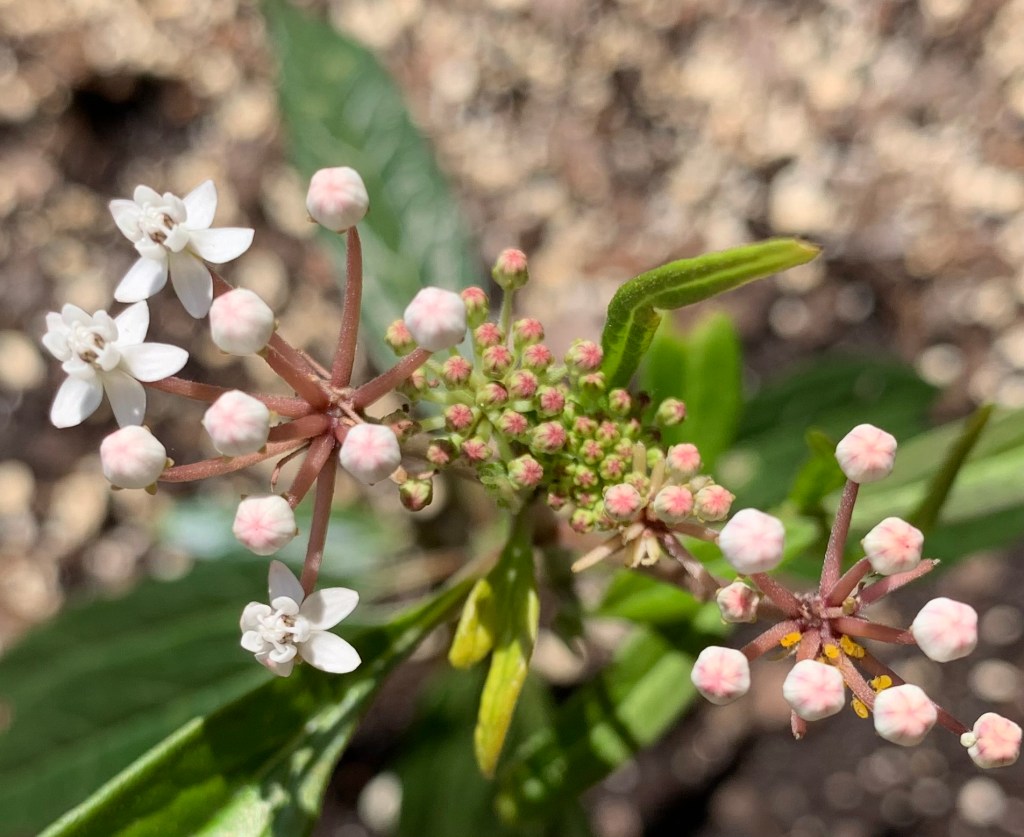
You may be wondering why I don’t buy local milkweed at a nursery. Well, for one it’s hard to find, and when I do see native varieties, the plants are not in good shape. The white flowering milkweed, in my first photos on this page, came from a local nursery. I bought the best looking milkweed plant and it was around $10. It’s looking good, but growing very slowly. I have no idea if it was grown organically, without chemicals. So, I began the online search for pesticide free plants.

Whitwam Organics

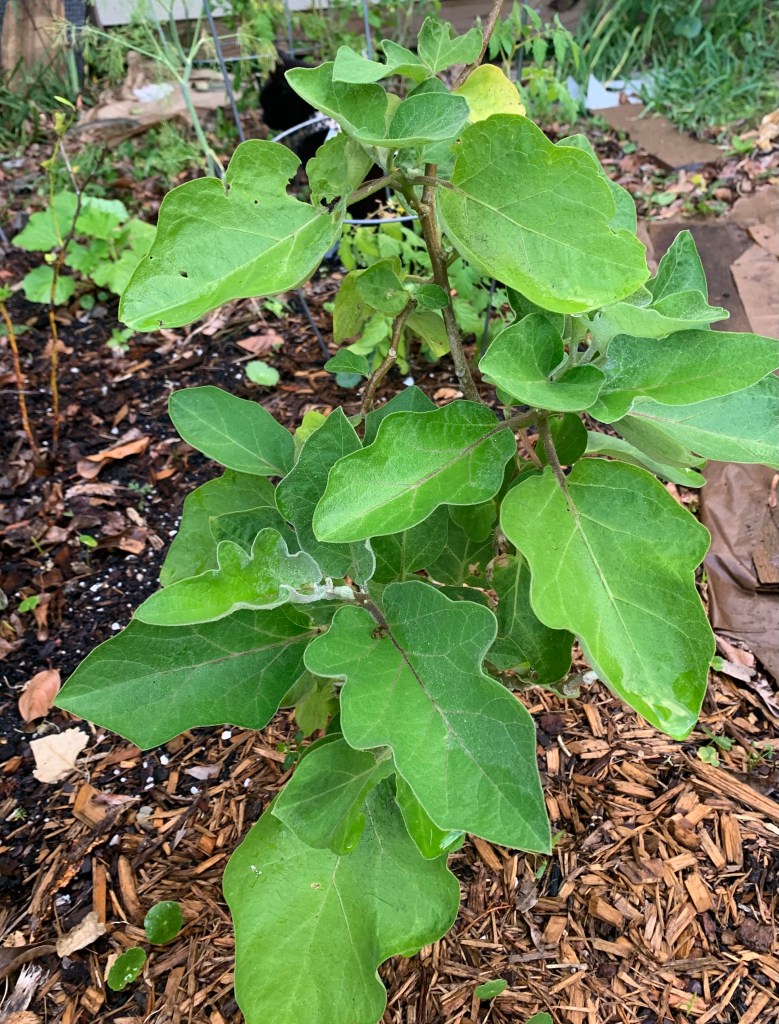
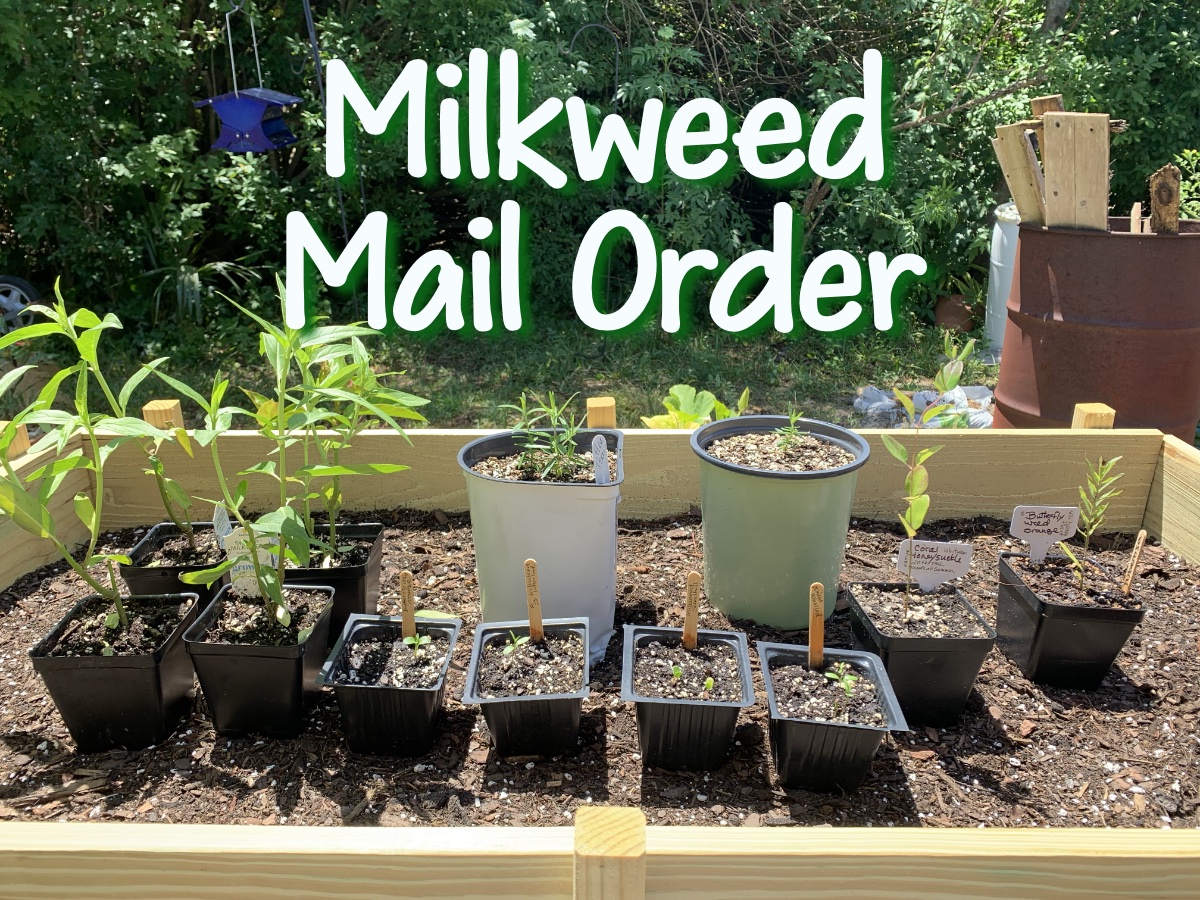
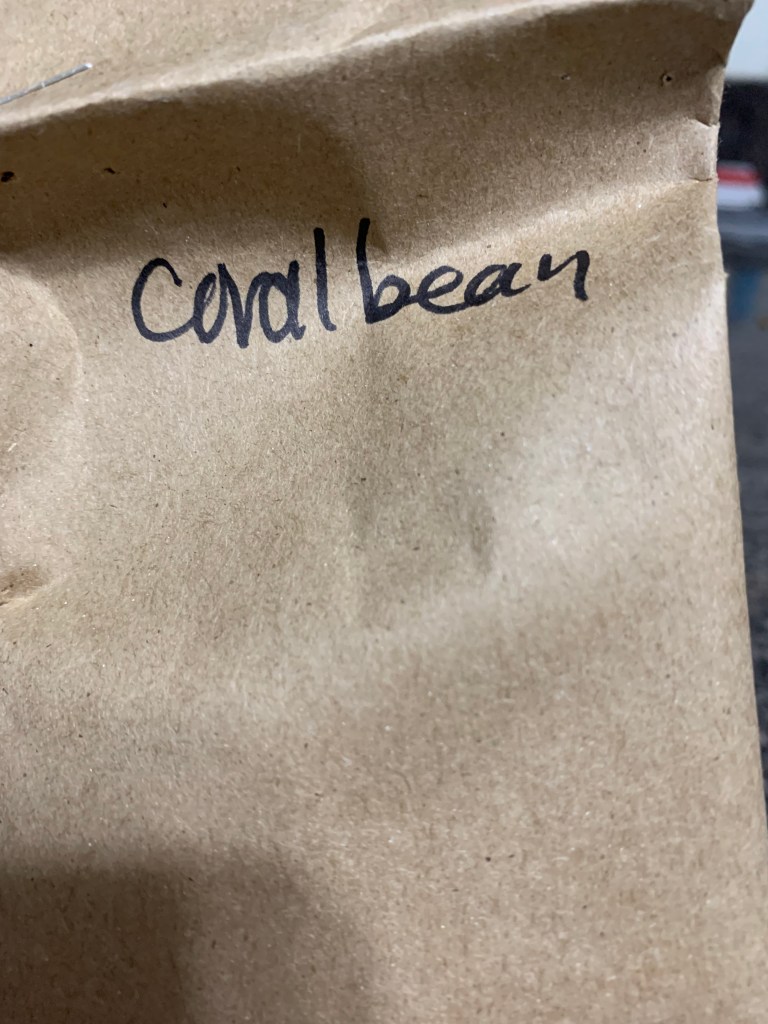
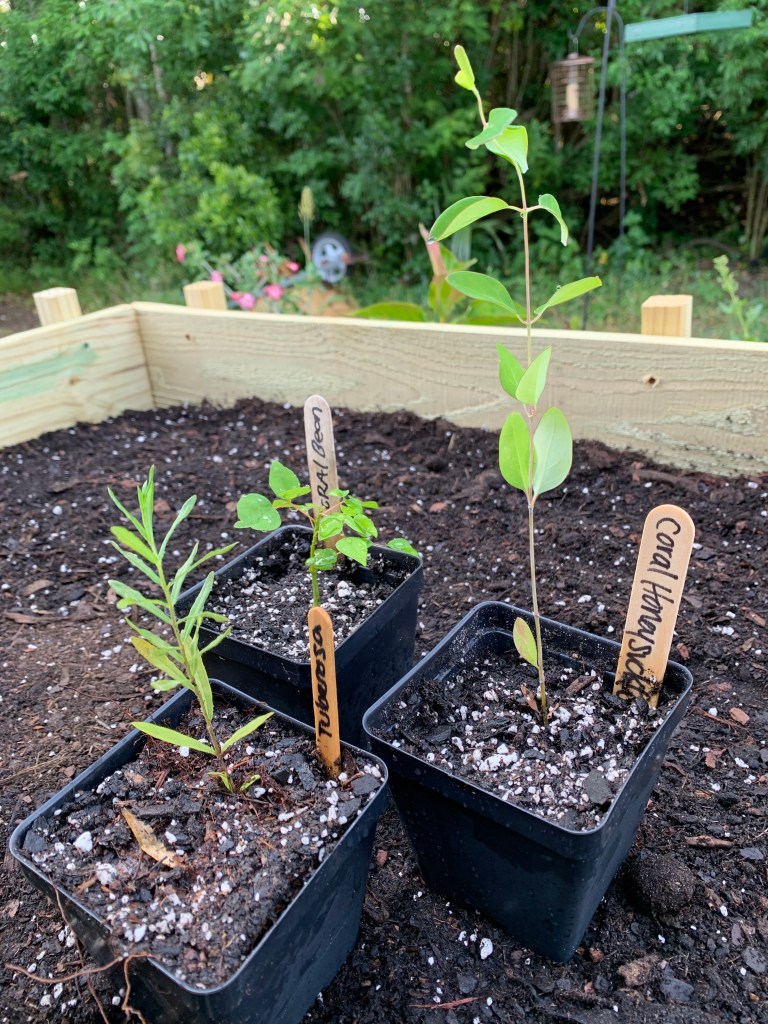
This post is about my order of live plants from two places. The first plants arrived from Whitwam Organics. They e-mailed a notice about delivery, and the plants ended up at my door at 8:00 at night! I suppose I can’t blame the company for the late delivery, but unboxing live plants at that hour really ticked me off. The plants are; a Coral Bean, Coral Honeysuckle, and Orange Butterflyweed (milkweed).

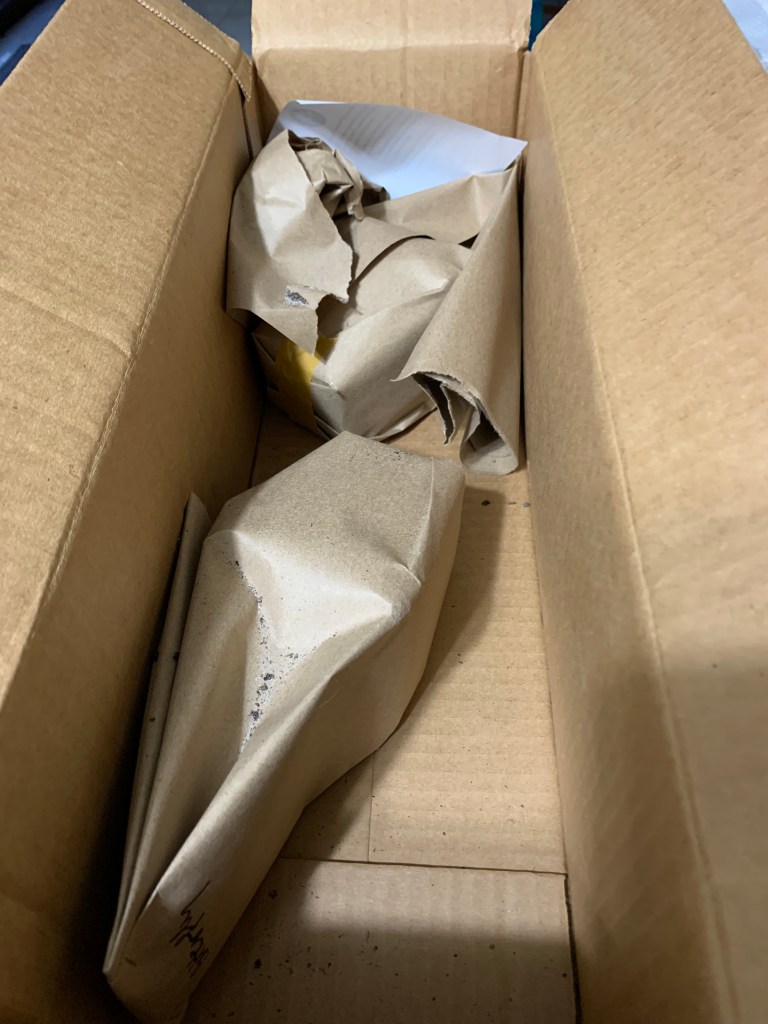
The Whitwam plants were unboxed in the house, until sand began to come out all over. I took them outback to finish and set them inside on the porch for overnight.

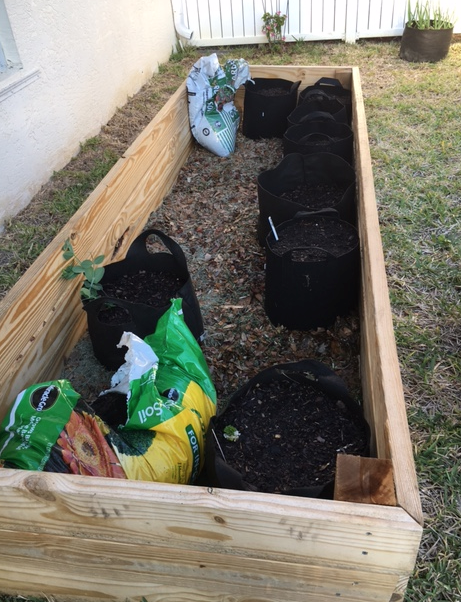
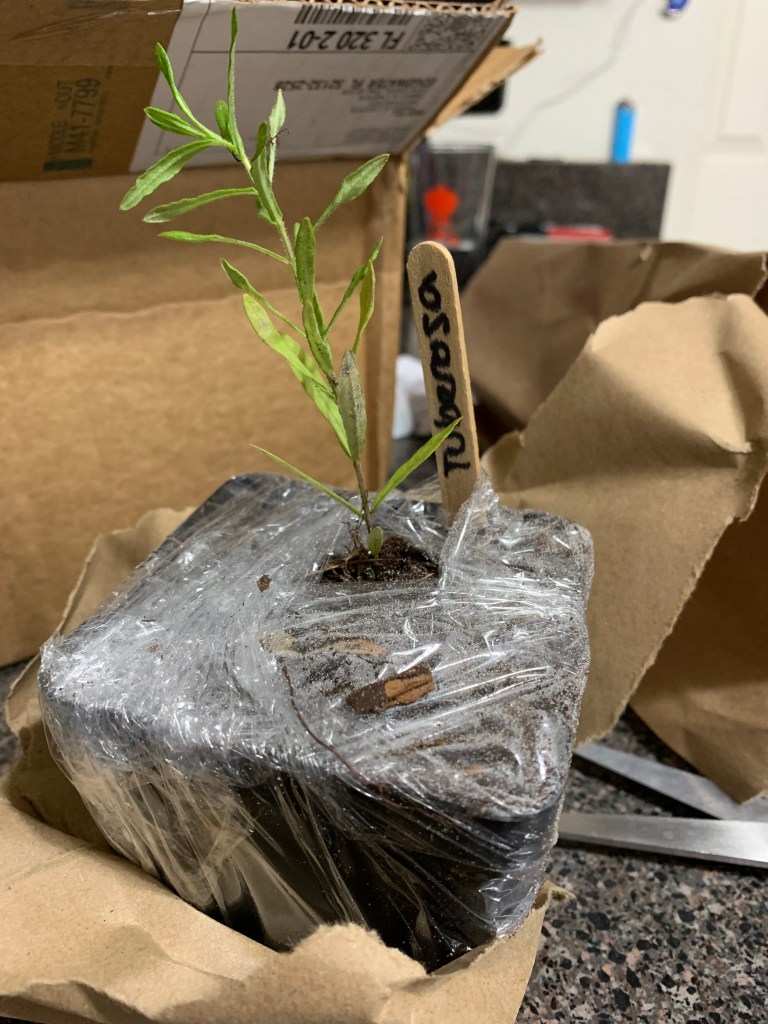
The photo above was taken the next day. The packing was sufficient, but nothing special. Plastic wrap mostly kept the soil in the pots and then the entire plant was closed up in a paper bag. The soil is more like Florida sand than potting soil. The dirt you see in the big photo is after I filled in what was lost when the dry sand poured out. All three plants look okay, but they are small. The Milkweed has lost a few leaves.

Cost: $42.57 which includes shipping and tax. Not really worth it IMO as these plants are very small.

green divider leaves long

Growers Exchange Milkweed Seedling Order

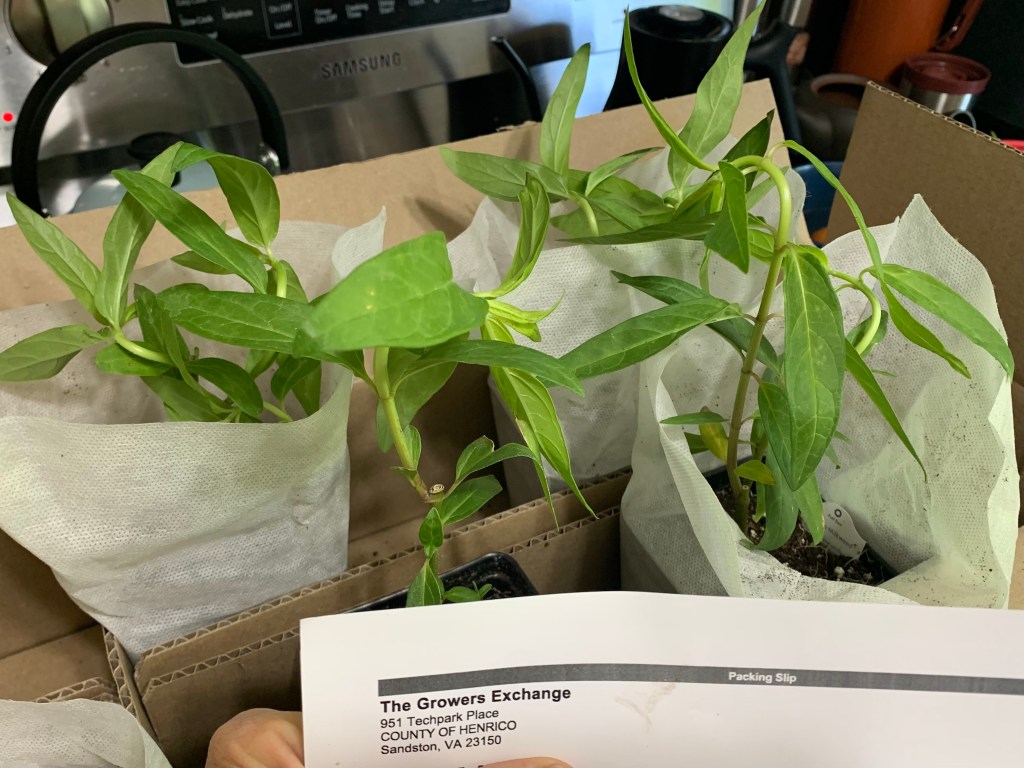
I ordered four Pink Swamp Milkweed from The Growers Exchange. These were not labeled organic, but the site says they do not use any chemicals when growing. The site offers lots of herbs and medicinal herbs, but they also have a few varieties of milkweed.

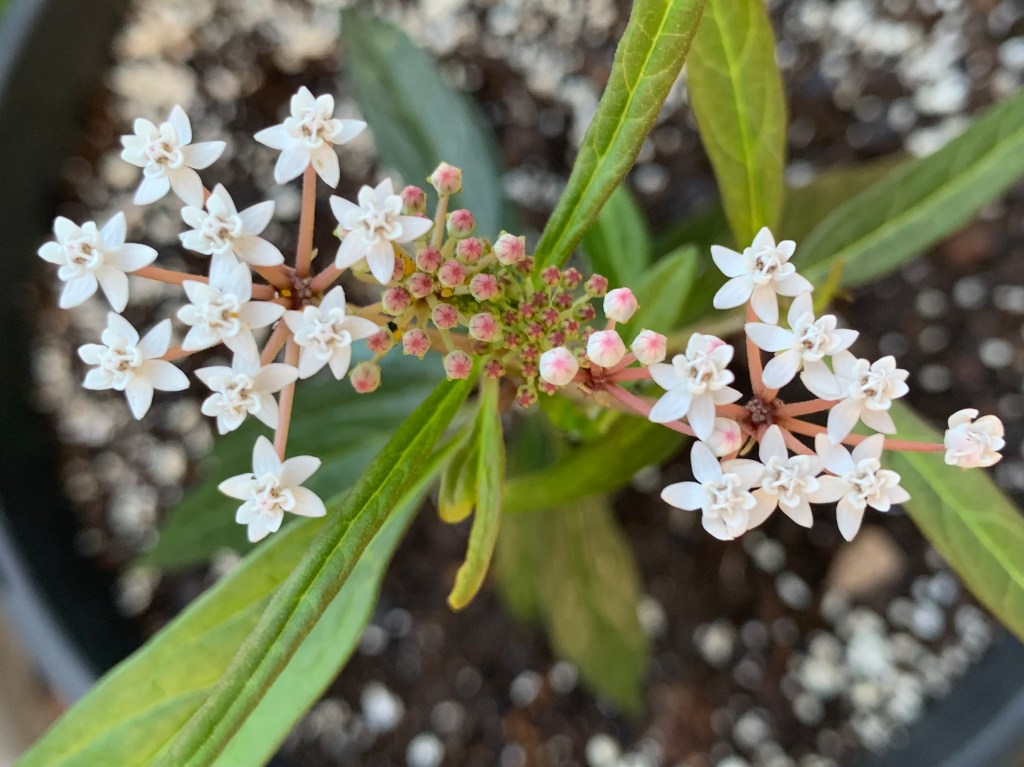
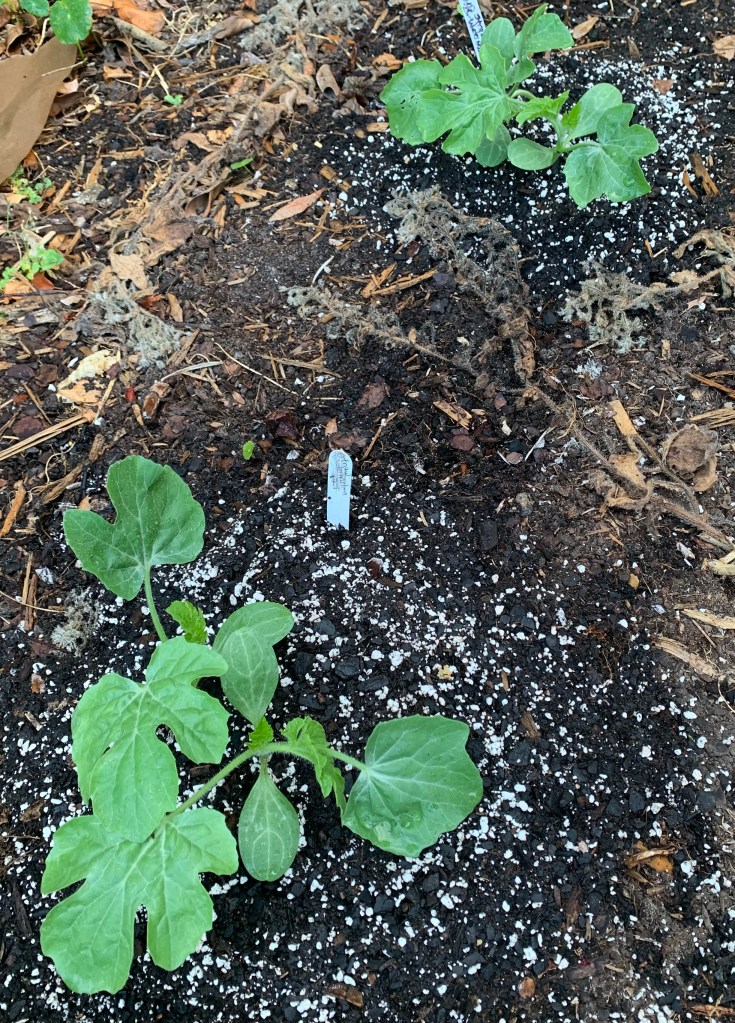
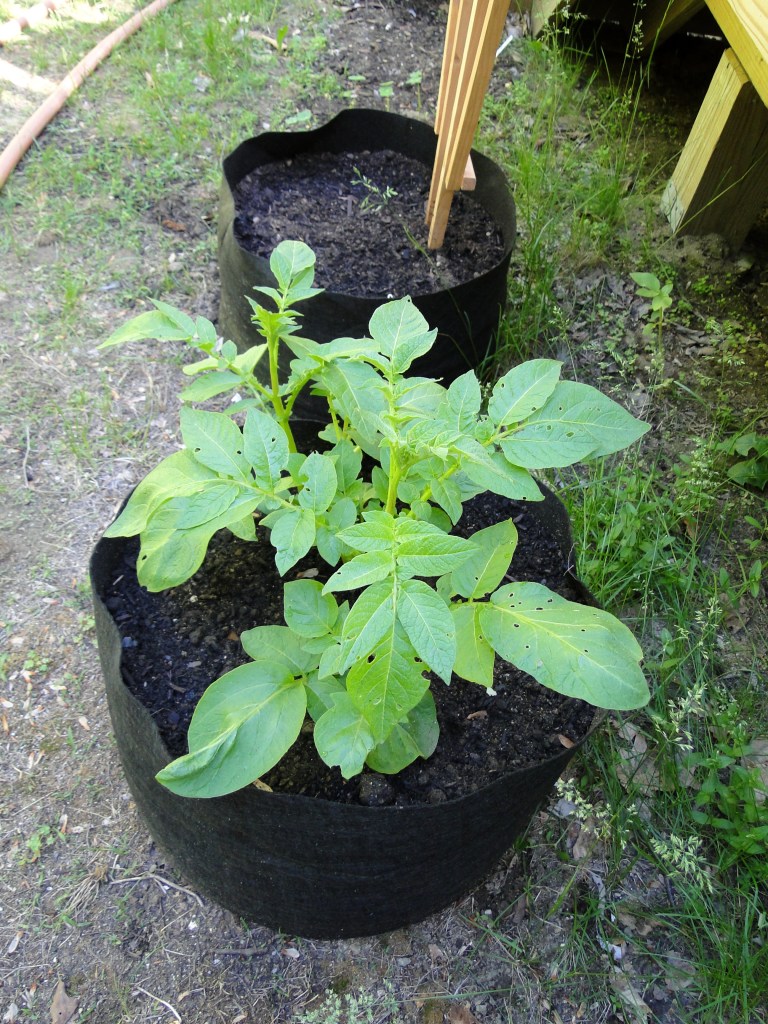
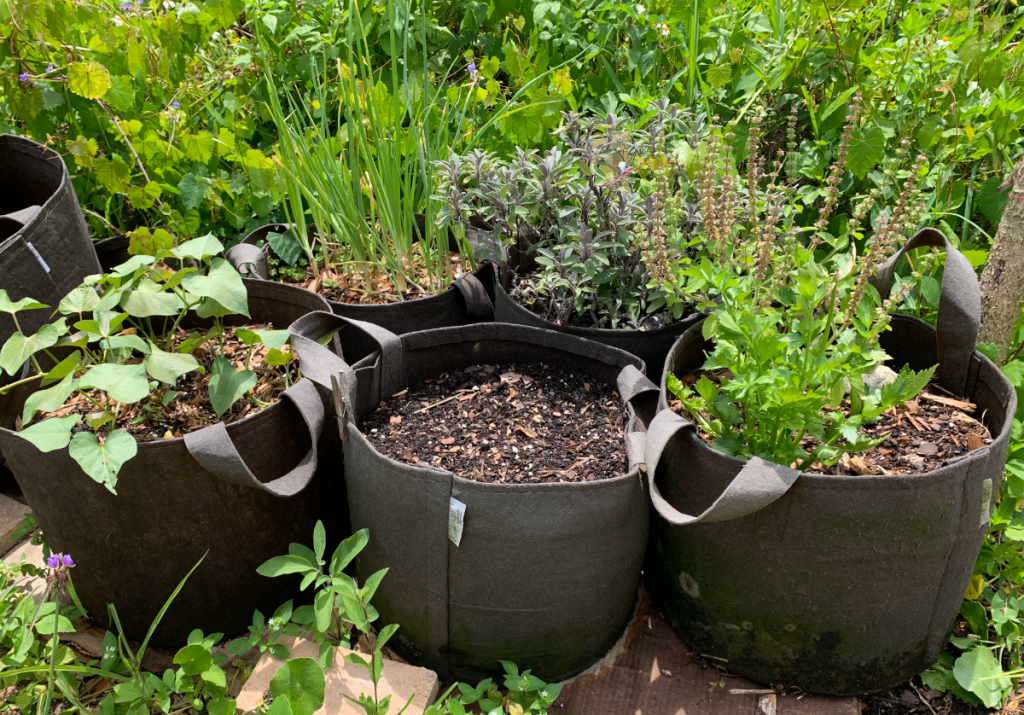
I was very impressed with the boxing and size of these milkweed. (This milkweed is a different variety than the one shown above from the other company.)

All four plants were wrapped around the pot to keep dirt in place. Each pot was tucked inside a cardboard divider which kept the pot in place during travel. The plants were so tall that the tops were bent over to fit. They straightened up completely within two days.

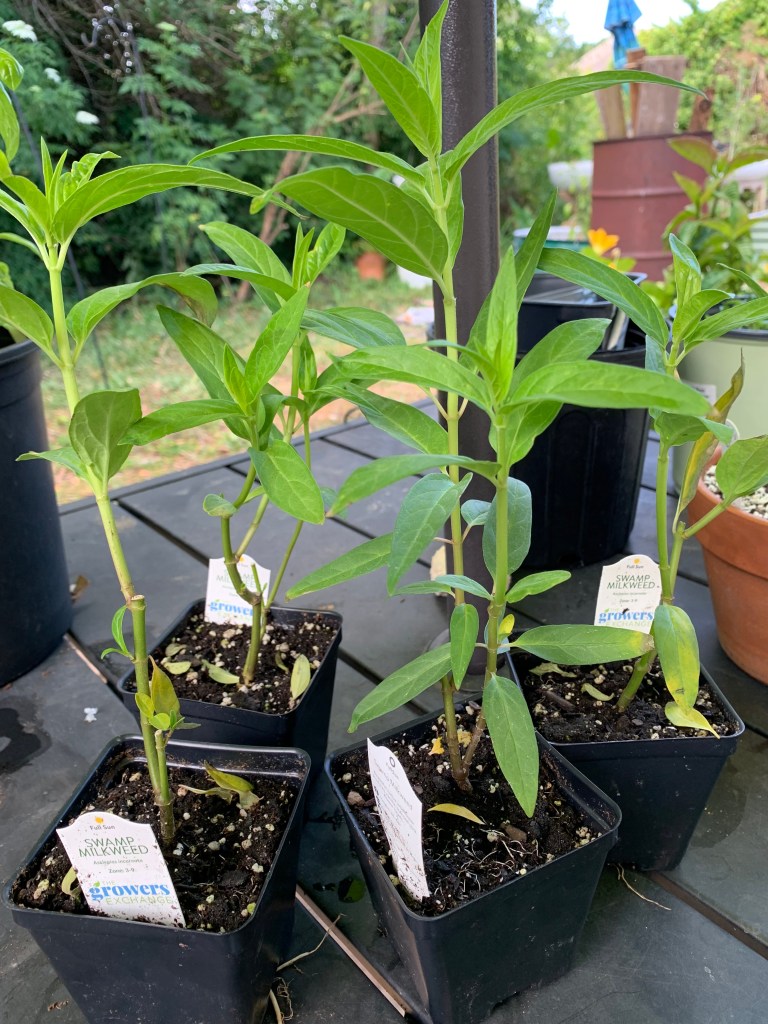
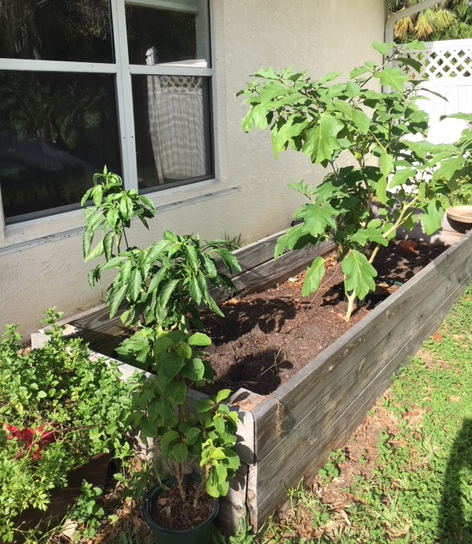
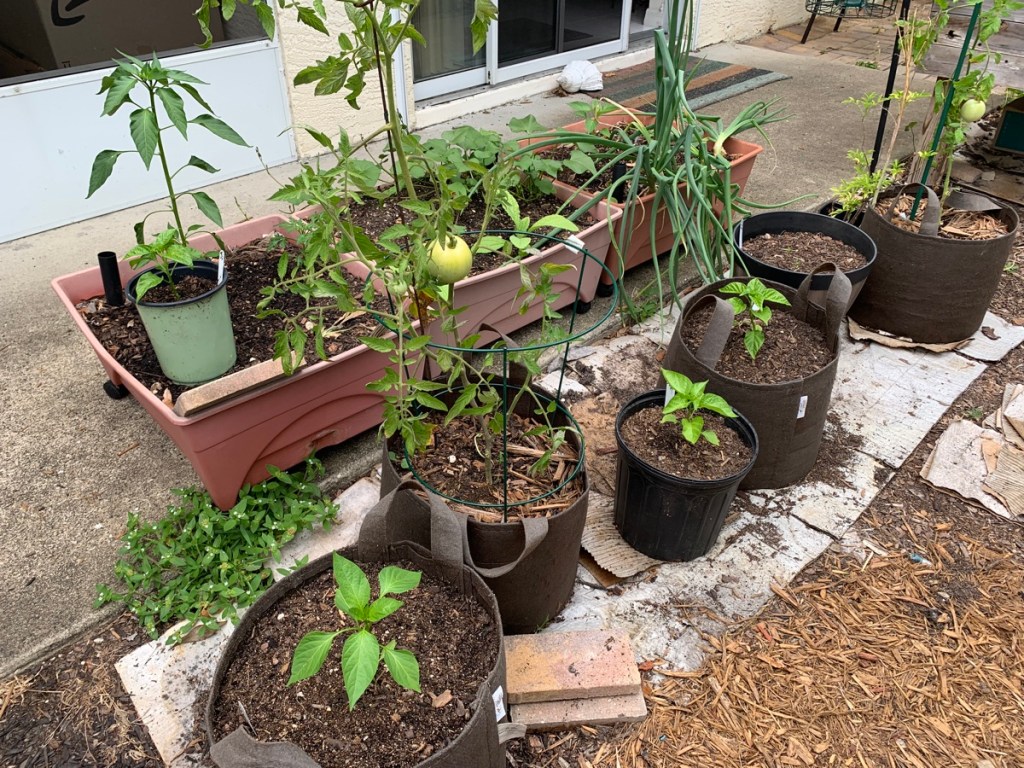
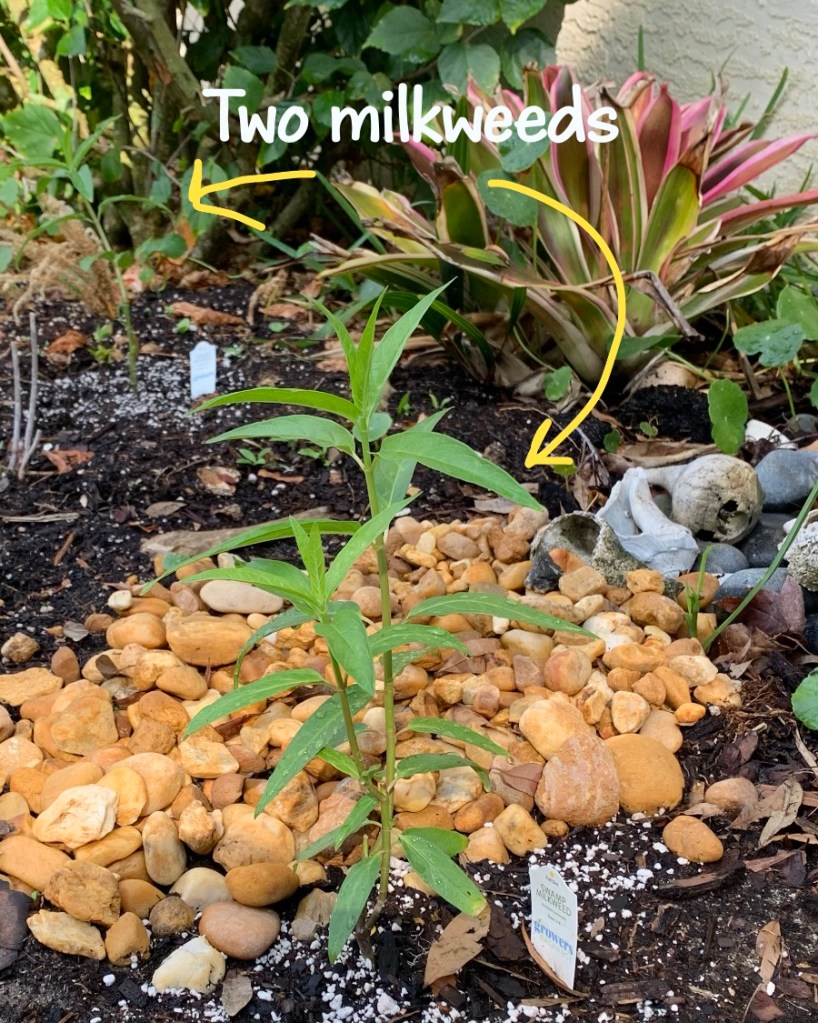
After unwrapping, I watered them, and set them on the porch, out of direct sun, for two days. After that they went outside for a couple of days. Now I have two in the ground, and two in larger pots.

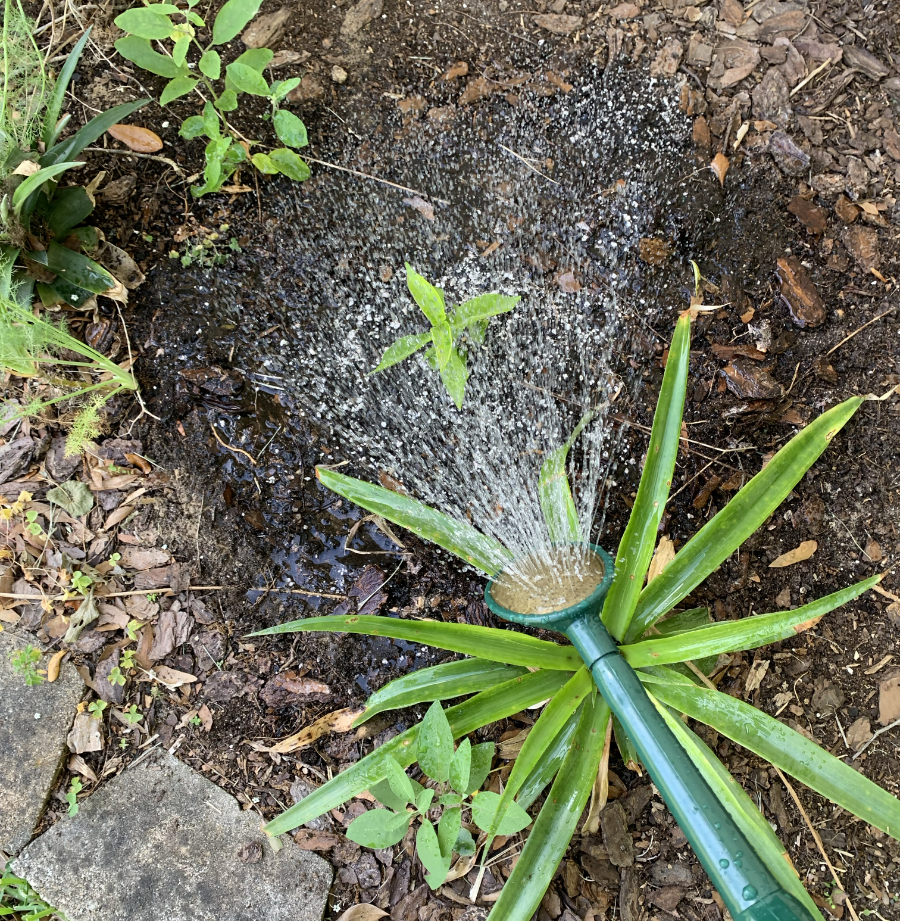
Swamp milkweed likes it wet, which makes sense. Especially while it is setting roots, I want to keep it well watered. Our drought continues, which means I water every day.

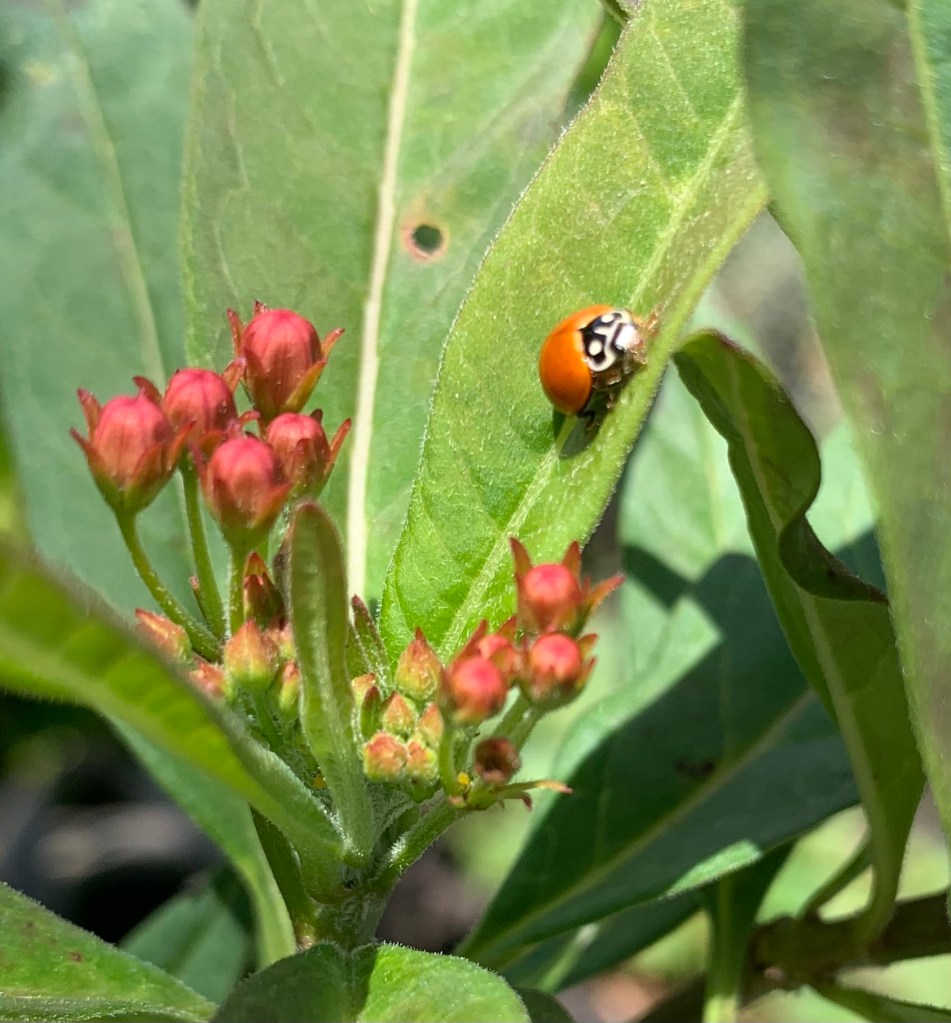
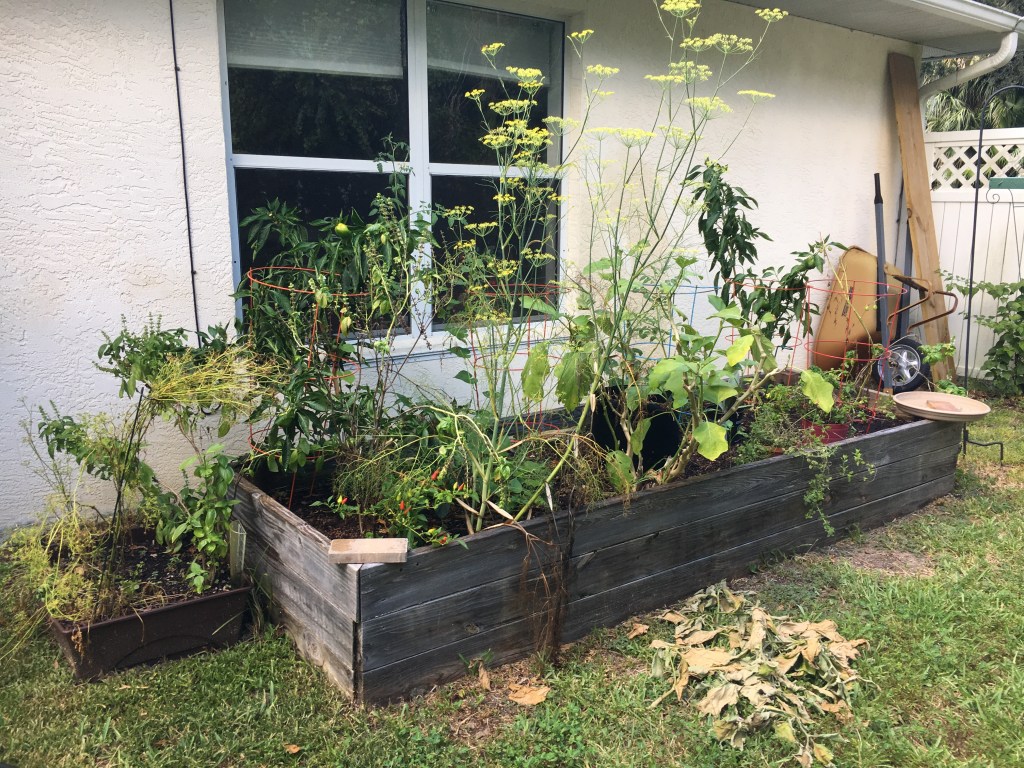
I am absolutely impressed with this milkweed plant order. They offered a discount of 20% (I think it was), and the total for these four plants, with $15 shipping was $50.89. The plants are healthy and large and I am happy. I’ve already seen lady bugs and the Monarch on these!

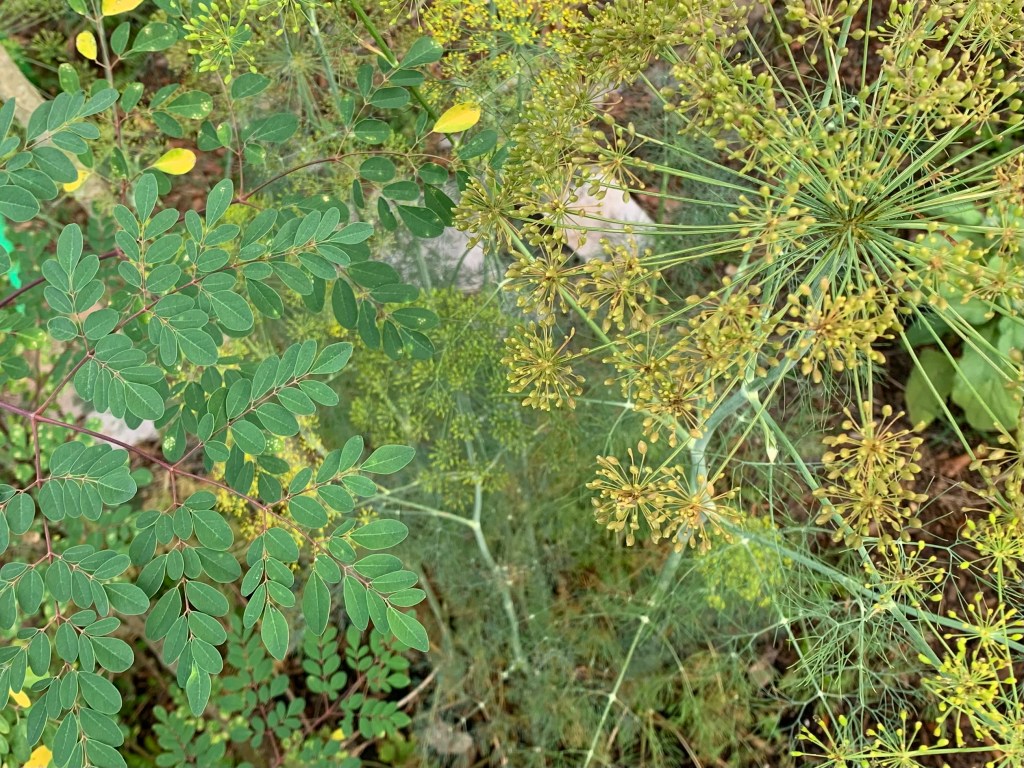
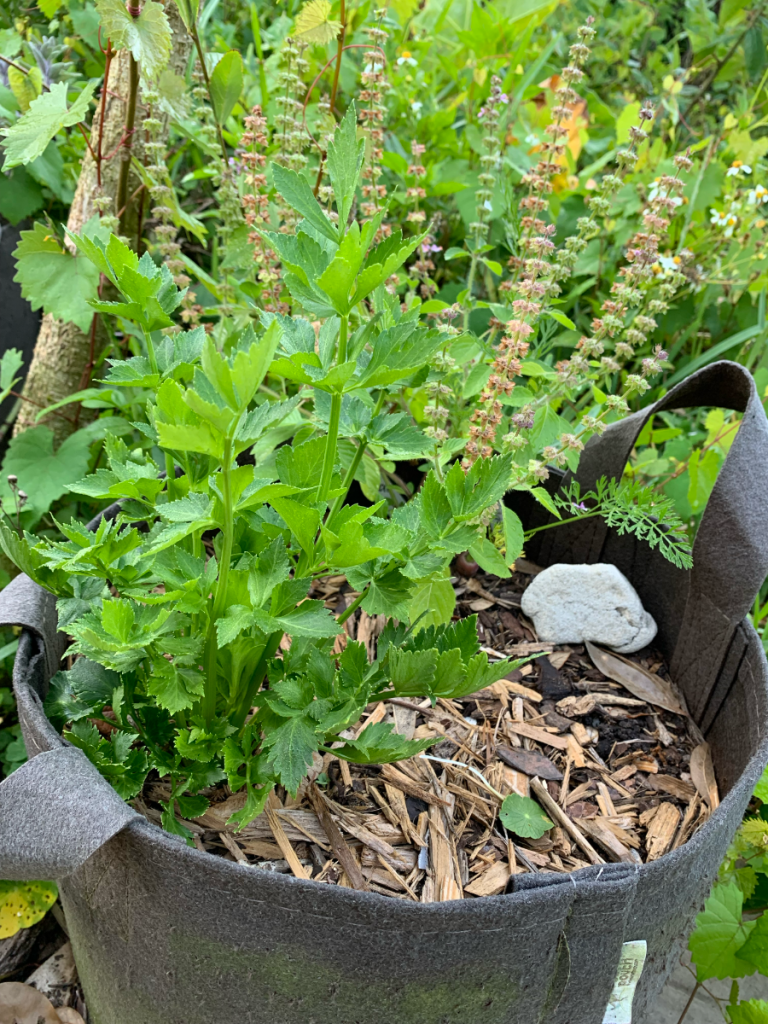
I’m considering having a herb garden in the future. I need to learn more about when to plant which herbs. The Growers Exchange might be my go-to shop for those.

How to Care for Live Plants

Both companies mentioned here has fairly quick shipping. I’d say the plants arrived in about a week’s time. Shipping also depends on the growing zone, and time of year. Each company has it’s own information.

I’ve pretty much mentioned on this page how I cared for the plants when they arrived, but here’s a recap. Unbox immediately. Check the soil and re-fill if necessary. Water them well! Here in Florida, do not set them out in the sun right away. Due to the stress of being packed and traveling for days, give them an easy life in the beginning. Give them light, but no direct sun. Keep them watered and watch for signs of disease.

Have you purchased native, organic (or chemical free) local milkweed – or other plants – online? Please leave us a comment on how it went.

butterfly divider flowers

Something went wrong. Please refresh the page and/or try again.

May Garden Photos With Plant Updates

May in the garden is mostly about finalizing the switch from winter crops to summer. This quick post shows photos of some of what I have growing at this time.

Now that May is here, the super hot weather is not far behind. Hopefully it will also begin to rain occasionally! My garden beds are mostly planted.

I’ve been on a milkweed growing kick, so I have lots of little pots going. I do not love having to monitor tiny pots, and the smallest seedlings will stay on the porch. More about my milkweed later.

For now, the Seminole pumpkins are growing vines. I have a random (spaghetti?) squash that came up. However, the vine doesn’t look great. My winter basil is still growing, with Tulsi Holy basil seeds sprouting for summer.

The Desert Rose has come back from the dead (dormant really), to give a pretty display of bright pink flowers. The dill plants are everywhere, and most are flowering, but some have already gone to seed. I’m hoping for black swallowtail butterflies to show up soon.

I ate three blueberries on May first! And more blueberries are on the one and only plant. I’m eating a few banana peppers, and waiting for the Ubatuba pepper to turn red. The cherry tomatoes are ready randomly, so I get a few here and there. I was finally able to grow an Everglades cherry tomato plant from seed.

No water is falling from the sky, so every morning I am out keeping the plants alive. The sun is very hot during the day and things dry out fast.

My cat had to have a growth removed from her back and now she is in recovery mode. Nothing stops her from wanting to be outside. The photo above shows her in one of her happiest places. In the garden path, with her nose in the oregano.

If you are in Florida, I hope your garden is in full summer mode. If you are just coming out of a long winter in the north, you will be planting soon.

Do I Really Love Fabric Grow Bags?

Rethinking my use of fabric grow bags. The Florida climate dries out the plants too fast. Certain shallow root vegetables, grown during winter, might be the answer.

After growing some things over winter and using fabric bags, I am not sure I really love these bags anymore.

I strive to have good dirt for all my seedlings. I mix bags of soil with compost and perlite or vermiculite, and add organic fertilizer, or I use Happy Frog (paid link).

But the fabric bags are dark in color. The Florida sun is blazing hot, even in February. The dark color makes the bags hot, so they dry out quickly. Also, there is little in the way of rain here in winter. The roots are not uniformly watered when the dry areas remain dry. All roots around the edge of the bag will dry out and burn from the sun.

Holy basil and celery growing in a fabric bag
Holy basil and celery

Grow Bags For Northern Summers

I’ve purchased lots of various types and sizes of fabric grow bags in my gardening years. Up north, in New England, I had the really big circumference bags (paid link) along with smaller ones. I never noticed them drying out fast. I think these bags work well for that type of climate.

For anyone who can’t dig a garden, or has very little time for garden maintenance, the bags are perfect.

Here are some old photos of my backyard in New Hampshire. I easily grew lots in my grow bags. Growing in Florida is a completely different experience.

Florida Gardening With Grow Bags

In Florida, I tried gardening again using fabric bags and didn’t have much luck. At the time, I was still trying to grow northern crops here in the south. You can’t do that. So I failed.

I used a combination of fabric bags and a wooden raised bed. This raised bed eventually rotted away, and now it is a lump of dirt in the side yard. Lately I am adding Vegega metal raised beds to the yard and have three set up.

The wood raised bed fell apart after a couple of years.

Problems With Using Fabric Bags in Florida

The Florida climate, even in winter, can cause fabric bags to stay too dry. Fabric bags are great for getting air to the roots, but the heat can also get to the roots. The dark colors of the bags work great in the north where soil needs warming. In Florida we really don’t need that.

Last year I had some pretty awesome pepper plants growing in fabric bags. They looked great, and then suddenly began to wilt. I was being careful to not overwater, but that was not the problem. I think the peppers were not getting enough water. I didn’t know. I lost them all.

I had no idea that the peppers were so thirsty. If I had dug my fingers down into the dirt, I might have realized the problem.

As I go through the filled bags that are currently in my yard – pulling carrots and onions – I am seeing lots of very dry dirt. It seems like I am watering plenty, with water running out the sides and bottom. But in reality, the dirt is very dry.

The Bags are Not a Complete Loss

I will still use my fabric bags, but only for certain vegetables, and only in winter. This is my plan.

  • Use fabric bags for winter vegetables only.
  • Grow shallow root vegetables, where roots don’t spread to the edge of the bags. Crops like onions, shallots, 1/2 long carrots, Tatsoi, and arugula come to mind.
  • Create a section of the yard and place all fabric bags close together. This can minimize sun exposure to the sides, and keep the bags from drying out as easily. I’ve already done that for the remaining potted bags.
  • Water crops using a soaker type system such as the Haws watering can (paid link) with the brass rose. I have this type of watering can and it is excellent for watering seedlings, or soaking a particular plant. Some other type of soaker system would also work.

Advice on Fabric Bag Size

I have 7 and 10 gallon fabric bag sizes. I prefer the 7 gallon (Amazon paid link). It’s faster to fill, and large enough for what I want to grow. Now that I have decided to grow shallow root crops only, shorter bags might have worked better for my needs. But I have plastic box beds for that.

If you are gardening in Florida, choose your bag size wisely. Add good soil, and maybe mix it with coco coir, or something to minimize dry out. Plan to water any plants in the bags DAILY when there is no rain. I don’t think it is possible to overwater crops growing in these bags.

Why I Chose the Haws Watering Can for My Garden

I love my plastic Haws watering can. Don’t waste money on cheap cans that won’t last. I highly recommend the Haws brand.

When I first came across the Haws watering cans online, I wanted one very badly. I was looking at the metal cans and they were so expensive. Also, the Haws company is based in the UK. But, they have a USA site. I have linked to it below.

My cheap watering can rusted out after a few months. I decided that I needed to spend money on one that would last. Beware of cheap “metal” cans that will rust quickly. And cheap plastic is just as bad. It splits, breaks, and leaks. I do not want to replace my watering can every few months!

This is when I found the plastic Haws. Many companies sell them. A similar item to the one I have is sold on Amazon. The can is advertised as a Haws, but the name is Bosmere (paid link) which I guess is the company offering Haws products.

Haws makes many types of watering cans for indoor and outdoor watering. See the Haws USA site here. Some of them are very cute, and they come in all sizes.

Think about how much water you want to lug around and buy accordingly.

About My Watering Can

My watering can is 6.8 liters, or a bit less than 2 gallons (I think). I believe the name is the Cradley Cascader. It is not printed on the can. When full, it is a bit heavy for me, but the carry handle, on top, is very comfortable. The back handle is used for watering, or hold both handles together to water.

The can came with two spouts. One is a brass faced rose – or rain shower head. (It was pretty and shiny when it arrived.) One reason I wanted this can was that I needed some way to water my seedlings. I’ve never used the other spout. It is plastic and directs a stream of water onto a single plant or into a container.

The rose, or shower spray spout, is perfect for watering small plants. In my picture I had just translated a Firespike. I do a lot of specific plant watering too. It is perfect for soaking a certain area. Without rain, I need to water every day here.

I think I purchased mine from Lee Valley last Fall (2024). If you live in the US, many places offer them, or something similar, for sale. Lee Valley had the best price (when I searched) and offer free shipping for orders over $50. I wish they carried the replacement spouts.

Pros and Cons of This Watering Can

The only problem I have with this watering can is the tiny holes in that rose spout. If any dirt – or sand – gets into the can, it will clog the holes. I store my can empty, and on its side, because of raccoons. If they play in the water I leave in it, and rinse their paws, dirt will get into the rose. Then I have clogged holes.

I will eventually need replacement spouts. Haws USA has them, but I hate to pay a lot for shipping. It’s good to know the replacements are out there.

I love everything else about this watering can! It has already lasted longer than the cheap metal one I bought. I use it nearly every day at this time of year. The injection molded plastic is thick and tough. It seems like a very good product that should last for years. I’m in Florida and I leave it outside, in a shaded location, by the water spigot.

One More Haws For Smaller Watering Jobs

This smaller size Haws watering can will take the place of an old glass pitcher I was using. This is the 2 liter, or approximately 2 quarts, size. This one is perfect for my seedlings in small pots. It also came with two spout options.

Haws plastic green watering cans in two sizes

Happy gardening y’all!

bees

More stories from the garden…

Something went wrong. Please refresh the page and/or try again.

Monarch Caterpillar With Strange Black Thing

I found a strange black thing next to one of the Monarch caterpillars. I need help identifying this.

I don’t know how to describe this image. I found the Monarch caterpillar on the underside of a Beautyberry bush leaf. This little Beautyberry is a small plant that sprang up next to the milkweed.

As I was checking for caterpillars the other morning, I found this one with a strange black thing. It looks like a shell or skin and the caterpillar was crawling out of it! This caterpillar was fairly good size, and I’ve never seen anything like this on my milkweeds.

If you know what is going on here, I’d love to know. And thank you for your input!

So one of my faithful readers said to look into caterpillar molting. I found this page at Naturedigger where they explain. Monarch caterpillars shed their skin, and eat it, five times before they become a chrysalis. I’ve seen many Monarch caterpillars and have never seen them shed their exoskeletons!

Monarch caterpillar on leaf with black thing

To date I have found three monarch butterflies, freshly hatched, in my yard. I can tell they are new when they don’t fly as I approach. A strong, healthy adult Monarch seems to never land, and will fly away if I approach. The only time I see them stop is when they lay eggs on the leaves.

Monarch #1 had a pretty chrysalis on my Rosemary. Butterfly #2 was seen one morning attached to an old Loofah plant vine. Monarch #3 was holding onto some dill.

When I sit outside and simply enjoy my garden, I see them flying over the yard. Sometimes two fly together, and once I saw three together. Was it these three? I like to think so.

I recently learned that male Monarch butterflies have two black spots on their wings. They can be seen when the wings are wide open.

The photo below is not mine, but shows the spots a male would have.

Male monarch Butterly
Image by Graham Gladstone from Pixabay

Taking Care of the Monarchs

I need some good flowering plants to feed these butterflies. Although the caterpillars are only found eating milkweed, butterflies get their food in other places as well.

A lot of information can be found about feeding the caterpillars. I guess people will raise them inside and feed them stalks of milkweed. What I am looking for is information about planting to feed the butterflies without relying on milkweed flowers. I’ll write a new page about that.

Please keep reading…

February Garden Planting

It is the end of February and here in Florida I am getting some seedlings and sweet potato…

Borage Season is Here

Florida gardeners can easily grow borage. The blue flowers add interest to any garden, and honey bees love…

My Three Vegega Metal Raised Beds Are Ready!

My three Vegega metal raised garden beds are now set up. They are all mostly filled, but only two are planted.

I have three Vegega raised metal beds. It has taken me months to set them up (only a day or two) and then get them filled (this is the hard part). Now, two of them are filled with plants and the third one is nearly ready.

The first bed was round, and easy to manage. The second, larger bed was not so easy, but I got it done. It was a long bed, called a 9-in-1, and it had so many pieces! I put all of them together by myself, and I’m not so young! If you have a partner to help, or if your husband does all the work, then it would be a breeze! LOL…

I was able to put my third Vegega metal raised garden bed together inside the house. Thankfully, it was a smaller one.

I’m sharing photos, and information, of all three of my Vegega beds on this page. I’m very happy with them, and so far, my plants are too!

metal raised garden bed
17″ tall, 3.5 ft. square Vegega bed with rounded corners.

I just signed up to become a Vegega affiliate because, why not? It’s super easy to sign up, and I am giving an honest review of a product I’m using, and that other gardeners may be interested in. If anyone clicks through and buys something, I could get a small royalty percentage. (Thank you if you do that, but I am not writing this page to make money.) I will mention it is a “paid link” whenever the link could earn for me.

Vegega Metal Beds, #1, #2, and #3

These beds are not cheap, and I really hope they do last many years (20 supposedly). It is work to peel the covering off each of the metal section. Then they are screwed together, placed in the yard and leveled. But the longest job is filling them.

Buy and begin the assembly and filling way before you think about planting. Especially if you are a one woman (older) gardener. My goal was to have the beds ready in March. I’m only a few weeks off.

So far, I am happy with the outcome. I have vegetables happily growing in two of the beds.

Bed #1

My first bed, or the first one I purchased and set up, is dark green and round shape. I have banana pepper plants, and an Everglades cherry tomato plant currently growing in this bed. Some holy basil, onions, and borage are growing around the edge.

Read more about the Vegega round raised beds (paid link) at their site. I like the 17 inch depth, and all three of mine are that height. It gives long roots plenty of space. This one was pretty easy to assemble and fill.

Round Vegega metal raised bed in dark green
42″ round, 17″ high Green Vegega bed

Bed #2

The second bed I bought is long and narrow. It is a light green color, and I’m not sure of the official color name. It is planted right now with sweet potatoes. I also have Zinnia seeds popping up along one side. There is space for other flowers or small herbs at the ends.

Long Vegega garden bed
Size 8 x 2 foot Vegega bed, 17″ tall, in light green. View this bed size at Vegega. (paid link)

This long bed was the most difficult for me to set up. It took longer to assemble and fill. This bed has two bars down under the dirt which help to keep the sides in place.

The metal is safe for growing food, and will hold up much longer than a plain, wooden bed. This is especially true in Florida where wood rots in no time. Some people complain that metal is not environmentally a good choice. Wood comes from trees, so how environmentally friendly is that? These metal beds are supposed to last for 20 years or more. Read more about Metal vs. Wood Raised Garden Beds here (paid link).

Bed #3

The third bed (featured on this page) is 3.5 feet square, with rounded corners. The color is Oyster White. Volunteer (squash or pumpkin) seeds have begun to grow, but nothing has been officially planted here yet.

Metal raised garden bed by Vegega in off-white color
3.5′ square metal raised bed. Volunteer squash or pumpkins are growing.

Although this Vegega bed has been sitting in my yard for weeks, it is not completely full. I have been cleaning up old vegetable plants and chopping the stems into this bed. The green beans are gone, and most of the broccoli. Because summer is coming, I’m not sure what I would plant in this bed, so I’m in no hurry. (I’m in Florida and summer is a tough time for gardening.)

To fill this bed, I have used the following;

  • Cardboard (in bottom – helps to level the bed) & random packing paper
  • Pine straw – also on the bottom over the cardboard. I chose this because they had it at my local yard shop. Straw would be a good choice.
  • Vegetation – old broccoli plants, stems, carrot tops, old vegetables for compost, and cuttings from the yard.
  • Purchased potting soil, my own compost, and Perlite.

Florida Vegetables For a Raised Bed

Summer is not a great time for gardening in Florida. It is our “winter” where we need to be inside where the AC keeps us cool. But gardeners know that the weeds never stop, so early morning garden checks are necessary.

Crops growing in summer should be hardy, drought tolerant, and love the heat. Sweet potatoes fit that category. My entire long bed is planted with sweet potatoes. They don’t need much attention. I have found old sweet potato vines in my yard, from years ago!

Okra, if you like it, is easy to grow and would probably love a raised bed.

Seminole pumpkins might work if the vines can travel over the edge to the ground without a problem. These pumpkins like some shade too, and root along the vine.

Even crops that like it warm may need some shade during a Florida summer day. My pepper plants are in the round bed which gets a lot of morning shade. I have an umbrella that can be opened to give them more shade as we heat up.

Eggplant will last for years here. An eggplant in the center of a round bed, or at the end of a long bed, would be a good idea. In fact, if you need the shade, put the eggplant at the end that blocks the sun. Eggplants attract ladybugs too, which is a plus.

In Fall, I will be using these beds to grow lots of crops. I have success with bulb onions, carrots, broccoli, beets, arugula, Tatsoi spinach, dill, parsley and basil. Radishes take up little space and could go around the perimeter. Tomatoes can go into the beds in early spring.

I plan to include flower seeds around the edges of all the beds, and seasonal herbs. Holy basil grows nicely in summer, but most others like cool weather.

I’m excited to get growing in my Vegega beds! I’ll keep you posted.

Get a 10% off code here (paid link).

bees