My Three Vegega Metal Raised Beds Are Ready!

My three Vegega metal raised garden beds are now set up. They are all mostly filled, but only two are planted.

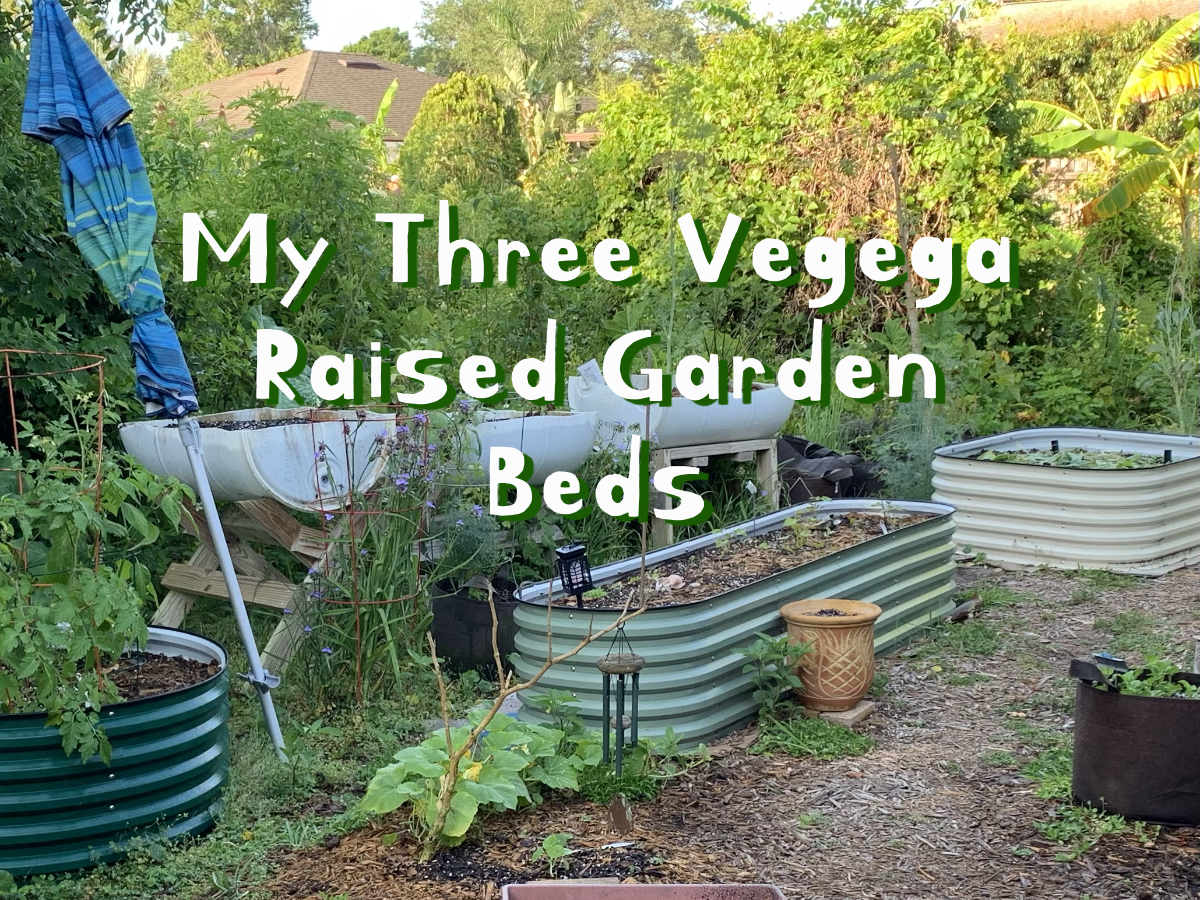
I have three Vegega raised metal beds. It has taken me months to set them up (only a day or two) and then get them filled (this is the hard part). Now, two of them are filled with plants and the third one is nearly ready.

The first bed was round, and easy to manage. The second, larger bed was not so easy, but I got it done. It was a long bed, called a 9-in-1, and it had so many pieces! I put all of them together by myself, and I’m not so young! If you have a partner to help, or if your husband does all the work, then it would be a breeze! LOL…

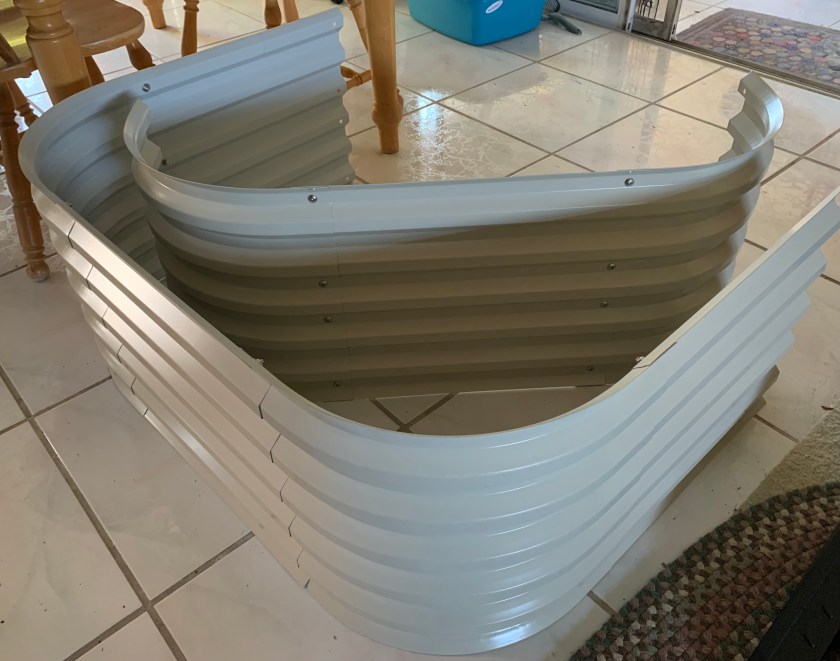
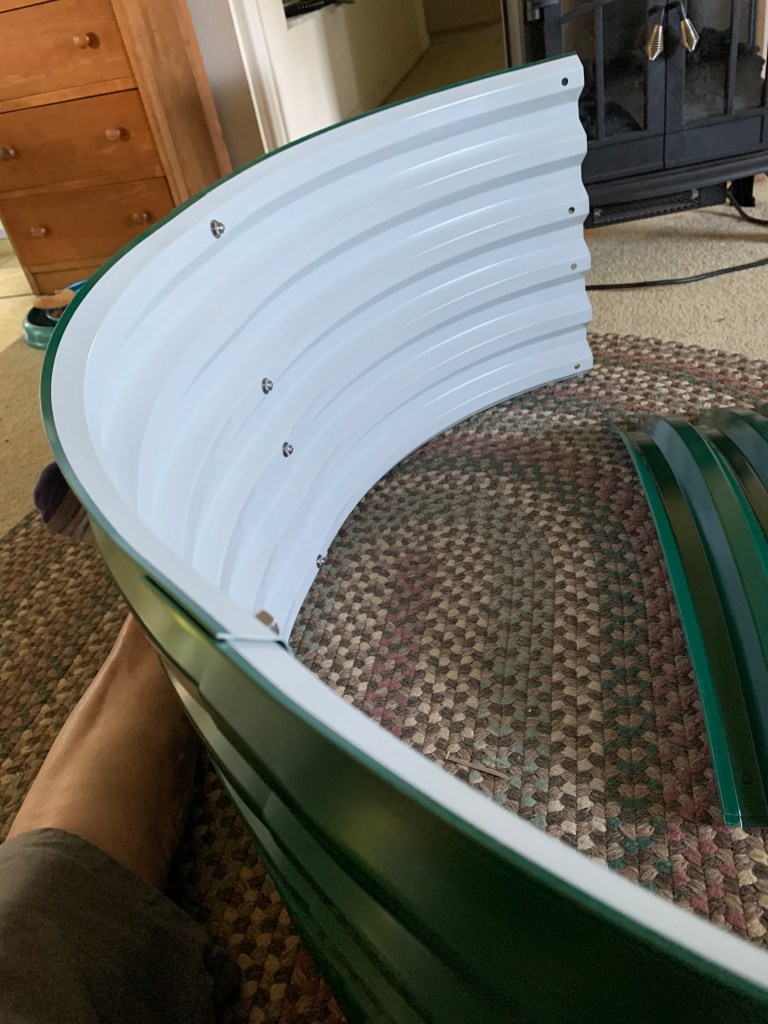
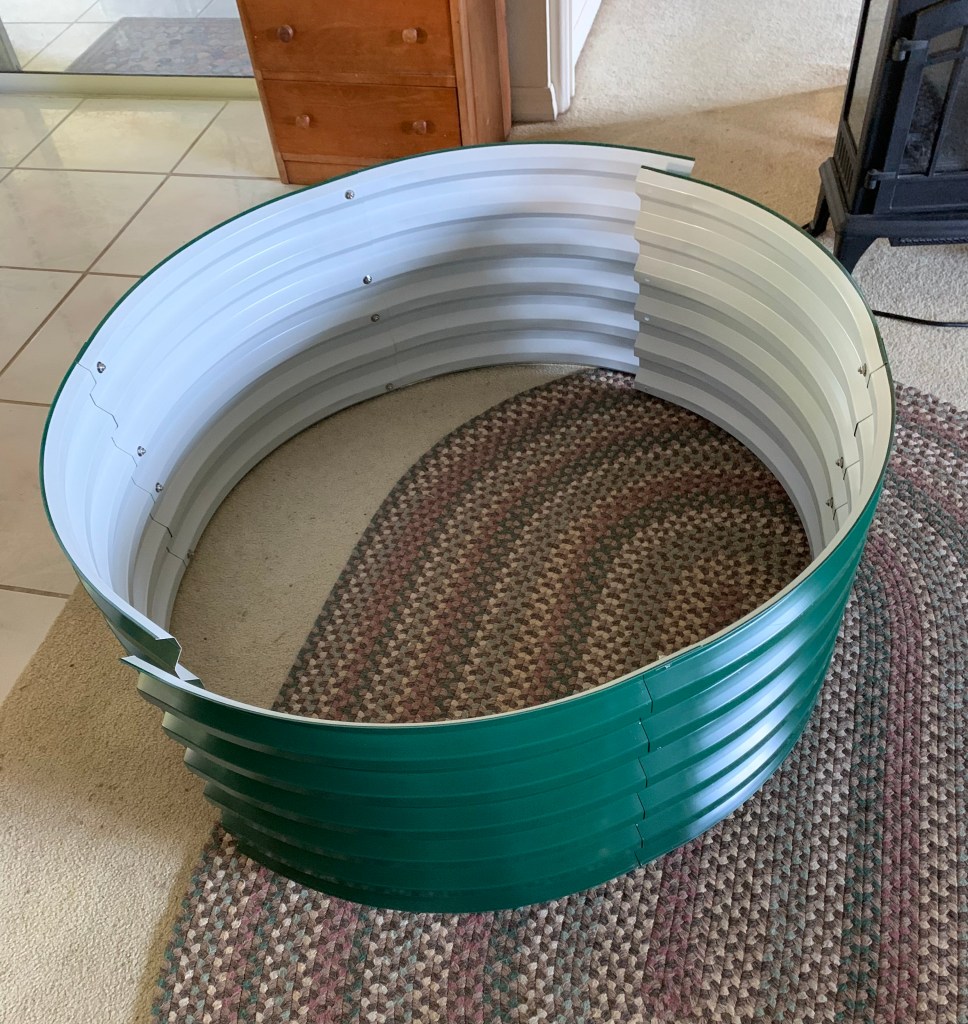
I was able to put my third Vegega metal raised garden bed together inside the house. Thankfully, it was a smaller one.

I’m sharing photos, and information, of all three of my Vegega beds on this page. I’m very happy with them, and so far, my plants are too!

metal raised garden bed
17″ tall, 3.5 ft. square Vegega bed with rounded corners.

I just signed up to become a Vegega affiliate because, why not? It’s super easy to sign up, and I am giving an honest review of a product I’m using, and that other gardeners may be interested in. If anyone clicks through and buys something, I could get a small royalty percentage. (Thank you if you do that, but I am not writing this page to make money.) I will mention it is a “paid link” whenever the link could earn for me.

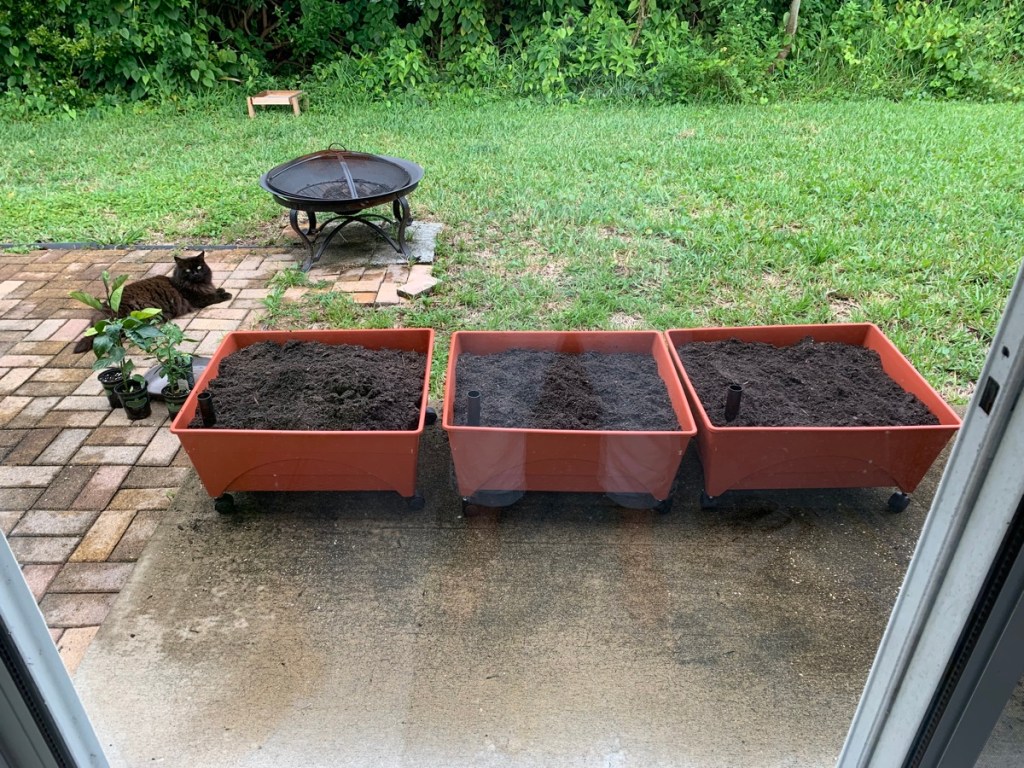
Vegega Metal Beds, #1, #2, and #3

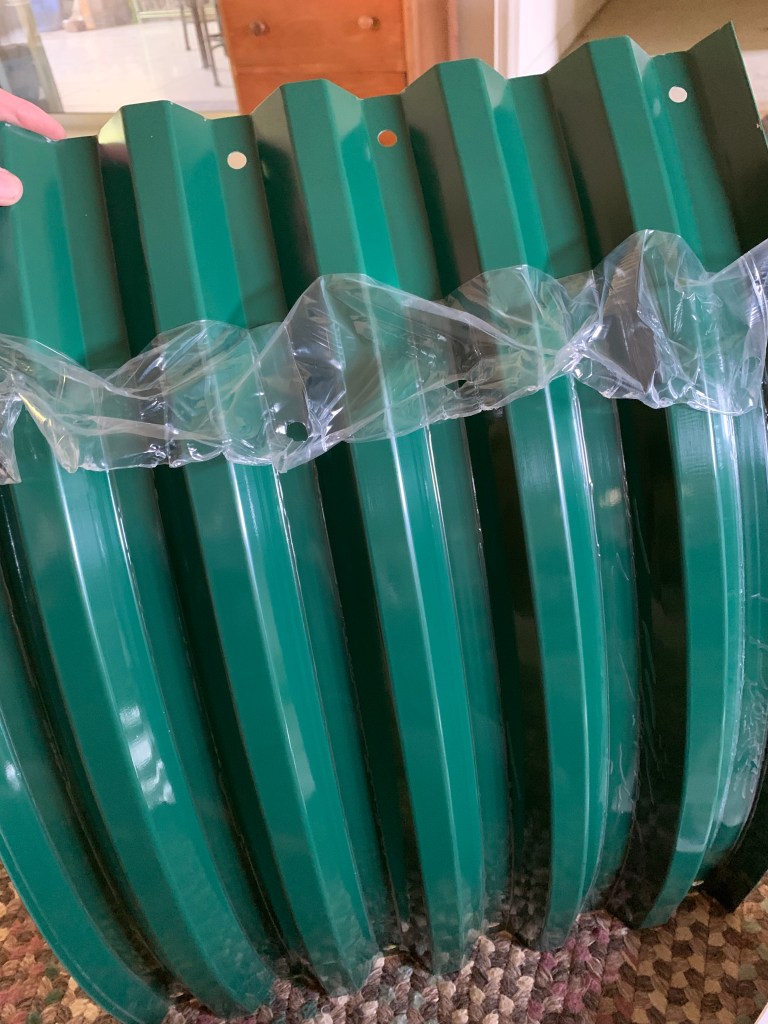
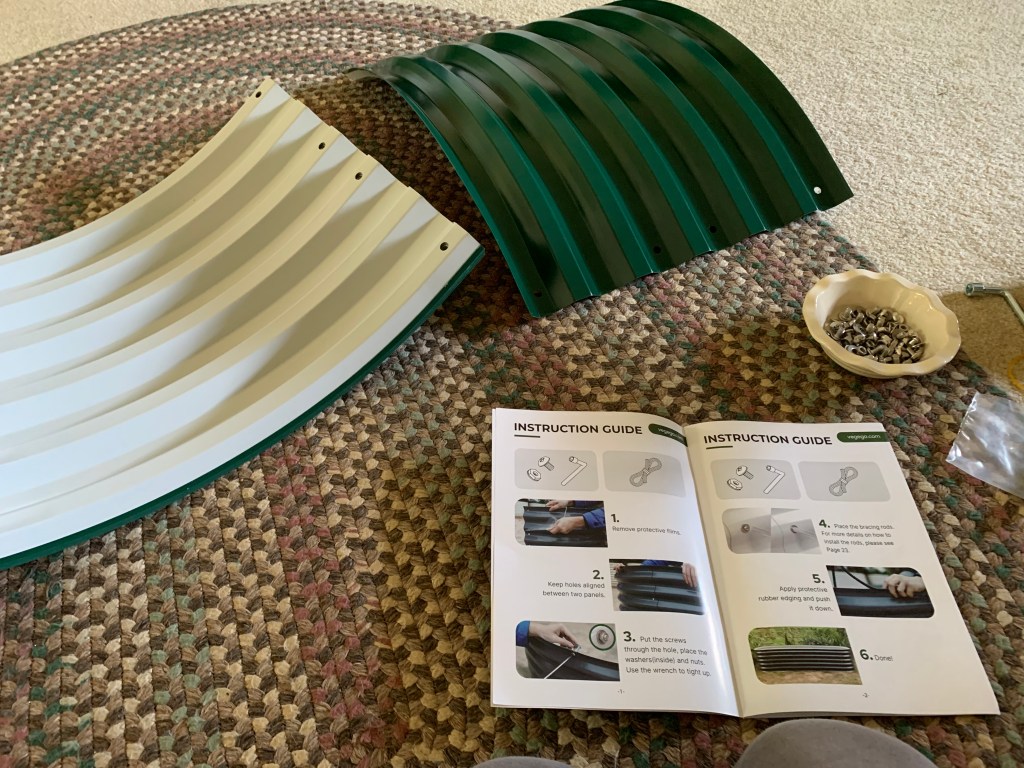
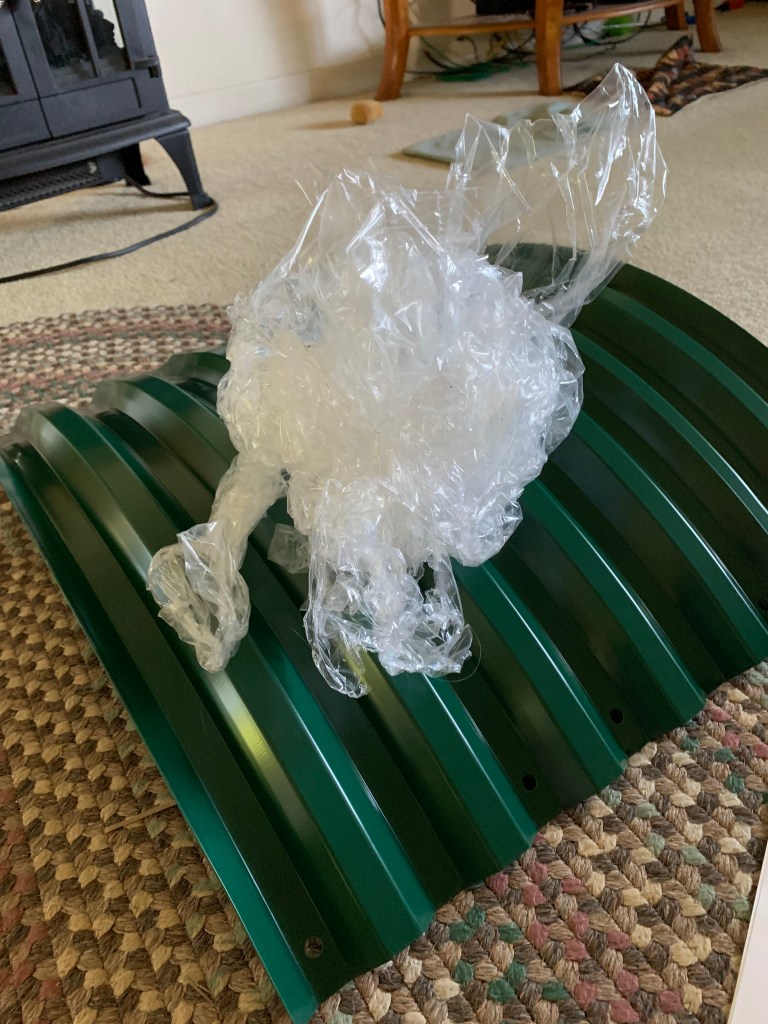
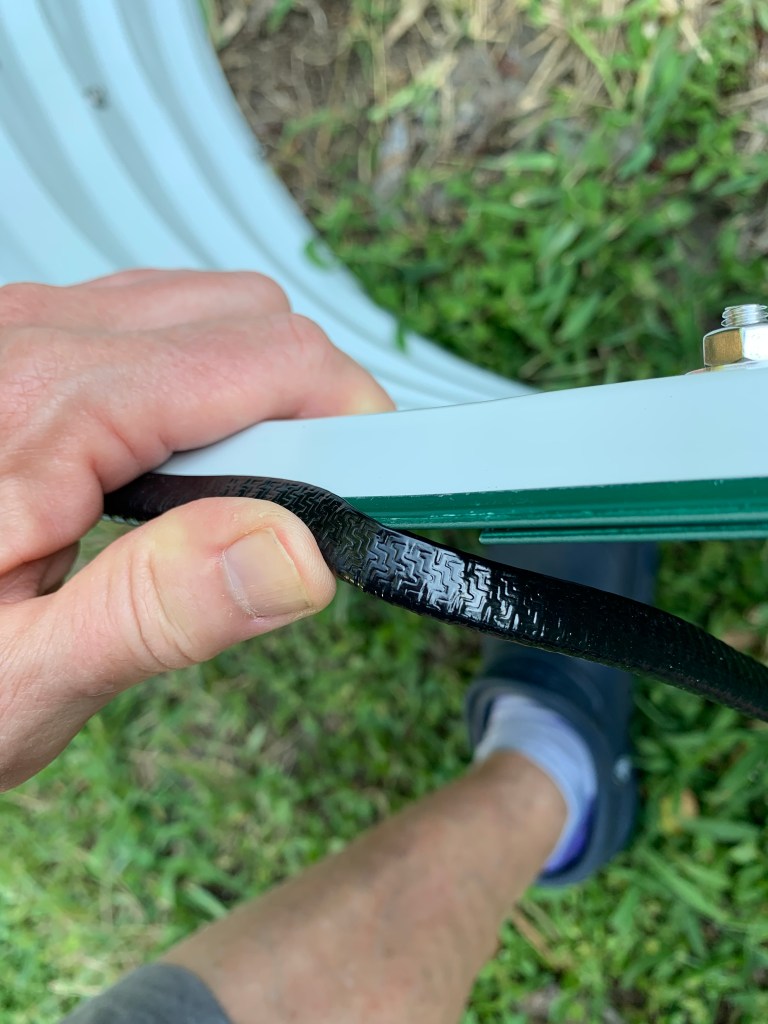
These beds are not cheap, and I really hope they do last many years (20 supposedly). It is work to peel the covering off each of the metal section. Then they are screwed together, placed in the yard and leveled. But the longest job is filling them.

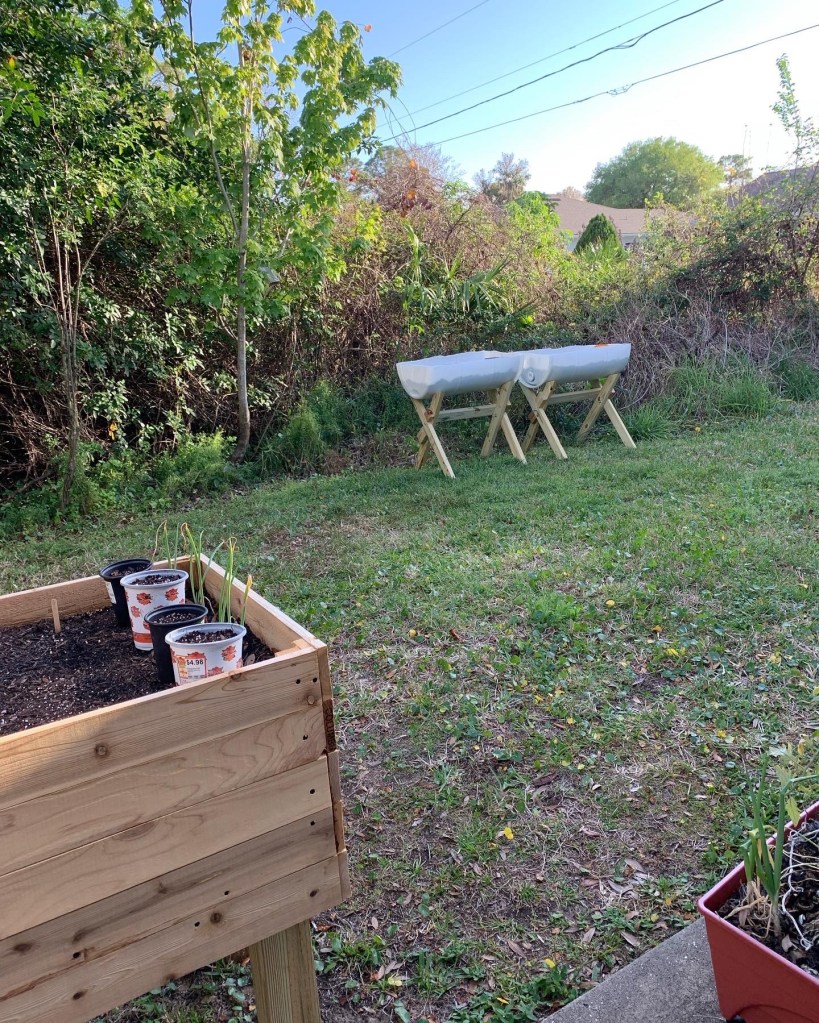
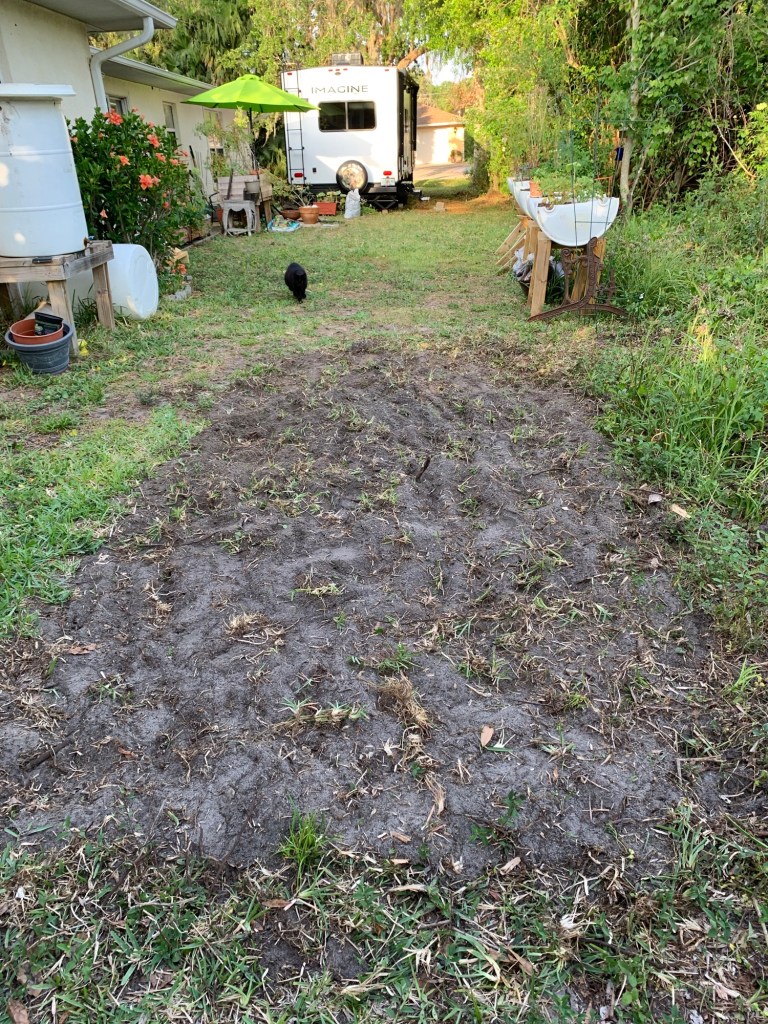
Buy and begin the assembly and filling way before you think about planting. Especially if you are a one woman (older) gardener. My goal was to have the beds ready in March. I’m only a few weeks off.

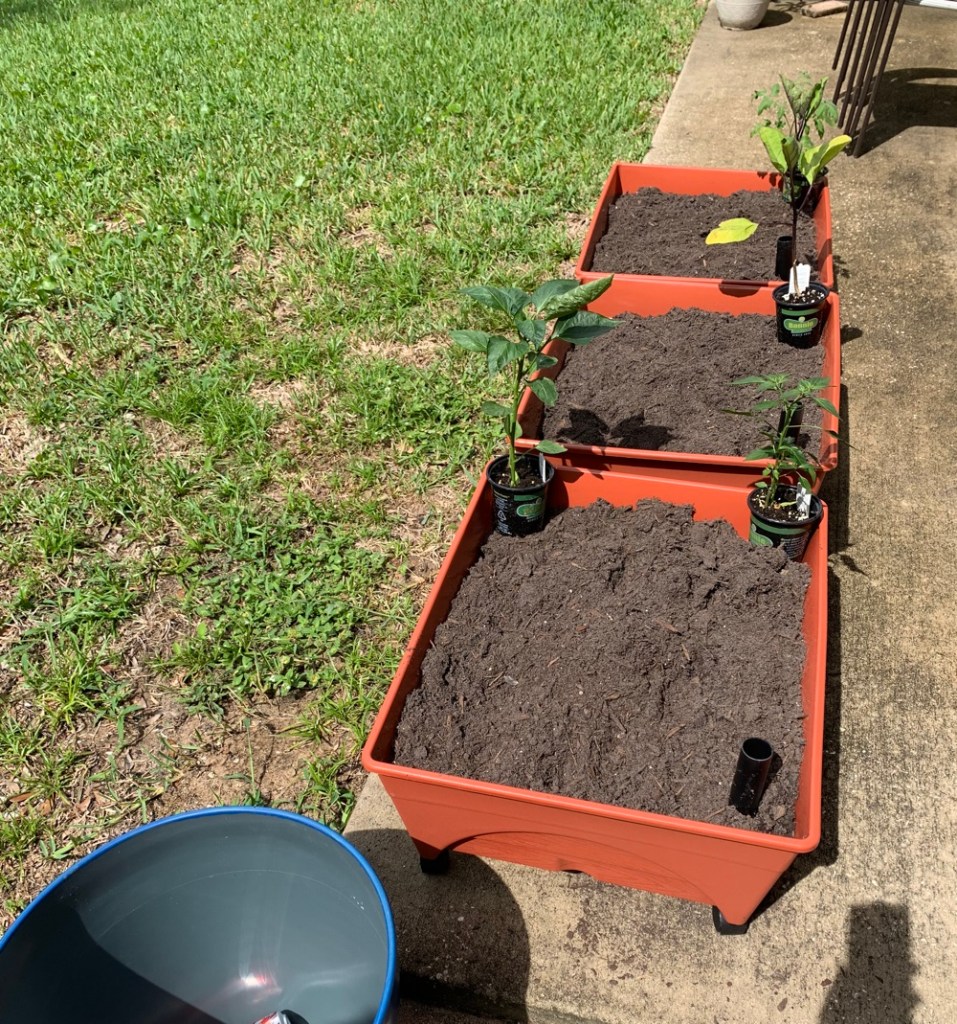
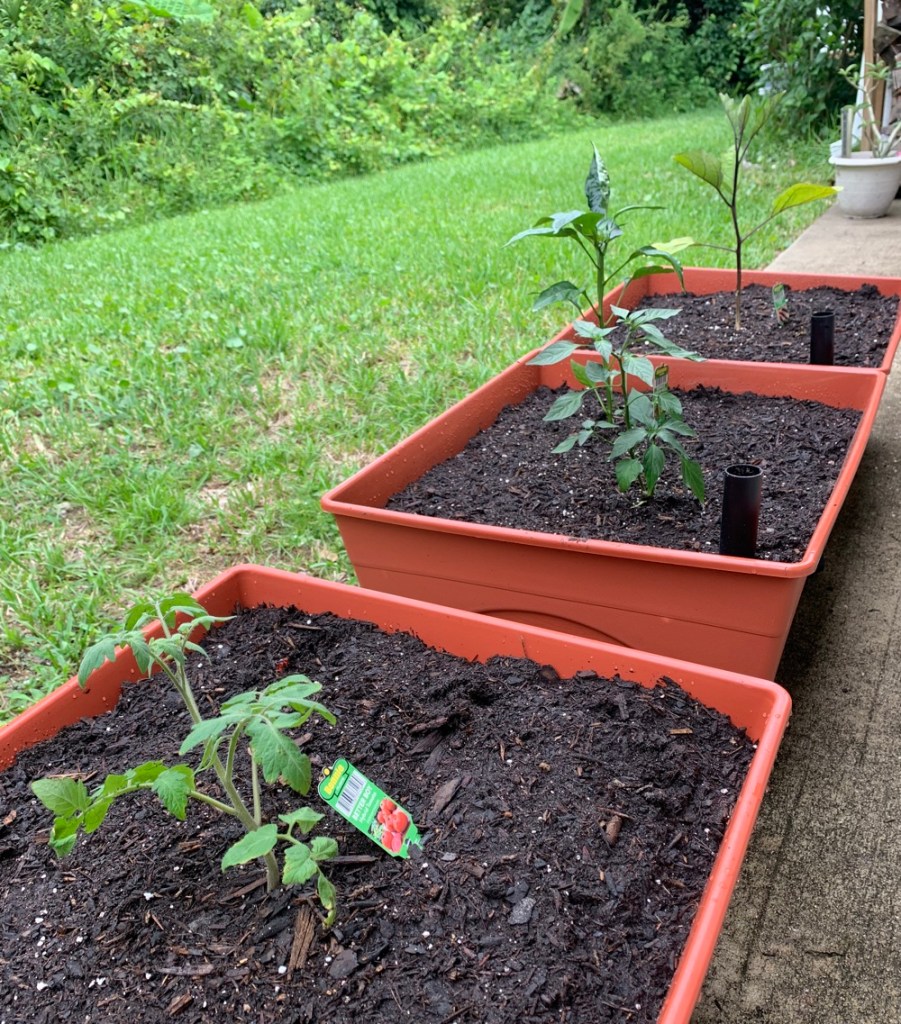
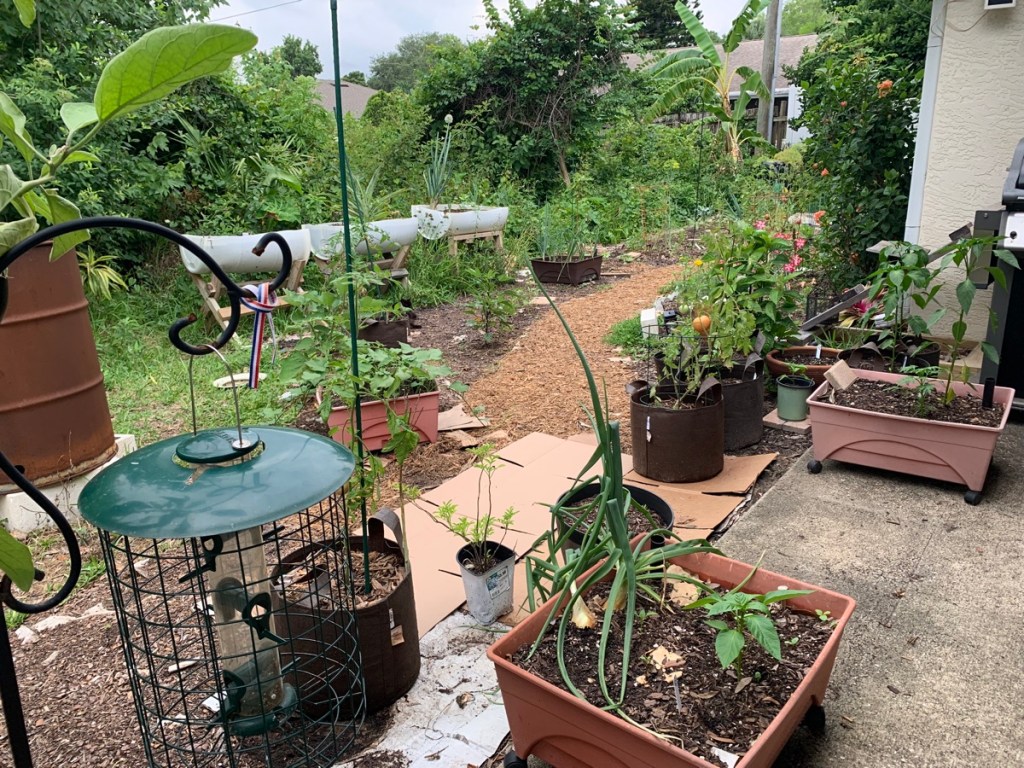
So far, I am happy with the outcome. I have vegetables happily growing in two of the beds.
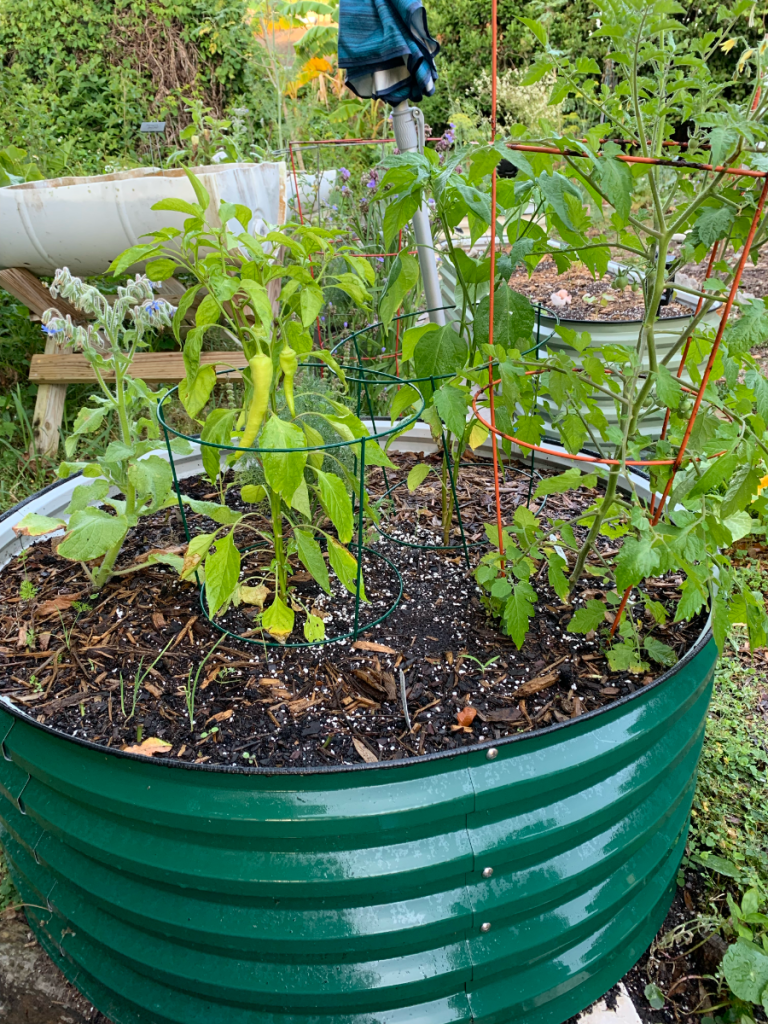
Bed #1

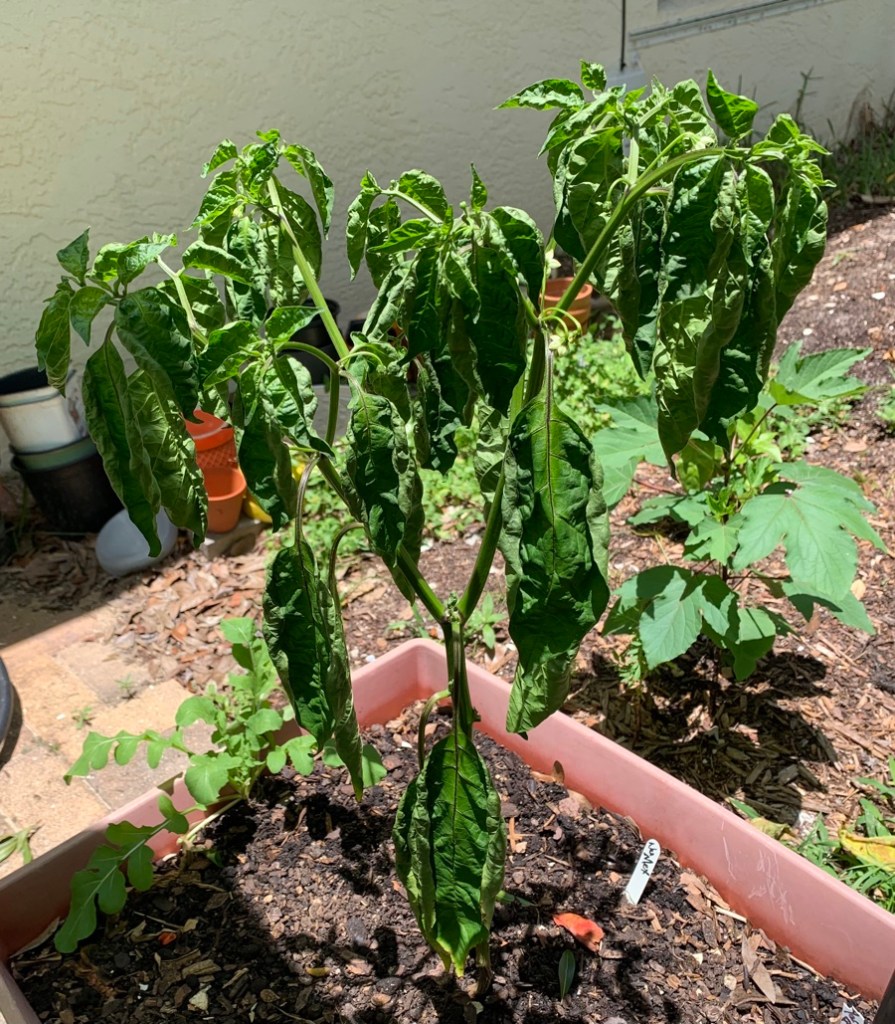
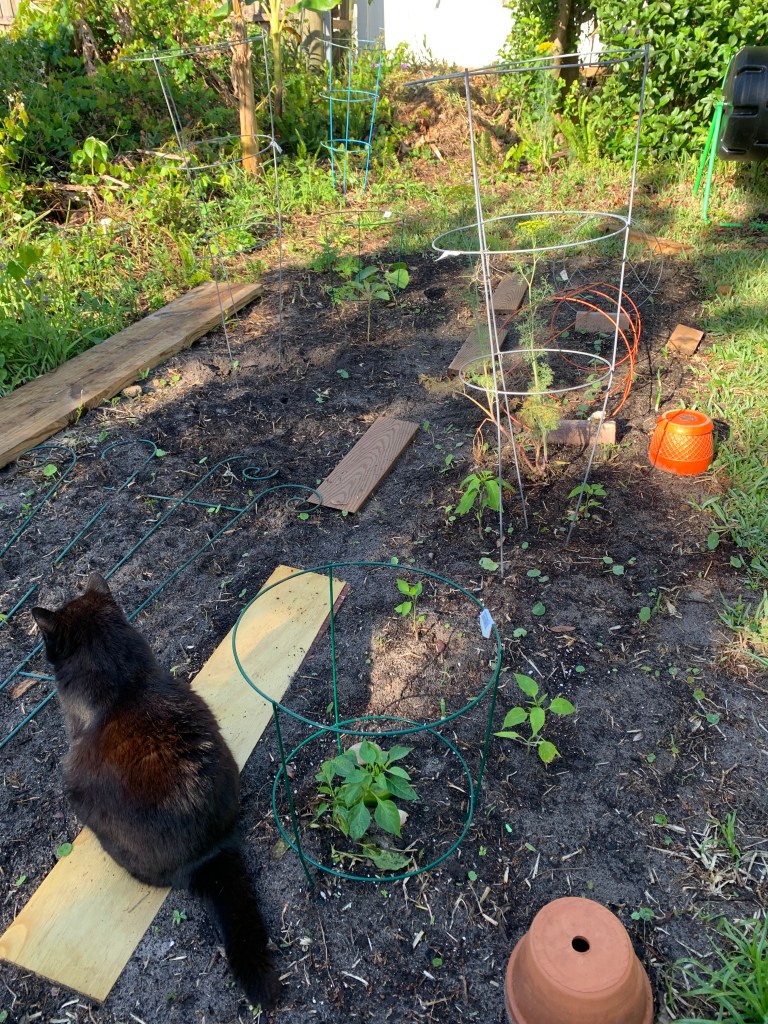
My first bed, or the first one I purchased and set up, is dark green and round shape. I have banana pepper plants, and an Everglades cherry tomato plant currently growing in this bed. Some holy basil, onions, and borage are growing around the edge.

Read more about the Vegega round raised beds (paid link) at their site. I like the 17 inch depth, and all three of mine are that height. It gives long roots plenty of space. This one was pretty easy to assemble and fill.

Round Vegega metal raised bed in dark green
42″ round, 17″ high Green Vegega bed

Bed #2

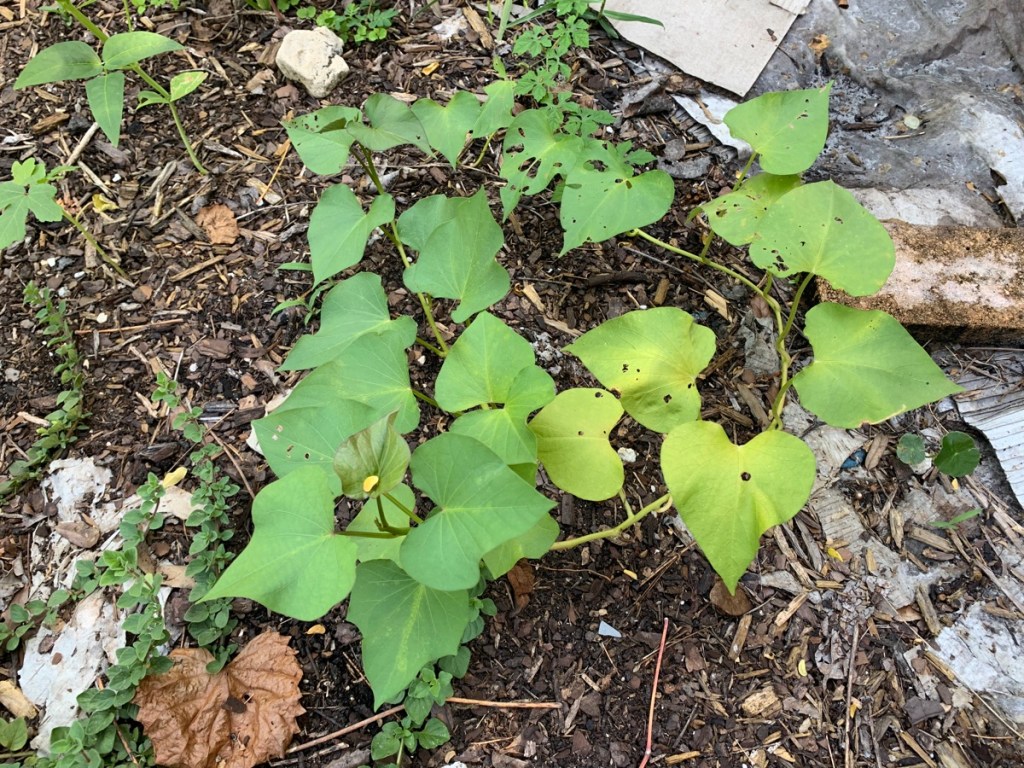
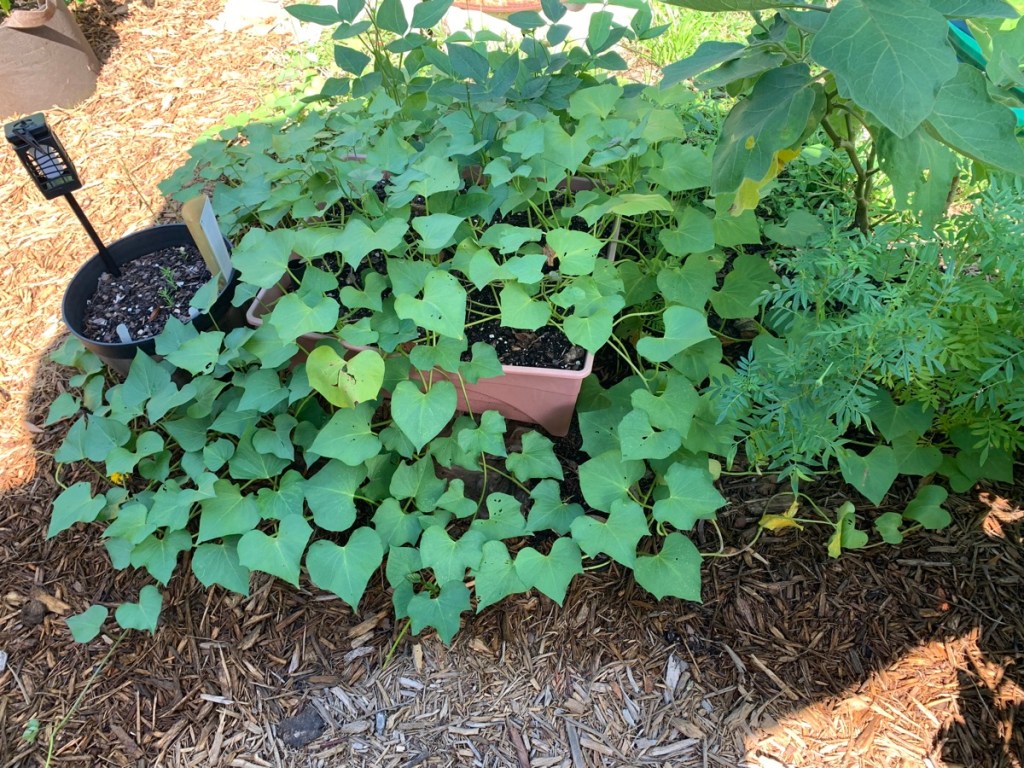
The second bed I bought is long and narrow. It is a light green color, and I’m not sure of the official color name. It is planted right now with sweet potatoes. I also have Zinnia seeds popping up along one side. There is space for other flowers or small herbs at the ends.

Long Vegega garden bed
Size 8 x 2 foot Vegega bed, 17″ tall, in light green. View this bed size at Vegega. (paid link)

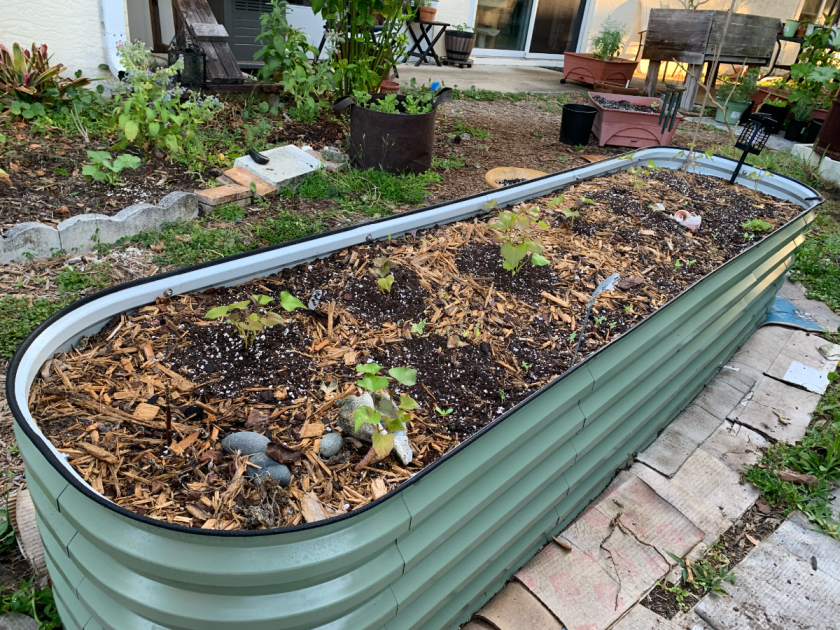
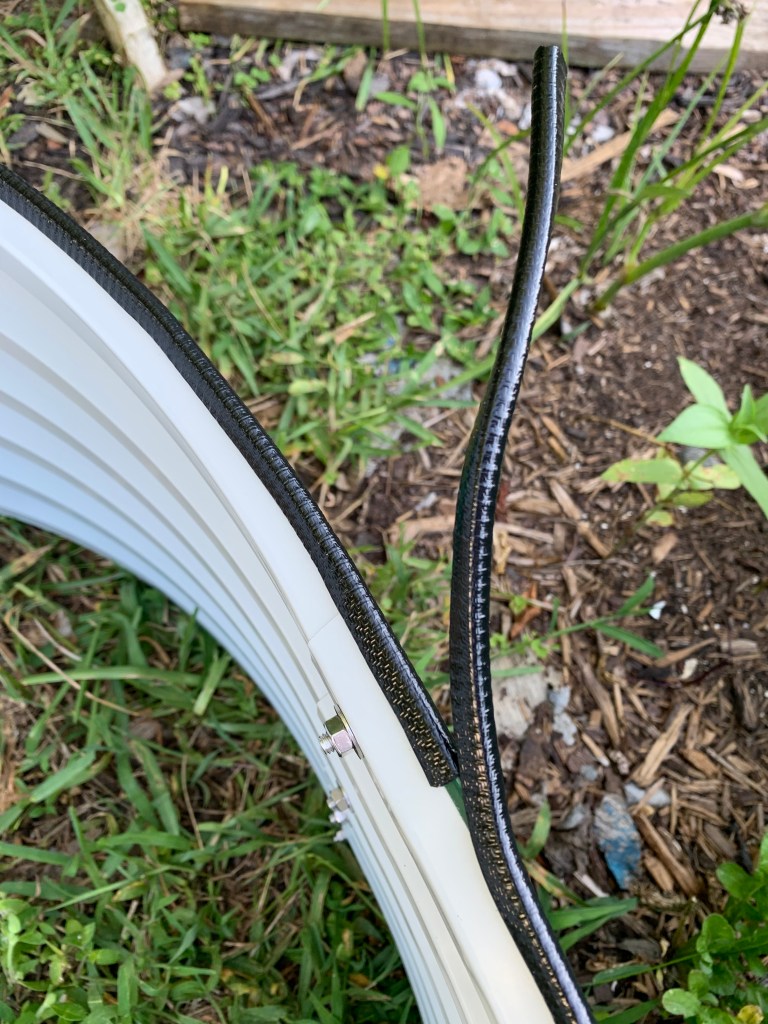
This long bed was the most difficult for me to set up. It took longer to assemble and fill. This bed has two bars down under the dirt which help to keep the sides in place.

The metal is safe for growing food, and will hold up much longer than a plain, wooden bed. This is especially true in Florida where wood rots in no time. Some people complain that metal is not environmentally a good choice. Wood comes from trees, so how environmentally friendly is that? These metal beds are supposed to last for 20 years or more. Read more about Metal vs. Wood Raised Garden Beds here (paid link).
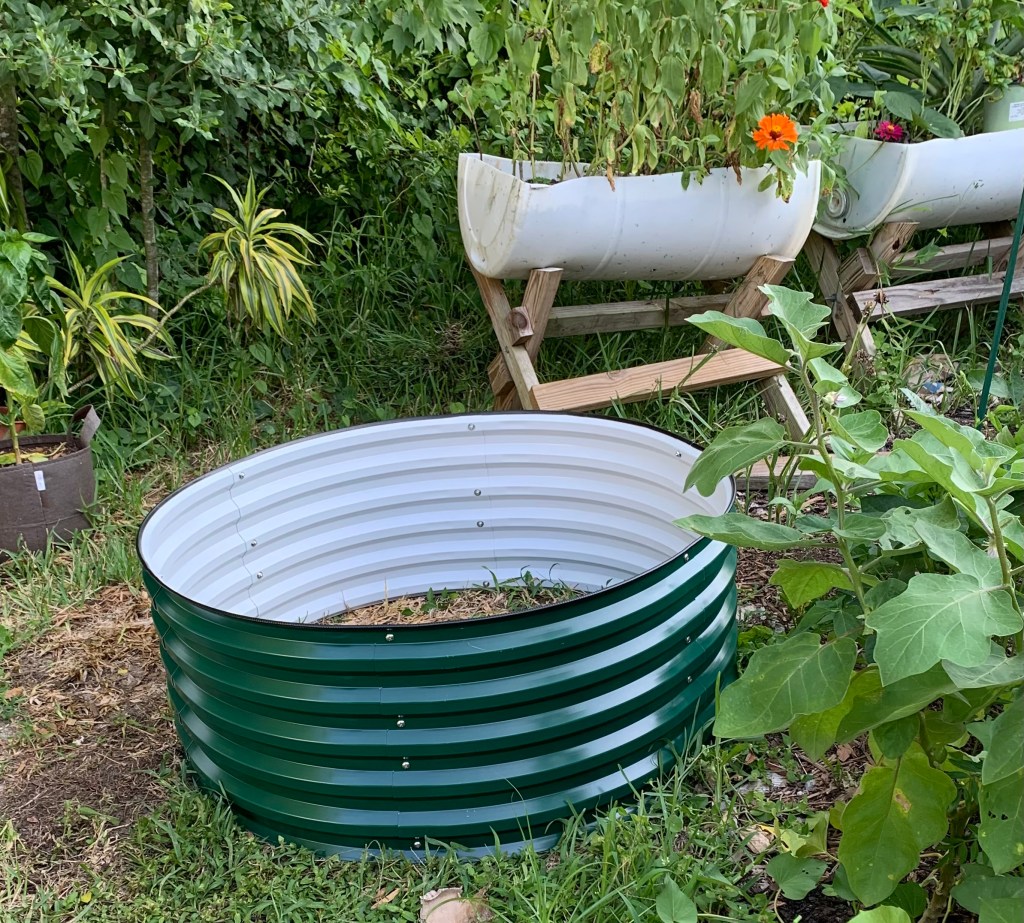
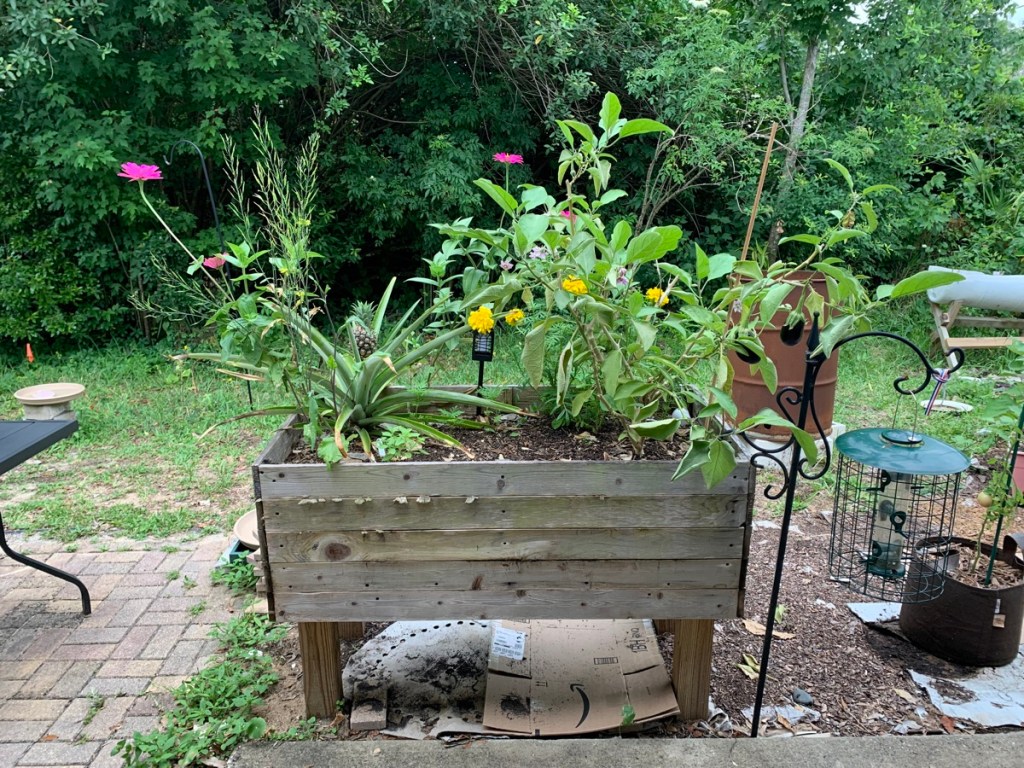
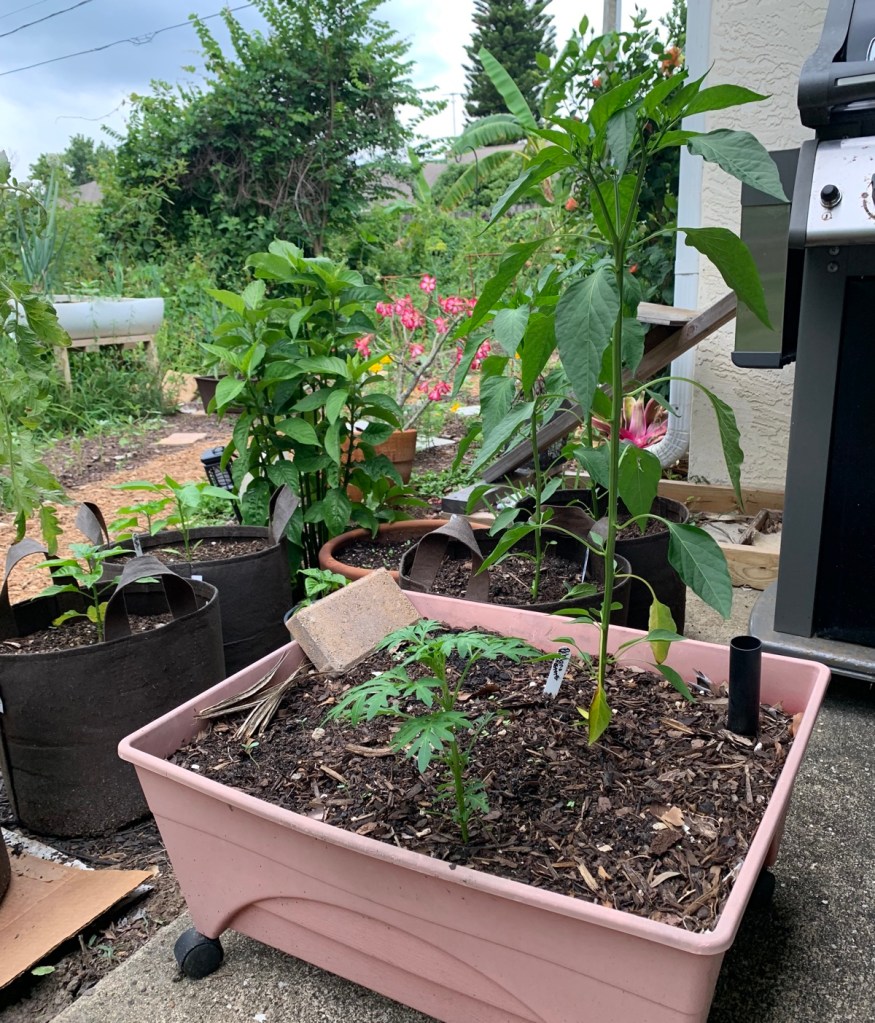
Bed #3

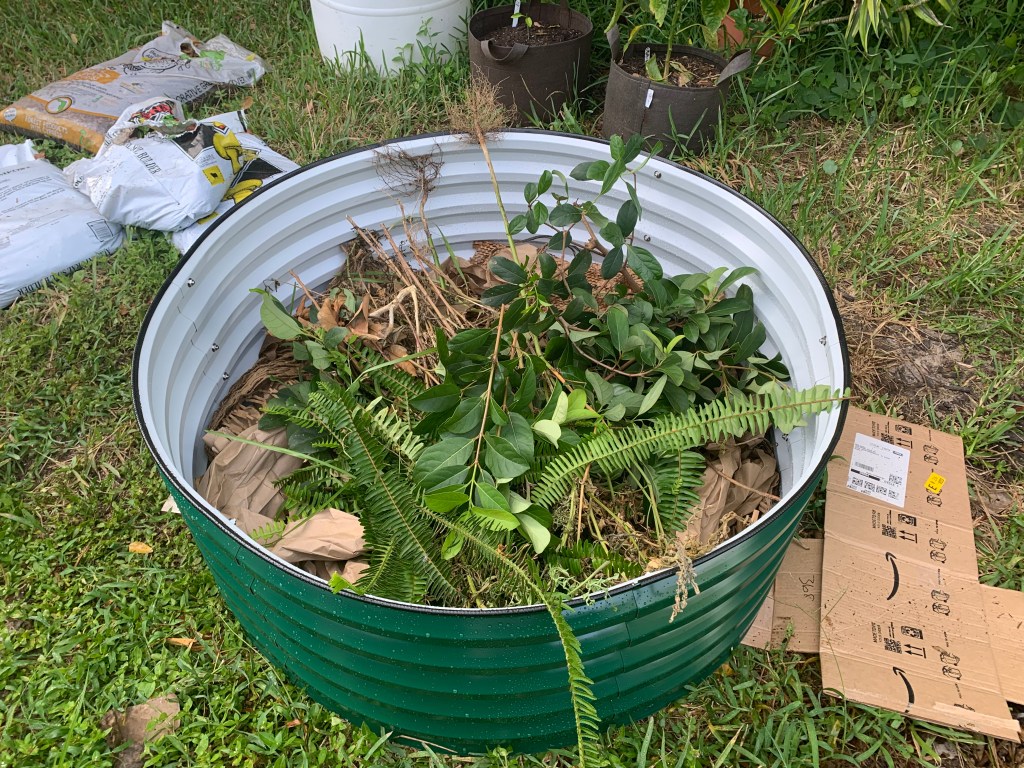
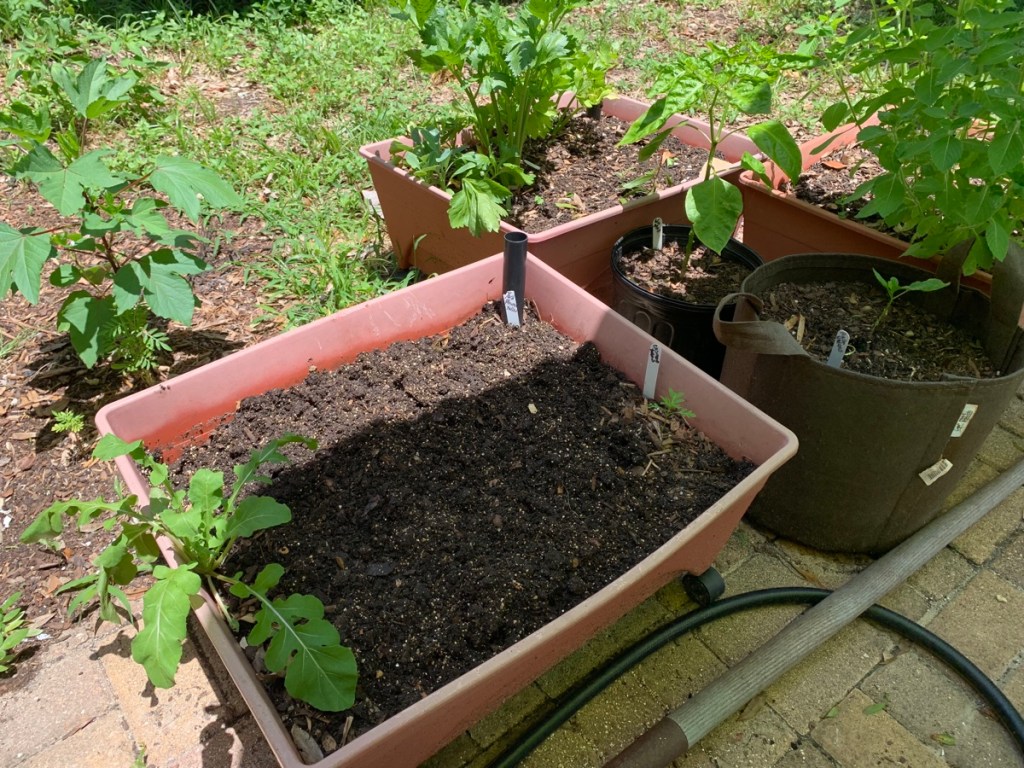
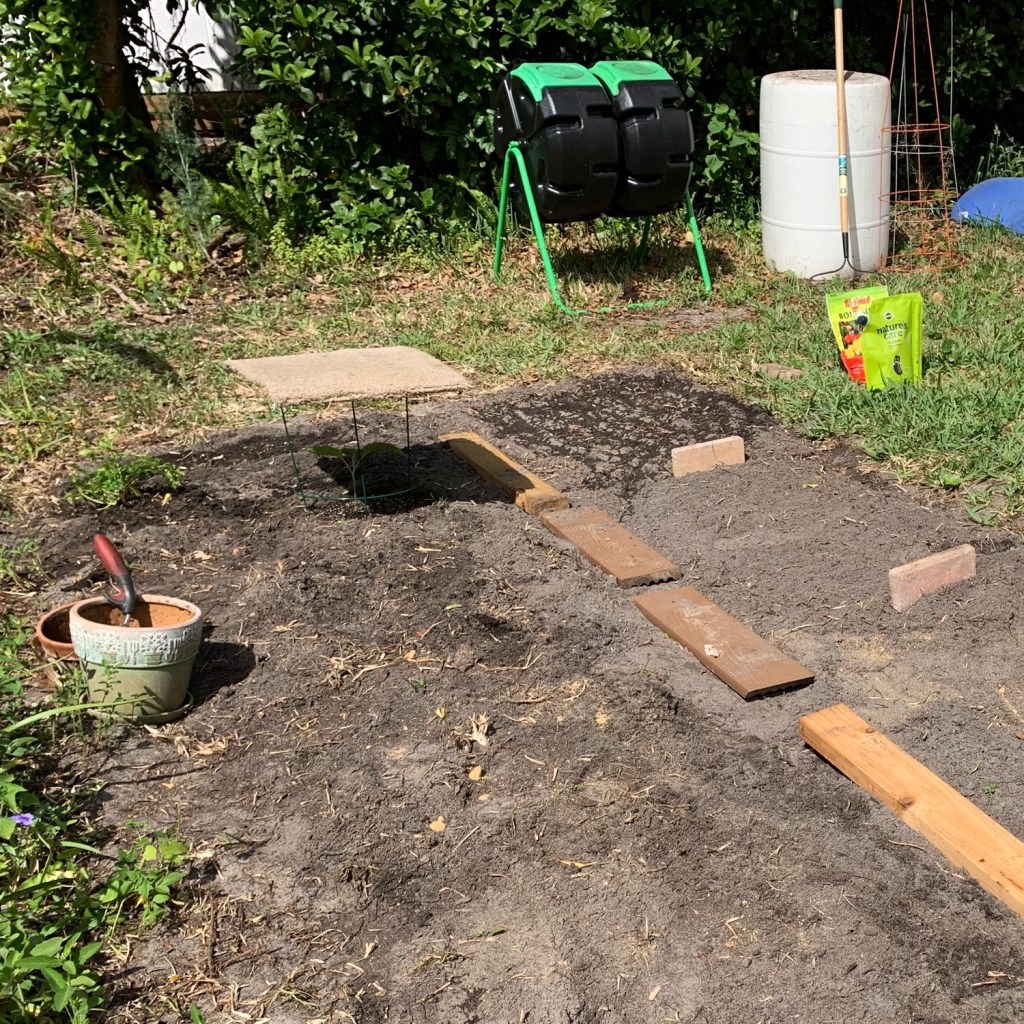
The third bed (featured on this page) is 3.5 feet square, with rounded corners. The color is Oyster White. Volunteer (squash or pumpkin) seeds have begun to grow, but nothing has been officially planted here yet.

Metal raised garden bed by Vegega in off-white color
3.5′ square metal raised bed. Volunteer squash or pumpkins are growing.

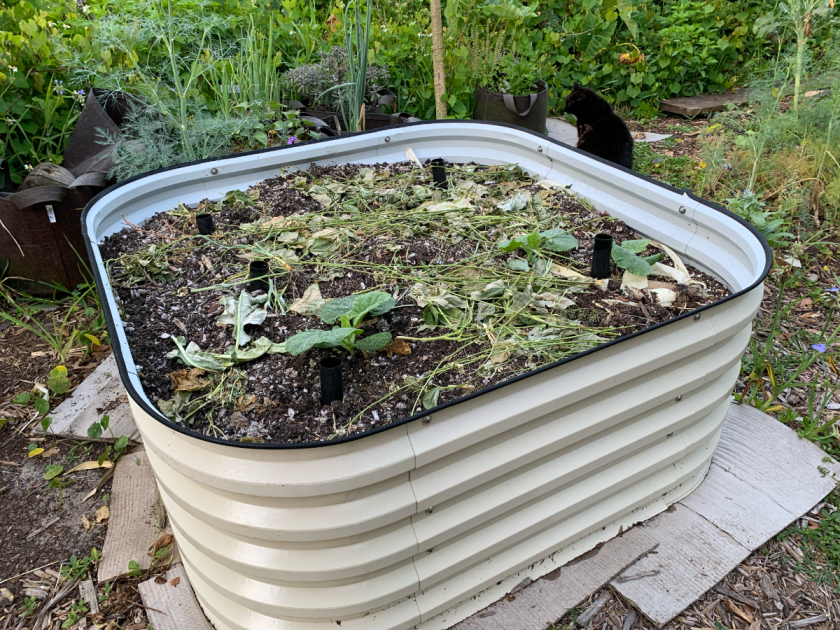
Although this Vegega bed has been sitting in my yard for weeks, it is not completely full. I have been cleaning up old vegetable plants and chopping the stems into this bed. The green beans are gone, and most of the broccoli. Because summer is coming, I’m not sure what I would plant in this bed, so I’m in no hurry. (I’m in Florida and summer is a tough time for gardening.)

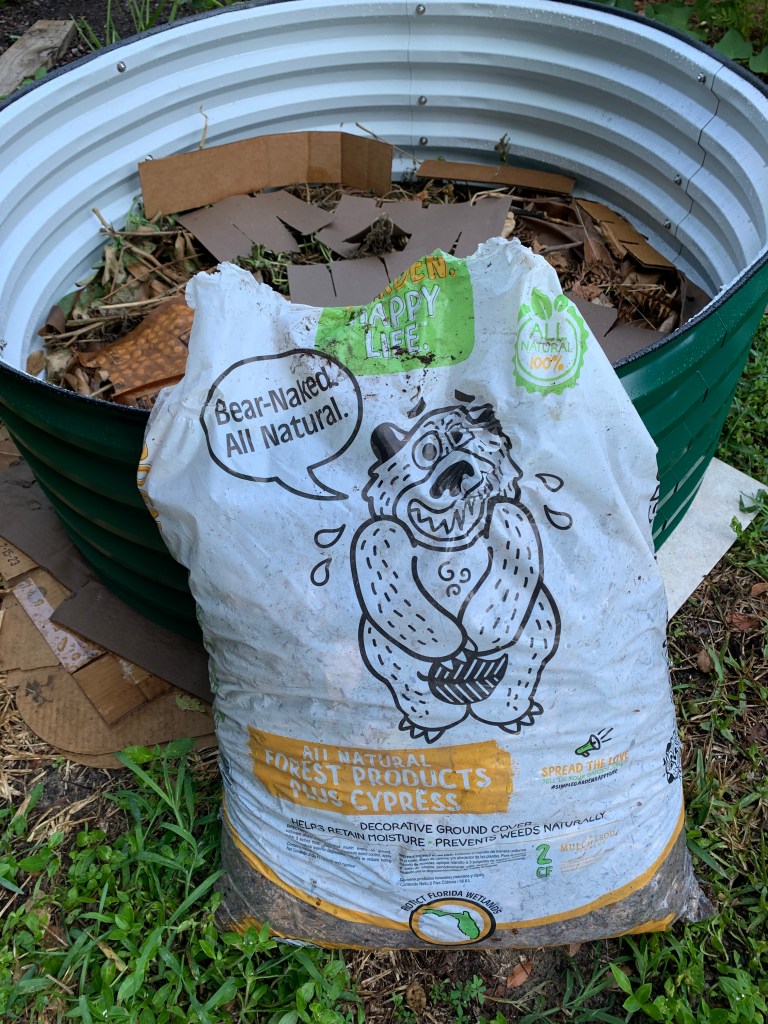
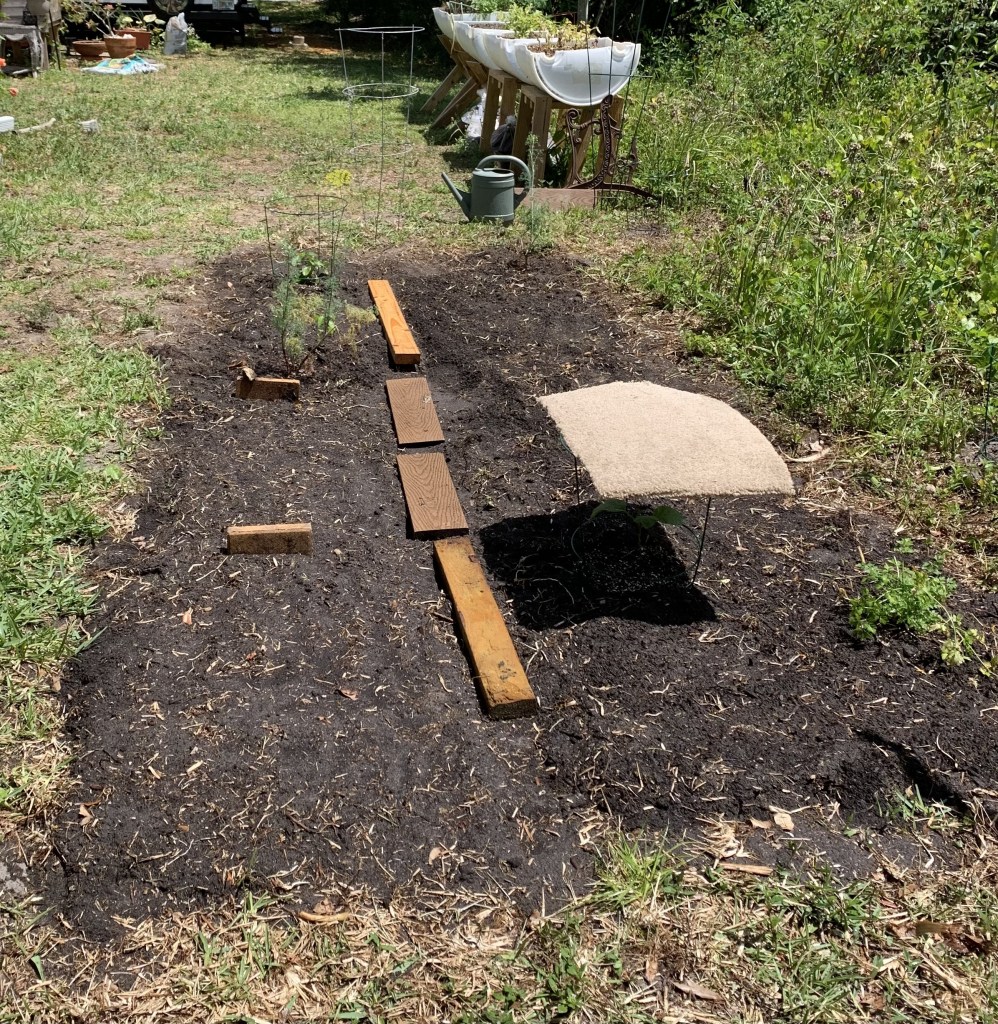
To fill this bed, I have used the following;

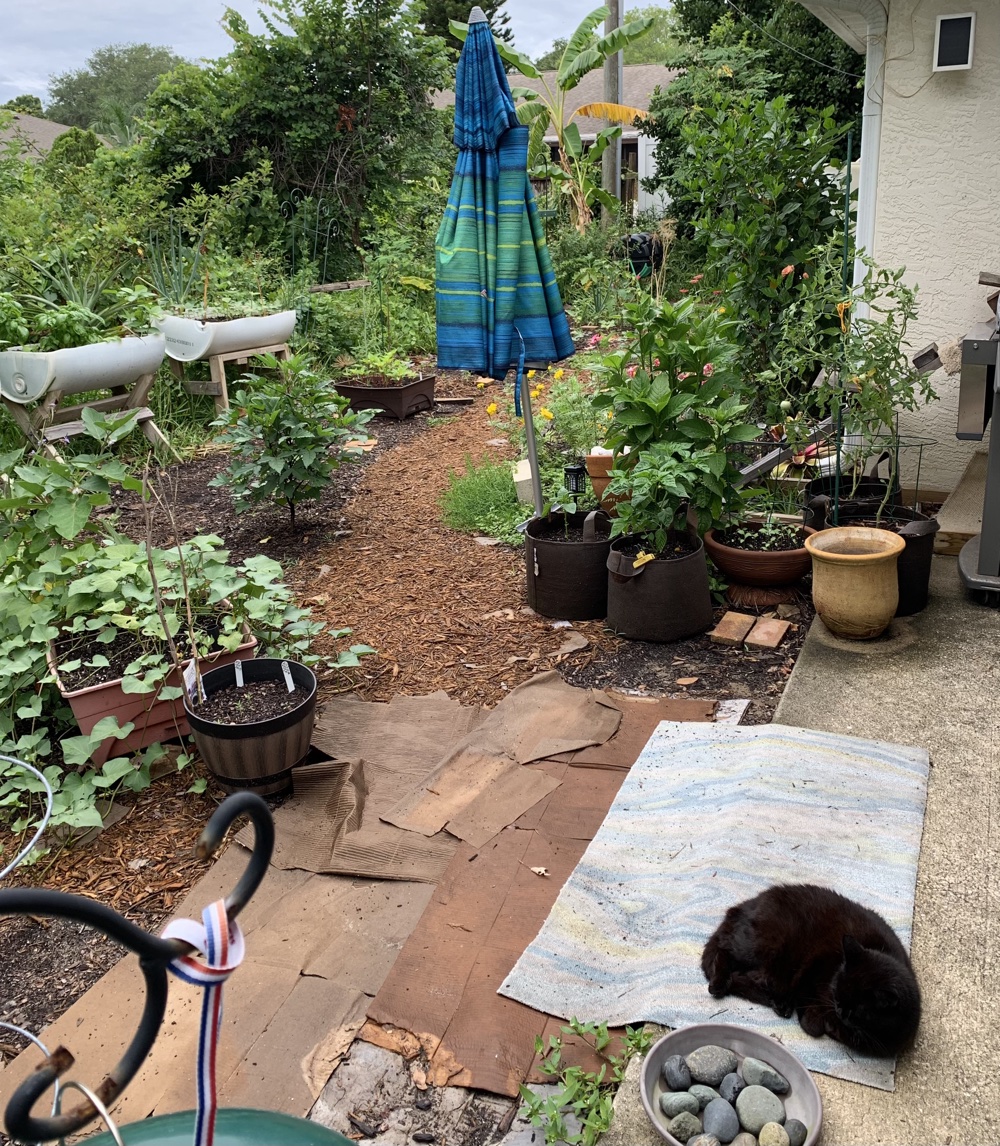
  • Cardboard (in bottom – helps to level the bed) & random packing paper
  • Pine straw – also on the bottom over the cardboard. I chose this because they had it at my local yard shop. Straw would be a good choice.
  • Vegetation – old broccoli plants, stems, carrot tops, old vegetables for compost, and cuttings from the yard.
  • Purchased potting soil, my own compost, and Perlite.

Florida Vegetables For a Raised Bed

Summer is not a great time for gardening in Florida. It is our “winter” where we need to be inside where the AC keeps us cool. But gardeners know that the weeds never stop, so early morning garden checks are necessary.

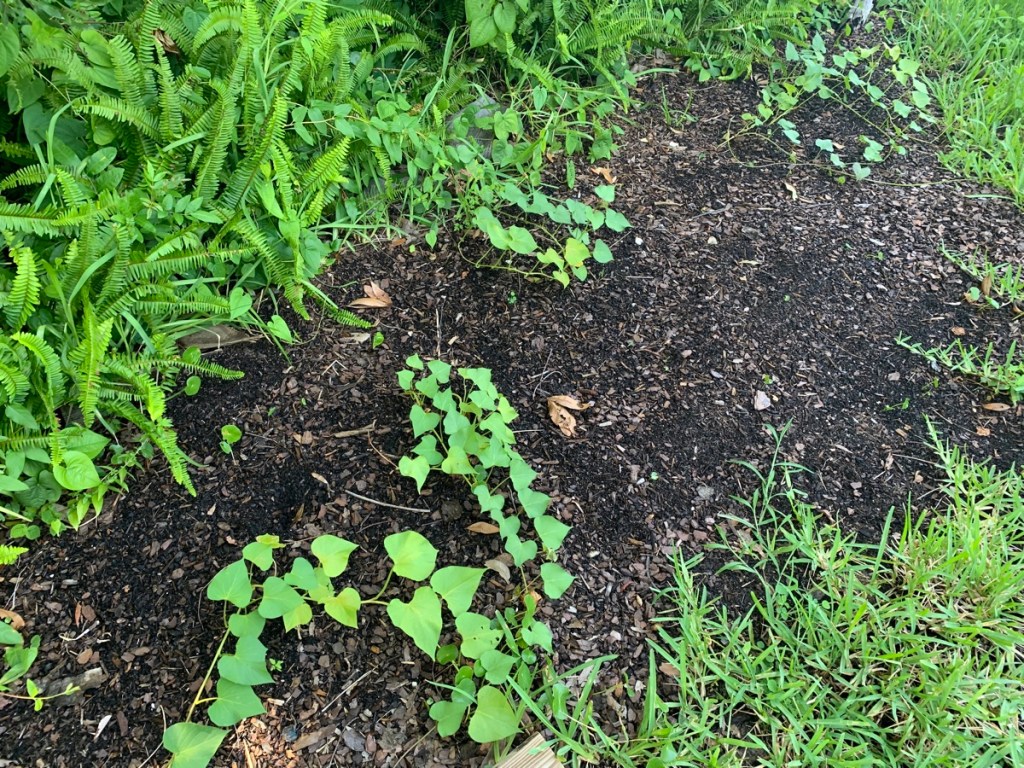
Crops growing in summer should be hardy, drought tolerant, and love the heat. Sweet potatoes fit that category. My entire long bed is planted with sweet potatoes. They don’t need much attention. I have found old sweet potato vines in my yard, from years ago!

Okra, if you like it, is easy to grow and would probably love a raised bed.

Seminole pumpkins might work if the vines can travel over the edge to the ground without a problem. These pumpkins like some shade too, and root along the vine.

Even crops that like it warm may need some shade during a Florida summer day. My pepper plants are in the round bed which gets a lot of morning shade. I have an umbrella that can be opened to give them more shade as we heat up.

Eggplant will last for years here. An eggplant in the center of a round bed, or at the end of a long bed, would be a good idea. In fact, if you need the shade, put the eggplant at the end that blocks the sun. Eggplants attract ladybugs too, which is a plus.

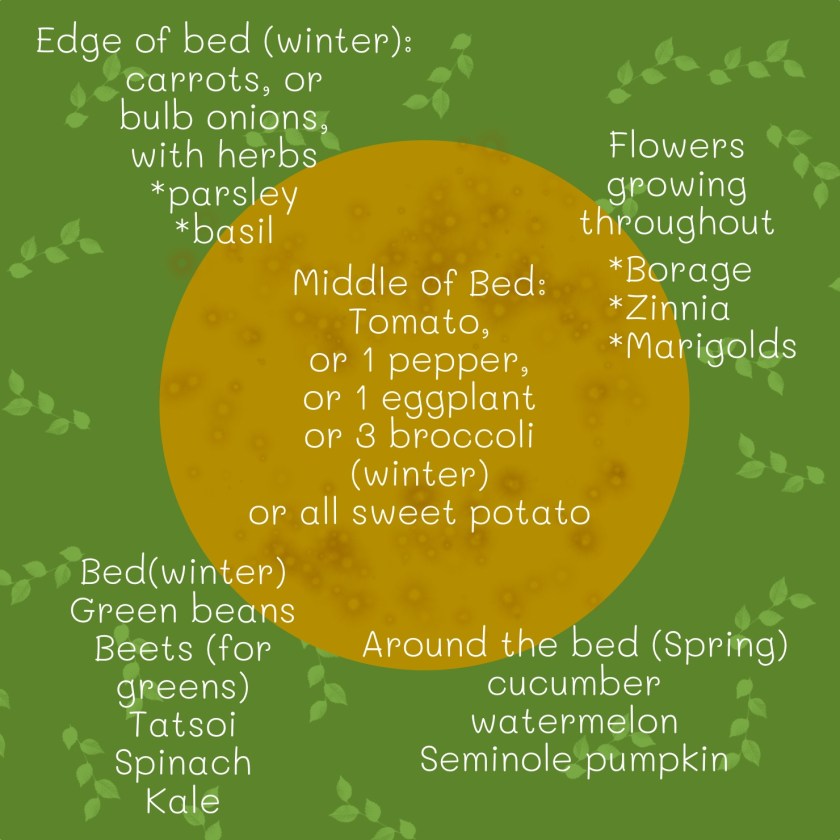
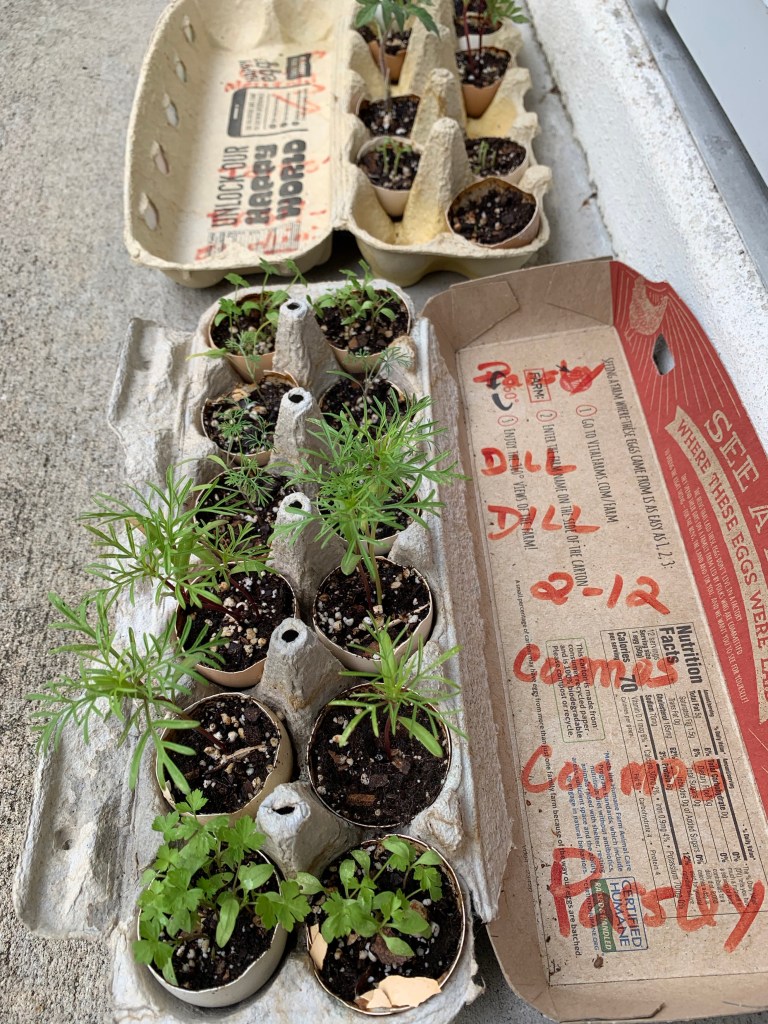
In Fall, I will be using these beds to grow lots of crops. I have success with bulb onions, carrots, broccoli, beets, arugula, Tatsoi spinach, dill, parsley and basil. Radishes take up little space and could go around the perimeter. Tomatoes can go into the beds in early spring.

I plan to include flower seeds around the edges of all the beds, and seasonal herbs. Holy basil grows nicely in summer, but most others like cool weather.

I’m excited to get growing in my Vegega beds! I’ll keep you posted.

Get a 10% off code here (paid link).

bees

Something went wrong. Please refresh the page and/or try again.

Splurged and Bought a Metal Raised Garden Bed

I’ve wanted a permanent (not made from wood that rots), large raised garden bed for a while. Raised garden vegetables are easier to manage than in the ground planting. I have better luck in a bed usually. This metal, round Vegega bed seems perfect.

Every time I have searched for metal raised beds, they have seemed way too expensive for me to buy. A few hundred dollars for one bed is way out of my budget. I had no idea of the quality either, until I found a review of the Vegega brand.

At Wild Floridian, I found a nice video review, and she offered a discount code to use for buyers. Her video convinced me to look into this brand further. See the review Vegega bed video by Wild Floridian where she has had the bed for a year and compares it to another type she had problems with (not named).

When I browsed the Vegega site, I liked the bed shape options. They offer sets that can be shaped as you wish once the product arrives – called 9-in-one, 10-in-one. Some of the pretty light colors were not available when I shopped, so I chose dark green.

My yard is small, and I was not sure where I’d put my bed. The round shape seemed perfect and I chose the 17 inch depth. This is a perfect depth to grow all kinds of vegetables including the ones with longer root systems like tomatoes, watermelon, and pumpkin. At this point, I have no idea what will be planted in this bed, but I will not be restricted by depth.

Putting The Vegega Bed Together

Assembly of the garden bed was fairly easy. I did it by myself in the house (it’s hot here). I think I spent the most time removing the film that covers each section! Screwing the pieces together was very easy. I decided to complete each half of the circle so I could move it outside in two sections to complete the assembly.

Once the sides are all screwed together, a rubber strip is added to the top. This also was very easy to do, with plenty left over.

How I Am Filling My Raised Bed

I’ve read all about various ways to fill a garden bed. This is part of the expense, but it’s worth it to create a good environment for the vegetables to grow. I’m not in a hurry, as I won’t be using this bed for a few months.

I have cardboard, so I am using it to level the bed. I also have added packaging paper, along with cuttings from the shrubs, and mulch to begin the fill.

Don’t try to make your raised bed into a restrictive “container”. Leave the bottom open just in case roots want to expand. Also, think about water drainage. Everything I am adding here will eventually break down. Soon, the greenery will turn brown and decomposition will happen. All of this will become a layer of nutrients at the bottom of the bed.

As my marigolds die, I will cut them off and add them here. The same with any other flowers. I’m growing cowpeas now, and some of those plants may end up as a layer.

*FYI: I read someplace that using rocks in the bottom for drainage may not be a good idea, especially if you want to move the bed later on. The rocks will have become part of the earth and will be difficult to move / remove.

My Reason For Wanting a Raised Bed

I want raised beds because it’s easier to add and keep nutrients in the soil. Whenever I compare similar plants that are in the ground, to the ones in the bed, the bed / grow box plants are always doing better.

As an example, I bought and planted sweet potato slips just before my trip north. One slip went into a grow box (center) and others were planted randomly around the yard in the ground. The grow box sweet potato is going crazy with vines all over the place – even though that box is really not nearly deep enough. All the other sweet potatoes are much smaller. We’ll see in a few months if I get actual potatoes to compare.

Crop Ideas for a Round Raised Garden Bed

When considering what I have grown successfully (for the most part) I created this diagram with ideas for what to plant in my new, round raised garden bed.

That big circumference is perfect for root crops near the edge. I’m thinking carrots and bulb onions (garlic for you northerners). Both onions and carrots take months to mature. Putting them in as a border – out of the way – leaves space for bigger crops in the middle. I’m thinking of planting broccoli here this winter.

planting ideas for raised round bed
Planting ideas

Eventually I will be adding garden soil along with perlite for good drainage. Before I plant, I will mix in some other amendments such as bone meal. More to come about planting in this new space. I’m already thinking about buying one more bed in a rectangle shape.

All gardeners are invited to keep reading…

Expanding the Garden Over the Past Few Years

My Florida vegetable garden journey began in 2021. Here’s what I’ve accomplished in the past three years.

Once I chose to go into the backyard, and begin seriously growing vegetables, I realized I had a lot to learn. I also needed a lot more space.

Summer 2021

I learned to garden in New England. When I moved back to Florida I hoped to be able to grow some vegetables at least. In the summer of 2021 I purchased three, red-orange grow boxes and put them on the back patio.

These boxes have a tube in the corner and watering is supposed to be done through the tube. The idea is to pour water into the tube and water the roots. I also water from the top.

I bought my boxes at Home Depot and they are similar to this style available at Amazon: Emsco Group Bountiful Harvest Raised Grow Box (paid link). They have rolling castors so moving the box on a patio is pretty easy.

Grow Box as Seed Nursery

One issue I have with these grow boxes is that they are not very deep. The lower area of the pot is reserved for water to accumulate, so they are more shallow than they appear. These pots are perfect for starting seeds. Once the seedlings are big enough, they can be transplanted to bigger pots, or into the ground.

To avoid the problem of dirt sifting down into the bottom, I clean all dirt out of the box, remove the panel with the holes, and drill holes in the box bottom. A layer of mulch and stones will work for drainage. Now the box is more like a big plastic pot.

Spring 2022

I actually grew a few peppers in 2021. I was so stunned to find that peppers (and other things, like eggplant) would continue to live for years here! Eventually they don’t do very well, but I knew this climate was going to be a challenge.

In 2022 I tried starting seeds in egg shells. It was a fail. Not worth the effort. In fact, starting seeds in small pots is not easy, and frankly, a waste of time.

This was the year I began to compost. I bought the Hot Frog composter (which I am still using).

My son built a few raised beds from wood and white barrels he got from work. I still had nothing growing in the ground.

First in-ground Garden Area, 2023

March of 2023 was when I decided to till the lawn and create some in-ground gardens for vegetables. I bought a rototiller and made a little area of dirt. After that, I began to use cardboard to kill the grass and create more gardens.

Cardboard takes longer, but it keeps all the good grass and topsoil undisturbed. It simply dies from being covered and becomes part of the soil.

To plant over cardboard that is not completely decomposed, use a hand fork and chop the cardboard and earth. Add amendments, and plant.

Summer 2024

I still use the red grow boxes, although they have faded to pink over the years. These grow boxes are best for growing vegetables that have shallow roots. I now have seven boxes. They are perfect for growing onions, half-long carrots, and greens. I use them as seed starters too.

Now, I am beginning to feel pretty confident about which crops to grow. I’m still in the experimental stage with some things. Gardening is an ongoing learning adventure!

vegetable border
Keep on growing…

I Want Some Dandelions!

dandelion seed head

In my area of the country (New Hampshire) there are no signs of spring, let alone dandelions! It’s mid-March and the temps have barely been out of the 20’s lately. A lot of snow still covers the ground and it’s frozen solid. Only the little melted circle over the septic tank gives me a view of brown earth. It’s one reason this blog has been stagnant – nothing much happening here!

But lately I am thinking a lot about dandelions. They are something people mostly consider to be an annoyance. Those white heads explode in the wind and spread their dreaded seeds all over the place. Even though my lawn is quite hideous, I usually dig up the dandelions and add them to a compost pile (when they are yellow, not white).

When I was a kid my dad once offered my sister and I a penny or nickel (can’t remember- it was the 60’s) for each one we picked from the yard. We happily ran all over our huge yard gathering the yellow flowers so they wouldn’t turn white and reproduce. I guess that is one way to remove them, and keep kids busy at the same time.

I’ve changed my outlook toward this yellow flowering weed. Why? Because I have been drinking dandelion tea from the health food store, over the winter, and it’s good. So I wondered if I could possibly make it myself. After searching online for advice, it appears it’s easy to DIY.


Apparently tea can be made from the flower, leaves and roots of the plant. The tea bags I bought are made from the root, and that is the part I think I need most. It’s good for the kidneys and I have recently been diagnosed with kidney disease. So I am very interested.


It will be a few months before dandelions begin to grow in my yard, but I am getting ready to try out some new tea recipes. This year I can’t wait to see those yellow flowers in my yard.
Once I do some experimenting with this, I will post my results, either here or on a new blog (which I am presently considering). But first the snow has to go away! One thing at a time.

For the Handy Woman – Springtime Fixes, Part 1 – Advice

screen-shot-2017-01-31-at-1-36-14-pmThe truth is that many older women are now living alone. After raising a family for years, the couple splits, for whatever reason. Men tend to need to immediately find someone else. I don’t know if it’s because they have been spoiled for years by a woman taking care of everything, or if they just can’t handle being by themselves. I’m speaking generally here, because there are some men who do remain by themselves, I guess. All I know is that I seldom meet or hear of a man living alone. But I personally know many women who do.

Women tend to be better at the homemaking thing, especially older women like myself. We grew up imagining our lives as homemakers. That is not to say we didn’t also work outside the home. Between a job and raising the kids, it didn’t leave time for learning about home repair. I had a husband to do that stuff, and he lucked out because we bought our home brand new! There was little to do but typical grass cutting.

The point is that no one ever taught me anything about taking care of a home.  And my home was in Florida.  When I bought my own house, I was living in New Hampshire.  It’s a whole different ball game in the northeast.  Wood stoves, furnaces and basements were new to me.  I had a lot to learn.

Once I was alone, and in charge of my own home, I had to begin doing little fixes on my own. I did not have family to rely on. The buck stops here, as they say. Luckily, I have access to the internet! Almost every type of “how to” help can be found online and most things also have a decent You Tube video in case you want to watch someone do the job. So my first bit of advice is to LOOK IT UP and find a reputable site or video to rely on for advice.  Look for videos that have had a lot of views.  They are probably the best.  People put out some really awful videos and unless you want to slog through a bunch, just pick one that seems to be popular.  Like the one below.

Here is an excellent video to help with hanging artwork, mirrors, or anything on the wall!  I love this video because it’s something I dread doing, but she makes it look …not so bad.

My next bit of advice is to consider hiring someone to do it for you.  Do NOT take on too much.  Even a job that looks manageable can be much more time consuming once you begin doing it.  And don’t try to do anything that could be dangerous.  If the thought of climbing up on the roof to clean the gutters gives you the creeps… don’t clean the gutters yourself!

Now, I was lacking financially, so hiring people had to be done in small increments.  That can be a problem too.  Most contractors and carpenters want a big job to do.  One that will be worth their while.  Simply replacing a rotted step is not worth their time.  Perhaps find a reputable “Handy Man” for jobs like that.  Ask around to find someone you can trust, don’t just pull a name out of the newspaper.   In my case, I had a LOT wrong with my house. I found a good contractor who could give me advice.   He repaired sections of my house one at a time… when I could afford it and when he wasn’t busy.

So here goes.  Spring is right around the corner, and wherever you live, it’s a good idea to get things in order with the house so you can enjoy the summer.

Read PART 2 , especially if you would like to learn how to replace a screen.