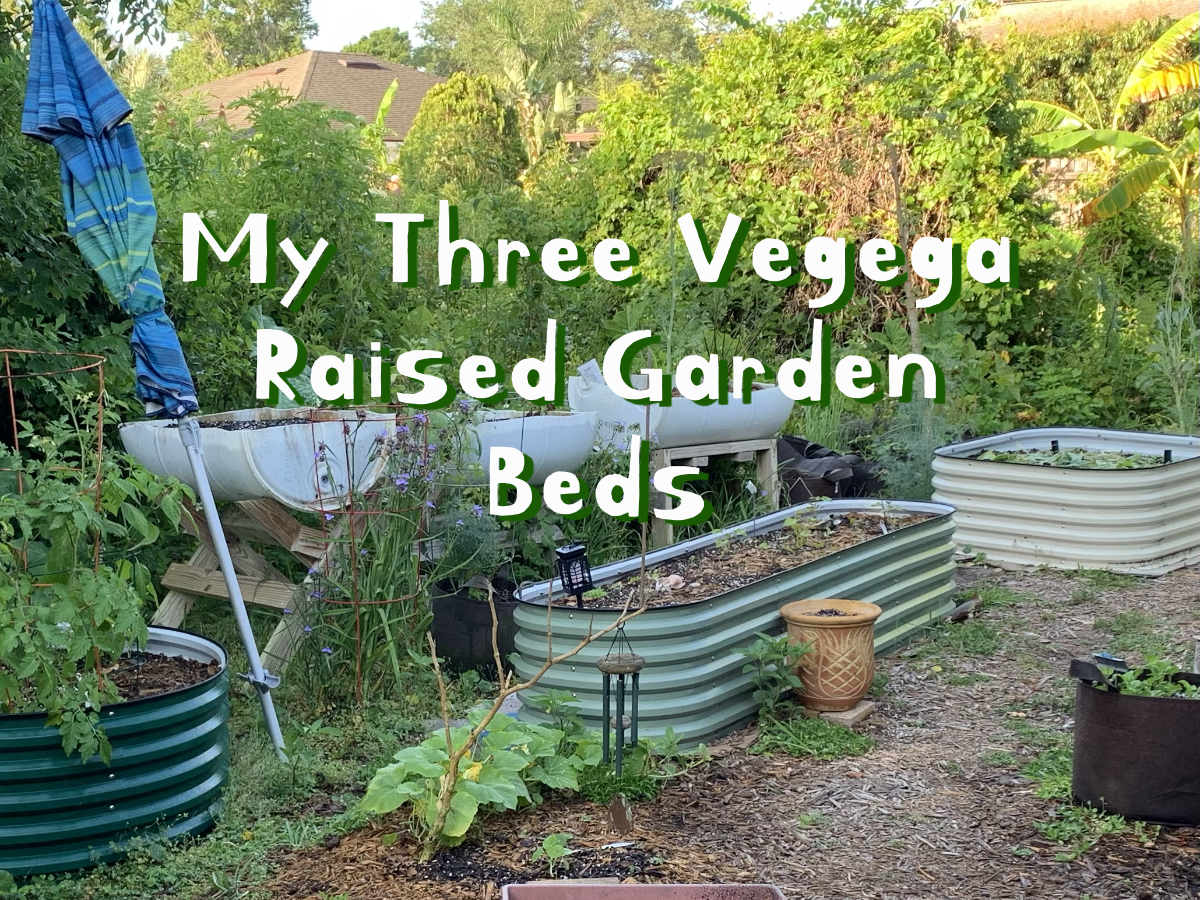
It’s mid-summer and here in my Florida backyard I have mostly flowers growing. I’ve used my three Vegega raised beds to hold some things and some are doing better than others. More amendments for Fall will be needed.
Over the past winter and spring, I set up some new raised beds. I bought the metal beds from Vegega after watching a YouTube video. Another Floridian had purchased from this company and she had lots of good things to say.
I garden on my own, and it took a bit of time to assemble, fill and plant the beds. You can read my post here. I knew that they would need time to “cook” me up some great soil. Branches, leaves and old growth were tossed in along with compost, dirt, mulch and earthworms. I knew the soil would settle and slowly compost. Still, I planted all three beds with some flowers and vegetables to see what happened.
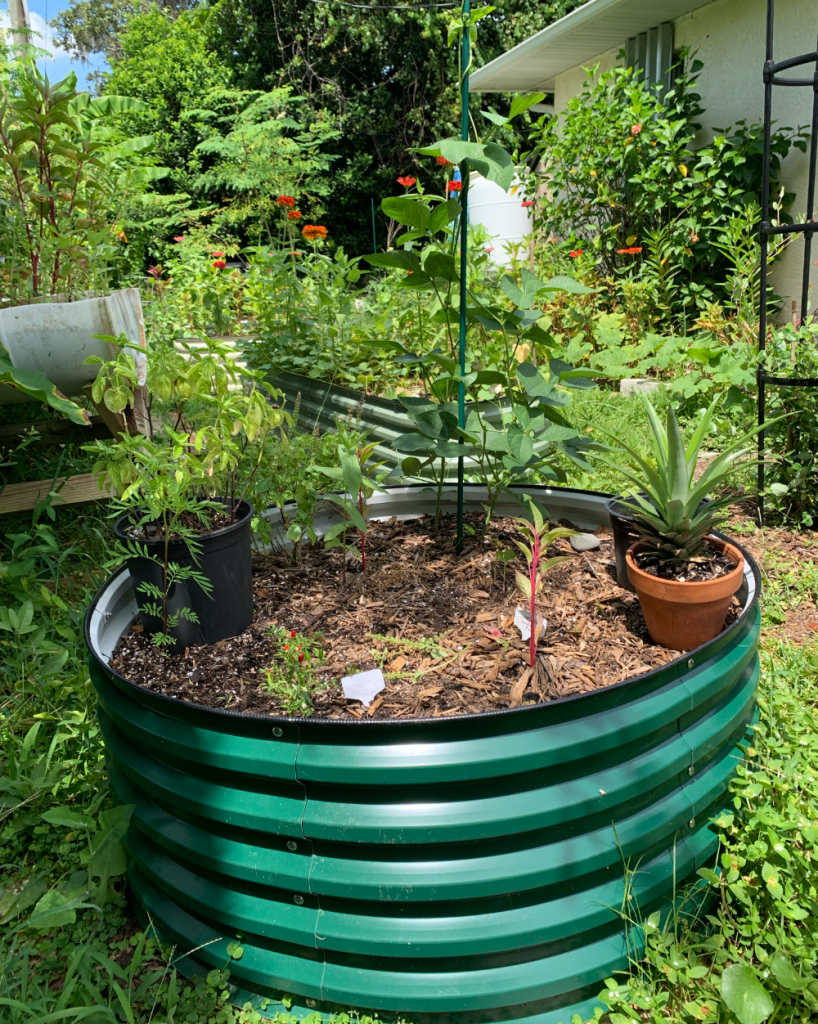
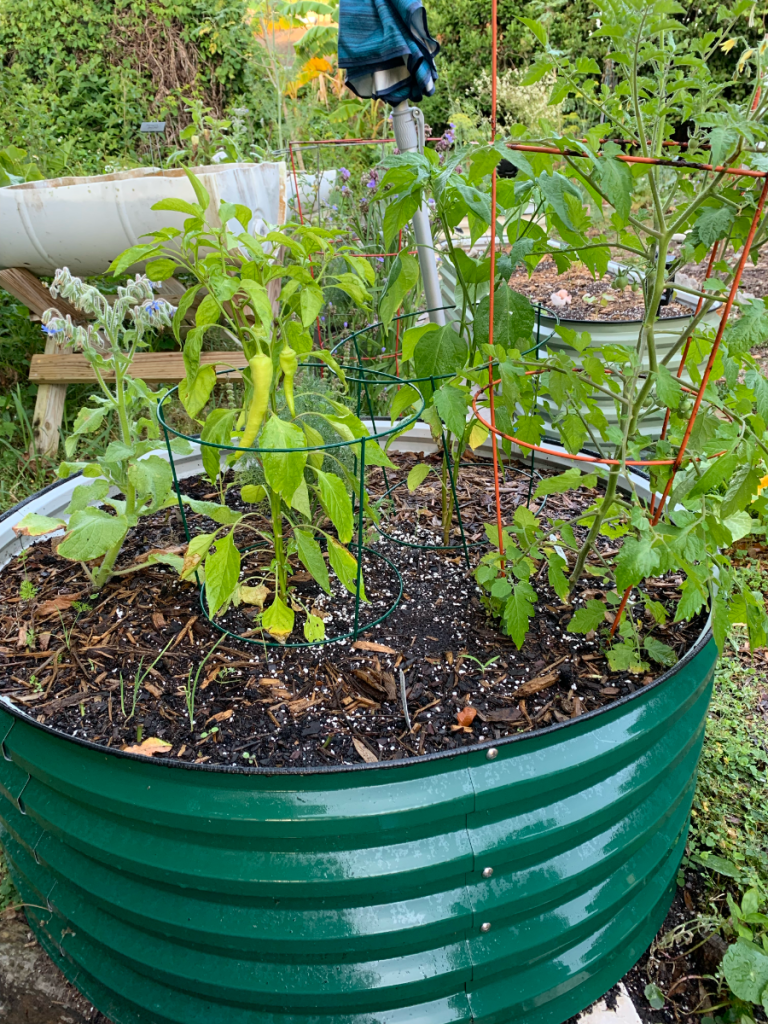
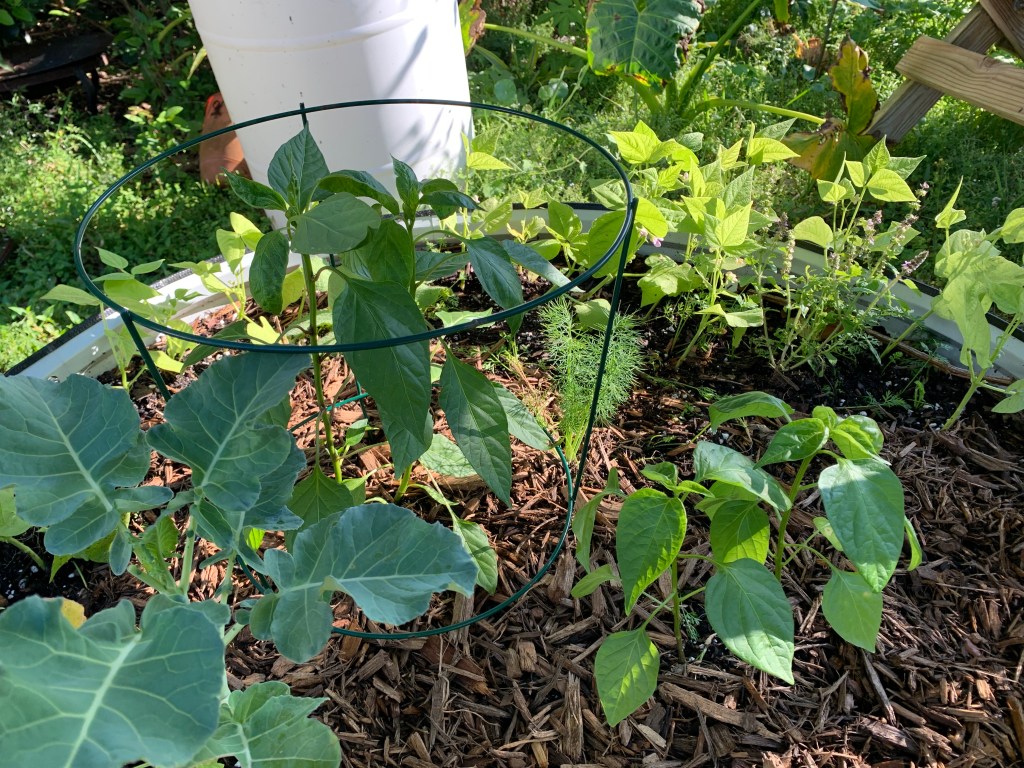
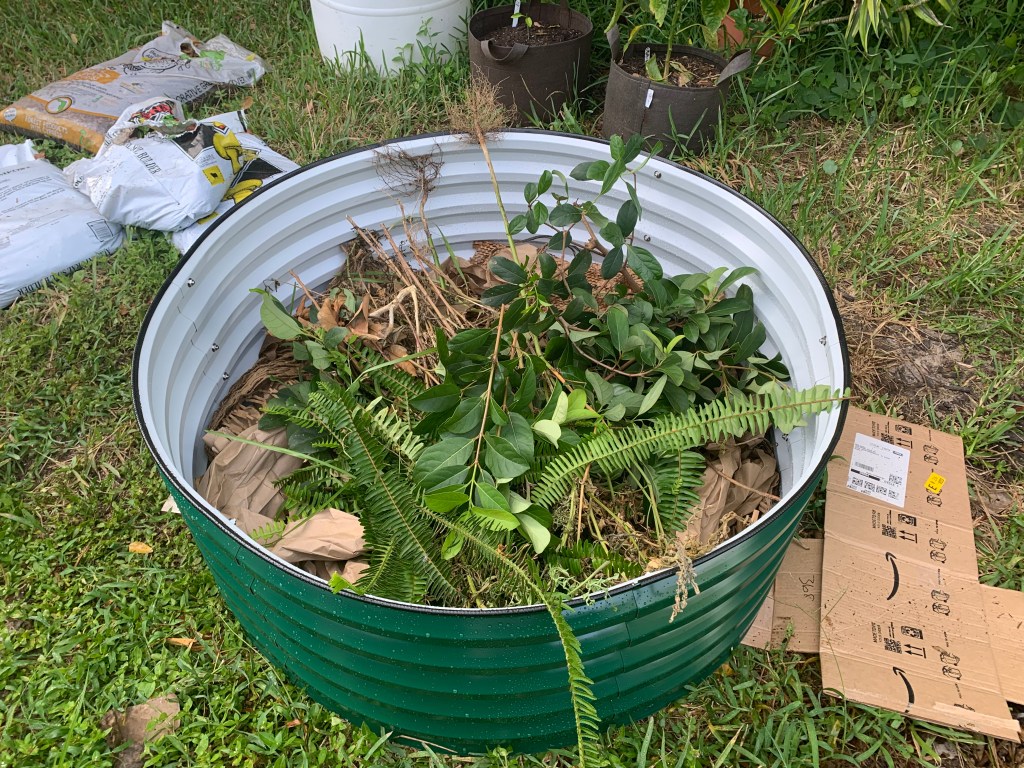
The Round Vegega Raised Bed
This is my oldest bed. It gets more shade than the others also. I had some lovely Ubatuba pepper plants growing in here, and a cherry tomato. All of them eventually died. I believe it was a lack of good soil and drainage. I plan to add more good soil and amendments as Fall approaches.
Now it is mid-summer and a Tulsi basil is planted along with a few cowpeas (cover crop beans). One Celosia, one marigold, and a small pepper plant are struggling.
An empty, or partially empty raised bed is a good place to set potted plants.
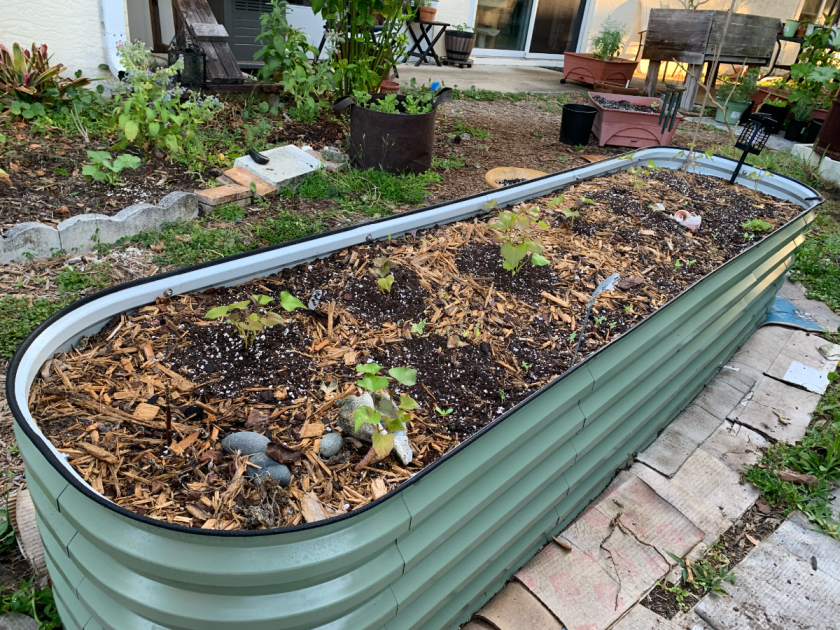
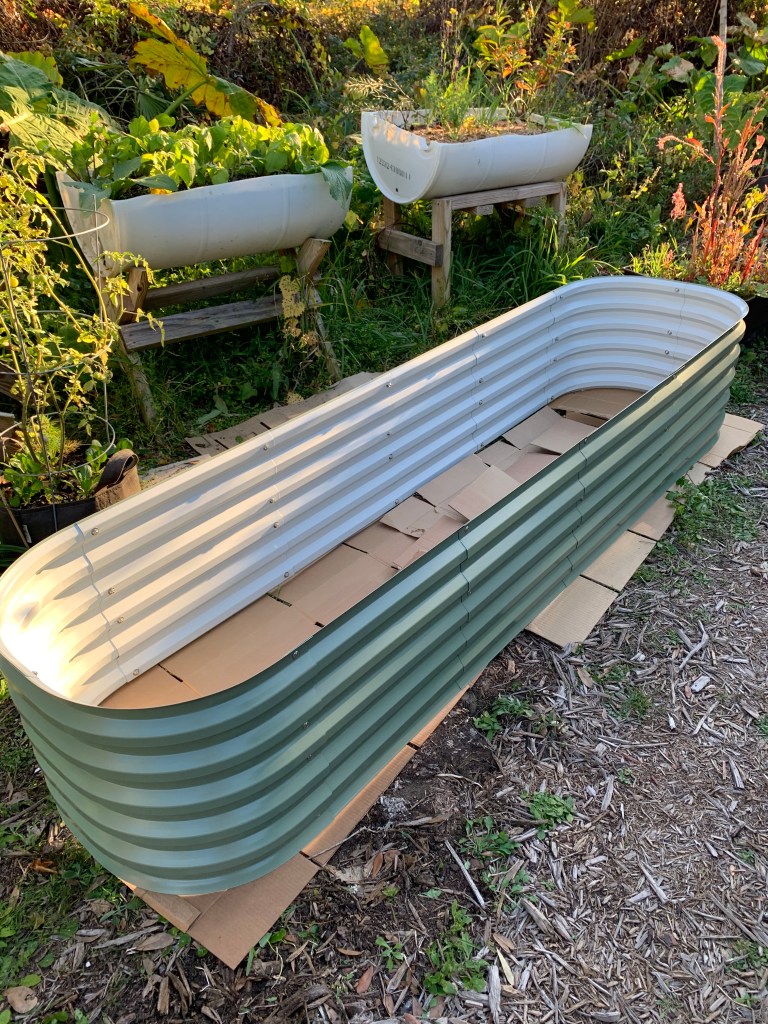
The Long Vegega Raised Bed
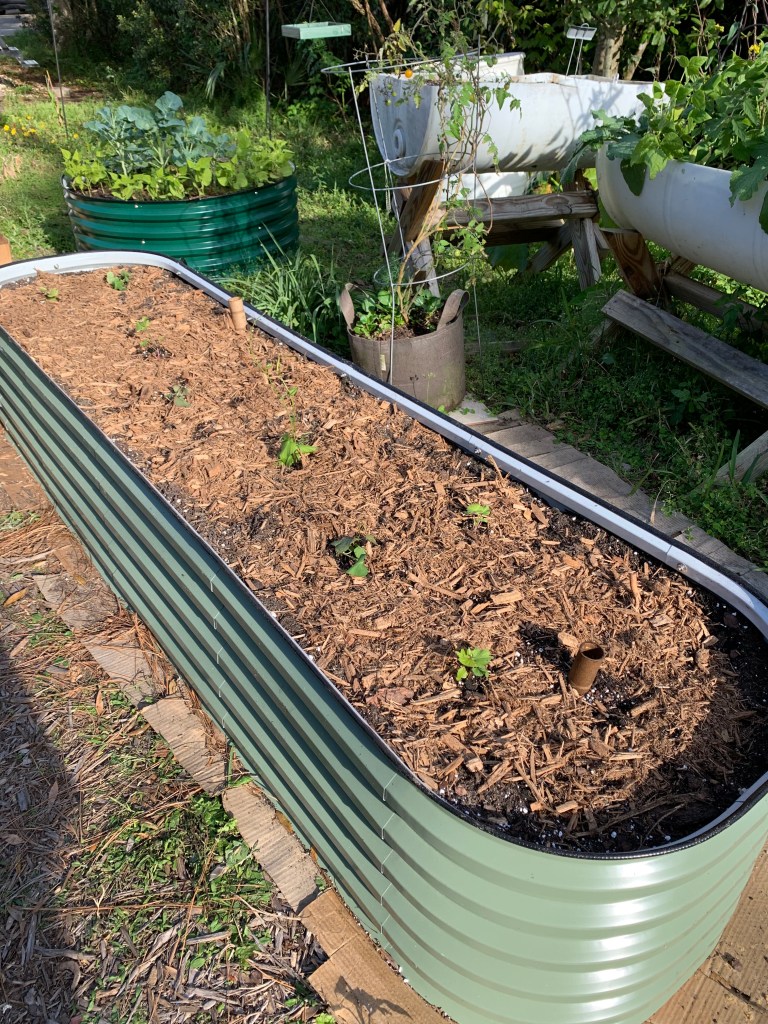
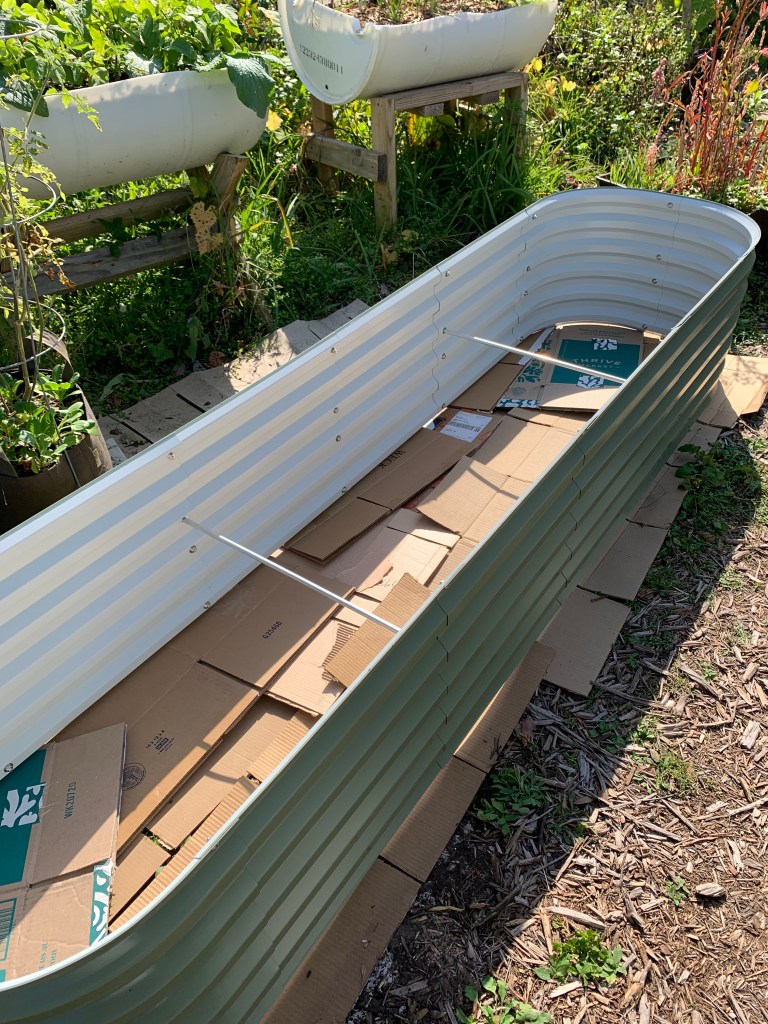
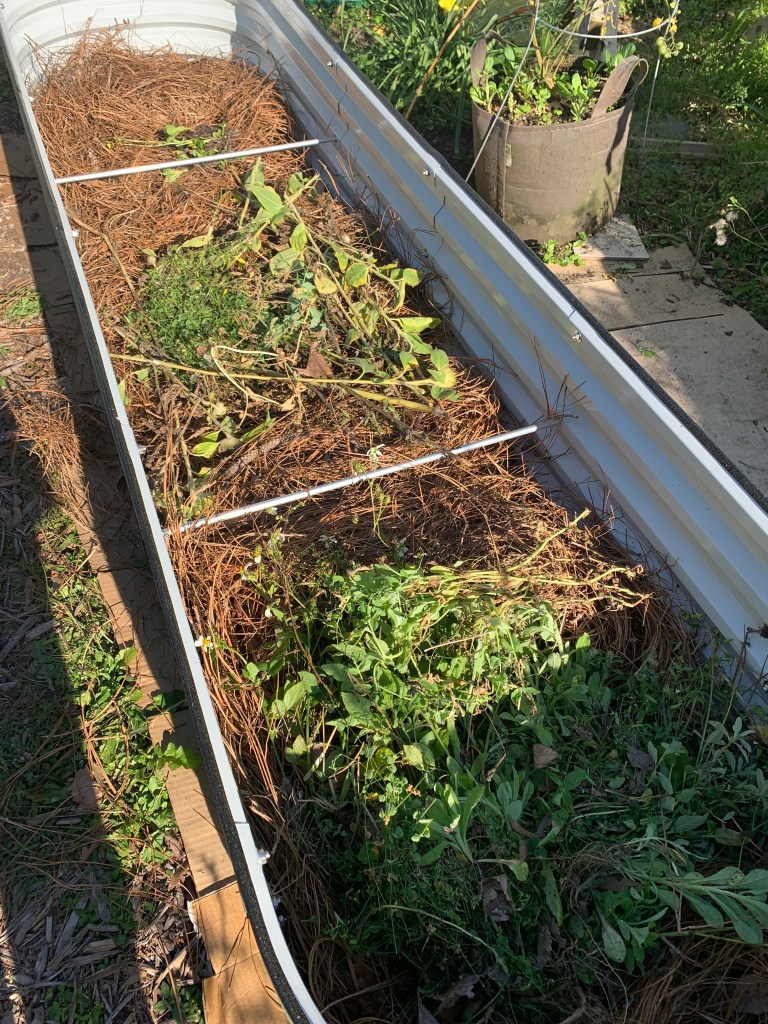
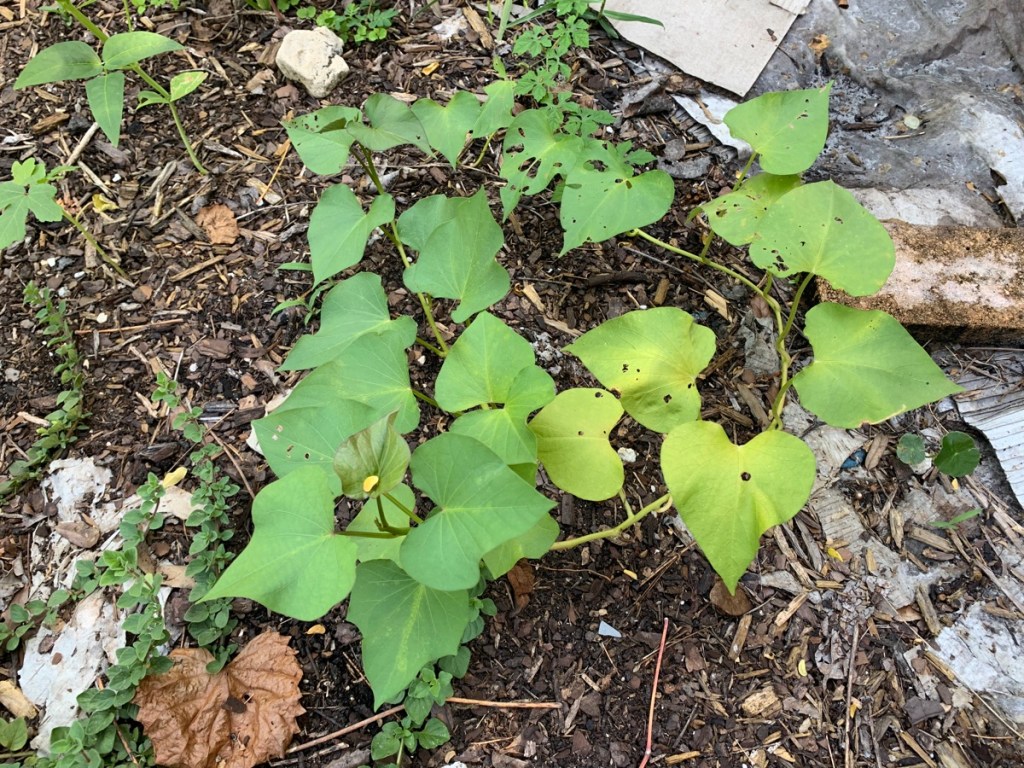
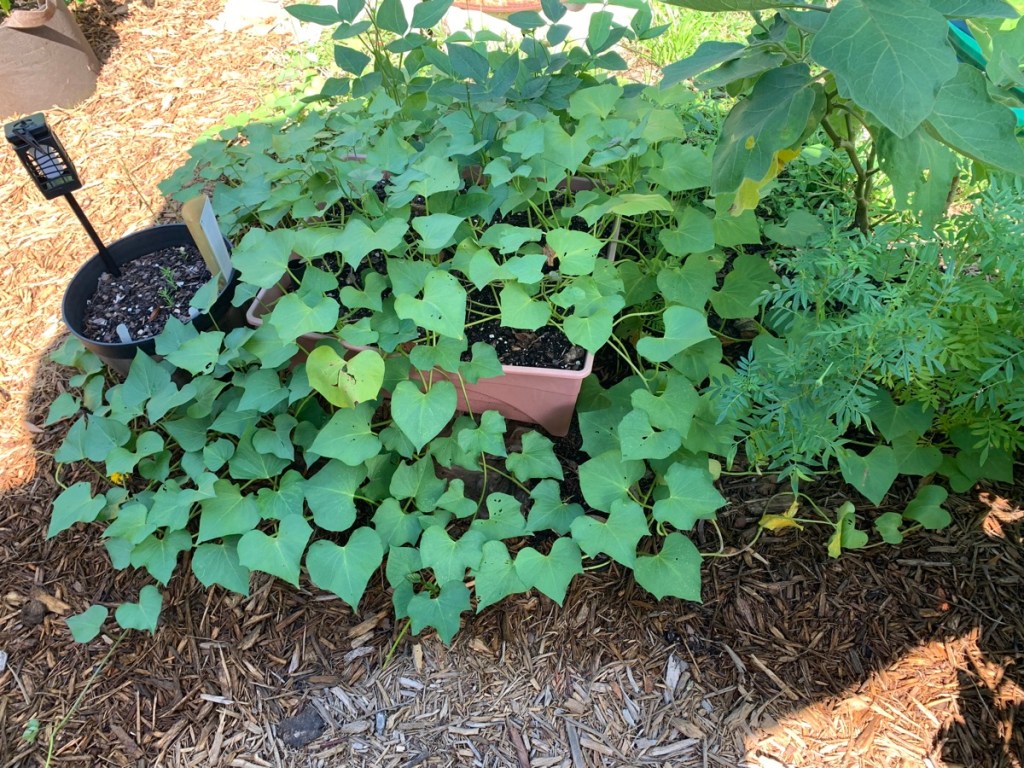
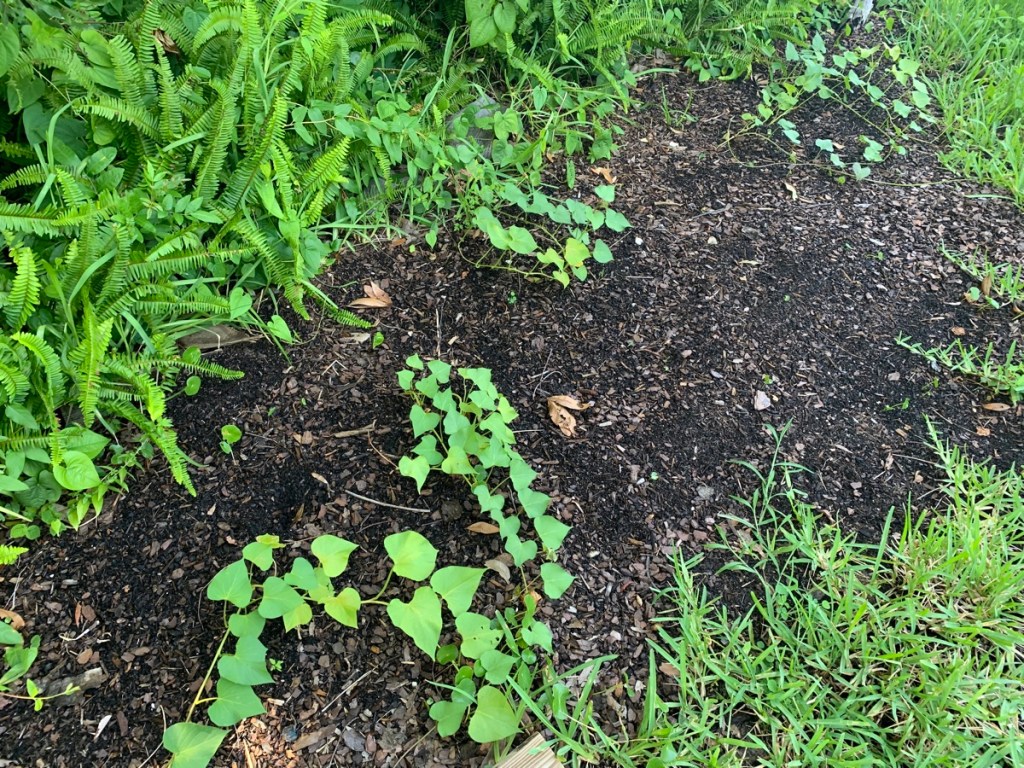
My long, oval bed was the most difficult to set up. I love the shape though. It is full of sweet potatoes (I hope – I see lots of vines) with Zinnias around the edge.
This plant mixing was not a great idea. The sweet potato vines keep trying to wrap around the flowers. By September I will be digging up this bed and getting it ready for Fall planting.
My long oval raised garden bed made of metal, with sweet potatoes and zinnias growing.
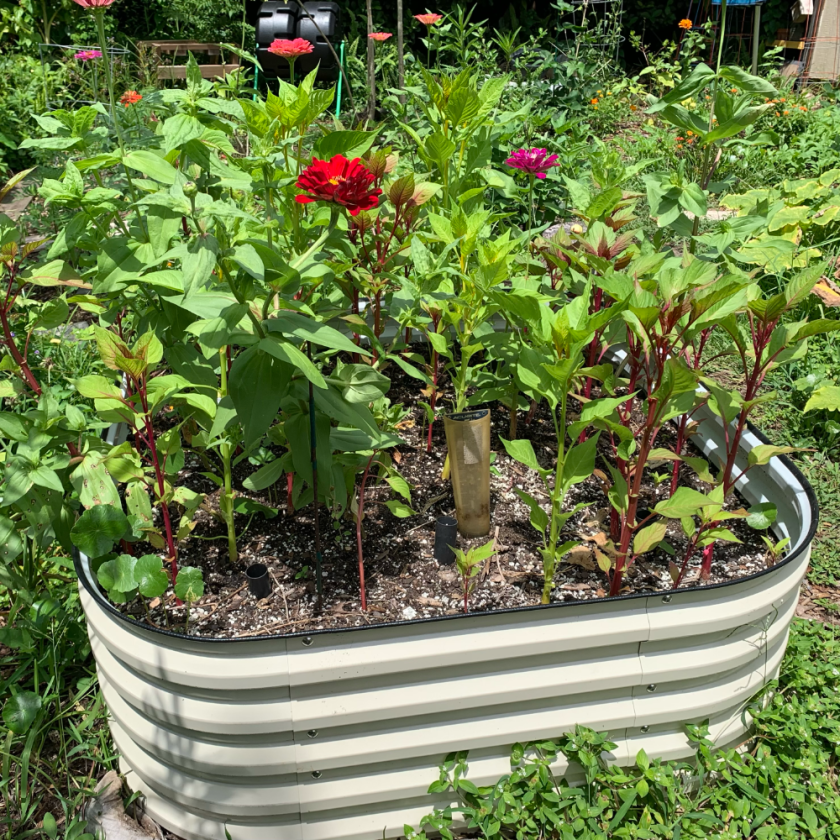
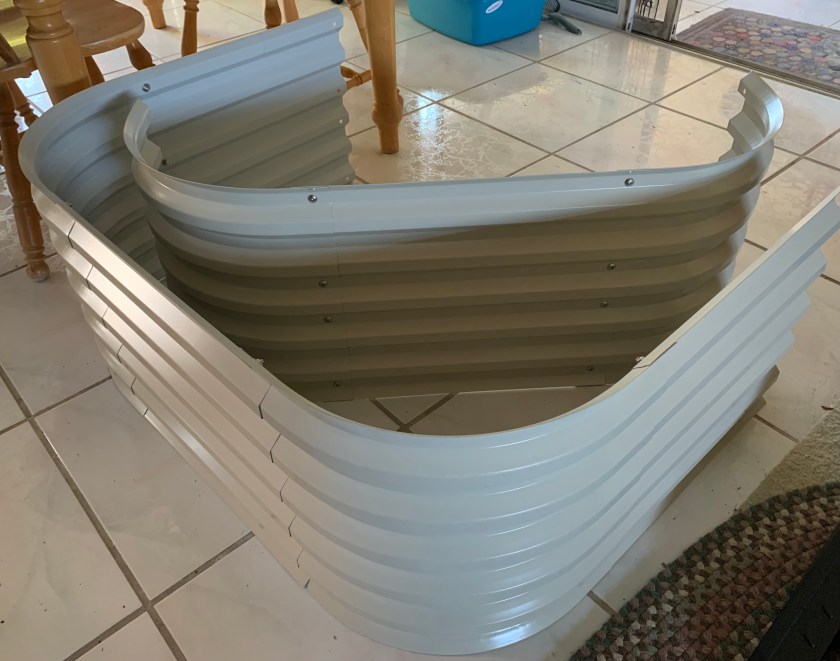
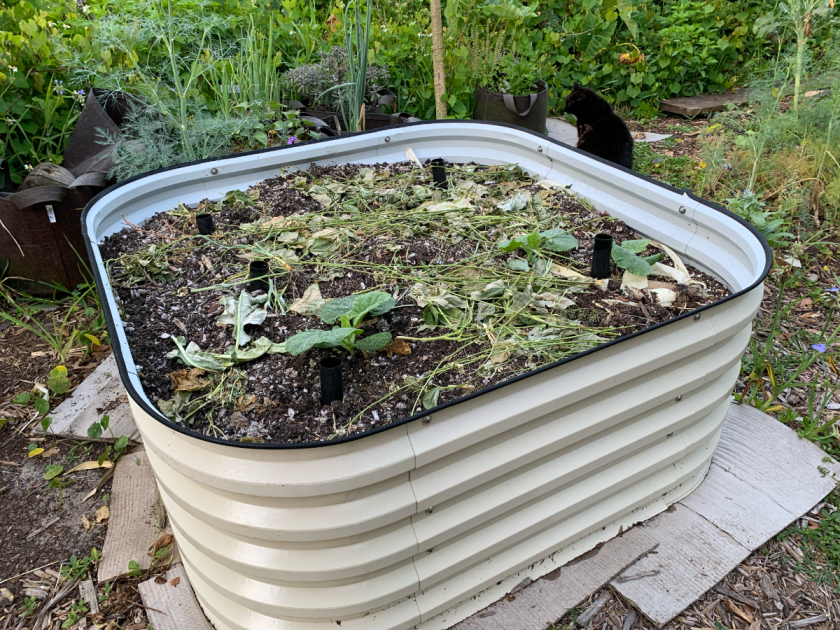
The Square Vegega Raised Bed
The dirt in my square raised bed has sunken quite a lot. Aside from one hot pepper plant, the bed holds flowers. Many Celosia and a few Zinnias are growing nicely. Like all the other beds, I will add compost and more dirt when Fall approaches.
Plans for Fall Growing
While summer is fine for growing flowers, in Fall I want to grow food! Each of these beds will hold fall crops. Between the big beds, the white barrels, and all my smaller grow boxes, I should have plenty of space for vegetables.
First I have to add more compost. My homemade compost is “cooking” and has been all summer. I’ll use it to amend the gardens, but I’ll also have to buy some. I definitely don’t grow my own food to save money! In fact it costs quite a bit, at least to get started. The point is to have very fresh, organic food to eat. You can’t get fresher than stepping out your backdoor and picking a salad for supper!
My three Vegega metal raised garden beds are now set up. They are all mostly filled, but only two are planted.
I have three Vegega raised metal beds. It has taken me months to set them up (only a day or two) and then get them filled (this is the hard part). Now, two of them are filled with plants and the third one is nearly ready.
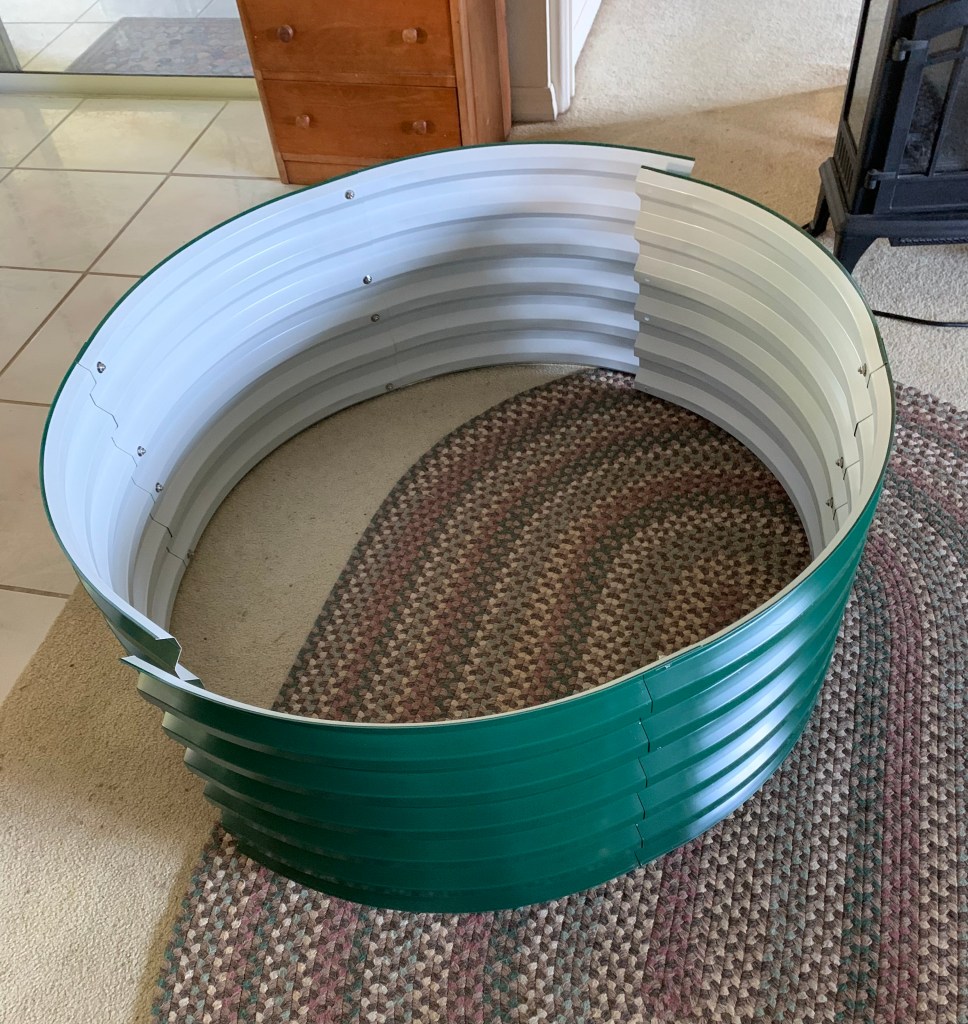
The first bed was round, and easy to manage. The second, larger bed was not so easy, but I got it done. It was a long bed, called a 9-in-1, and it had so many pieces! I put all of them together by myself, and I’m not so young! If you have a partner to help, or if your husband does all the work, then it would be a breeze! LOL…
I was able to put my third Vegega metal raised garden bed together inside the house. Thankfully, it was a smaller one.
I’m sharing photos, and information, of all three of my Vegega beds on this page. I’m very happy with them, and so far, my plants are too!
17″ tall, 3.5 ft. square Vegega bed with rounded corners.
I just signed up to become a Vegega affiliate because, why not? It’s super easy to sign up, and I am giving an honest review of a product I’m using, and that other gardeners may be interested in. If anyone clicks through and buys something, I could get a small royalty percentage. (Thank you if you do that, but I am not writing this page to make money.) I will mention it is a “paid link” whenever the link could earn for me.
Vegega Metal Beds, #1, #2, and #3
These beds are not cheap, and I really hope they do last many years (20 supposedly). It is work to peel the covering off each of the metal section. Then they are screwed together, placed in the yard and leveled. But the longest job is filling them.
Buy and begin the assembly and filling way before you think about planting. Especially if you are a one woman (older) gardener. My goal was to have the beds ready in March. I’m only a few weeks off.
So far, I am happy with the outcome. I have vegetables happily growing in two of the beds.
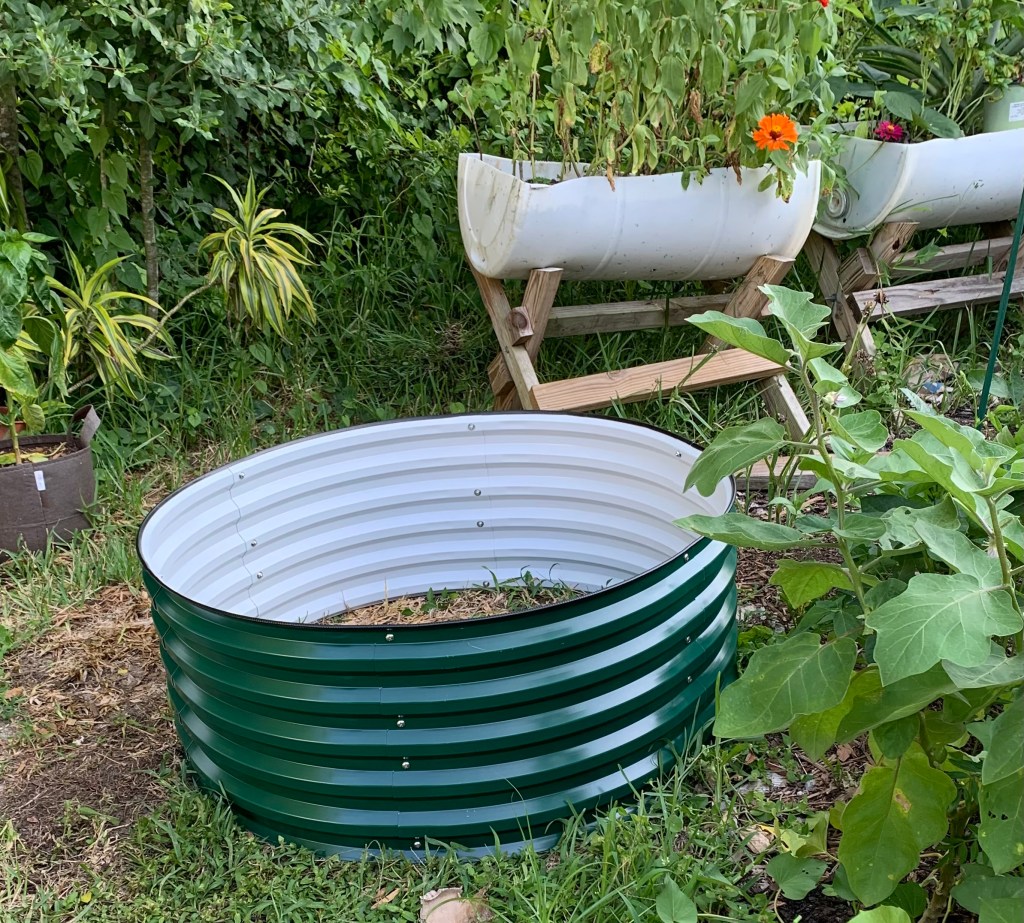
Bed #1
My first bed, or the first one I purchased and set up, is dark green and round shape. I have banana pepper plants, and an Everglades cherry tomato plant currently growing in this bed. Some holy basil, onions, and borage are growing around the edge.
Read more about the Vegega round raised beds (paid link) at their site. I like the 17 inch depth, and all three of mine are that height. It gives long roots plenty of space. This one was pretty easy to assemble and fill.
42″ round, 17″ high Green Vegega bed
Bed #2
The second bed I bought is long and narrow. It is a light green color, and I’m not sure of the official color name. It is planted right now with sweet potatoes. I also have Zinnia seeds popping up along one side. There is space for other flowers or small herbs at the ends.
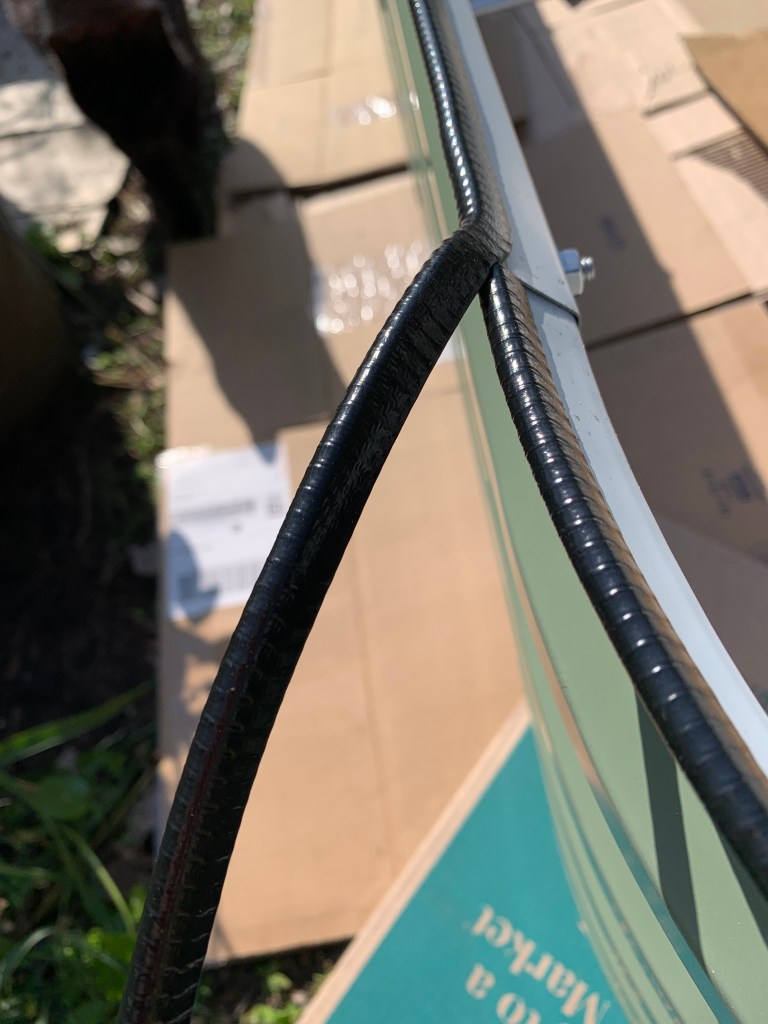
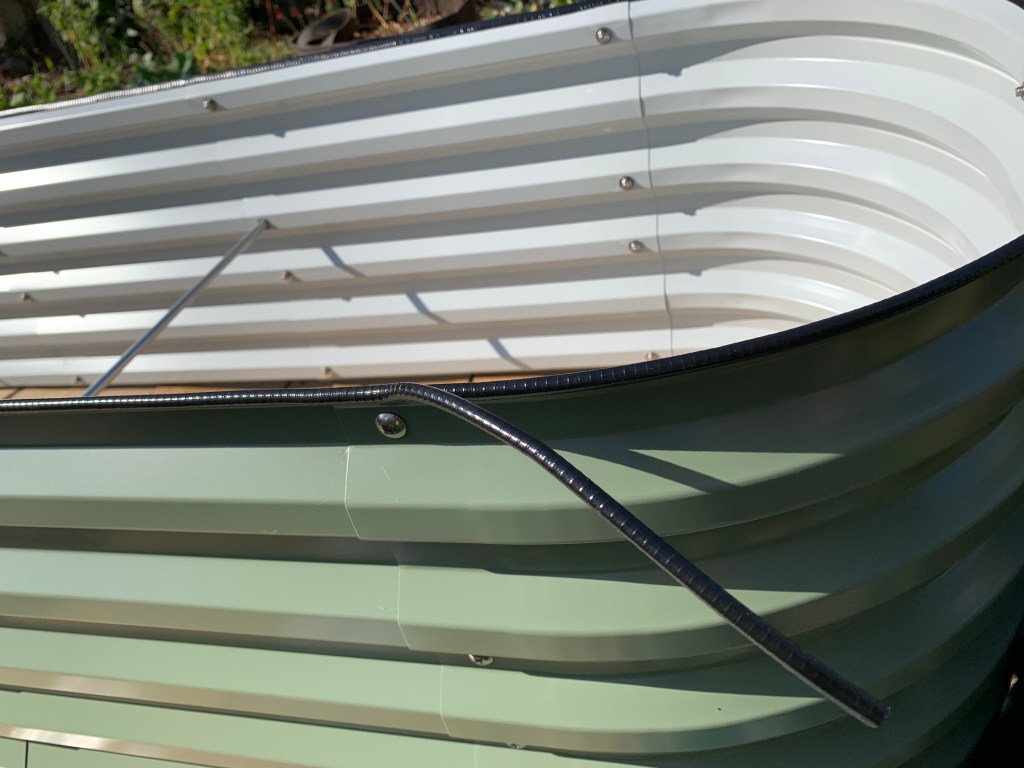
This long bed was the most difficult for me to set up. It took longer to assemble and fill. This bed has two bars down under the dirt which help to keep the sides in place.
The metal is safe for growing food, and will hold up much longer than a plain, wooden bed. This is especially true in Florida where wood rots in no time. Some people complain that metal is not environmentally a good choice. Wood comes from trees, so how environmentally friendly is that? These metal beds are supposed to last for 20 years or more. Read more about Metal vs. Wood Raised Garden Beds here (paid link).
Bed #3
The third bed (featured on this page) is 3.5 feet square, with rounded corners. The color is Oyster White. Volunteer (squash or pumpkin) seeds have begun to grow, but nothing has been officially planted here yet.
3.5′ square metal raised bed. Volunteer squash or pumpkins are growing.
Although this Vegega bed has been sitting in my yard for weeks, it is not completely full. I have been cleaning up old vegetable plants and chopping the stems into this bed. The green beans are gone, and most of the broccoli. Because summer is coming, I’m not sure what I would plant in this bed, so I’m in no hurry. (I’m in Florida and summer is a tough time for gardening.)
To fill this bed, I have used the following;
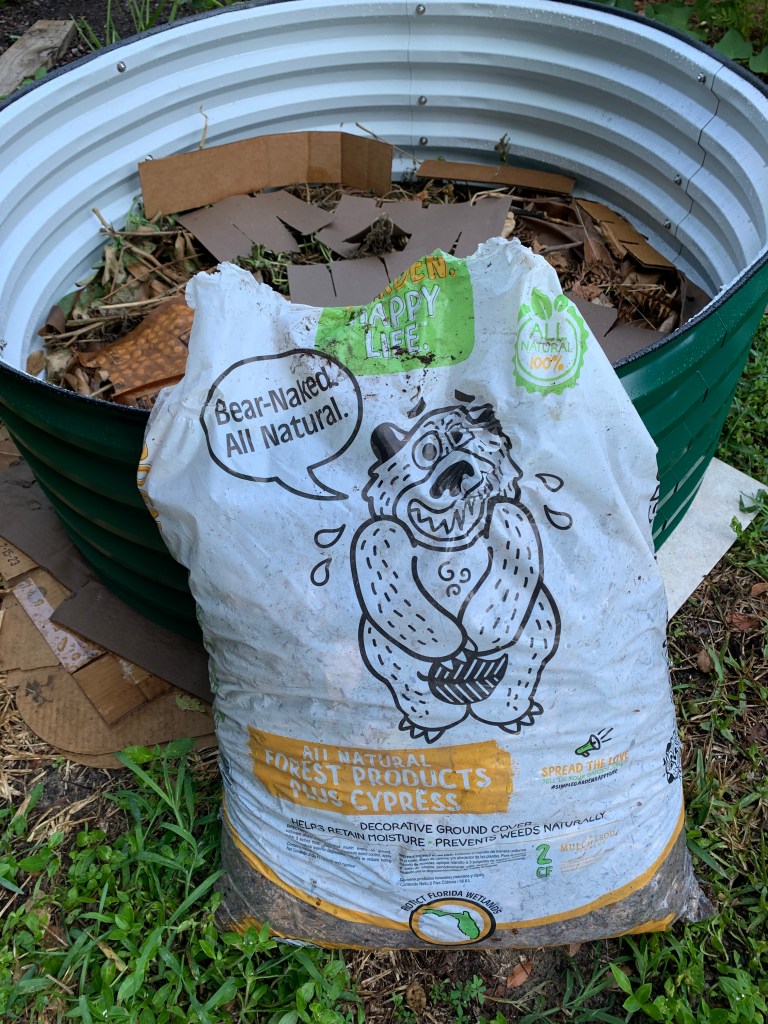
Cardboard (in bottom – helps to level the bed) & random packing paper
Pine straw – also on the bottom over the cardboard. I chose this because they had it at my local yard shop. Straw would be a good choice.
Vegetation – old broccoli plants, stems, carrot tops, old vegetables for compost, and cuttings from the yard.
Purchased potting soil, my own compost, and Perlite.
Florida Vegetables For a Raised Bed
Summer is not a great time for gardening in Florida. It is our “winter” where we need to be inside where the AC keeps us cool. But gardeners know that the weeds never stop, so early morning garden checks are necessary.
Crops growing in summer should be hardy, drought tolerant, and love the heat. Sweet potatoes fit that category. My entire long bed is planted with sweet potatoes. They don’t need much attention. I have found old sweet potato vines in my yard, from years ago!
Okra, if you like it, is easy to grow and would probably love a raised bed.
Seminole pumpkins might work if the vines can travel over the edge to the ground without a problem. These pumpkins like some shade too, and root along the vine.
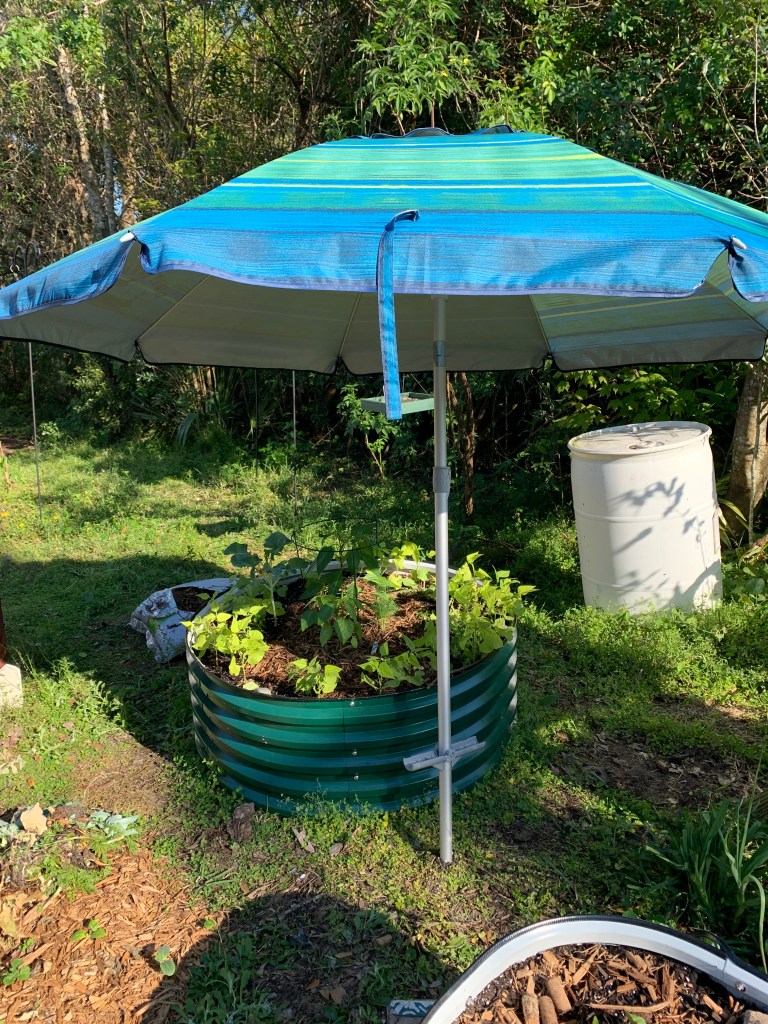
Even crops that like it warm may need some shade during a Florida summer day. My pepper plants are in the round bed which gets a lot of morning shade. I have an umbrella that can be opened to give them more shade as we heat up.
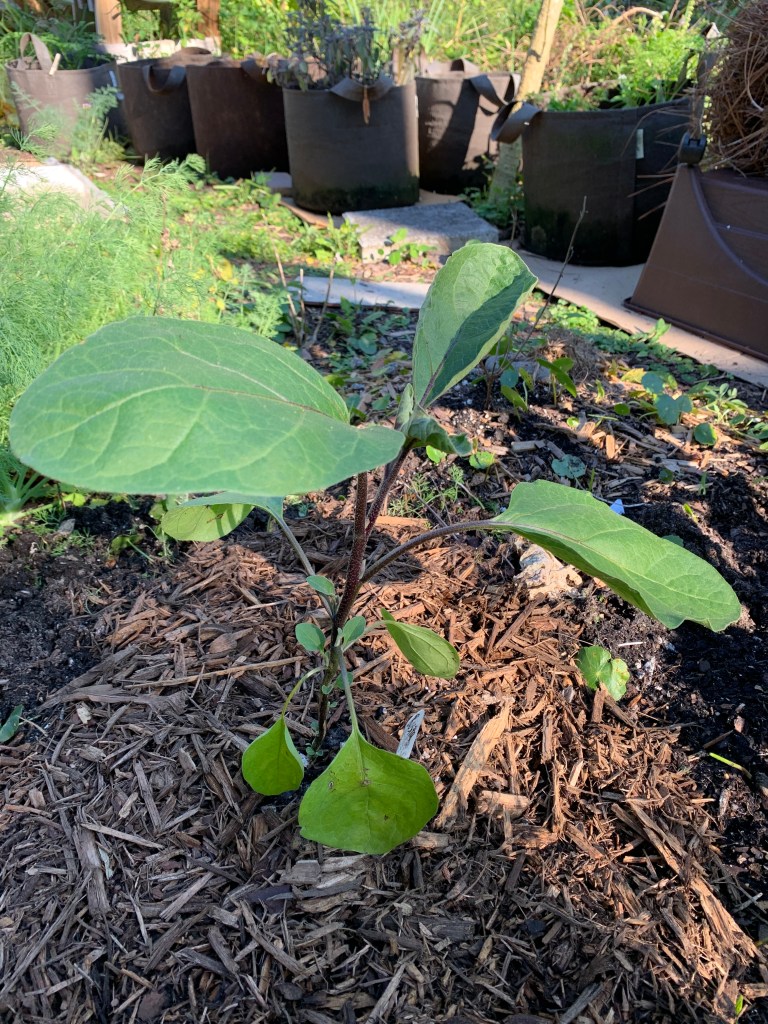
Eggplant will last for years here. An eggplant in the center of a round bed, or at the end of a long bed, would be a good idea. In fact, if you need the shade, put the eggplant at the end that blocks the sun. Eggplants attract ladybugs too, which is a plus.
In Fall, I will be using these beds to grow lots of crops. I have success with bulb onions, carrots, broccoli, beets, arugula, Tatsoi spinach, dill, parsley and basil. Radishes take up little space and could go around the perimeter. Tomatoes can go into the beds in early spring.
I plan to include flower seeds around the edges of all the beds, and seasonal herbs. Holy basil grows nicely in summer, but most others like cool weather.
I’m excited to get growing in my Vegega beds! I’ll keep you posted.
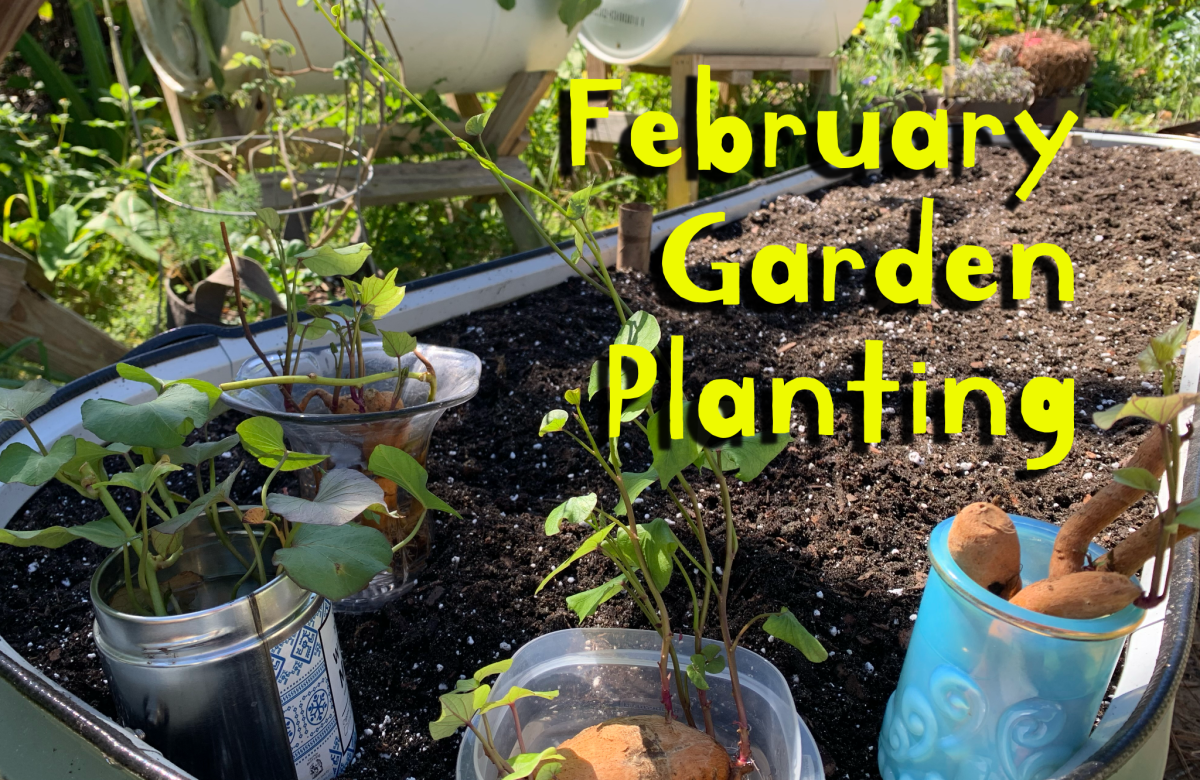
It is the end of February and here in Florida I am getting some seedlings and sweet potato slips into the raised beds.
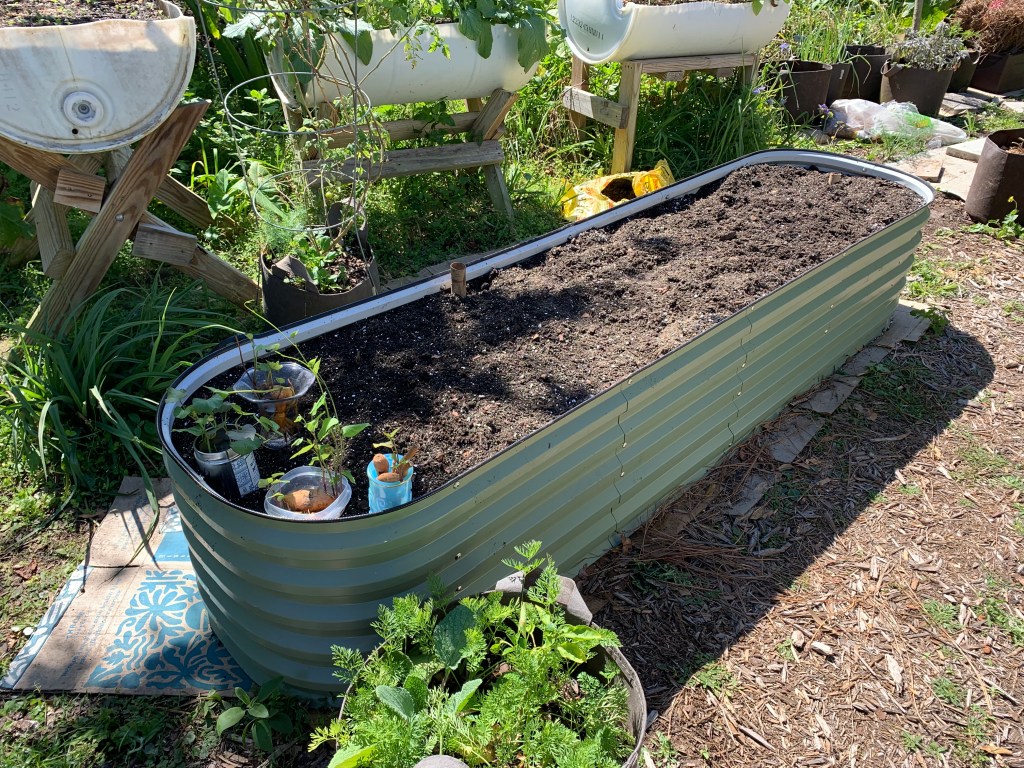
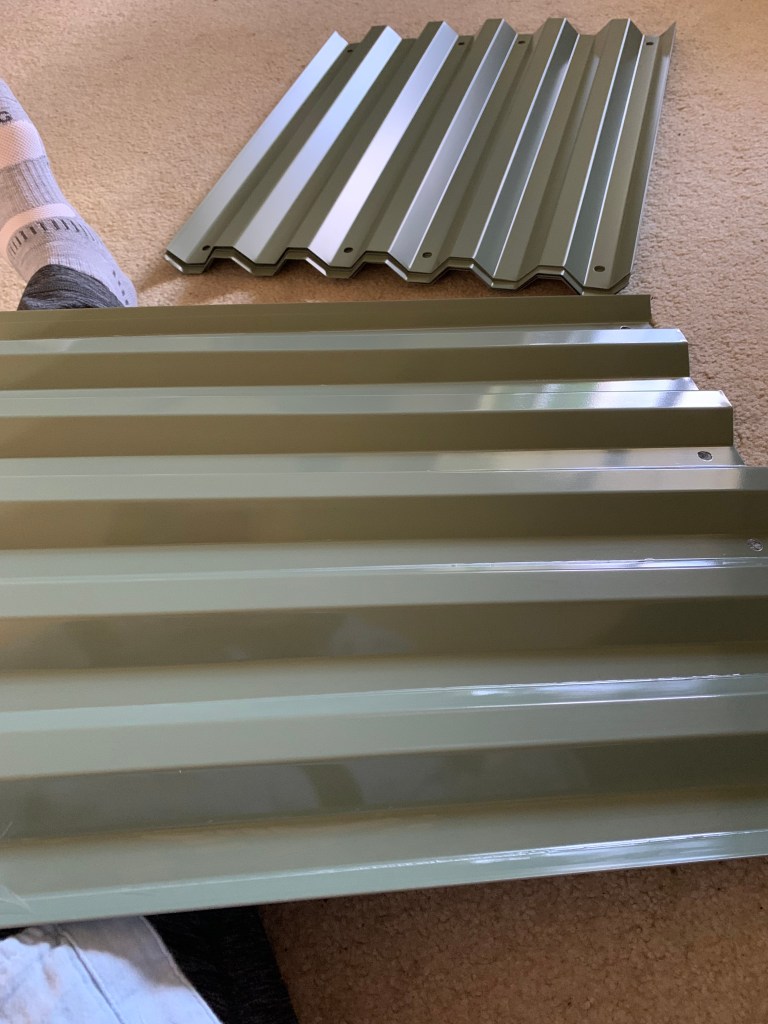
Finally I have filled my long raised bed. This took some real effort. The metal bed is from Vegega and is 17 inches high. It had 12 pieces to assemble and it was a hot day. It actually took me 2 days to put it together, and then it was time to fill. That took many days and a couple of trips to the Yard Shop.
The last push to fill it took 8 bags of purchased soil. I also mixed in some perlite, compost, and fertilizer. At last it was full.
Garden bed set up and leveled with cardboardFilling with cut plants, paper, and soilFilled to the topSweet potato slips are planted
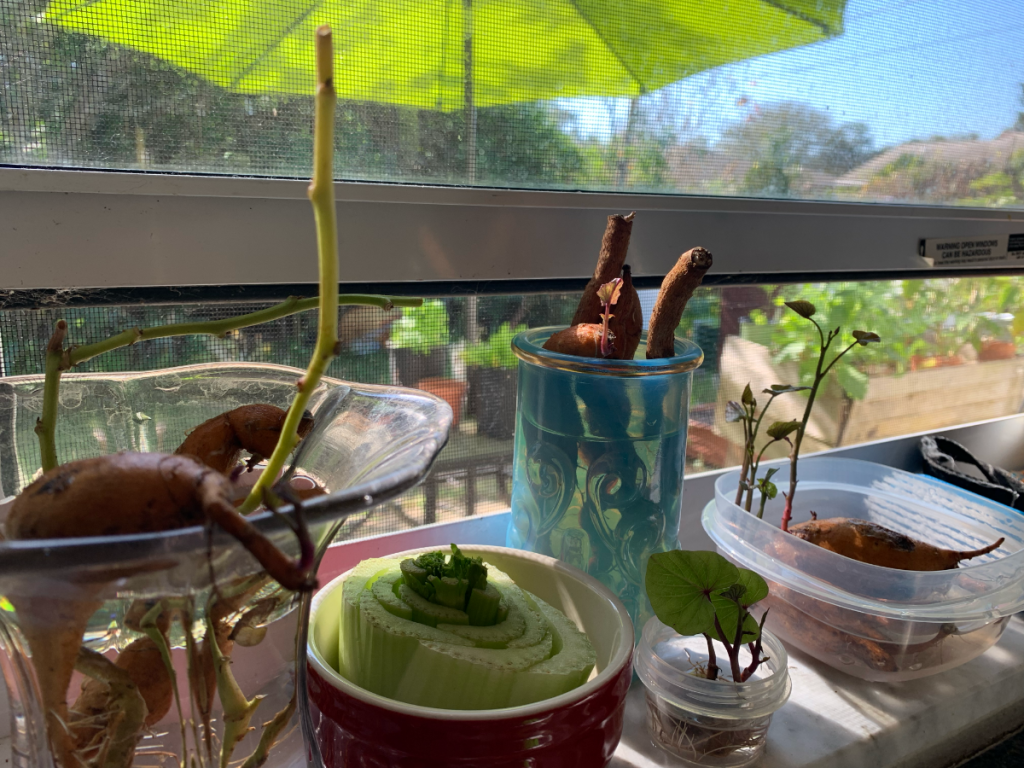
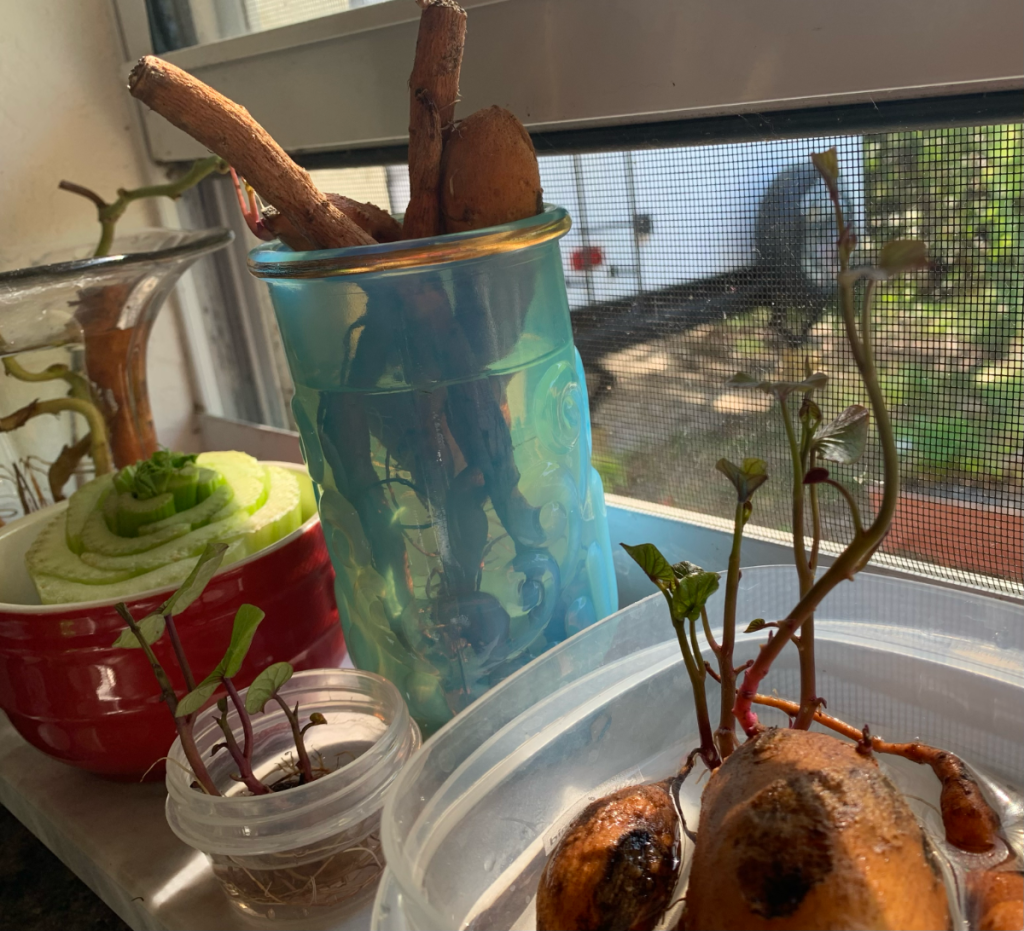
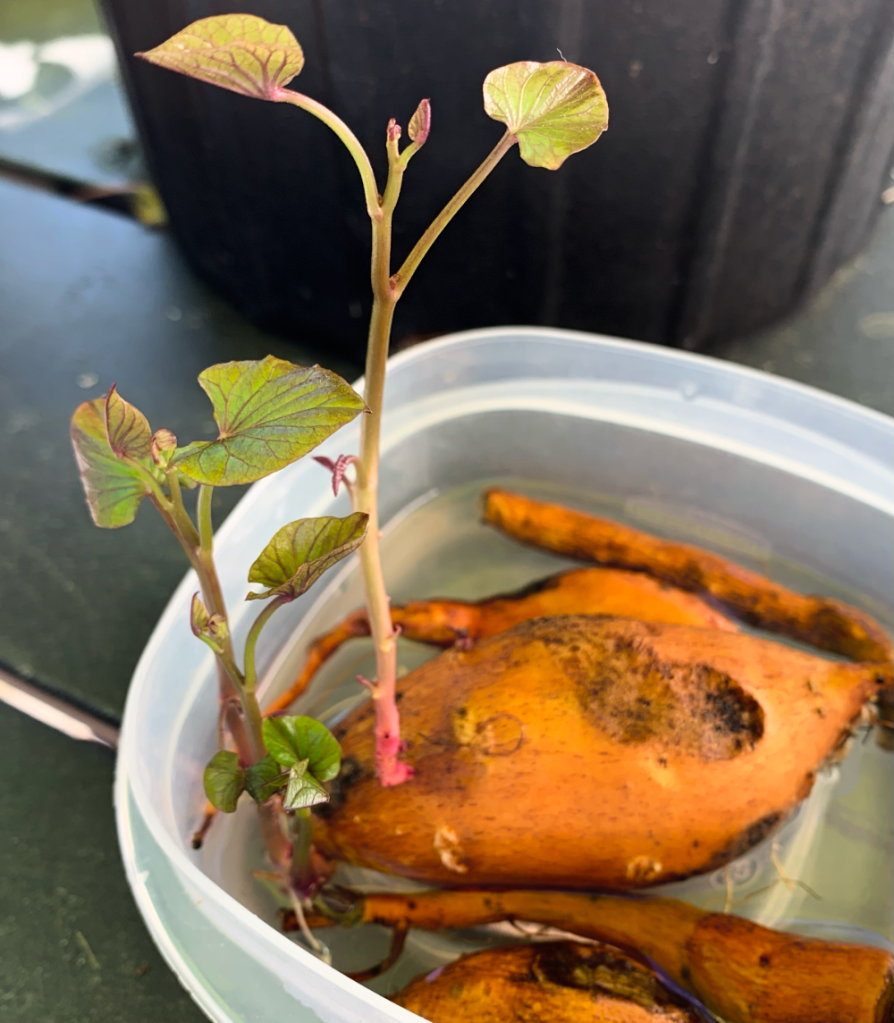
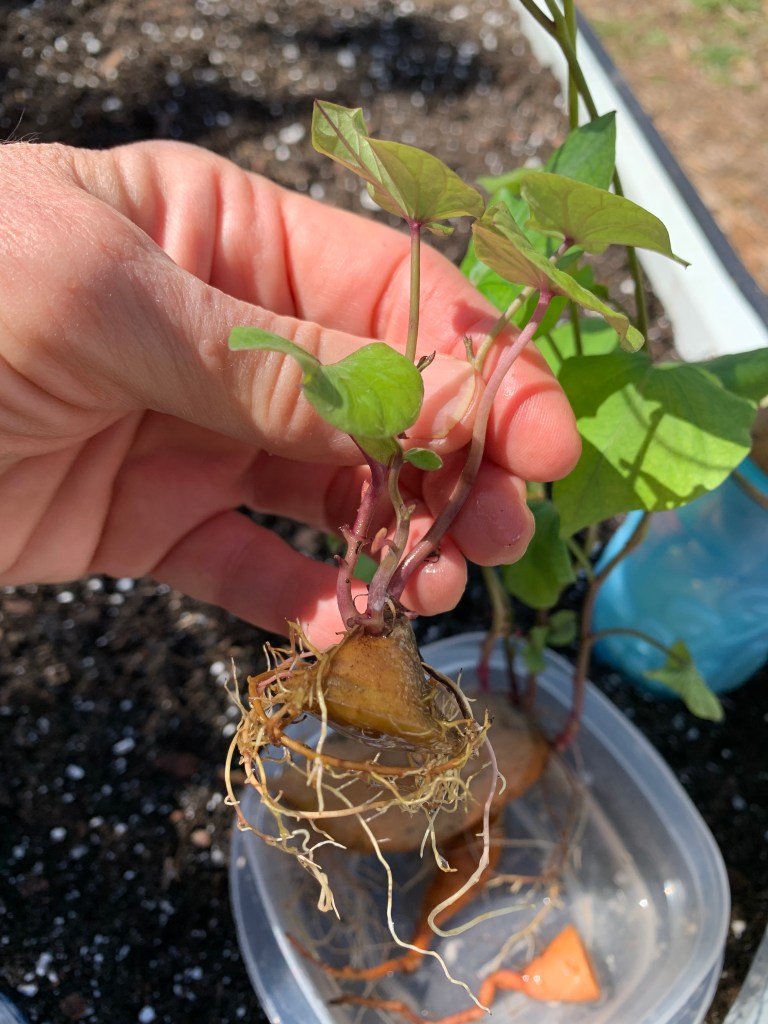
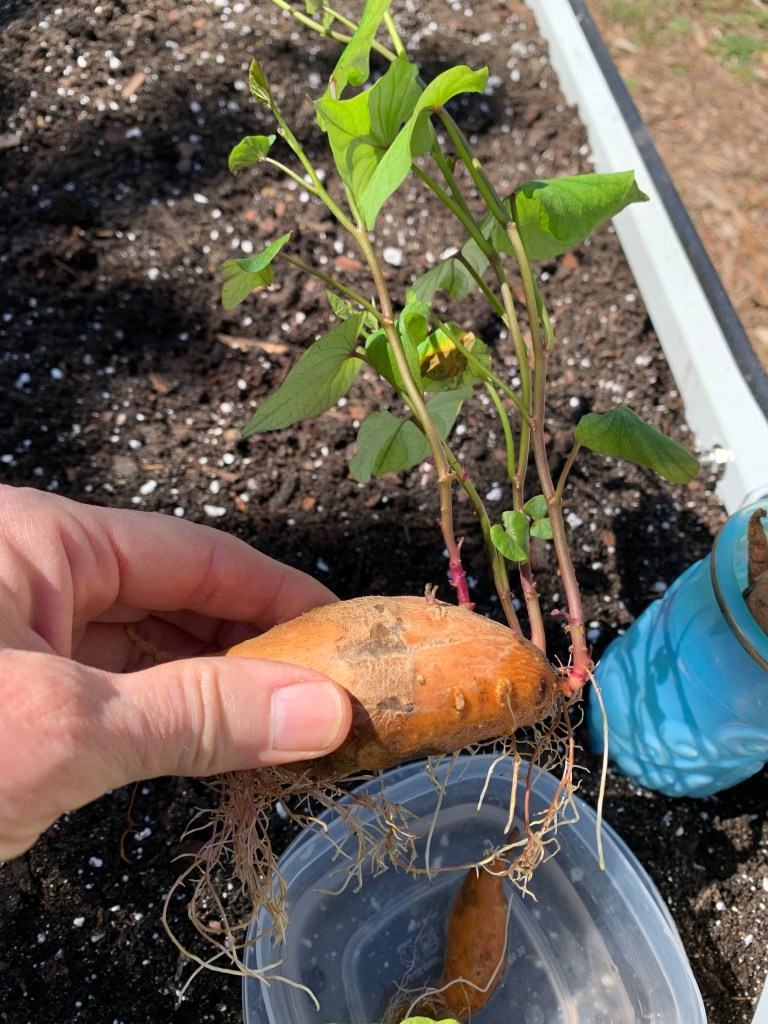
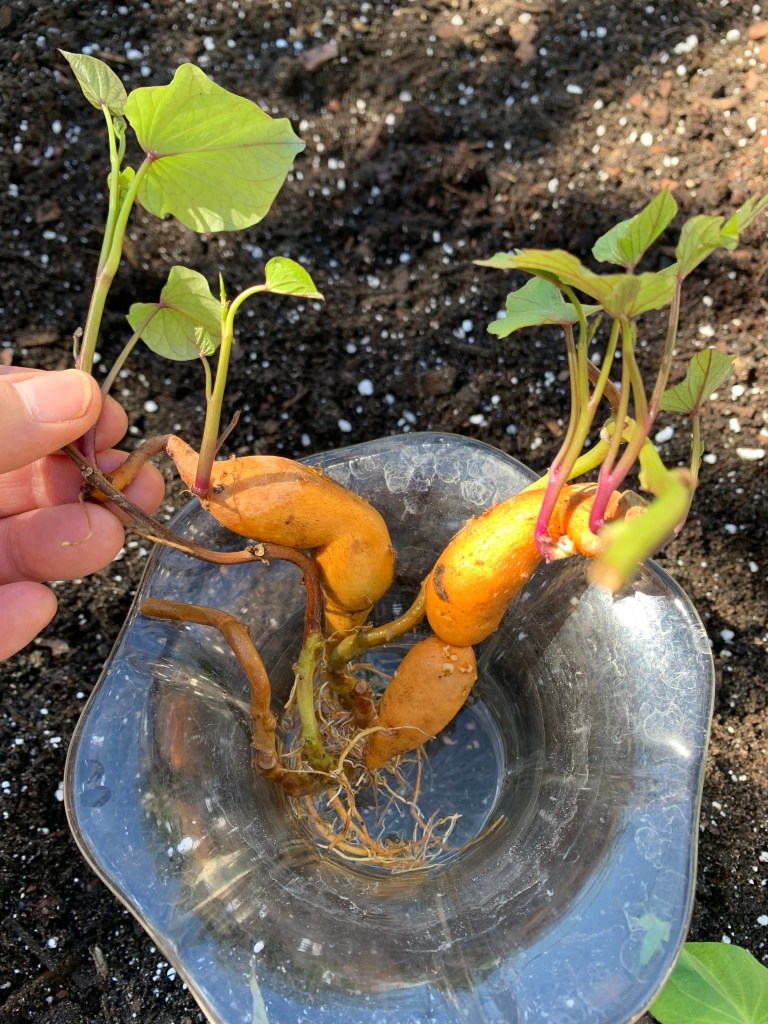
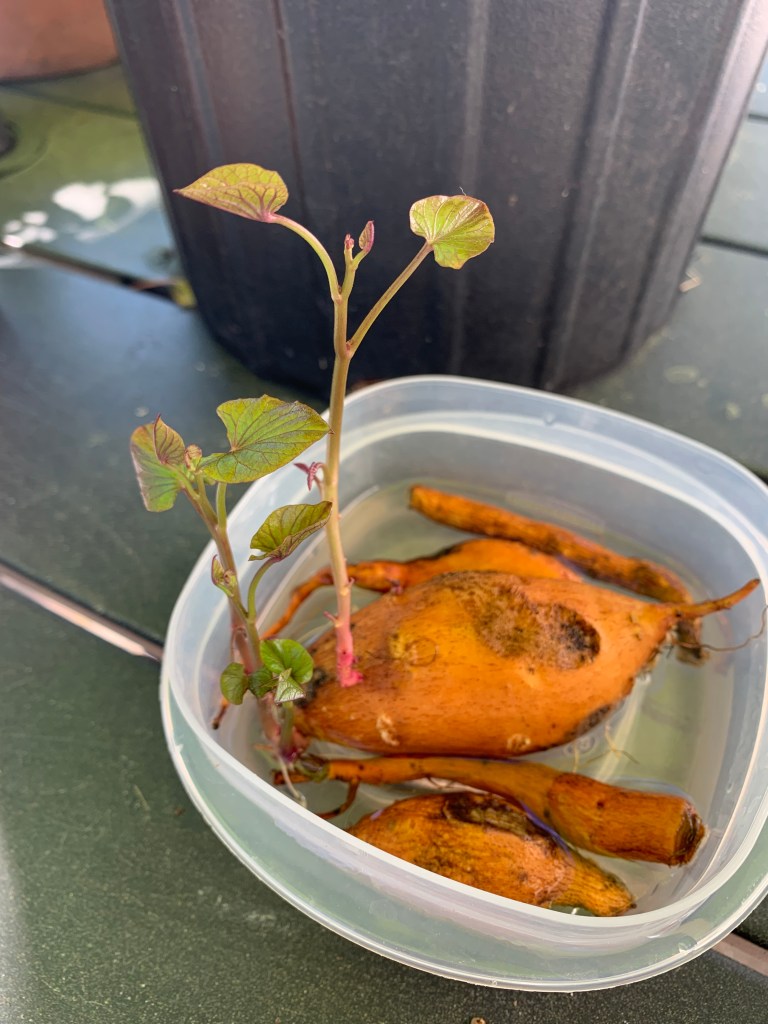
I’ve had some sweet potato slips growing on my windowsill for a few weeks. I kept finding sweet potatoes buried in the yard that were rooting. They really needed to get into the ground. Our weather is not super hot yet, but I figure the plants are better off in dirt than in water in my house. Also, we have an upcoming camping trip. The goal is to plant things before I leave.
Originally, I had planned to order some sweet potato slips. When companies send out the slips, they do not specify when they will come. We have a couple of camping trips coming up and I’m afraid I will not be home when the slips arrive. Also, I found so many potatoes in my yard that were already growing, that I don’t really have room to plant more.
I have one more raised bed to set up. It could take me a while. I’m feeling good that this one is planted and hopefully I will have sweet potatoes to eat in a few months.
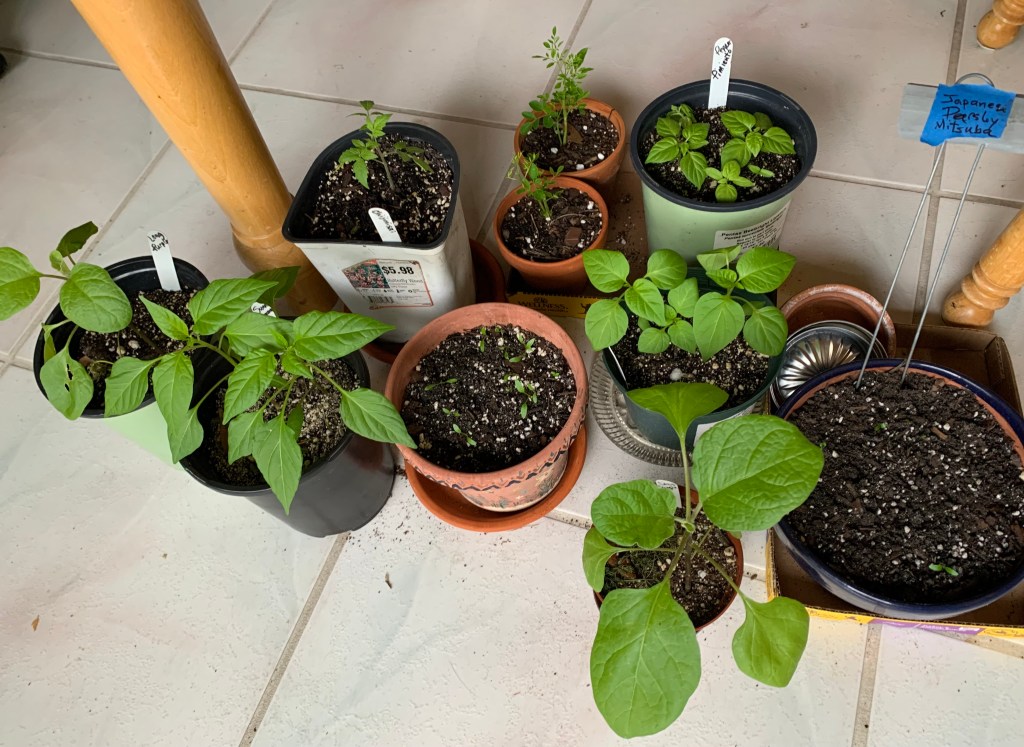
Peppers and Eggplant
Both pots of peppers were doing nicely. I have not tried to grow either type before. I planted the seeds for the Sweet Banana and Ubatuba months ago. The seedlings were thinned to 2 in each pot. Have you ever heard that peppers like to touch each other? I remembered this so I left 2 together. I’ve always had a very hard time getting peppers to grow, so I don’t have high hopes for these.
Now they are safely planted into the round metal bed. I had to set up my umbrella because it was very hot and sunny. I’ll let them have sun all day once they are adjusted to their new grow space, or if it cools off a bit. They will definitely need this shade every afternoon during summer.
Seedlings with peppers4 pepper plantsLong purple eggplantShaded
In Hindsight
I’ve written about growing peppers often. Last year I had many plants that looked great for a while and then suddenly died. One had waterlogged roots, so I knew the cause of that. It made me empty my grow boxes and drill holes for drainage.
The other pepper plants were in fabric bags. I think there is a problem with these bags. First, I moved the plants from one area to another. I suspect the roots were damaged when I did that. Also, fabric bags dry out fast. I’m learning this from emptying them now. Even though I water like mad, there is lots of dry soil in every bag. I plan to write more about this.
Happy gardening! … to those who are lucky enough to be able to do it in February.
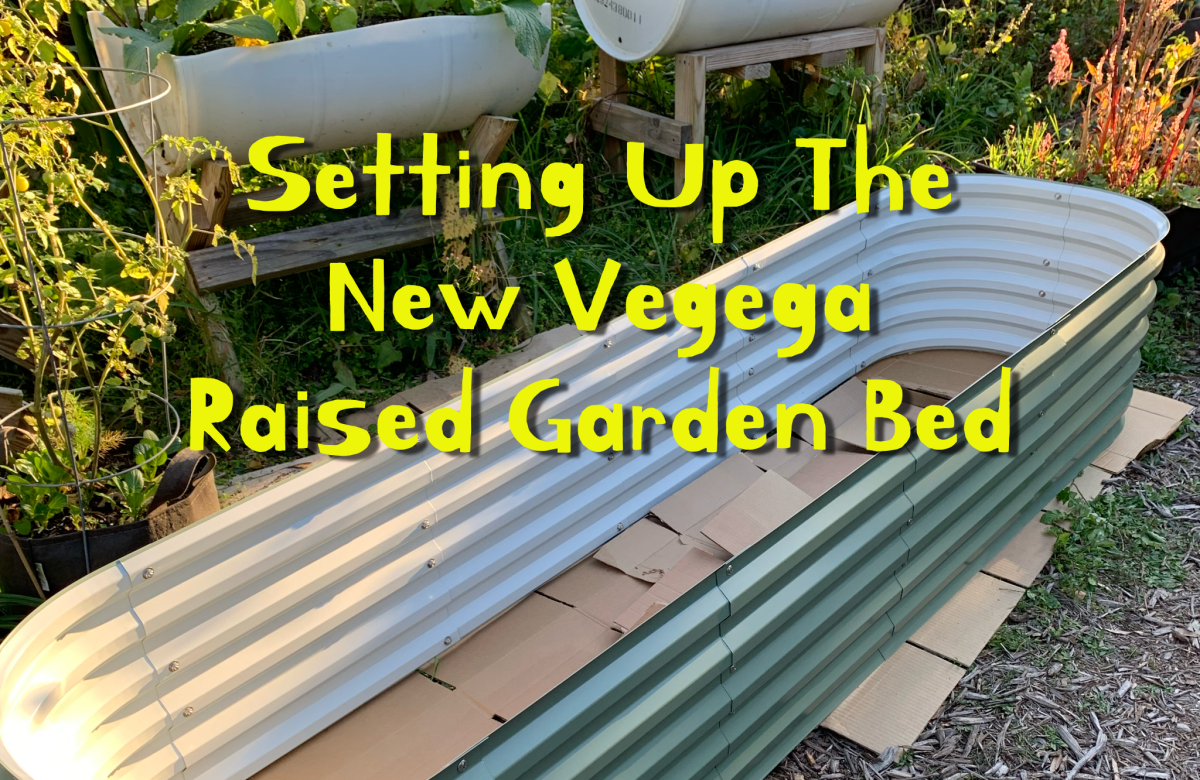
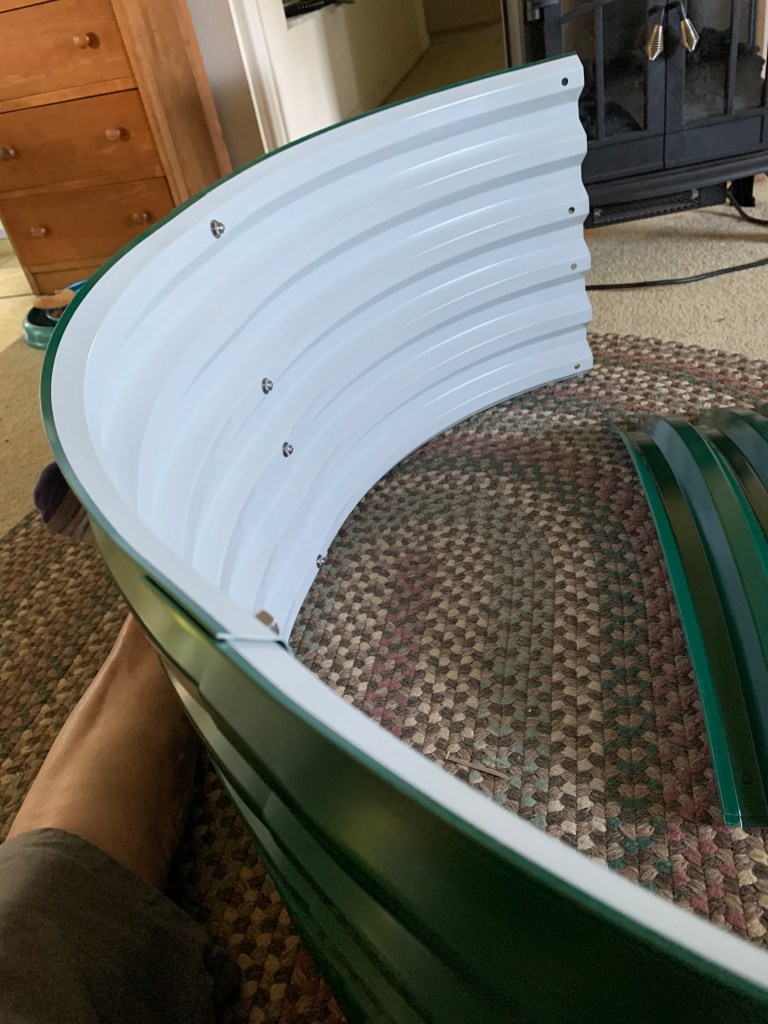
My new, long raised bed came from the Vegega company. It is 17 inches high and 8 feet long. This one has been a challenge to set up.
Today, and for days after, I have spent time putting together my Vegega raised garden bed. This is a metal, raised bed that is a long, skinny shape. The size is 8 feet long by 2 feet wide, and 17 inches high.
A while ago I bought a round bed and it was fairly easy and quick to put together. This new, larger bed was not nearly as easy. Having help, or better yet someone young, or a husband, to do it for you, would be ideal!
Pieces of the Vegega are up and loosely screwed together.
The round one went together fast. I did one half of the circle at a time, in the house. Then I assembled the two halves outside. I think I did it all in one day. The long bed took more effort because of it’s size and shape.
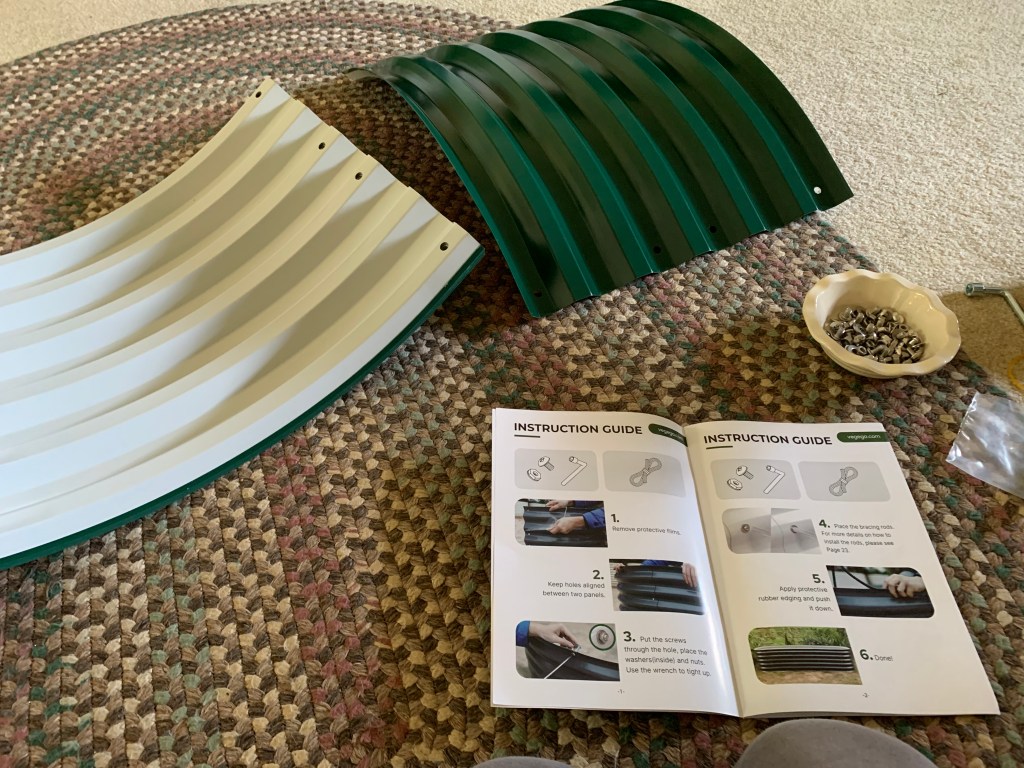
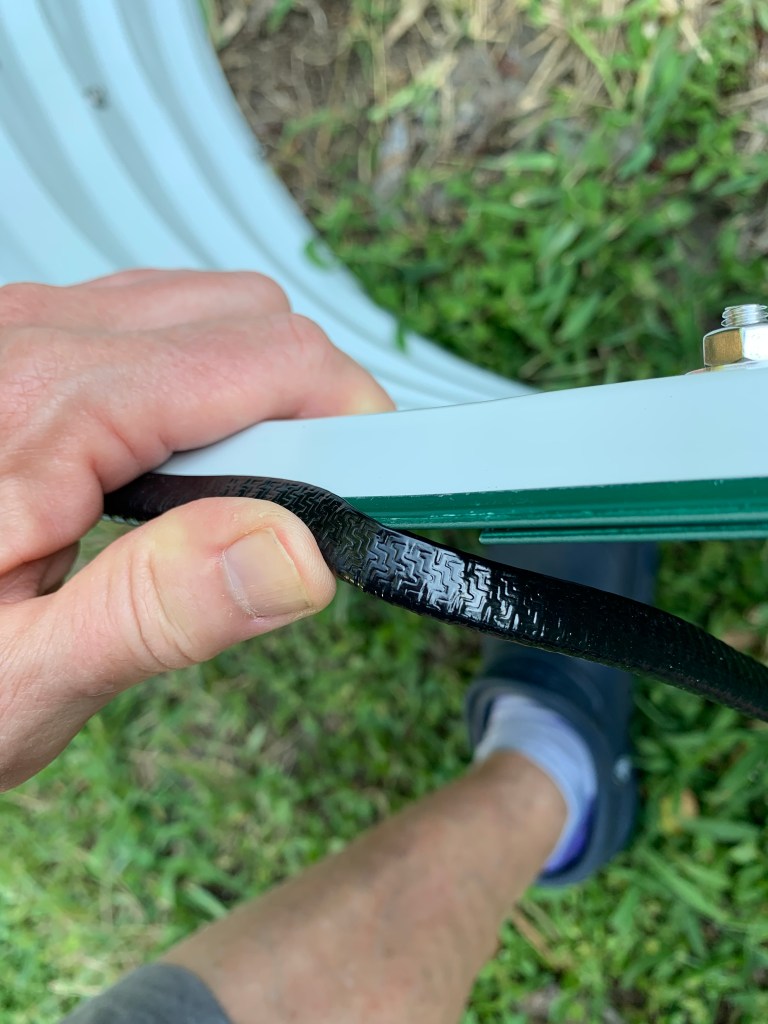
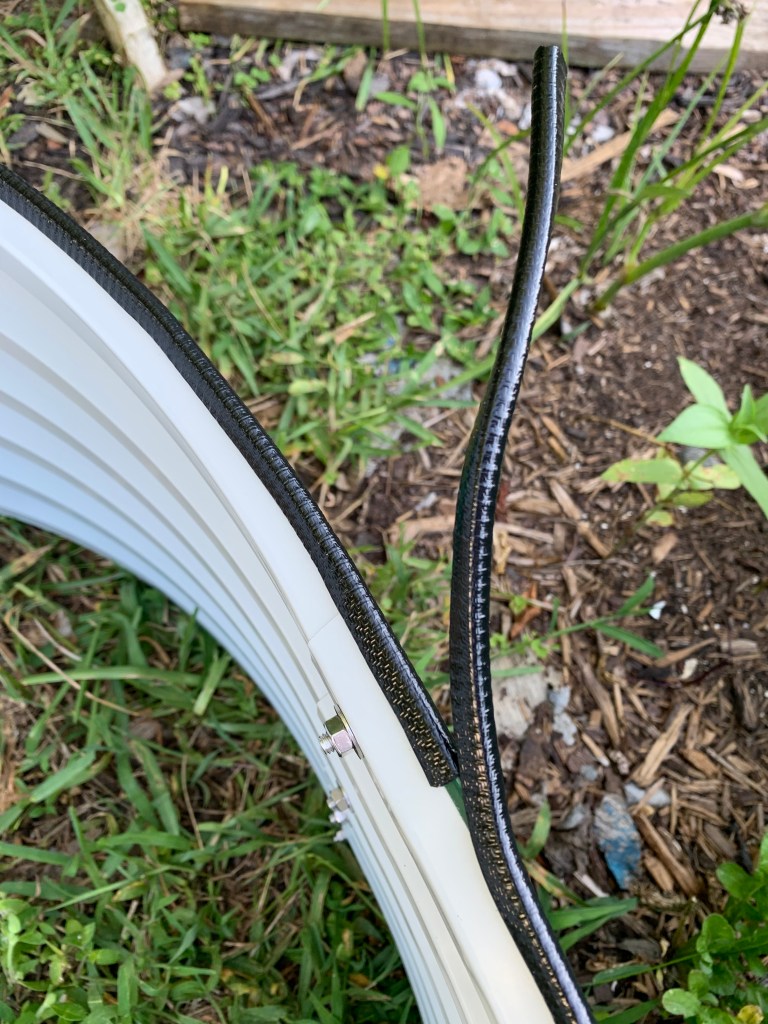
What is left to do? There are bars, to act as supports for the sides, that need to be placed. The directions are not great, but it appears they hook over the screws. – Nope, they take the place of the screws. A rubber edging needs to be applied all the way around to shield from sharp edges. I need to make sure it is fairly level, and then begin the filling.
The Beginning
I want my beds ready to plant by March. Time is passing. Not only do they (I have two) have to be set up and filled with dirt, there is prep work.
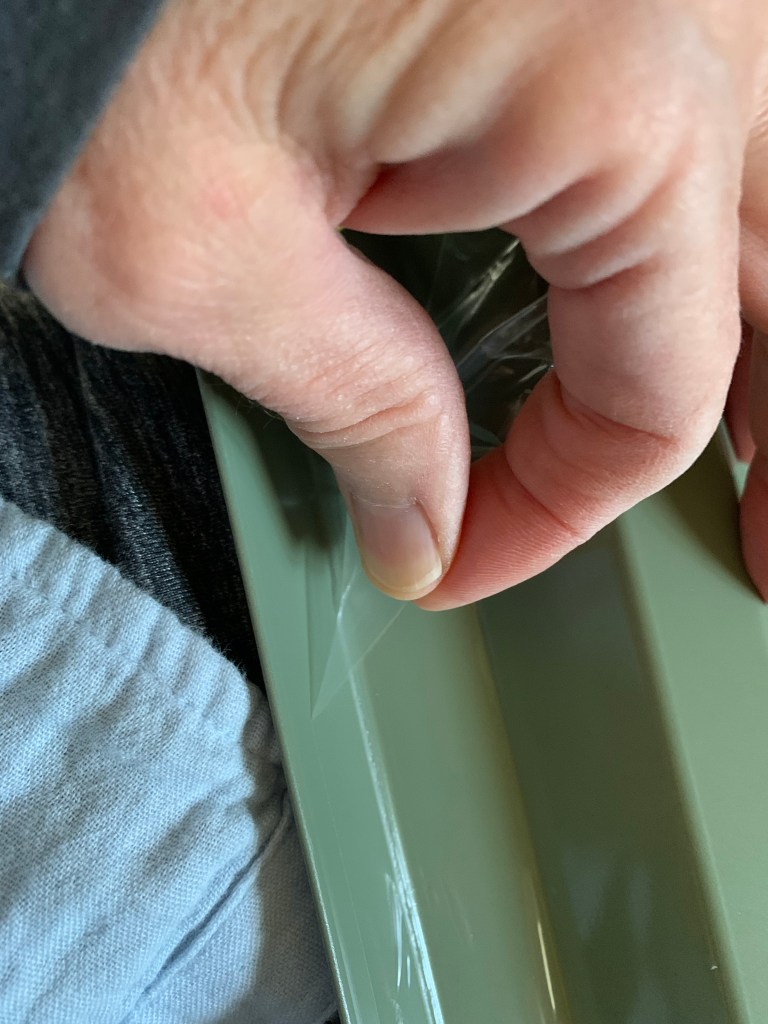
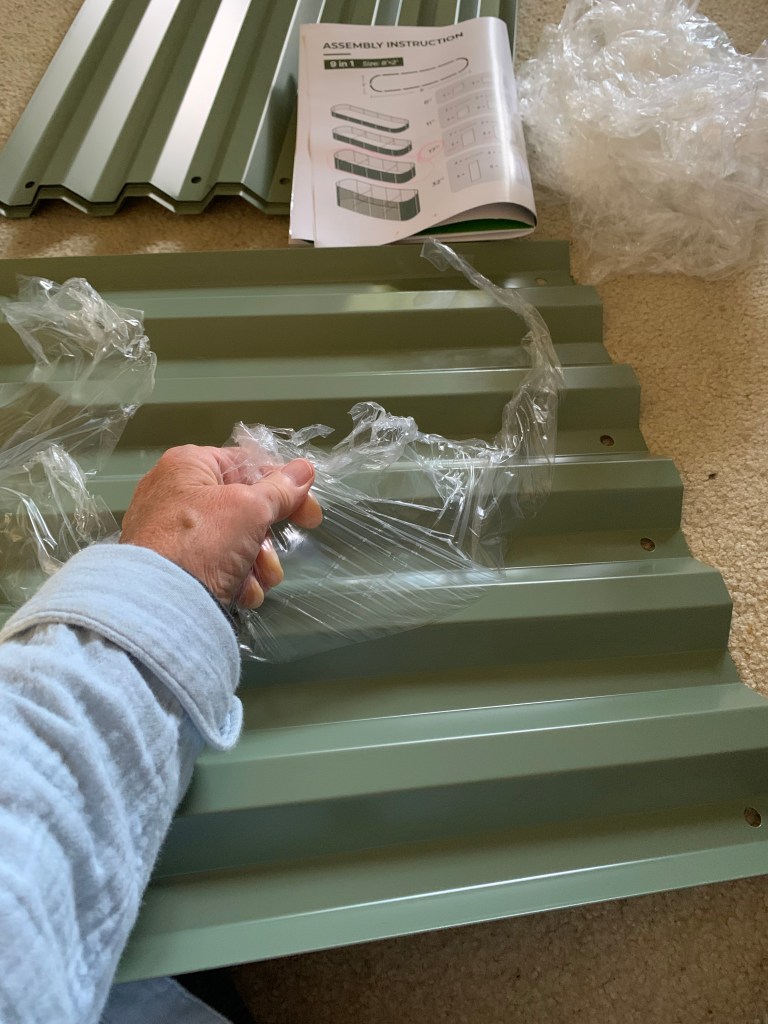
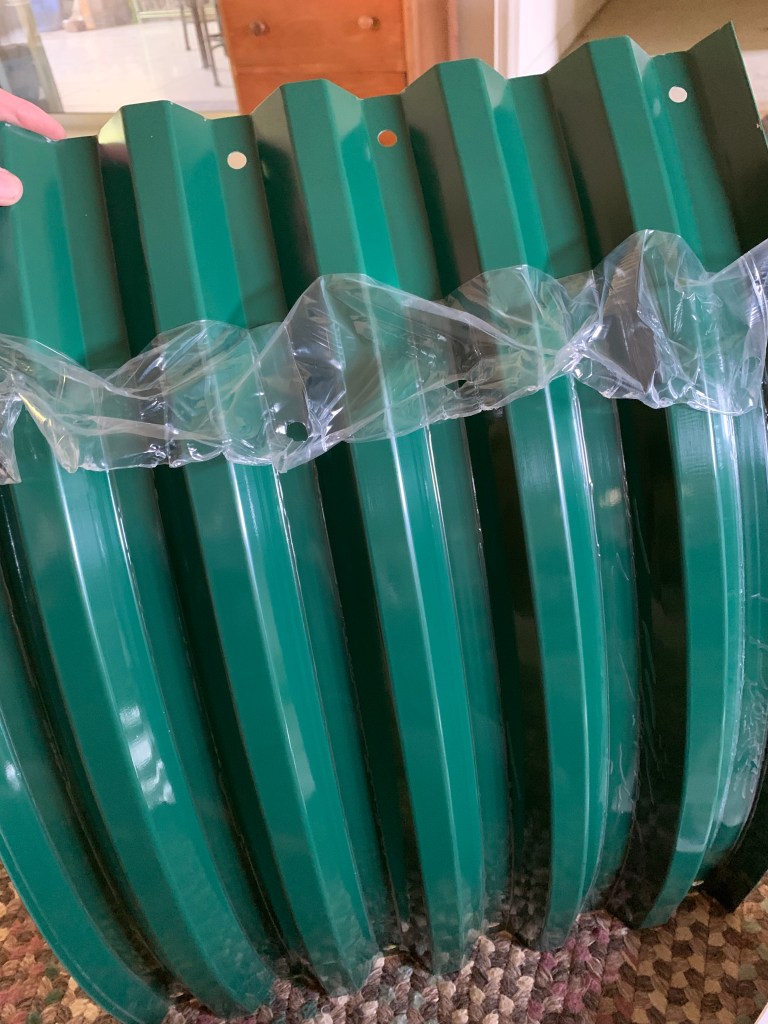
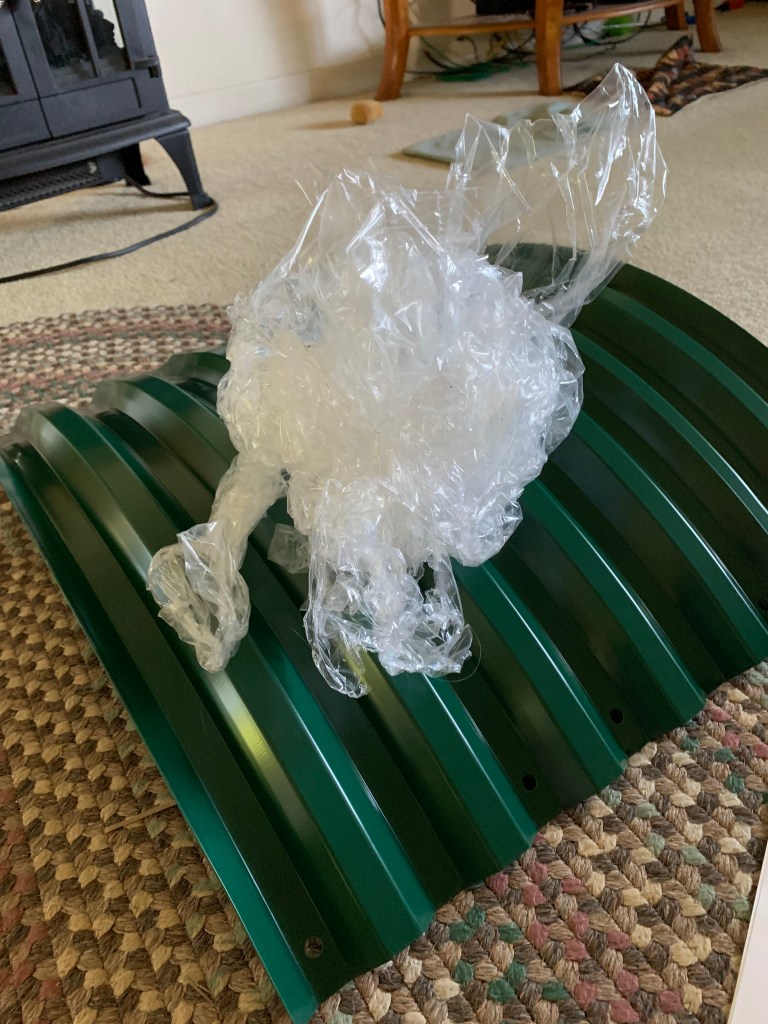
Each piece is coated. This bed has 12 pieces and the plastic coating needs to be removed from all of them. I did sit on the floor to peel all that coating off. This is almost the worst part. It comes off in one piece nicely, but there is lots of tugging to be done.
PeelingEvery piece is coatedLots of pulling
It took me 2 partial days to set up this bed, tighten the screws and add the two braces needed for this size. I did a few sections inside the house. I carried the sections out and attached them as I went.
A few days later I added the support bars – of which there are no directions, except where to place them (image). They take the place of the nuts in two sections. After that, I tightened all the 1,000 screws. Just kidding, but seemed like it. The day was quite hot, and my new Vegega is directly in the sun.
It took 7 minutes to put the black edging on (yup I timed it), and there was plenty of it with a bit leftover.
I feel like the round Vegega was a LOT easier to do. It’s smaller, was easier to set up and quicker to finish. I kept waiting for a good sale, but they never had one. Each bed is a different shape. The next one is 4×6 I think. Hopefully it is easy.
Screwing it together took a lot of bending over. I don’t have a real problem bending, but the angle to tighten the screws was awkward. Also, did I mention? It was hot.
This bed has two cross supportsLeftover edgingAdding the edging
Filling The Raised Bed
I’ve found that the easiest, and cheapest, way to fill a raised bed for planting is to use a variety of things. I want this bed ready to plant by March. I only have a few weeks.
Cardboard boxes are something I save. They have been building up on my porch all summer. It is so hot that we don’t use the porch for much except storage, until the few winter months.
Cardboard works well to level the bed and fill the bottom. It is not there to keep weeds out! Weeds grow from the top, not 17 inches upward from the bottom. It amazes me that everyone puts black plastic under their beds to keep the weeds out! I like something compostable incase whatever I grow needs more root space beyond the depth of the bed. I didn’t do anything to the ground beneath the bed.
Next I added some paper filler that came in some deliveries. On top of that I added pine straw. The local Yard Shop only sells this and not regular straw. It will be flattened once the dirt is added. Pine is acidic, but it will be way down in the bottom and will eventually decompose.
Cuttings from old vegetables, flowers, and shrubs are added next (nothing diseased). Sometimes I have dirt from a box or pot to throw in. I’ll be buying and adding more new dirt, along with fertilizer and homemade compost. I’ll mix the cuttings with all the other dirt to fill this bed. Some Perlite will be added to keep the dirt loose.
All of this will compost over time. It will break down and become part of the bottom layer of soil.
Mid-February: Still adding dirt, compost and cuttings to this bed. It’s taking a lot to get this thing filled. I still have to buy more dirt. In the end, I will have a nice, big bed for planting.
This metal bed is 17 inches tall, so most of what I grow in it will not have roots that deep.
Ideas For Planting in This Raised Bed
I have one idea for summer planting in this new raised bed. I will grow sweet potatoes. Maybe some Holy Basil plants will work next to the edge. Not much else grows in summer. At least nothing I would plant in this bed.
Next winter I will use this new bed for planting broccoli, onions, and carrots.
I’ve wanted a permanent (not made from wood that rots), large raised garden bed for a while. Raised garden vegetables are easier to manage than in the ground planting. I have better luck in a bed usually. This metal, round Vegega bed seems perfect.
Every time I have searched for metal raised beds, they have seemed way too expensive for me to buy. A few hundred dollars for one bed is way out of my budget. I had no idea of the quality either, until I found a review of the Vegega brand.
At Wild Floridian, I found a nice video review, and she offered a discount code to use for buyers. Her video convinced me to look into this brand further. See the review Vegega bed video by Wild Floridian where she has had the bed for a year and compares it to another type she had problems with (not named).
When I browsed the Vegega site, I liked the bed shape options. They offer sets that can be shaped as you wish once the product arrives – called 9-in-one, 10-in-one. Some of the pretty light colors were not available when I shopped, so I chose dark green.
My yard is small, and I was not sure where I’d put my bed. The round shape seemed perfect and I chose the 17 inch depth. This is a perfect depth to grow all kinds of vegetables including the ones with longer root systems like tomatoes, watermelon, and pumpkin. At this point, I have no idea what will be planted in this bed, but I will not be restricted by depth.
Putting The Vegega Bed Together
Assembly of the garden bed was fairly easy. I did it by myself in the house (it’s hot here). I think I spent the most time removing the film that covers each section! Screwing the pieces together was very easy. I decided to complete each half of the circle so I could move it outside in two sections to complete the assembly.
Remove filmGood directionsAll film removed!Indoor assembly completeNew bed for the garden
Once the sides are all screwed together, a rubber strip is added to the top. This also was very easy to do, with plenty left over.
Adding the rubberPlenty!
How I Am Filling My Raised Bed
I’ve read all about various ways to fill a garden bed. This is part of the expense, but it’s worth it to create a good environment for the vegetables to grow. I’m not in a hurry, as I won’t be using this bed for a few months.
I have cardboard, so I am using it to level the bed. I also have added packaging paper, along with cuttings from the shrubs, and mulch to begin the fill.
Adding mulch
Don’t try to make your raised bed into a restrictive “container”. Leave the bottom open just in case roots want to expand. Also, think about water drainage. Everything I am adding here will eventually break down. Soon, the greenery will turn brown and decomposition will happen. All of this will become a layer of nutrients at the bottom of the bed.
As my marigolds die, I will cut them off and add them here. The same with any other flowers. I’m growing cowpeas now, and some of those plants may end up as a layer.
*FYI: I read someplace that using rocks in the bottom for drainage may not be a good idea, especially if you want to move the bed later on. The rocks will have become part of the earth and will be difficult to move / remove.
My Reason For Wanting a Raised Bed
I want raised beds because it’s easier to add and keep nutrients in the soil. Whenever I compare similar plants that are in the ground, to the ones in the bed, the bed / grow box plants are always doing better.
As an example, I bought and planted sweet potato slips just before my trip north. One slip went into a grow box (center) and others were planted randomly around the yard in the ground. The grow box sweet potato is going crazy with vines all over the place – even though that box is really not nearly deep enough. All the other sweet potatoes are much smaller. We’ll see in a few months if I get actual potatoes to compare.
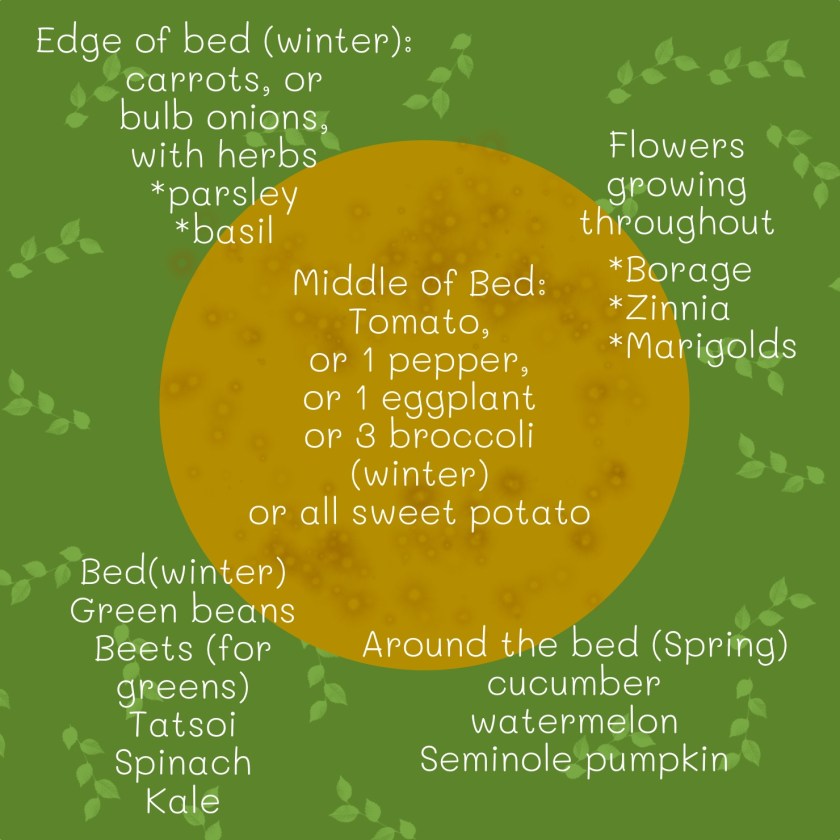
When considering what I have grown successfully (for the most part) I created this diagram with ideas for what to plant in my new, round raised garden bed.
That big circumference is perfect for root crops near the edge. I’m thinking carrots and bulb onions (garlic for you northerners). Both onions and carrots take months to mature. Putting them in as a border – out of the way – leaves space for bigger crops in the middle. I’m thinking of planting broccoli here this winter.
Planting ideas
Eventually I will be adding garden soil along with perlite for good drainage. Before I plant, I will mix in some other amendments such as bone meal. More to come about planting in this new space. I’m already thinking about buying one more bed in a rectangle shape.