Using the beets and greens that have grown over winter in my Florida backyard.
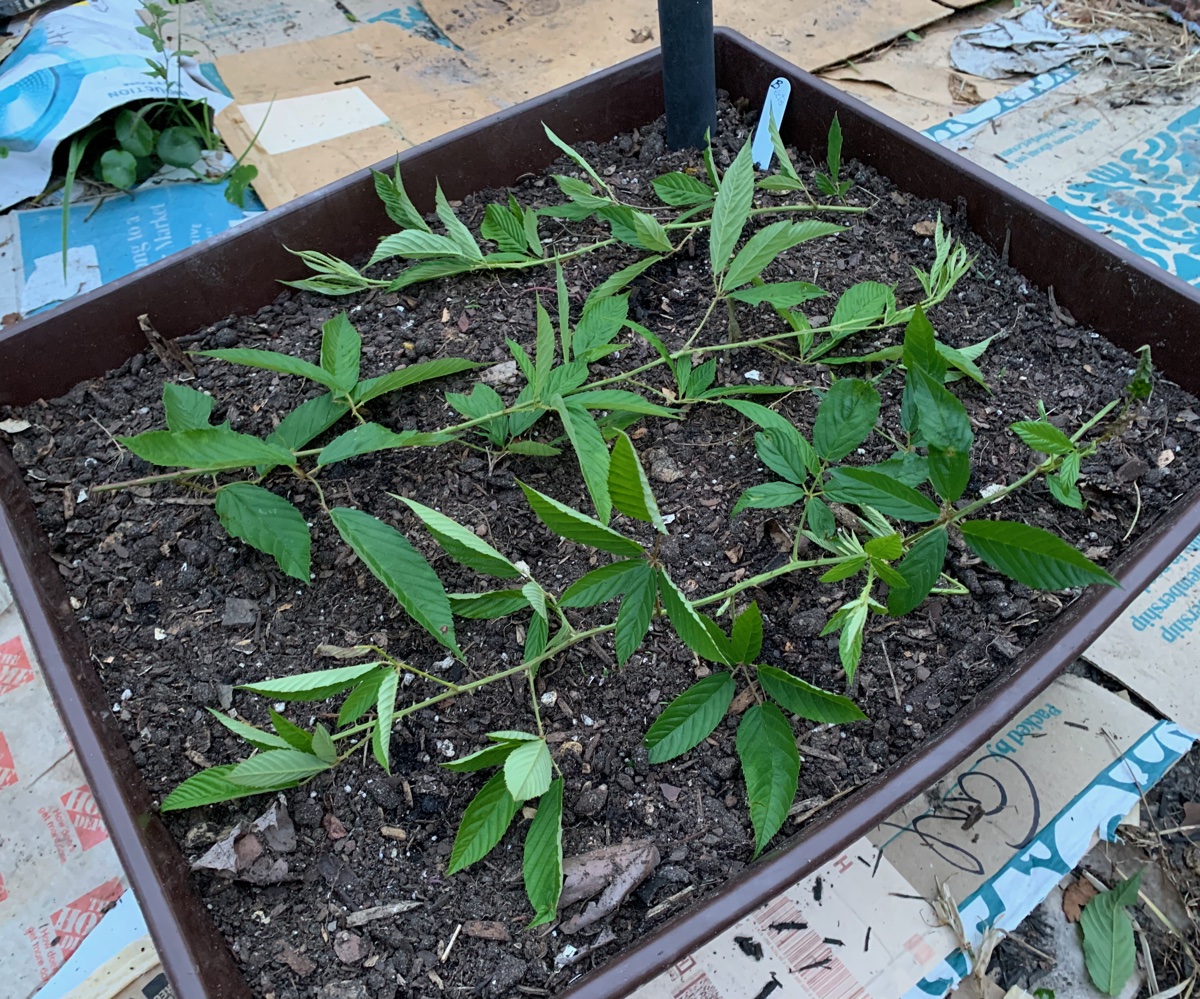
It is January 25th and today I pulled up all the beets. They were growing in a box which I needed for planting and growing green beans.
The beets were small and most were not really beets, but long red roots. However I did get a few to cut up and cook. I’m not sure, but I think maybe beets are mainly grown for the greens where I live. I didn’t have luck with growing actual beets.
Thanks to this site, I knew how to deal with the greens and incorporated them into my beets and rice meal.
How I Made This Meal
Pull beets from backyard and rinse dirt
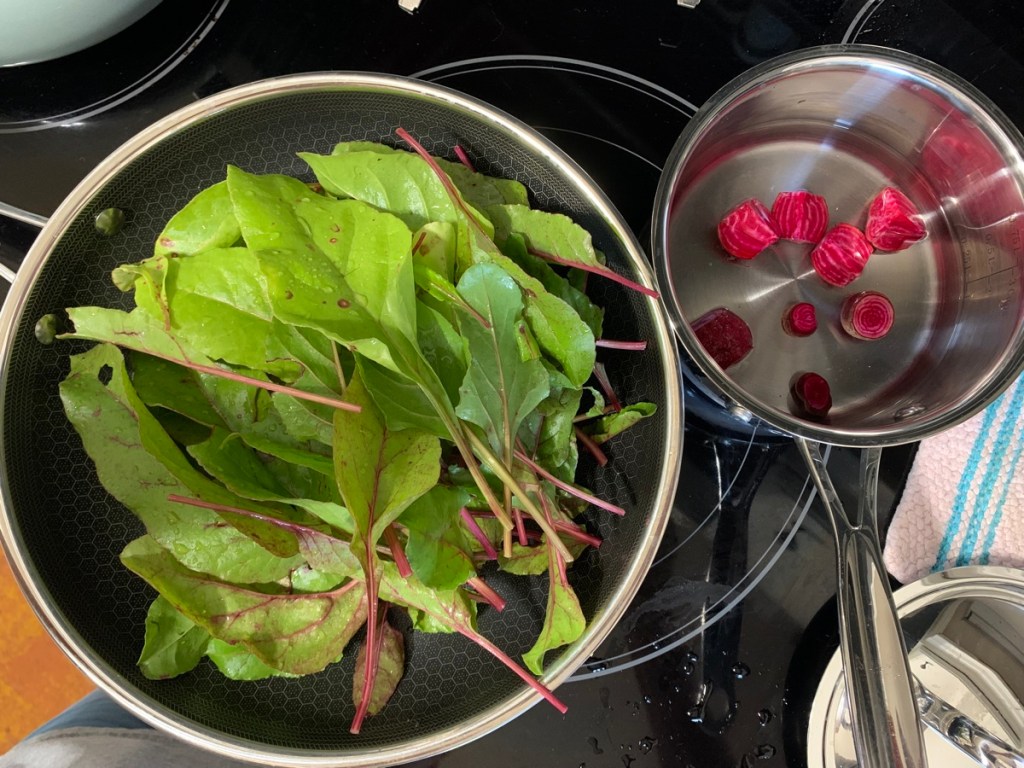
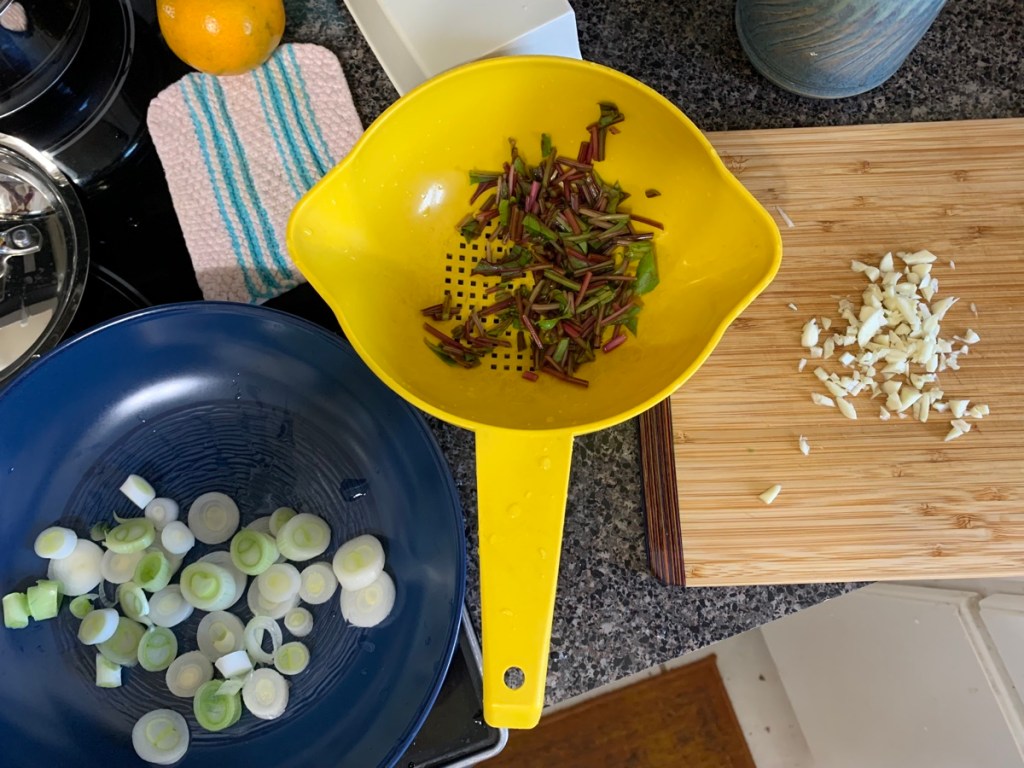
Separate greens from beets and trim and cut beets for cooking. Simmer in water for 20 minutes, or until soft – my beets were small.
Remove stems from greens and chop
Slice onions (also from backyard), along with garlic
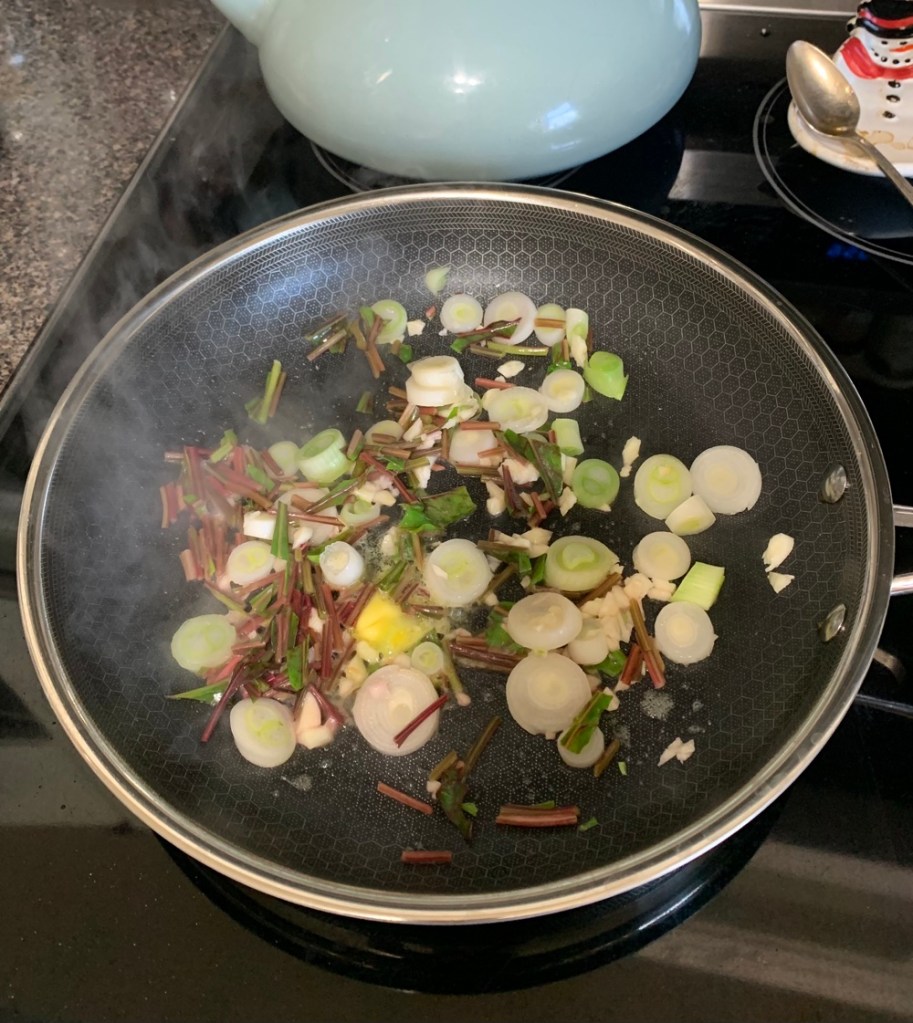
Saute onion, garlic and stems in oil for a minute or two and then add a little water. Cover and simmer to soften.
Chop leaves a bit and add to sautéed mix with a bit more water if needed
Cover and simmer for 3-4 minutes until it all looks cooked.
Squeeze in a little lime juice.
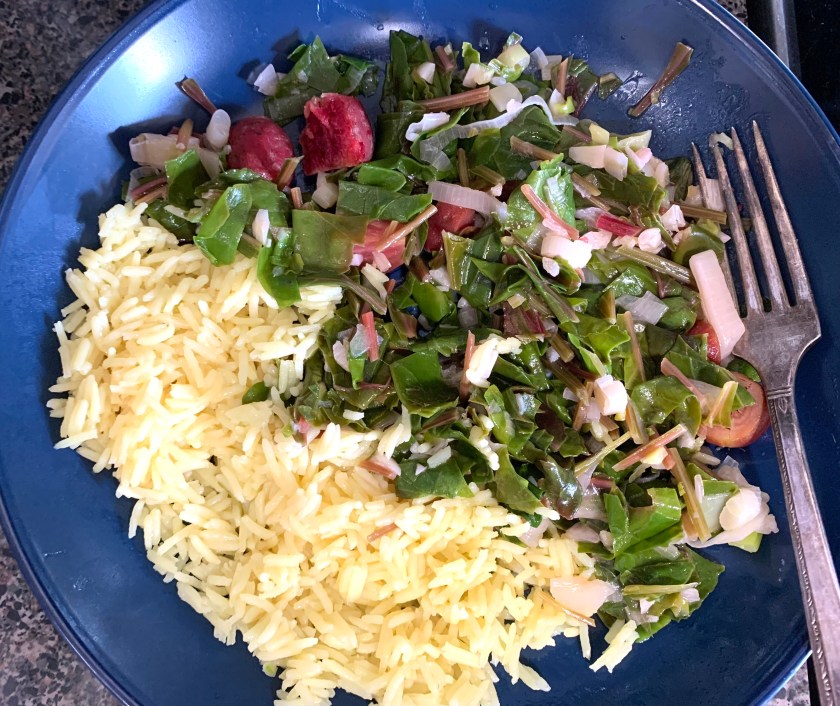
Cook Basmati rice in the beet water – 1/2 cup
If any water is leftover in the pan, dump it into the beets pan. Reserve all that water once the beets are cooked and use it to cook rice.
onion, beet green stems and garlicSaute
This is a waste free meal that reserves all the goodness of fresh picked vegetables. The roots and yellowed leaves of the beets went into my compost pile.
Add salt and pepper and butter… yummy!
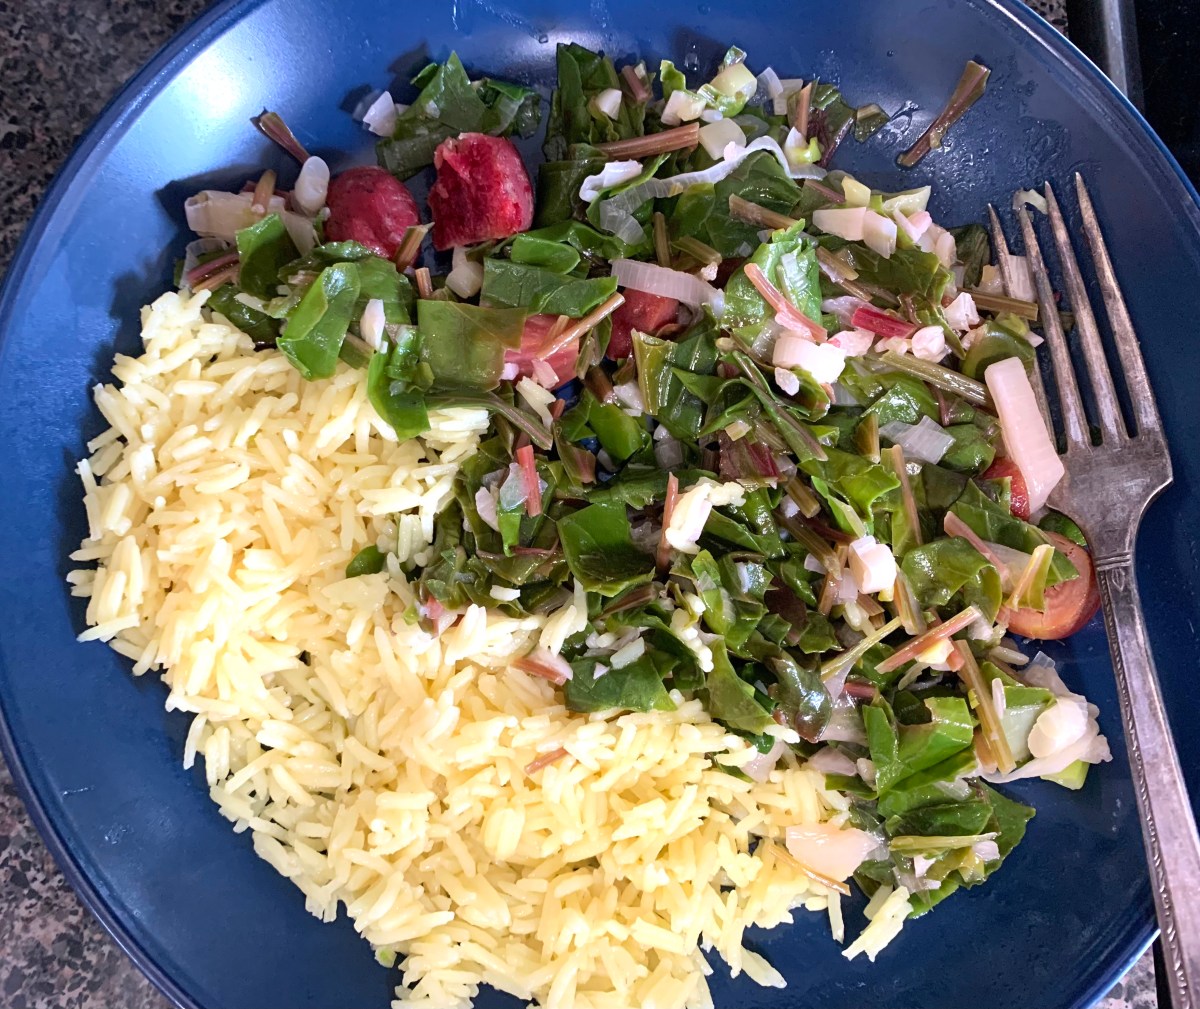
Garden beets and greens cooked and served with Basmati rice
Wild animals can be a real nuisance in the vegetable patch. Here are some ideas that may help of keep the animal pests out of the garden.
As backyard gardeners, we face many obstacles to growing a nice little crop. From weather, to pests and soil problems, it sometimes feels like a full time job. My ongoing fight is in finding ways to prevent digging in the garden.
The Problems
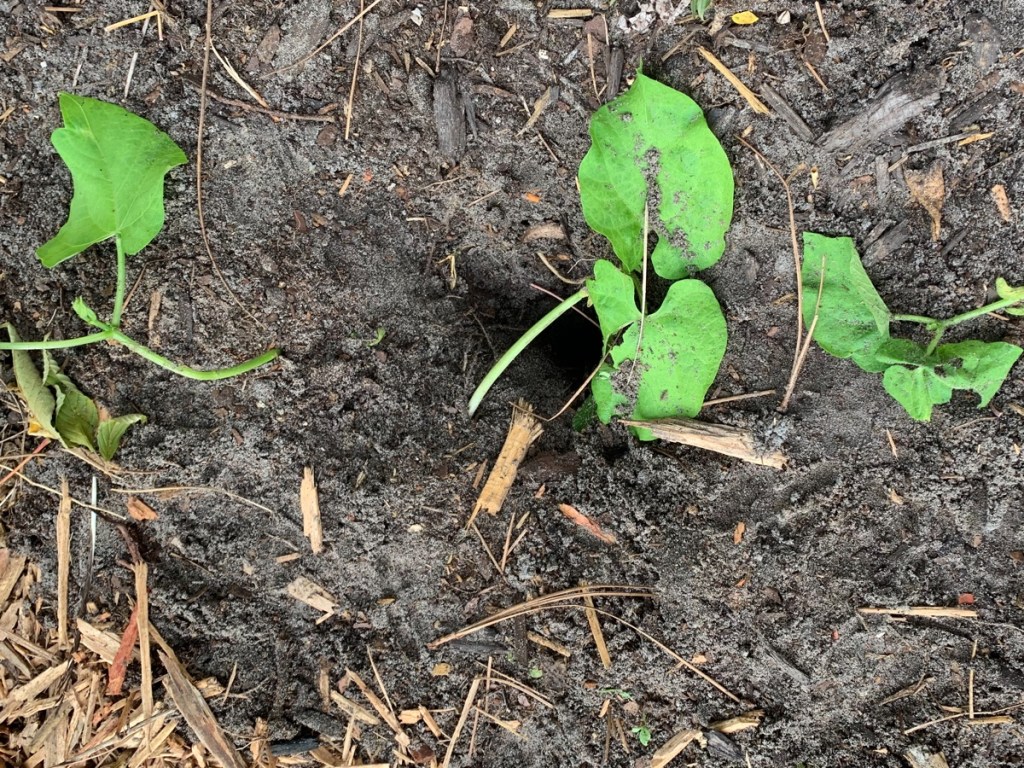
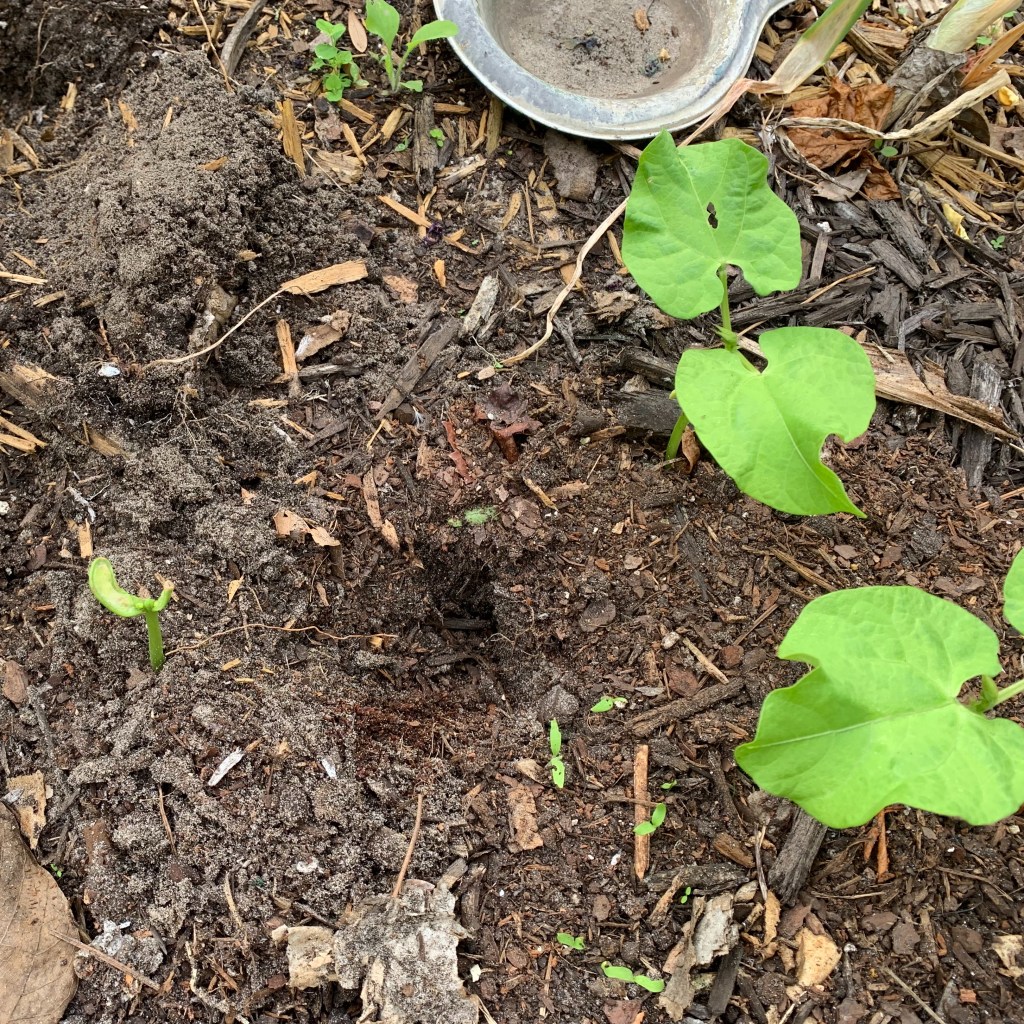
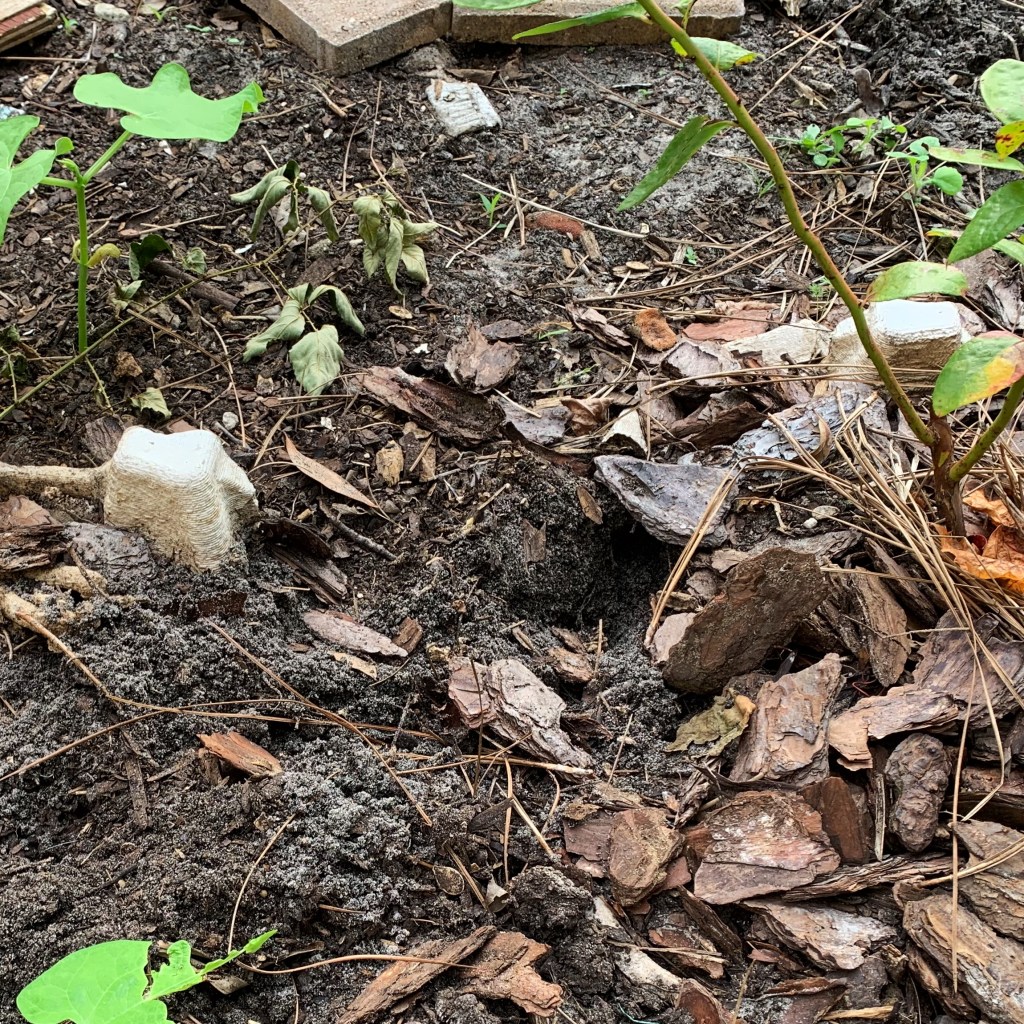
Each morning when I go out to inspect the yard, I find the damage done overnight. Sometimes it’s not bad, and other times it’s a mess.
My animal pests may be different from yours. I have southern pests that live in the neighborhood. My daughter in New Hampshire has a very hungry groundhog that eats her things. It seems that we all deal with something.
Raccoons
The raccoons are my biggest problem. The little bandits are unafraid and love to mess with everything. They arrive in groups and are like naughty little children who want to touch and destroy. They knock over my pots, play in the birdbath, pull up seedlings, pick vegetables, and steal things. I mistakenly left my water shoes outside to dry overnight and found one shoe at the edge of the woods.
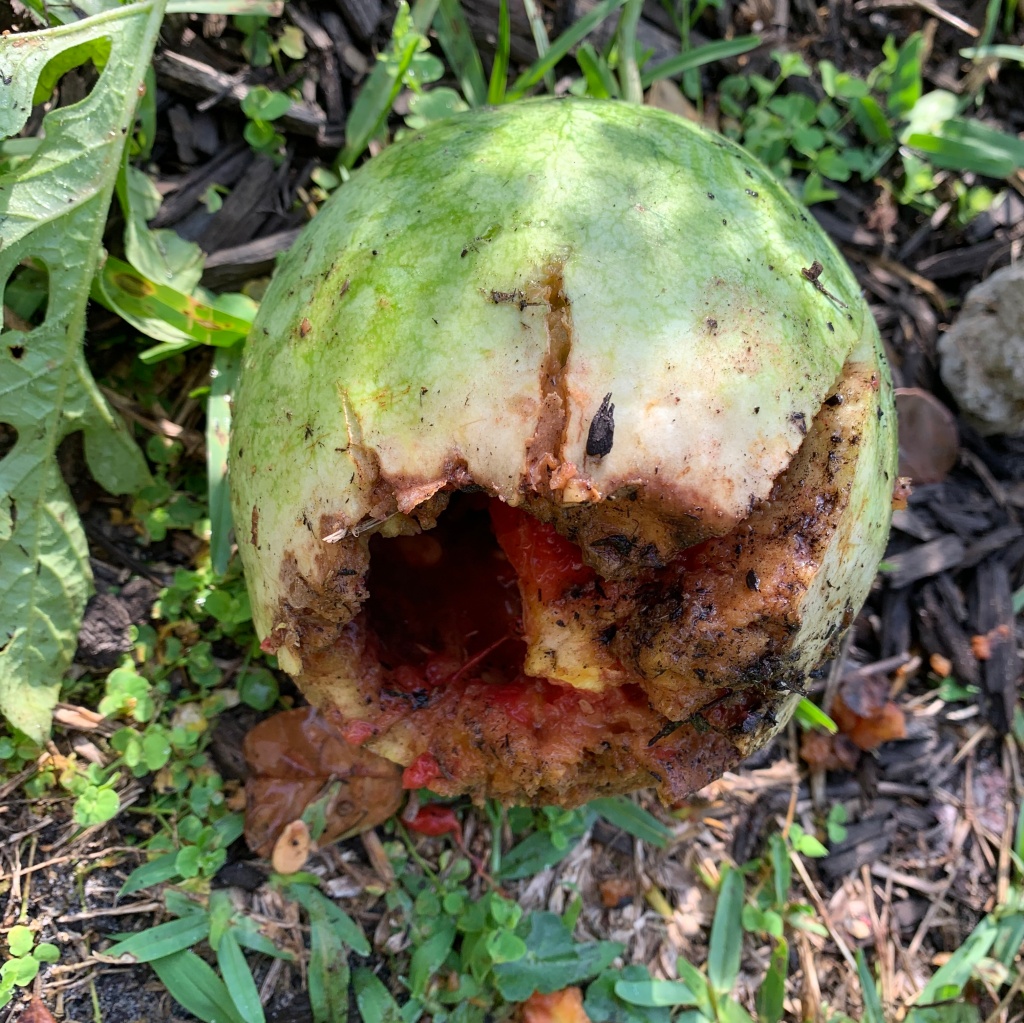
Last summer they managed to open this small watermelon. And they wait until the tomatoes are nice and red and get them just before I can! For that reason, I’ve begun growing tomatoes in fabric bags so I can drag them inside overnight.
Watermelon disaster
Armadillos
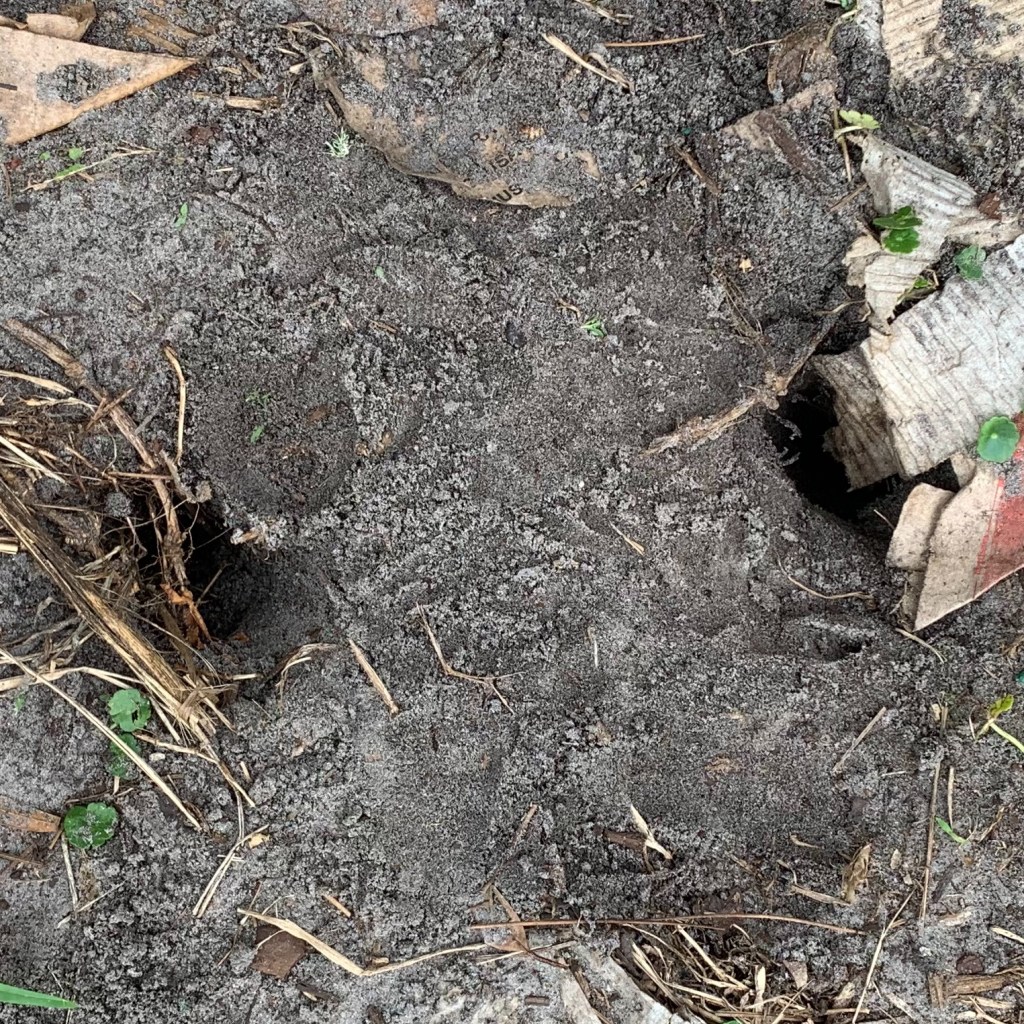
I also have armadillos and they dig deep small holes all over the place in search of bugs and food. Even though they can be destructive, they are less so than raccoons.
It helps to remember that animals are just doing their thing. They are hungry, and are in search of some things that you might actually want gone from the yard, like roaches, spiders and grubs.
House Cats
My cats do go outside and they will try to do their business where there is nice dirt to dig. If I go outside with them in the morning, I can shoo them off the garden area. Neighborhood cats also come into the yard, but overall they leave the garden area alone. Cats are not nearly as destructive as my overnight visitors.
Solution: Block Access
I need to take preventative measures that will keep animals away in a humane way. I’ve considered putting up a fence, but raccoons will climb right over. Each problem area needs to be blocked. Fortunately my garden area is small.
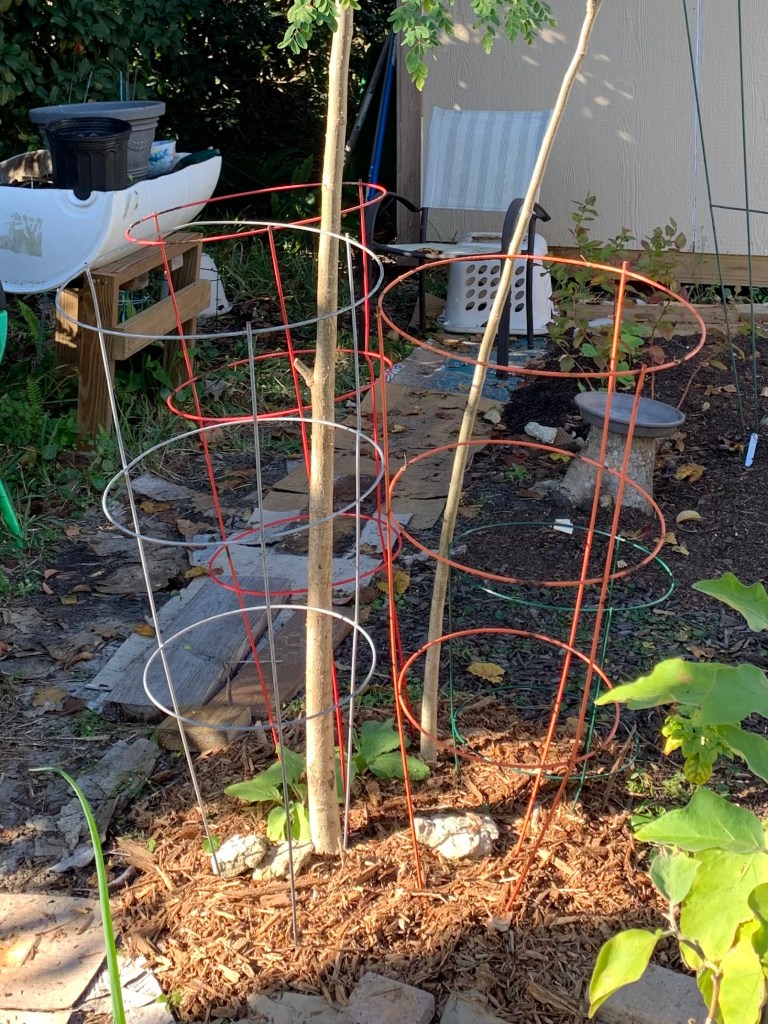
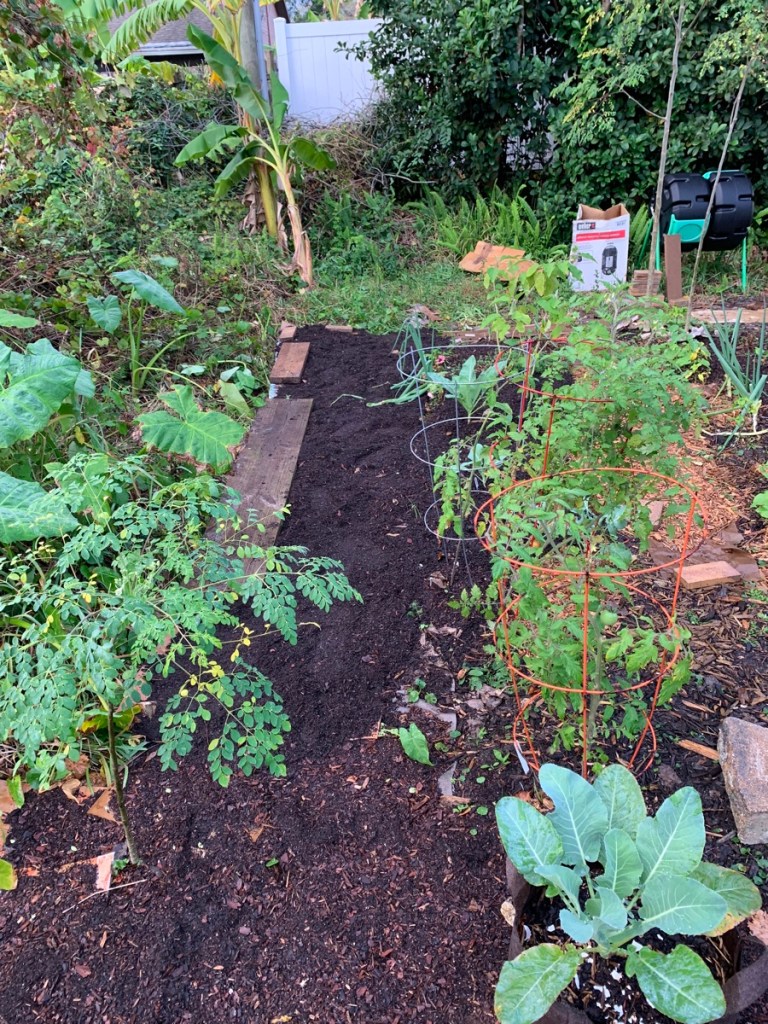
Tomato cages come in handy for blocking (somewhat) access to plants. It doesn’t always work, but it might be enough of a deterrent for some.
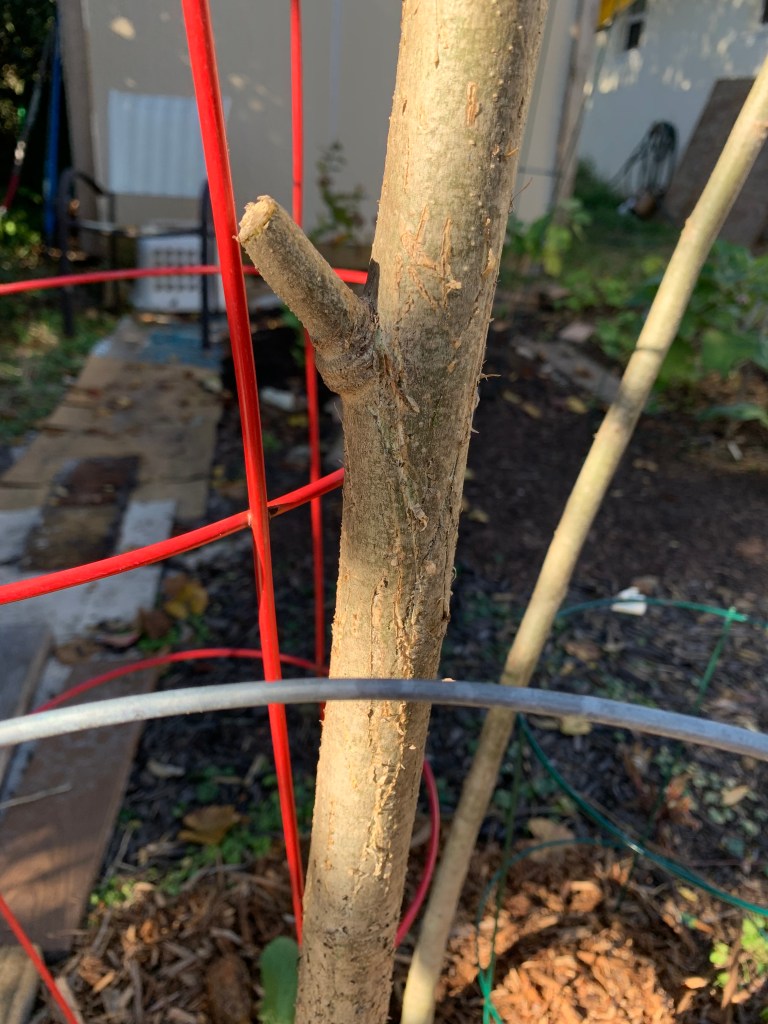
For instance, something is climbing my Moringa tree, and this is a new problem. Branches are broken off, and scratch marks are all up and down the trunk. I have cages all around the Moringa trunk to make climbing the tree more difficult. I hope this works.
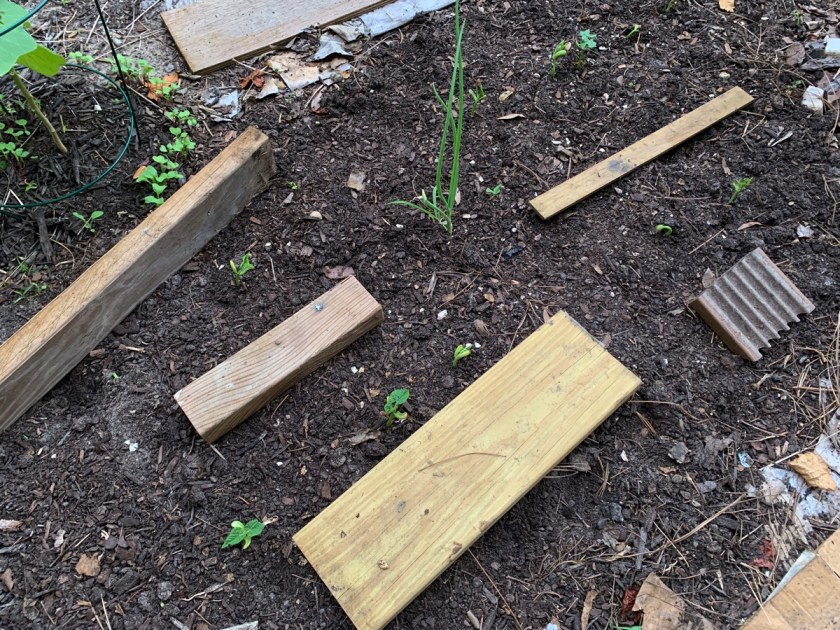
Large and small boards, wood scraps, placed randomly on the dirt could deter digging. Also use rocks if you have them. The photo below shows wood placed between my rows of beans. Doing this also helps to keep my cats from digging here.
Placing bits of wood to prevent digging
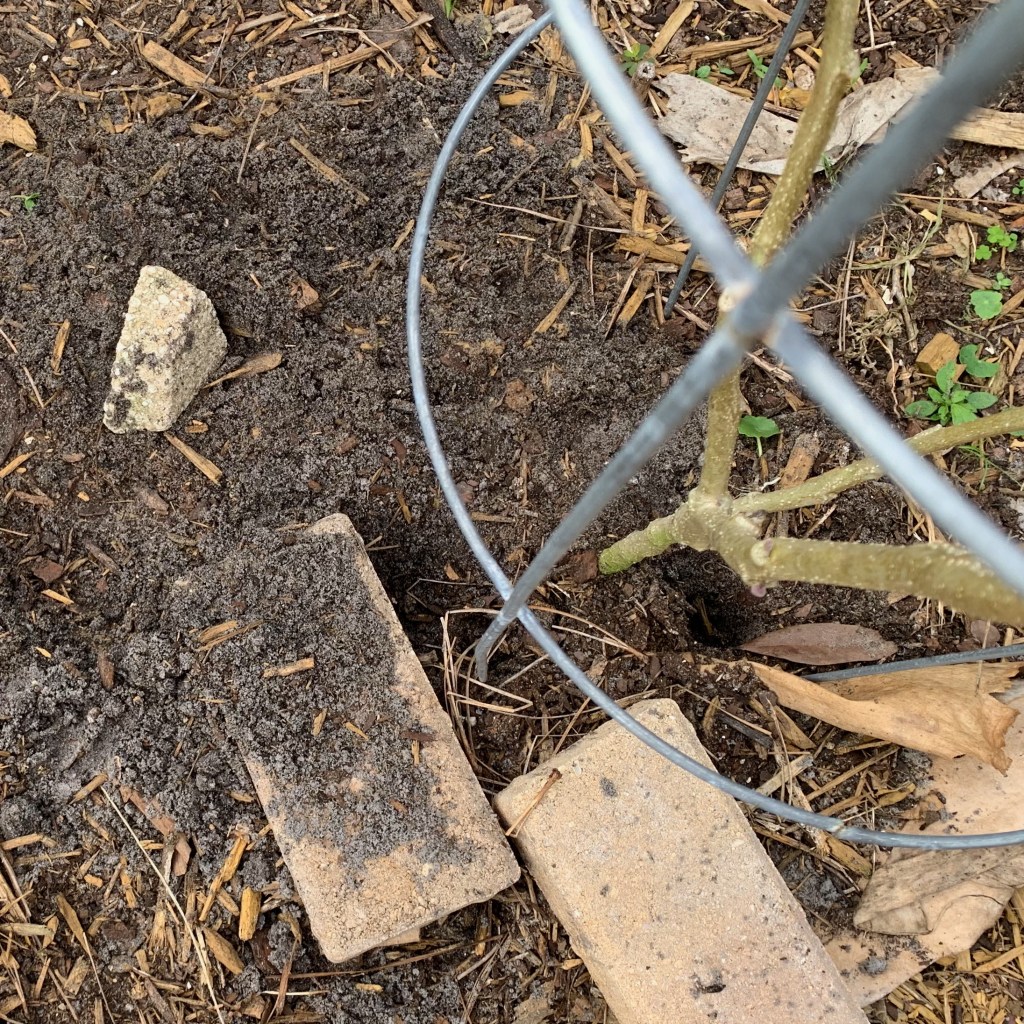
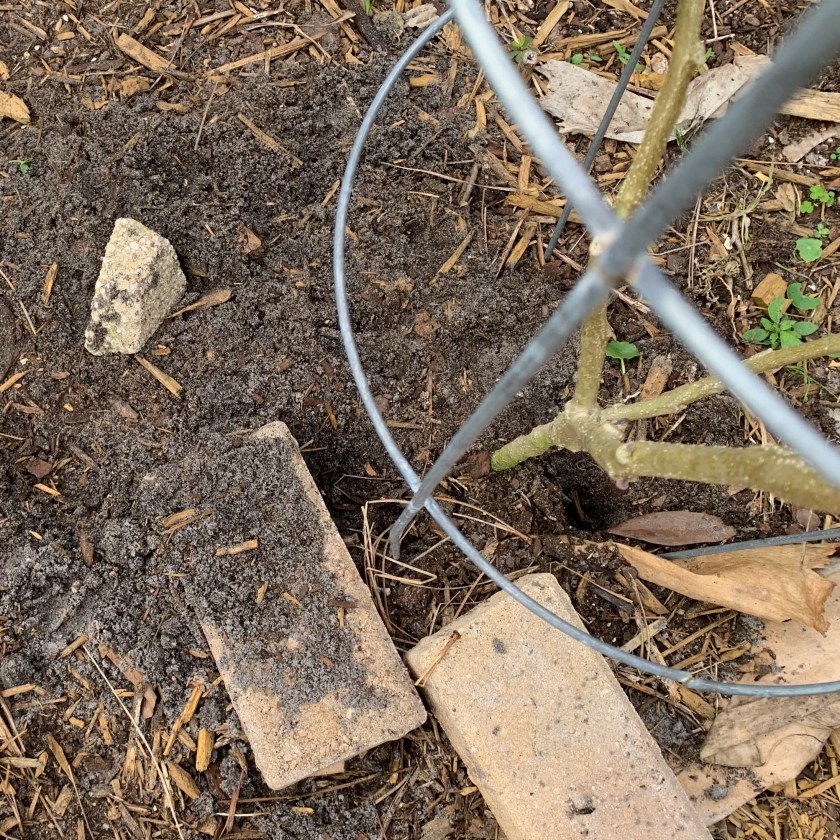
This does help I think, but does not keep hungry critters from moving the obstacles and then digging. The eggplant in my photo below got dug up even though I had made a base of bricks around the stem. The plant was fine.
Bricks as digging prevention – didn’t work here
Thorny Stems
Surround the vegetable plants with thorny stems, prickly vines and other things animals won’t want to touch.
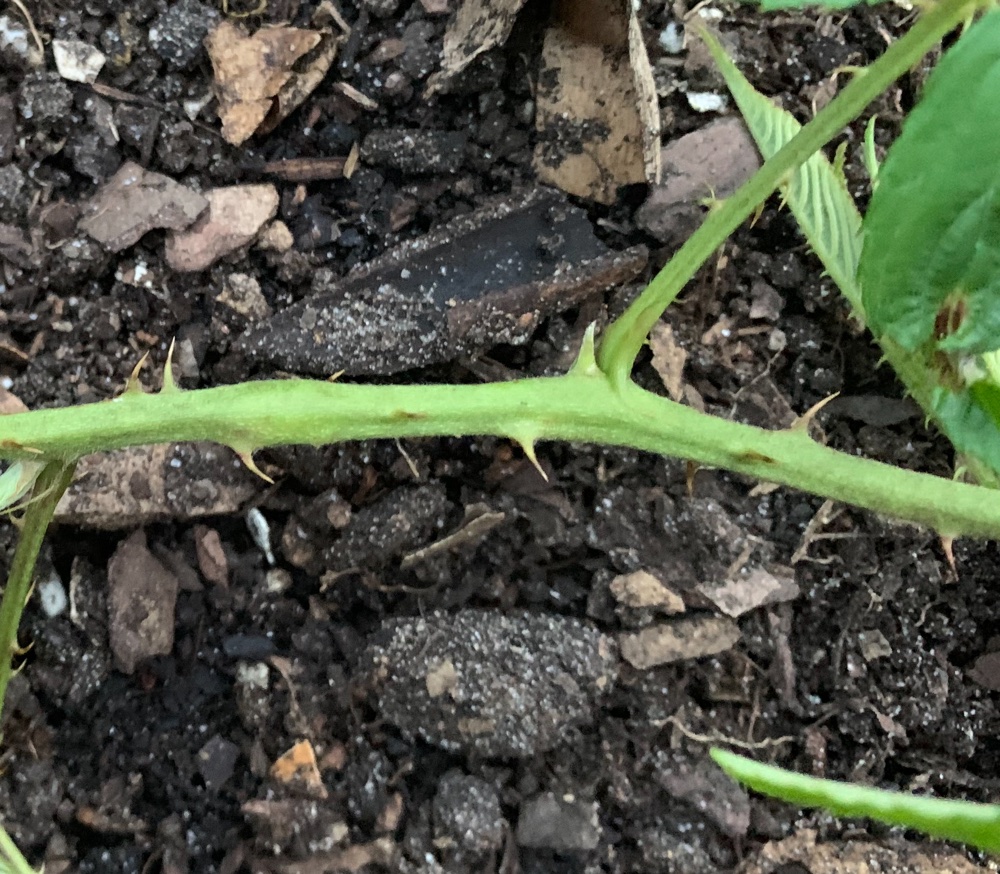
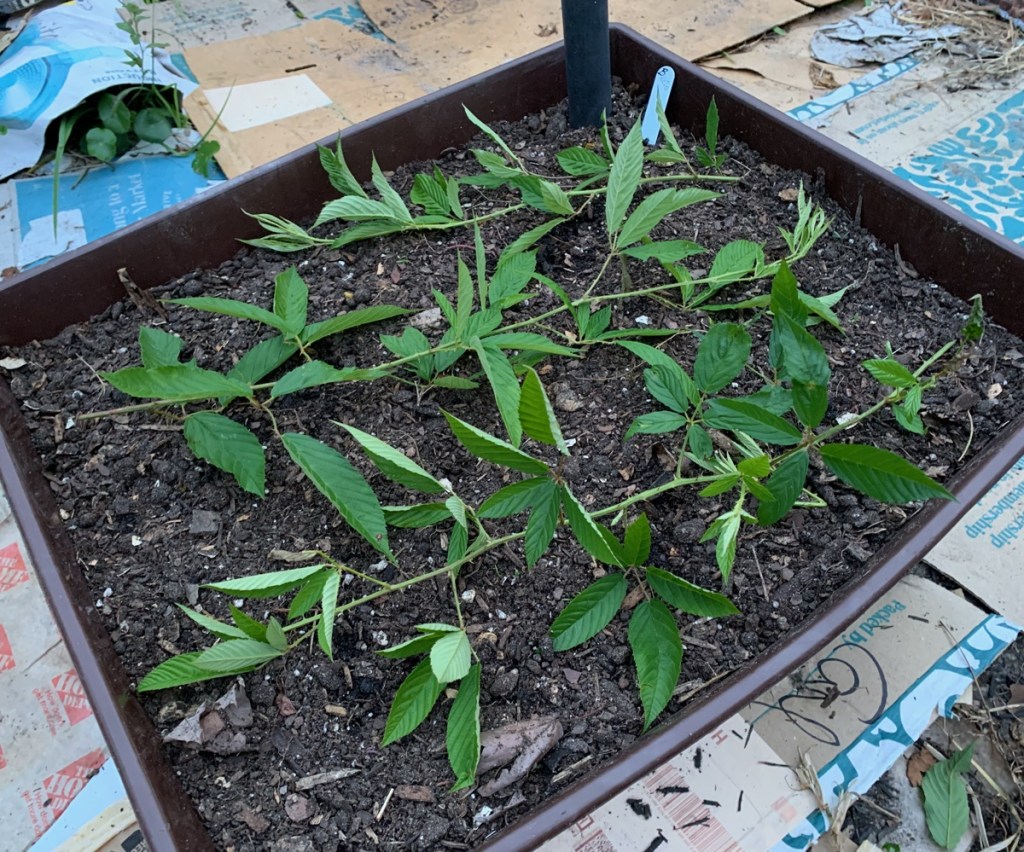
Along the edge of my property, which is next to an overgrown lot, there are wild plants growing that have very thorny stems. They are the Southern Dewberry. The vines are full of thorns which make them difficult to deal with if they invade the yard, but the flowers attract loads of bees and the fruit feeds wildlife. Now, the thorny stems, when placed over, or near, seedlings and planted beds, can also be used to deter raccoon paws.
I have put those thorns to good use by placing them over may beet seedlings. Eventually the dewberry stems die and turn brown, but stay thorny.
Store Bought Spikes
I’ve recently considered buying spiky mats to strategically use as protection. At first I thought of using upside down bathmats with grippers on the bottom. While searching Amazon, I found “cat repellent” mats (paid link) – actually a lot of options for this – to use inside and out.
The item doesn’t have to be dangerous, just uncomfortable to touch or walk on. But, the raccoons could easily move these. Also they couldn’t be left down on top of the soil, so this option includes work and remembering to do it. I’m not sure this type of thing would work for my needs.
Raise the Garden Beds
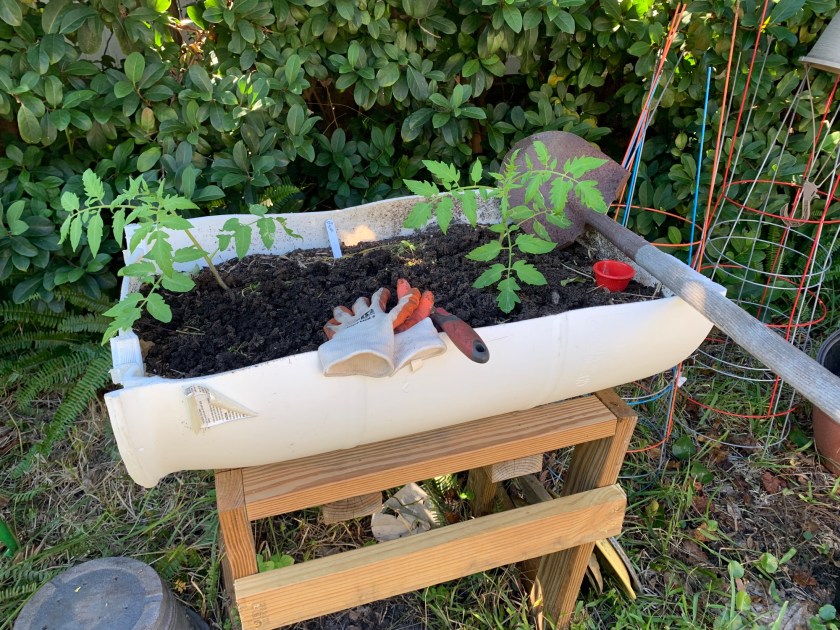
Possibly the best way to prevent animals from digging up seedlings and picking ripe tomatoes, is to plant in a container that is high up off the ground. My son brought home barrels and cut them in half to make tall, raised beds. He also made the wooden stands.
But even these tall, white barrel boxes sometimes have footprints and signs of digging. Many night foragers are also climbers. Nothing and no place is safe, can we agree?
These tomato plants need more sun.
Scatter Natural Repellent Smells
You’ve probably heard about items that can be added to the garden, and plants, that might keep animal pests away.
One is to make a hot pepper spray to coat plants. I’ve never done this because I hate sprayers. They work once and then no more. I have sprinkled Cayenne pepper and it has done nothing but turn the leaves brown.
Moth balls are too gross to put near my food.
BUT, TRY THIS: Citrus slices and peels can be a natural repellent to wildlife. Many animals apparently dislike oranges, lemons and limes.
I am not trying to get rid of these animals. Some people use traps and take the animals far away to live in the wilderness. I actually feel sorry for all of the wildlife around me that has been pushed out of a natural environment by the clearing of land and building of houses.
Not only that, many homeowners choose to have companies come and spray chemicals all over their yards. They want pristine lawns and bug free grass. In doing so they are removing vital food from the food chain and depriving animals from finding the food they need to survive.
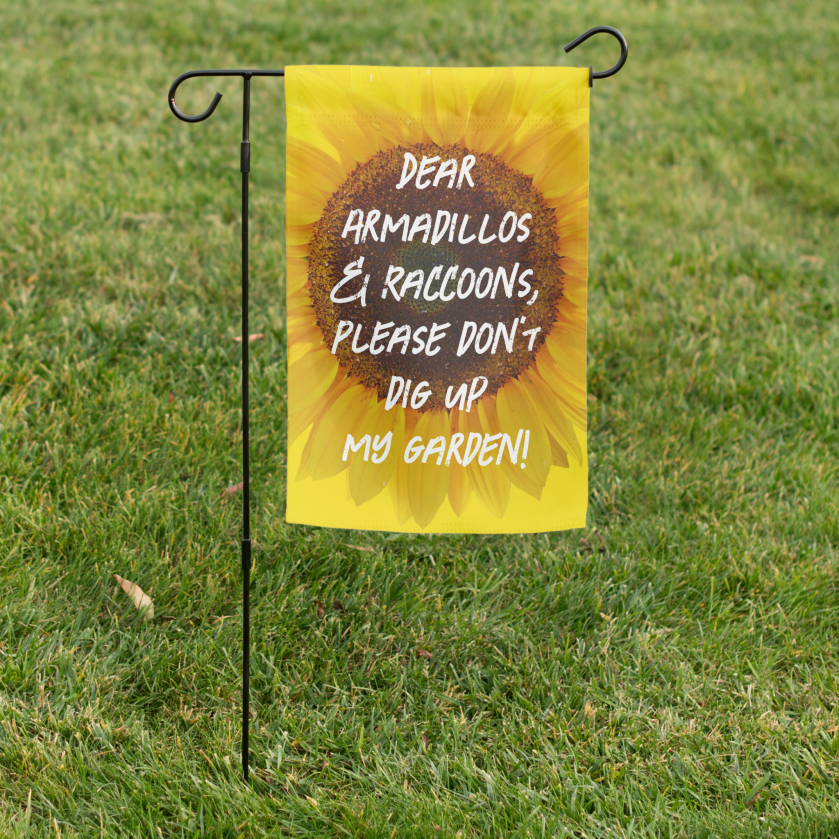
Raccoons and armadillos need to eat, just like we do, and I don’t mind sharing my yard with them. I am an organic gardener, and they can probably find food in my yard, which I am okay with. My goal is to steer them away from the garden area. Maybe it’s futile, and I know it will be ongoing. If only they could read, I’d put up a sign.
Want to grow your own food but don’t have much time, space or money? Start small with a grow box or fabric pot and see how it goes.
If you have been bitten by the gardening bug, but don’t know where to start, I suggest you start small. A small space is easier to manage especially if one person alone will be tending it. I am not covering raised beds that cost a lot to buy and / or build. The garden ideas I mention here are inexpensive to create.
Take your time and abilities into consideration. Begin with a small, manageable space outside, such as a grow box, fabric pots, or little area of the yard to plant. All of this works for growing flowers too.
Grow boxFabric potsCardboard & dirt
Plant For Your Climate
No matter where you live, do some research about what grows well in your area. I made the mistake of trying to grow the same types of veggies I grew in New Hampshire when I moved to Florida! It was a disaster and I became very discouraged.
I live in east, central Florida where gardening can happen year round, if the correct types of veggies are planted.
Grow Boxes Keep Everything Contained
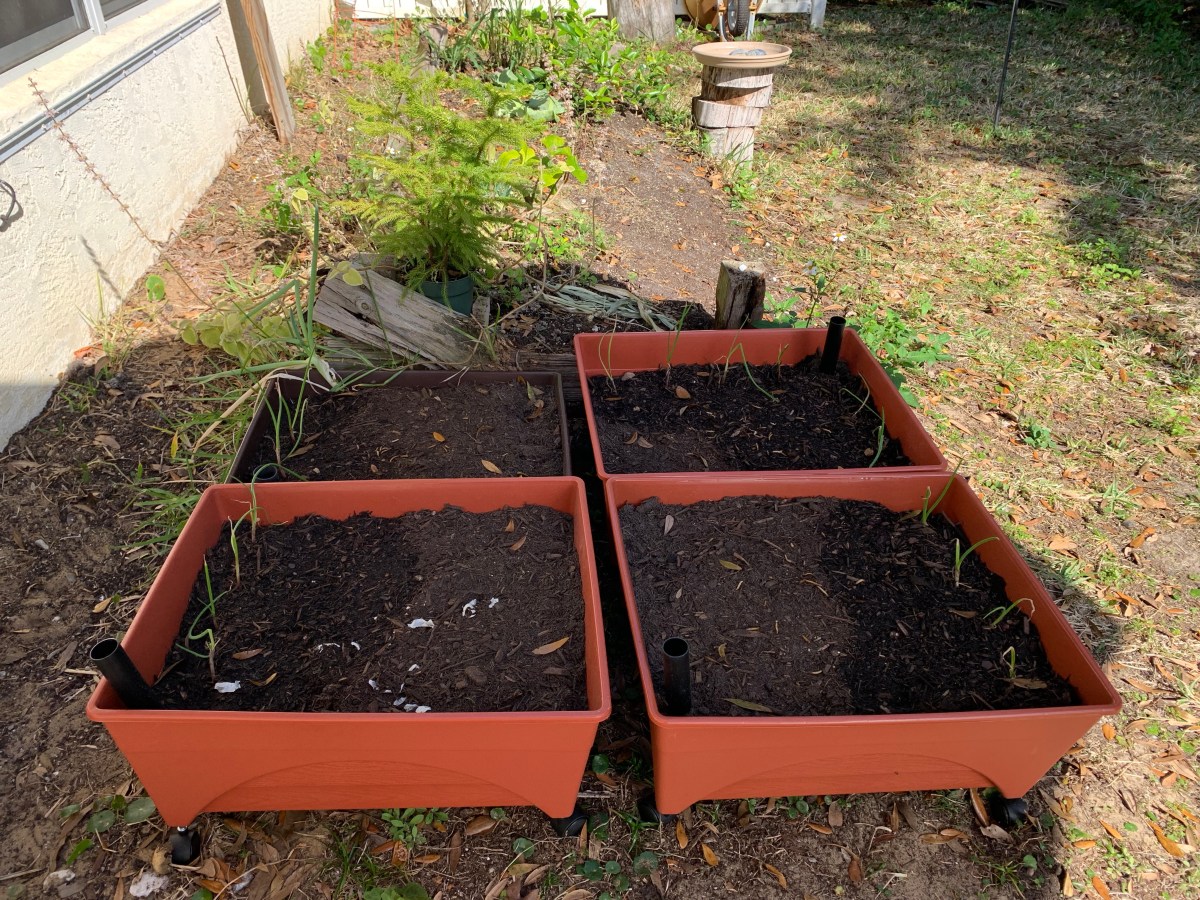
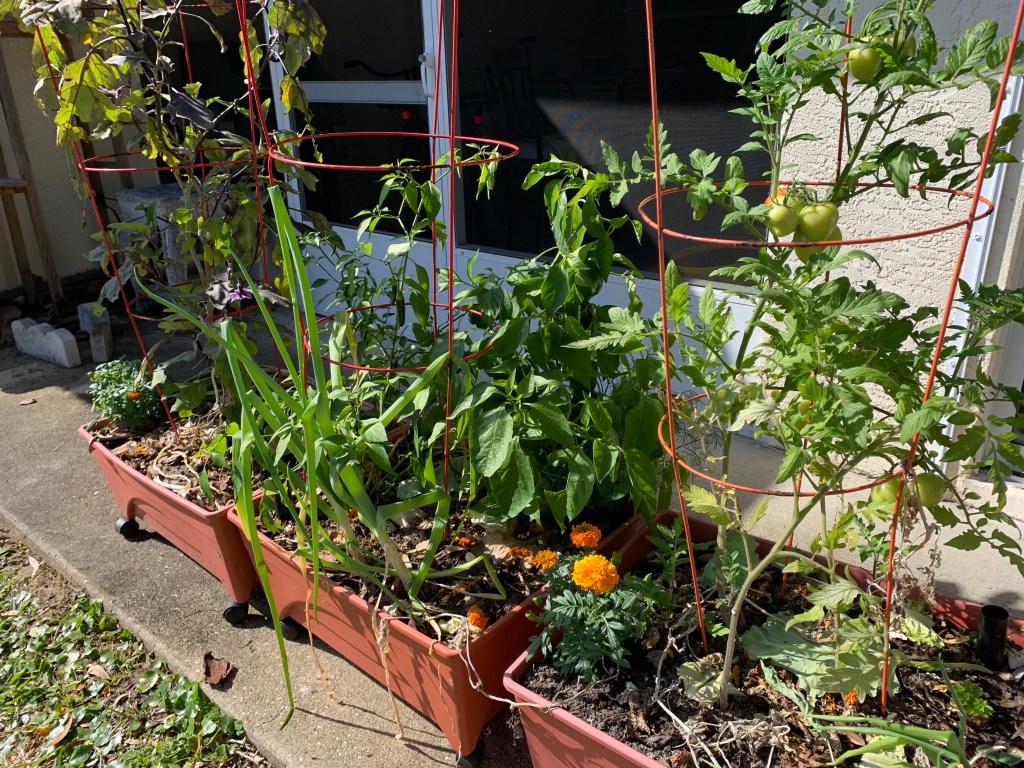
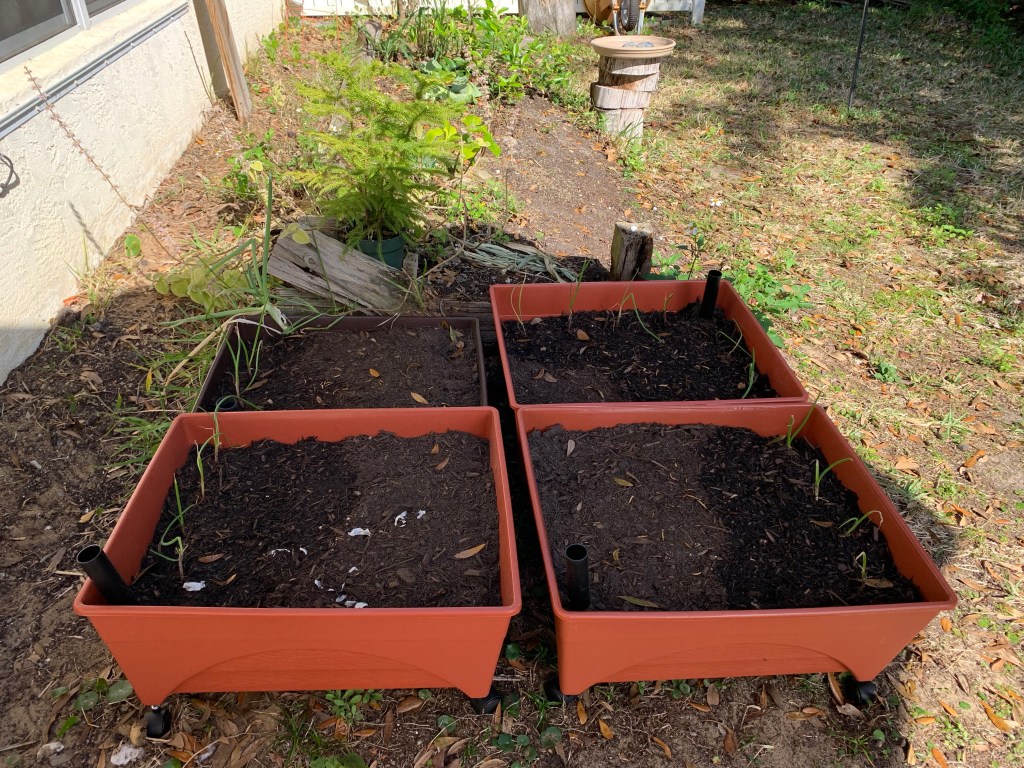
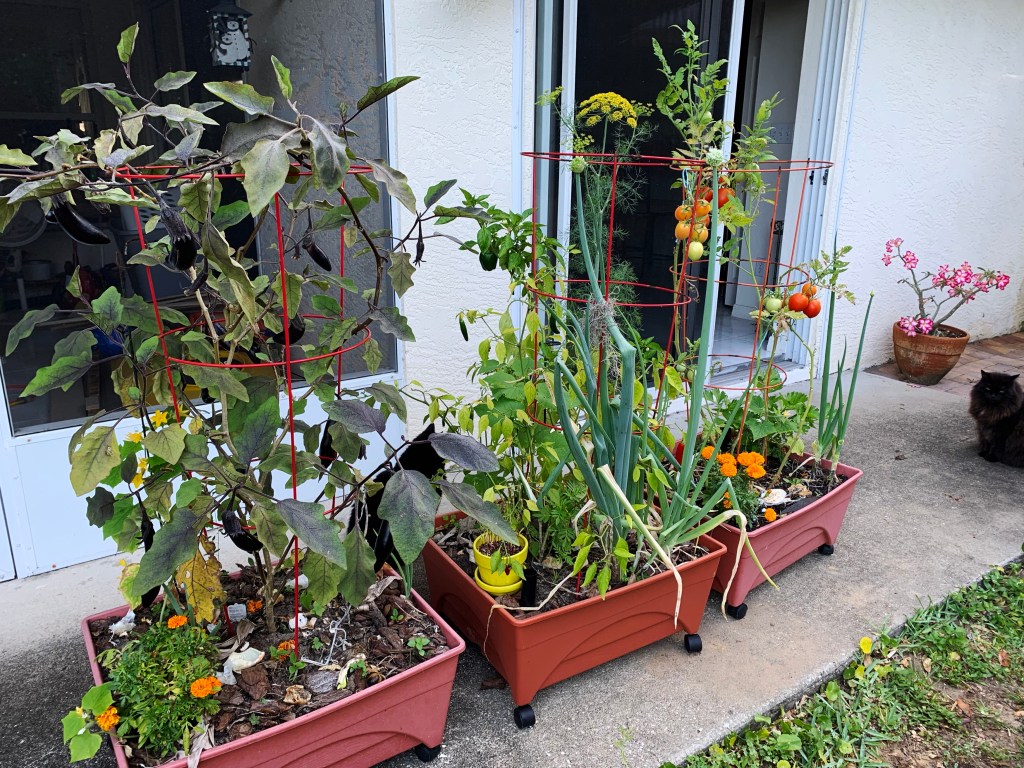
I started my Florida gardening journey with a few grow boxes. I bought them at Home Depot and filled them with potting soil. This was a great way to get started without having to dig up the yard or do sheet mulching. The boxes are on rollers which makes them easy to move on my patio. Weeds can’t grow in, but you will see some pop up.
The downside of grow boxes is that they are not very deep. But, I have grown green pepper, eggplant, and tomatoes in these boxes. If you attempt this, keep it down to one large plant per box.
Bell pepper plantNew boxes filled with soilLarger plants growing in the boxesStoring pots on top2023 Winter Greens
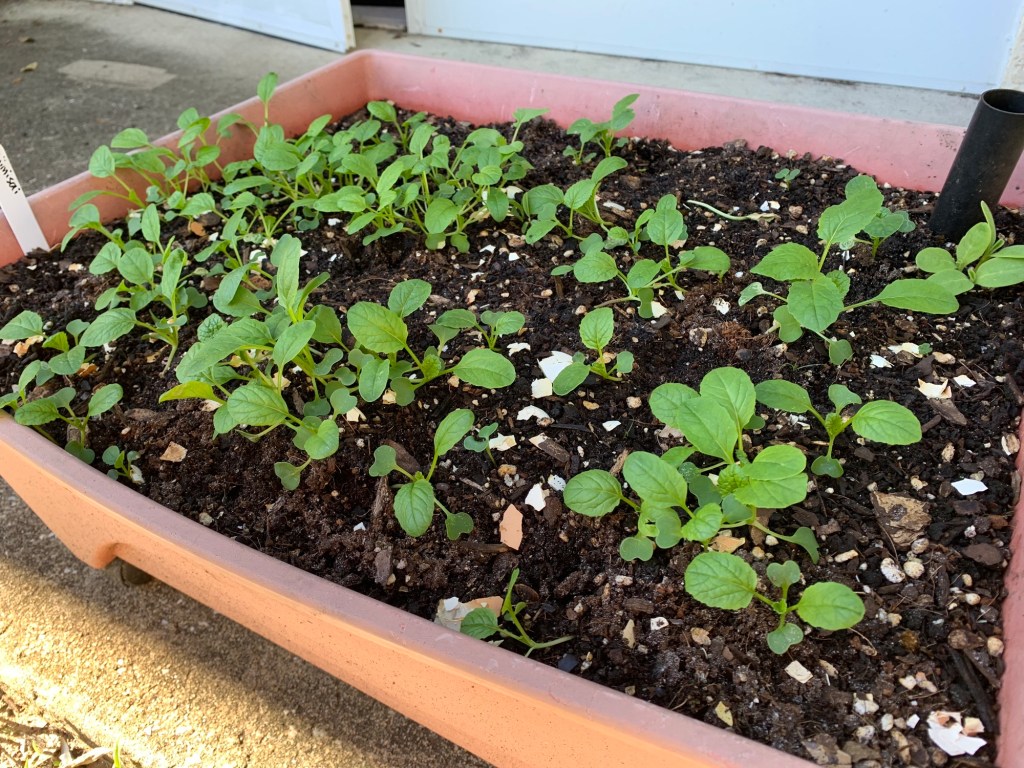
These boxes will easily hold some herbs or greens such as spinach, arugula and lettuce. A flowering plant, such as a marigold could be added, or plant scallions along the edge.
Raise some worms
The boxes are also great for starting worm families. I am not a worm grower, but when I added a few worms from the yard to a box they multiplied! From there the worms can be added to other boxes, or back into the yard. Worms are excellent for making the soil better.
A place for some compost
At the time, I did not have a compost area, or my Hot Frog, so my fruit and vegetable skins, tops and leftovers were chopped and added right to the soil in the box. Mostly I added banana skins and coffee grounds, and I didn’t overdo it.
My boxes are similar to the ones in the Amazon link below. They come with a tube where the water is supposed to be added, but I treat my boxes normally, watering from the top, unless it’s very hot and dry.
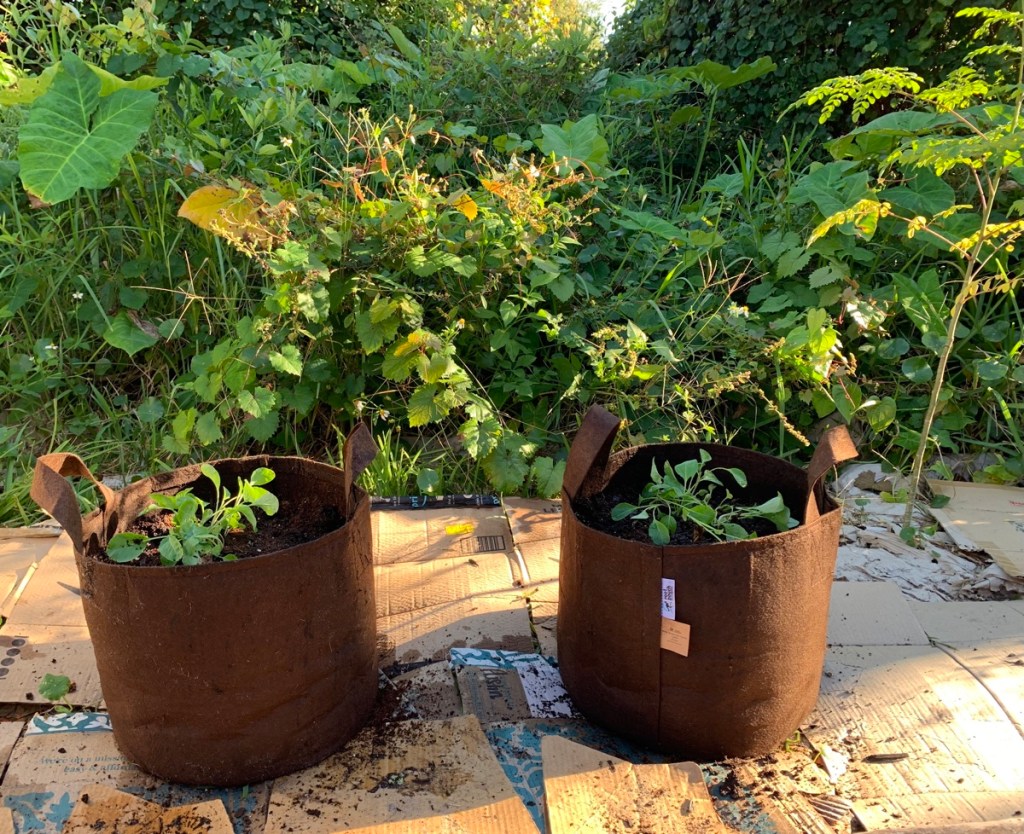
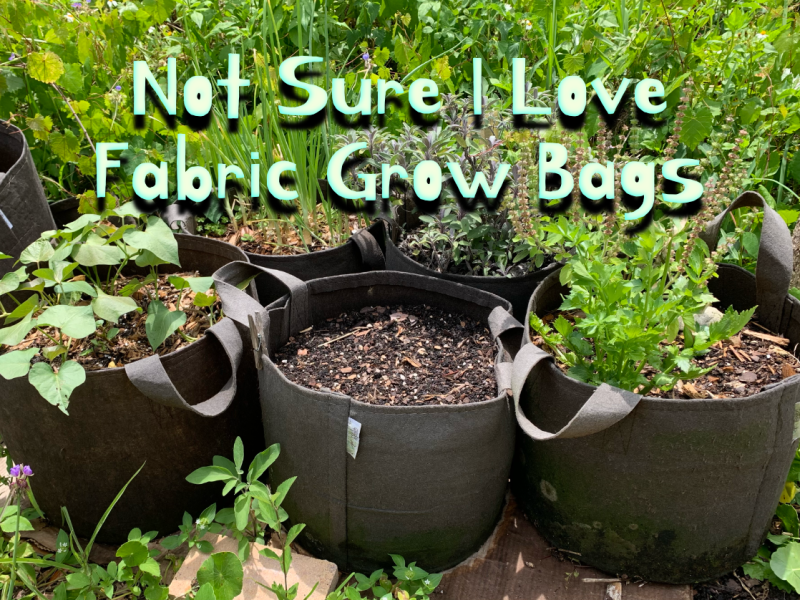
Fabric pots come in many different sizes and can work to grow small amounts of vegetables. Either use one bag to grow a large type plant, such as eggplant or tomato, or fill it with carrots, greens, or herbs, that can be grown closer together. The pots are usually taller than the boxes, but not as wide. Be careful not to overcrowd vegetables.
I wrote a whole page about Gardening in Fabric Pots and my experiences in New Hampshire and Florida. Dark colored pots can help warm the soil for growing in the northeast and other colder climates with a short growing season. In Florida, I like the ability to move the pots out of hot sun as needed.
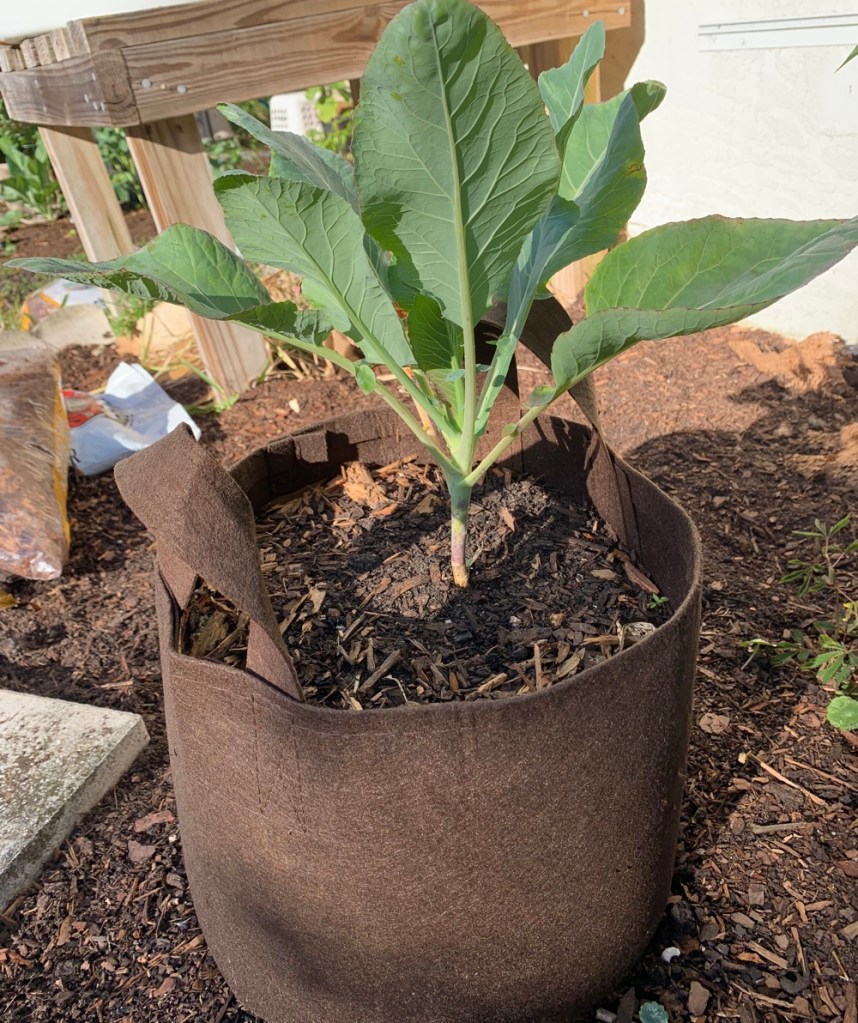
Fabric potsCauliflower in fabric bagLime tree in fabric pot
Most pots have handles and can be carried, or dragged, to a new location. Do this before watering, or when the soil is fairly dry. Be aware that water runs out of the bottom and sides of the fabric.
This small gardening idea would be a permanent addition to the yard and is recommended for someone who knows they want to garden, and will continue. Sheet mulching will kill the grass. This is also a time intensive way to garden.
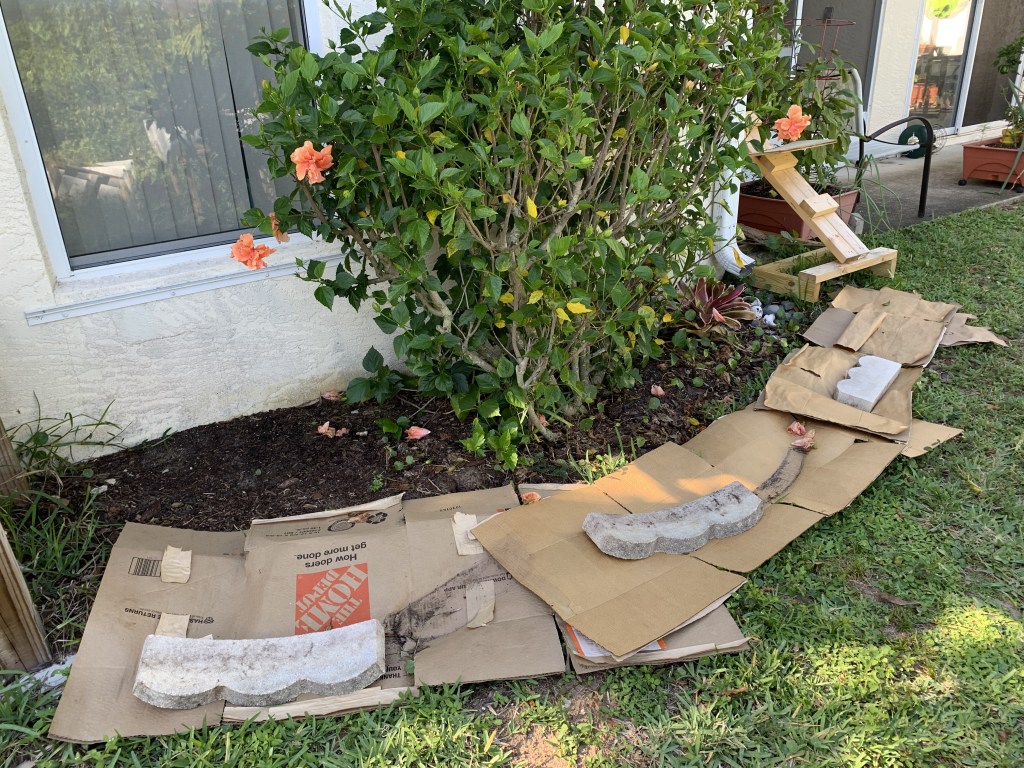
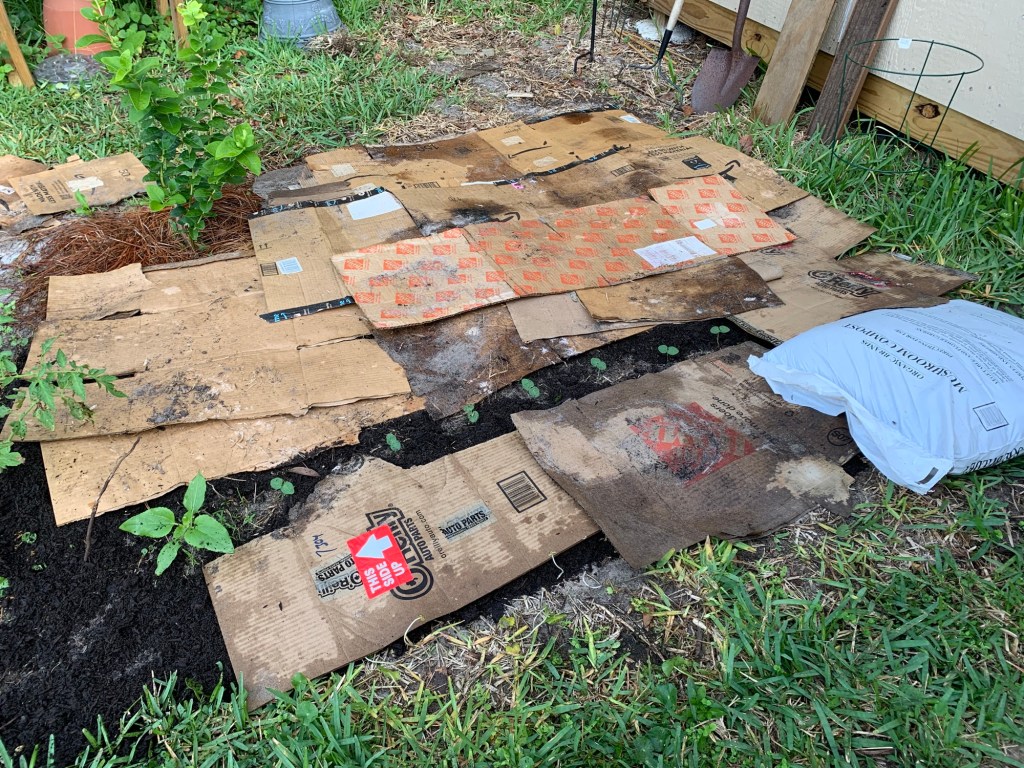
If you have never heard the term “sheet mulching” it is simply this; not digging up what is already there. Cover the lawn / garden area with paper / cardboard with dirt or mulch on top. (Buy dirt and mulch = expense.)
Why do it this way? If your yard is grass, as many are, and if you are not heavily spraying or using chemicals on the grass, things will be living just beneath the surface. Worms tend to be crawling around the grass roots. You may not like bugs, but they are necessary and all have a role to play.
Using a rototiller or digging with a shovel, disrupts whatever good is already there. Putting down cardboard or newspaper leaves it all alone. Yes, the grass will die, but the dirt will remain in good shape. But this is just the beginning. Amendments to the soil and fertilizer will have to be applied. This is the start of “real” gardening.
Also, please note that cardboard and newspaper will break down and eventually weeds may begin to come up. More cardboard can be added, or mulch, but this is an ongoing process. Sheet mulching just gets you started.
My yard, Spring to Winter using cardboard
Sheet mulchingBoxes down at the hibiscus gardenGetting the garden area ready last spring
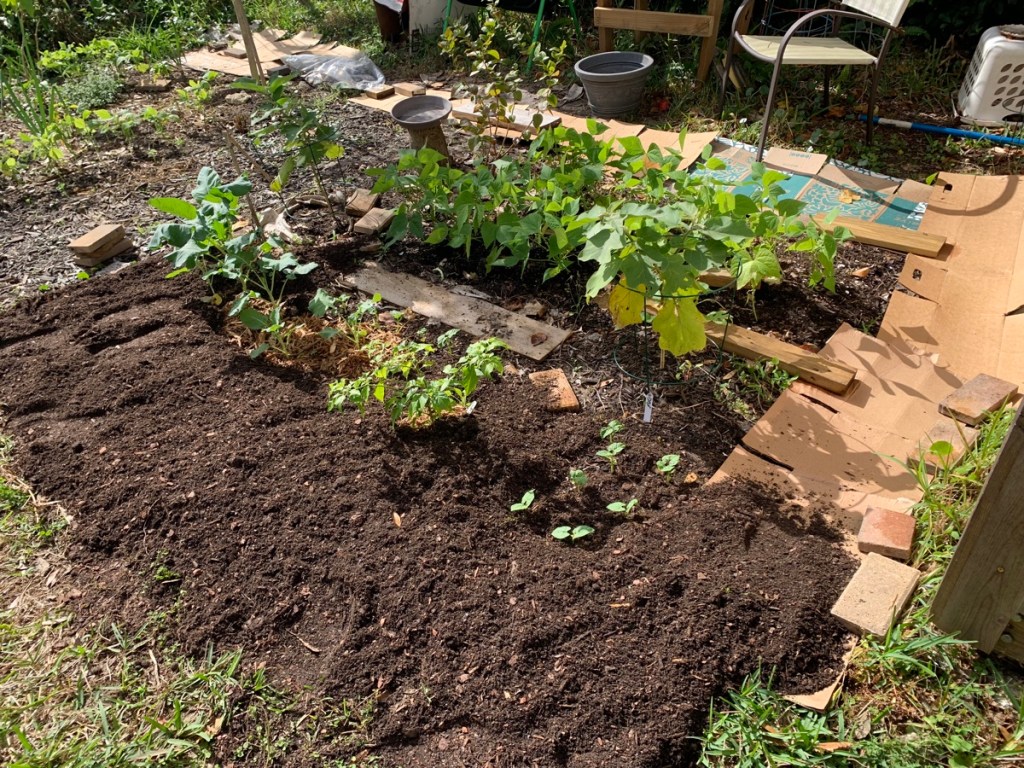
Above – Spring and summer cardboard. Below – Dirt added for garden space (Fall and winter seasons).
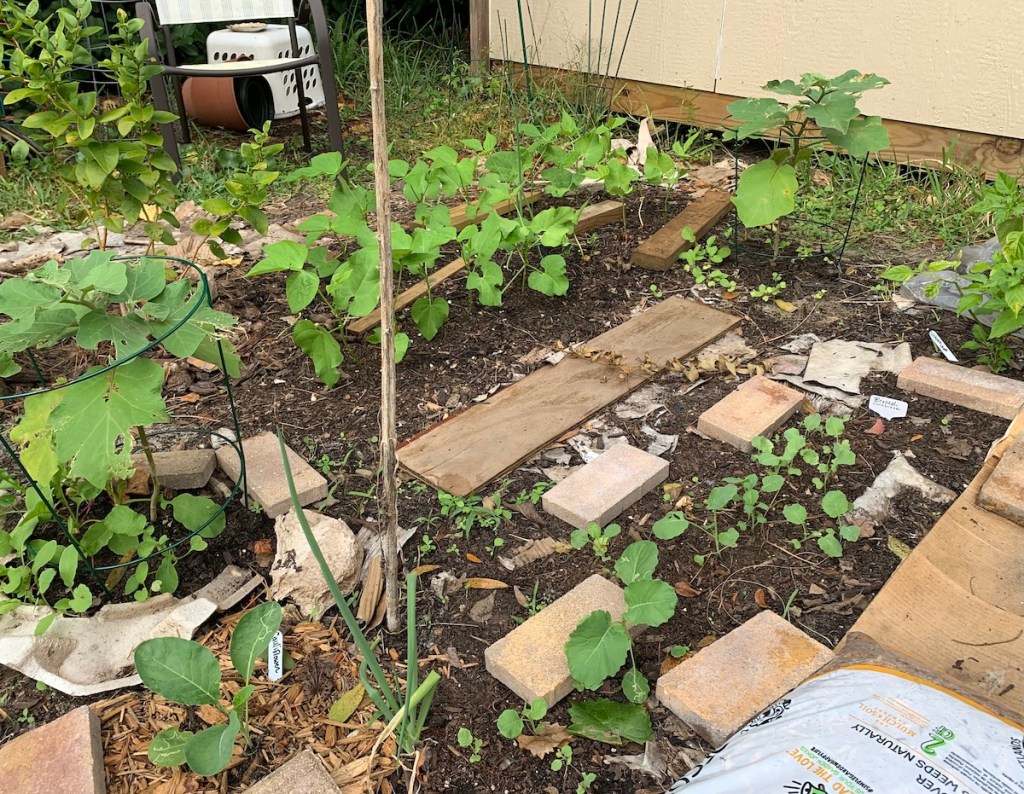
Veggie garden expandedCardboard beneath dirt
If you choose to go this route, save boxes and / or newspaper and plan to spend quite a bit more in dirt and mulch. A ground garden needs to be weeded continuously, unlike boxes and bags. Probably the biggest problems with gardening normally, in the ground, is that critters that will destroy crops. I deal with destrucion by raccoons and armadillos.
My Thoughts on Grow Boxes, Fabric Bags and Planting in the Ground
I use all of these types of gardens, but I began with a couple of grow boxes and expanded from there. I’m still expanding, saving cardboard and buying dirt and mulch. In Spring 2023 I dug up (yes, dug) an area for the first phase of my garden and I am continuing to expand.
Each type of garden has its own good points. Gardening in the ground is a lot of work, but the plants have space to expand as they need. I’ve always believed that anything planted in the ground will do better than in a confined space. Some things, like watermelon and pumpkins, need to be in the ground.
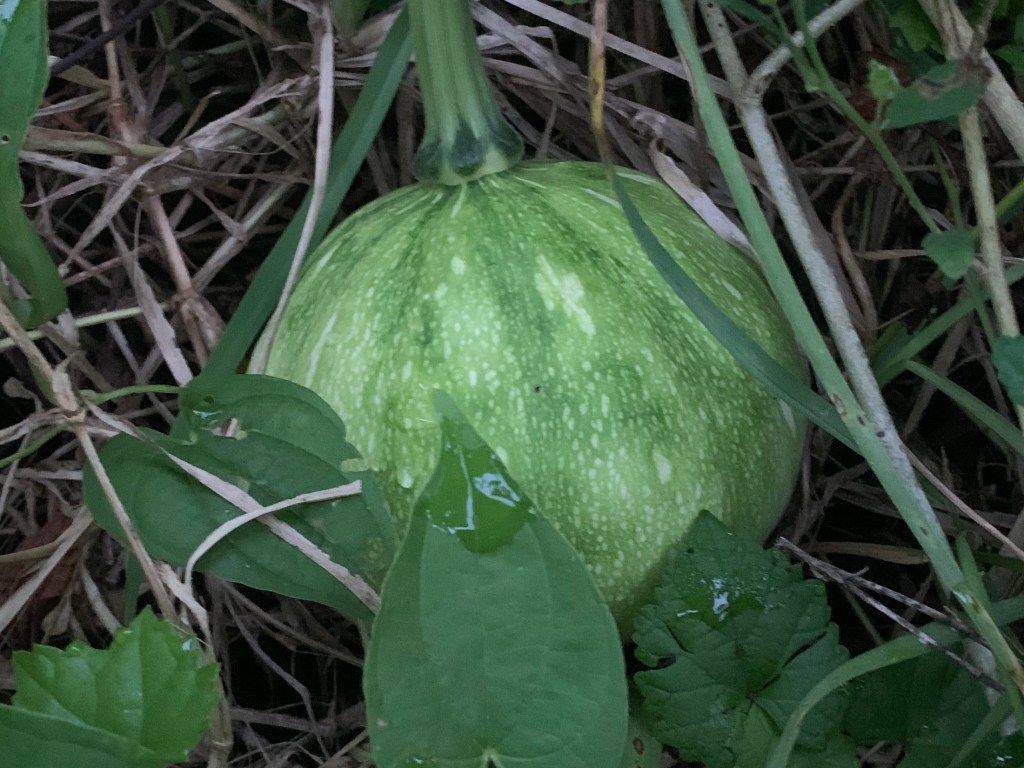
Seminole PumpkinsNew little Seminole pumpkin
Vegetables that normally grow and die by winter don’t always do that here in zone 9b. Anything that continues to grow for years could work in a fabric bag, leaving garden space for other vegetables. My boxes are used mostly for greens now, or as nurseries to begin plants that will be moved to the garden when they grow.
Timevs. Food
I am an older woman with a job, but my kids are grown. I have a lot of time to garden as I want, and I do it all by myself. Consider the time you have and want to spend gardening, and figure out what you want to grow (eat) the most. If it’s herbs you’d like for cooking, a grow box is the way to go. If you love fresh tomatoes, maybe a large fabric pot or two would be best (one plant per bag).
Once your garden (in whatever form you choose) is ready to plant, determine the right planting time in your area, buy seeds or seedlings, and get gardening! I wish you luck.
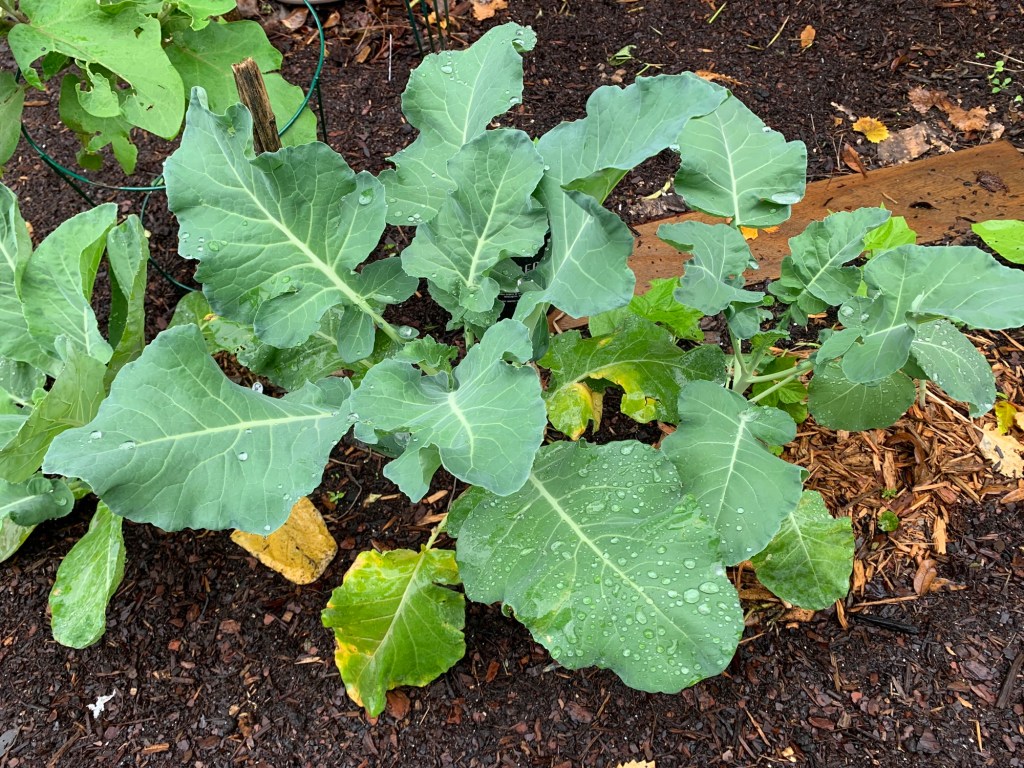
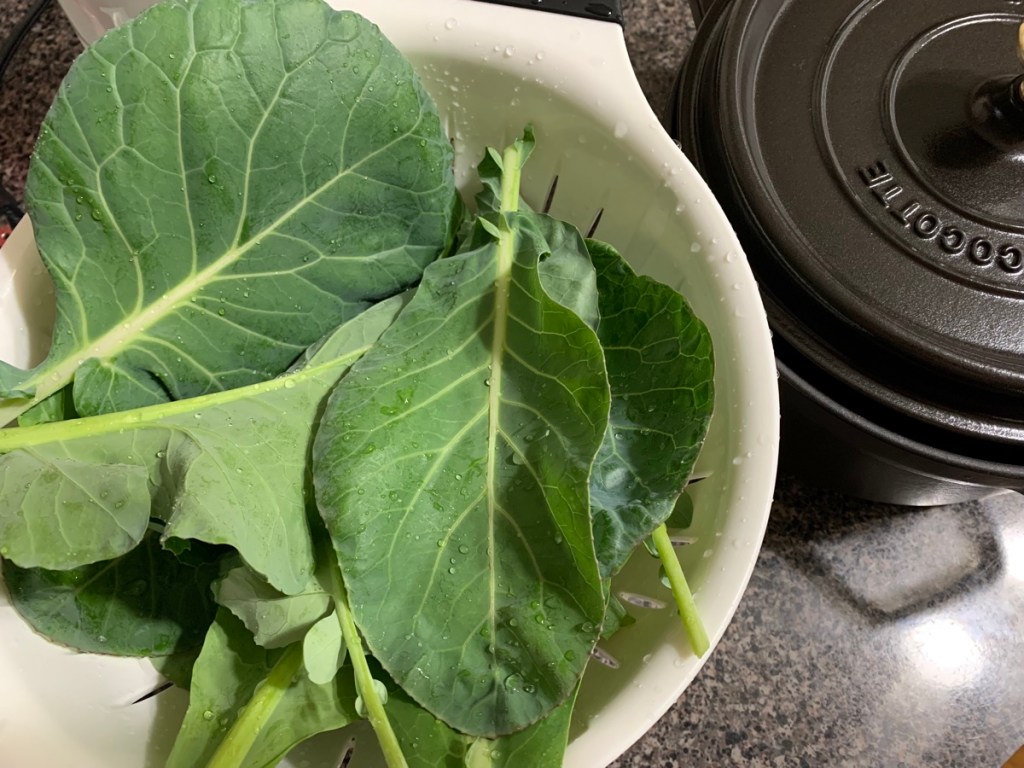
Have you ever eaten the leafy parts of broccoli, cauliflower and Brussel sprouts? When the normal food did not grow from my beautiful plants, I began to use the leaves for food.
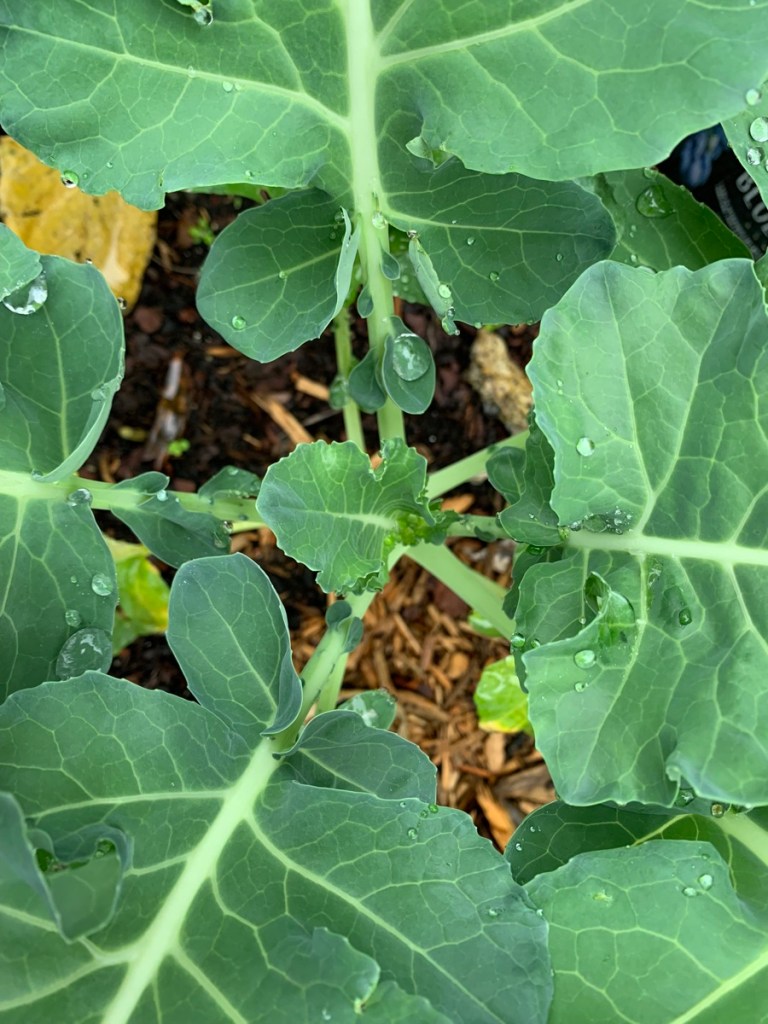
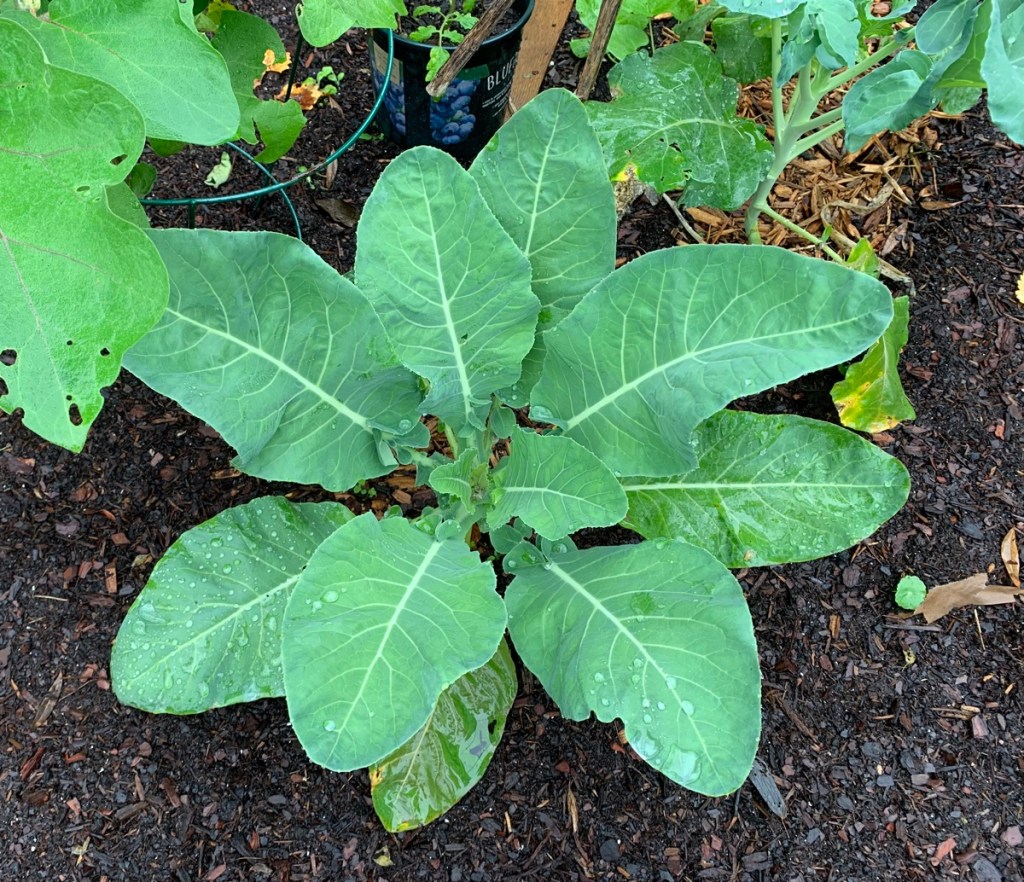
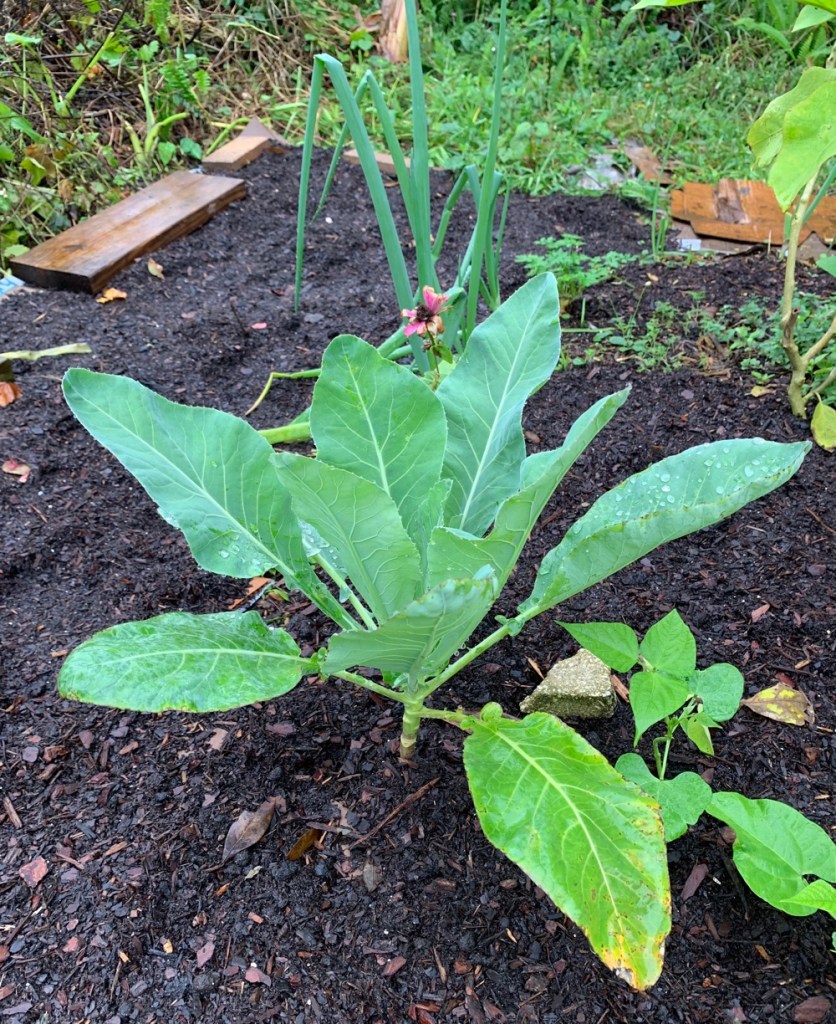
Over the winter months here in Florida, I have grown some nice looking cruciferous vegetables. Or should I say, the plants are nice looking. So far, there are no actual vegetable parts to eat.
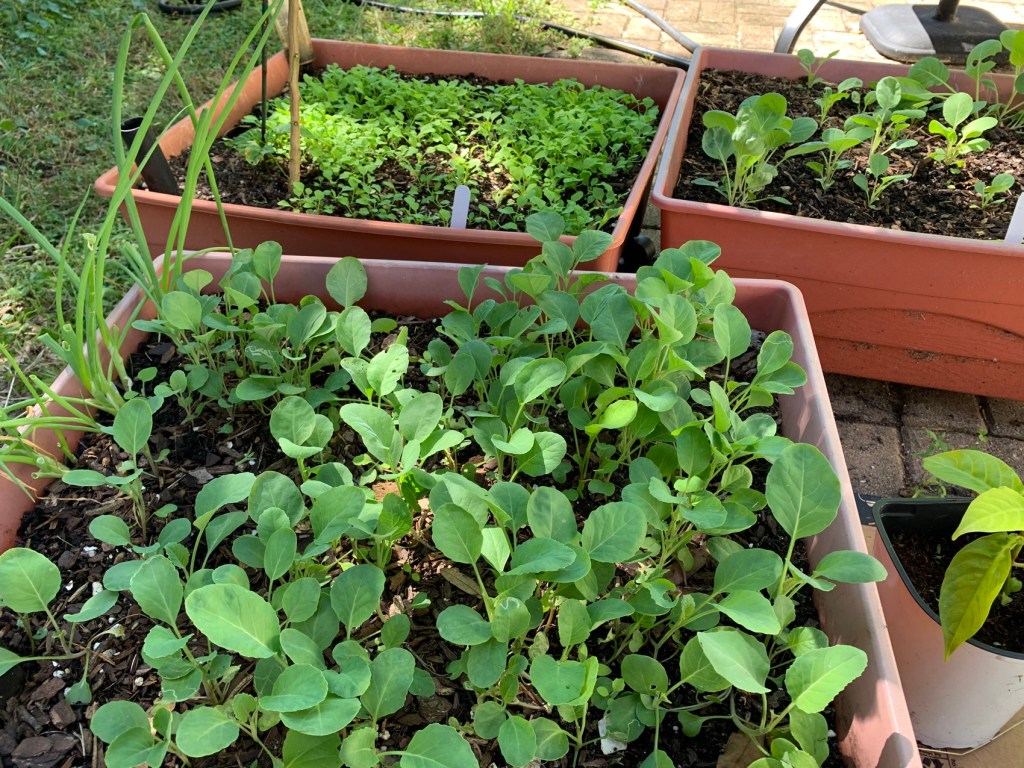
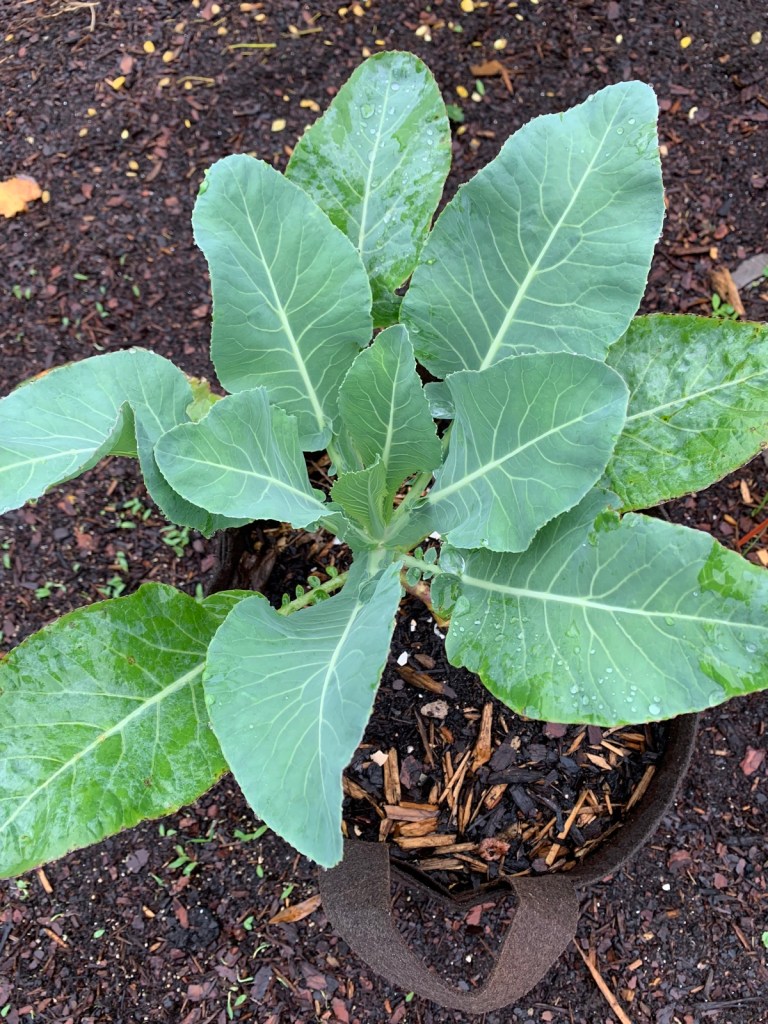
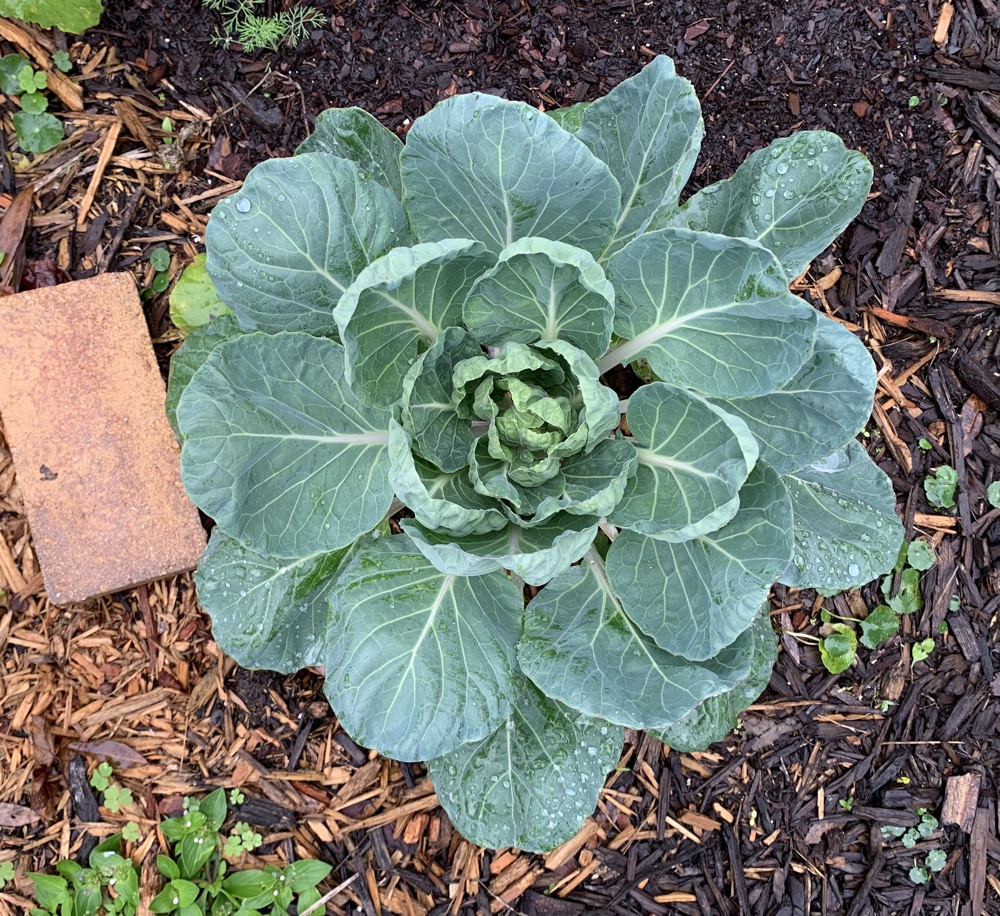
The Brussel sprouts (Catskill – Long Island Improved), broccoli Calabrese, and cauliflower (Snowball) PLANTS have all grown nicely from seeds put into the ground this Fall.
Brussel Sprouts in December
Brussel sprouts plantTwo in grow box
Broccoli in December
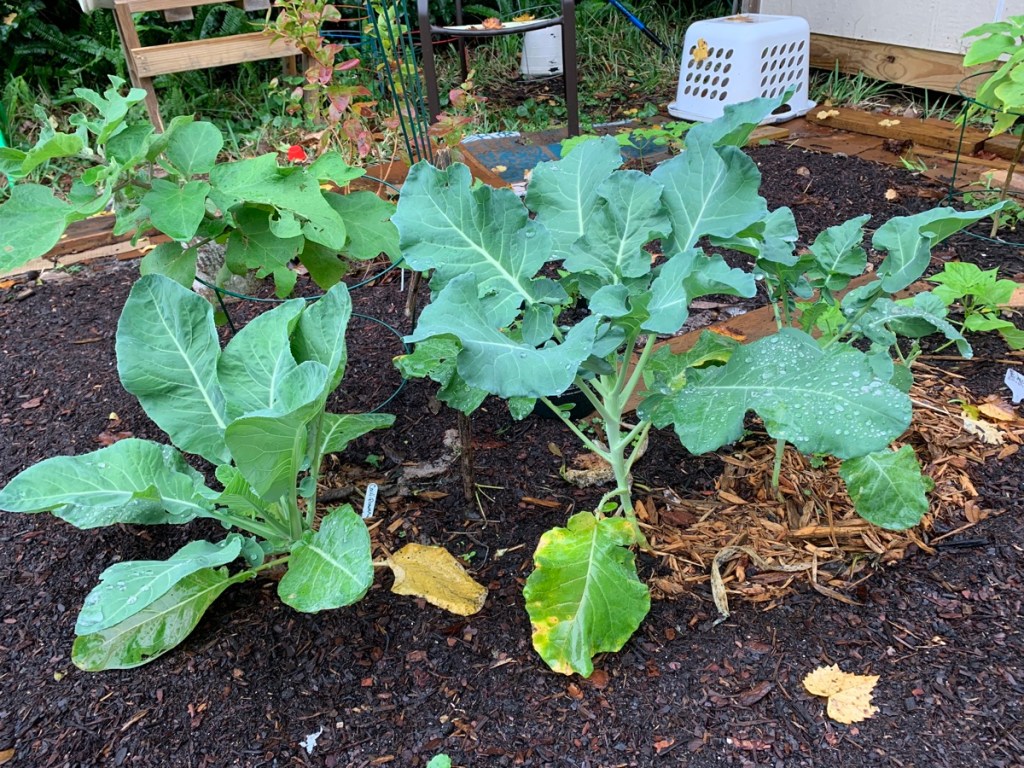
Cauliflower and broccoliBroccoli plants
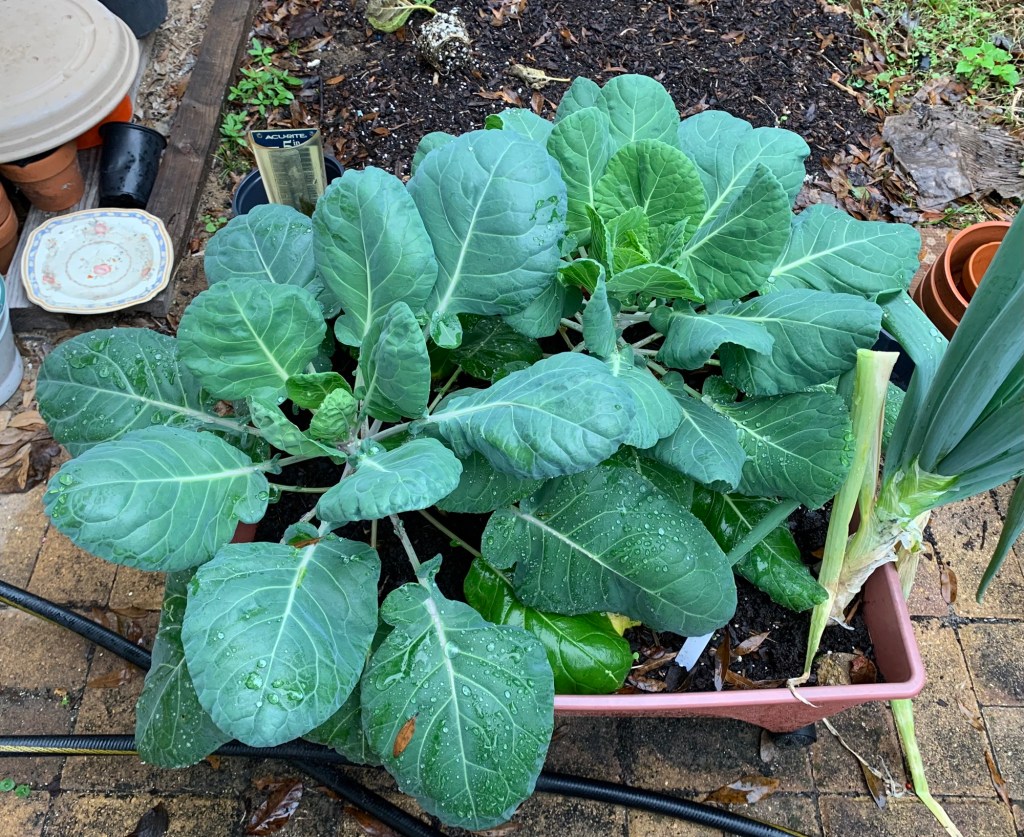
Cauliflower in December
Cauliflower plantCauliflower plantCauliflower plantCauliflower in fabric bag
Be Aware: Not all vegetable leaves are edible!
Be sure you know what you are eating as many vegetable leaves are not edible and some are dangerous to eat.
Even without the normal parts of the cruciferous plants, the leaves can be cooked and taste pretty good!
I don’t know if any of these plants will grow heads of cauliflower, stalks of broccoli or little green sprouts. I had high hopes, but maybe the weather has become too cold. I’ll continue to let them grow, while picking only a leaf or two from each plant to cook.
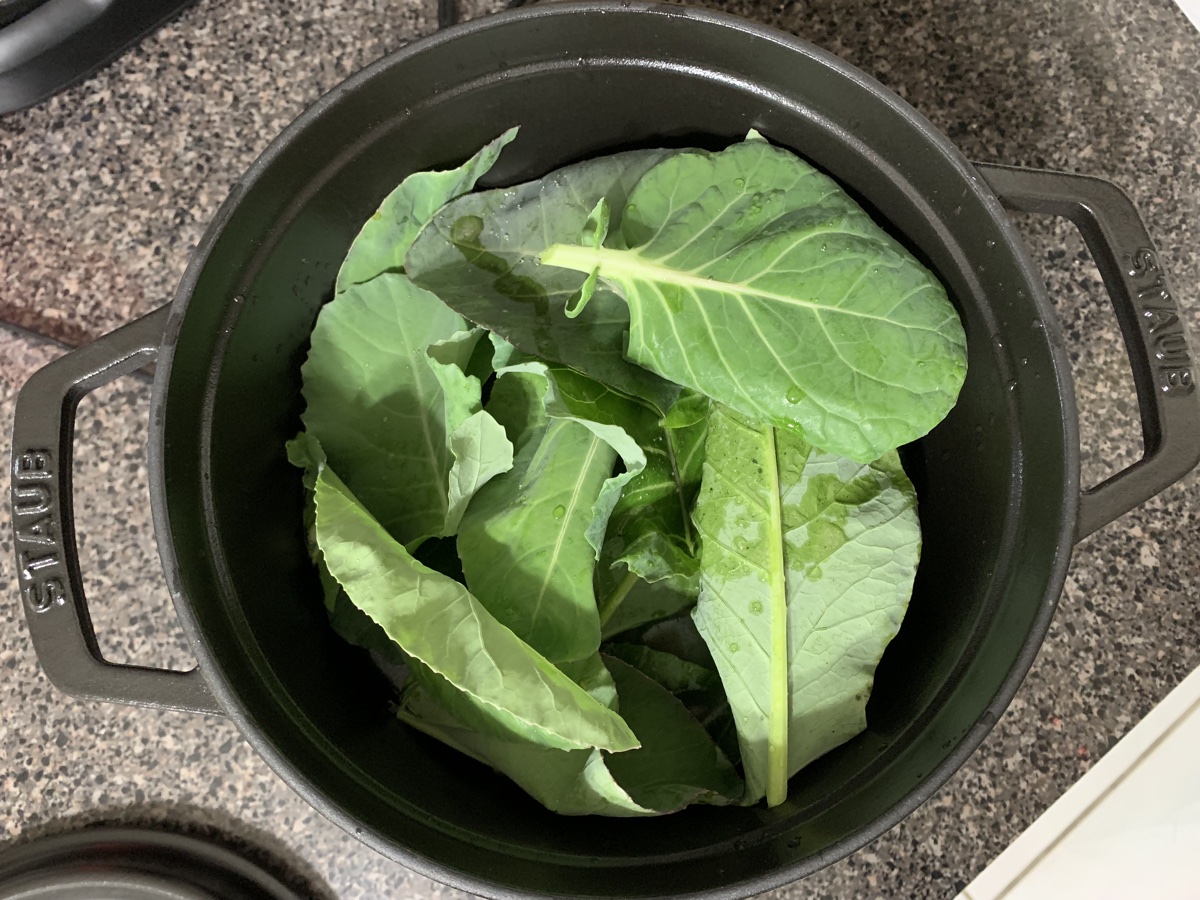
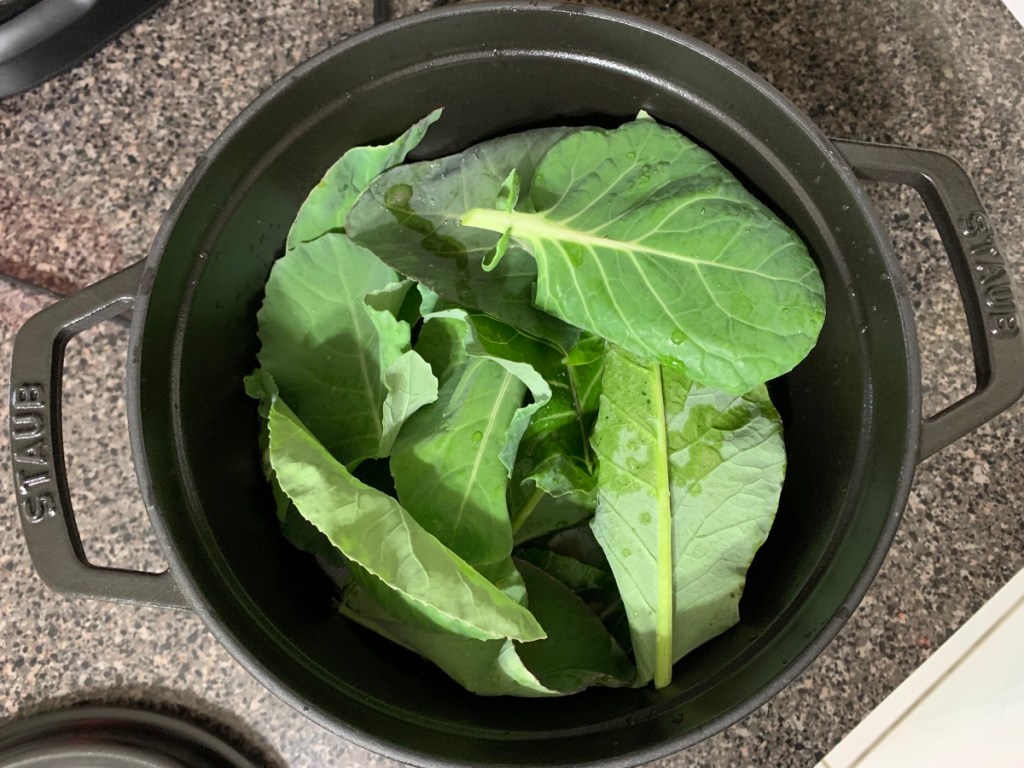
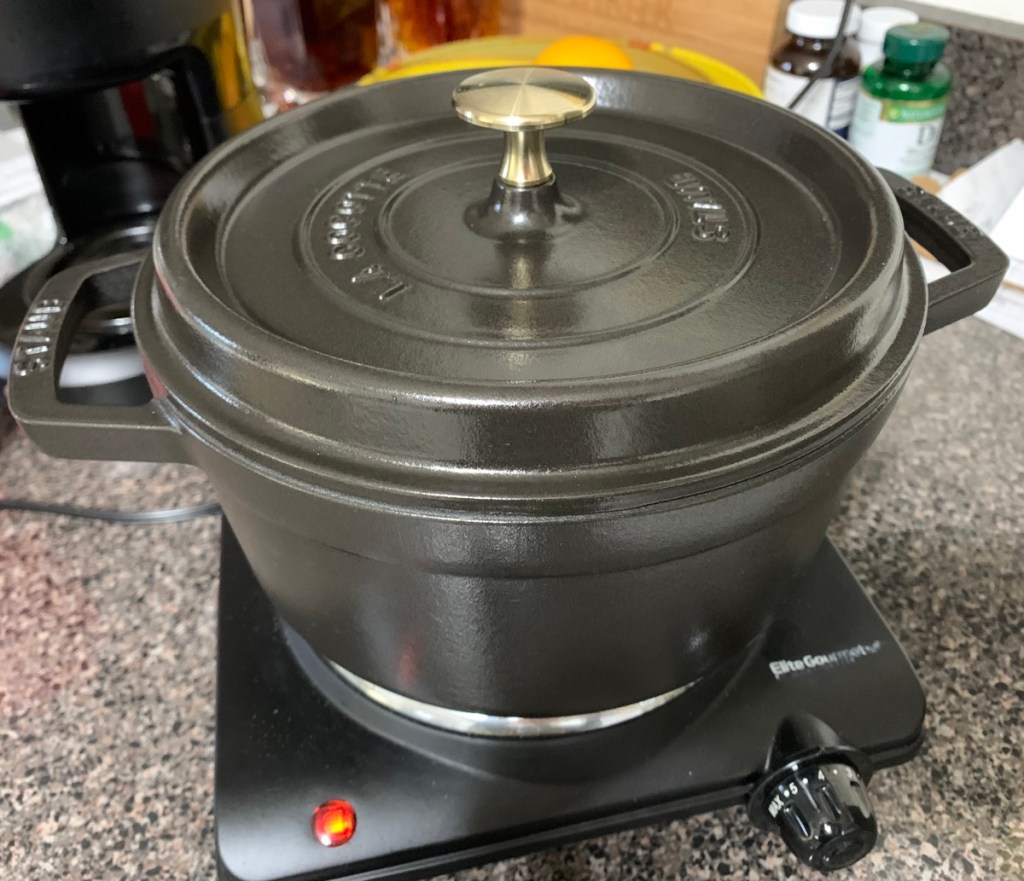
Cruciferous leavesReady to boilSlow cooking on a single burner.
When these leaves are boiled or simmered for an hour or more, they are soft and easy to eat alone, or in a meal. I save the water too, which is full of nutrients.
Add the leaves, either whole or chopped, to soup, stew or in stock. They are similar to cabbage leaves. Freeze the leftover cooking water for later use.
A single electric burner works well for simmering for long periods of time. It also frees up the stove.
Other Garden Leaves Okay to Eat
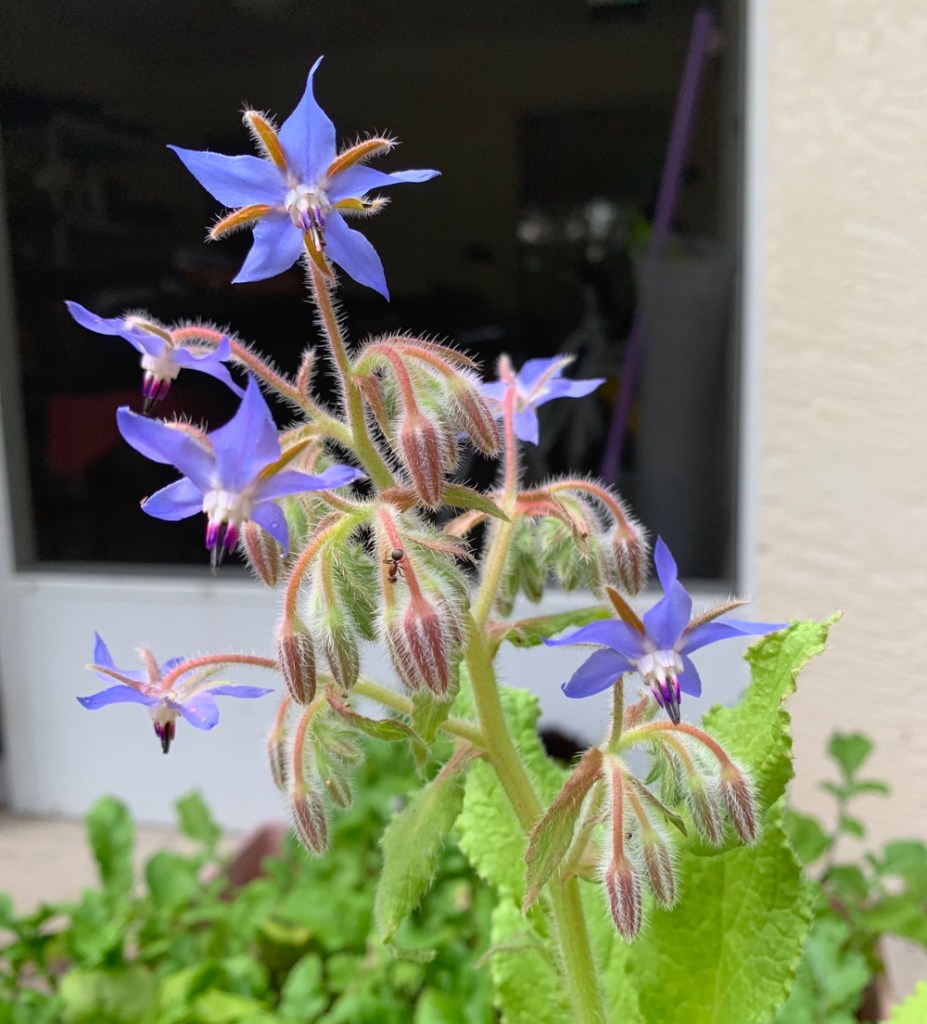
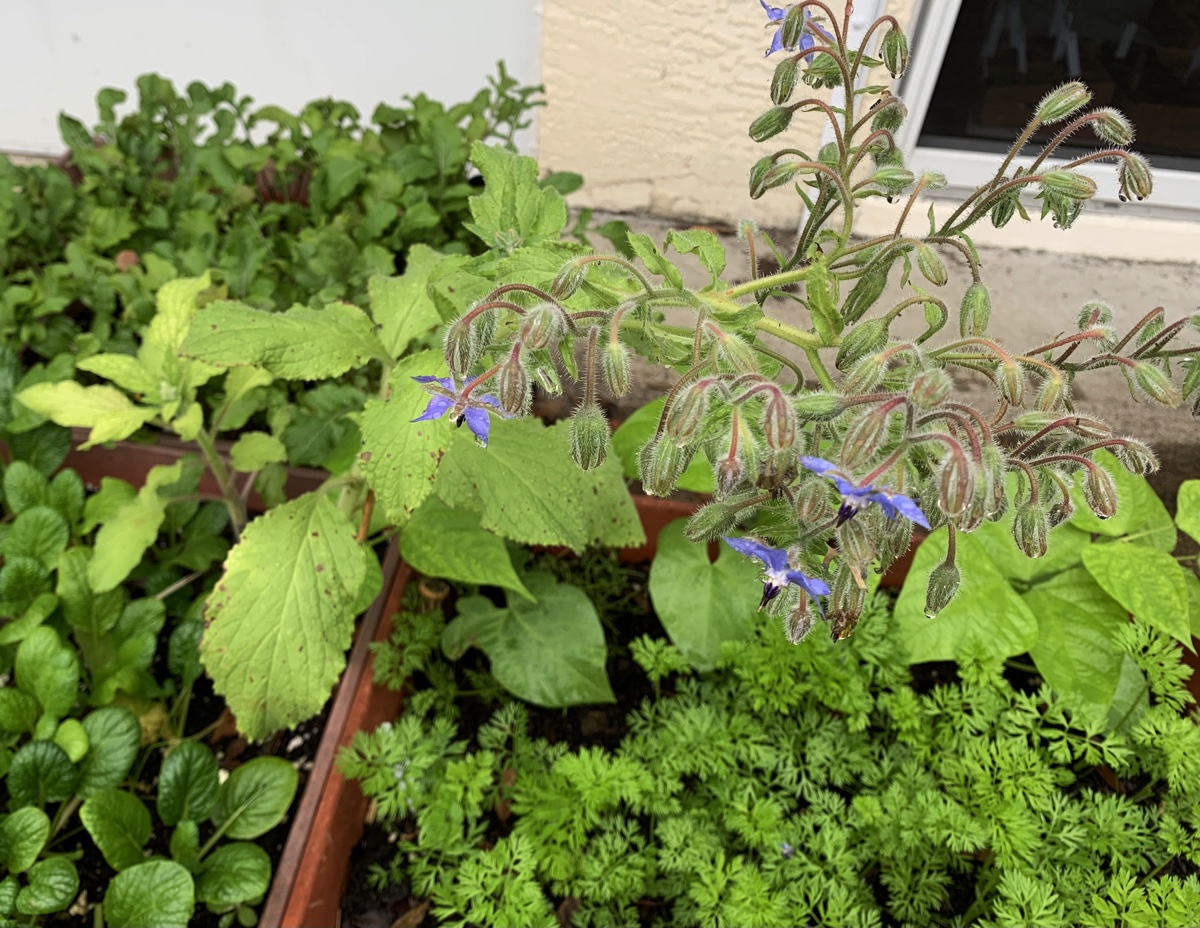
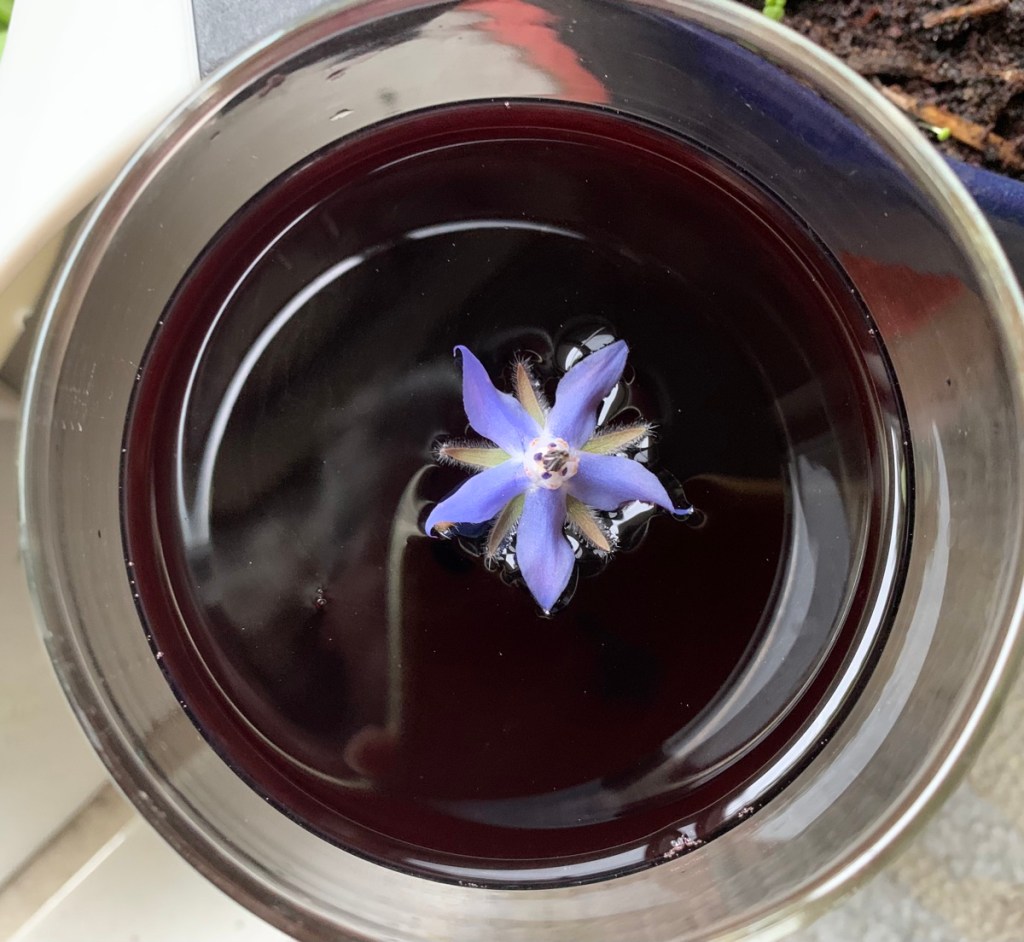
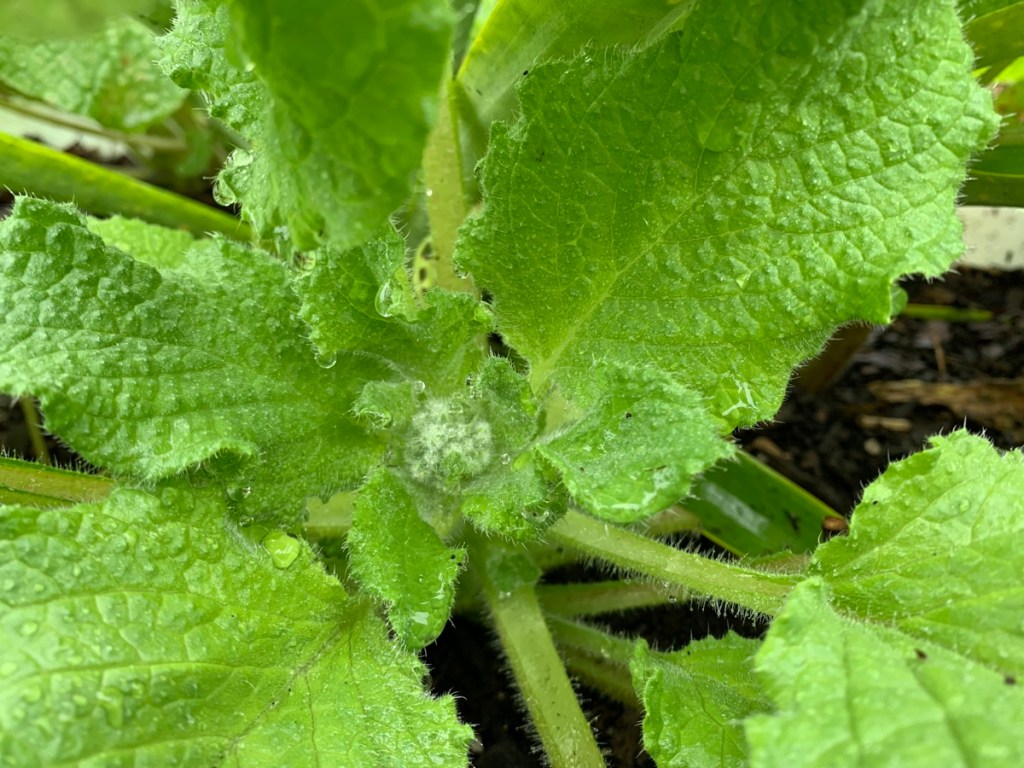
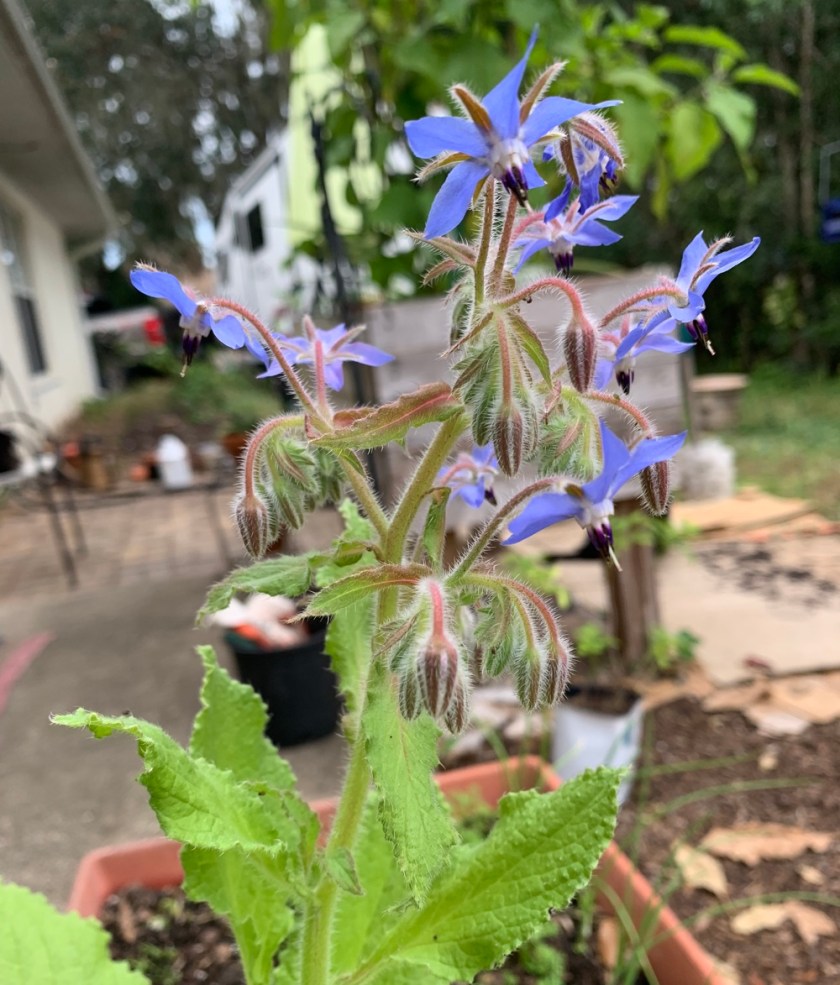
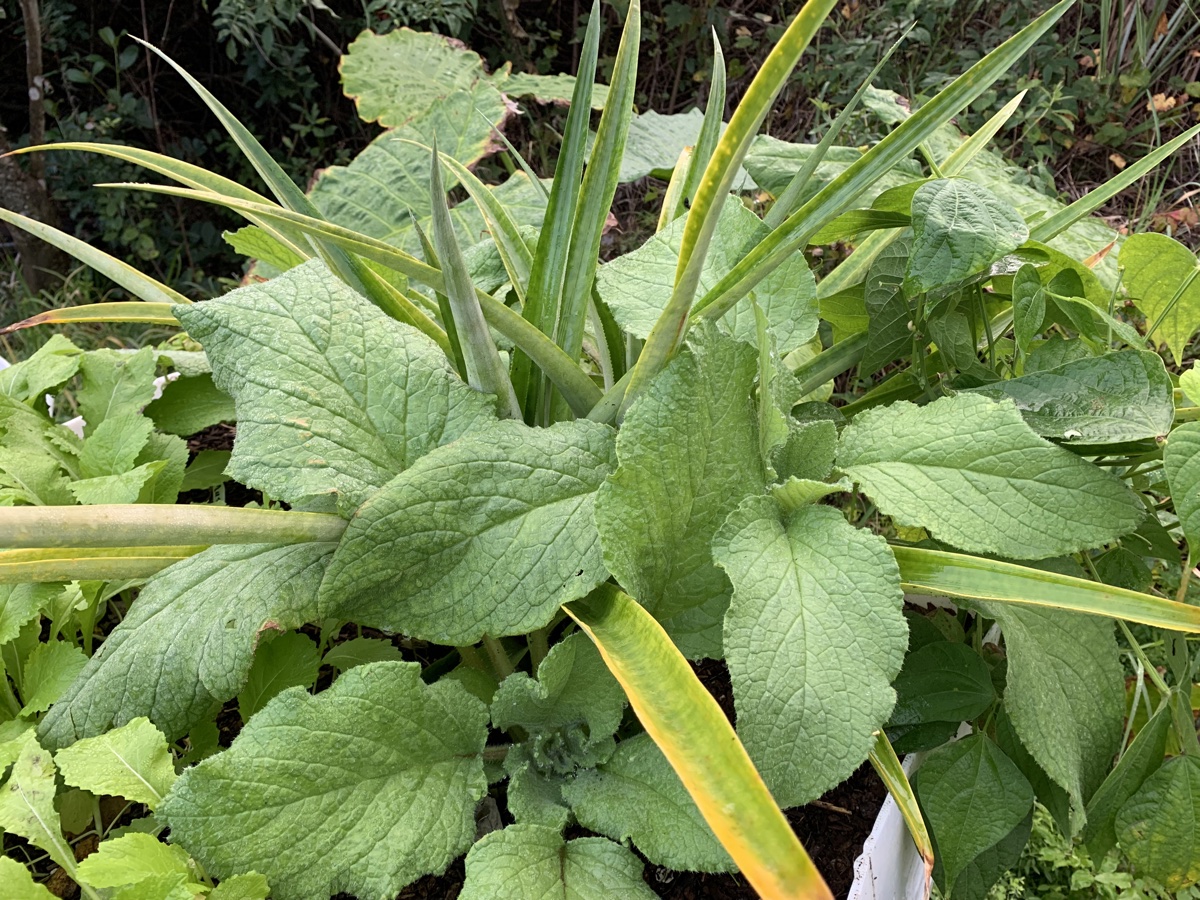
I’m also enjoying my borage leaves and using them to make tea. Borage grows very well during the coldest part of a Florida winter. Even without the pretty blue flowers, the big bristly leaves can be picked to make a mild tasting tea. This page, at Sow Right Seeds, suggests picking the leaves while they are small, but I take the largest leaves from the bottom of the plant and leave the small ones to continue to grow. I steep them in hot water for 15 minutes.
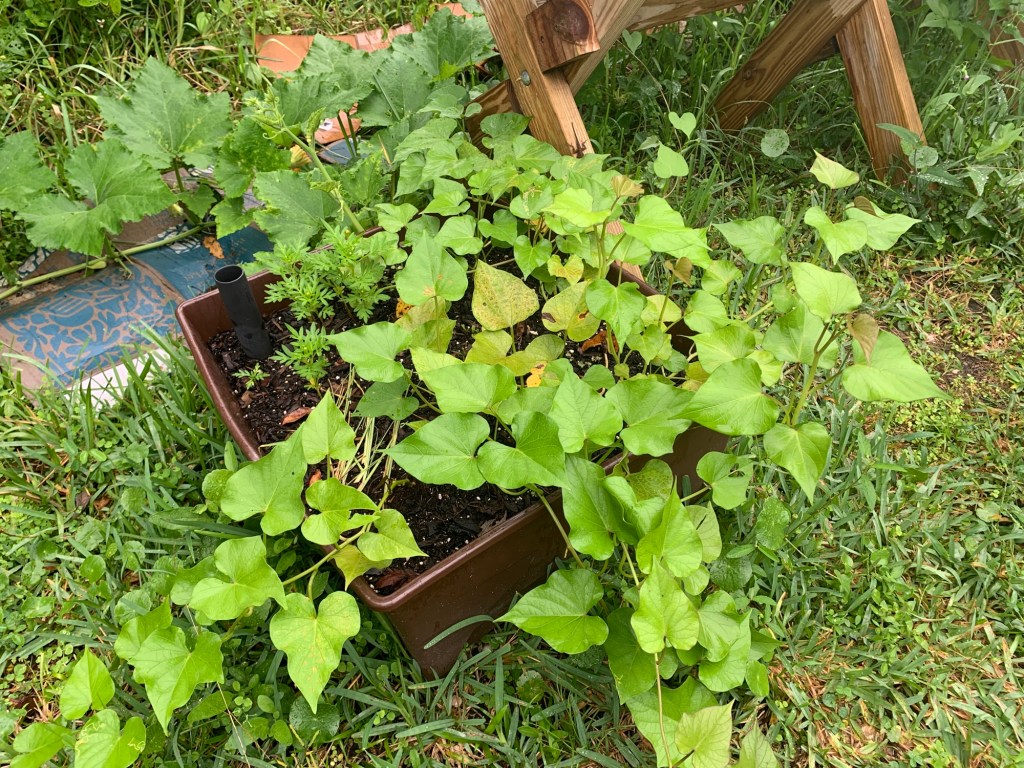
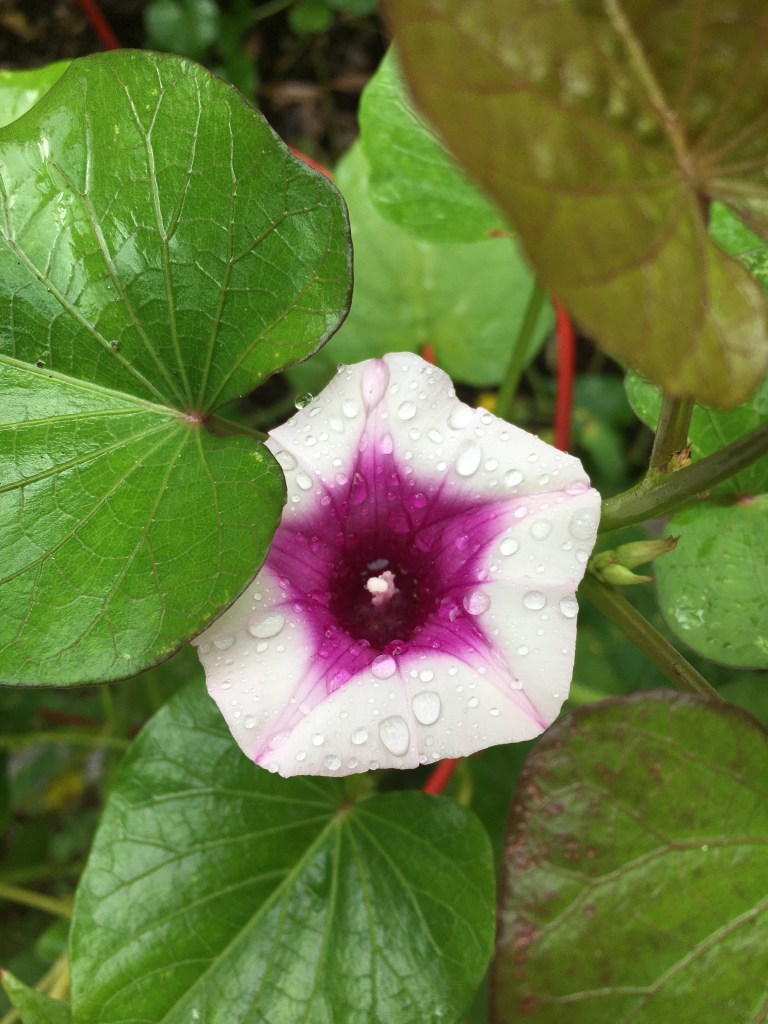
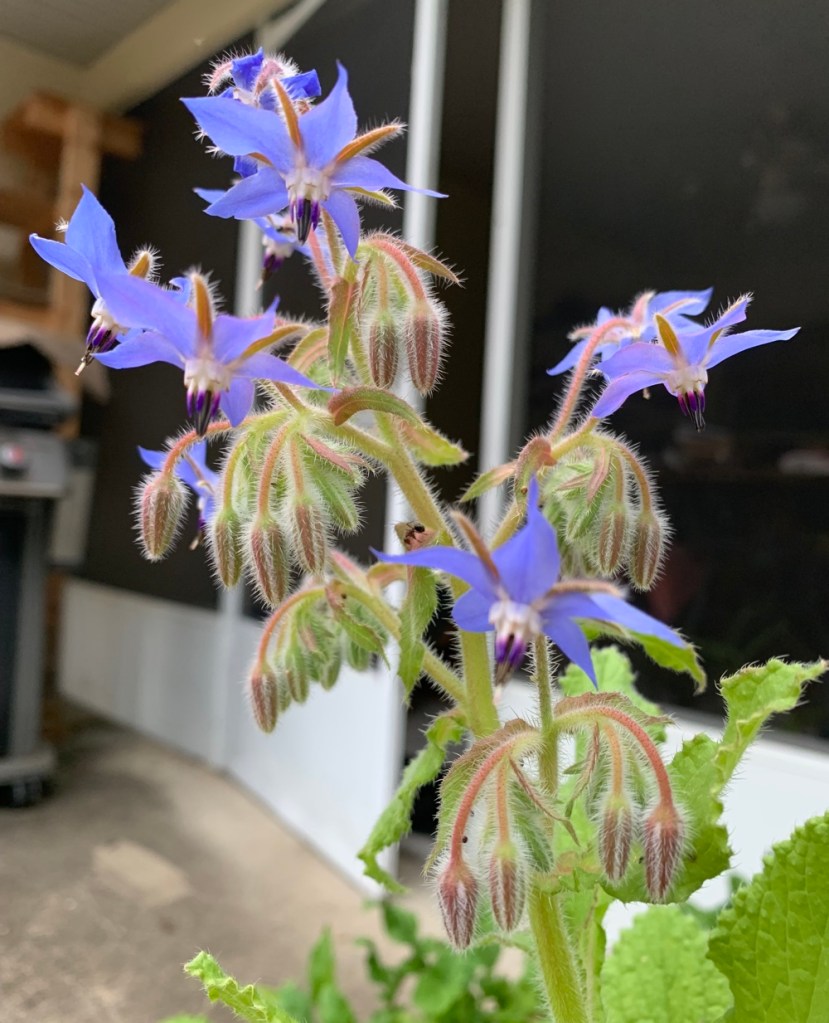
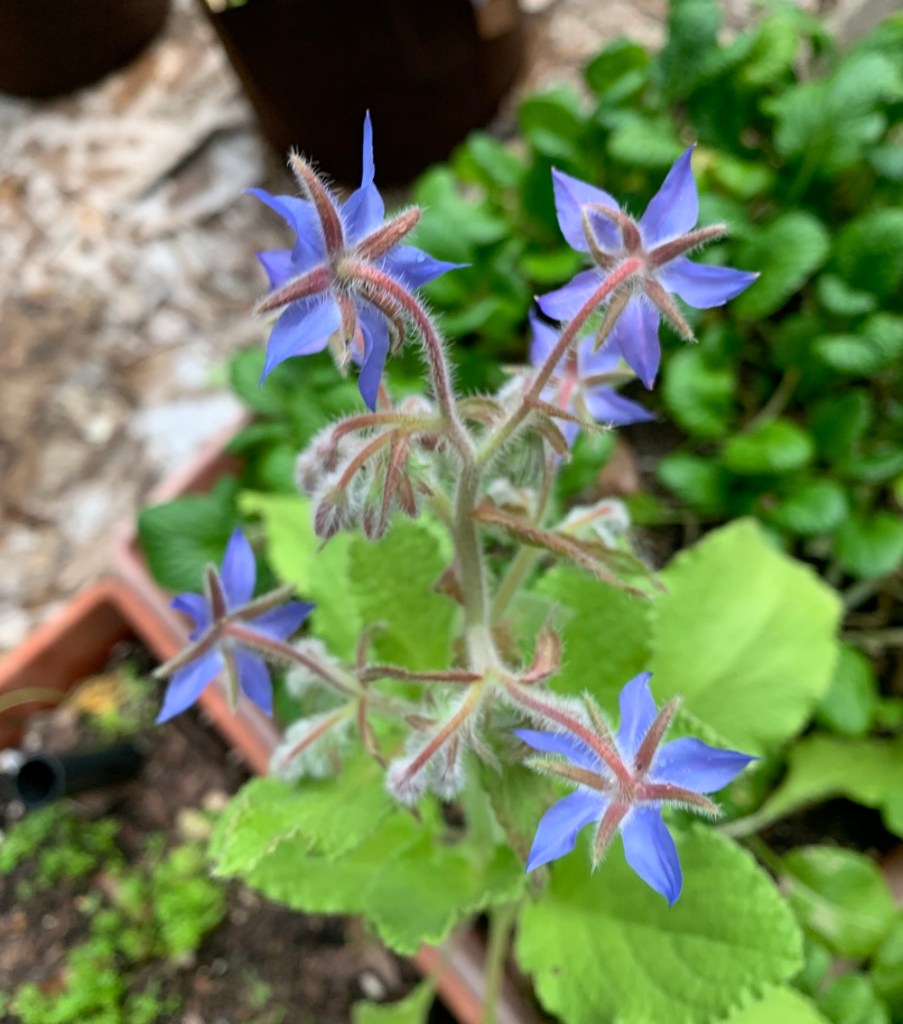
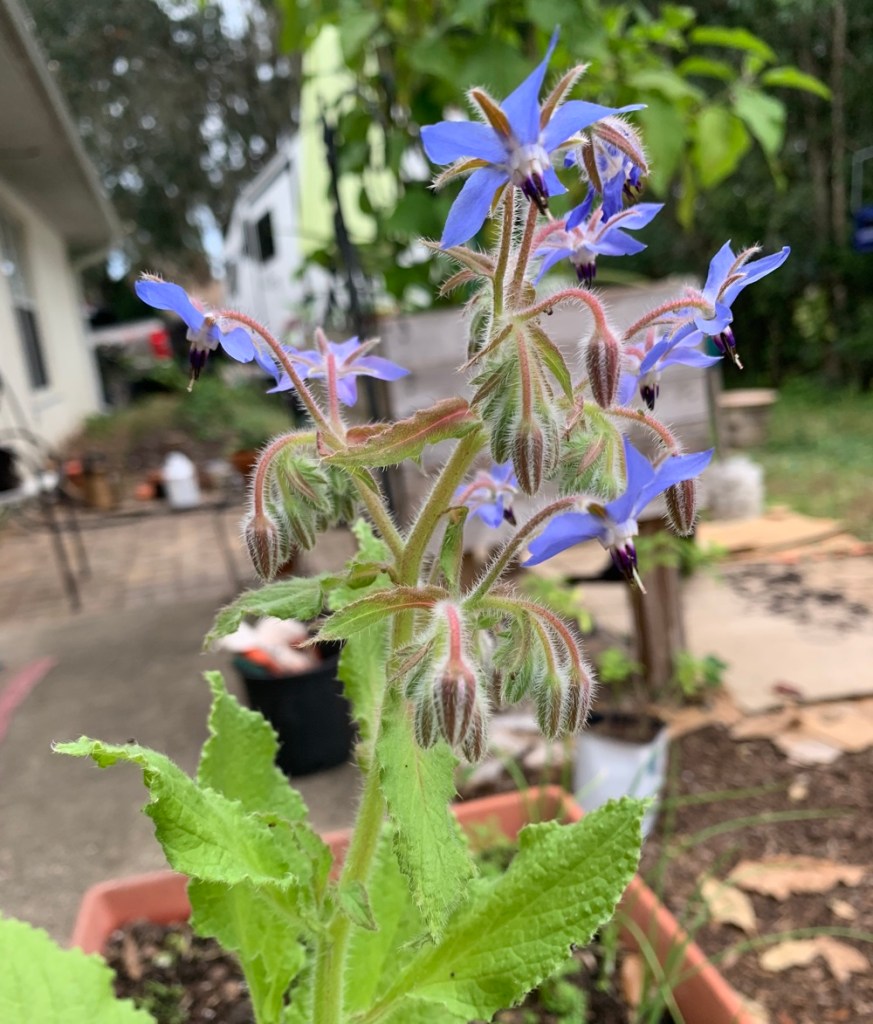
Flowering borage in my yard.Edible sweet potato leavesSweet potato vines can flower!
Just last summer I discovered that sweet potato leaves can be eaten! In fact, they are very nutritional. These I do pick small and add a few to a salad or pot of soup, or stew. They are good chopped and added to a stir fry as well. Leaves are heart-shaped and they can have pretty flowers. Meanwhile the actual potatoes are busy growing underground AND they will come back and continue to grow year after year (in warm climate) if some of the plant is left in the ground.
This winter I have been experimenting with growing various herbs and vegetables.
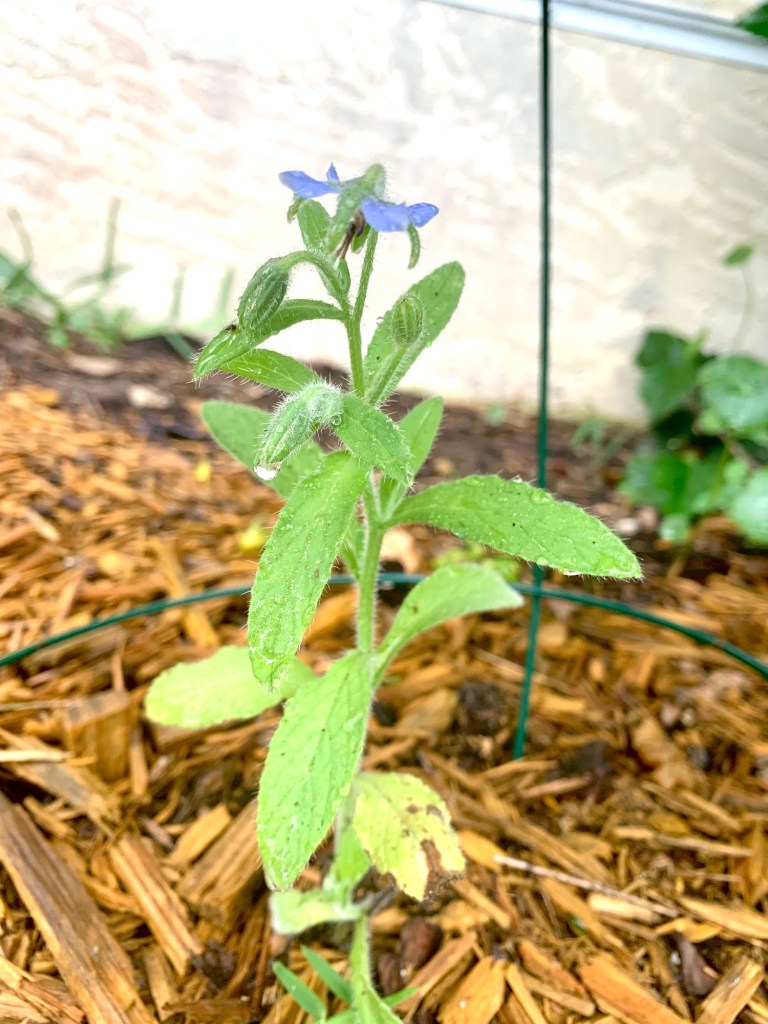
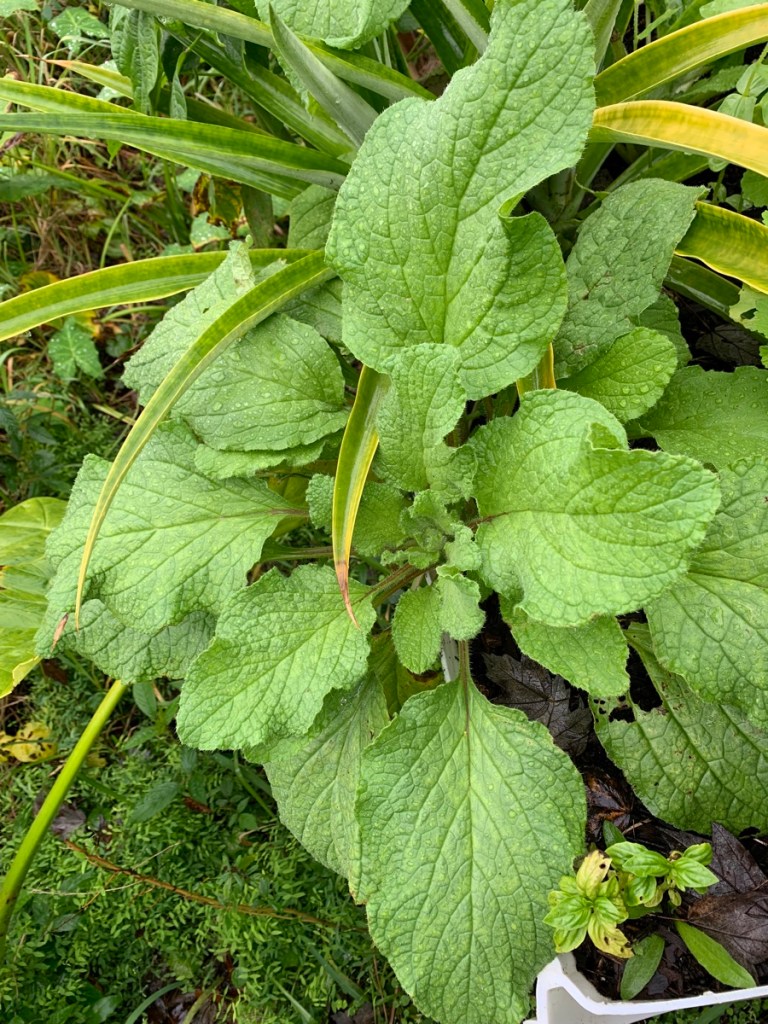
Borage is something I always loved in New Hampshire, but can borage grow in Florida? Well, yes and no. What I’ve found is that it will grow when the weather is nice and cool.
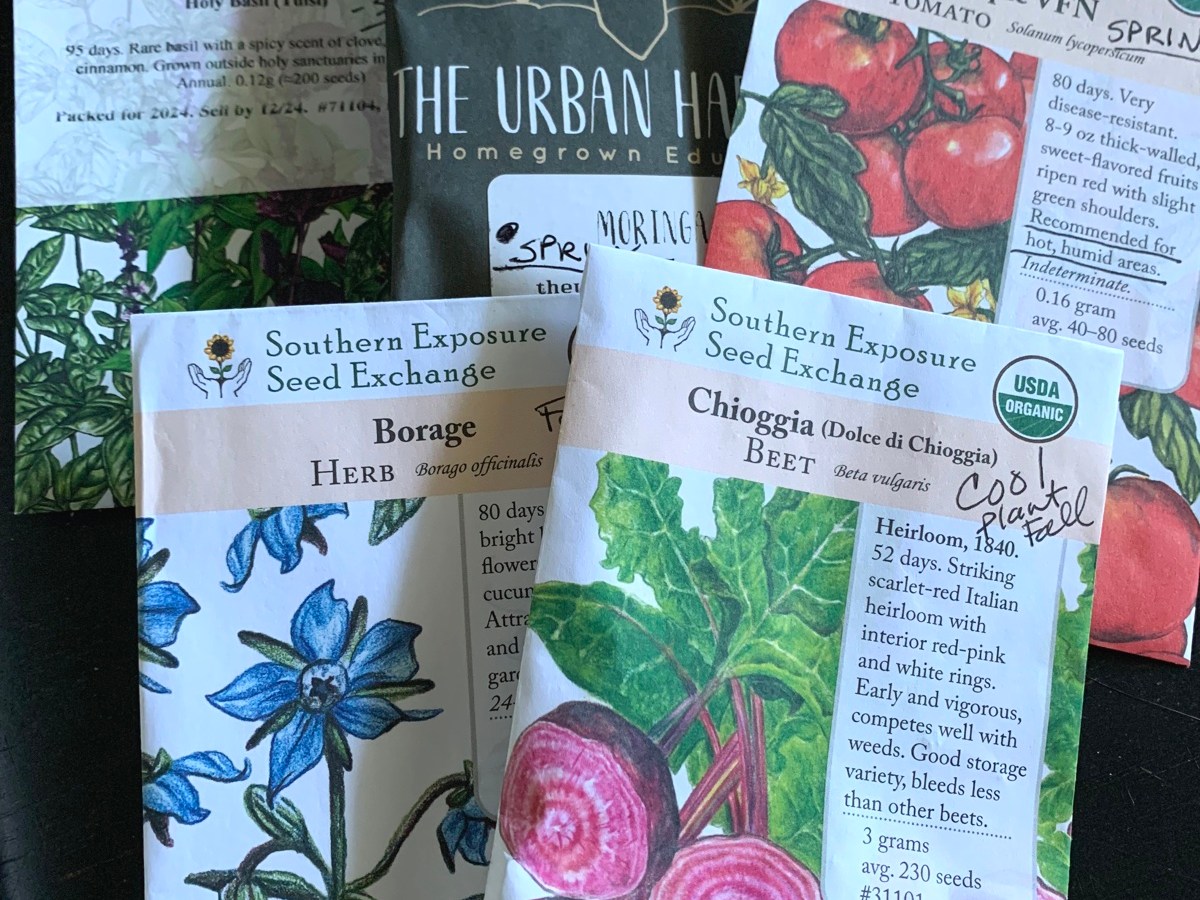
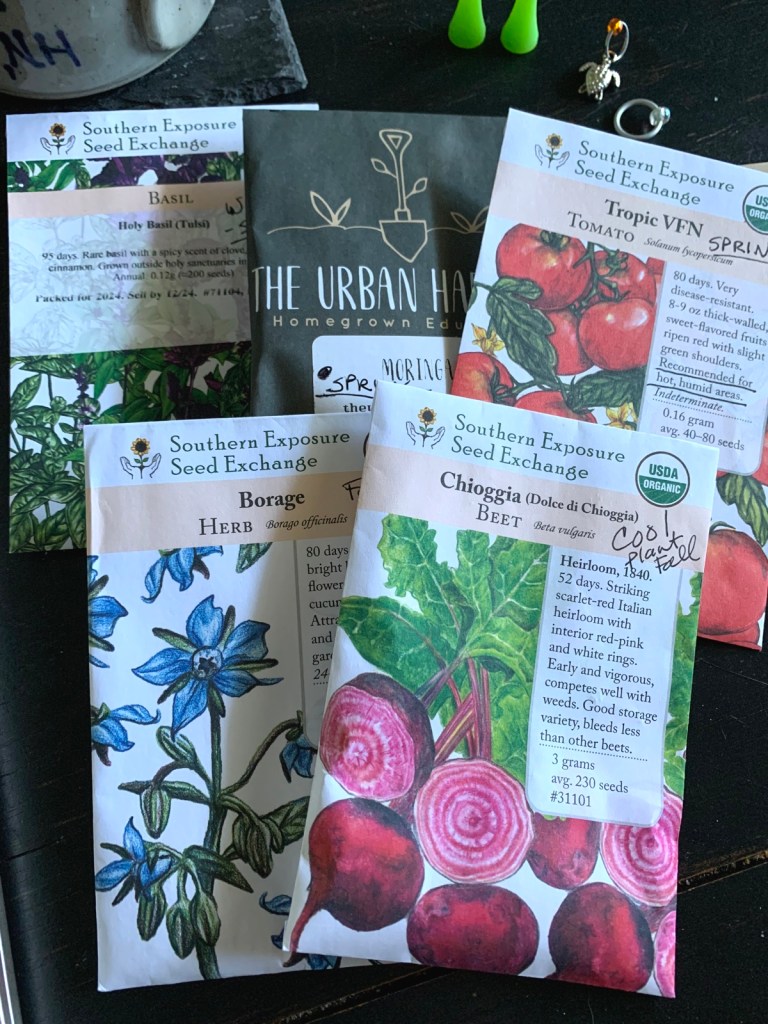
Borage and pineappleSeed order from The Urban HarvestBorage is not happy in heat
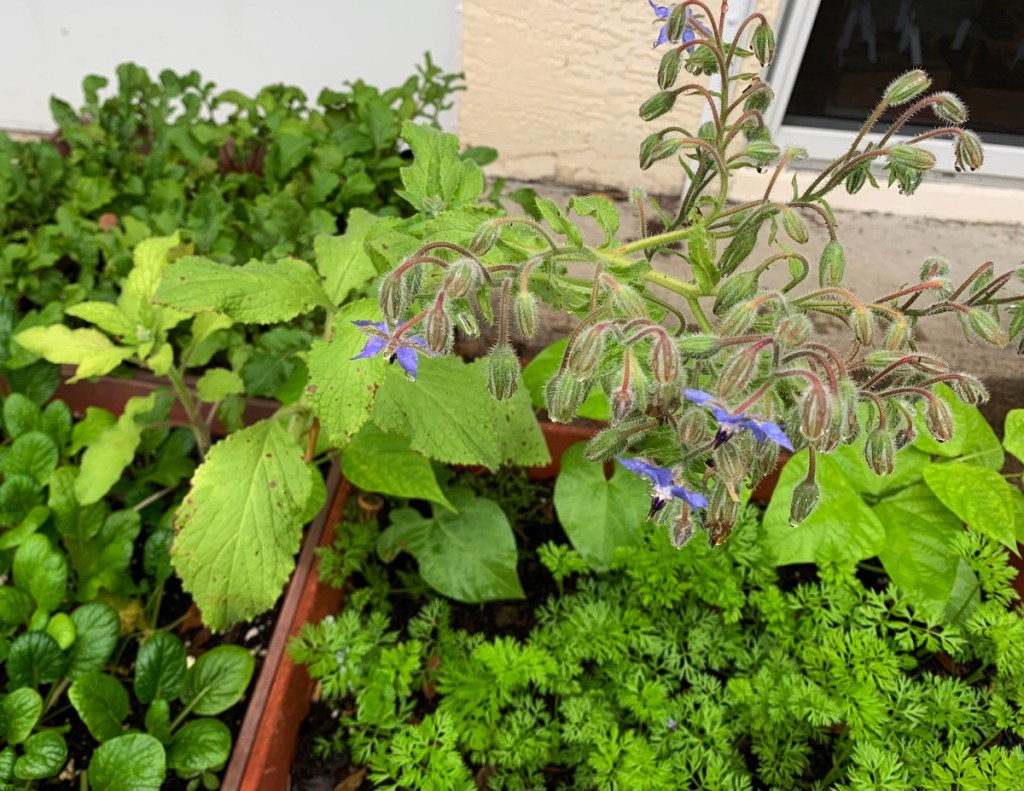
My borage seeds were planted in late October and by the end of November I had one flowering borage plant.
The borage seeds were planted all over my yard. Some were put into grow boxes and some went directly into the ground. I even put a few into a hanging basket.
We’ve had horrible weather, but on nice days you may see bees at the flowers. I’m always happy when anything flowers in my yard.
November flowersFloat flowers in drinks, or add to food
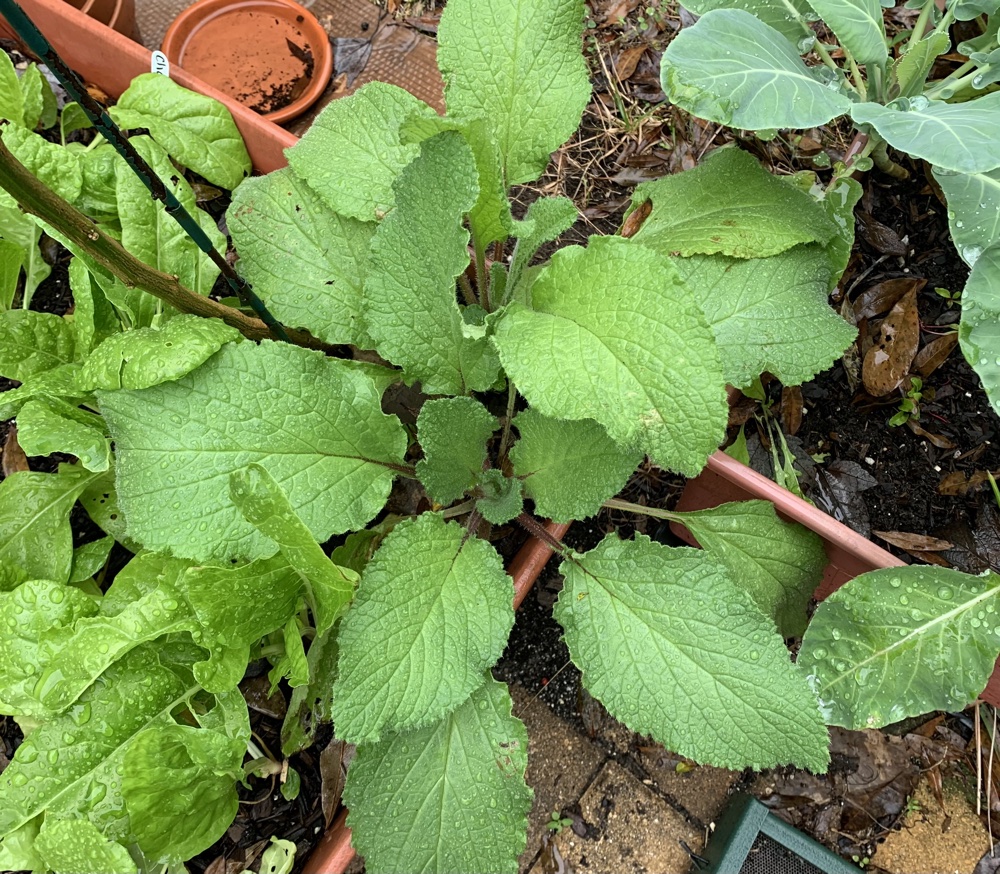
Two borage plants came up side by side in one of the grow boxes. This one has a bunch of flowers. It is growing among the Chijimisai spinach.
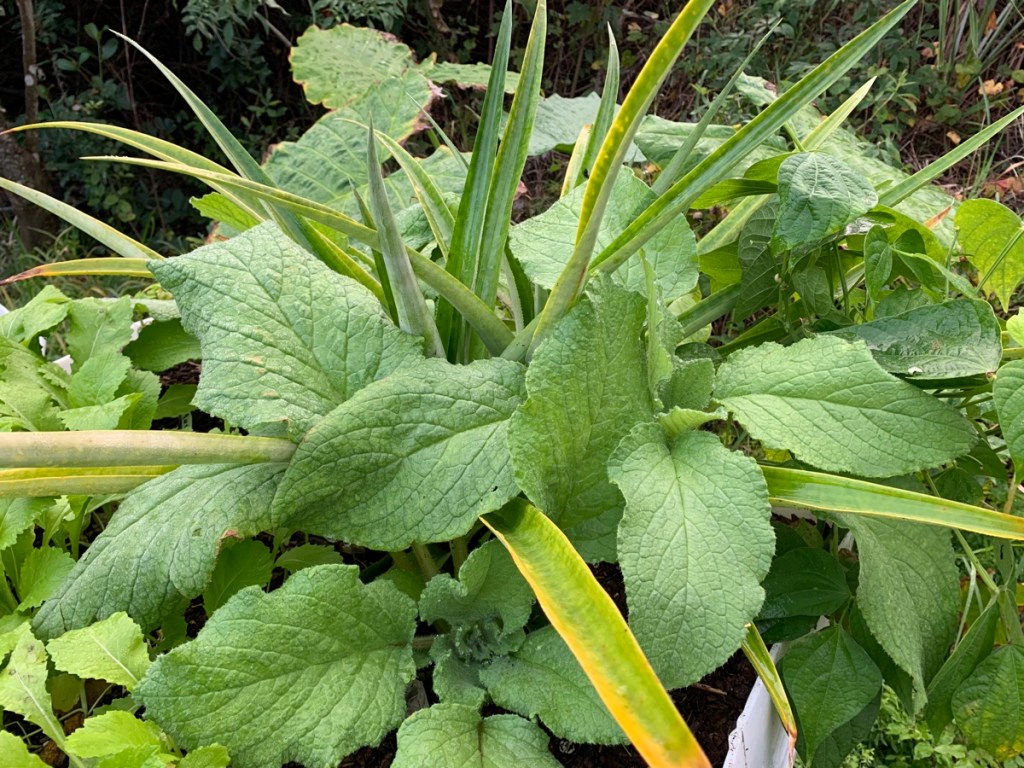
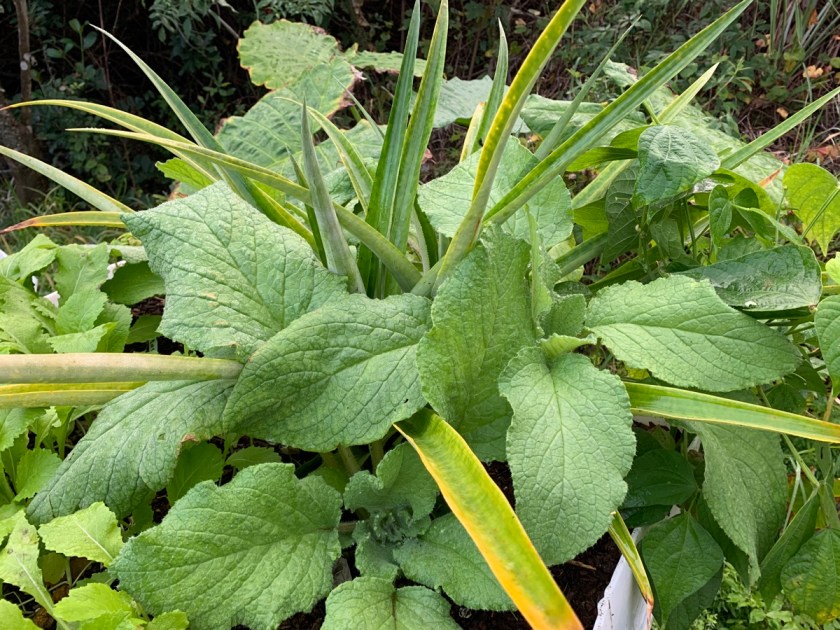
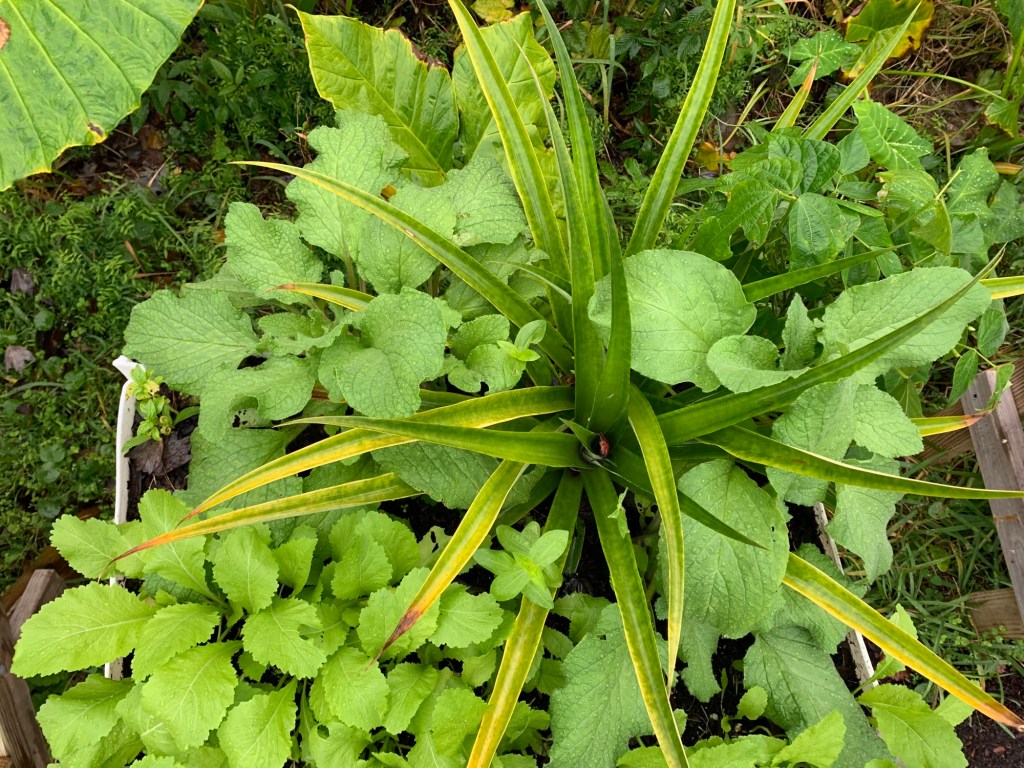
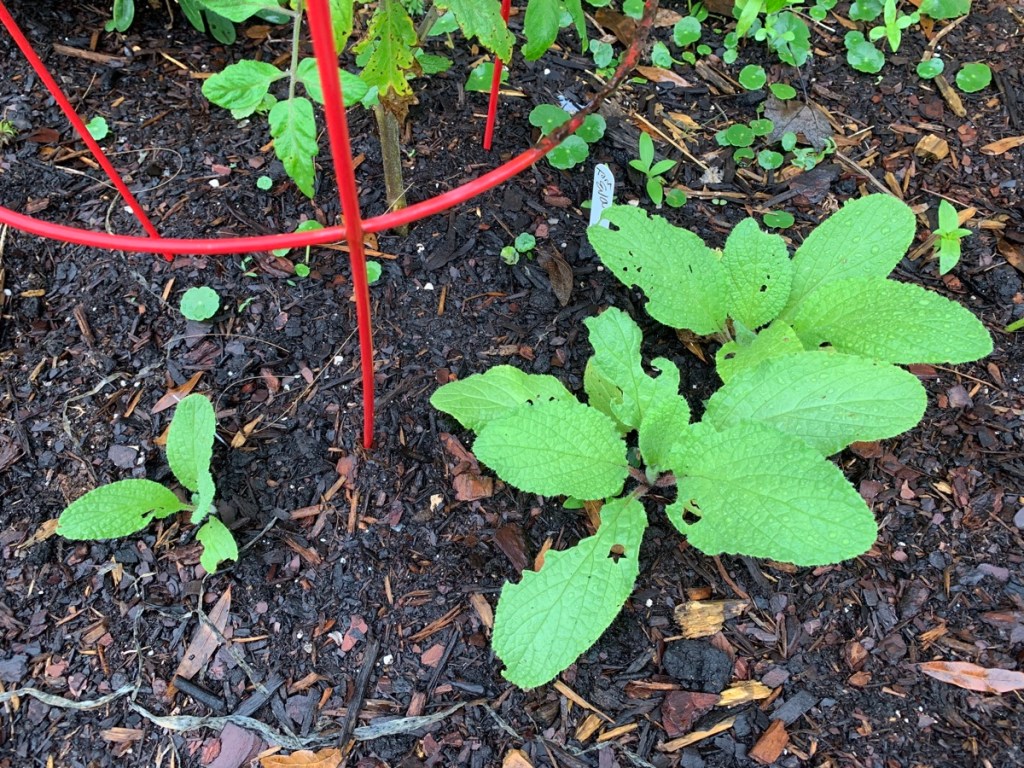
I didn’t have high hopes for the borage to grow, so I scattered some seeds beneath on of my pineapple plants (this pineapple ended up being a double) in a white barrel raised bed. The leaves are now huge, and at least one of the plants has flower buds. So of course, it would grow nicely when you don’t plan on it! Next year I will do better.
Borage and pineapple
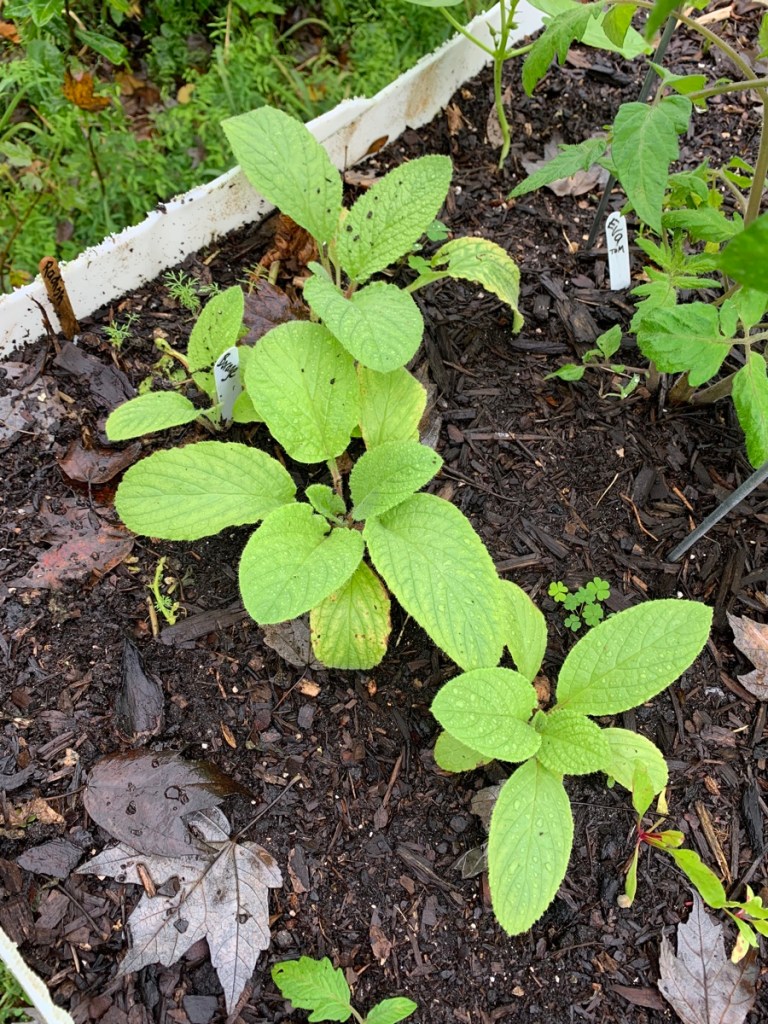
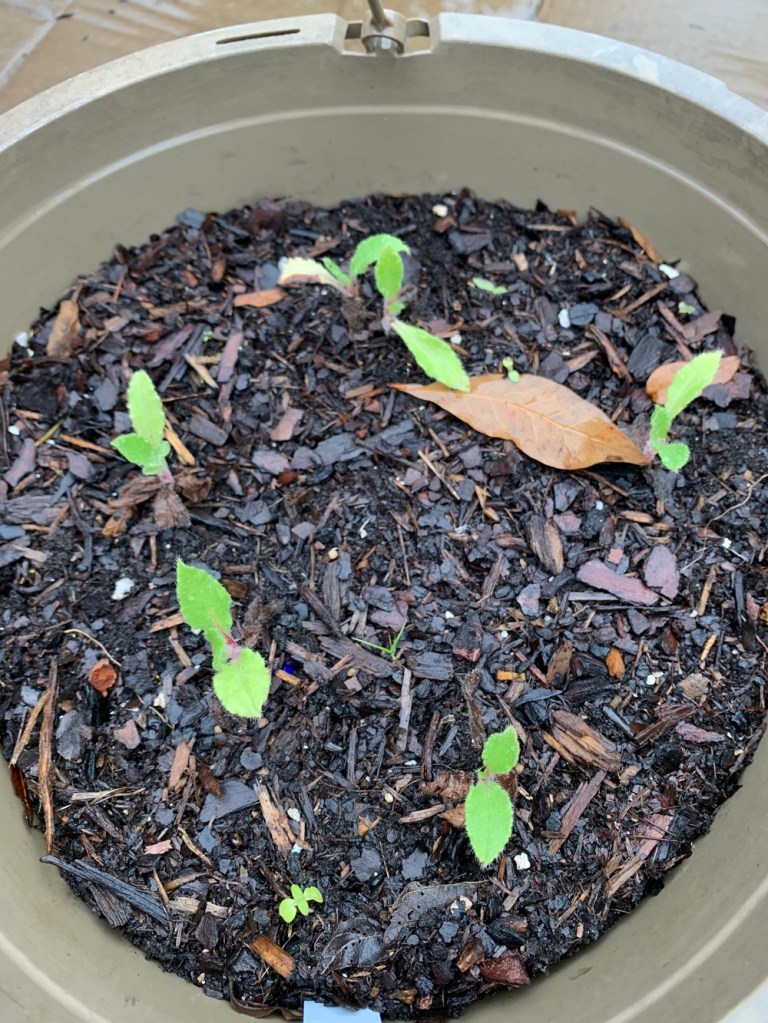
None of the borage seeds I planted into the ground are doing much. They are all still very small. The hanging basket plants are very tiny also.
All plants are getting about the same amount of sun. They are all outdoors and getting the same rainfall and water. All I can figure is that the soil is better in the boxes which is causing the borage to grow larger.
Borage For Tea
For me, having borage for a tea supply is worth trying to make it grow. Even if it never flowers, I will have leaves. Borage tea, made from fresh picked leaves, is mild and delicious. Borage has some health benefits also, which you can easily research. I’m interested in kidney health.
Some of my leaves are quite large, and it only takes one to brew a nice, hot cup. It can be made as ice tea for those who grow it in summer in the north. Float some flowers in your drink too!
Borage in my December Garden
The growth of borage from seeds is random in the yard. The cooler the weather becomes, the better it looks. Don’t waste your time trying to grow this plant in a Florida summer!
These little guys never grewFlower buds in centerNext to tomato
Yes, Borage Grows in Florida
I live in east, Central Florida and yes, I have grown borage. Choose cool months for planting and direct sow the seeds. Be patient because they may not grow quickly.
The seeds form up inside the hanging flower pod. If they ever dry in this weather, I will collect the seeds to plant next Fall. It will be something to look forward to – enjoying tea and the beautiful, blue flowers once again.
It’s the end of the year but garden work is ongoing if you are a Florida gardener. I’ve expanded my little vegetable growing area and have some eggplants forming.
It is Christmas Eve as I write this and yesterday was a beautiful day! I took advantage of the 72 degree, sunny and breezy weather to do some garden work.
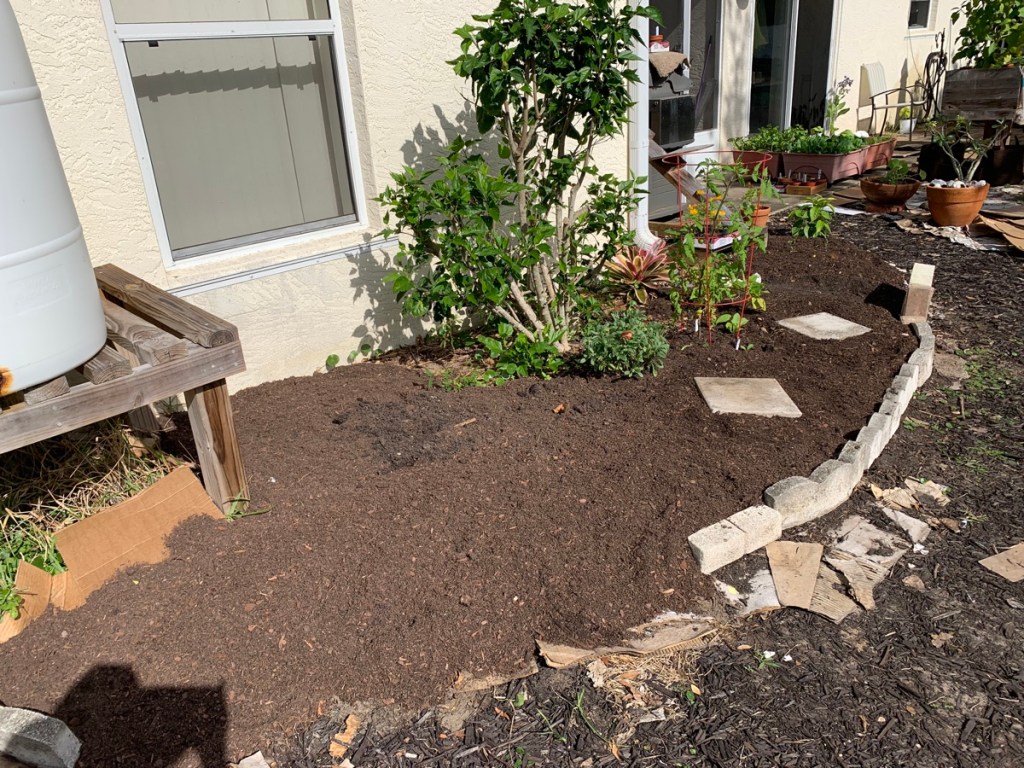
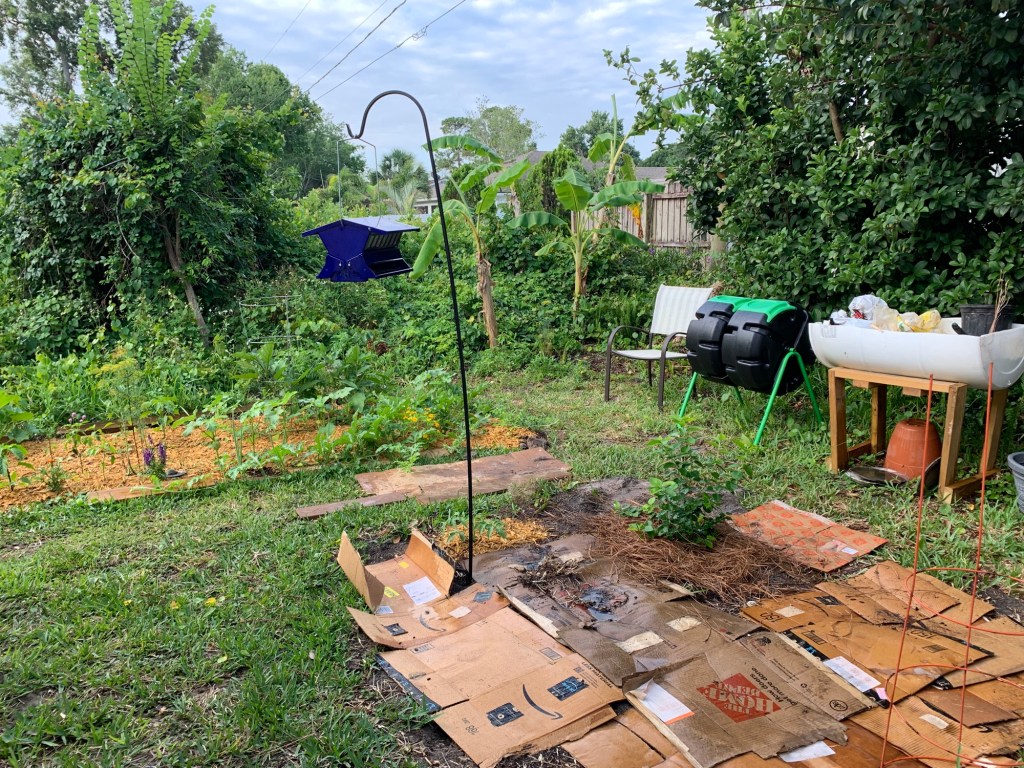
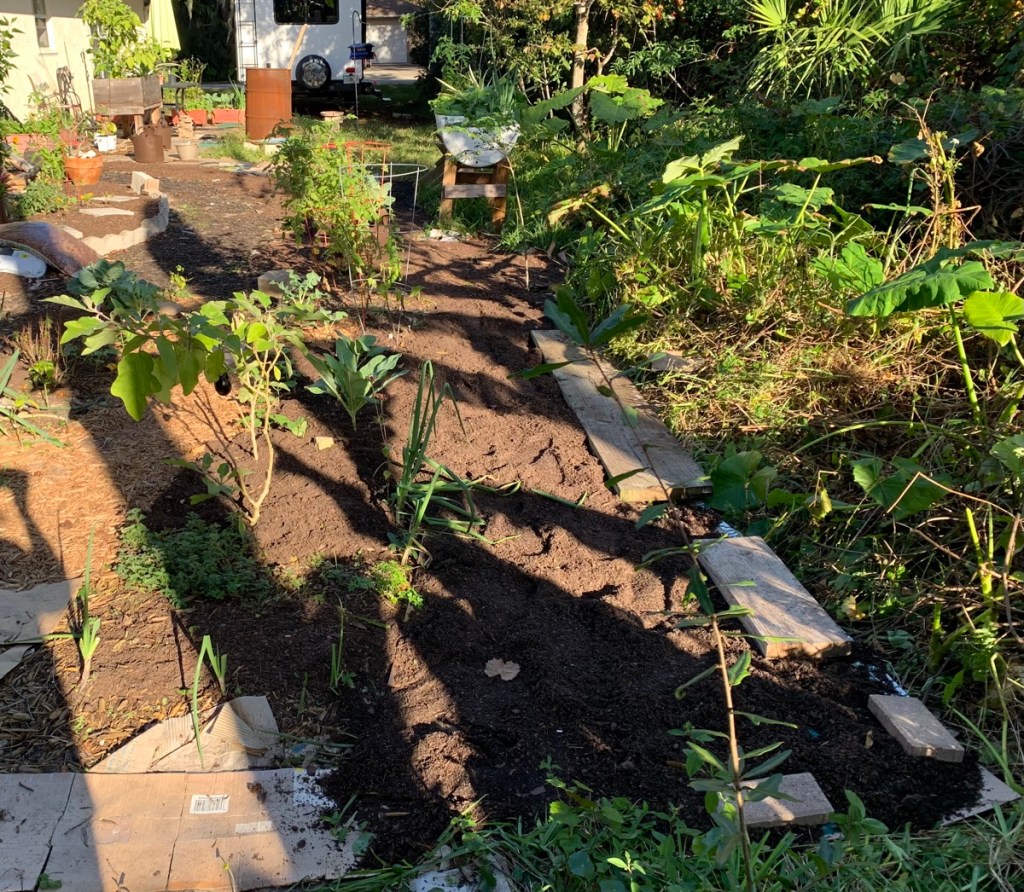
First I cleared out the growth next to my vegetable garden. Then, I put down some big pieces of cardboard and covered that with dirt. My dirt pile is already much smaller, so I’m using the dirt sparingly.
Garden expansionWidened the vegetable garden
I’ll leave the new space alone and let the cardboard break down over the next couple of months. This may be a good place to grow watermelon or Seminole pumpkins in Spring. The vines could trail down the edge of the yard or off into the empty lot.
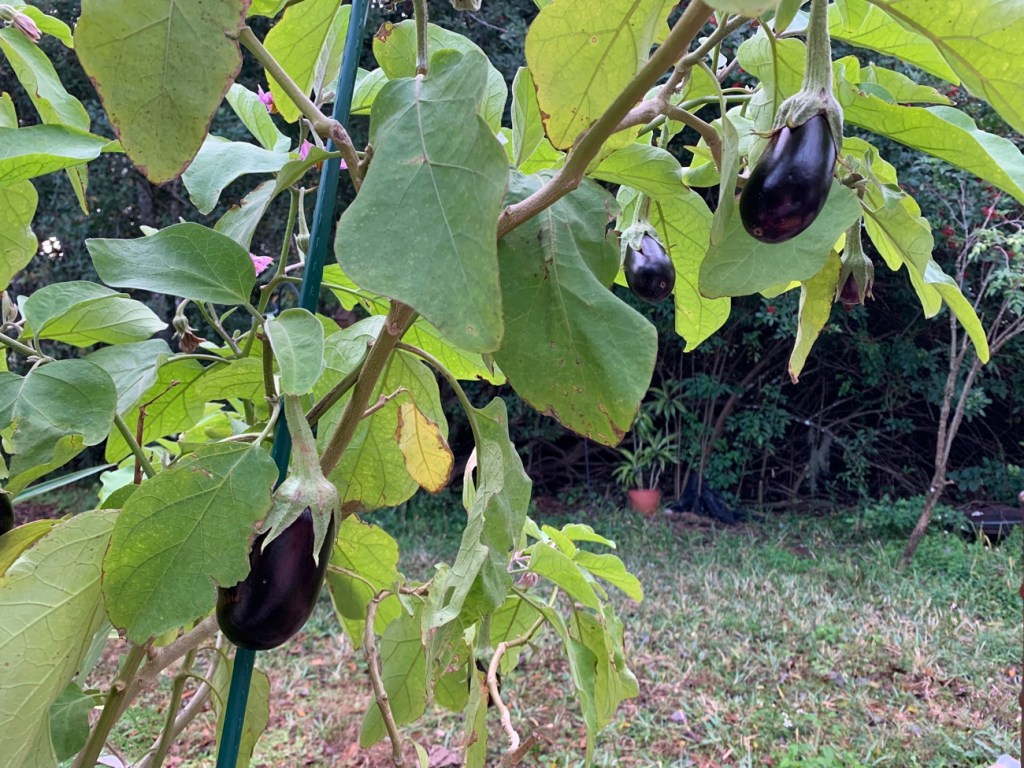
The Eggplants Are Coming in December
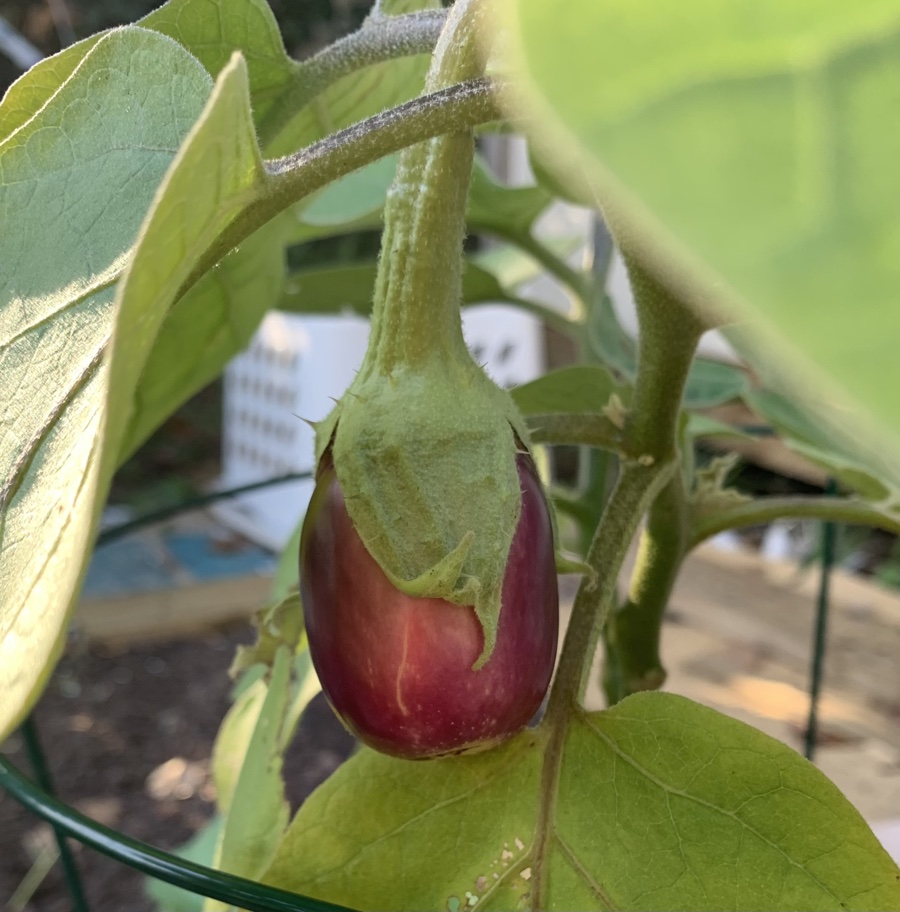
The big eggplant plant in the raised bed has ten small eggplants growing! And out back I found one Rosita eggplant – the first one I’ve grown. The Rosita’s have had lots of bug issues, with the leaves being eaten and constant worms. I’m pretty unhappy and will probably not grow this type again.
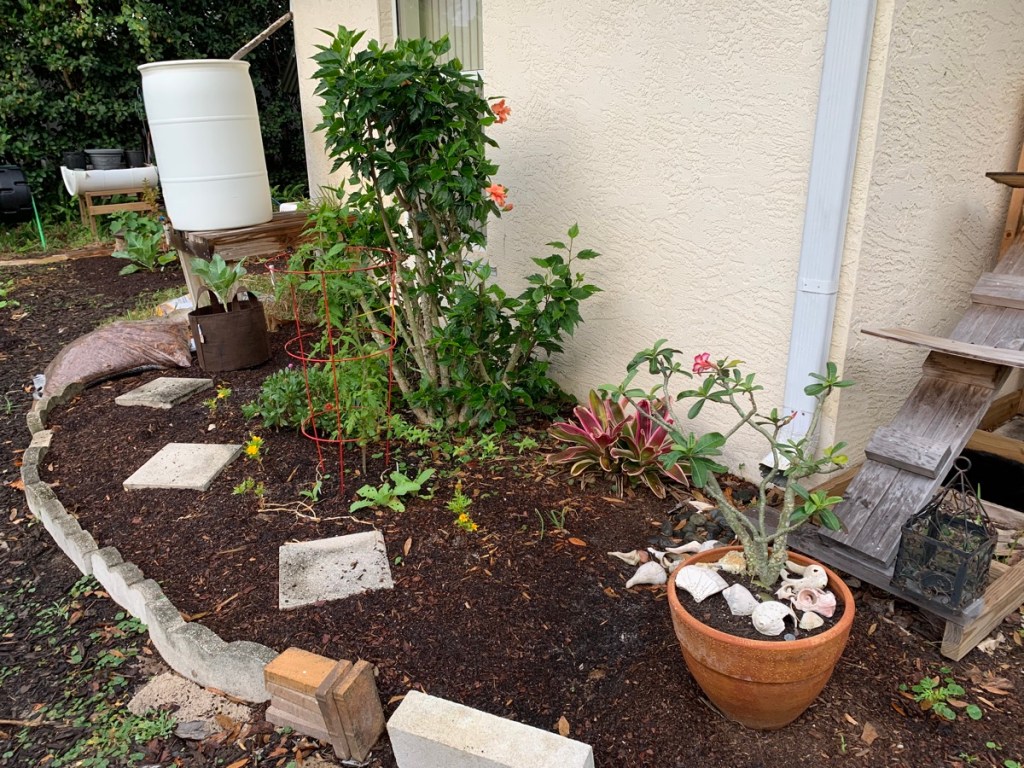
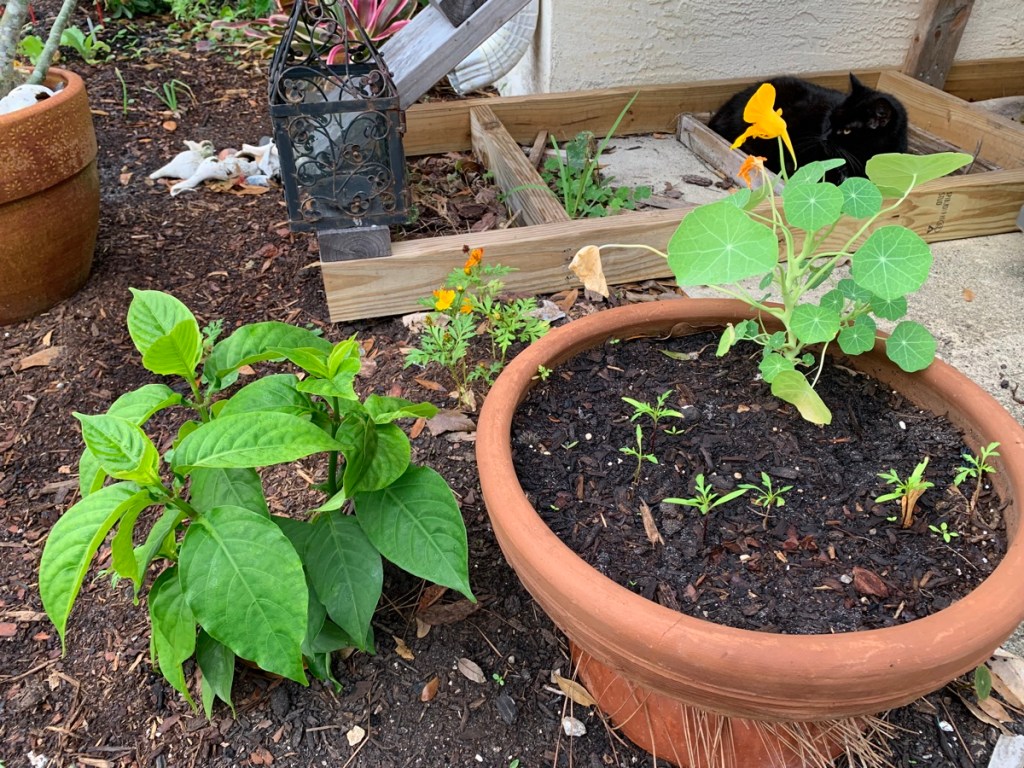
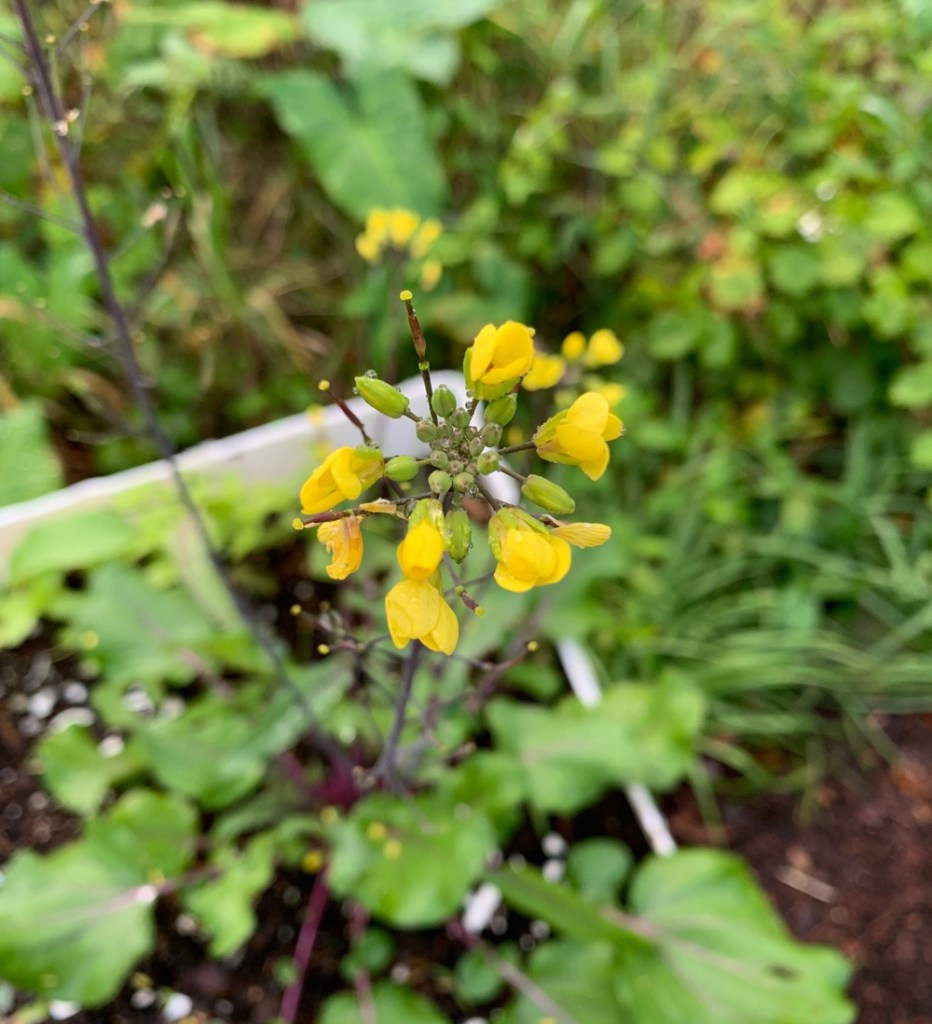
Changes to the hibiscus gardenFirespike and NasturtiumFlowering Hon Tsai BroccoliRosita eggplant
The Hon Tsai Flowering Broccoli is growing some beautiful, fragrant yellow flowers. Although I don’t like this plant for eating, it’s worth growing for the lovely flowers.
The hibiscus garden has gone through some changes as flowering plants have died off over summer. I’m currently using the space to grow a tomato and some little yellow cosmos plants.
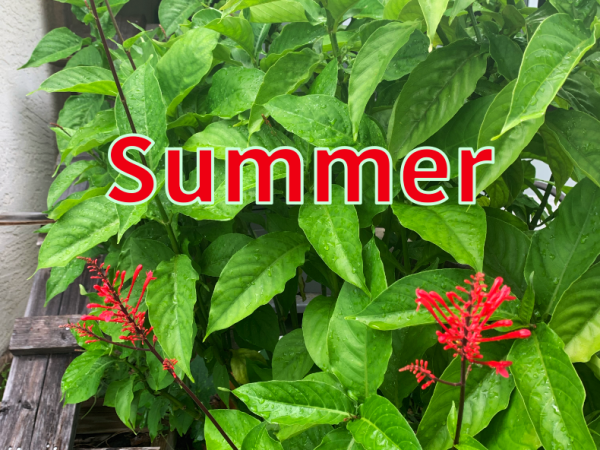
The Firespike, which I began from a cutting, is beginning to get larger. This took quite a while. And of all the nasturtium seeds, only one plant grew.
My first green bean plantings have gone by, but I kept beans on one of the better plants to grow big and dry.
Carolina Wonder pepperBorage and pineappleLetting these beans dry on the plant
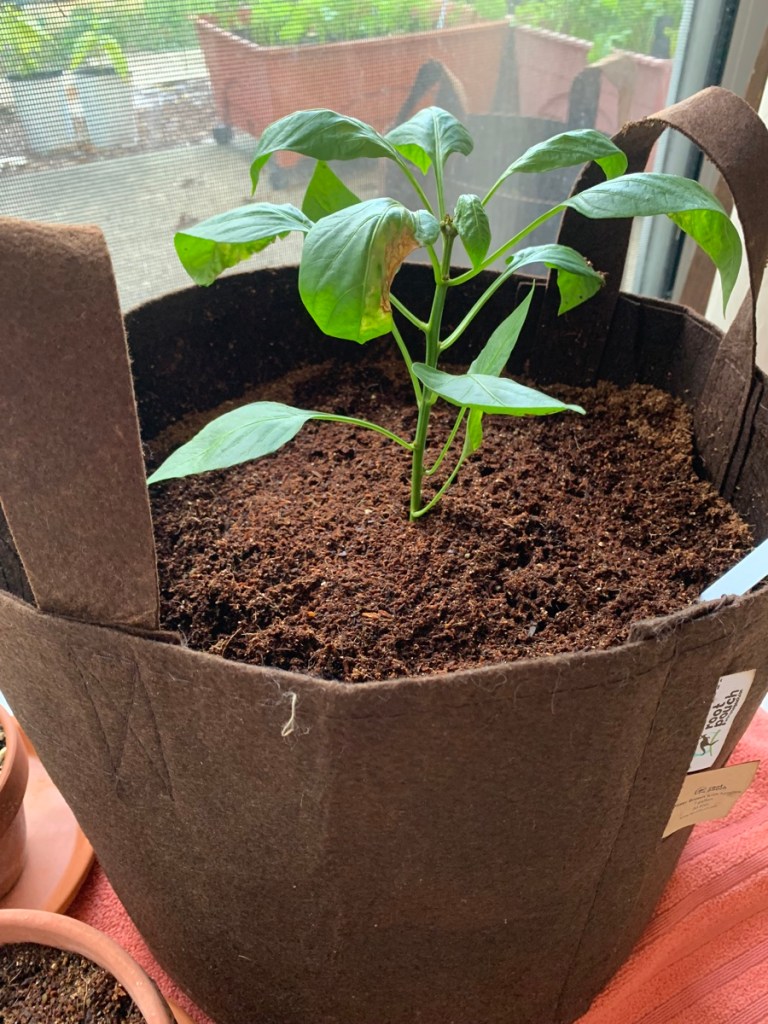
One of the Carolina Wonder pepper plants needed some help. I’m not exactly sure what kind of help, so I transplanted it into a fabric grow pot. I’m hoping it will improve.
The borage has gone crazy, and apparently likes the colder weather. Only one plant is flowering, but I am using the leaves to make a delicious, mild tea!
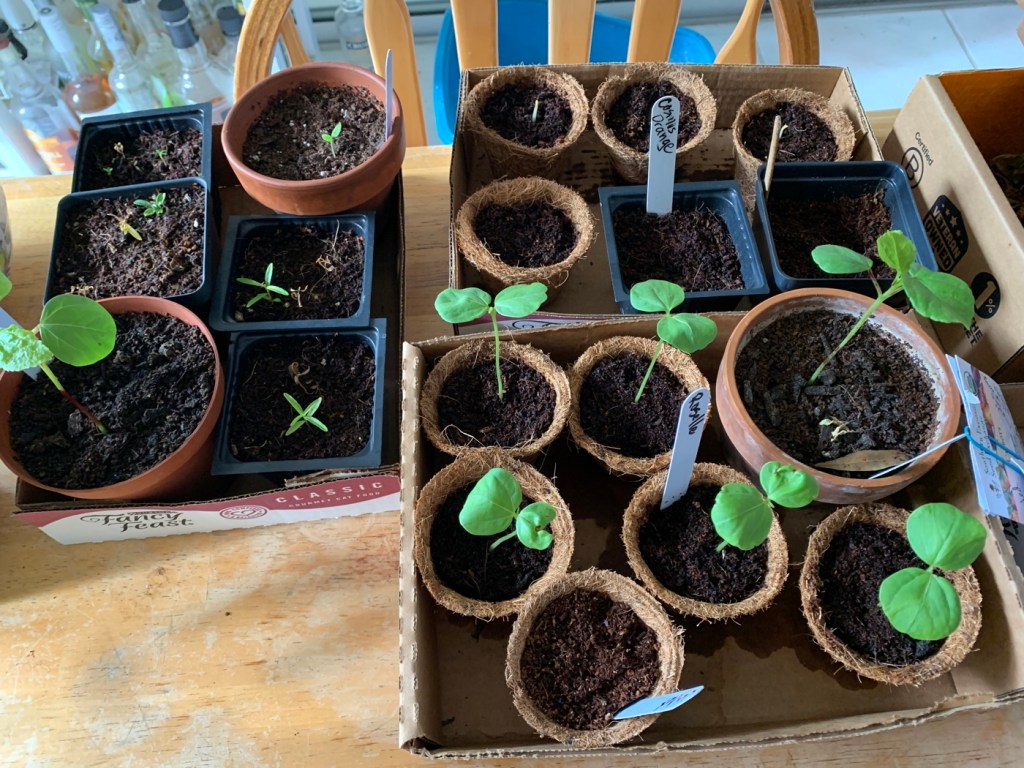
All my seedlings and small pots have been brought inside. Nights have been much cooler than they prefer. I noticed that growth had stopped, and the peppers looked bad. I think it was the weather.
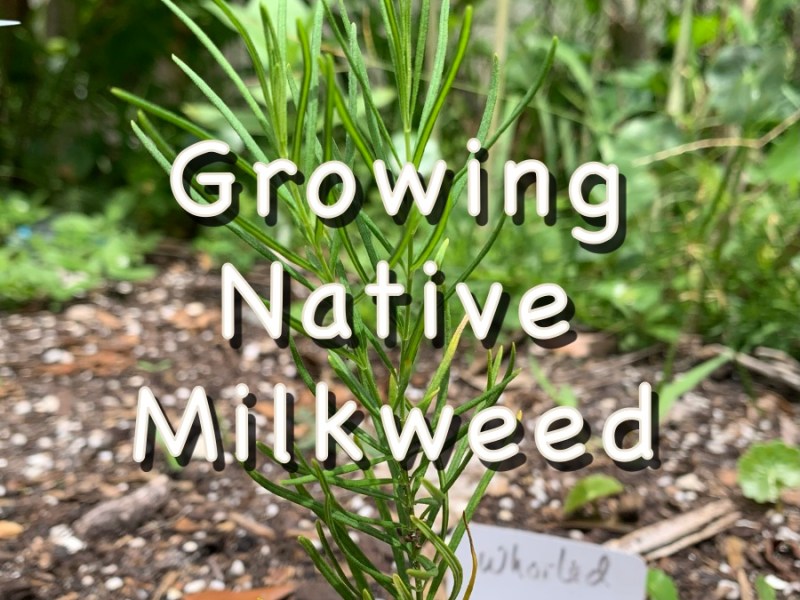
Roselle, milkweed and otherseggplant, peppers, mint
I probably should have waited to start these seeds. Now, I will have to care for them (put them out in the sun, take outside to water, bring them back in) for months until they can be planted.
I’ve received two gardening magazines through the mail already! Planting plans for spring and summer have already begun. Notes from fall and winter are being organized so I will do better next year.












 Hydrangeas Blue