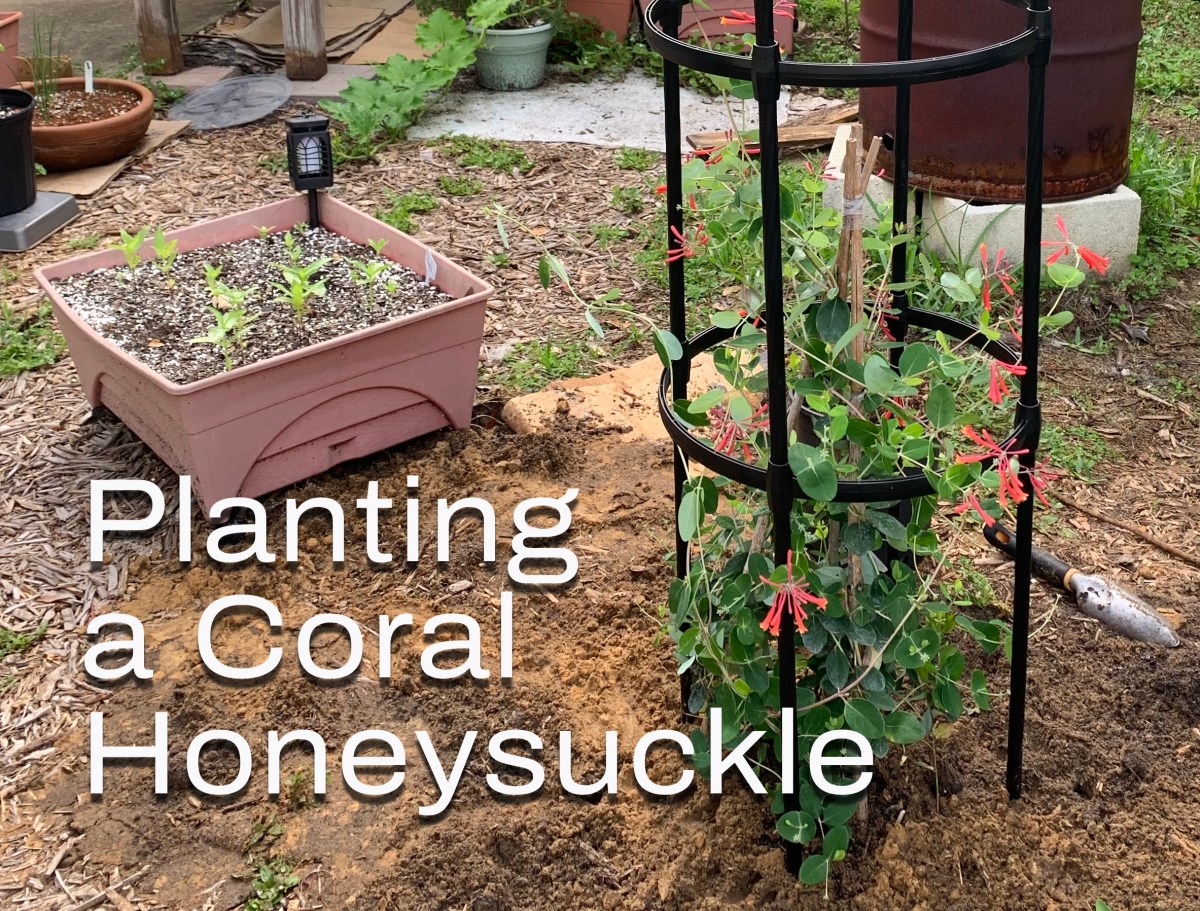
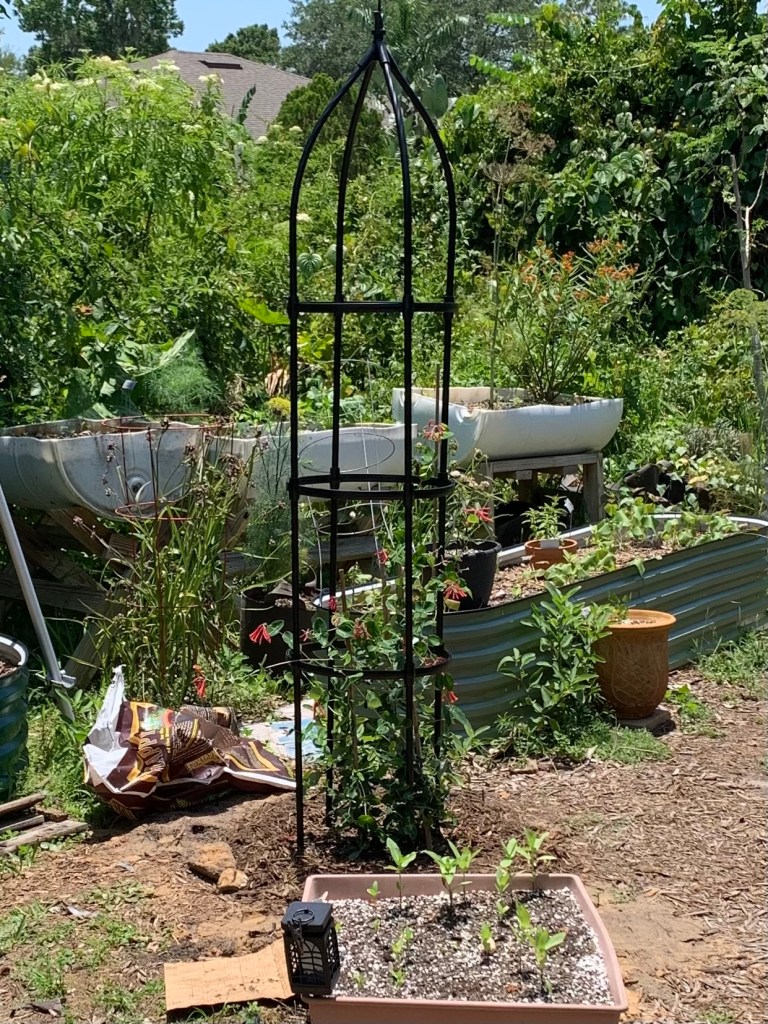
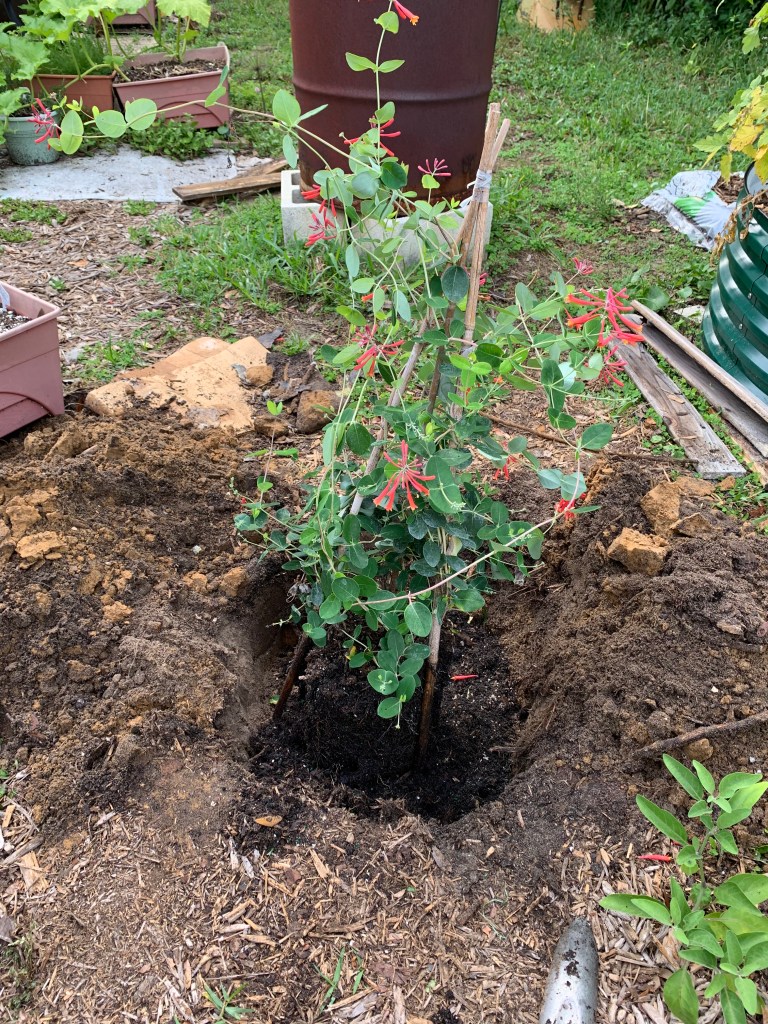
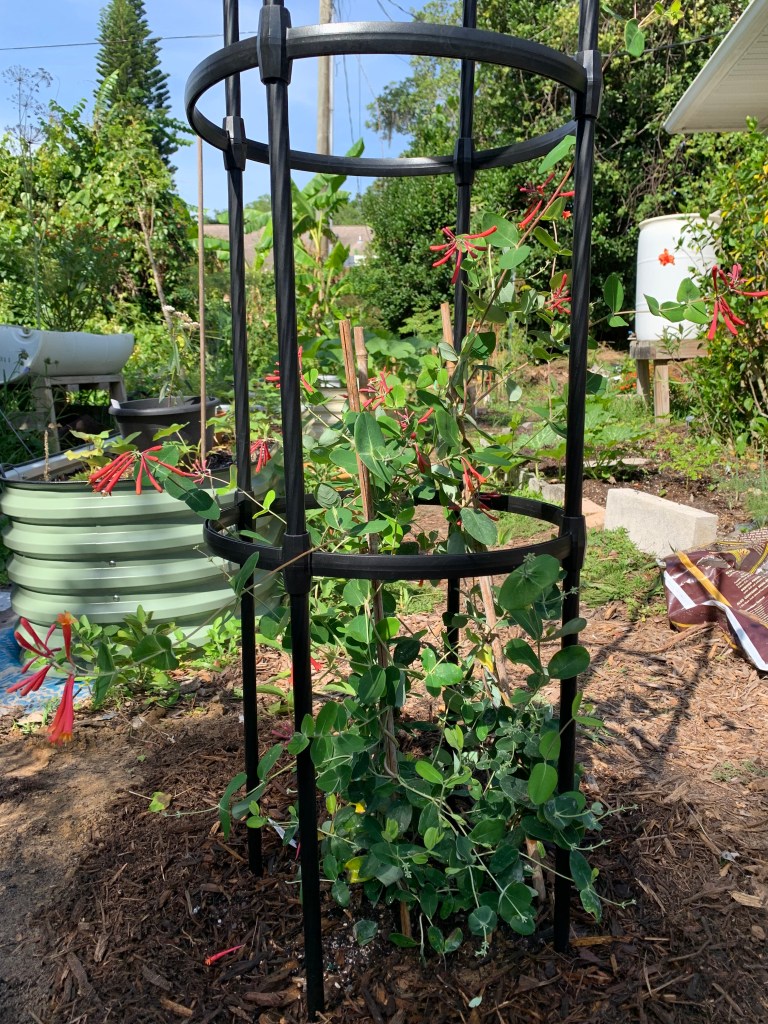
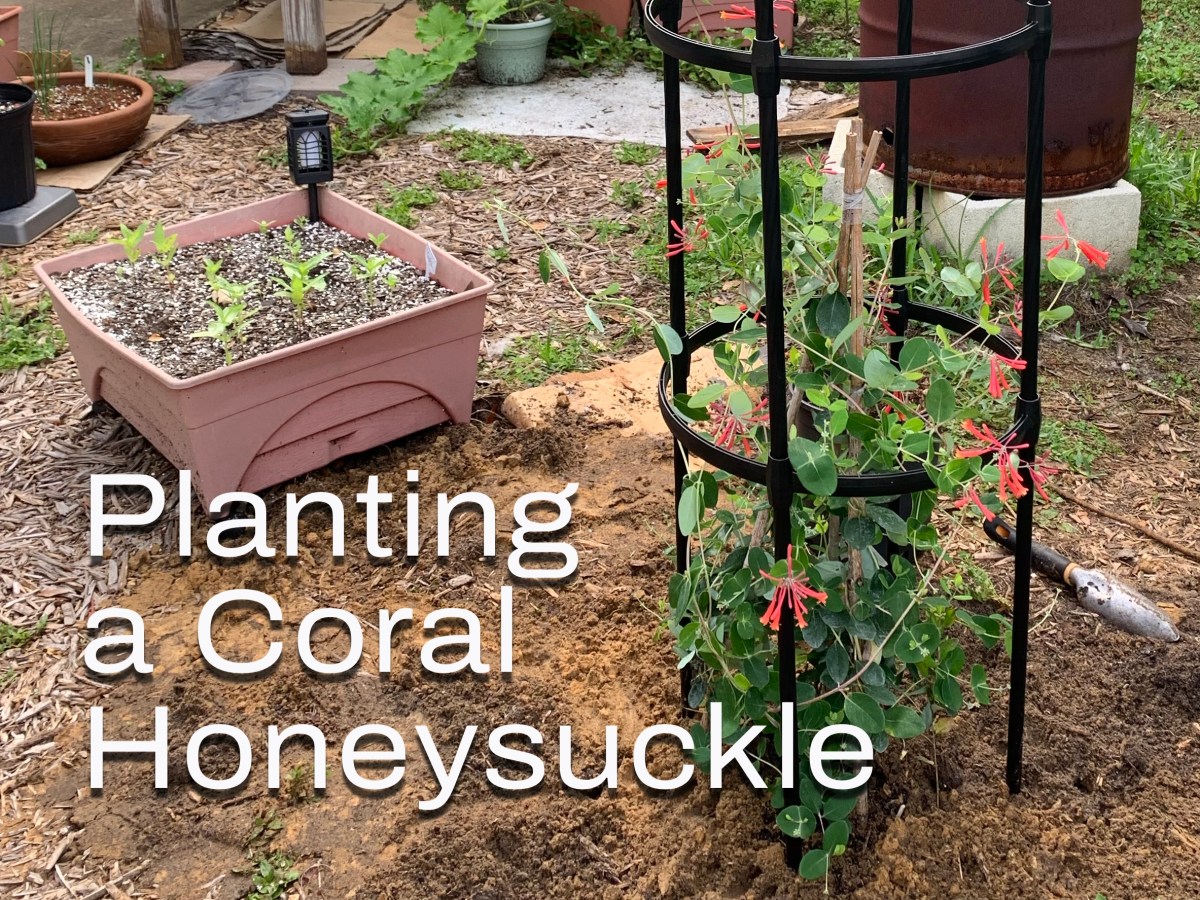
Planting the coral honeysuckle with a new obelisk for support.
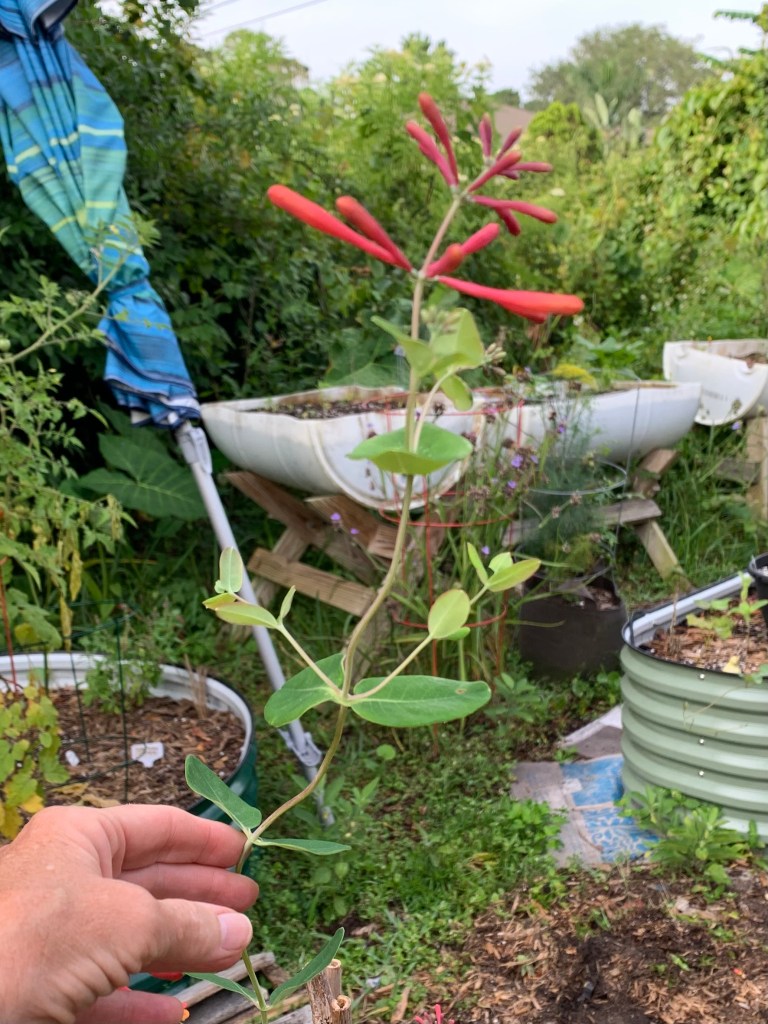
A Florida native plant that I’ve wanted in the yard for some time is the Coral Honeysuckle. A tiny plant was part of my mail order selection, but the plant arrived very tiny. I’m not sure I would live long enough to see it reach a great height!
After putting my Lee Valley Obelisk (large size) together, I needed a plant to go with it. At my local nursery there were many Coral Honeysuckle plants that looked great. I chose one, popped it into my little car, and planted it the following day.
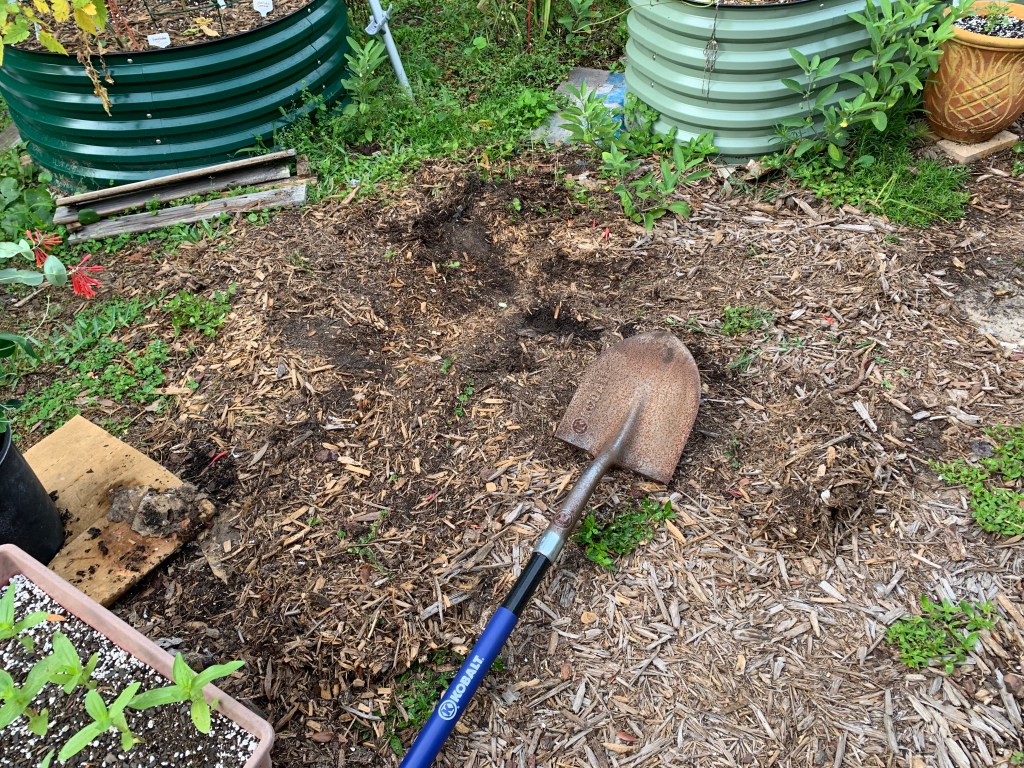
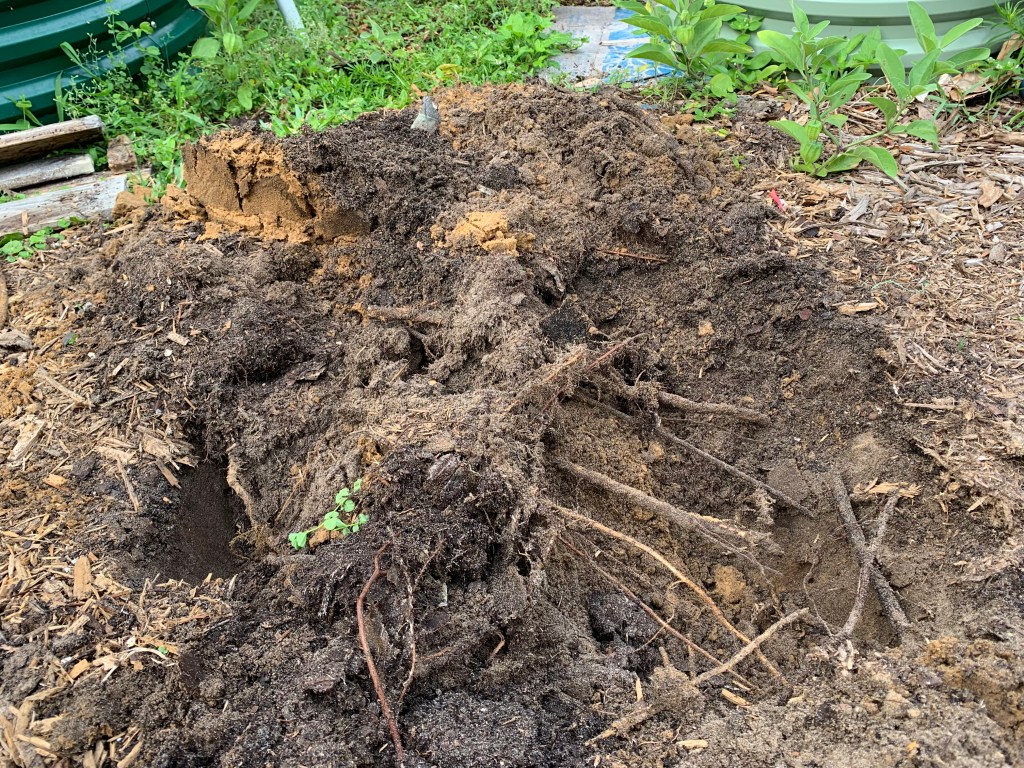
The hole was easy to dig, once I removed all the roots growing under the sand. Here in Florida, rocks are not a problem when digging, but you may come across pieces of concrete that were left behind from the building of the house.
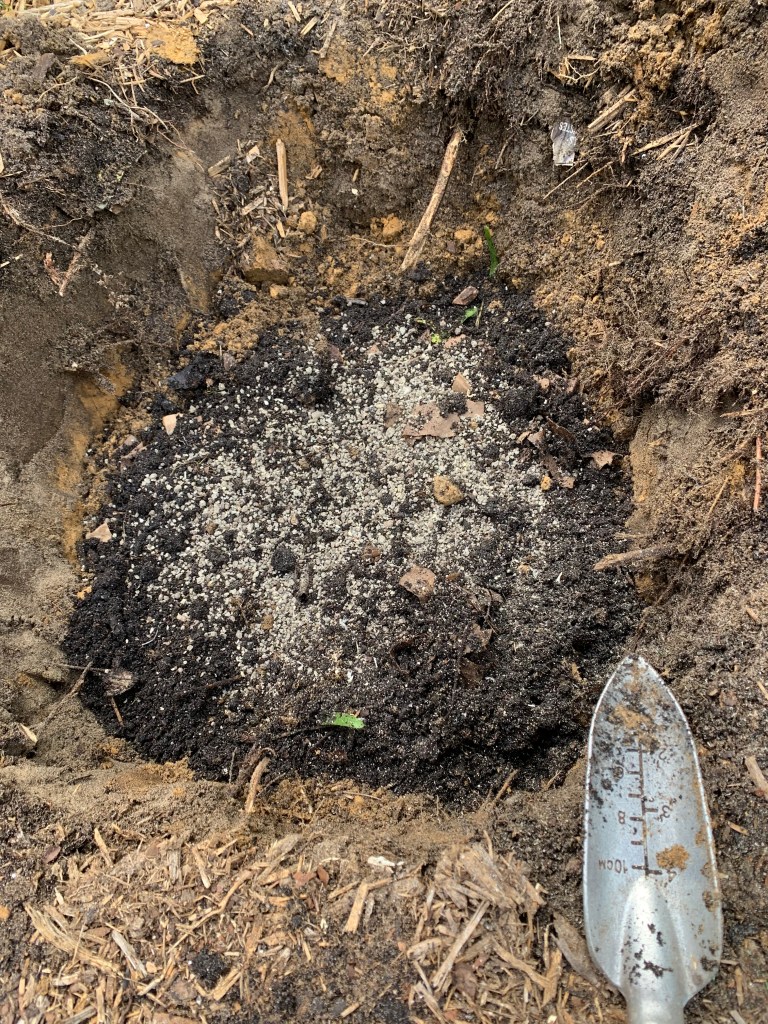
When checking out at the nursery, the woman talked me into getting a little bag of fertilizer to add to the hole. I also mixed in some of my own compost and a bit of Happy Frog, with the sand. BUT…. before I added dirt back into the hole, I placed my obelisk around the plant. That way the poles were down nice and far into the ground.
I also planted the tiny, mail order plant right next to the bigger plant.
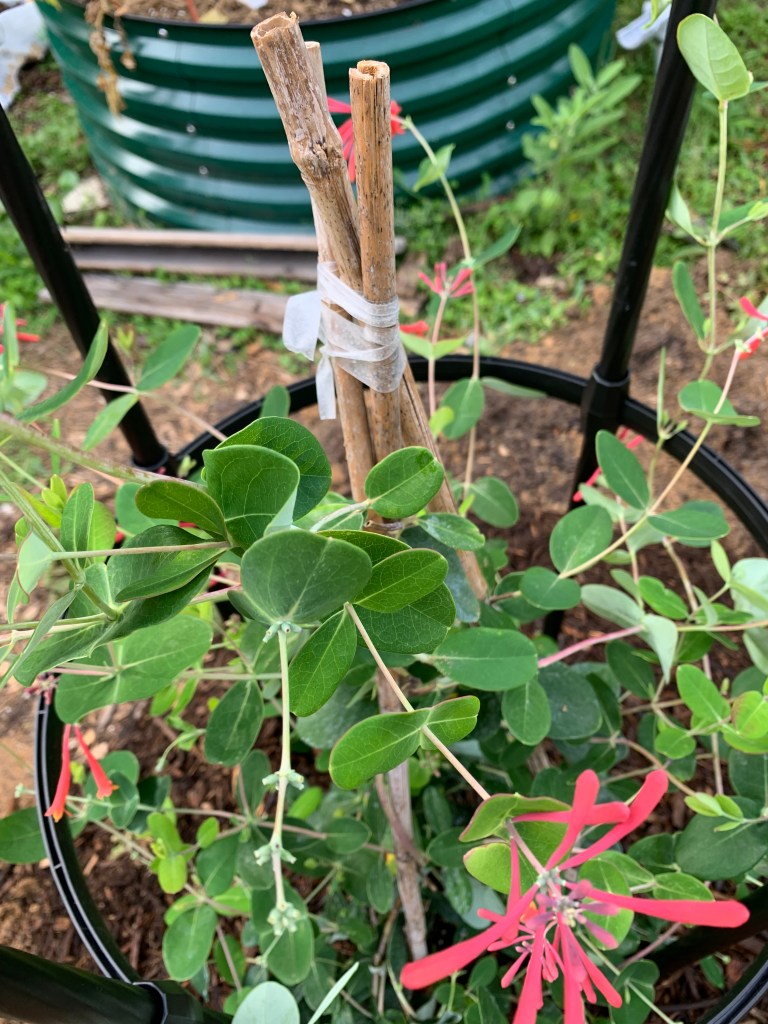
Spot is chosenDigging roots and sandMixing good stuff into the soilOld staking system
Once the plant was in the ground, I undid the ties holding the old trellis system. Three bamboo stakes were tied for the vine to wrap around. I planned to remove the bamboo completely, but decided to leave it in place. Much of the honeysuckle was already firmly wrapped around them.
I will train the vines to continue up the trellis. Once it gets tall, the hummingbirds should love it. I haven’t had hummingbirds since the Firespike plant lost its red flowers. Honeysuckle can loose its leaves in cold locations, but grows well in the entire state of Florida, Zones 4-10. It will bloom all Spring and Summer!
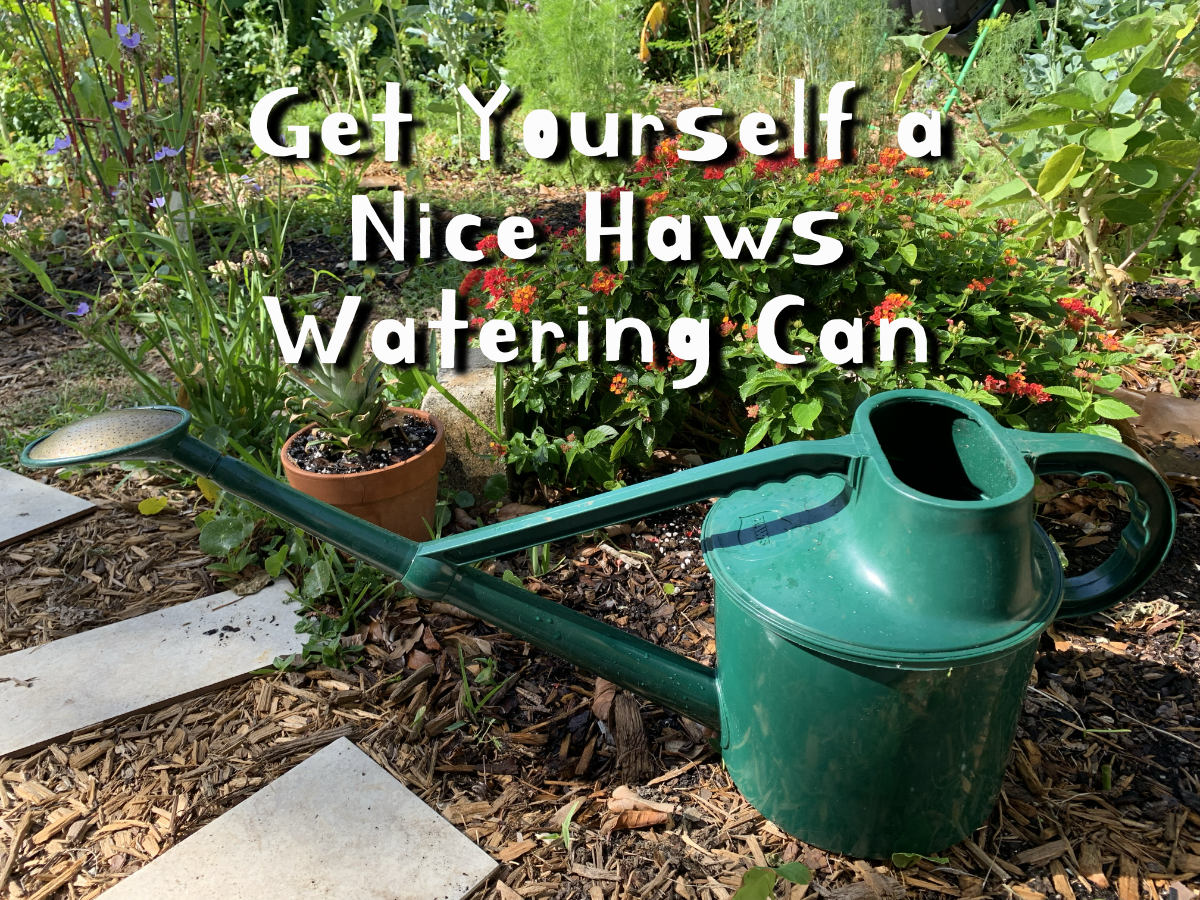
Once the mulch was down, I gave this new plant a good soaking with three fills of my Haws watering can.
Once the Coral Honeysuckle is established, it shouldn’t need much attention. I’ll keep it pruned to fit the round trellis.
Coral honeysuckle flower
The rainy season is here, and with our regular afternoon storms, this plant should do quite well.
I’ve found a good place to buy milkweed plants online. Ordering plants online can be expensive, so the plants that arrive should be in great shape. Read my review of Whitwam Organics and The Growers Exchange.
I need to get this recorded because I found a mail order company that sends nice plants. Here I am comparing the two companies that mailed me milkweed plants. The Growers Exchange and Whitwam Organics were the two I chose.
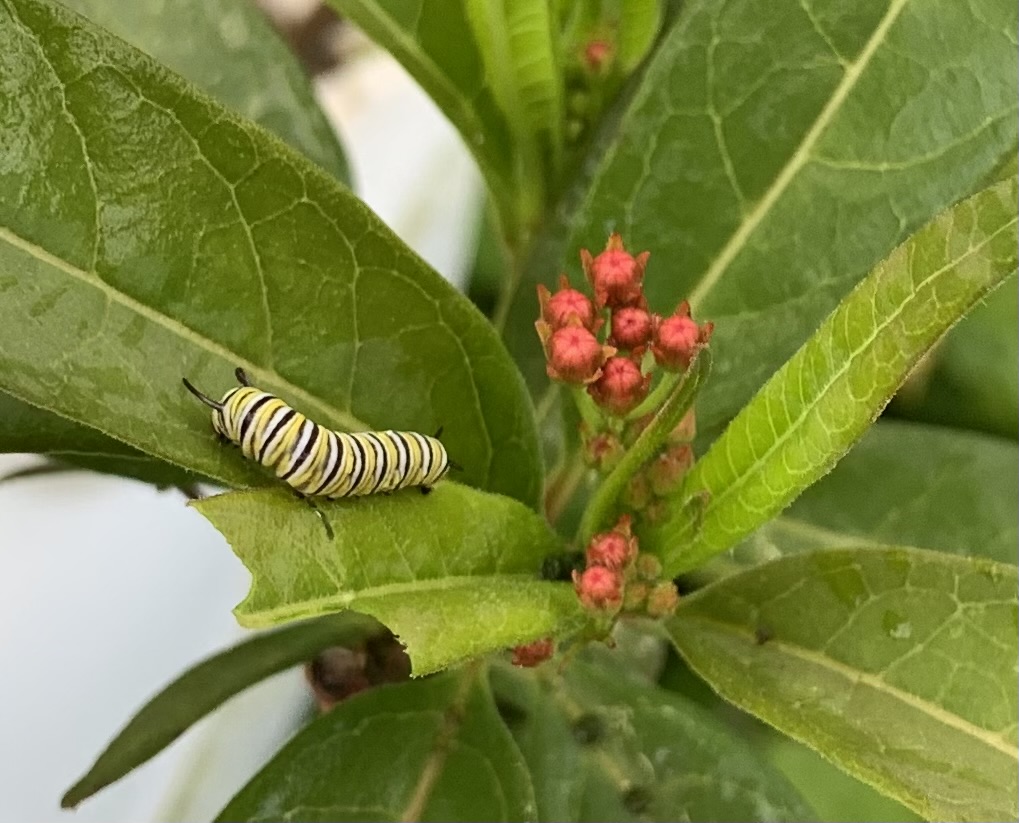
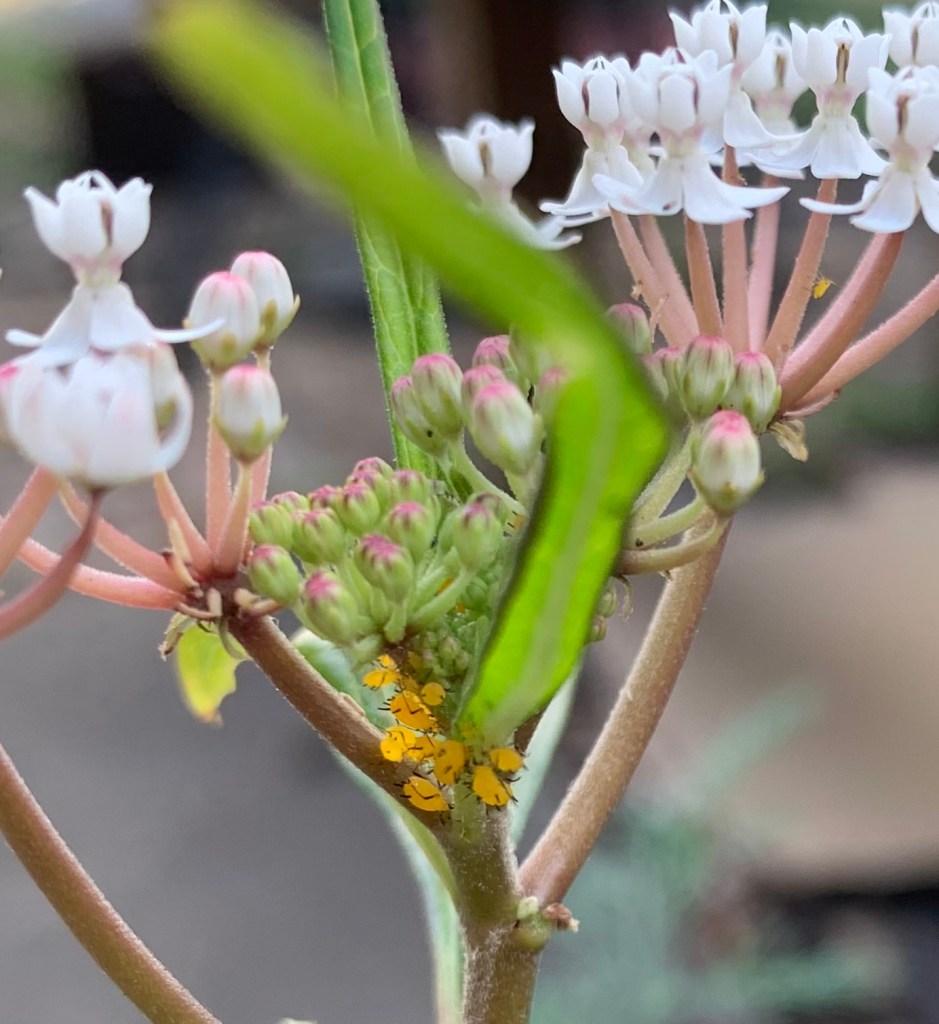
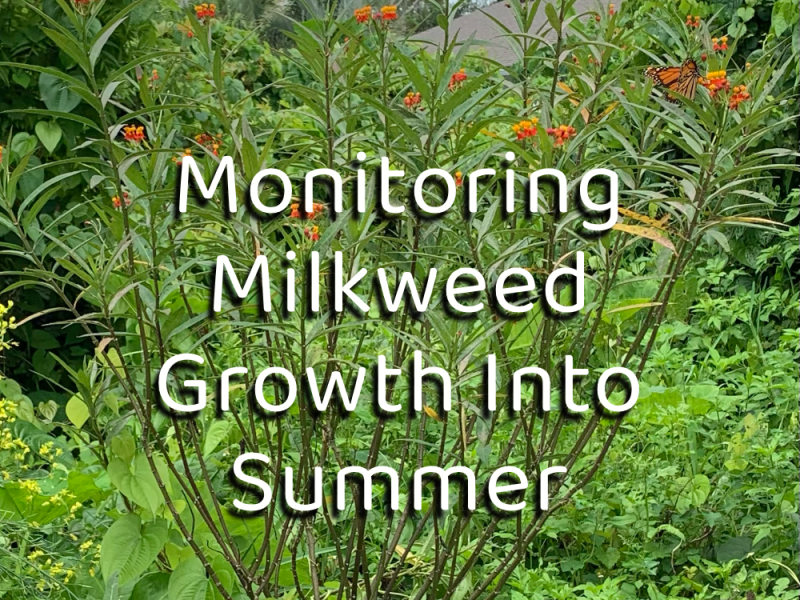
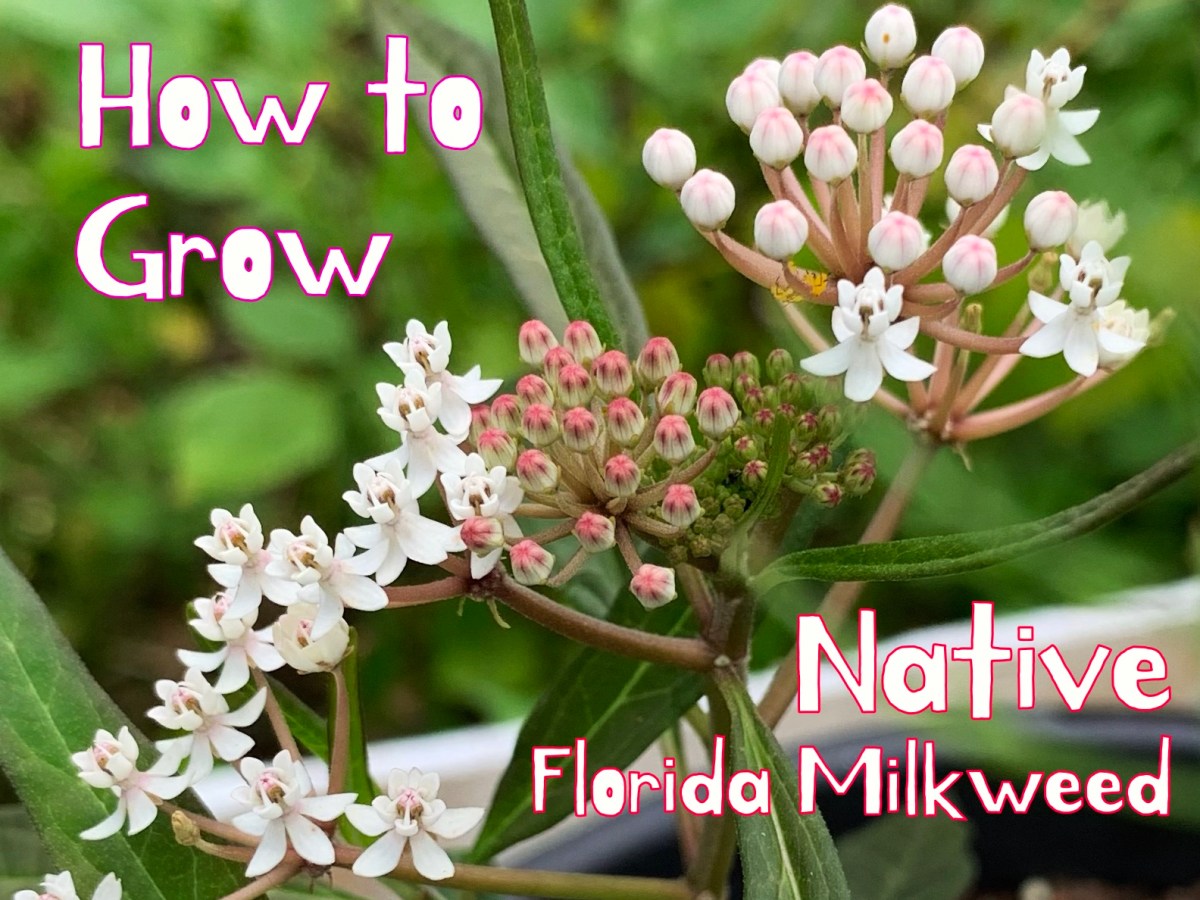
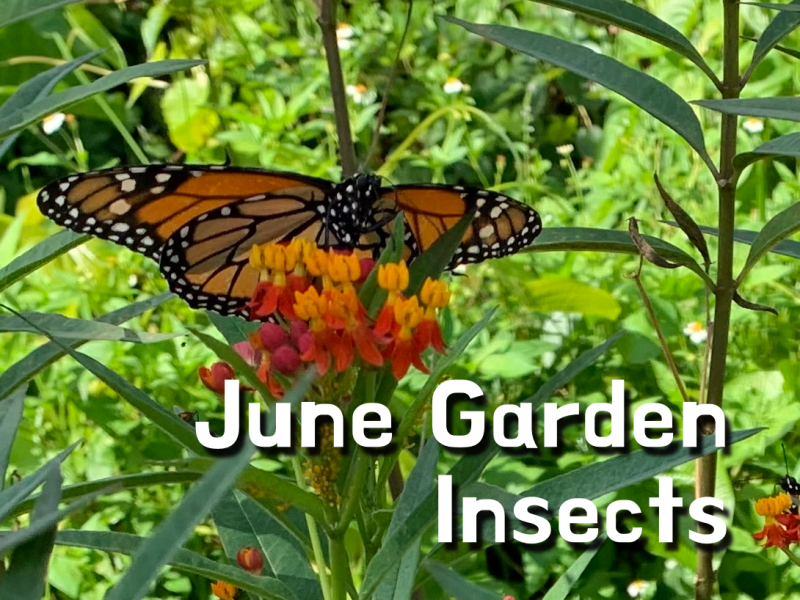
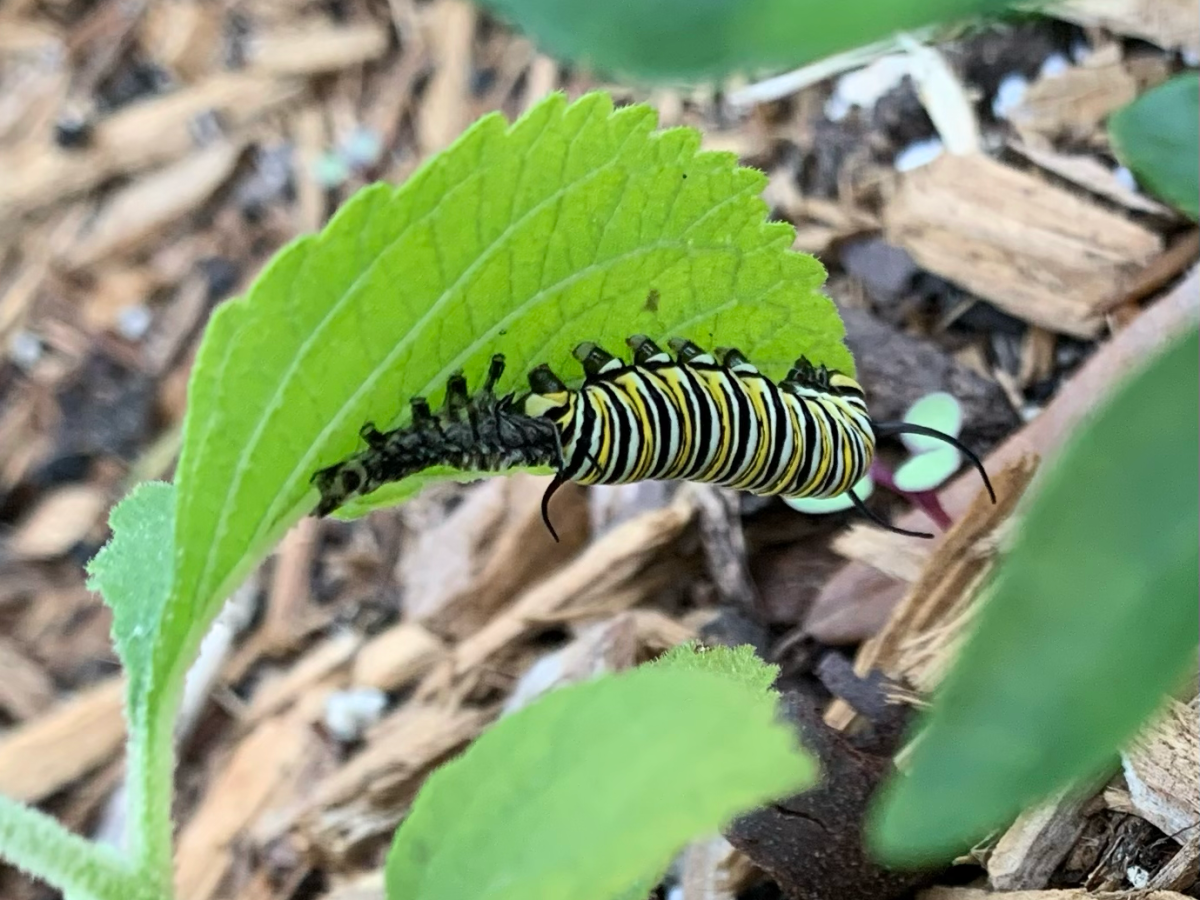
After my butterflies came out, I see all three of the Monarchs flying around the garden every day! The only milkweed currently available for them is the tropical type, and one small, blooming white Swamp Milkweed.
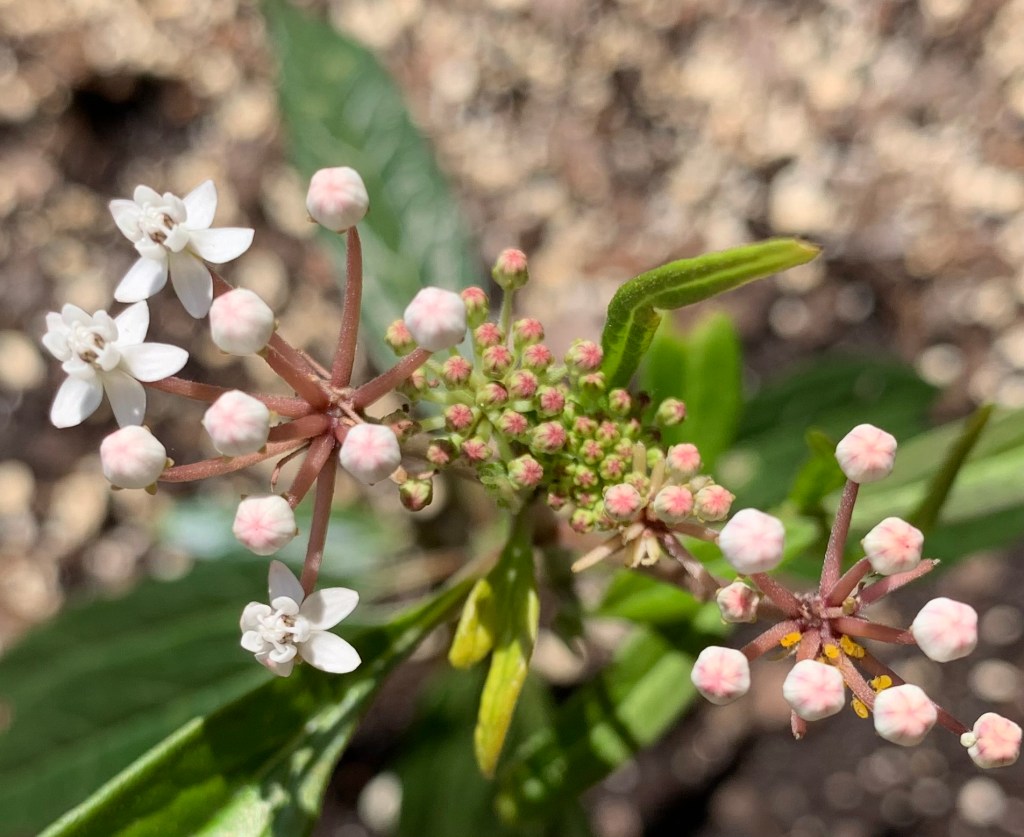
Tropical milkweed w Monarch caterpillarWhite Swamp Milkweed with aphidsWhite swamp flowers
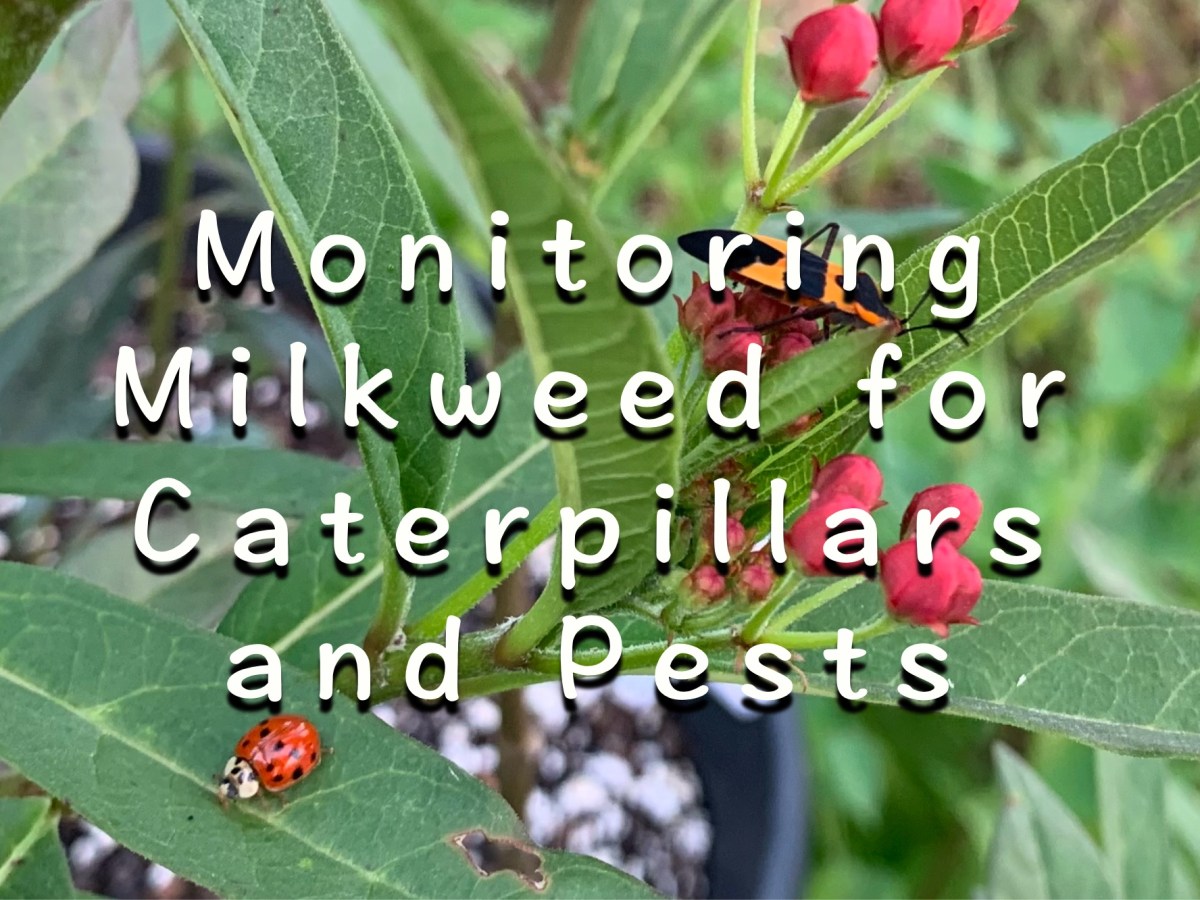
The more milkweed in the yard, the better chance for caterpillars to have enough food. At one time I believed that the Tropical milkweed was bad, but that may not be altogether true. Read more at the link.
The Need for More Milkweed
I ordered some seeds from Johnny Butterfly Seed. Those are popping up in small pots and beginning to grow nicely. Growing from seed can take a while. I wanted plants.
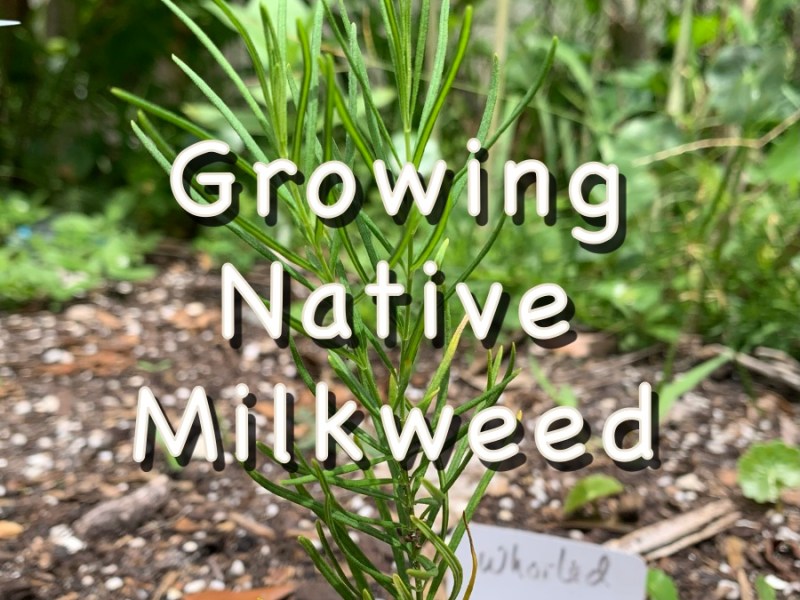
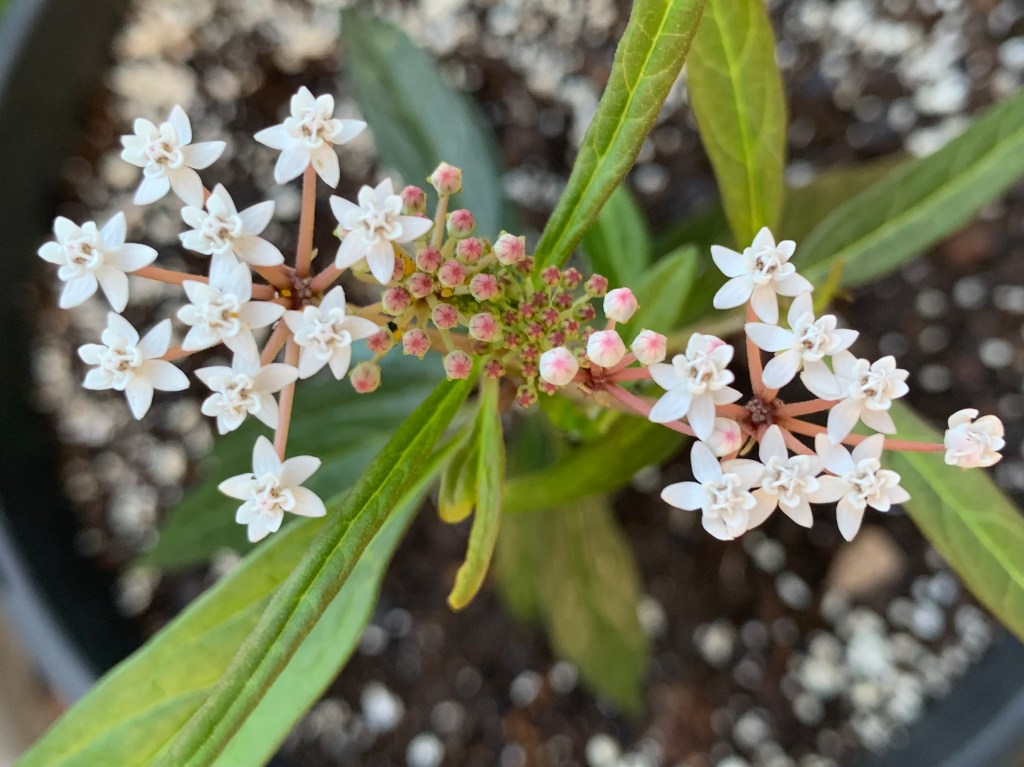
You may be wondering why I don’t buy local milkweed at a nursery. Well, for one it’s hard to find, and when I do see native varieties, the plants are not in good shape. The white flowering milkweed, in my first photos on this page, came from a local nursery. I bought the best looking milkweed plant and it was around $10. It’s looking good, but growing very slowly. I have no idea if it was grown organically, without chemicals. So, I began the online search for pesticide free plants.
Whitwam Organics
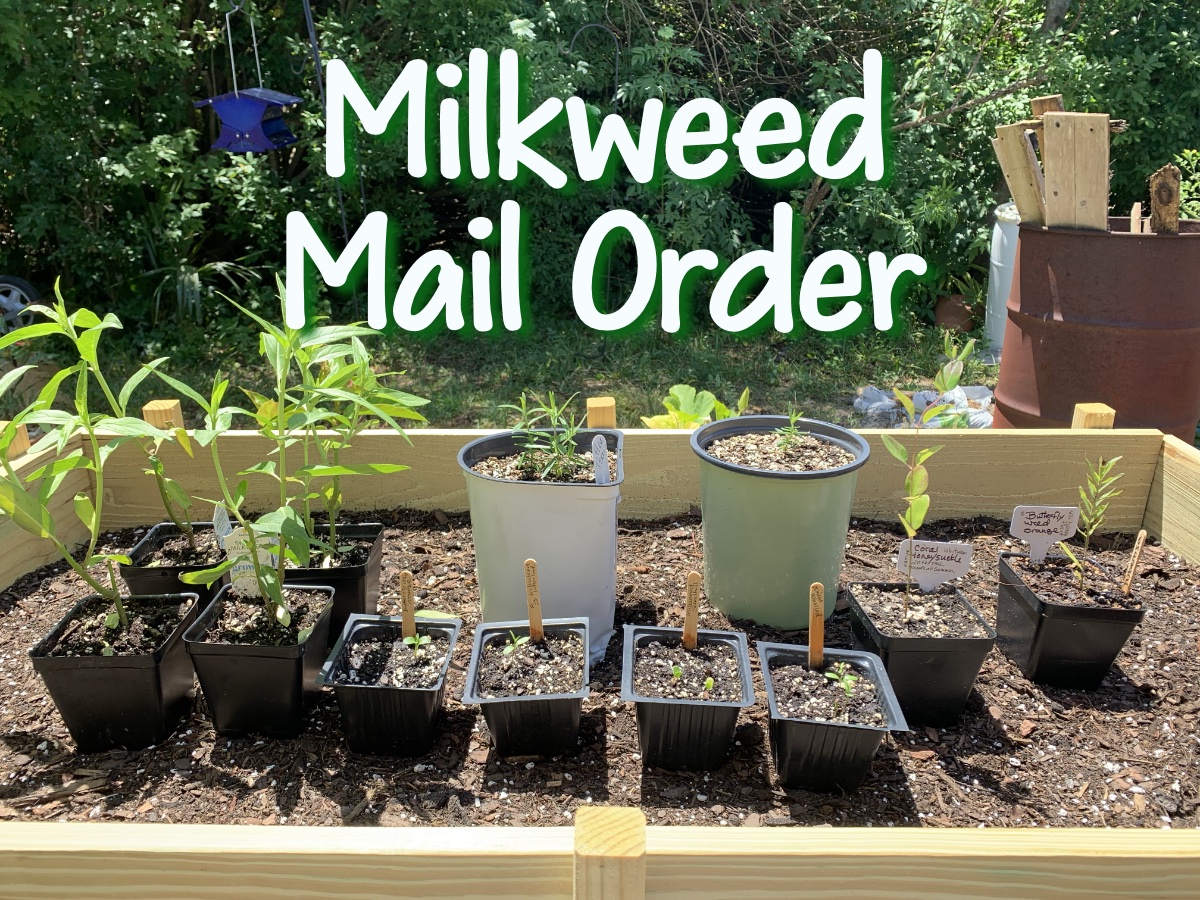
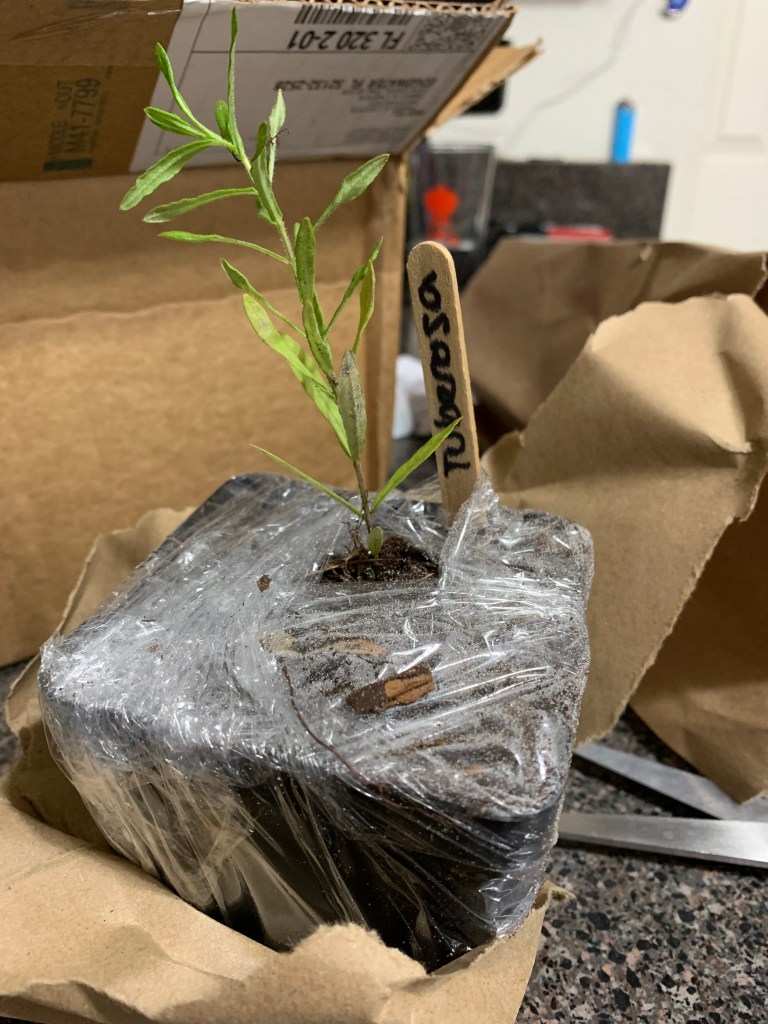
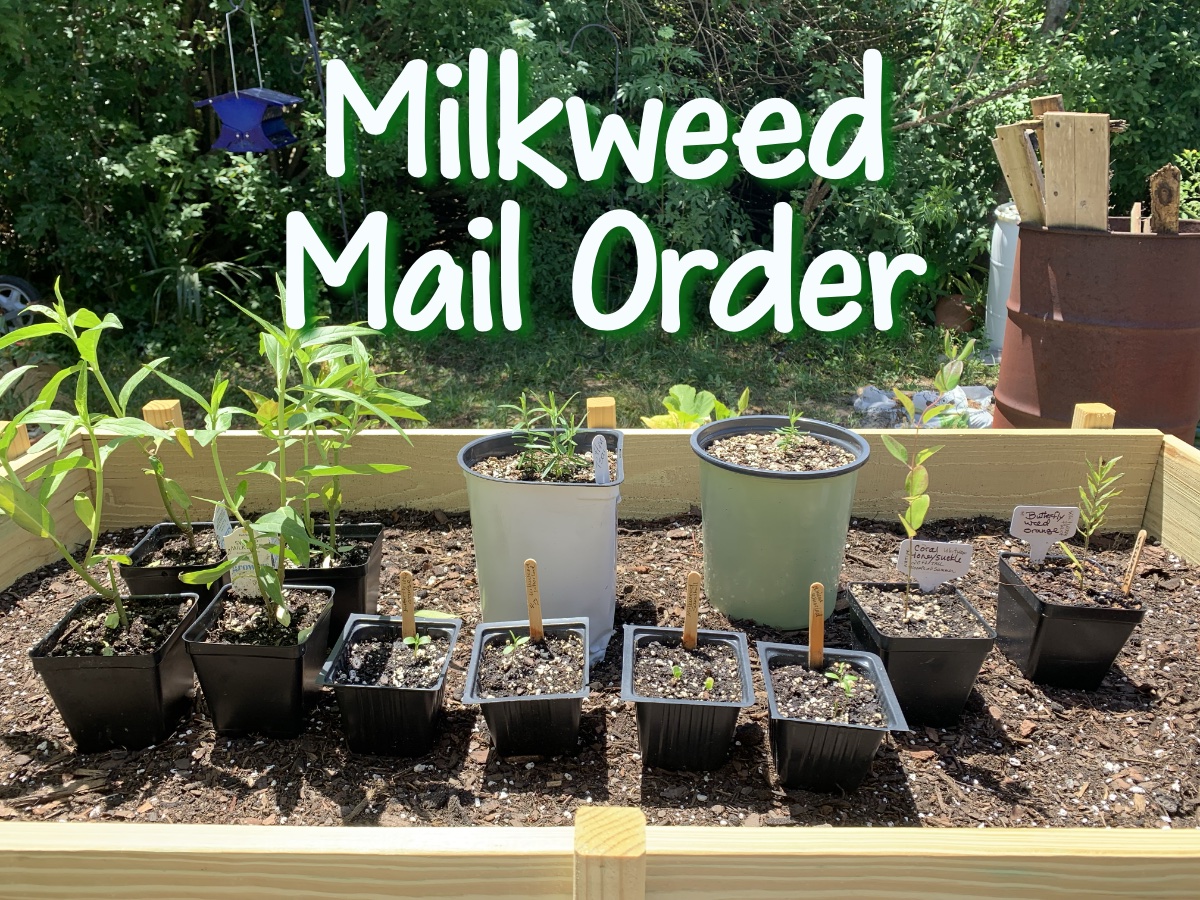
This post is about my order of live plants from two places. The first plants arrived from Whitwam Organics. They e-mailed a notice about delivery, and the plants ended up at my door at 8:00 at night! I suppose I can’t blame the company for the late delivery, but unboxing live plants at that hour really ticked me off. The plants are; a Coral Bean, Coral Honeysuckle, and Orange Butterflyweed (milkweed).
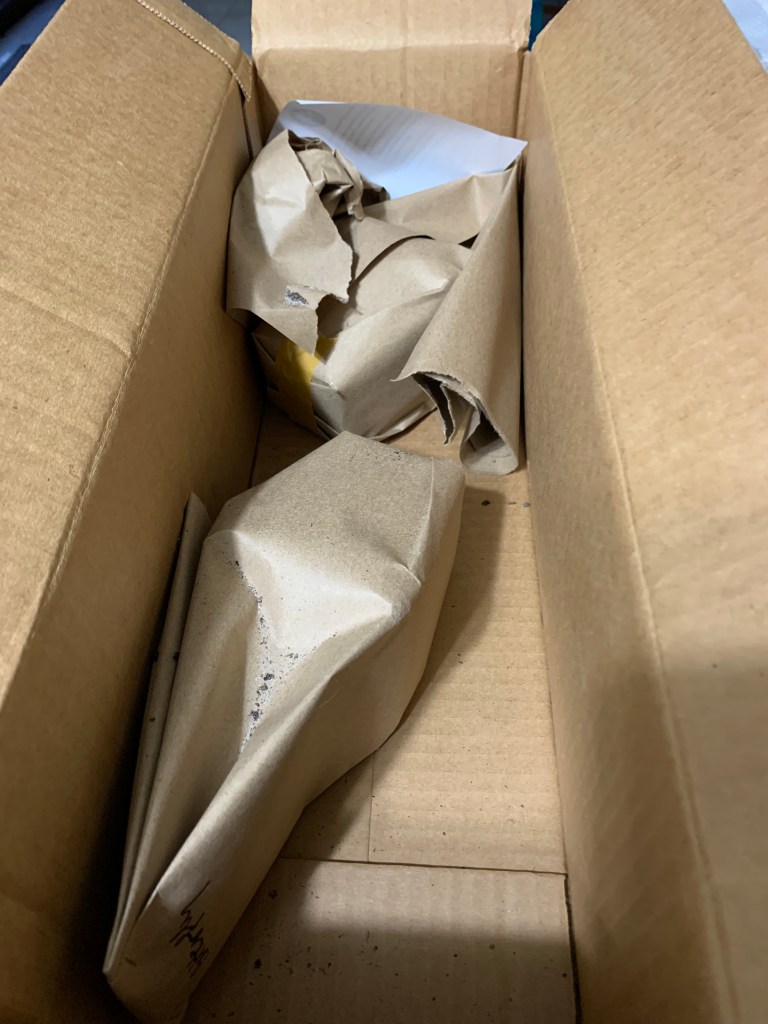
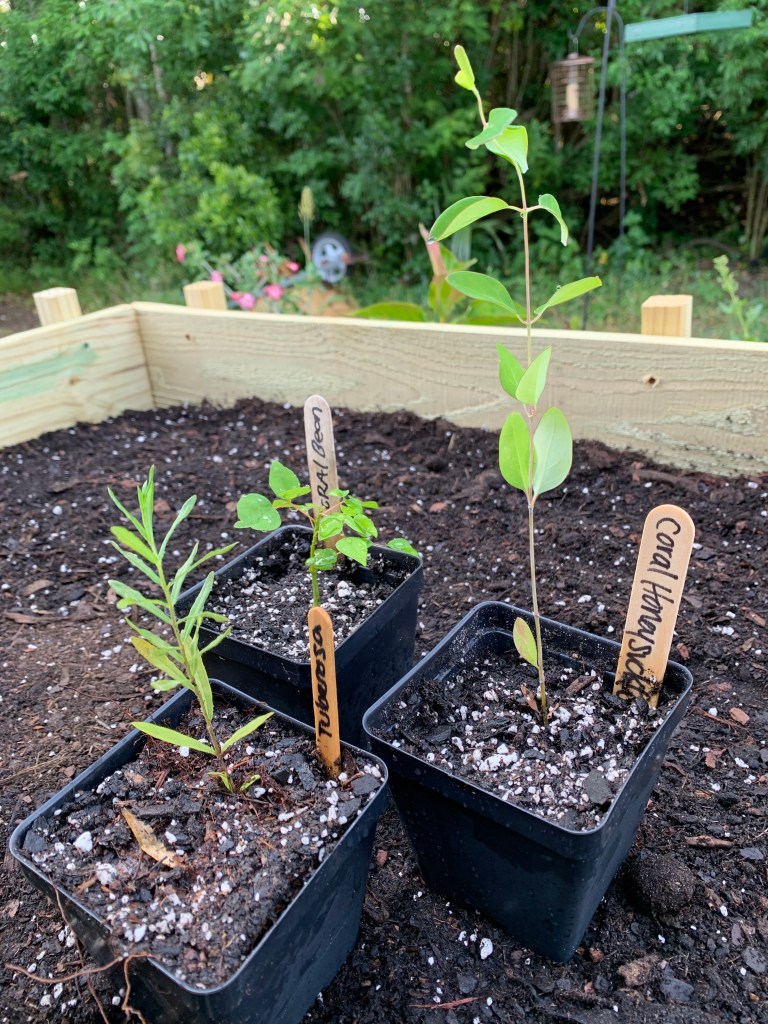
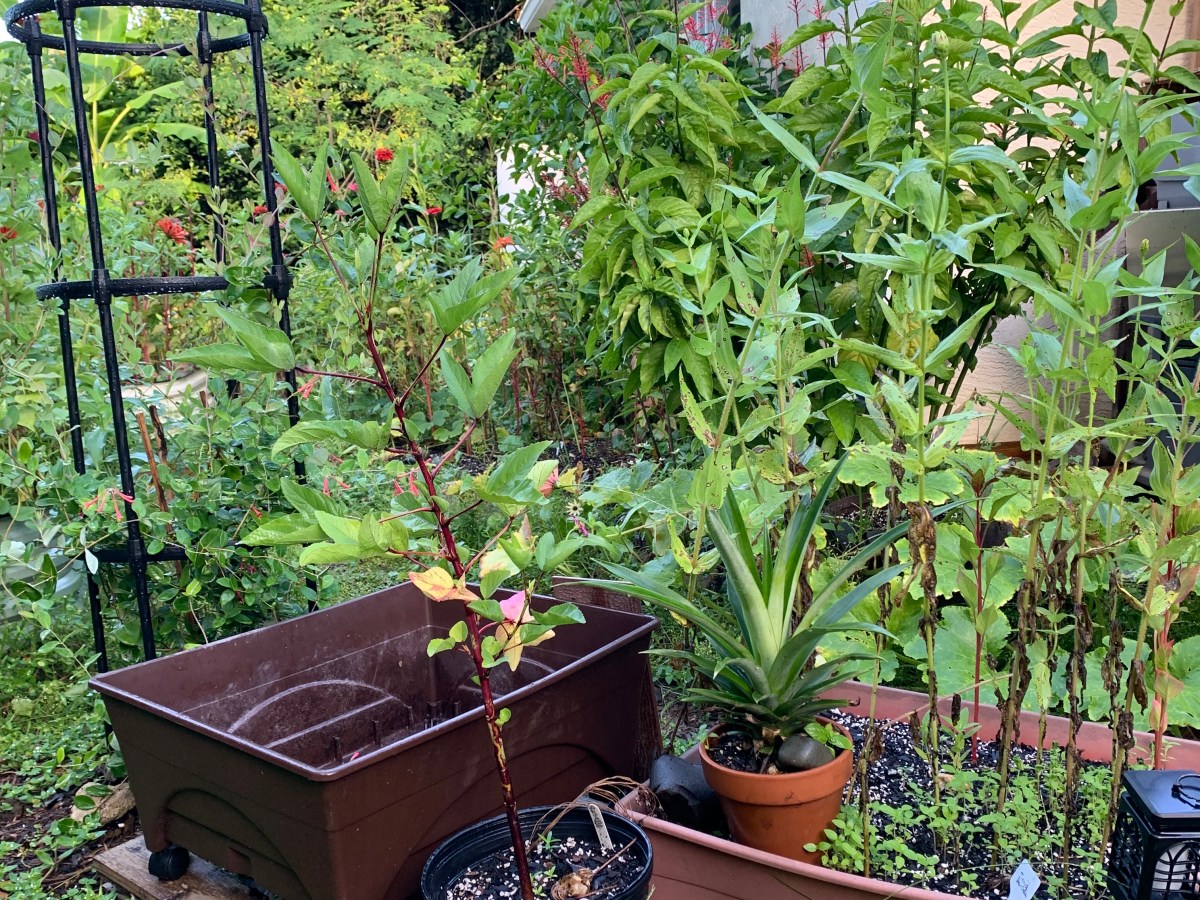
Whitwam packingWhitwam wrapped milkweedWhitwam plant in bagDaylight photo: Milkweed, coral bean, Coral honeysuckle from Whitwam Organics
The Whitwam plants were unboxed in the house, until sand began to come out all over. I took them outback to finish and set them inside on the porch for overnight.
The photo above was taken the next day. The packing was sufficient, but nothing special. Plastic wrap mostly kept the soil in the pots and then the entire plant was closed up in a paper bag. The soil is more like Florida sand than potting soil. The dirt you see in the big photo is after I filled in what was lost when the dry sand poured out. All three plants look okay, but they are small. The Milkweed has lost a few leaves.
Cost: $42.57 which includes shipping and tax. Not really worth it IMO as these plants are very small.
Growers Exchange Milkweed Seedling Order
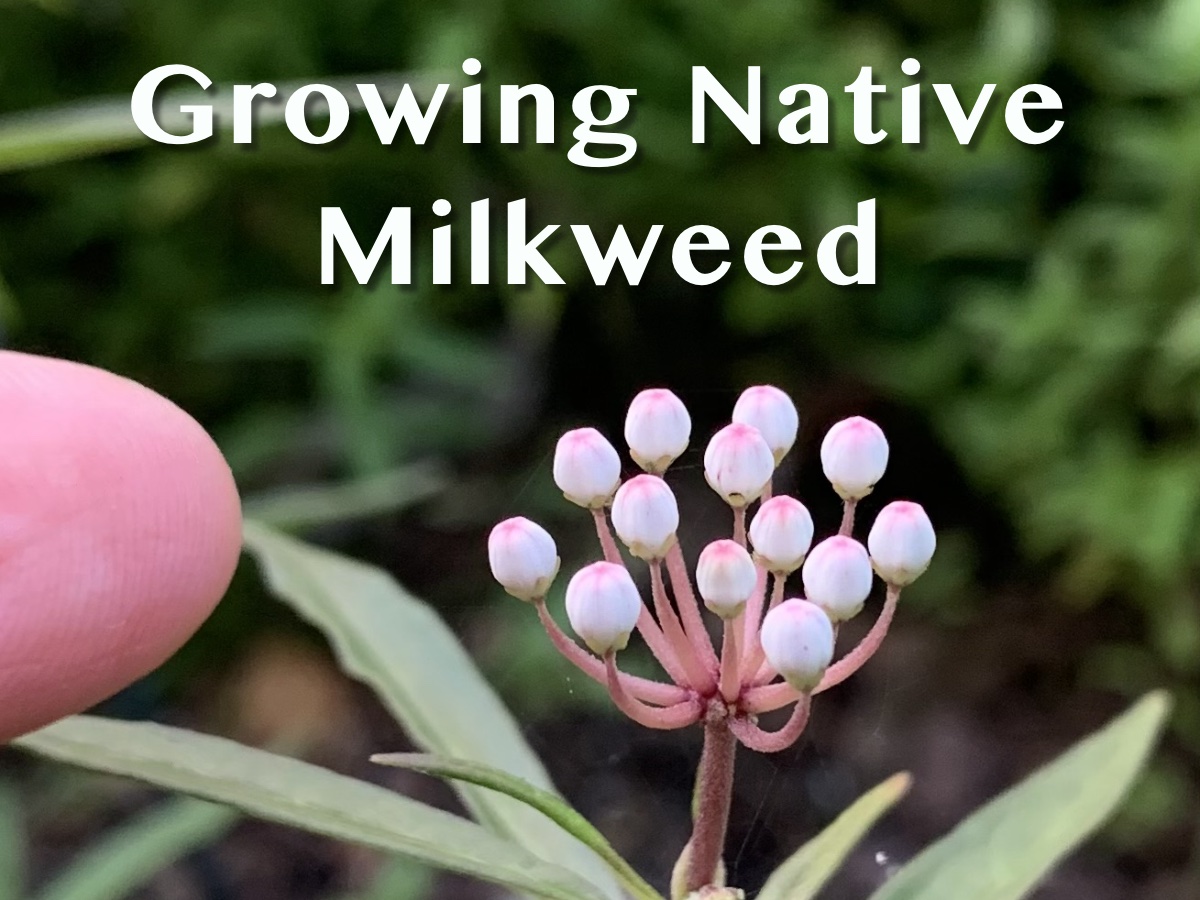
I ordered four Pink Swamp Milkweed from The Growers Exchange. These were not labeled organic, but the site says they do not use any chemicals when growing. The site offers lots of herbs and medicinal herbs, but they also have a few varieties of milkweed.
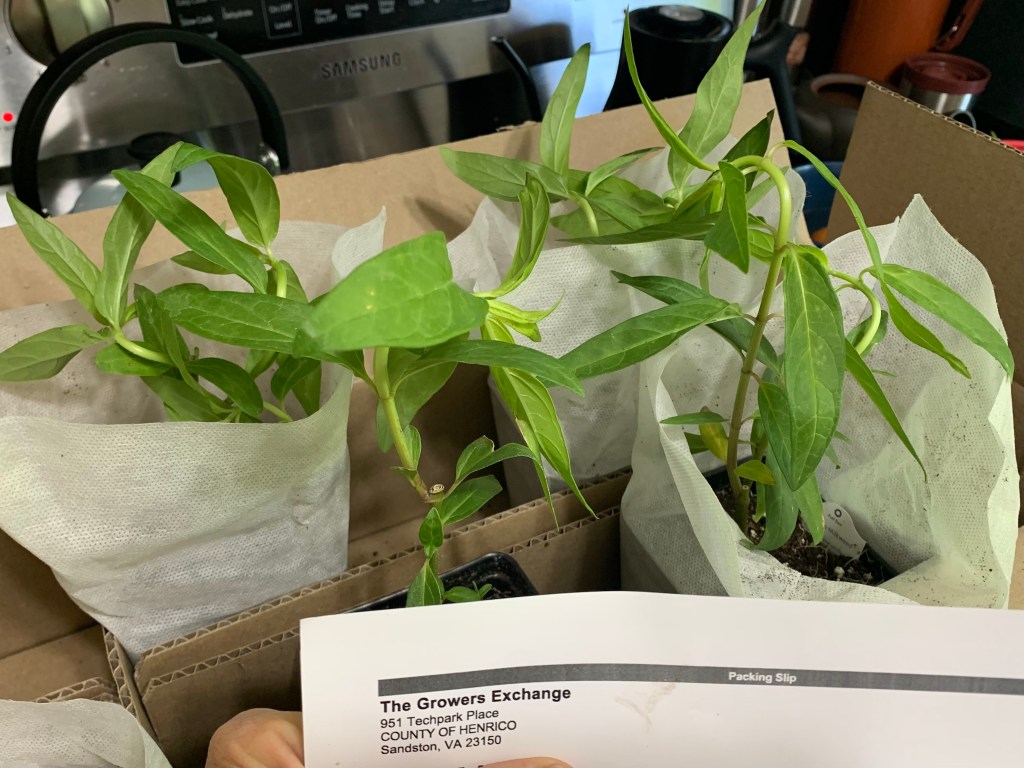
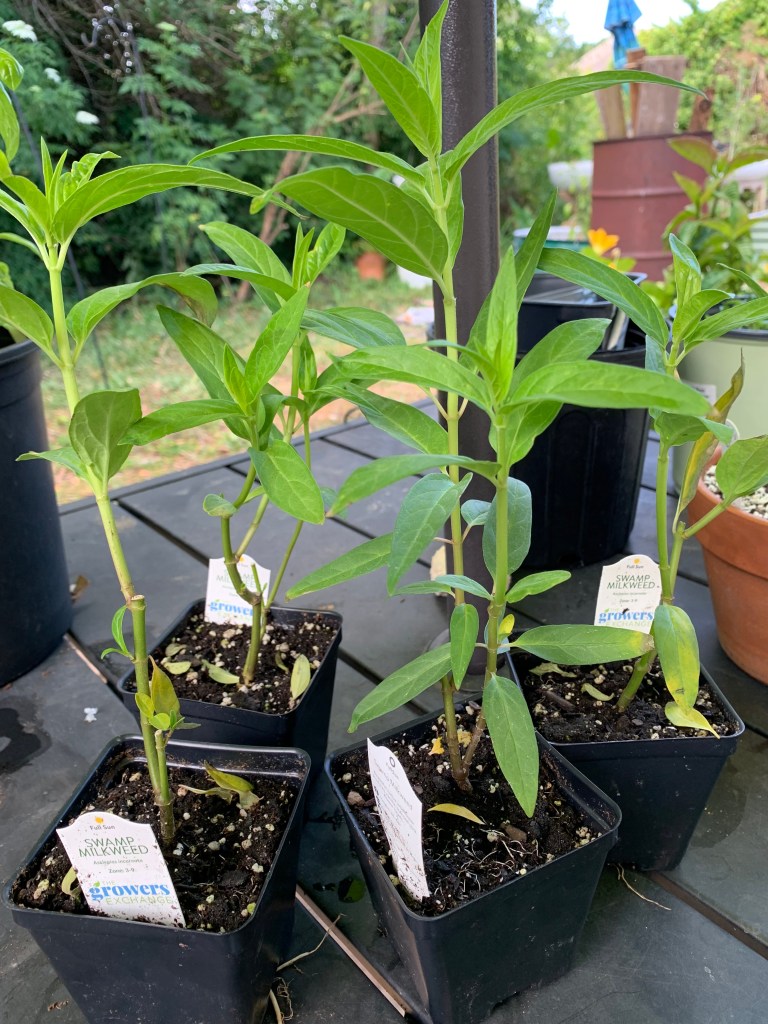
I was very impressed with the boxing and size of these milkweed. (This milkweed is a different variety than the one shown above from the other company.)
All four plants were wrapped around the pot to keep dirt in place. Each pot was tucked inside a cardboard divider which kept the pot in place during travel. The plants were so tall that the tops were bent over to fit. They straightened up completely within two days.
Unboxing nice big plantsStems have straightened
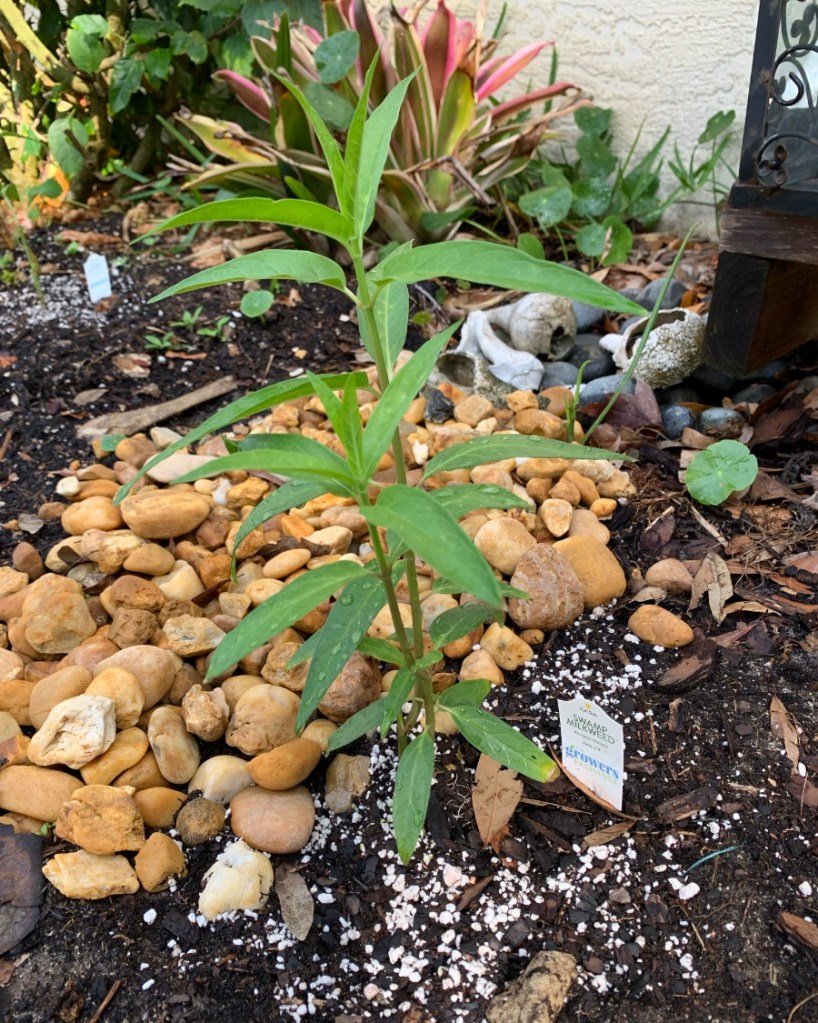
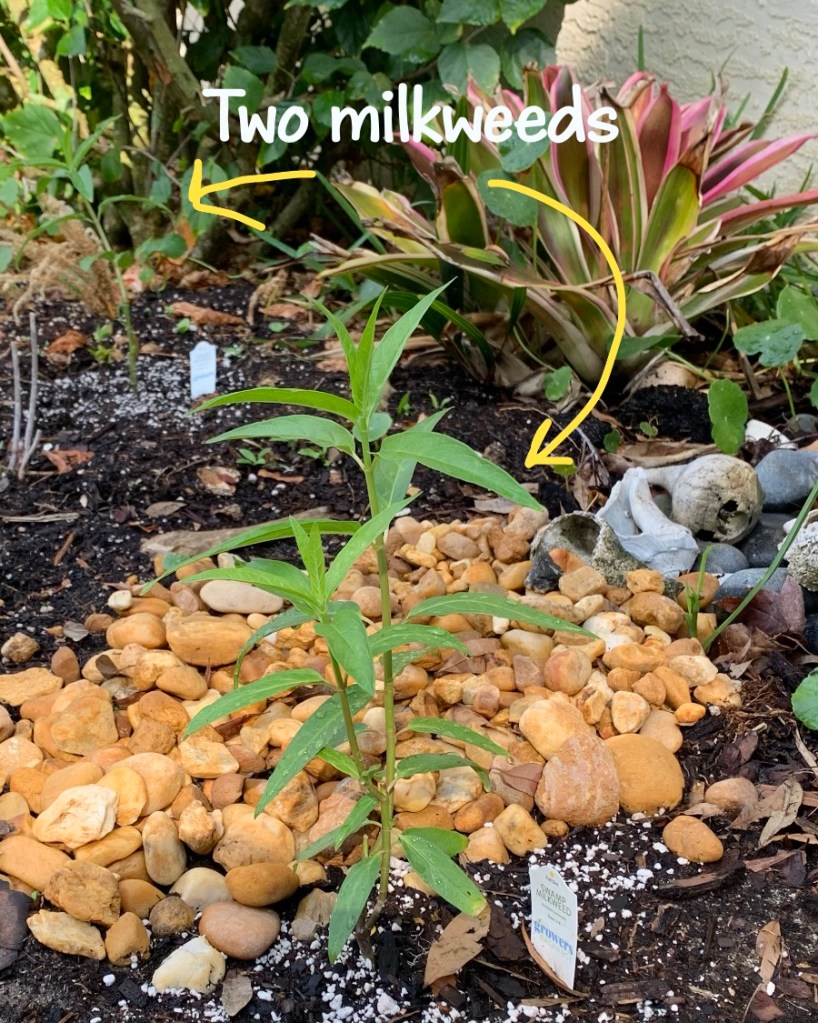
After unwrapping, I watered them, and set them on the porch, out of direct sun, for two days. After that they went outside for a couple of days. Now I have two in the ground, and two in larger pots.
Swamp milkweed likes it wet, which makes sense. Especially while it is setting roots, I want to keep it well watered. Our drought continues, which means I water every day.
Swamp milkweed in the groundTwo milkweed planted
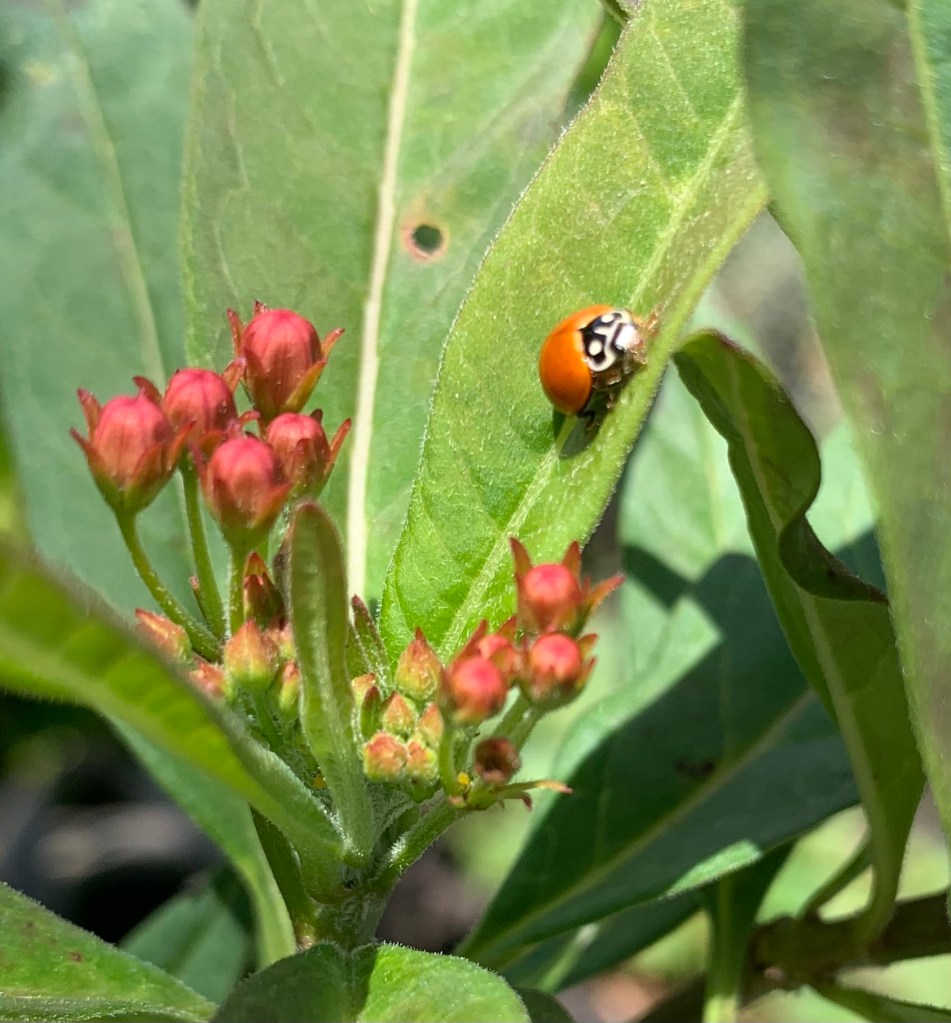
I am absolutely impressed with this milkweed plant order. They offered a discount of 20% (I think it was), and the total for these four plants, with $15 shipping was $50.89. The plants are healthy and large and I am happy. I’ve already seen lady bugs and the Monarch on these!
I’m considering having a herb garden in the future. I need to learn more about when to plant which herbs. The Growers Exchange might be my go-to shop for those.
How to Care for Live Plants
Both companies mentioned here has fairly quick shipping. I’d say the plants arrived in about a week’s time. Shipping also depends on the growing zone, and time of year. Each company has it’s own information.
I’ve pretty much mentioned on this page how I cared for the plants when they arrived, but here’s a recap. Unbox immediately. Check the soil and re-fill if necessary. Water them well! Here in Florida, do not set them out in the sun right away. Due to the stress of being packed and traveling for days, give them an easy life in the beginning. Give them light, but no direct sun. Keep them watered and watch for signs of disease.
Have you purchased native, organic (or chemical free) local milkweed – or other plants – online? Please leave us a comment on how it went.
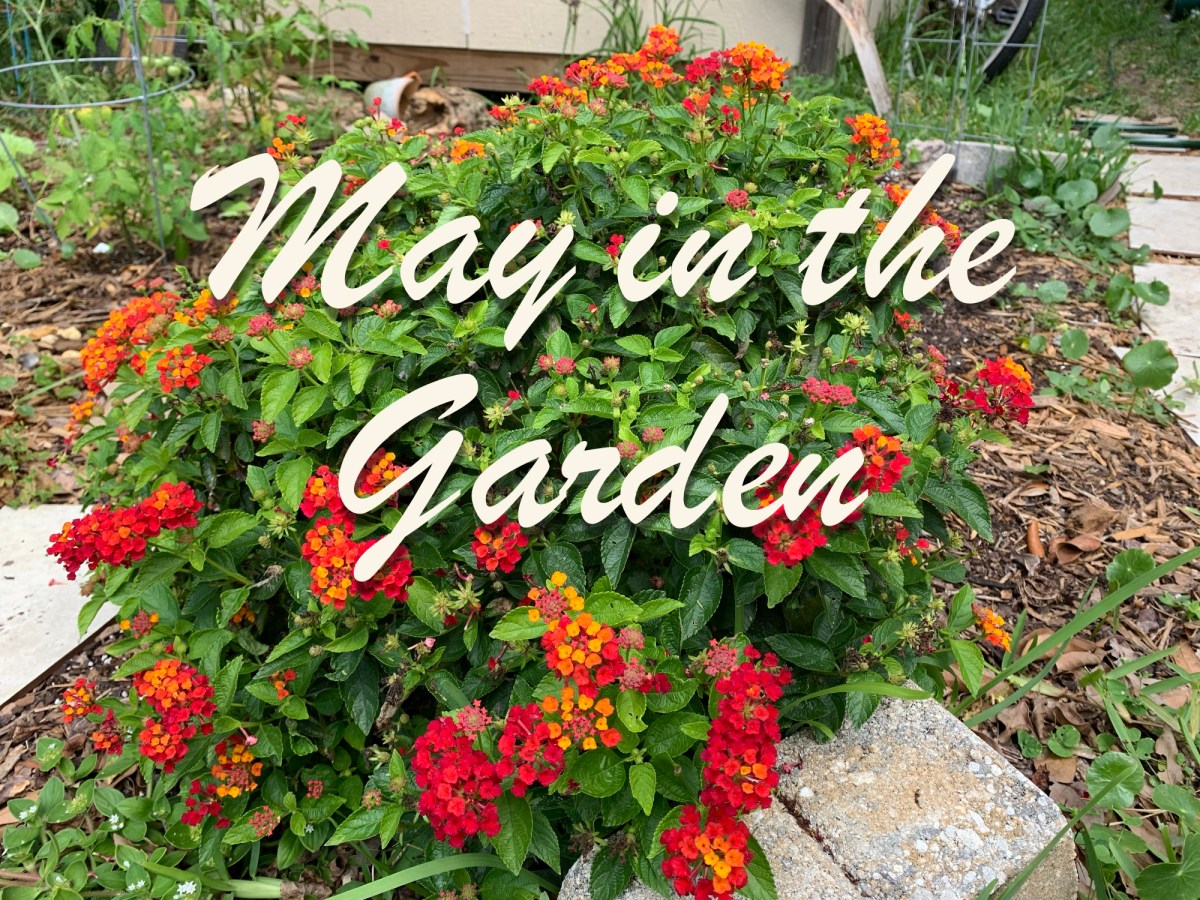
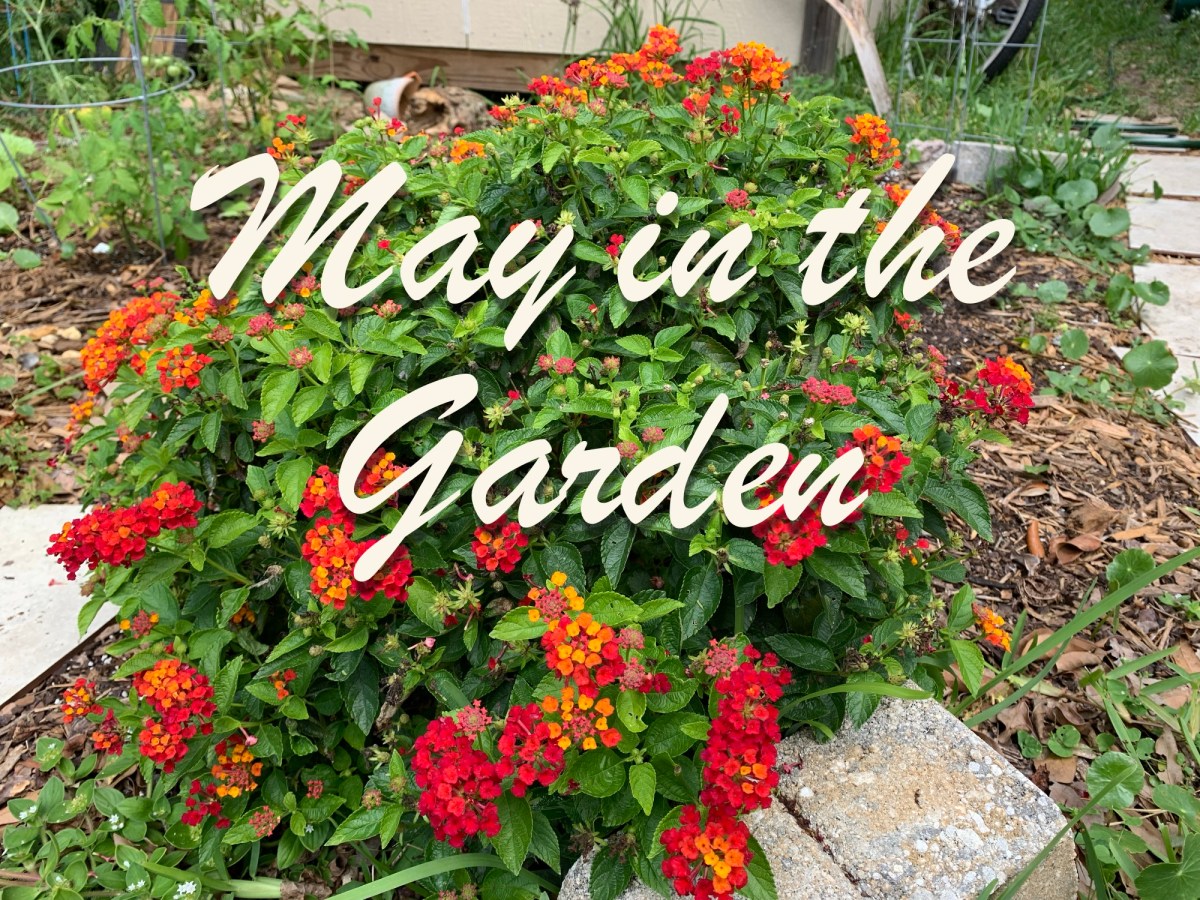
May in the garden is mostly about finalizing the switch from winter crops to summer. This quick post shows photos of some of what I have growing at this time.
Now that May is here, the super hot weather is not far behind. Hopefully it will also begin to rain occasionally! My garden beds are mostly planted.
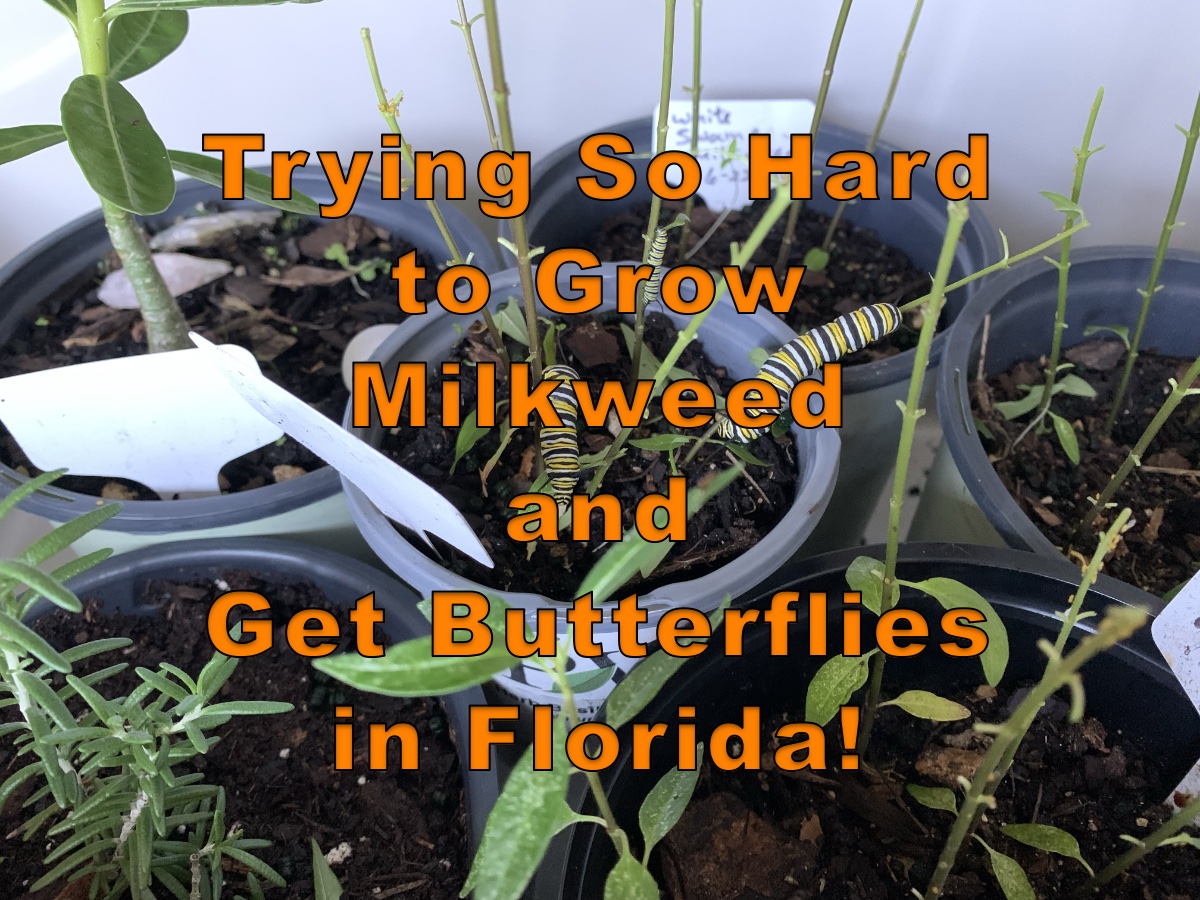
I’ve been on a milkweed growing kick, so I have lots of little pots going. I do not love having to monitor tiny pots, and the smallest seedlings will stay on the porch. More about my milkweed later.
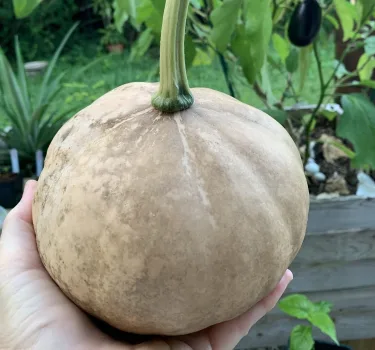
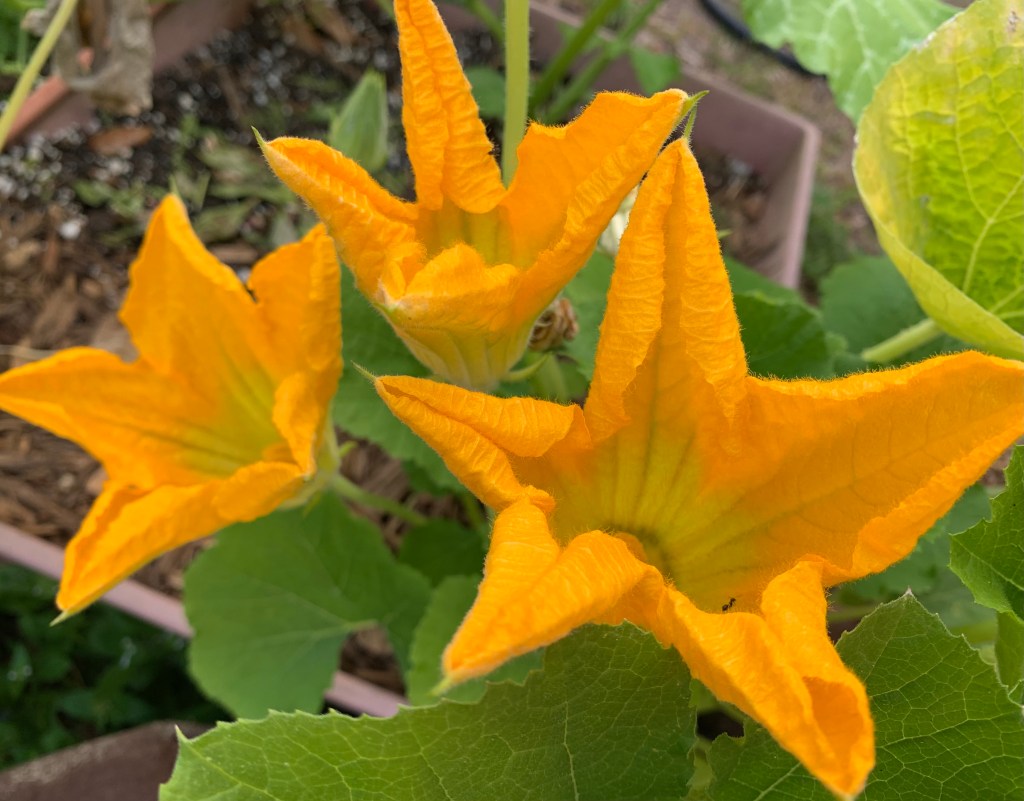
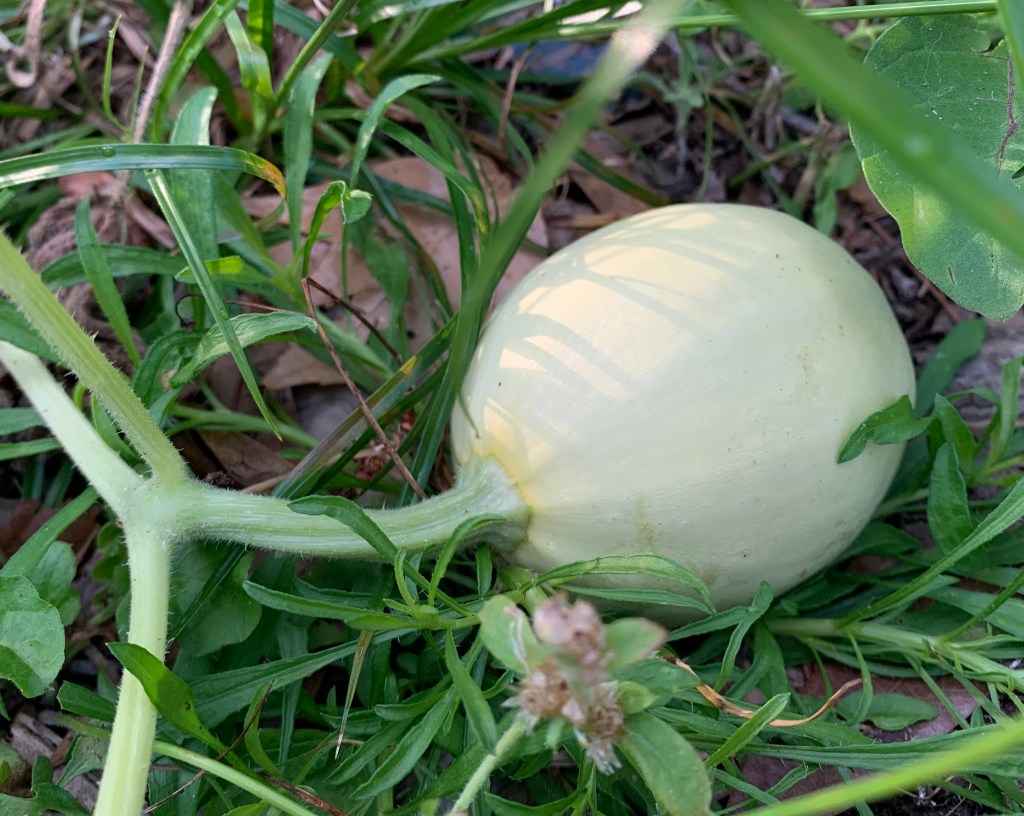
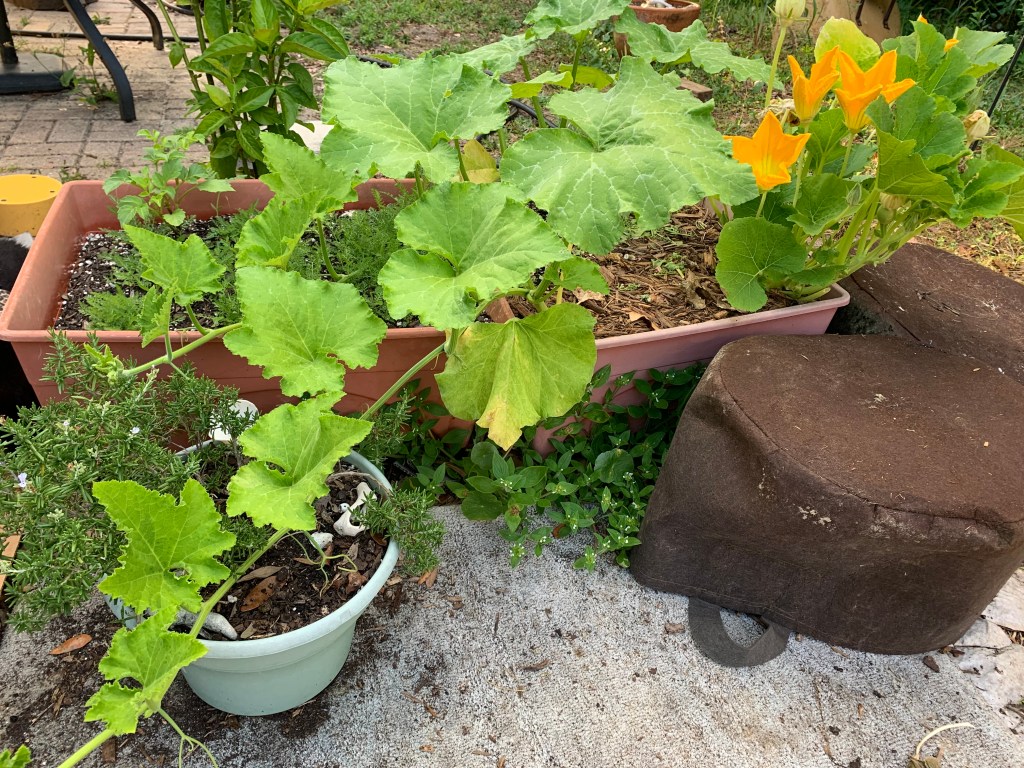
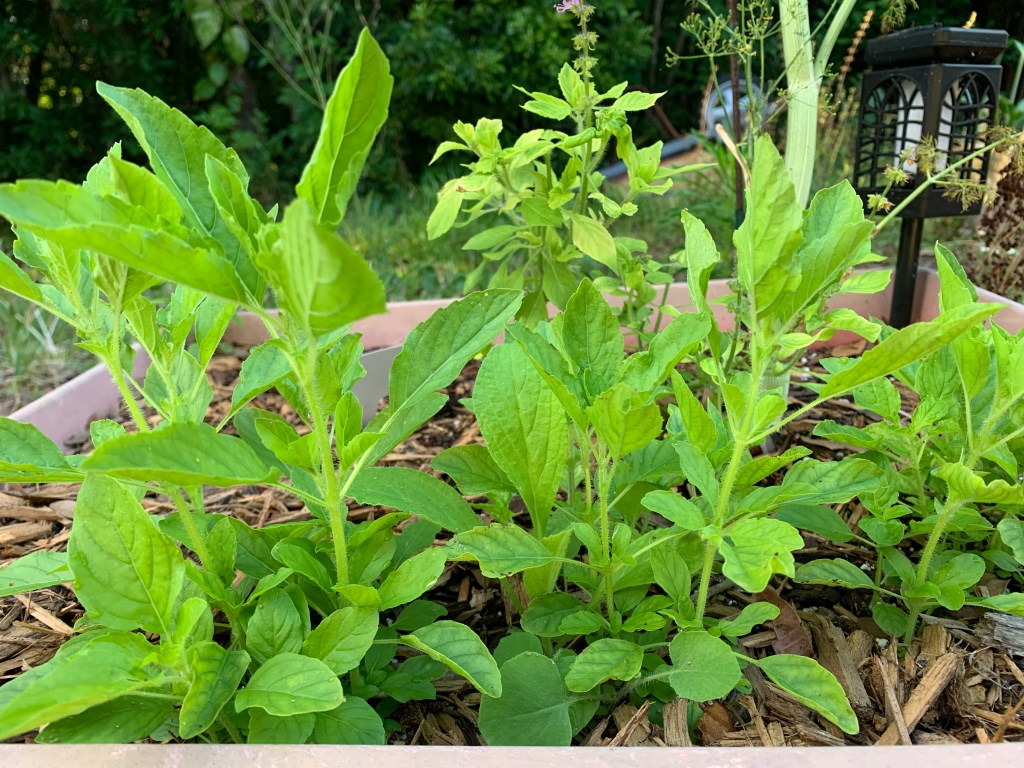
For now, the Seminole pumpkins are growing vines. I have a random (spaghetti?) squash that came up. However, the vine doesn’t look great. My winter basil is still growing, with Tulsi Holy basil seeds sprouting for summer.
Pumpkin flowersSpaghetti squash? Random volunteerSeminole pumpkinHoly Basil, TulsiDesert Rose
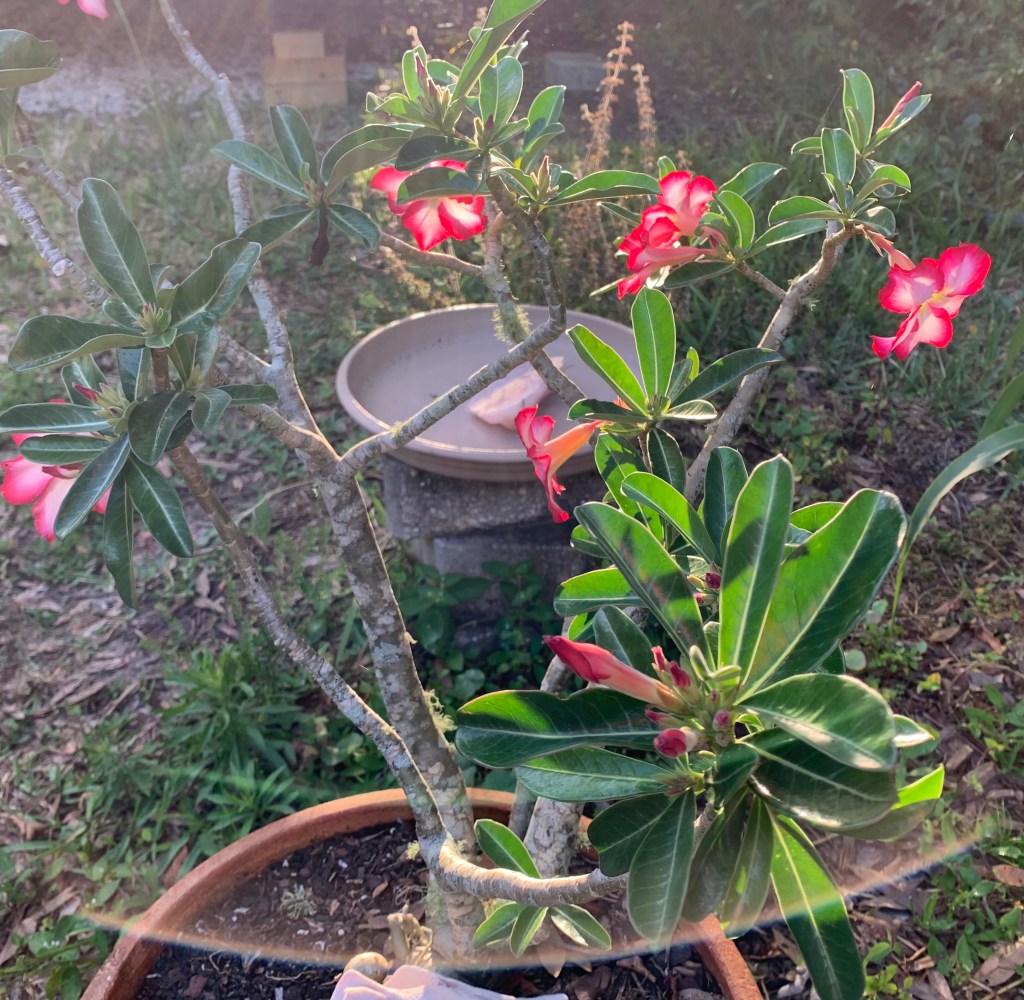
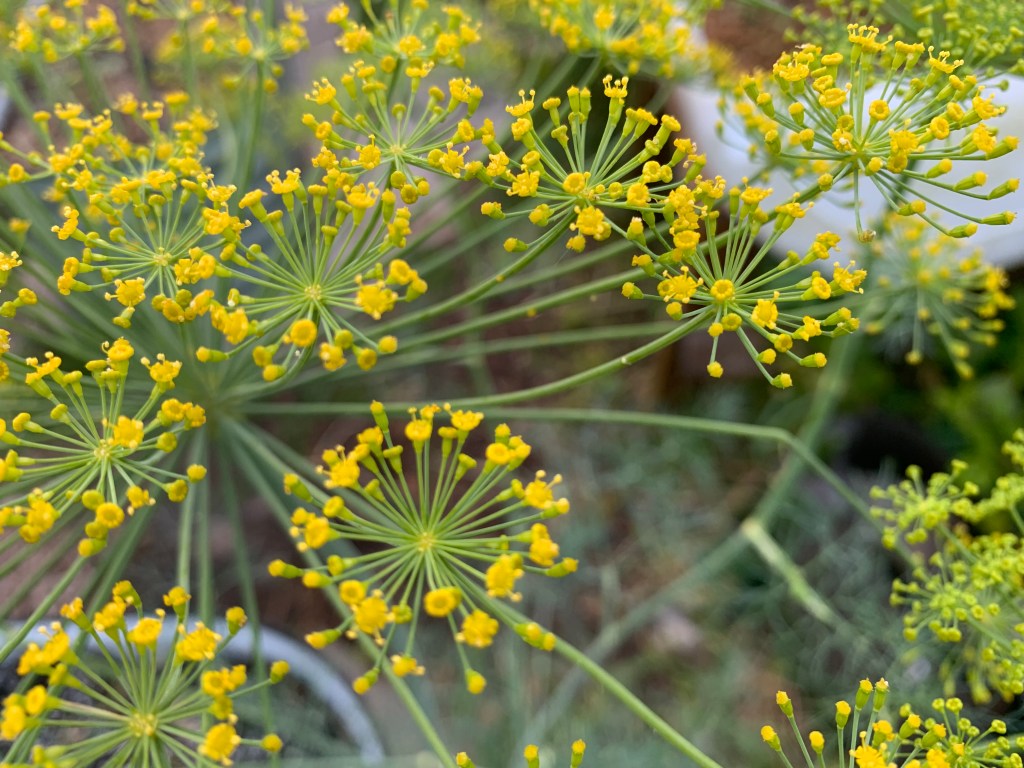
The Desert Rose has come back from the dead (dormant really), to give a pretty display of bright pink flowers. The dill plants are everywhere, and most are flowering, but some have already gone to seed. I’m hoping for black swallowtail butterflies to show up soon.
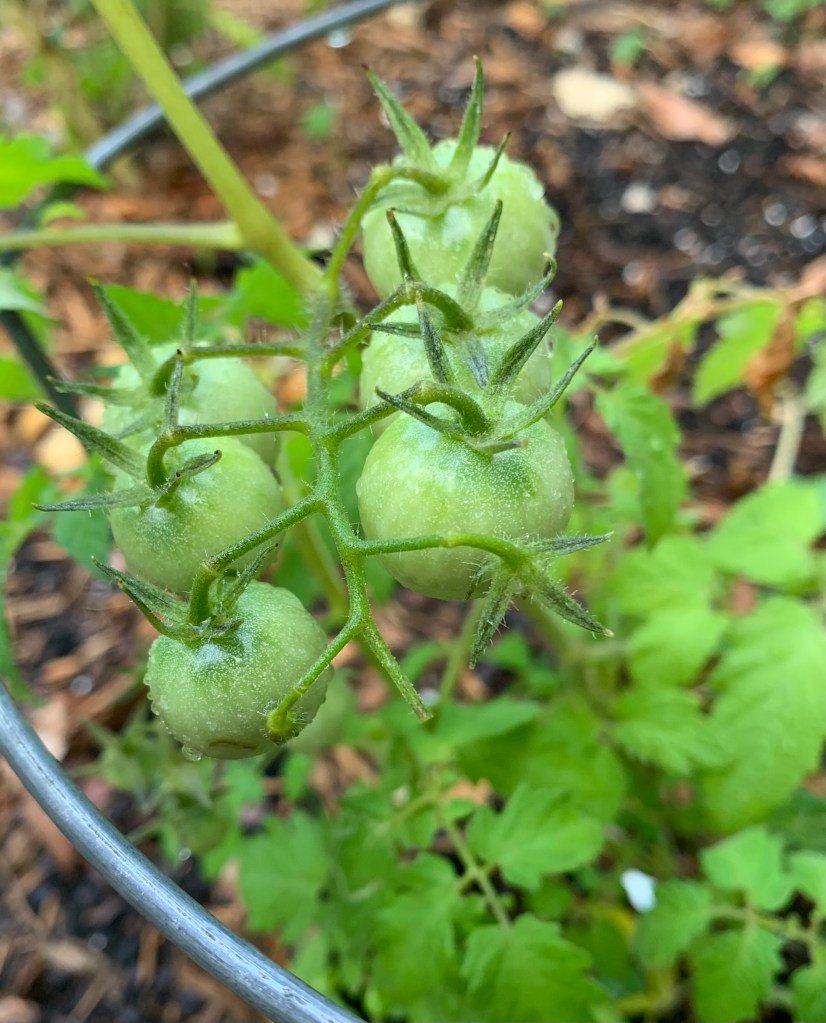
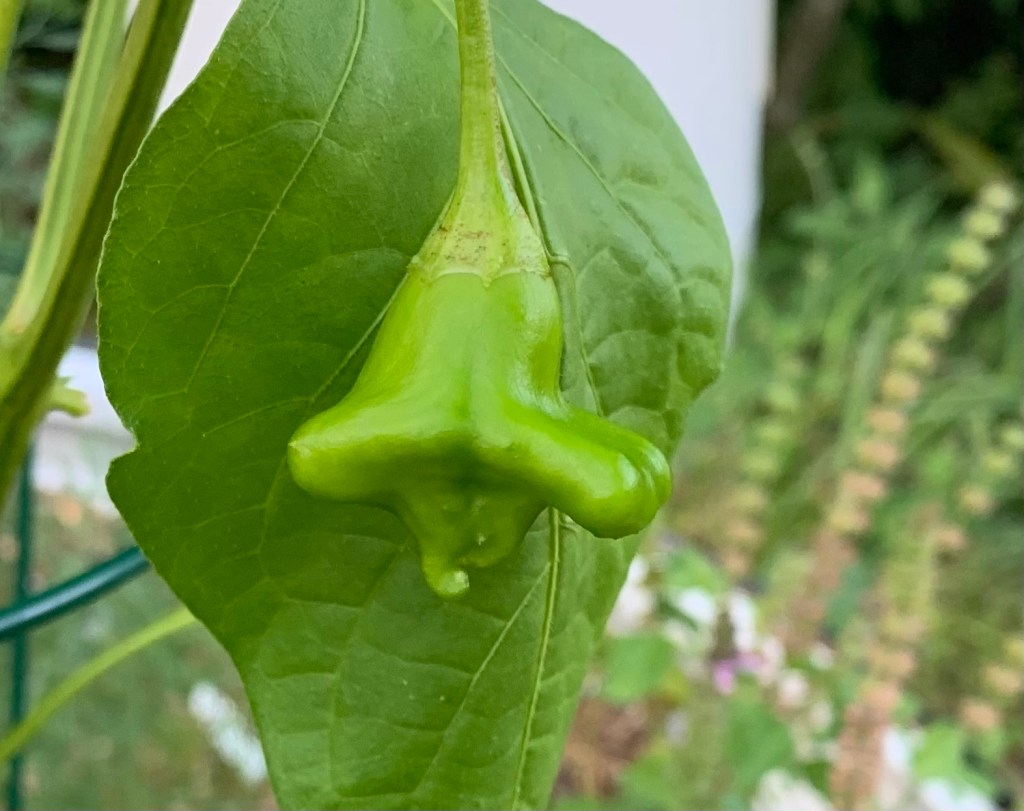
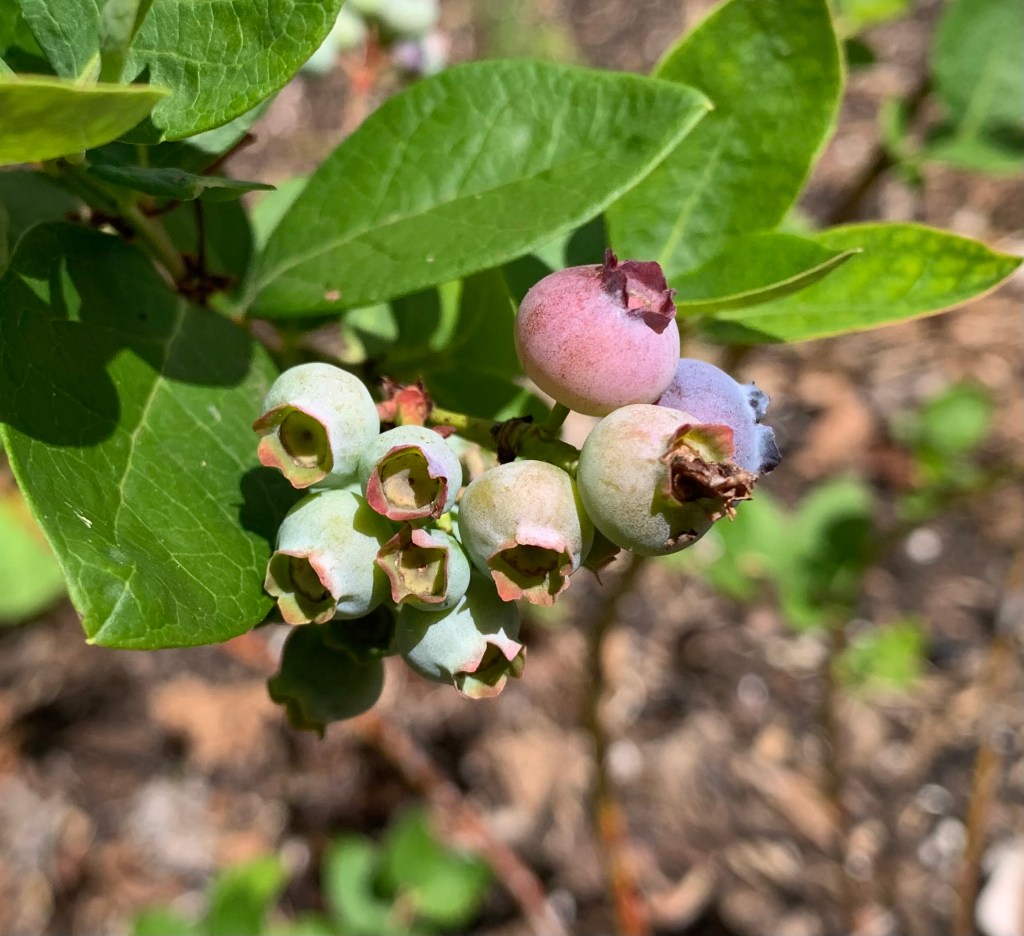
I ate three blueberries on May first! And more blueberries are on the one and only plant. I’m eating a few banana peppers, and waiting for the Ubatuba pepper to turn red. The cherry tomatoes are ready randomly, so I get a few here and there. I was finally able to grow an Everglades cherry tomato plant from seed.
No water is falling from the sky, so every morning I am out keeping the plants alive. The sun is very hot during the day and things dry out fast.
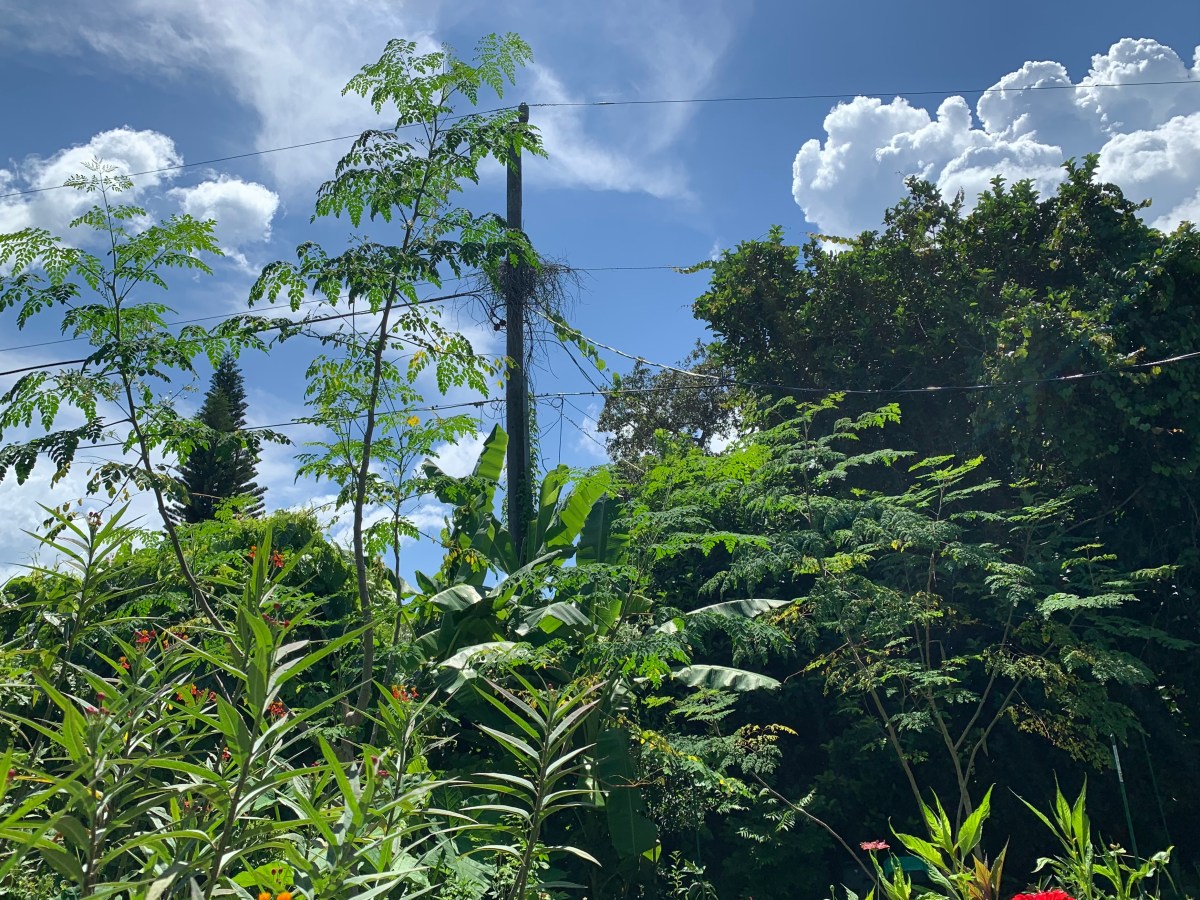
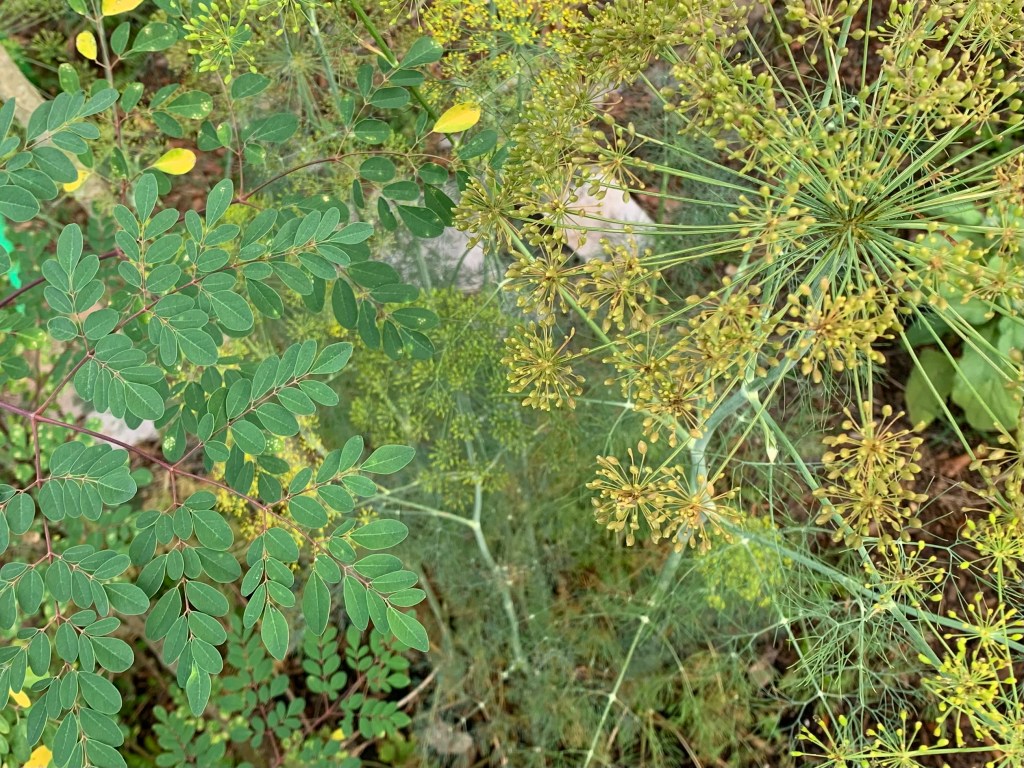
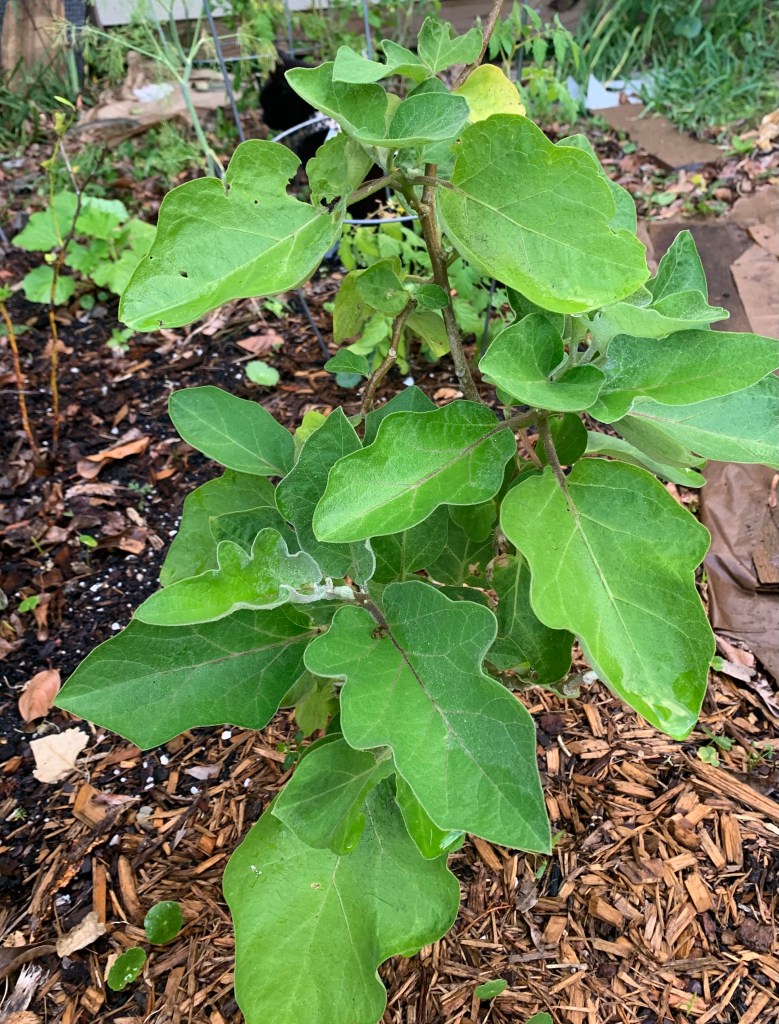
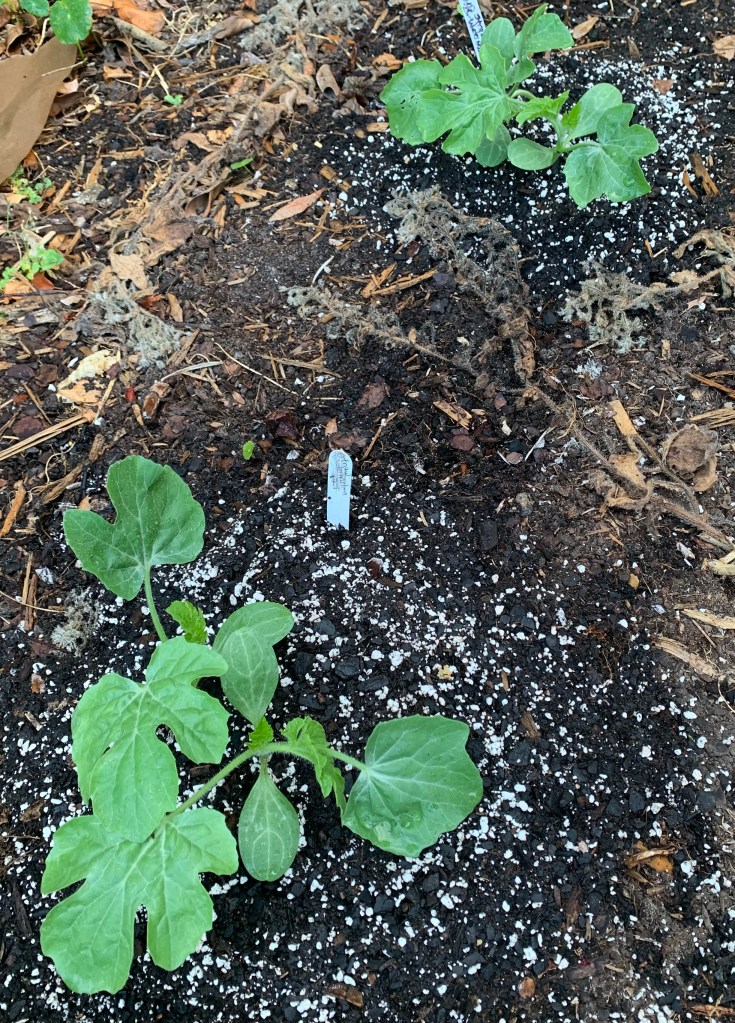
Moringa and dillEggplantWatermelonSkittle after surgery – lounging in the garden
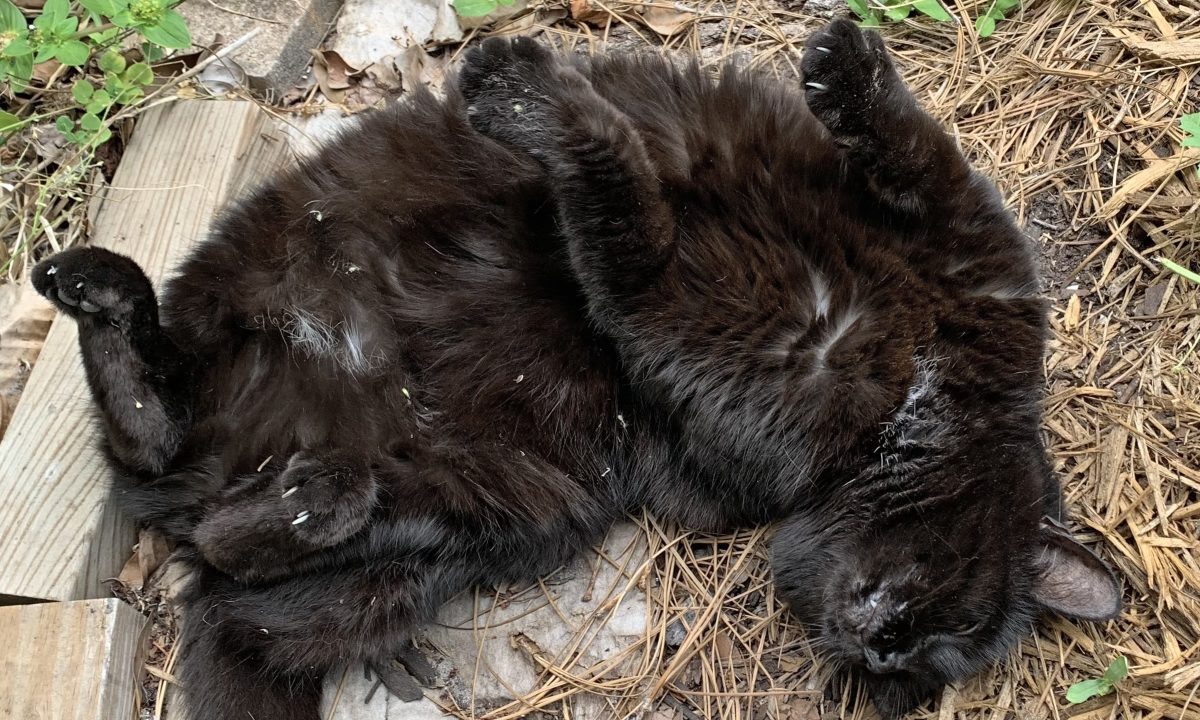
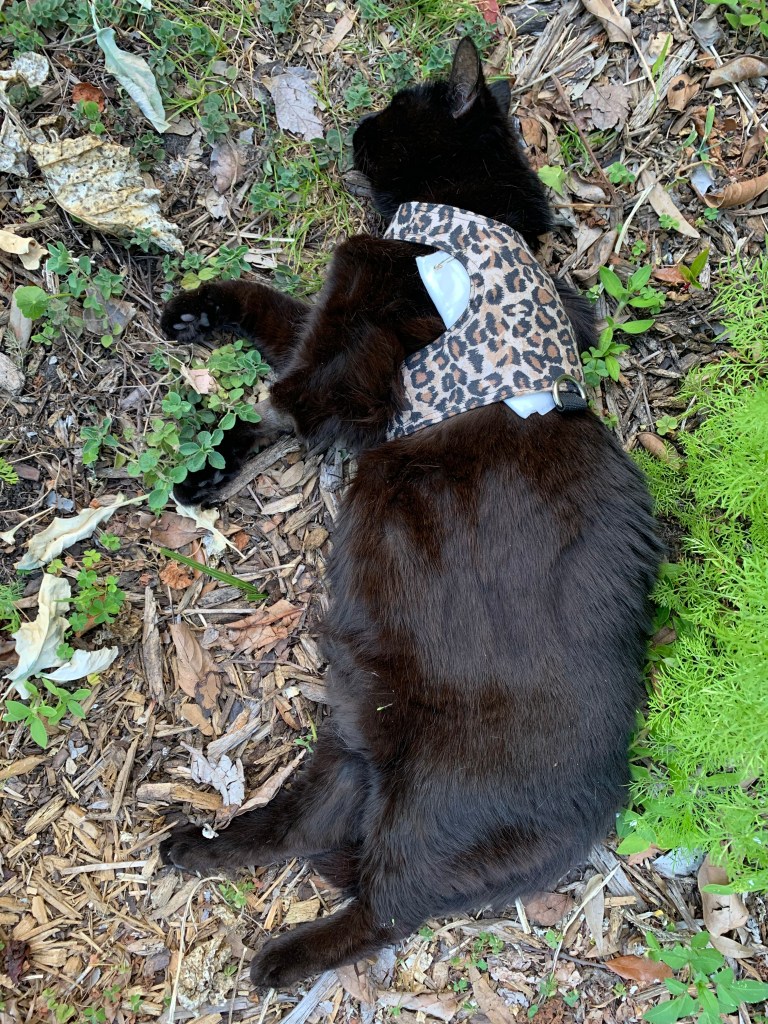
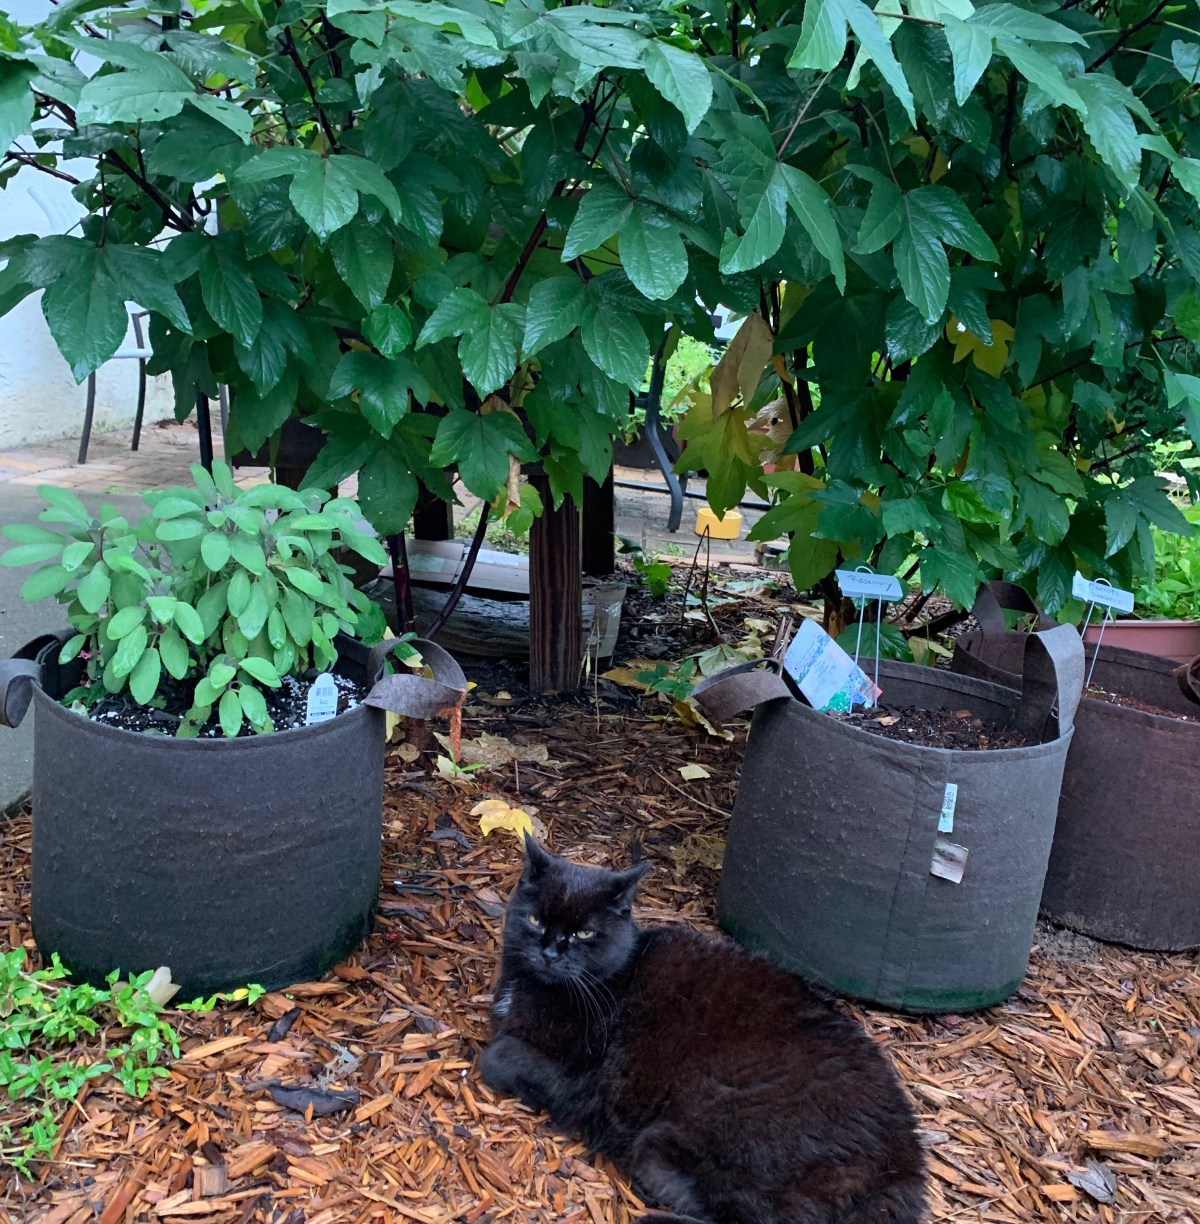
My cat had to have a growth removed from her back and now she is in recovery mode. Nothing stops her from wanting to be outside. The photo above shows her in one of her happiest places. In the garden path, with her nose in the oregano.
If you are in Florida, I hope your garden is in full summer mode. If you are just coming out of a long winter in the north, you will be planting soon.
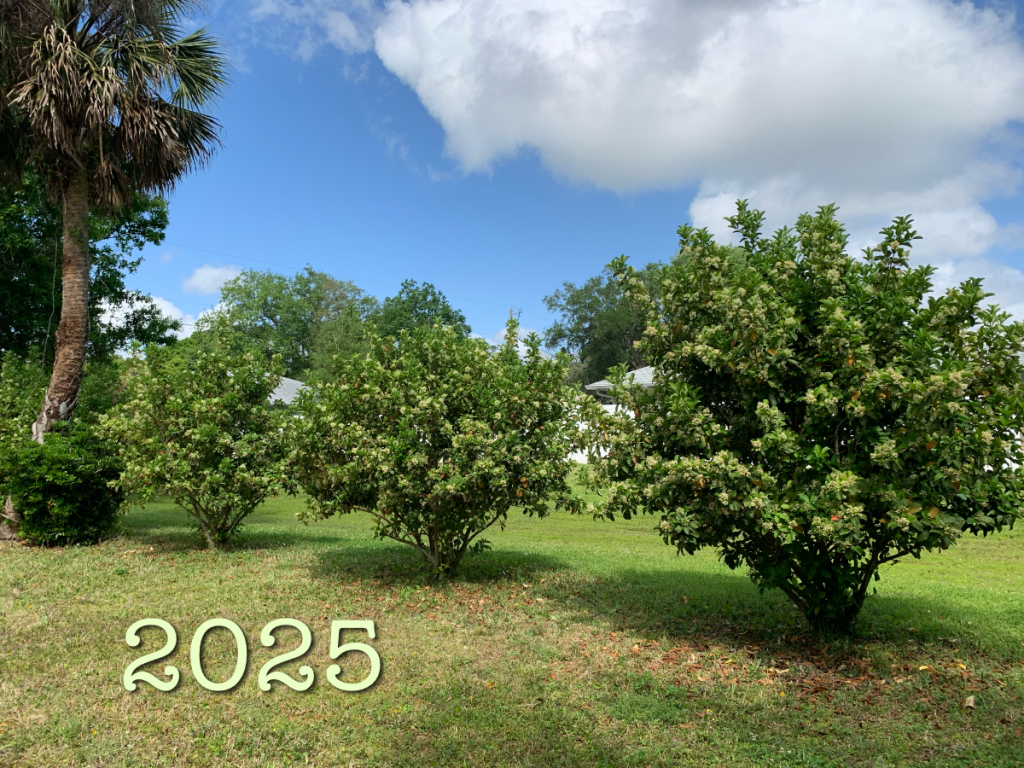
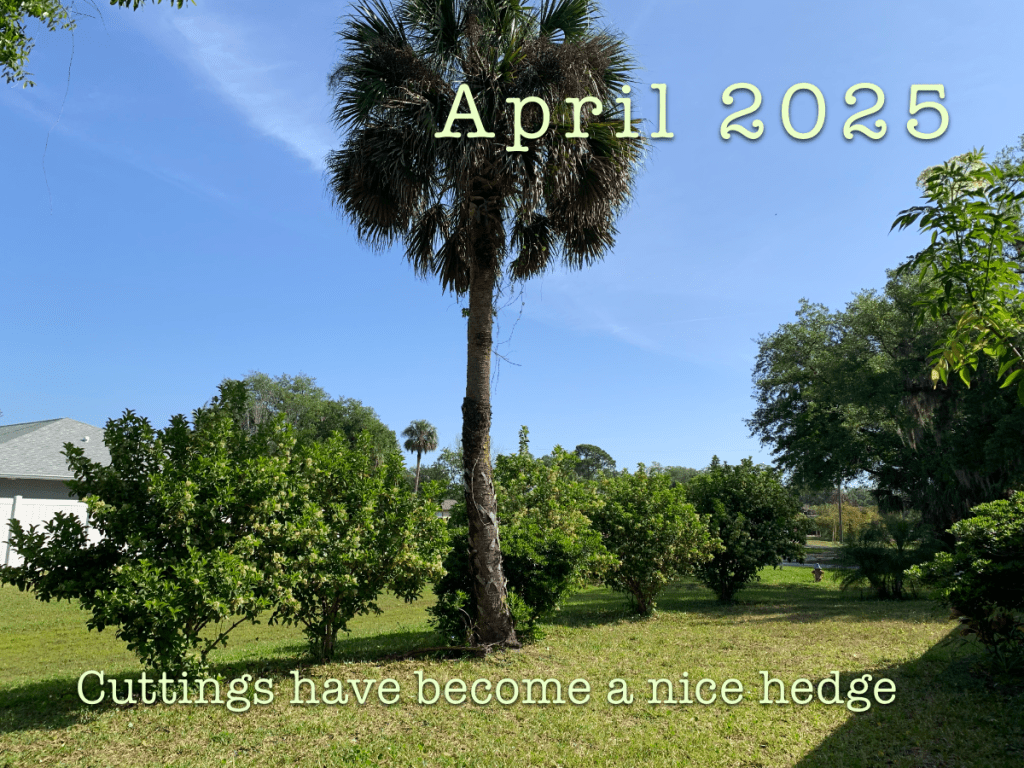
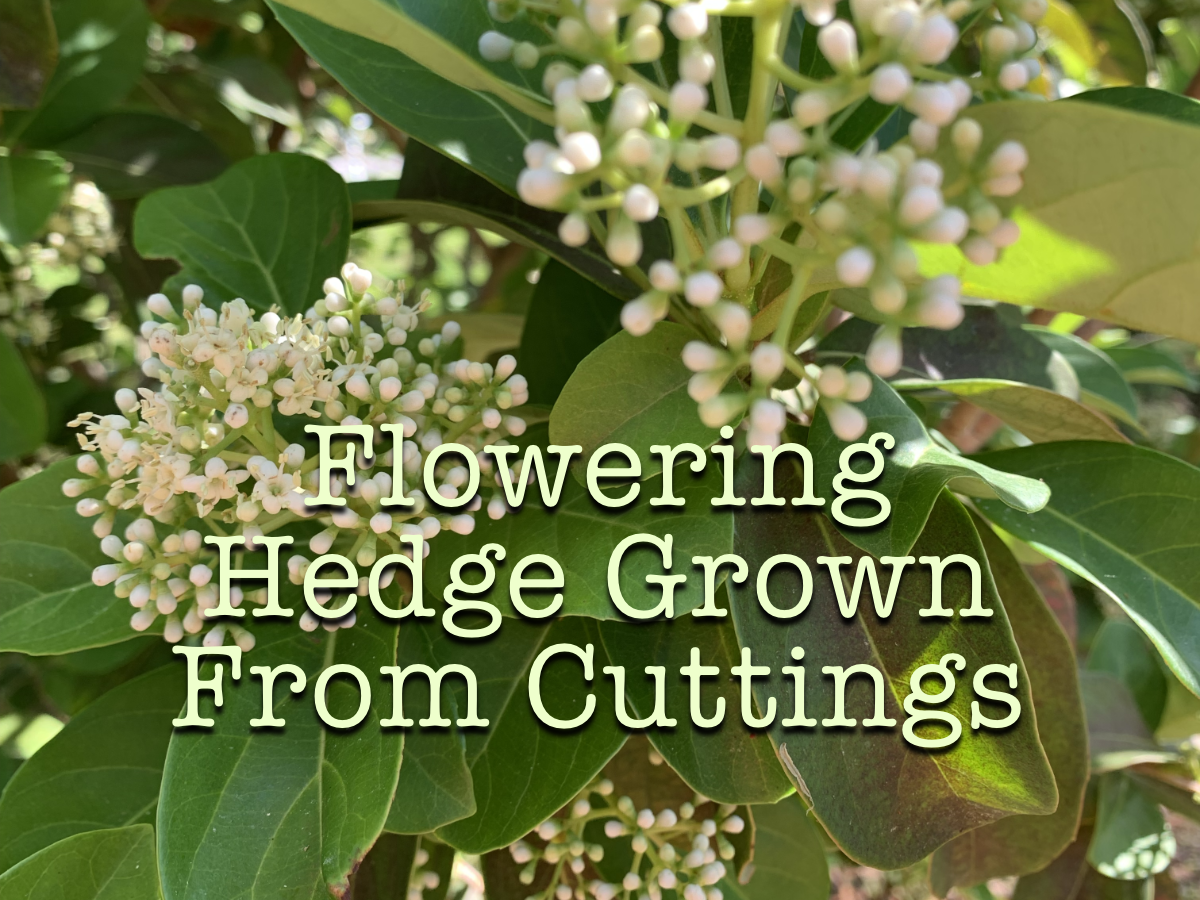
Propagated cuttings created this flowering hedge in my front yard.
Here is the simple way I grew a bushy hedge full of flowers. I did it in five years time.
Actually, I did very little. I took cuttings from the tall shrubs in my backyard. When they rooted in water, I put them into pots. They kept growing. Once they were large enough, I planted them in the front lawn. I gave each shrub plenty of space.
I had considered putting a few bottlebrush trees between them, but it never happened.
Seedlings plantedAfter five years
The Premna Serratifolia is Quite Awesome
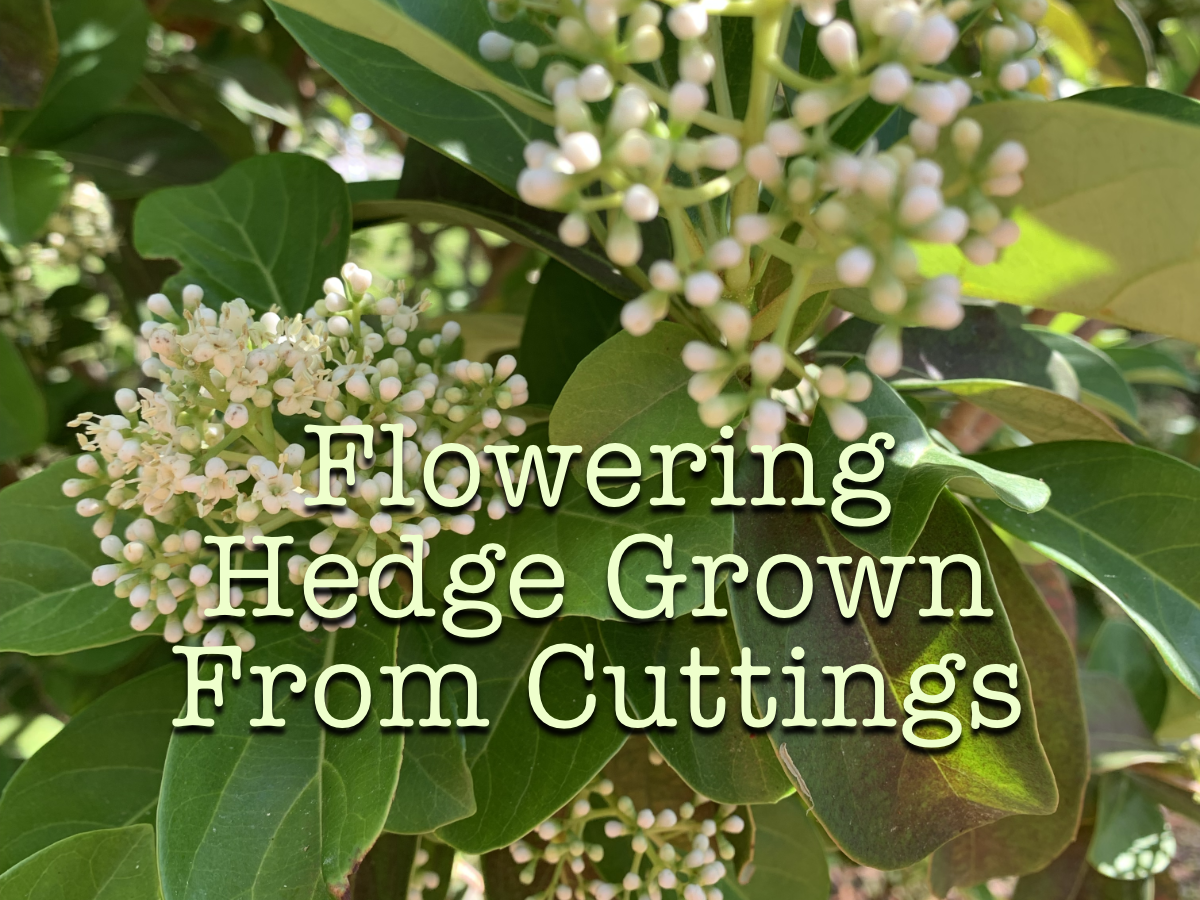
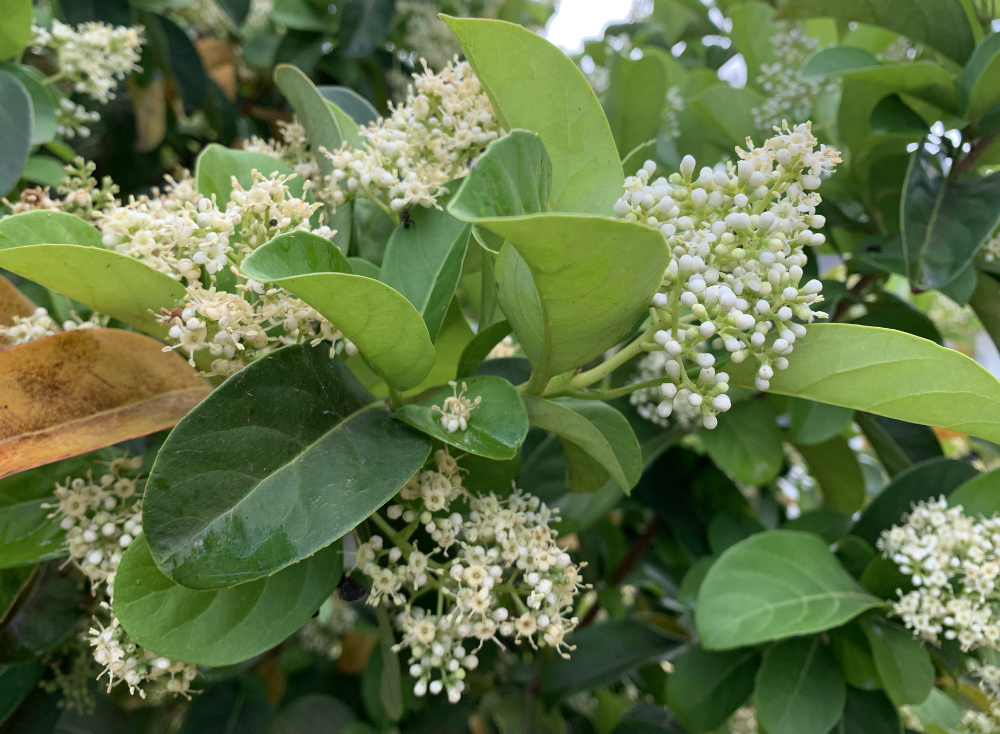
I had no idea what this shrub was until I researched it for this blog post. The Premna Serratifolia is fast growing and blooms profusely in March and April where I live, but only for a short time. The leaves supposedly have health benefits and are edible.
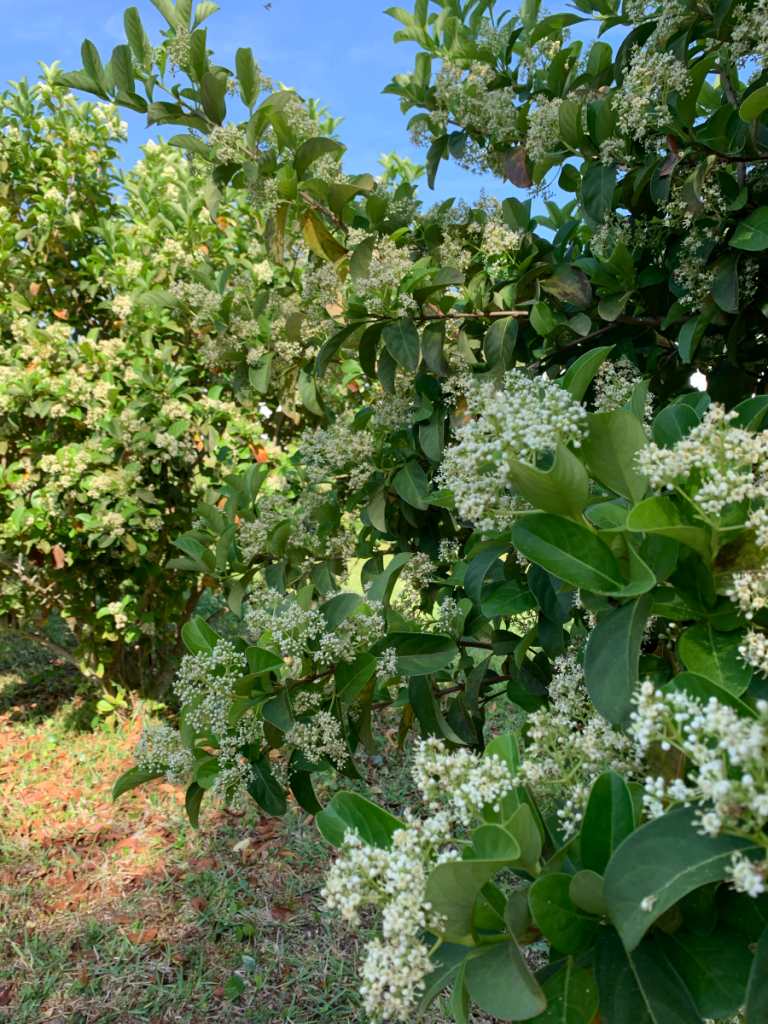
At the time I am writing this page (April 2), The blooms are already going by. The clusters of tiny white flowers smell wonderful, and attract all kinds of beneficials.
Flowers appear end of March
If I were a better photographer, I could show you the bee variety and even a few Monarch butterflies that were all around those flowers. This shrub is loved by the pollinators.
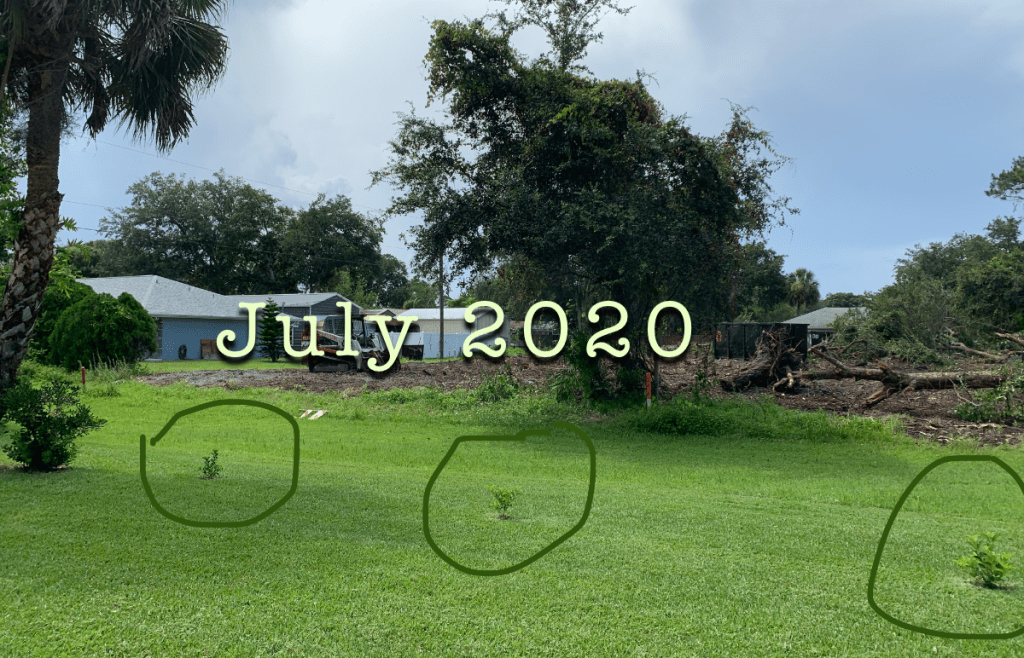
When we bought our house in 2016, the land across from us was wild. Once it went up for sale, I realized that we could have neighbors soon. That’s when I took cuttings from the shrubs in the back. I had no idea if I could root them.
It turned out that this plant is very easy to propagate. Every cutting grew roots in water and then grew nicely in a pot. After a few weeks I ended up with five new plants.
The big mistake many people make when planting crops and new trees and shrubs is that they put them too close together. I gave these little cuttings a lot of room. The roots would not have to compete for water and nutrients.
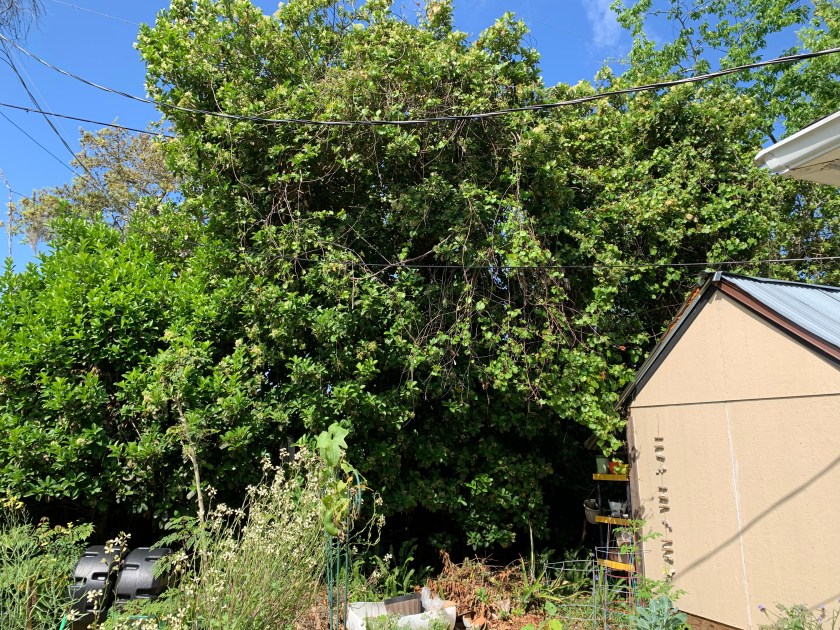
Below is a photo of the old plants behind our house. As you can see they are very tall. A lot of vines have taken over too. Typical of Florida.
The flowers are now falling like snow from the tall shrubs.
The “baby plants” are now taller than I am. I’m guessing they have reached 8-10 feet – in five years time. I think that is pretty fast growth.
The plants outback were probably planted when the house was built.
Growth in 5 years.
So now we have new neighbors where a Florida forest used to be. Three new houses went up, and every bit of vegetation was removed. Perfectly beautiful oak trees, pines and other things were torn up and removed. This is just one reason I dislike living here. Why not leave the trees that are not in the way of where the new house will go? Builders don’t care – just make it easy and remove everything.
My new, and free, hedgerow is growing up nicely and blocking the view. I also love that I’ve provided food and nectar for the insects. A living border also provides places for birds and other wildlife to hide.
I’m not sure if this shrub is available in local nurseries, but I think it makes a very nice addition to the yard. The Premna serratifolia is not a Florida native.
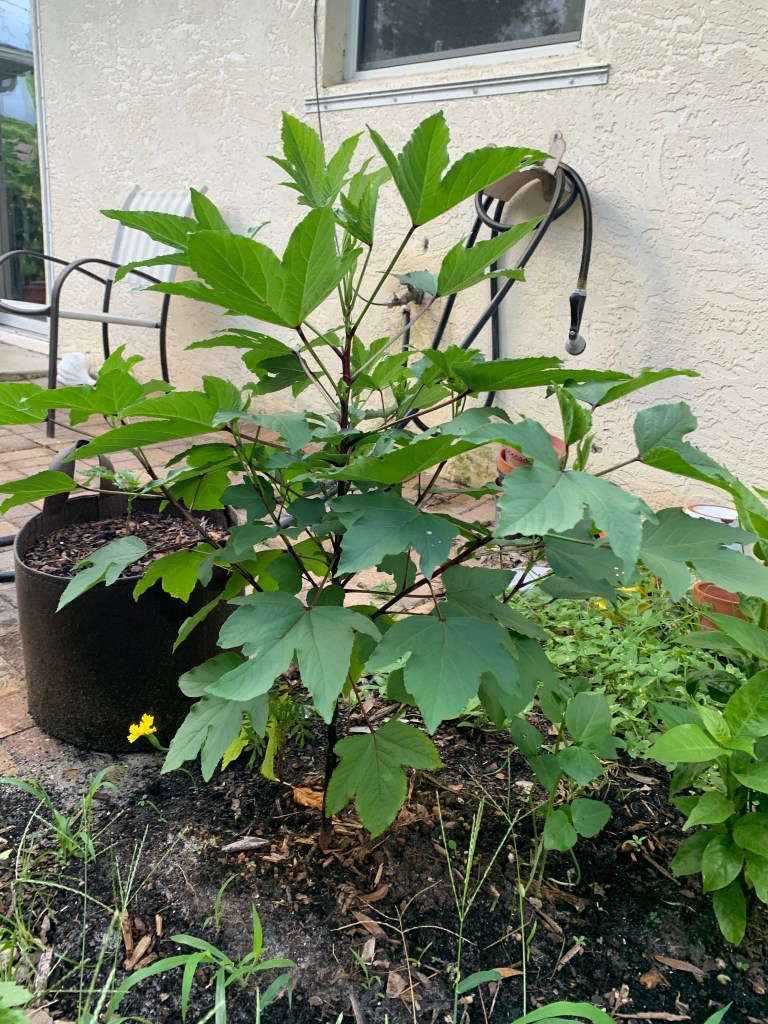
After my first year of growing Roselle hibiscus, I have learned a lot. The shrubs have grown fast and become too large for my small yard.
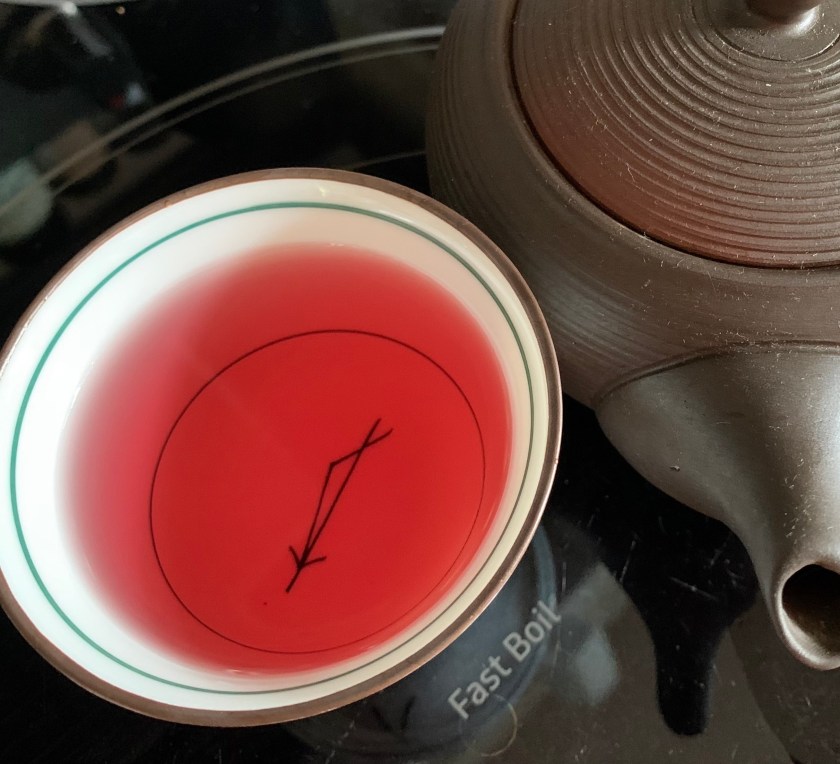
The Roselle hibiscus plant gives us the calyces that make beautiful, red colored tea. I’ve been drinking hibiscus tea for a while now, but never knew exactly what it was made from. Now, I am growing the plant that makes this tea!
Tea is made from the Roselle hibiscus which is NOT the same as the decorative, flowering hibiscus plant.
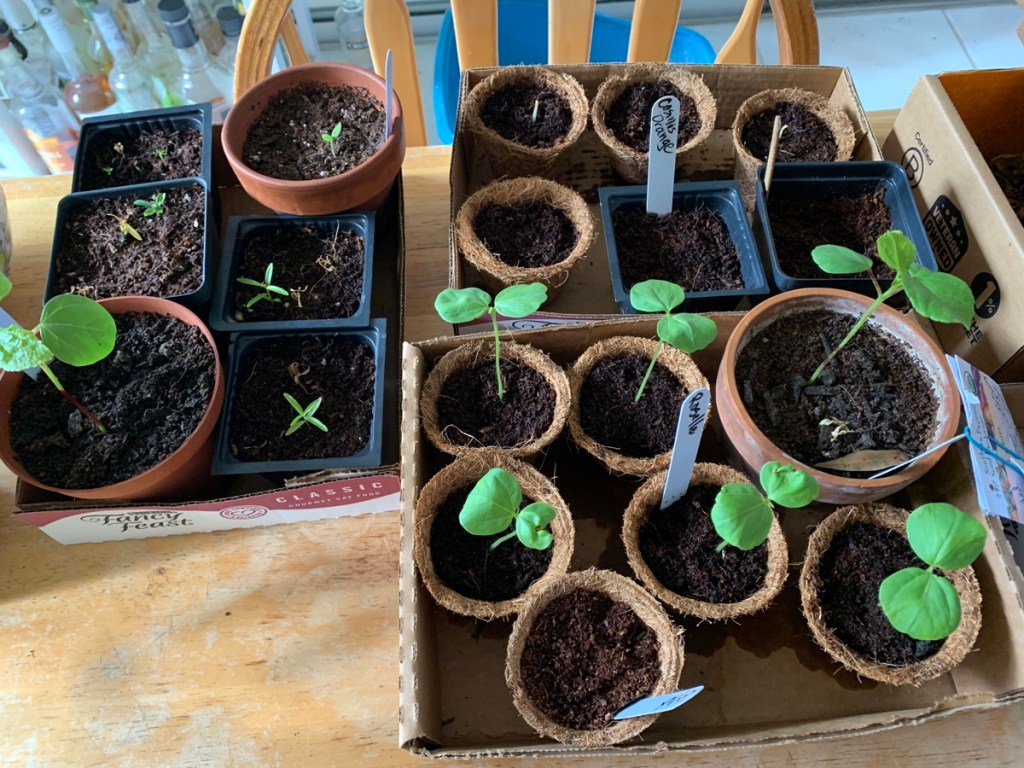
Over the winter months of 2023, I planted Roselle seeds in small pots and kept them indoors. The plants sprouted and some of them grew, but none of them thrived. As soon as the chance of frost overnight was gone, I transplanted the seedlings into the ground.
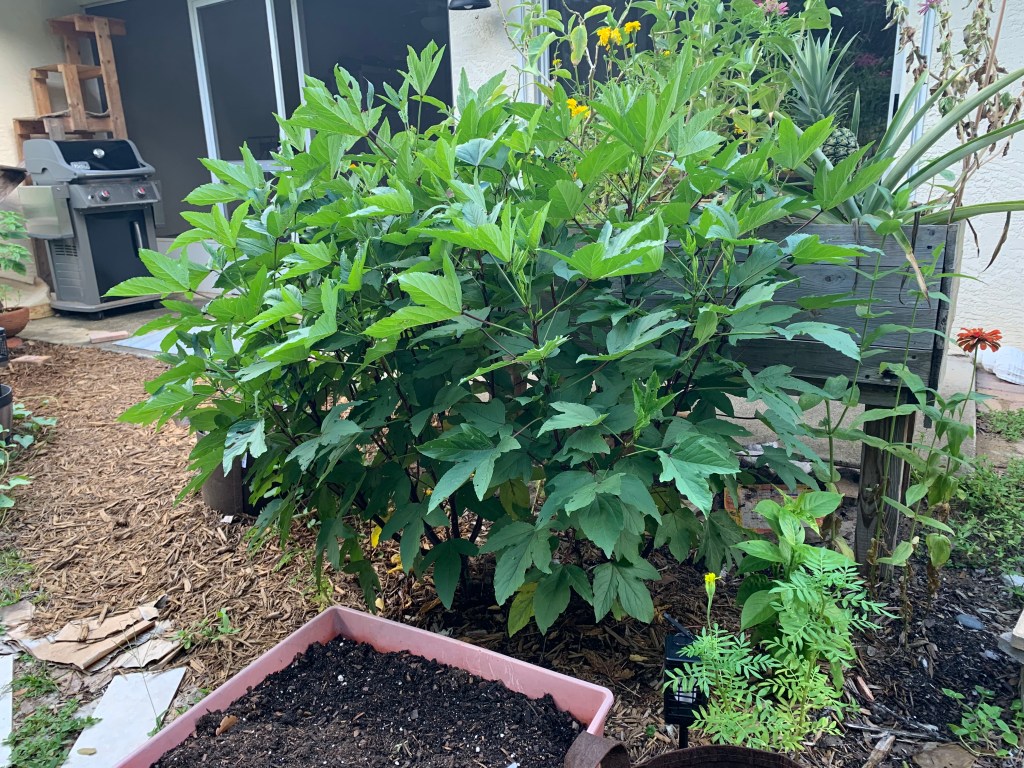
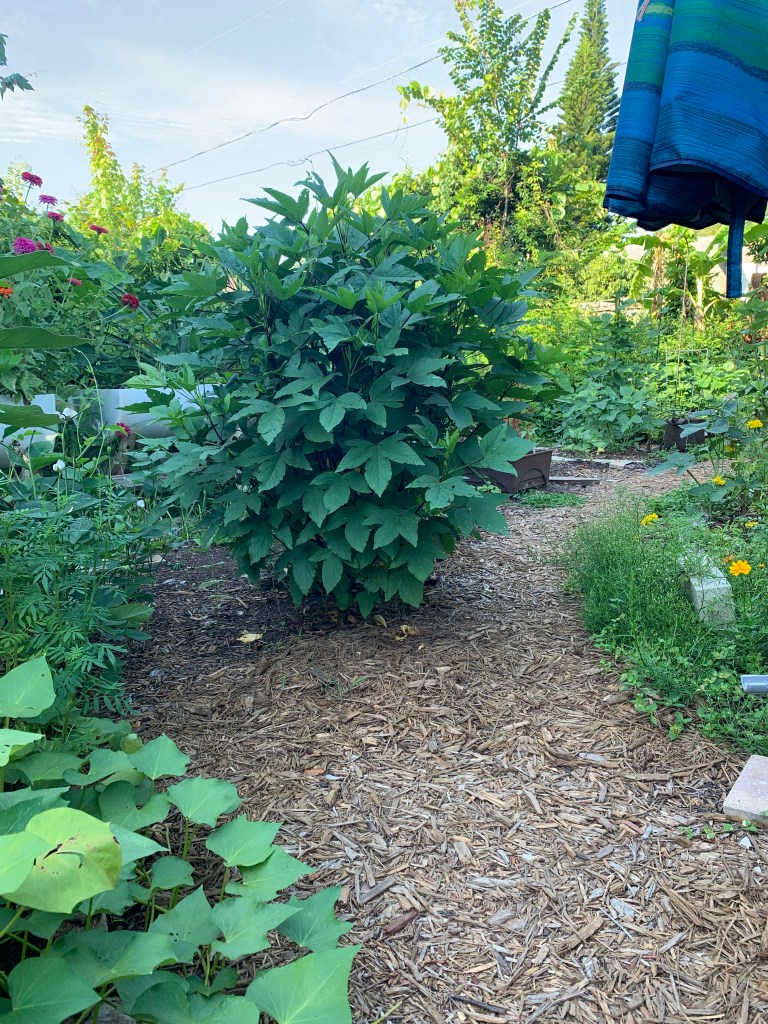
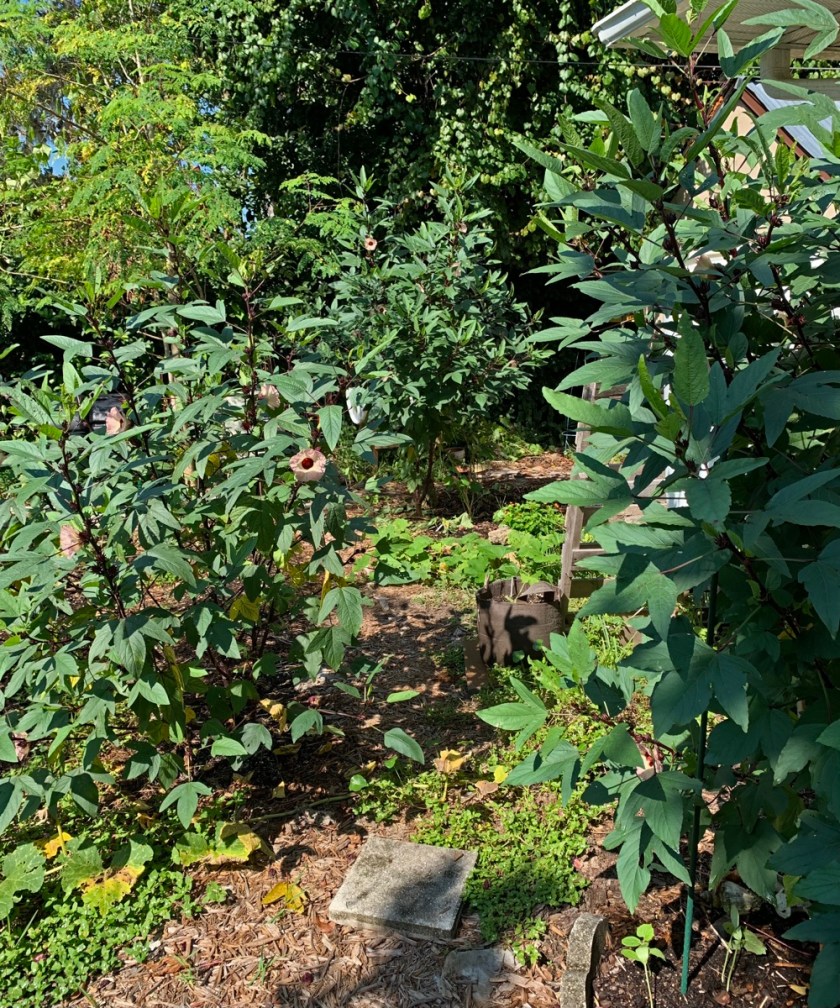
Now, it is summer of 2024, and I have big, bushy Hibiscus plants everywhere! Honestly, I have 9 plants, but the yard is small, and they are taking over.
Bushy roselle hibiscus – lost it to the wind in a storm
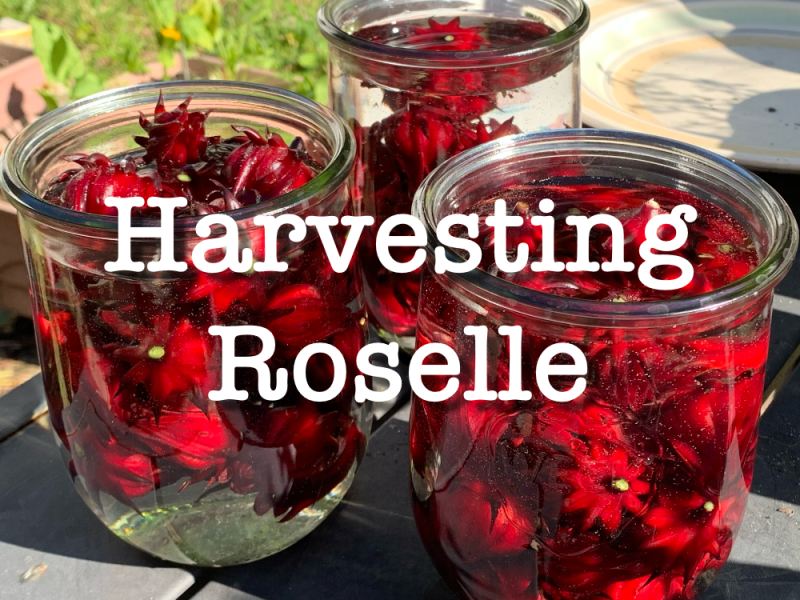
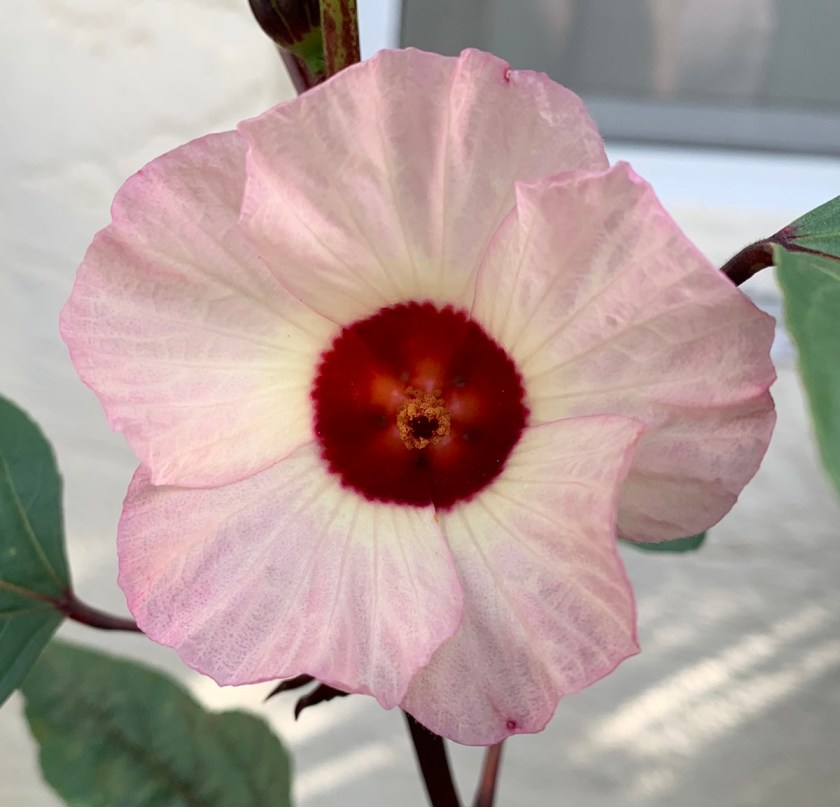
This type of hibiscus has open flowers (see below) that leave behind seed pods wrapped in red leaves, called calyces. The red leaves, when peeled off, can be boiled in water to make tea.
Roselle calycesRoselle hibiscus flower
When my Roselle began to grow, they gave me a few pods. After that, I had to wait until Fall to get more.
Starting Roselle From Seeds
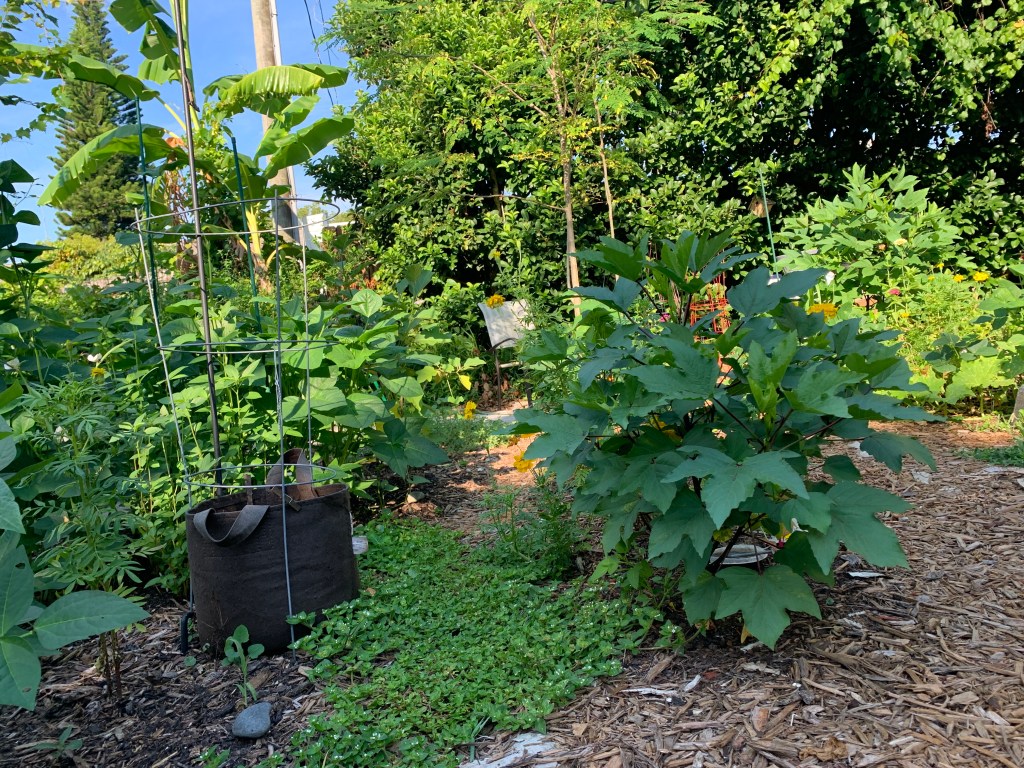
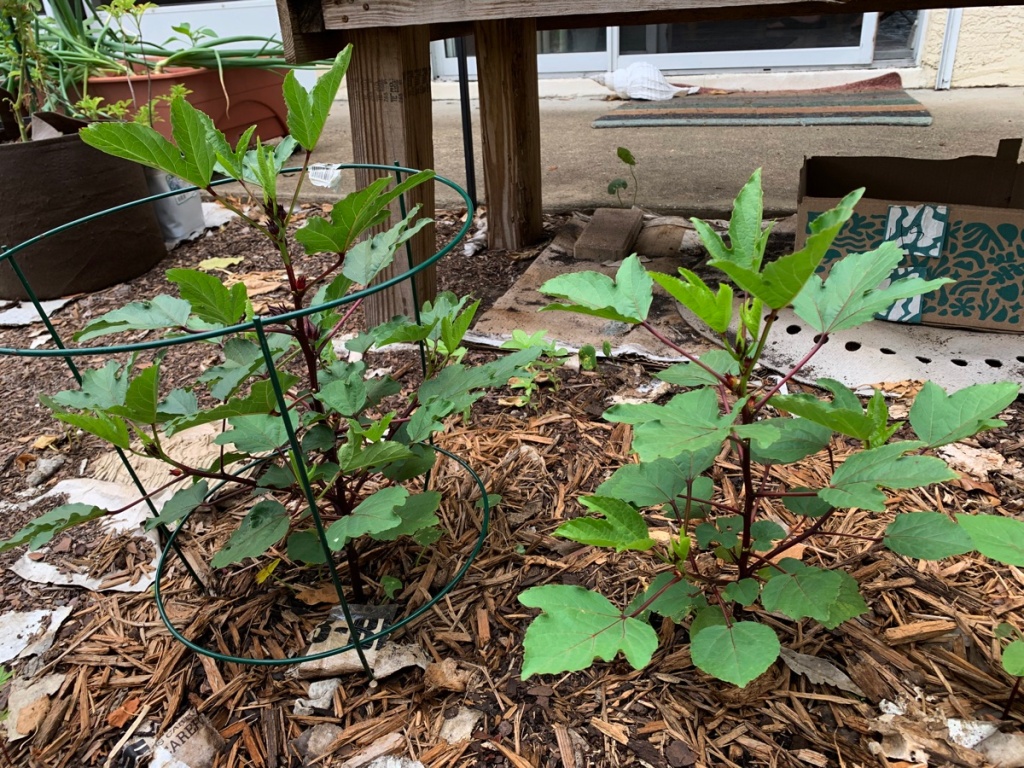
These Roselles began in pots, grown from seeds I bought at SESE (Southern Exposure Seed Exchange). The plants are about nine months old now and they al look very nice. Some are smaller than others but the one that is in the walkway is just beautiful! (That is the one that died from the storm.)
Roselle seedlingsRoselleRoselle growing
Growing Roselle is Easy
The plants will get large, both tall and wide. (I’m in Zone 9B) They are growing with and without lots of sun. The plants in the sun are bushier. They survive drought, are not bothered by the heat, and have no bug problems. After they bloom (September for me), collect the seed pods to make tea, or other things.
A warning: We had a windy storm during the summer and this (my bushiest) Roselle plant split right down to the ground. The tree died. I went ahead and trimmed all the remaining hibiscus to be sure wind could easily get through the stems.
Heading Into Fall
If you are looking for a little shrub that is easy to grow, and grows FAST, get yourself some Roselle seeds.
These shrubs have taken over my yard. I had NO idea what they would do when I planted them back in Spring. Now, many of the plants are taller than me – guessing 7 feet or so in height. It has been about 11 months since I began them from seeds indoors.By the way, don’t bother with that. Put the seeds in the ground. It was tough dealing with them in small pots.
The Roselle have become too large for my small backyard garden.
It is September and the Roselle’s are now blooming. I’ve gone through and trimmed out some of the smaller branches because they are blocking the sun from other plants. Once the flowers stop, and I collect the calyces, I will be cutting some of these plants down. I have a feeling they won’t do well through the winter anyway. I hate to cut down a good plant, but they are seriously in the way.
My yard is too small for these plants. Now, I know how easy it is to grow Roselle, and how big they become. I’ll be smarter about choosing the right spaces for them to grow.
Fall planting time is nearly here in my area and I’ve begun to sow seeds already. Although the weather is hot, I’m hoping the seeds will grow.
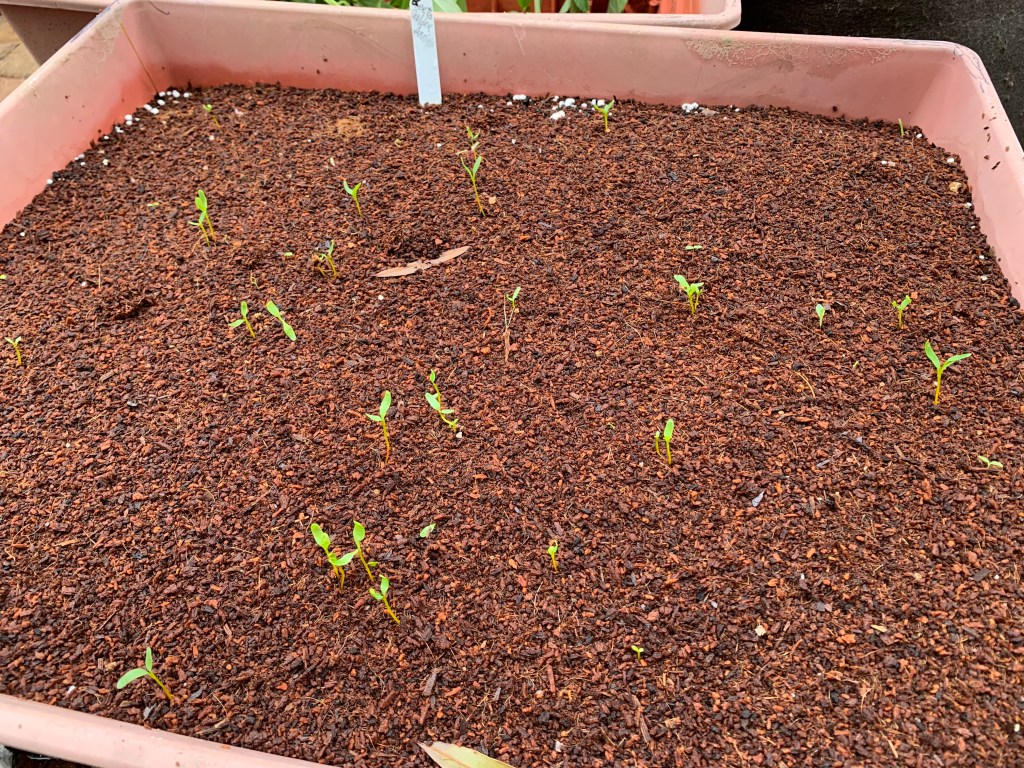
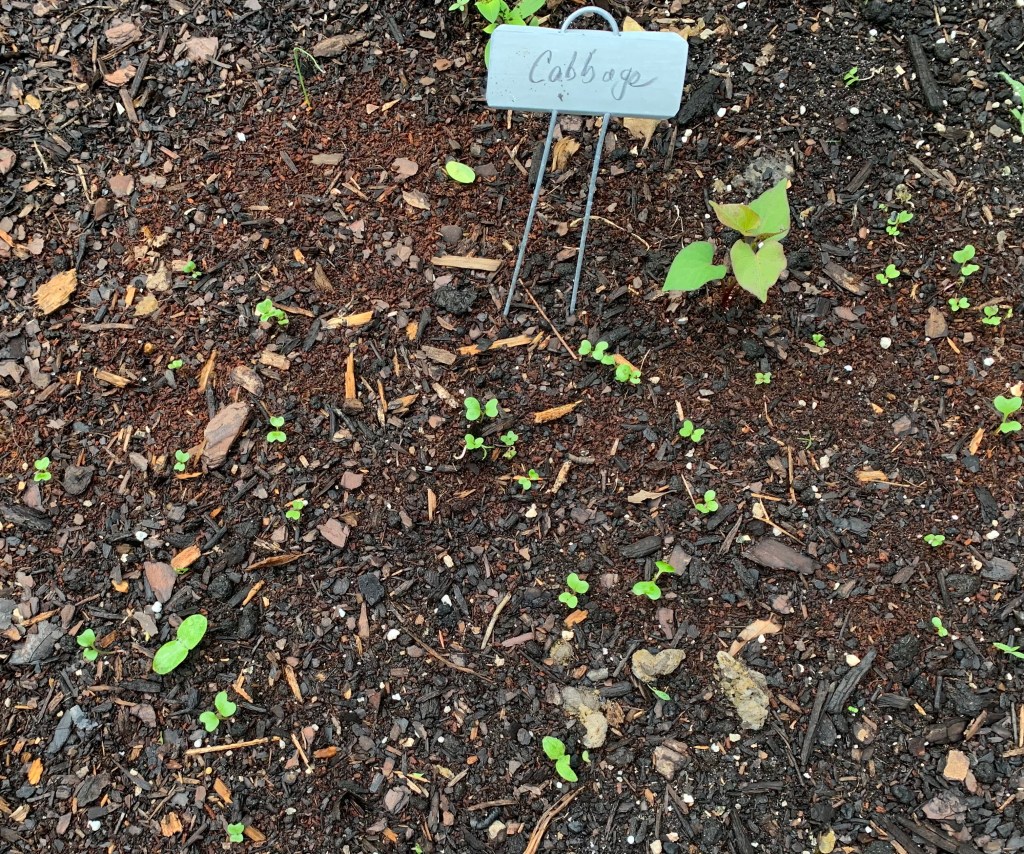
I live in east, Central Florida, which is growing zone 9b. It is September, and I have planted a few different vegetable seeds as a trial. I don’t know if the weather is too hot for them. Last year I waited until October. So far, I have seen some nice sprouting.
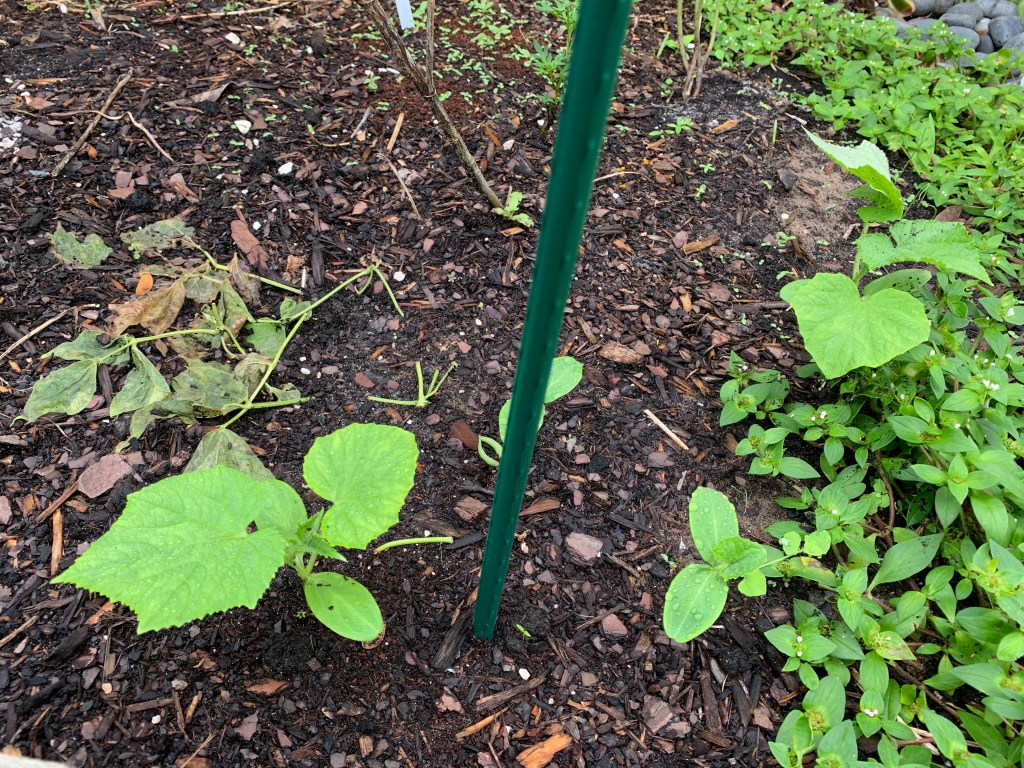
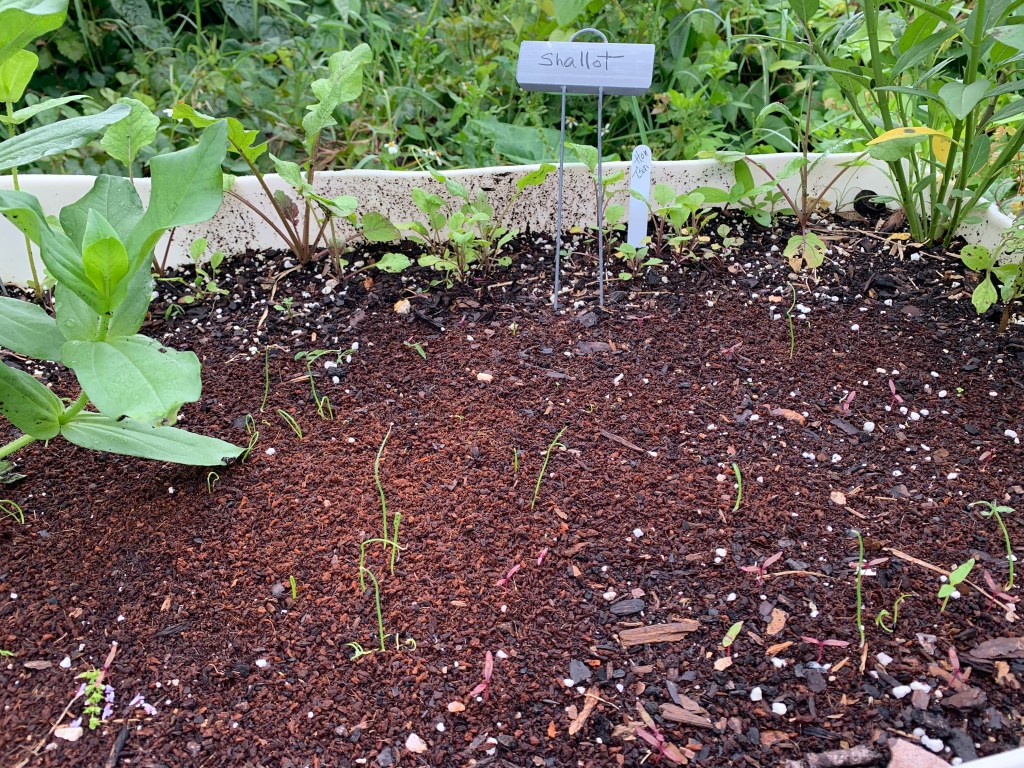
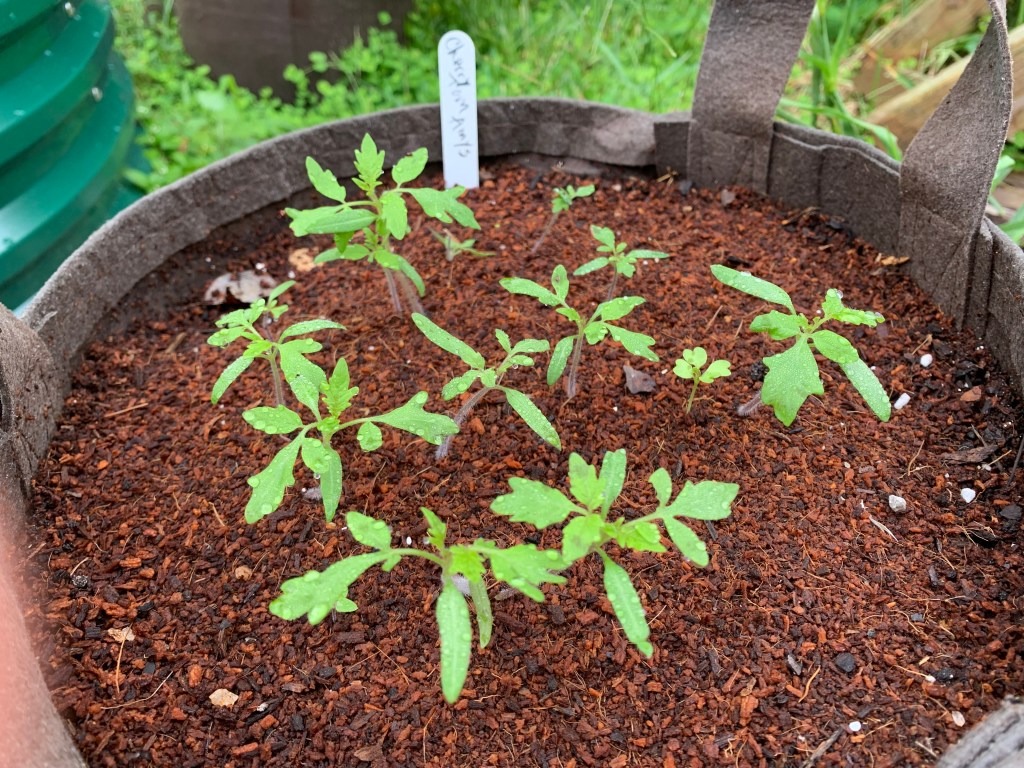
Here’s a list of the seeds I have planted, and where they were planted (in ground or pots). They are all growing, but some look better than others.
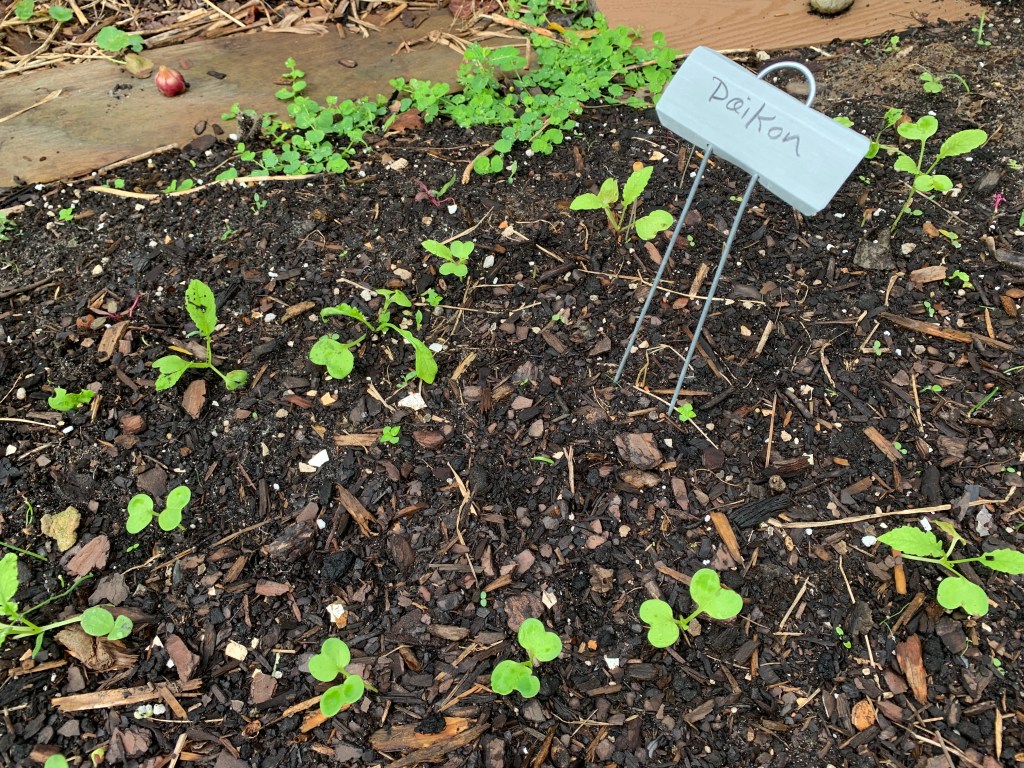
Daikon radish – these seeds were put into the ground.
Cucumber – first set of seeds didn’t do much, so I’ve planted more from a newer packet. (in ground)
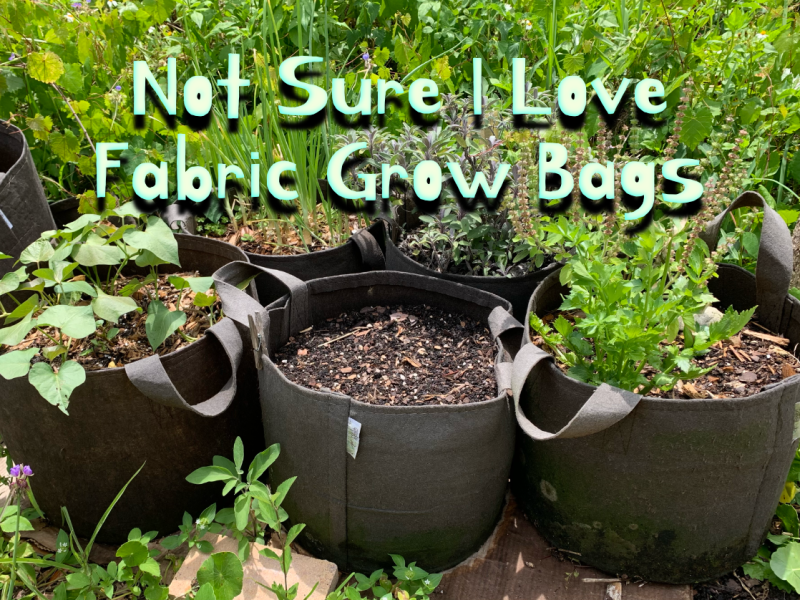
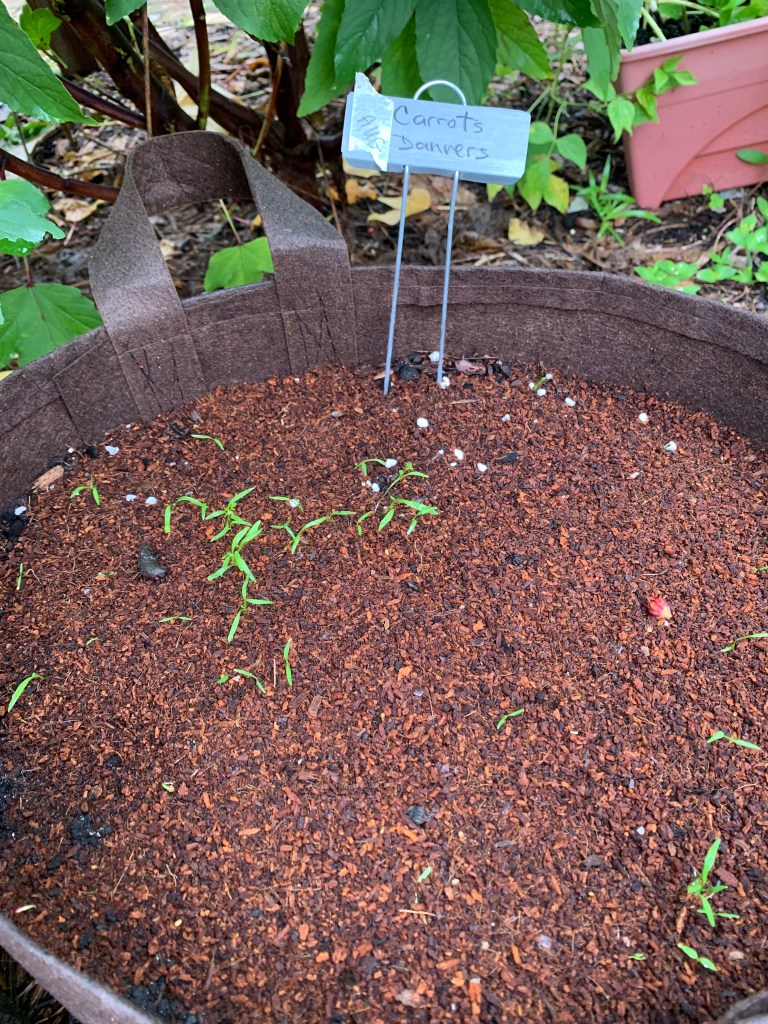
Carrots – in fabric bag
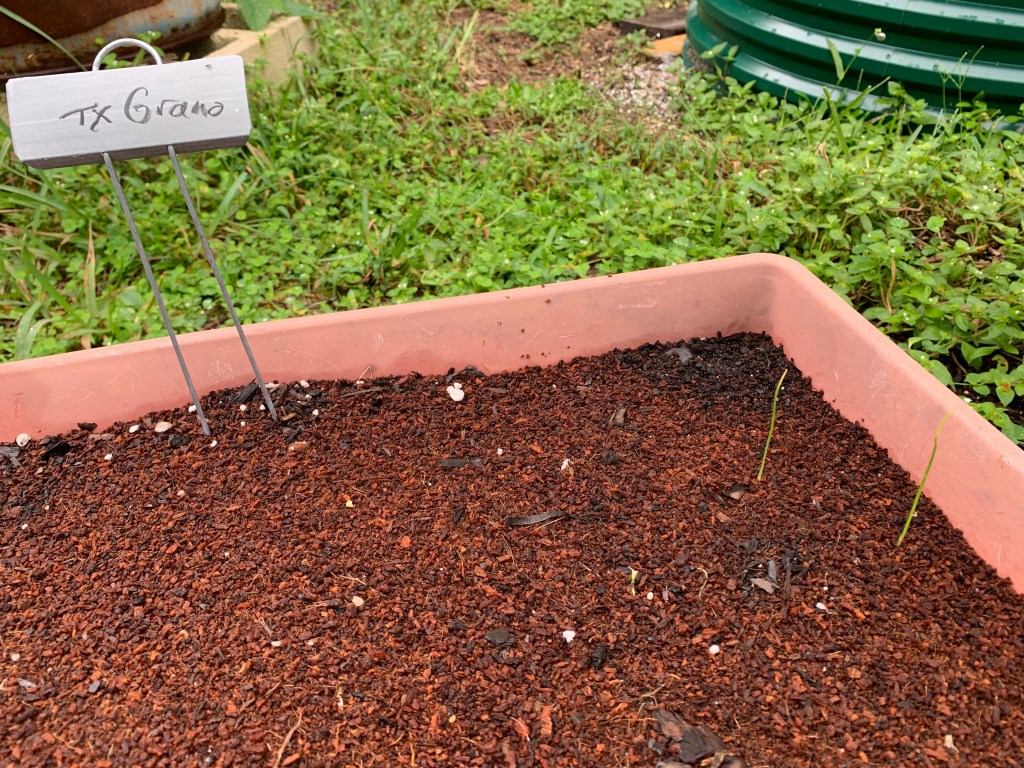
Texas Grano onions – will probably have to re-plant in October (grow box)
Shallots – barrel raised bed
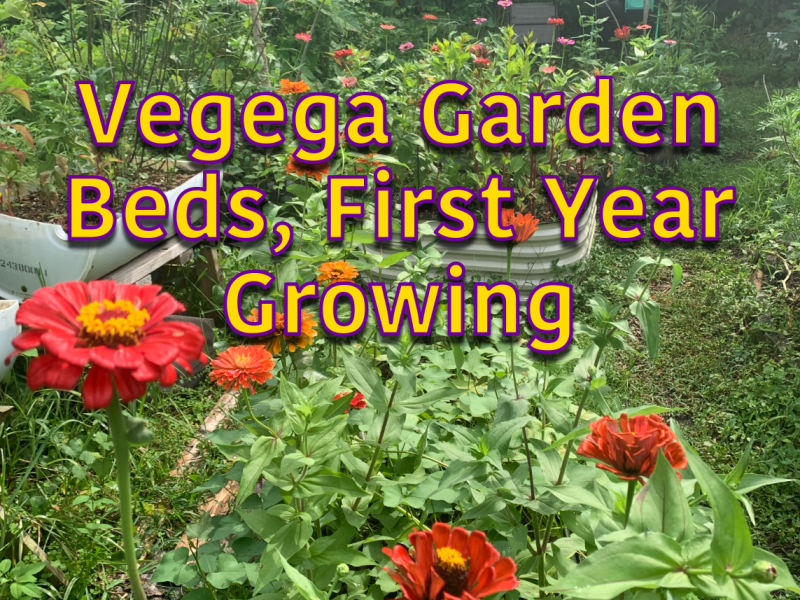
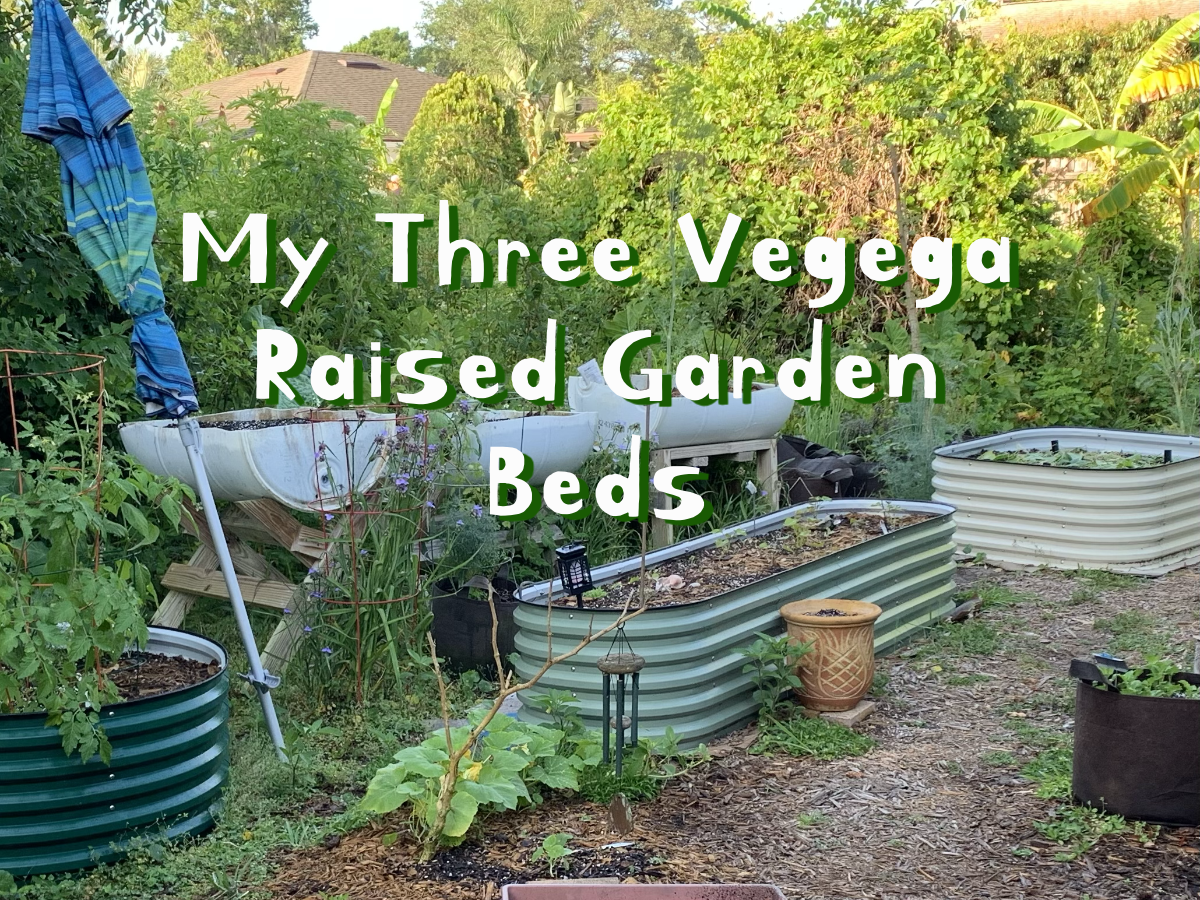
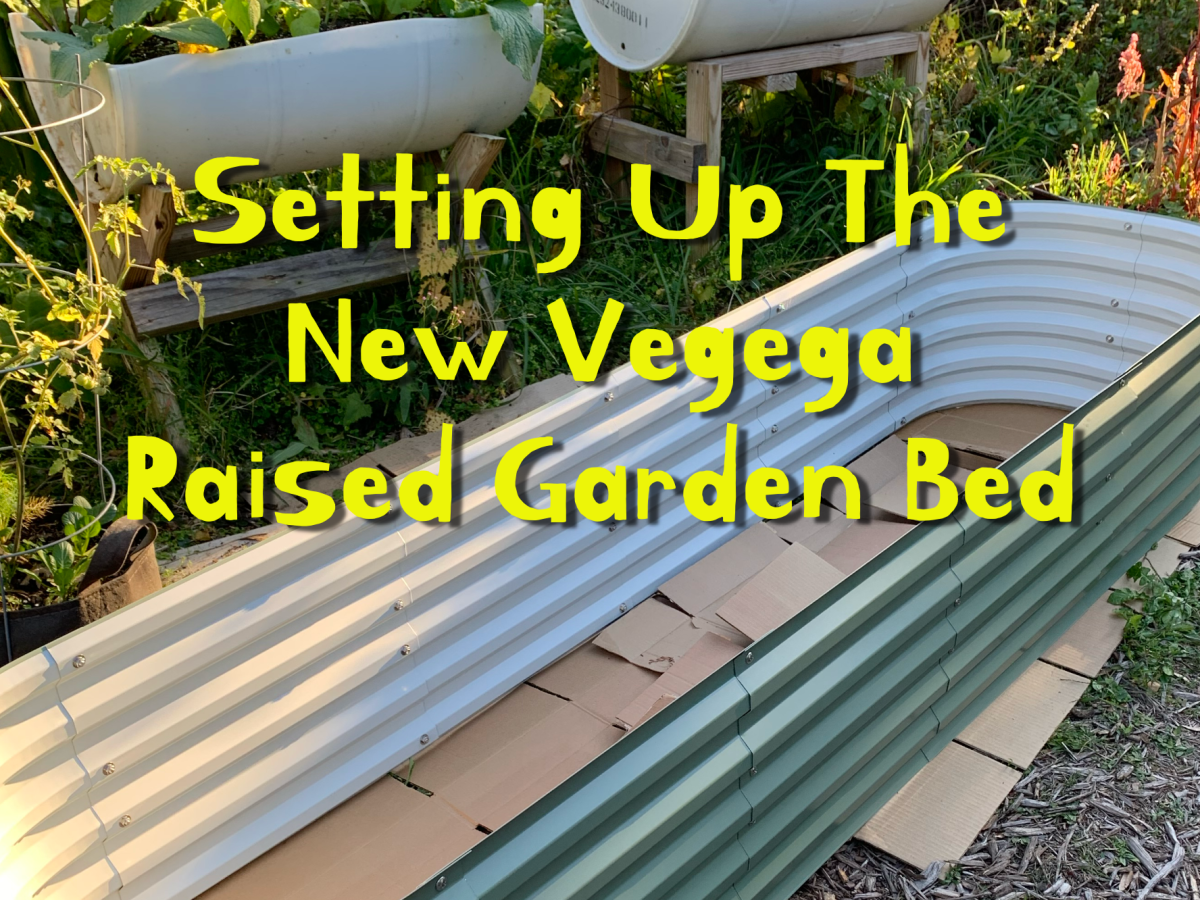
Seminole pumpkin – edge of Vegega to hang over the side.
Golden beets (fingers crossed these do well) – in grow box.
Tomatoes – cherry and Mortgage Lifter (normal size) – both in fabric pots
The summer months have been unusually dry. Now, we are getting lots of rain. I only hope it won’t be too much for my seedlings.
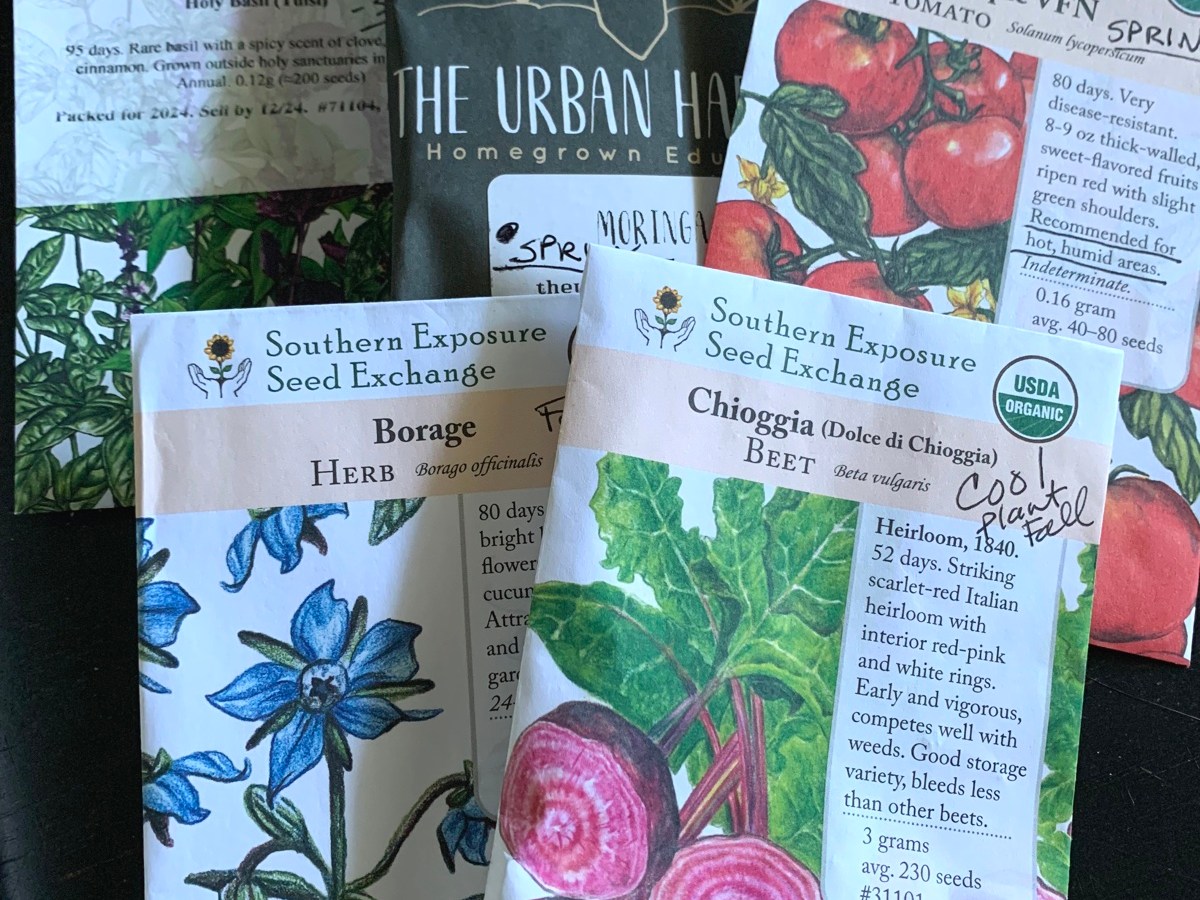
This time, I purchased multiple seed packets from my favorite online places. That way I can experiment and see if things will grow this early without really losing much. I have a lot more seeds, which I will plant in October.
The beds are not completely ready, even though I have tried to be organized. My usual problem is a lack of dirt and compost. I buy and buy, but it gets used up so quickly. I still have time, because some of the seeds I planted did not do well. The Tatsoi, arugula, and broccoli will need to be planted again in October.
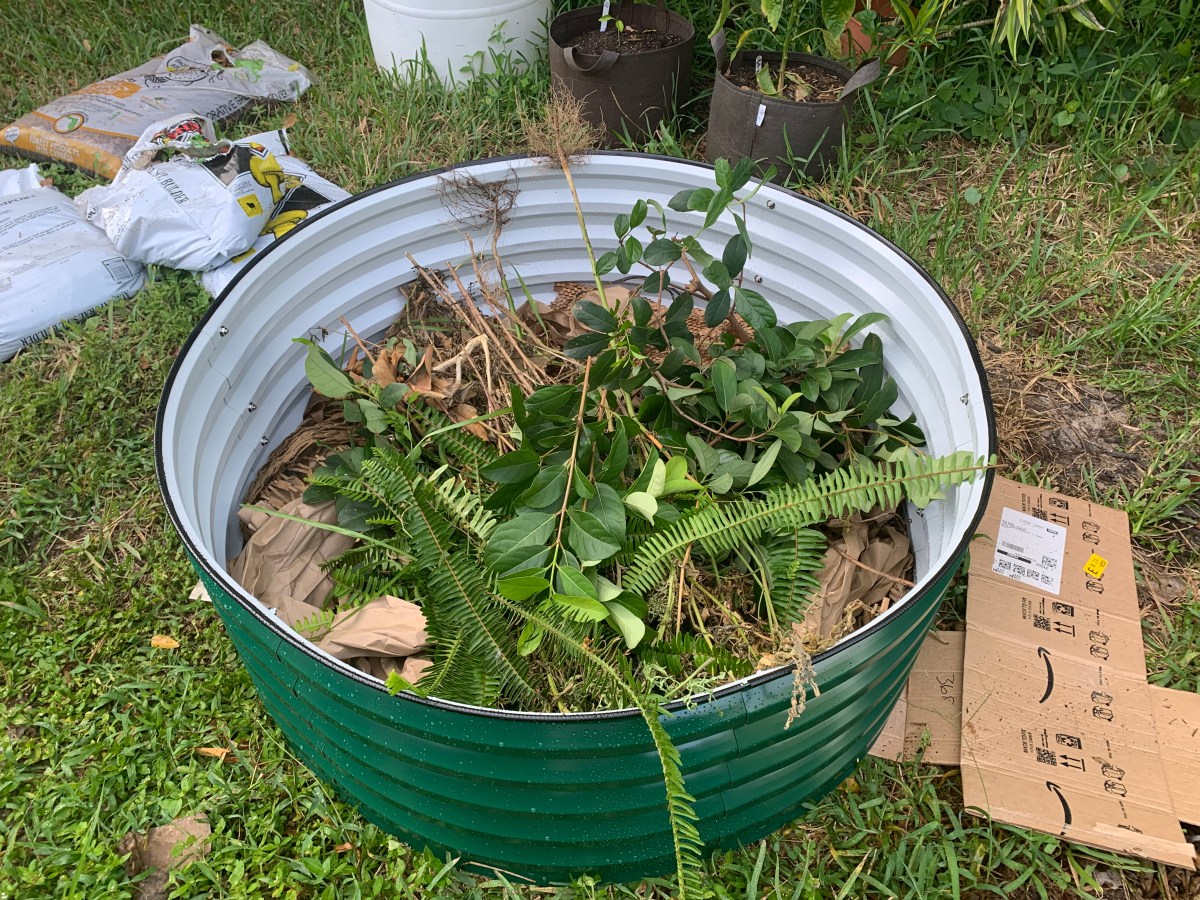
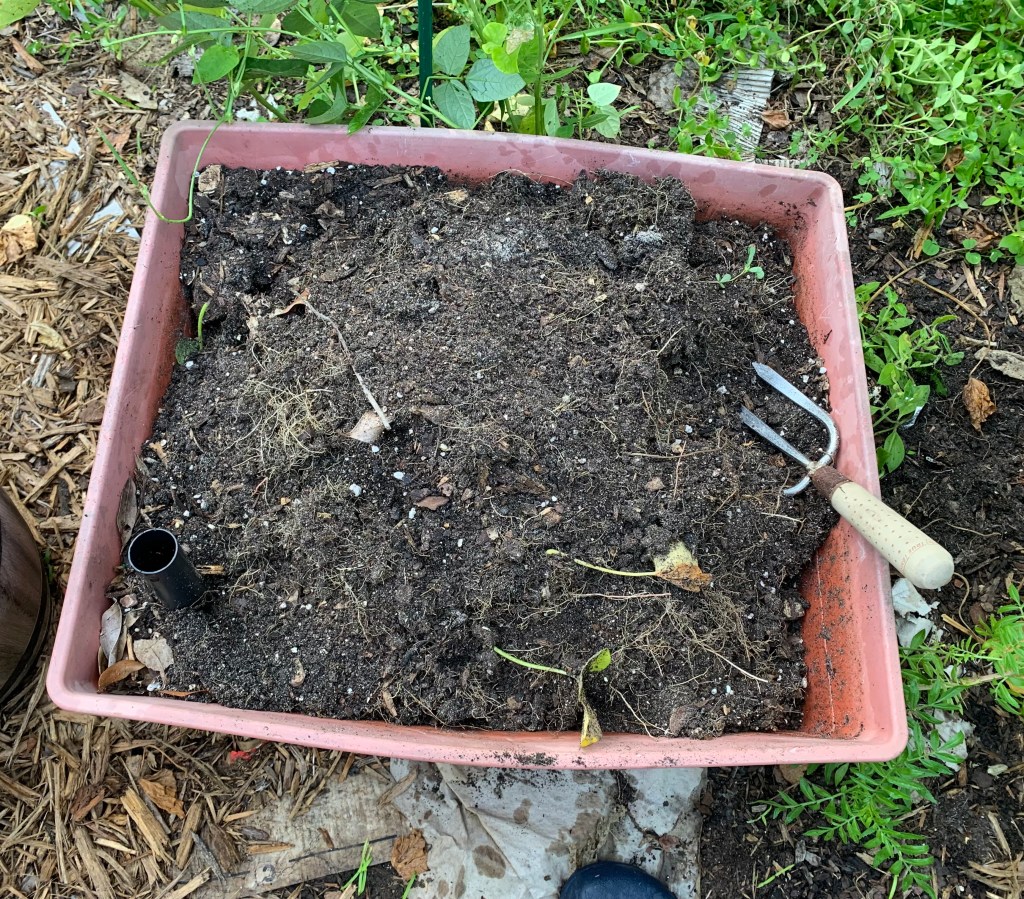
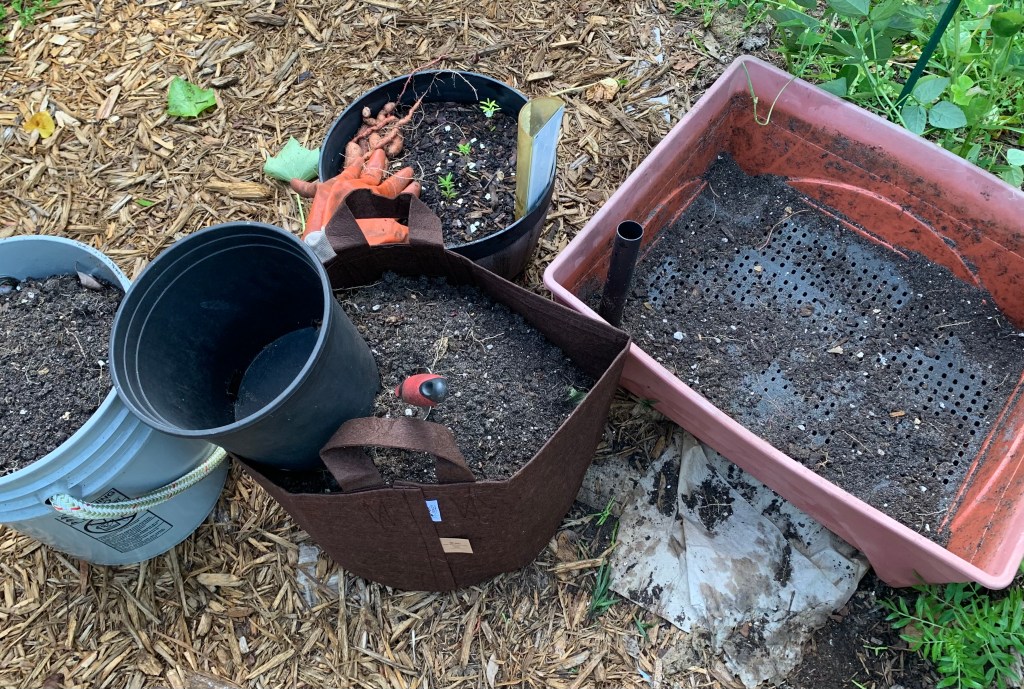
Each of my square grow boxes needs an overhaul. This means digging out all the dirt, drilling holes in the bottom and re-filling. I’ve done about half, but have three, or four boxes left.
Grow Box Refurbishing
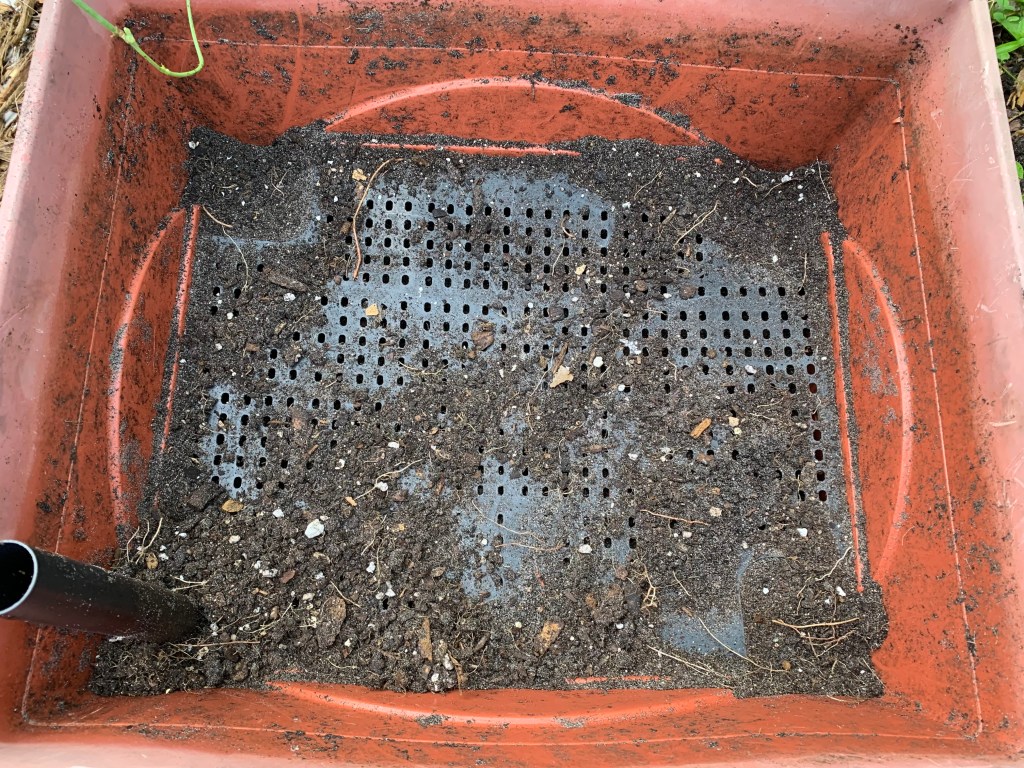
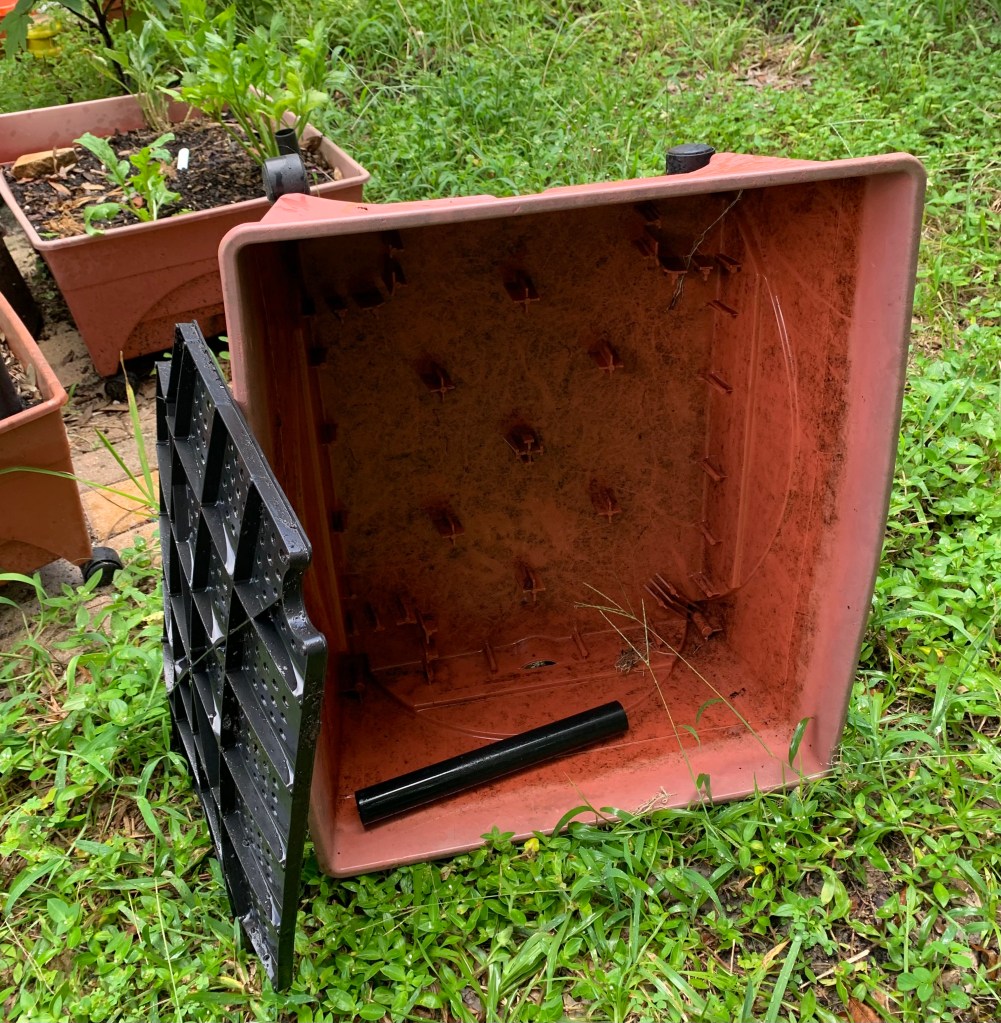
The grow boxes I purchased have a drainage panel near the bottom. They also have a tube that reaches up through the dirt where watering is supposed to happen. The idea is to fill the bottom with water so it can be pulled up by the roots of the growing plant. There are side vents for water overflow. (When you tip the box and no water comes out, it could be because the bottom is full of dirt.)
The idea is good, but flawed. Seeds need moisture and must be watered from the top in this big box. It is unavoidable that dirt will sift through those drain holes. If roots get long, they can clog the base also. Even if you keep the drain system in place, cleaning out the entire box is advised. (Raccoons actually pulled up one of my drain pipes, and it can’t be put back without emptying the box.)
The boxes are still very nice and sturdy. They come with wheels, which is really helpful if the box is on a deck or patio. I will continue to use them, but without the drain panel. Instead, I am drilling holes into the bottom of the box itself.
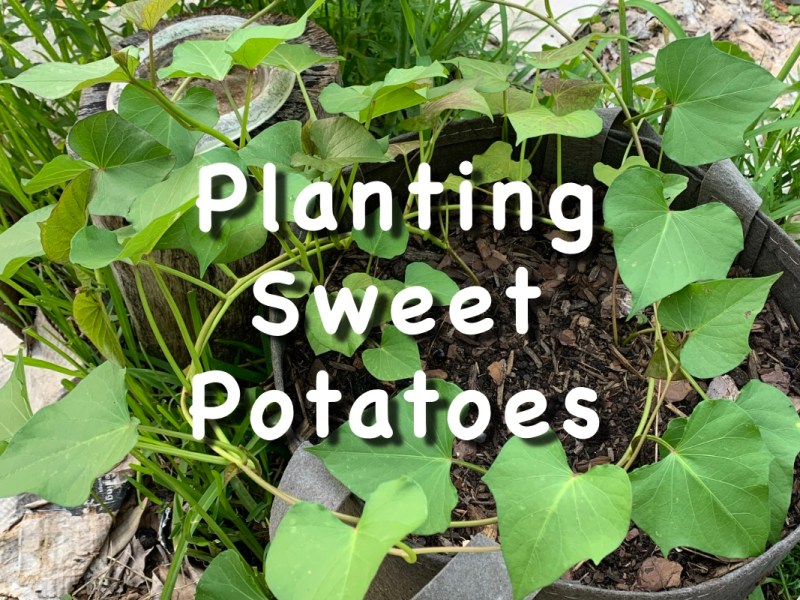
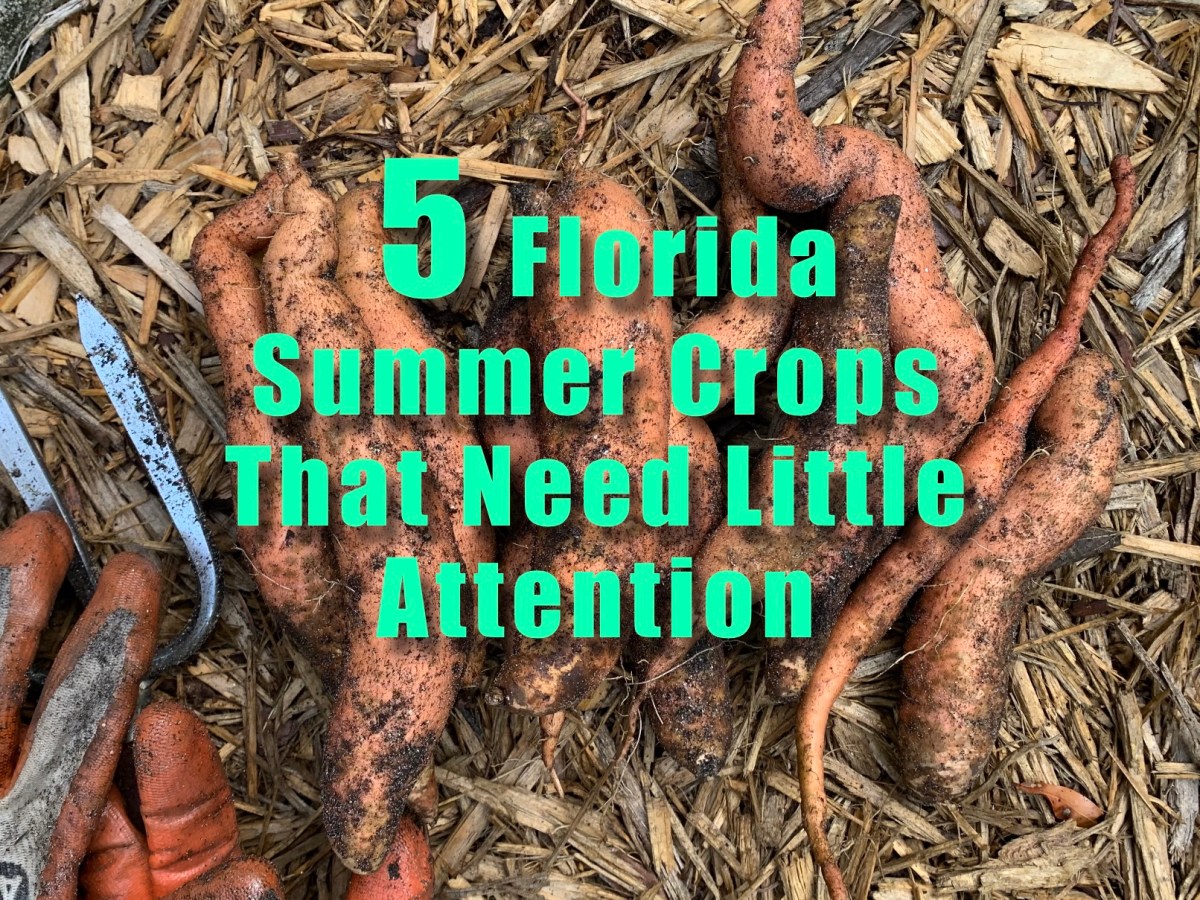
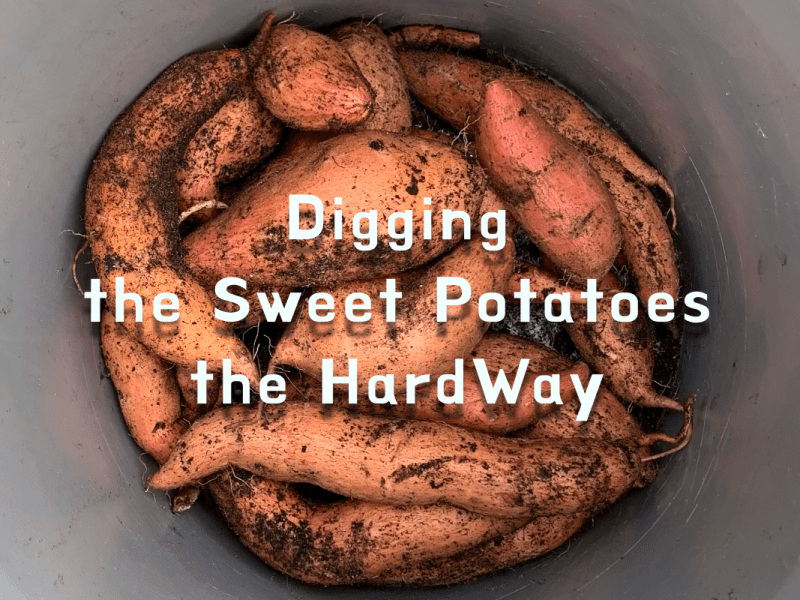
Last April, one sweet potato slip was planted into a grow box. It grew like mad and gave me some funny looking sweet potatoes. There was not enough depth, but I was desperate for space when I planted it. Once I began digging out the sweet potatoes, I realized that dirt had filled up the water reservoir – and I found a few small sweet potatoes down there as well!
Now I am going through all my grow boxes to empty the dirt, remove that screen, drill holes in the box, and re-filling for planting.
Filling the Grow Box
Any time a grow box or fabric pot needs filling, a combination of products is needed. First, drainage should be addressed. For the box, I used a thick layer of pine straw (literally long pine needles) in the bottom. Then, I added some granite stones. After that I mixed potting soil, compost, and perlite, along with some bone meal to create a good growing compound.
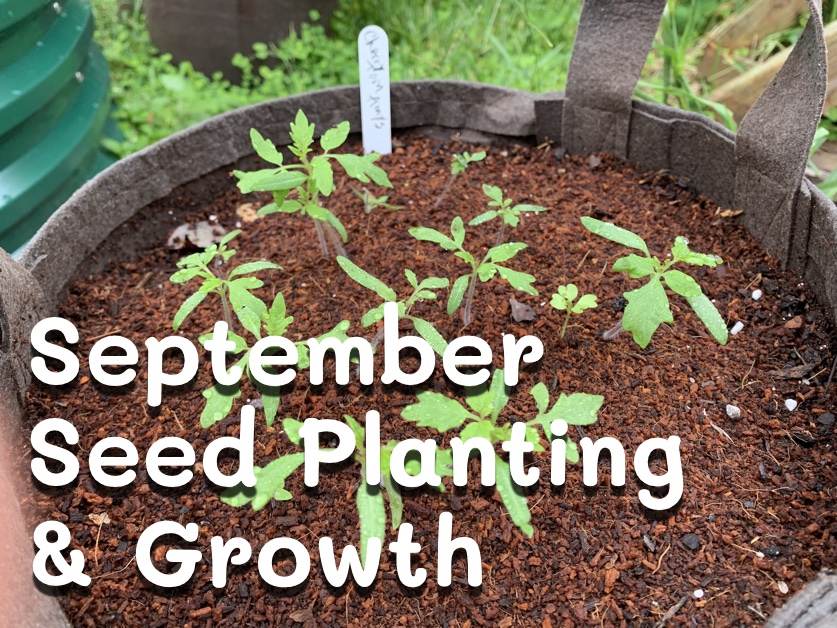
The new idea I had, was to put a layer of coconut coir on top of the dirt before I plant the seeds.
One last suggestion is to add earth worms! I have them in all my boxes, raised beds and fabric bags. I found them in the yard and gave them a new home. They tend to multiply and make the dirt loose and fabulous!
Problems Planting in the Ground
I’d love to have rows and rows of vegetables growing, but I don’t have the space. Also, I have overnight visitors (raccoons and armadillos) who continually dig up the ground. Each morning I check on things, and usually there are numerous holes randomly dug all over the garden.
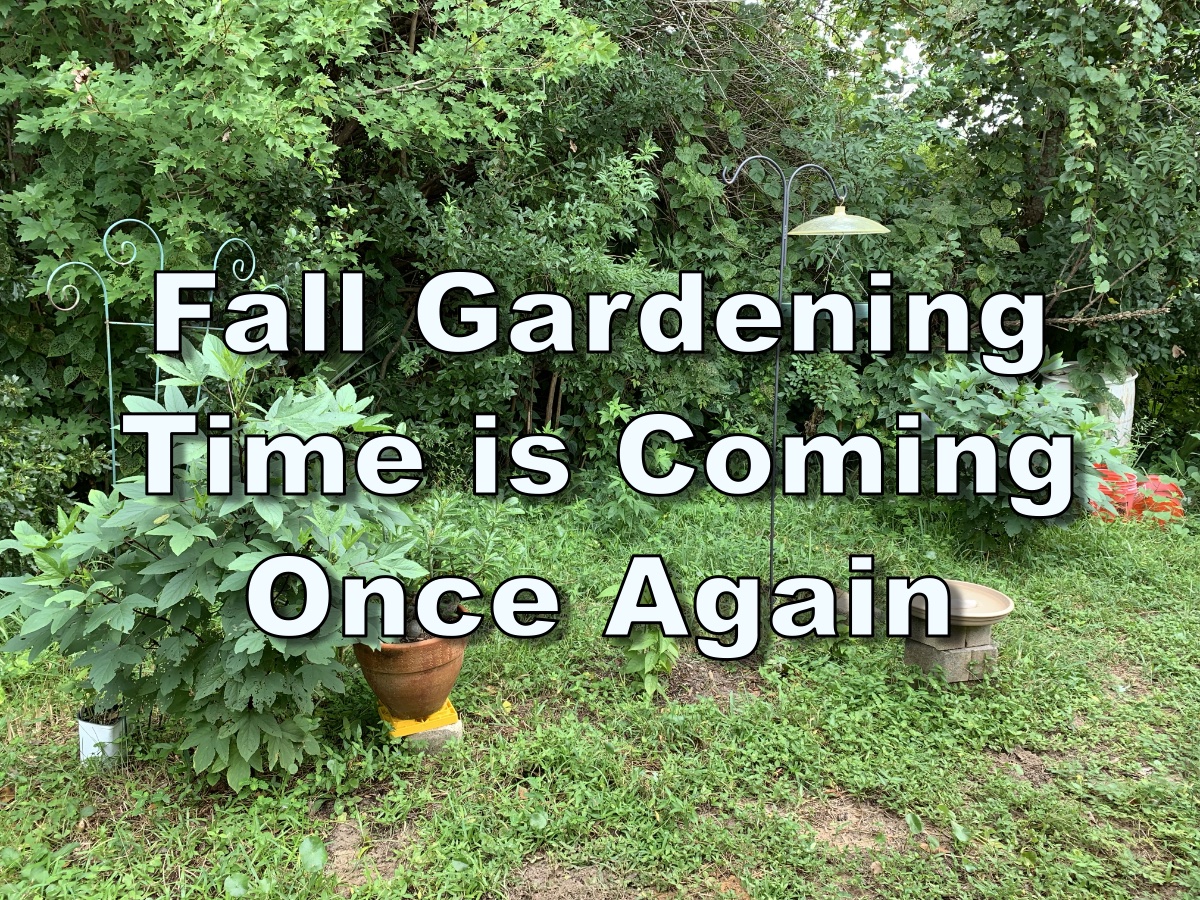
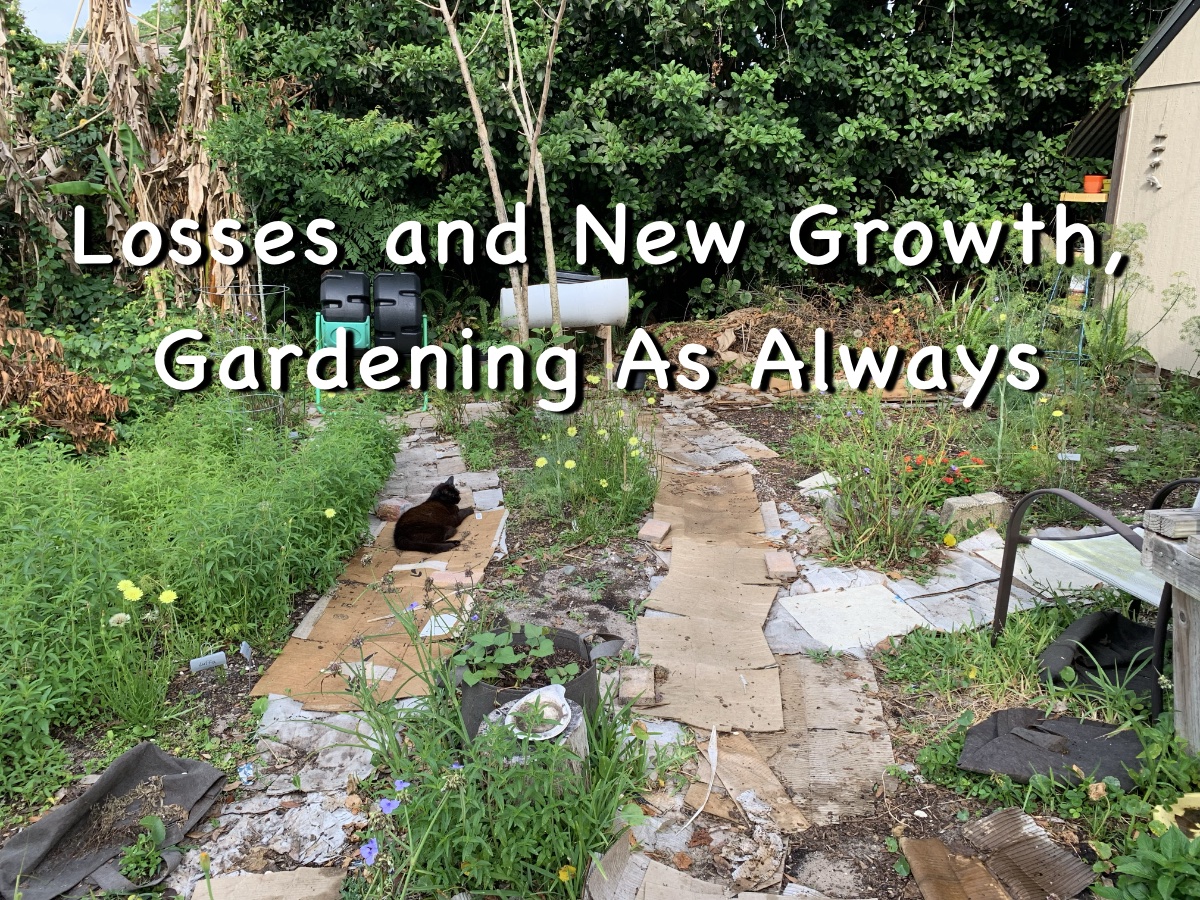
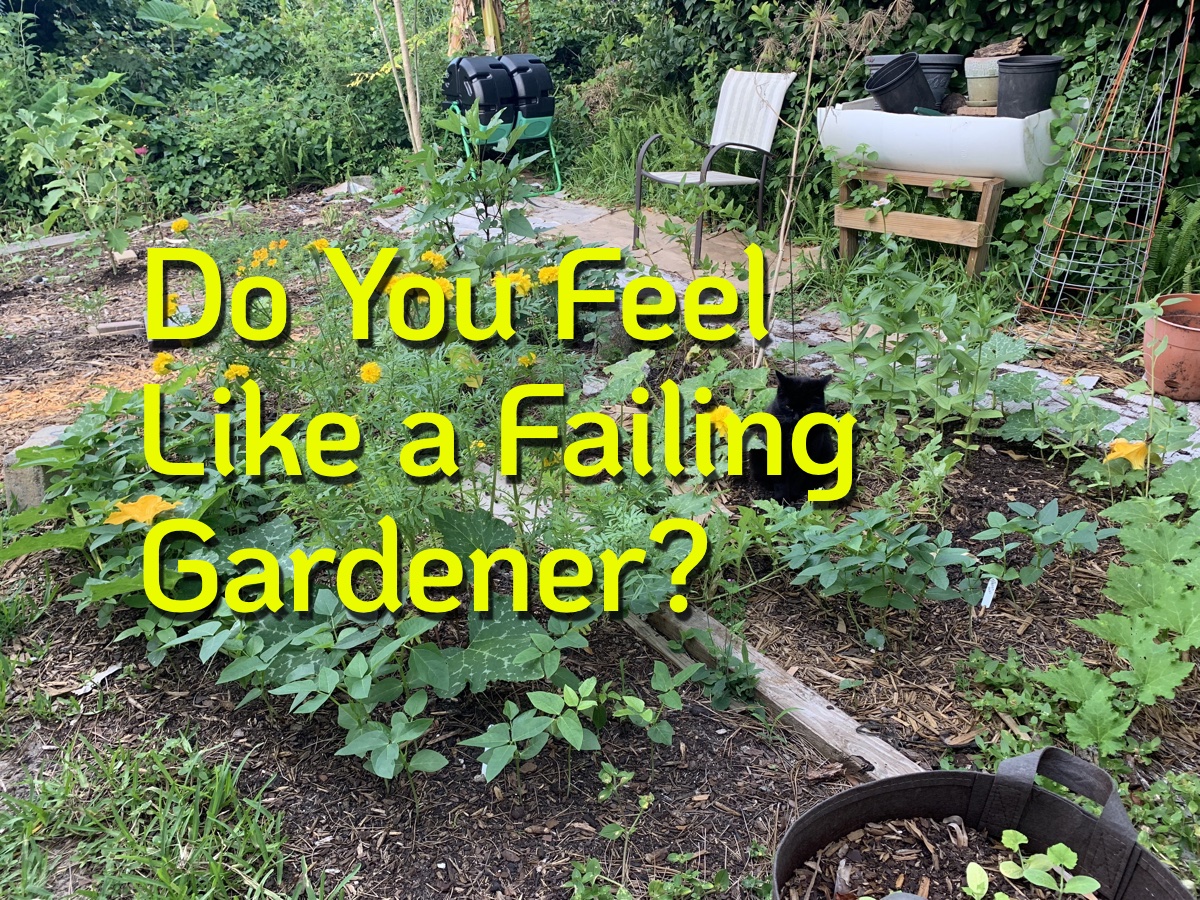
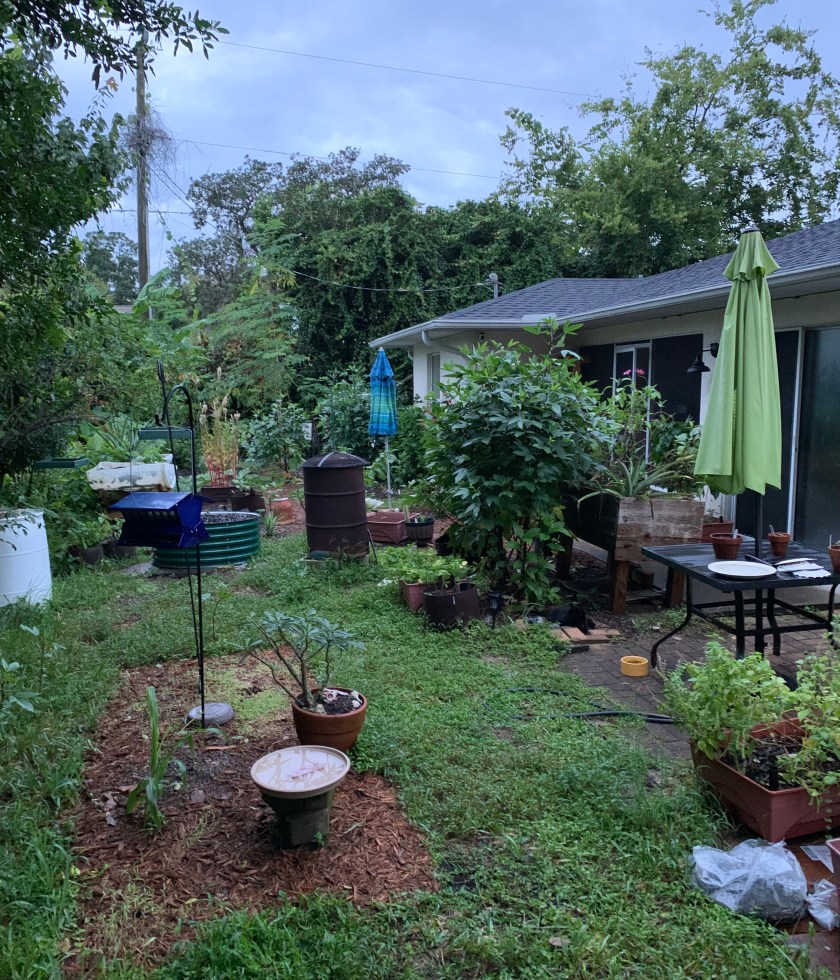
My backyard, September 2024
In order to resolve this problem, I will need to buy more raised beds. I’m hoping for a winter sale because they are expensive. It will be too late to use the beds for this year, but I can work on getting them ready for next fall. Filling those beds takes time.
Amazon Links to Some of the Products I Use
I am an Amazon affiliate, which means these links can provide a small income to me if someone clicks the link and makes a purchase. It does not affect the price of the item.
Grow boxes. If you have read this page you will see that I decided to not use that drain. It works well for a while, but the dirt eventually clogs up that space, and there is no drainage after that. Without proper drainage, plants will die.
Perlite, organic – loosens the soil, and is especially beneficial when beginning with new dirt. Once the dirt becomes really good – from compost, previous roots, and amendments – it should be naturally loose.
Bone meal, organic – helps growing plants create strong roots.
Coconut Coir, organic – good for water retention and starting seeds. It does not clump together, so used by itself, not good for transplanting seedlings. Mix with potting soil, or use on top of dirt to start seeds (see my photos above).
Garden plant tags – I have purchased two packs of these tags and they are great! The raccoons have not pulled them up. The writing stays. Just what I needed for seed planting.
Are you growing anything in September? Have you begun your Fall growing? It is the best time of year to grow in my area, but I may be starting a little too soon. What do you think?













 Hydrangeas Blue