Mid-summer Update on the Vegega Raised Beds

It’s mid-summer and here in my Florida backyard I have mostly flowers growing. I’ve used my three Vegega raised beds to hold some things and some are doing better than others. More amendments for Fall will be needed.

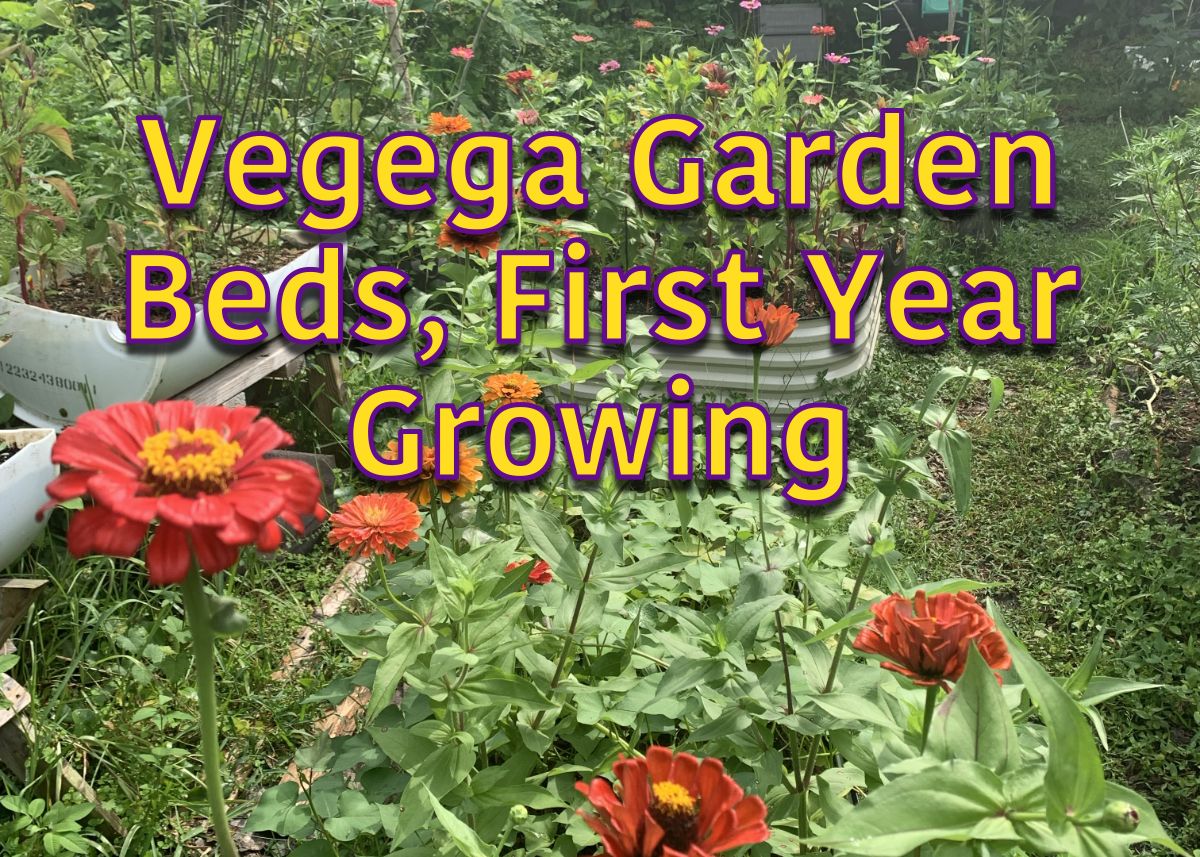
Over the past winter and spring, I set up some new raised beds. I bought the metal beds from Vegega after watching a YouTube video. Another Floridian had purchased from this company and she had lots of good things to say.

I garden on my own, and it took a bit of time to assemble, fill and plant the beds. You can read my post here. I knew that they would need time to “cook” me up some great soil. Branches, leaves and old growth were tossed in along with compost, dirt, mulch and earthworms. I knew the soil would settle and slowly compost. Still, I planted all three beds with some flowers and vegetables to see what happened.

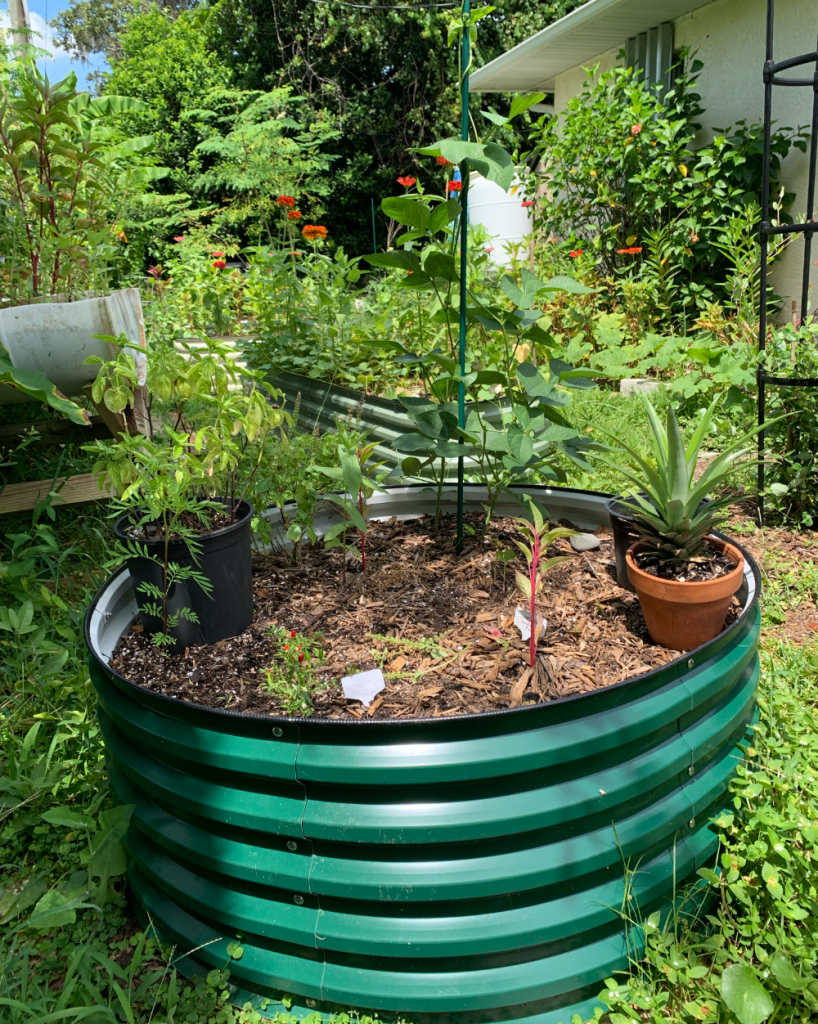
The Round Vegega Raised Bed

This is my oldest bed. It gets more shade than the others also. I had some lovely Ubatuba pepper plants growing in here, and a cherry tomato. All of them eventually died. I believe it was a lack of good soil and drainage. I plan to add more good soil and amendments as Fall approaches.

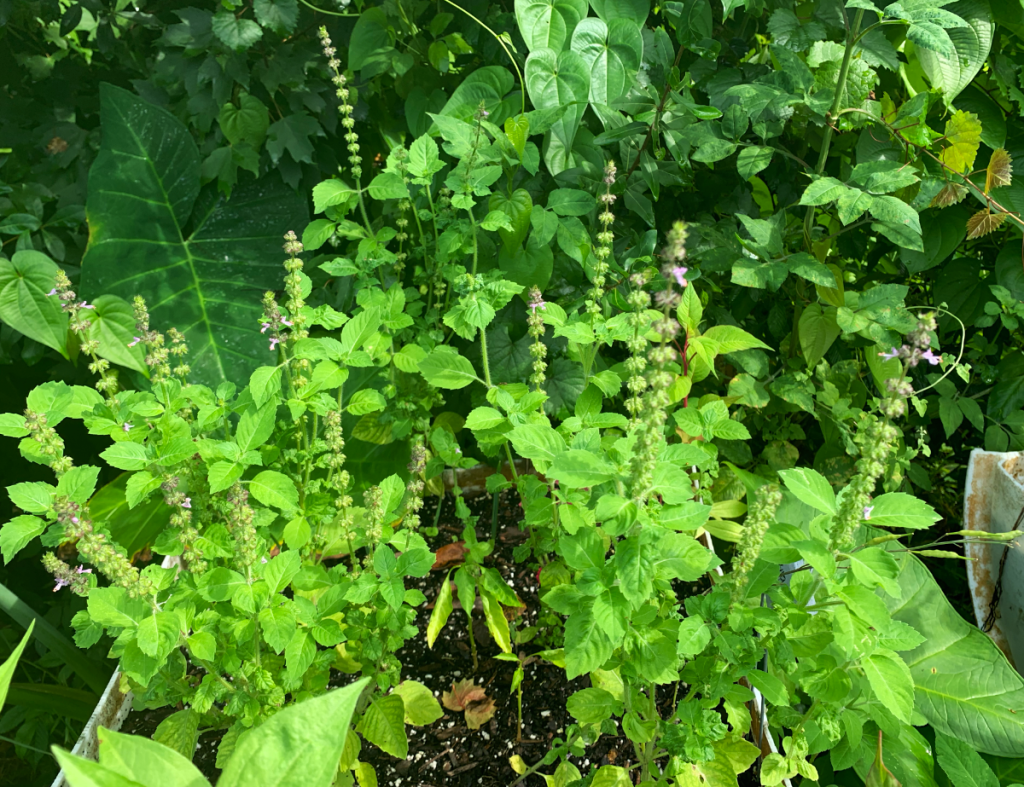
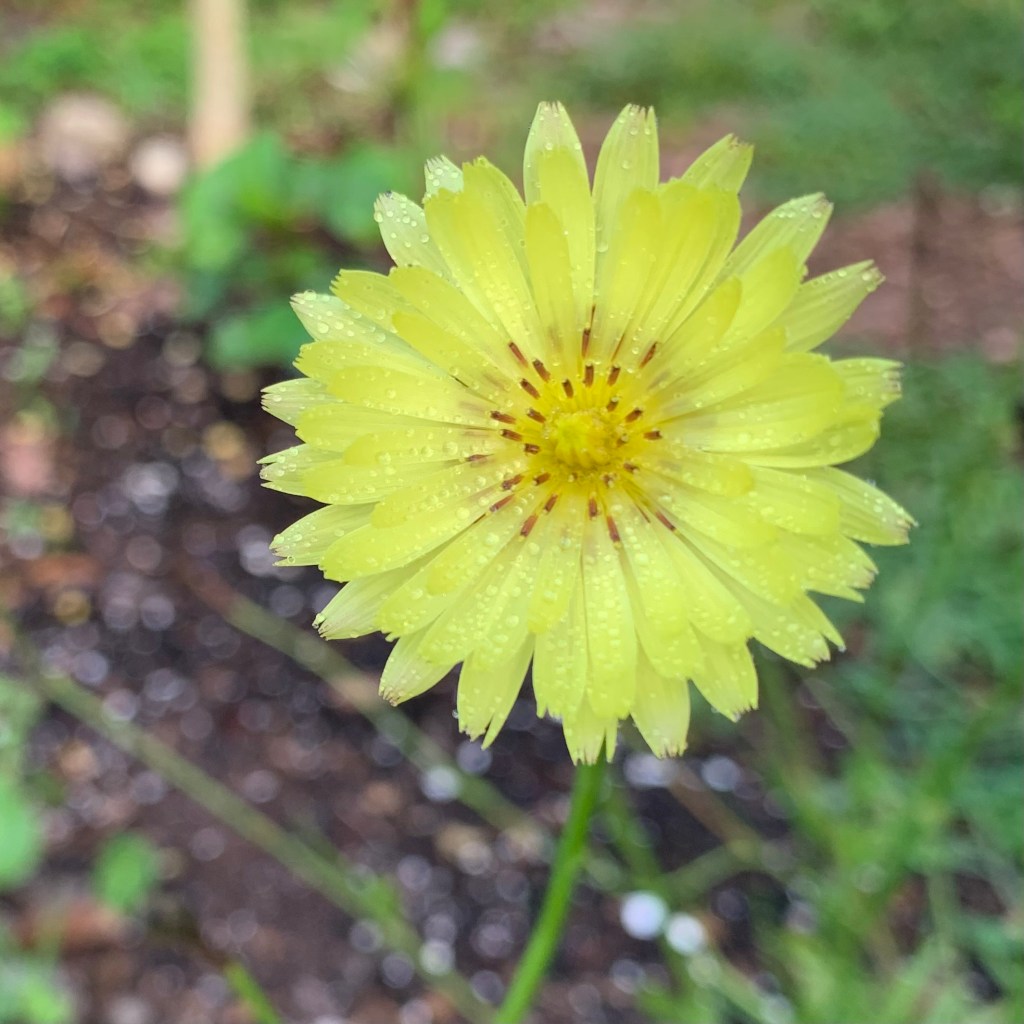
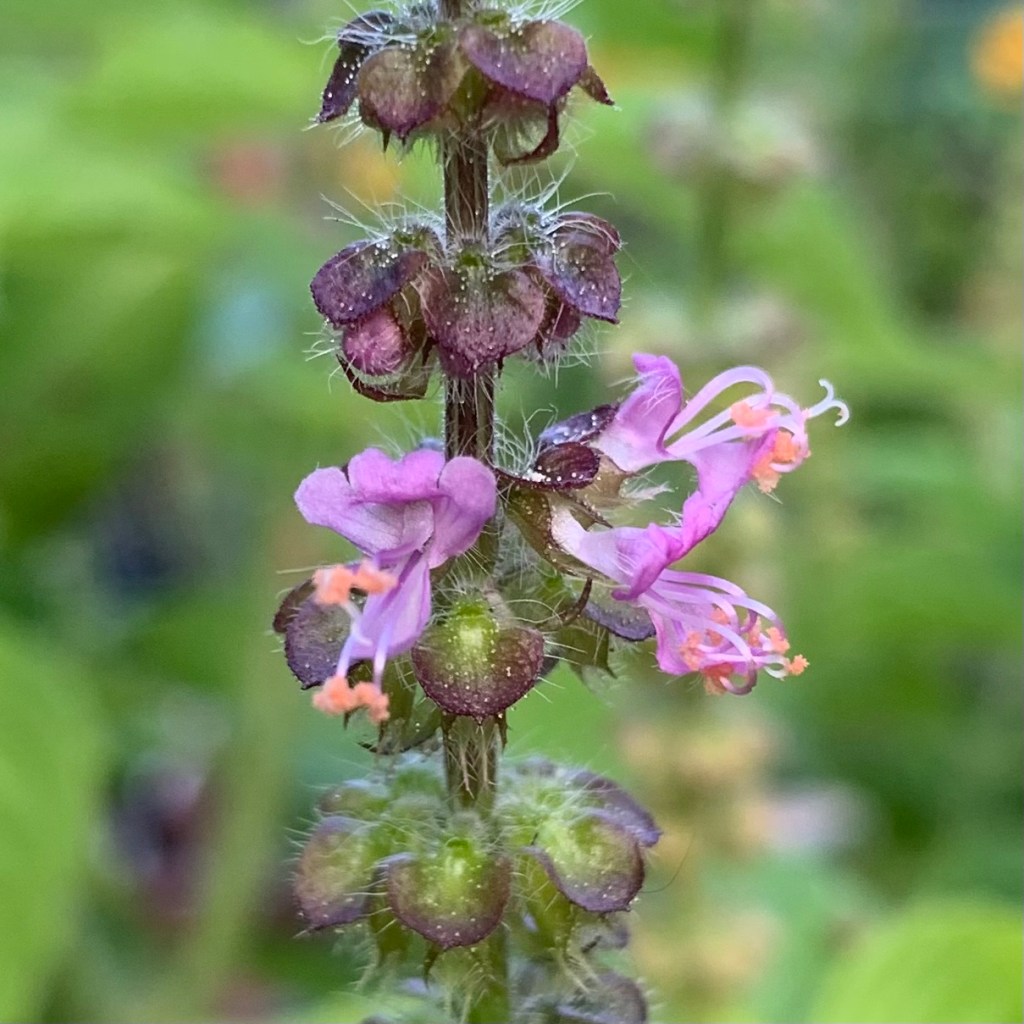
Now it is mid-summer and a Tulsi basil is planted along with a few cowpeas (cover crop beans). One Celosia, one marigold, and a small pepper plant are struggling.

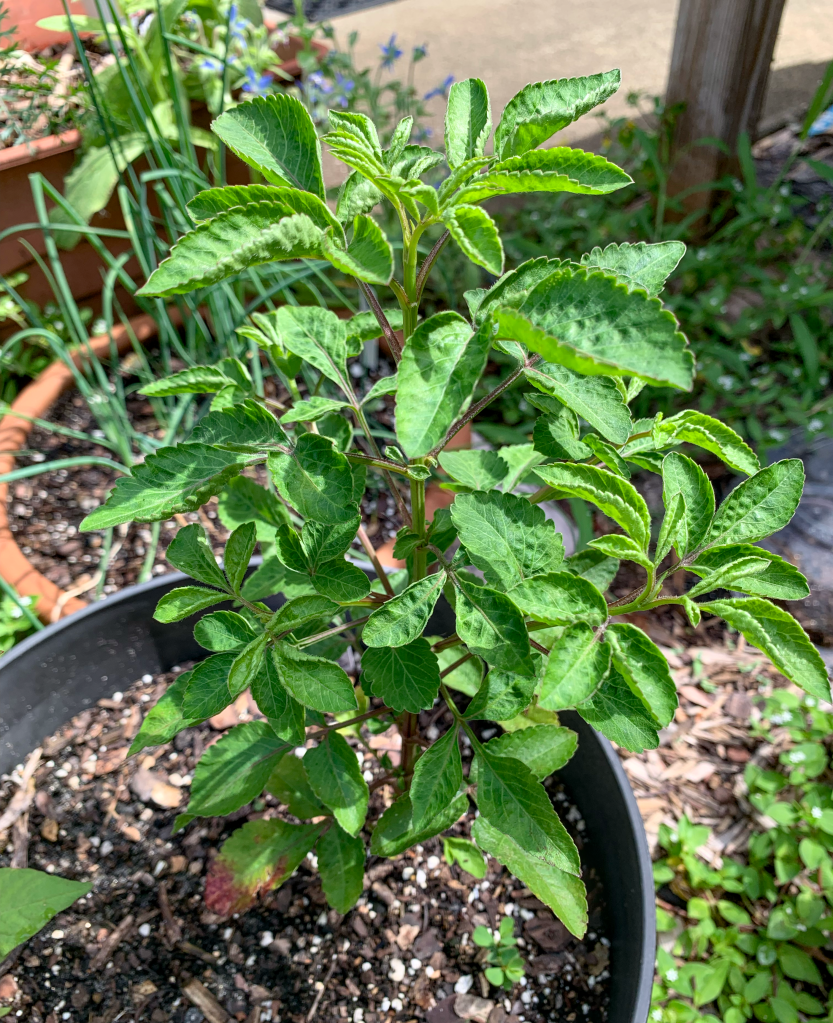
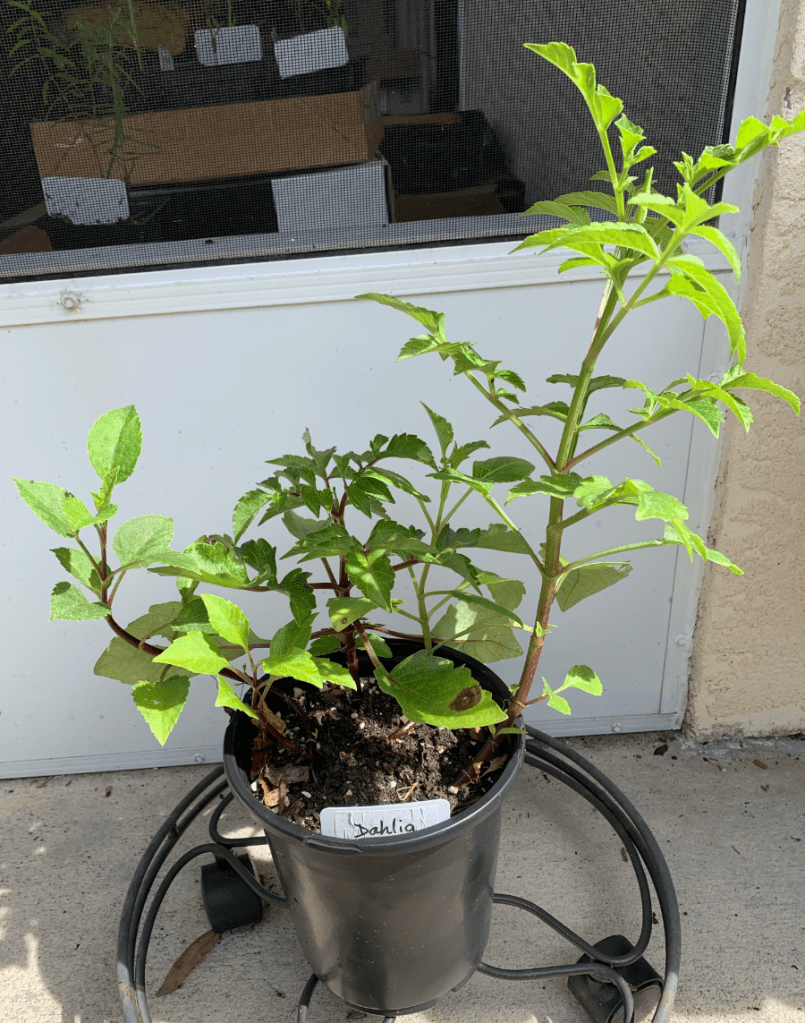
An empty, or partially empty raised bed is a good place to set potted plants.

Round Vegega raised garden bed in dark green

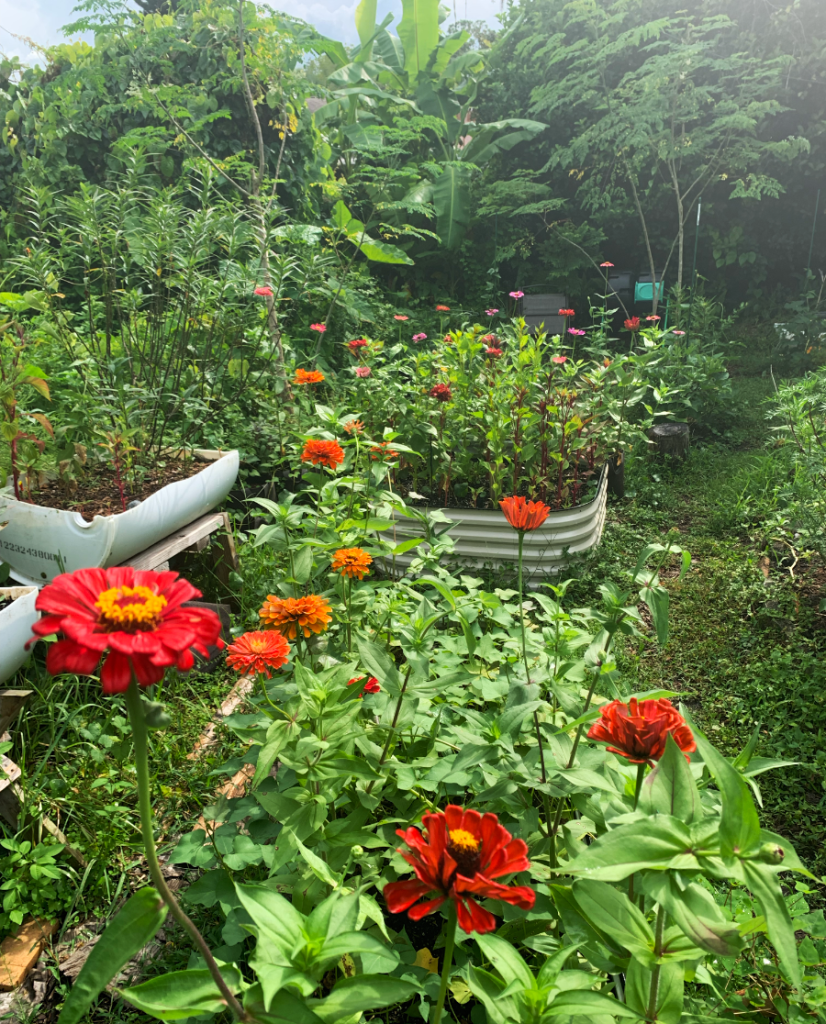
The Long Vegega Raised Bed

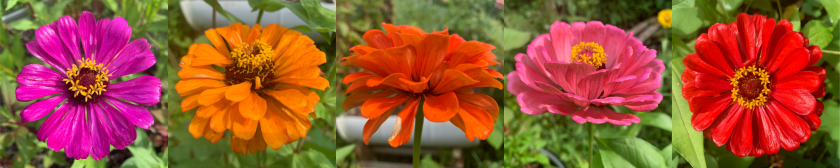
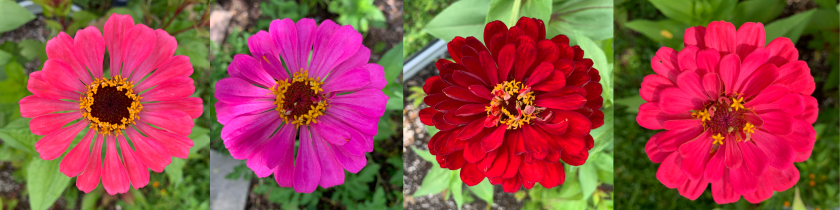
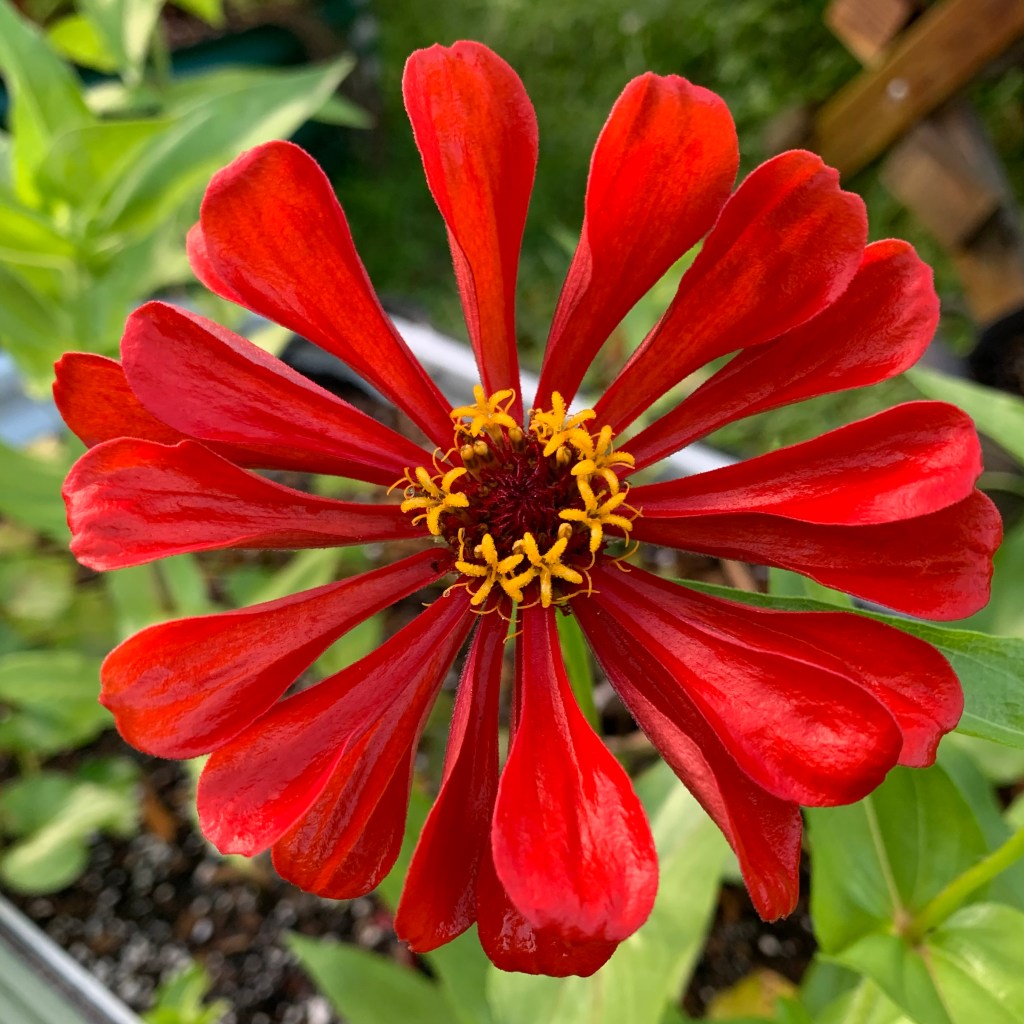
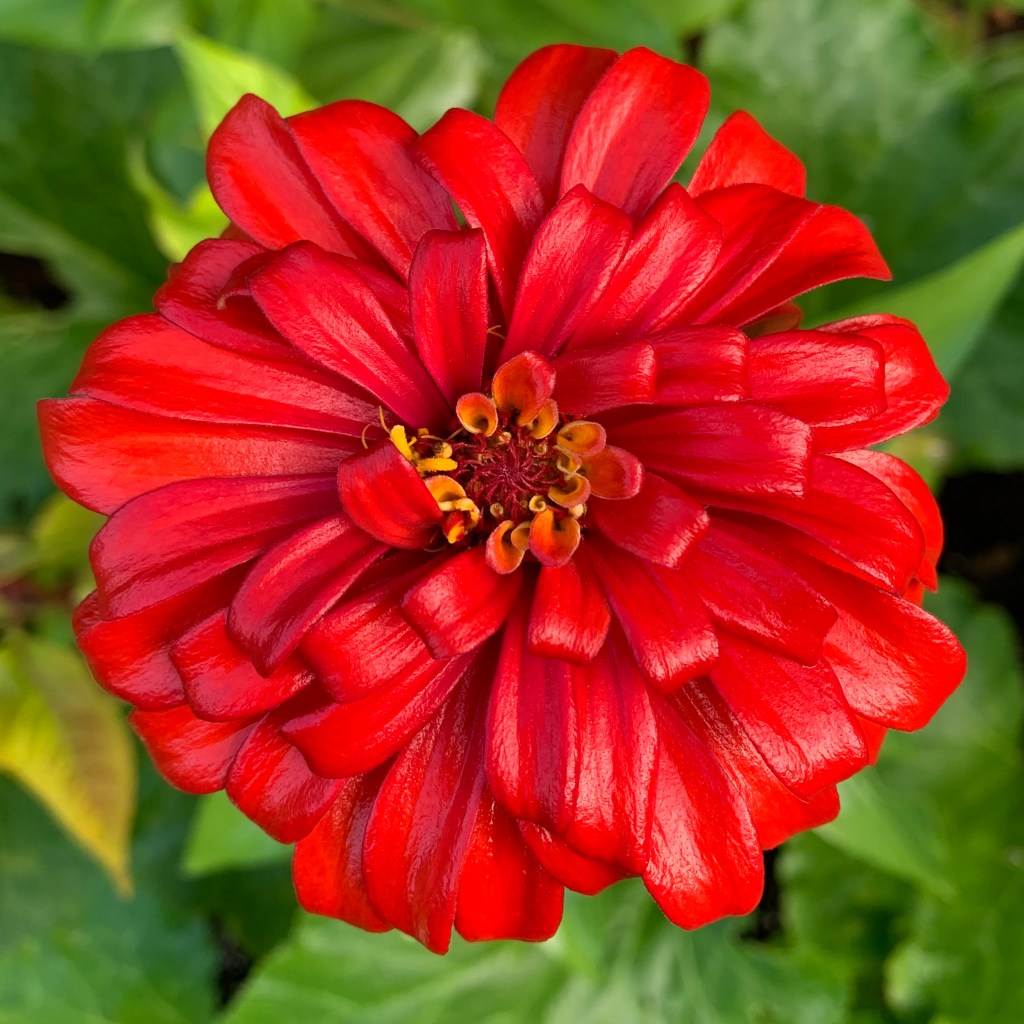
My long, oval bed was the most difficult to set up. I love the shape though. It is full of sweet potatoes (I hope – I see lots of vines) with Zinnias around the edge.

This plant mixing was not a great idea. The sweet potato vines keep trying to wrap around the flowers. By September I will be digging up this bed and getting it ready for Fall planting.

Vegega metal raised bed, oblong shape
My long oval raised garden bed made of metal, with sweet potatoes and zinnias growing.

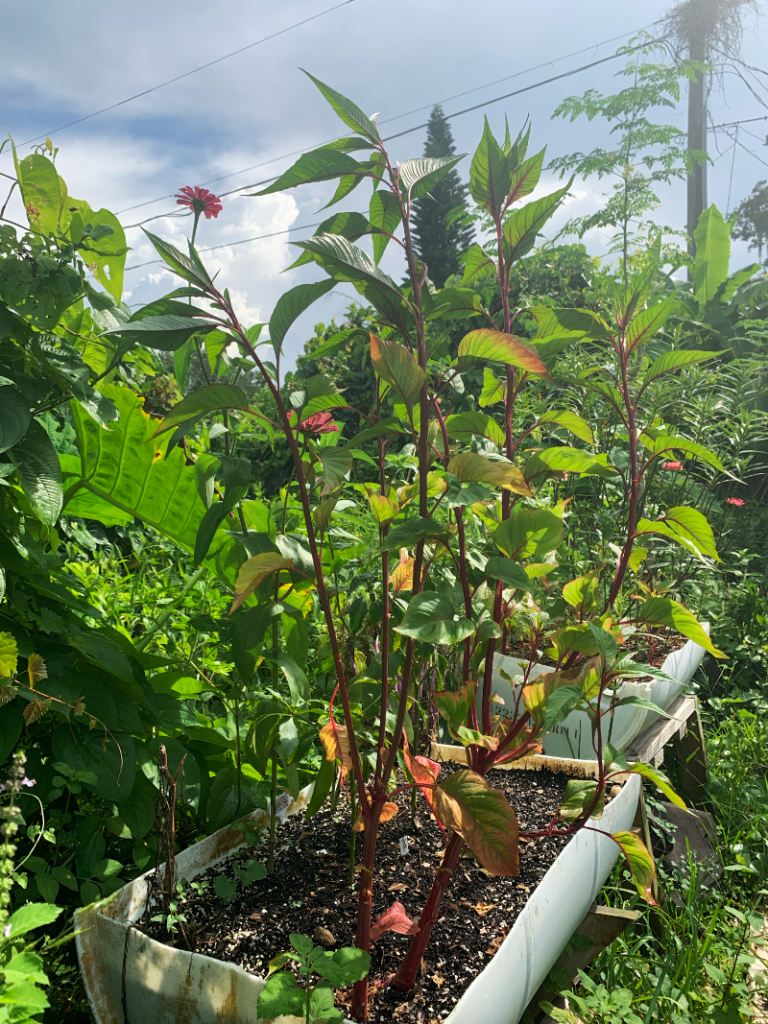
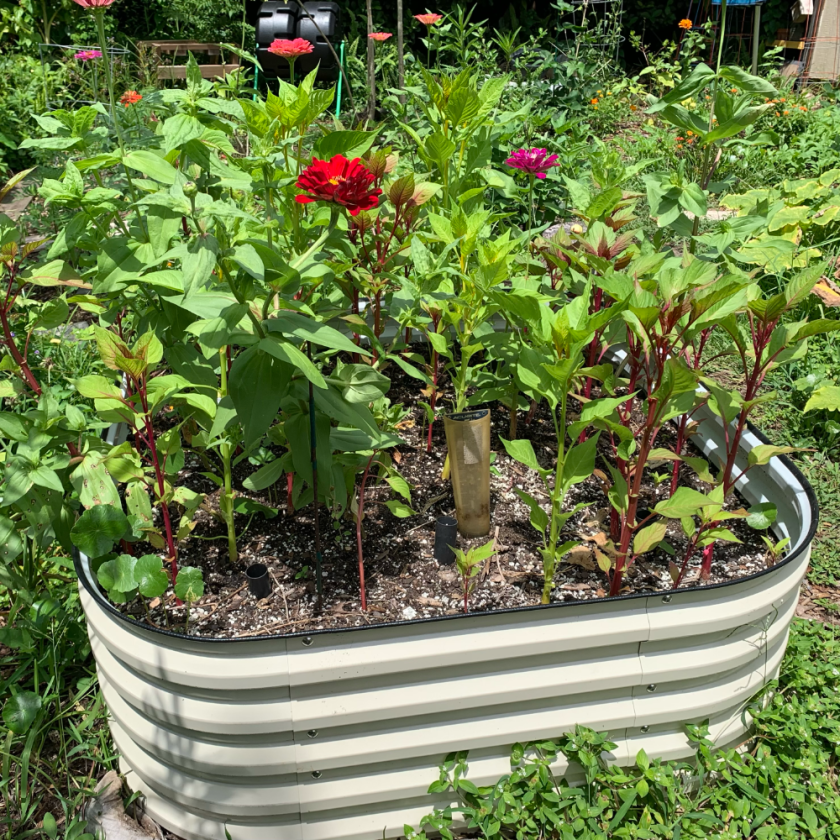
The Square Vegega Raised Bed

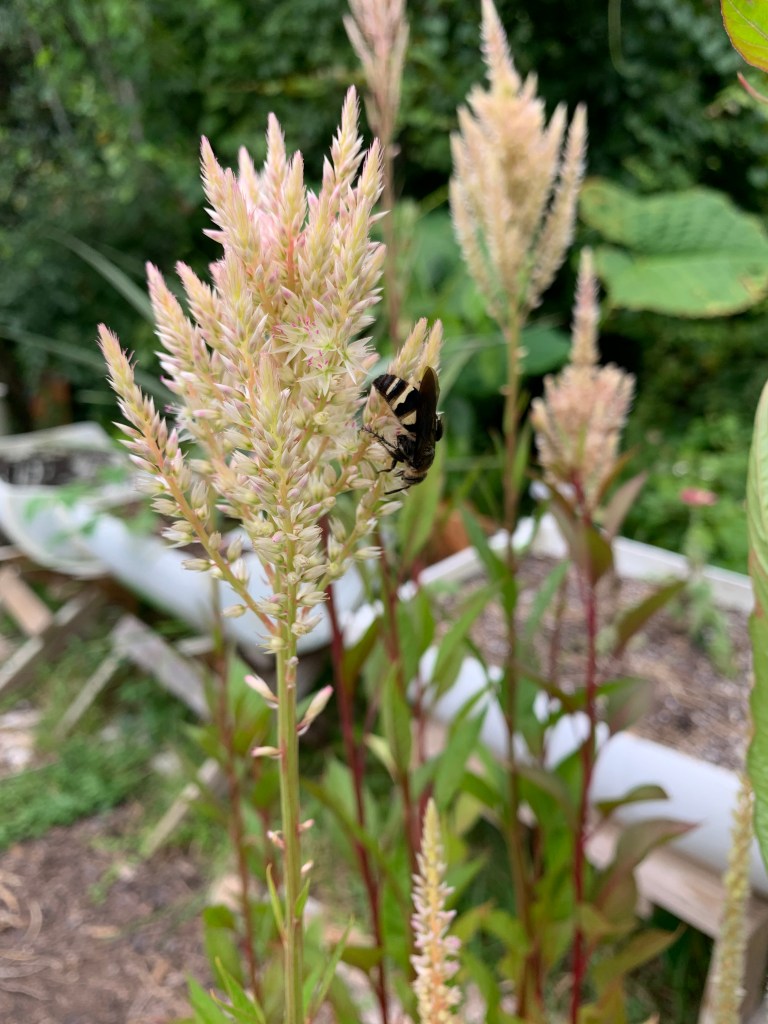
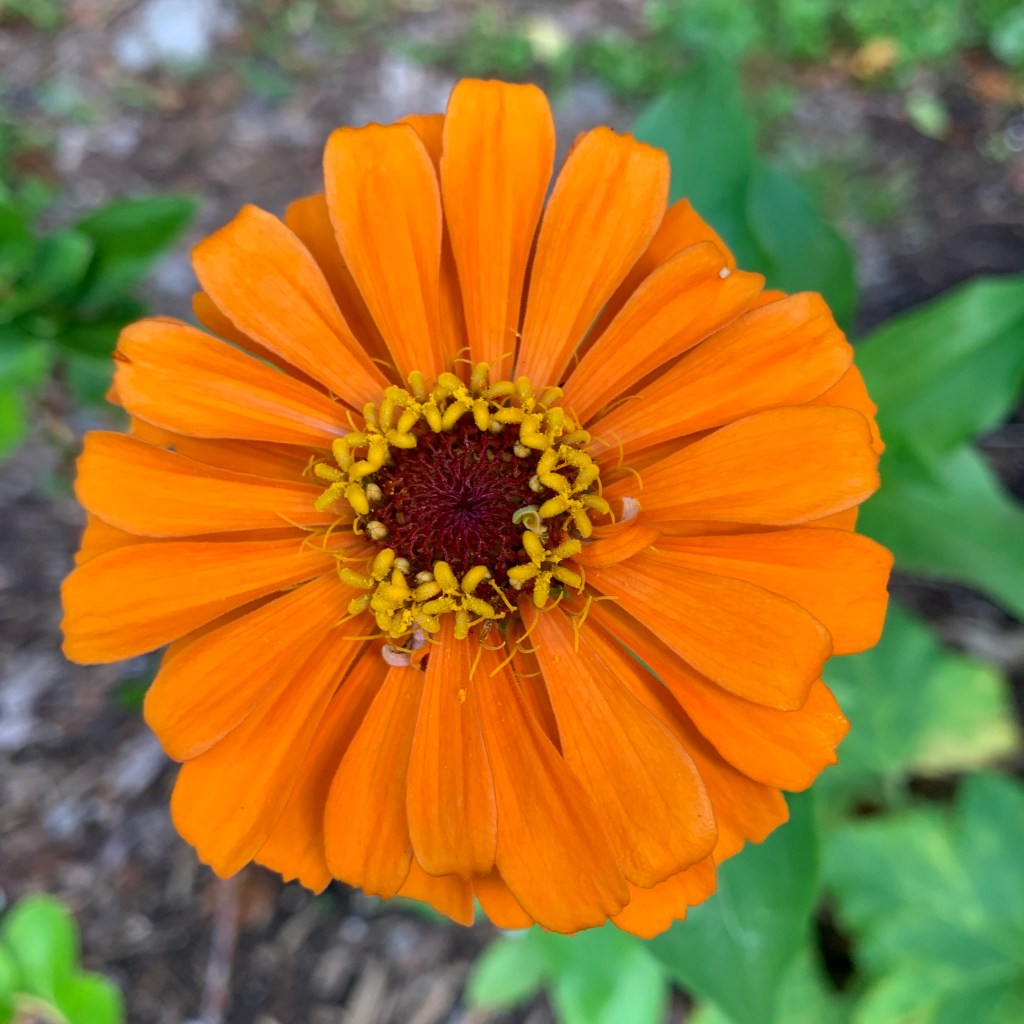
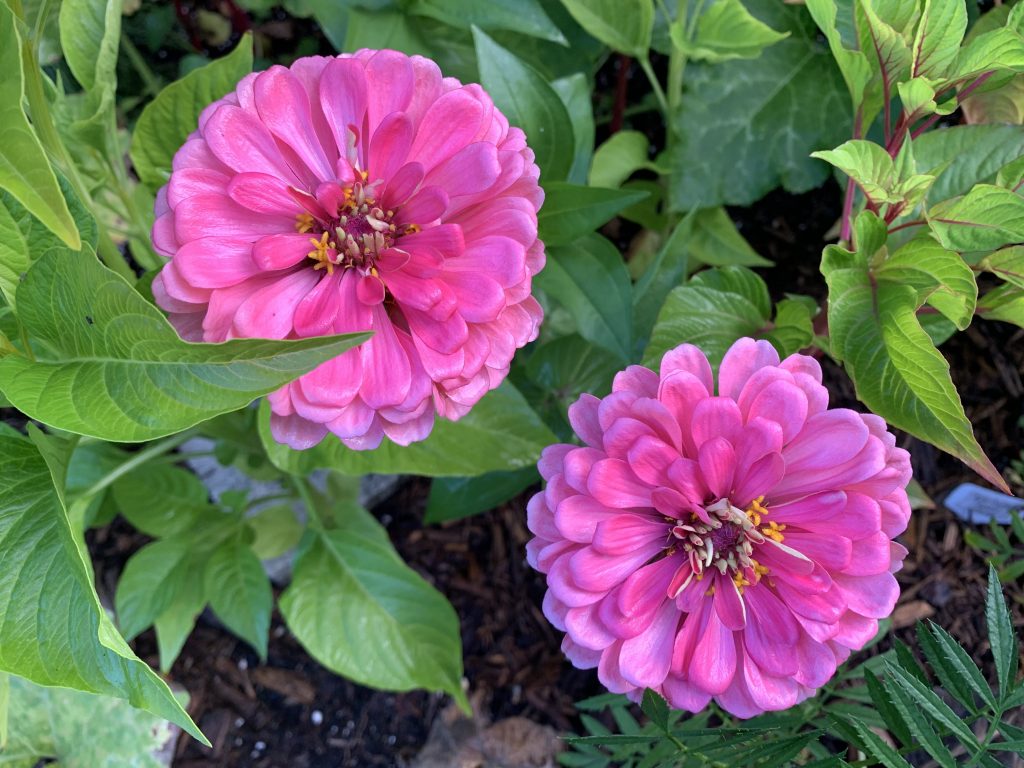
The dirt in my square raised bed has sunken quite a lot. Aside from one hot pepper plant, the bed holds flowers. Many Celosia and a few Zinnias are growing nicely. Like all the other beds, I will add compost and more dirt when Fall approaches.

Square Vegega raised bed in the backyard

Plans for Fall Growing

While summer is fine for growing flowers, in Fall I want to grow food! Each of these beds will hold fall crops. Between the big beds, the white barrels, and all my smaller grow boxes, I should have plenty of space for vegetables.

First I have to add more compost. My homemade compost is “cooking” and has been all summer. I’ll use it to amend the gardens, but I’ll also have to buy some. I definitely don’t grow my own food to save money! In fact it costs quite a bit, at least to get started. The point is to have very fresh, organic food to eat. You can’t get fresher than stepping out your backdoor and picking a salad for supper!

Thanks for reading!

garden scene

Something went wrong. Please refresh the page and/or try again.

One Summer Morning

July is nearing an end and the garden is teeming with living things.

July is nearly over. Hard to believe, but I’m glad. It’s not a fun month here in Central Florida. Not that what’s coming is any better. The Hurricane months are the worst. Soon we’ll be watching those storms that build off the African coast and wonder where they will go.

But, that fun is for the future. Today I discovered a big Swallowtail caterpillar on my celery plant! Swallowtails need dill, fennel, parsley and apparently celery for their caterpillars. The dill was gone back in May, and I can’t seem to grow parsley – especially not in summer. I have some fennel out front, and checked for caterpillars, and found none. I didn’t realize my celery would attract swallowtails.

This big guy was just there! I had not seen him while he chewed and grew, down in the center of the stalks. All day I went outside to check on him. I’m certain he will disappear.

The celery grew from a stalk that came from the grocery store. Today, I am starting another celery plant in a glass on my windowsill. It is very easy to grow.

Watermelon

I had to pick my watermelon because the stem area was beginning to rot, for some reason. But, I also discovered watermelon #2 hidden under the vines. I covered it with pine needles to try to keep the raccoons away. I like to kid myself that I can outsmart them.

The pumpkin vines (first year) have nearly covered my walkway. I can’t easily move the hose so have to leave it in the middle.

The Holy basil is growing and I’m using it regularly. Firespike flowers are coming out and that will keep the hummingbird happy. The celosia plants are getting tall and should be flowering soon.

Oh The Zinnias!

My garden is full of beautiful Zinnias. I look at each one when I inspect things. I can’t stop photographing them. I only began growing zinnias a couple of years ago, but they have become a favorite. I’ve decided to make dividers for this blog using all my zinnia photos.

This year I have lots of reds, pinks, and gorgeous orange. I have only one yellow, so I’ll be sure to save it. Honestly, I am saving many Zinnia flower heads. Some have grown from saved seeds, but many I planted from newly purchased seeds.

yellow zinnia
Only one plant is yellow.

Skittle

Skittle the cat has always been my shadow in the garden. She very much enjoys it when I inspect things. I can’t spend much time out there with her now because of the horrendous heat. She seems to love it. As long as she can find an uncomfortable looking place to sleep, she is happy.

Skittle

I’m mostly quite happy as I look through the garden. Occasionally I get depressed at the lack of food, but there is always the grocery store. Good thing.

The Monarch butterflies are still fluttering each day. They usually show up around 9:00am. They land on the zinnias frequently. Their tropical milkweed is not flowering now, but soon the swamp milkweed will be.

zinnias divider

Thank you for reading.

Something went wrong. Please refresh the page and/or try again.

Surprising Success: Growing Dahlias from Seeds in Florida

When my daughter gifted me a packet of Dahlia seeds, I had little hope that the plants would grow. I often feel that way about “normal” things trying to grow in this jungle. I live in zone 9b.

My daughter was a little bit obsessed with the Floret flower farm. It was (is?) a show on one of the networks, and focused on a young couple who began a huge flower farm in Washington state.

Their farm is impressive, and they have turned it into a thriving flower business. From what I can tell, the husband is behind the scenes doing all the heavy lifting, while his wife, Erin, does the social stuff, writing of books, and poses for photos. Photography of her holding humongous bouquets appears to be their trademark.

pale yellow dahlia flower like a star
My Dahlia has pale yellow flowers

Growing From Dahlia Seeds, Year One

I put the dahlia seeds into a shallow clay pot. I’d never grown dahlias, and had no idea how to do it. I’d always heard that dahlias were tough to grow. Between that and the fact that the seeds came from Washington, I honestly did not think anything would happen.

When I lived in New Hampshire a local farm sold them out of the greenhouse. Greenhouse plants generally mean they like it warm. But I bought a dahlia plant and put it in my yard. It died. This added to my doubts.

The Floret seeds came with a little booklet full of information about growing Dahlias, Zinnias, and Celosia. These three were the seed types my daughter sent. Floret also has a whole page online about How to Grow Dahlias From Seed.

So the first year my seeds became small, scraggly dahlia plants. They grew about 4-5 inches tall in the shallow pot. When the season was over I pulled them up. They had some tubers at the bottom. Surprise, surprise!

In the booklet that came with the seeds, Erin (the writer) said that she stores her tubers in a cool place in ziplock bags. I was not going to bother with that. All I had was possibly the fridge for storage. So I yanked out the little plants with their tubers and tossed them into the compost barrel. I know, I am awful.

Unexpected Dahlia Plants, Year Two

After months went by and I grew my “winter” crops here in Florida, it was time to ready the gardens for Spring growing. As I dug through the dirt in my compost bin, I found the dahlia tubers just laying at the side! They still looked okay, and I figured I’d just put them into the ground for the heck of it. And they grew. I never even marked where they were planted and now I am only guessing about some of them. Like the photo in the center below. I’m pretty sure it’s a Dahlia.

I now have some pretty nice dahlia plants growing! One is tall, and flowering with pale yellow flowers. I had expected the fluffy type bloom, but got this star shaped flower.

Year two, growing the tubers, is working out much better. I plan to leave the plants growing in the ground and see what happens over winter. If they go dormant and need temperatures that are not freezing, the plants should be okay. The ones in pots might just need transplanting to larger pots until next year. It is very hot to be gardening in July.

Flower Books From Floret

Amazon sells books all about the Floret flower farm (paid link). If nothing else, they are full of beautiful photos. Her books will show you how to grow, harvest, save seeds, and make arrangements from the flowers you grow. I do not have any of her books, and personally, I am not interested. I do not cut my measly little selection of flowers to make floral arrangements. I leave the flowers for the bees and butterflies.

Remember that the books are written by a woman who has a huge area of space, with greenhouses, and lots of help. Also, she lives in Washington, which is about as far (in the US) from Florida as it gets.

My Other Floret Flower Seeds

Along with the Dahlia seeds, I also received Zinnia and Celosia seeds. I grew the Zinnias and they were unimpressive. The colors were a pale blush pink. Zinnias, in my opinion, should be bold in color. I love my deep reds, bright oranges, and stunning pinks. I did not save any Floret zinnia seeds. This year I planted from my own saved seeds, and bought a few others.

four zinnia flowers border divider image
Zinnias in my 2025 garden

However, the Celosia were another story! Holy cow, these things are prolific. Celosia is another plant I was totally unfamiliar with, and let me tell you, they are beasts! Apparently they love the Florida climate and the bees LOVE the fluffy flowers. I will be writing a page about them soon.

In Conclusion

The secret to successfully growing things is this: Toss seeds somewhere, ignore them, treat them badly, expect nothing, and see spectacular results. (I am only partly kidding.)

Thanks for reading. Feel free to leave a story about your growing adventures in the comments.

Monitoring Native Milkweed Growth For Florida’s Monarchs

I began filling my yard with various types of native milkweed this year. Here is an update on how they are doing, and which I prefer so far.

After I watched a new Monarch butterfly adapt to his new wings and fly away, I made the decision to get myself more Milkweed. So, I planted seeds, bought a few plants, and mail-ordered others. Now we are into the hot month of July. I’ve been monitoring the growth of all varieties. Here is my update.

This is the butterfly that emerged from the chrysalis on my Rosemary plant. Most photos were of the closed wings and I only got these two of the bright orange side.

Update: The Milkweed Plants

Milkweed plants can be found locally. At the Farmer’s Market I found lots of the tropical variety. This is not native to Florida, but it grows great here. A few years ago I didn’t know any better and bought two of these plants. They were tall and healthy looking. Then, I read that tropical milkweed is bad for Monarchs!

Even though I paid good money for those plants, I never planted them and they went into the compost pile. Somehow some of the seeds took root and I have two tropical milkweed plants in the yard. One is very large. Ever since it began to grow last year, it has been host to butterflies, caterpillars, the milkweed bug, aphids, and ladybugs. I’ve also read that maybe this type of milkweed is not so bad after all. It needs to be cut back in Fall, if you grow it.

My local plant nursery also carries milkweed. I bought a white swamp variety (see photos below) and it’s now in the ground. At the nursery, many of the plants didn’t look too great. They were covered in aphids, but aphids love milkweed, so I can’t really blame the nursery.

Be sure to buy the milkweed early in the year to establish a good root system before winter when the native types go dormant.

Update: Milkweed Grown From Seed

Most of the milkweed that I grew from seeds this year are still pretty small. I’ve had caterpillars on a few, which ate down the leaves. So, that didn’t help.

The varieties I grew from seed are; orange tuberosa (orange butterfly weed), sandhill, and whorled. They are all growing well, but slowly. I particularly love the thin leaves of the Whorled variety and look forward to seeing how it turns out.

The Sandhill milkweed is growing very slowly. I only have two pots, and decided to put one into the ground.

Update: The Mail Order Milkweed

The four mail order swamp milkweed plants are quite large. I planted two in my hibiscus garden, one near the house downspout, and one in the back garden. None have flowers yet. I’ve seen the occasional caterpillar on them. One is now showing signs of blooming!

Milkweed Warnings

Milkweed tends to be poisonous. Anyone who has animals that might eat it, should consider this. It is toxic to livestock.

Milkweed is a magnet for aphids. This means that milkweed will also draw in the ladybugs. That’s a good thing! Whenever you see lots of aphids on the plants, don’t get too upset. Wait and see if they are taken care of by nature.

Advice on Buying

Now that I have grown native, Florida milkweed from seeds, mail-order and nursery plants, here are my thoughts on buying. If I had the space and wanted more milkweed, this is what I would do.

  • Buy from a local nursery, if they have native plants that look pretty good.
  • Order from The Grower’s Exchange. These are by far the best looking plants of all my native milkweed. The tropical milkweed plant is huge, but it is not native.
  • Order seeds for new varieties. The Sandhill and Whorled are pretty cool.
  • I wouldn’t bother again with the Orange Tuberosa. I’m not thrilled with these plants. They are leggy and saggy. Some have leaves that have turned brown, and that could be due to too much water. They like it dry. They are not fast growers (from seed), and not very good-looking. They might look a lot better by next year, if they survive. Maybe buying plants, and not starting from seed, would be the way to go with this one. I’m going to see what they do.
  • Won’s be buying any Tropical milkweed variety. I’ll manage the ones I have by cutting back in Fall. The milkweed bugs have taken care of removing the seed pods! I think they suck the juices out of the pods because every pod is gone.
Tropical milkweed flowering with monarch butterfly
Volunteer Tropical milkweed with Monarch butterfly

Don’t worry if you have some tropical milkweed in the yard. Recognize it by the two-colored flowers. Right now, it’s the only milkweed flowering in my yard. And the Monarchs are using it for food.


Something went wrong. Please refresh the page and/or try again.

Pretty Flowers in the June Garden

Lots of flowers are beginning to bloom in June. Here in central Florida we have a jump on growing, but look forward to growth just the same.

I love to photograph flowers. They make an excellent subject. Who doesn’t like viewing the delicate intricacies, fantastic shapes, and stunning colors of flowers. They don’t move so photography is simple! LOVE.


So…. from all the flowers above, I see bees visiting most often the Spiderwort. I’ve let some clumps of Spiderwort grow randomly around the garden. Each morning when I water, I hear and see bumblebees visiting the purple flowers.

Another favorite is the purple Holy Basil, also called Tatsoi. Those flowers come out on tall spikes and the flowers are very tiny. But the bumblebees love them!

Butterflies usually visit the beautiful zinnias, but I have not had many butterflies. The occasional Gulf Fritillary has been spotted, and a few Zebra longwings, but honestly not many at all.

The Cosmos are not like the cosmos I grew in New Hampshire. These are small plants and not leggy like the northern plants. All of the cosmos growing in my yard came from saved seeds. I bought one plant and saved the seeds that I continue to plant in the yard. I like not knowing if the flowers will be yellow or orange, or a combination.

From the Front Yard

I rarely pay much attention to what is growing in my front yard. My focus is on the vegetable garden and flowers planted there. But, my hydrangea plant is blooming with big pink flowers.

Hydrangeas are the reason I began this blog. Many years ago, I lived in New England and grew many types of hydrangeas. I photographed the blue ones especially, and created this blog to share hydrangea info.

A few years ago, I decided to see what a hydrangea bush would do in my Florida yard. And here it is, still growing and flowering. I pay almost no attention to it. The bush is still small, but I believe it is surviving because it is constantly in the shade of a very large shrub.

I bought the hydrangea in May one year. That’s when you might be able to find the plants. Big box stores get them out on display for Mother’s Day. When I bought this one, it was blue, or purple-blue. The gorgeous blues I had on my New Hampshire hydrangea bushes can’t really be replicated by making the soil acidic. I believe that the pretty light blue is just natural, and comes from the earth.

More to read on this blog:

Something went wrong. Please refresh the page and/or try again.

Florida Native Coral Honeysuckle is Planted for Hummingbirds

Planting the coral honeysuckle with a new obelisk for support.

A Florida native plant that I’ve wanted in the yard for some time is the Coral Honeysuckle. A tiny plant was part of my mail order selection, but the plant arrived very tiny. I’m not sure I would live long enough to see it reach a great height!

After putting my Lee Valley Obelisk (large size) together, I needed a plant to go with it. At my local nursery there were many Coral Honeysuckle plants that looked great. I chose one, popped it into my little car, and planted it the following day.

How to Plant a Honeysuckle Vine

I chose a spot that would get lots of sun. This is a Florida native plant and it can take sun and heat. Read more about this vine at the IFAS Gardening Solutions: Coral Honeysuckle page.

The hole was easy to dig, once I removed all the roots growing under the sand. Here in Florida, rocks are not a problem when digging, but you may come across pieces of concrete that were left behind from the building of the house.

When checking out at the nursery, the woman talked me into getting a little bag of fertilizer to add to the hole. I also mixed in some of my own compost and a bit of Happy Frog, with the sand. BUT…. before I added dirt back into the hole, I placed my obelisk around the plant. That way the poles were down nice and far into the ground.

I also planted the tiny, mail order plant right next to the bigger plant.

Once the plant was in the ground, I undid the ties holding the old trellis system. Three bamboo stakes were tied for the vine to wrap around. I planned to remove the bamboo completely, but decided to leave it in place. Much of the honeysuckle was already firmly wrapped around them.

I will train the vines to continue up the trellis. Once it gets tall, the hummingbirds should love it. I haven’t had hummingbirds since the Firespike plant lost its red flowers. Honeysuckle can loose its leaves in cold locations, but grows well in the entire state of Florida, Zones 4-10. It will bloom all Spring and Summer!

Once the mulch was down, I gave this new plant a good soaking with three fills of my Haws watering can.

Black obelisk over planted coral honeysuckle

Once the Coral Honeysuckle is established, it shouldn’t need much attention. I’ll keep it pruned to fit the round trellis.

The rainy season is here, and with our regular afternoon storms, this plant should do quite well.

garden divider leaves