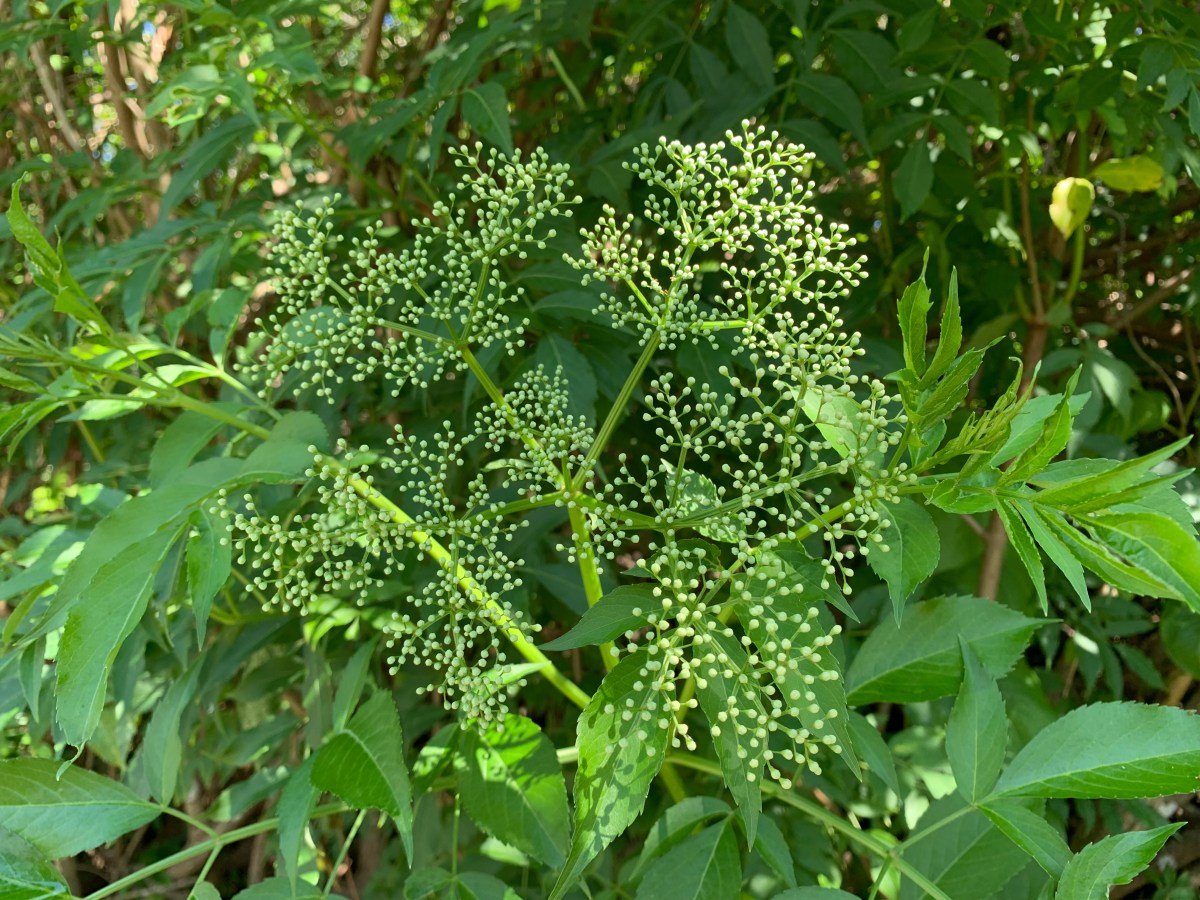
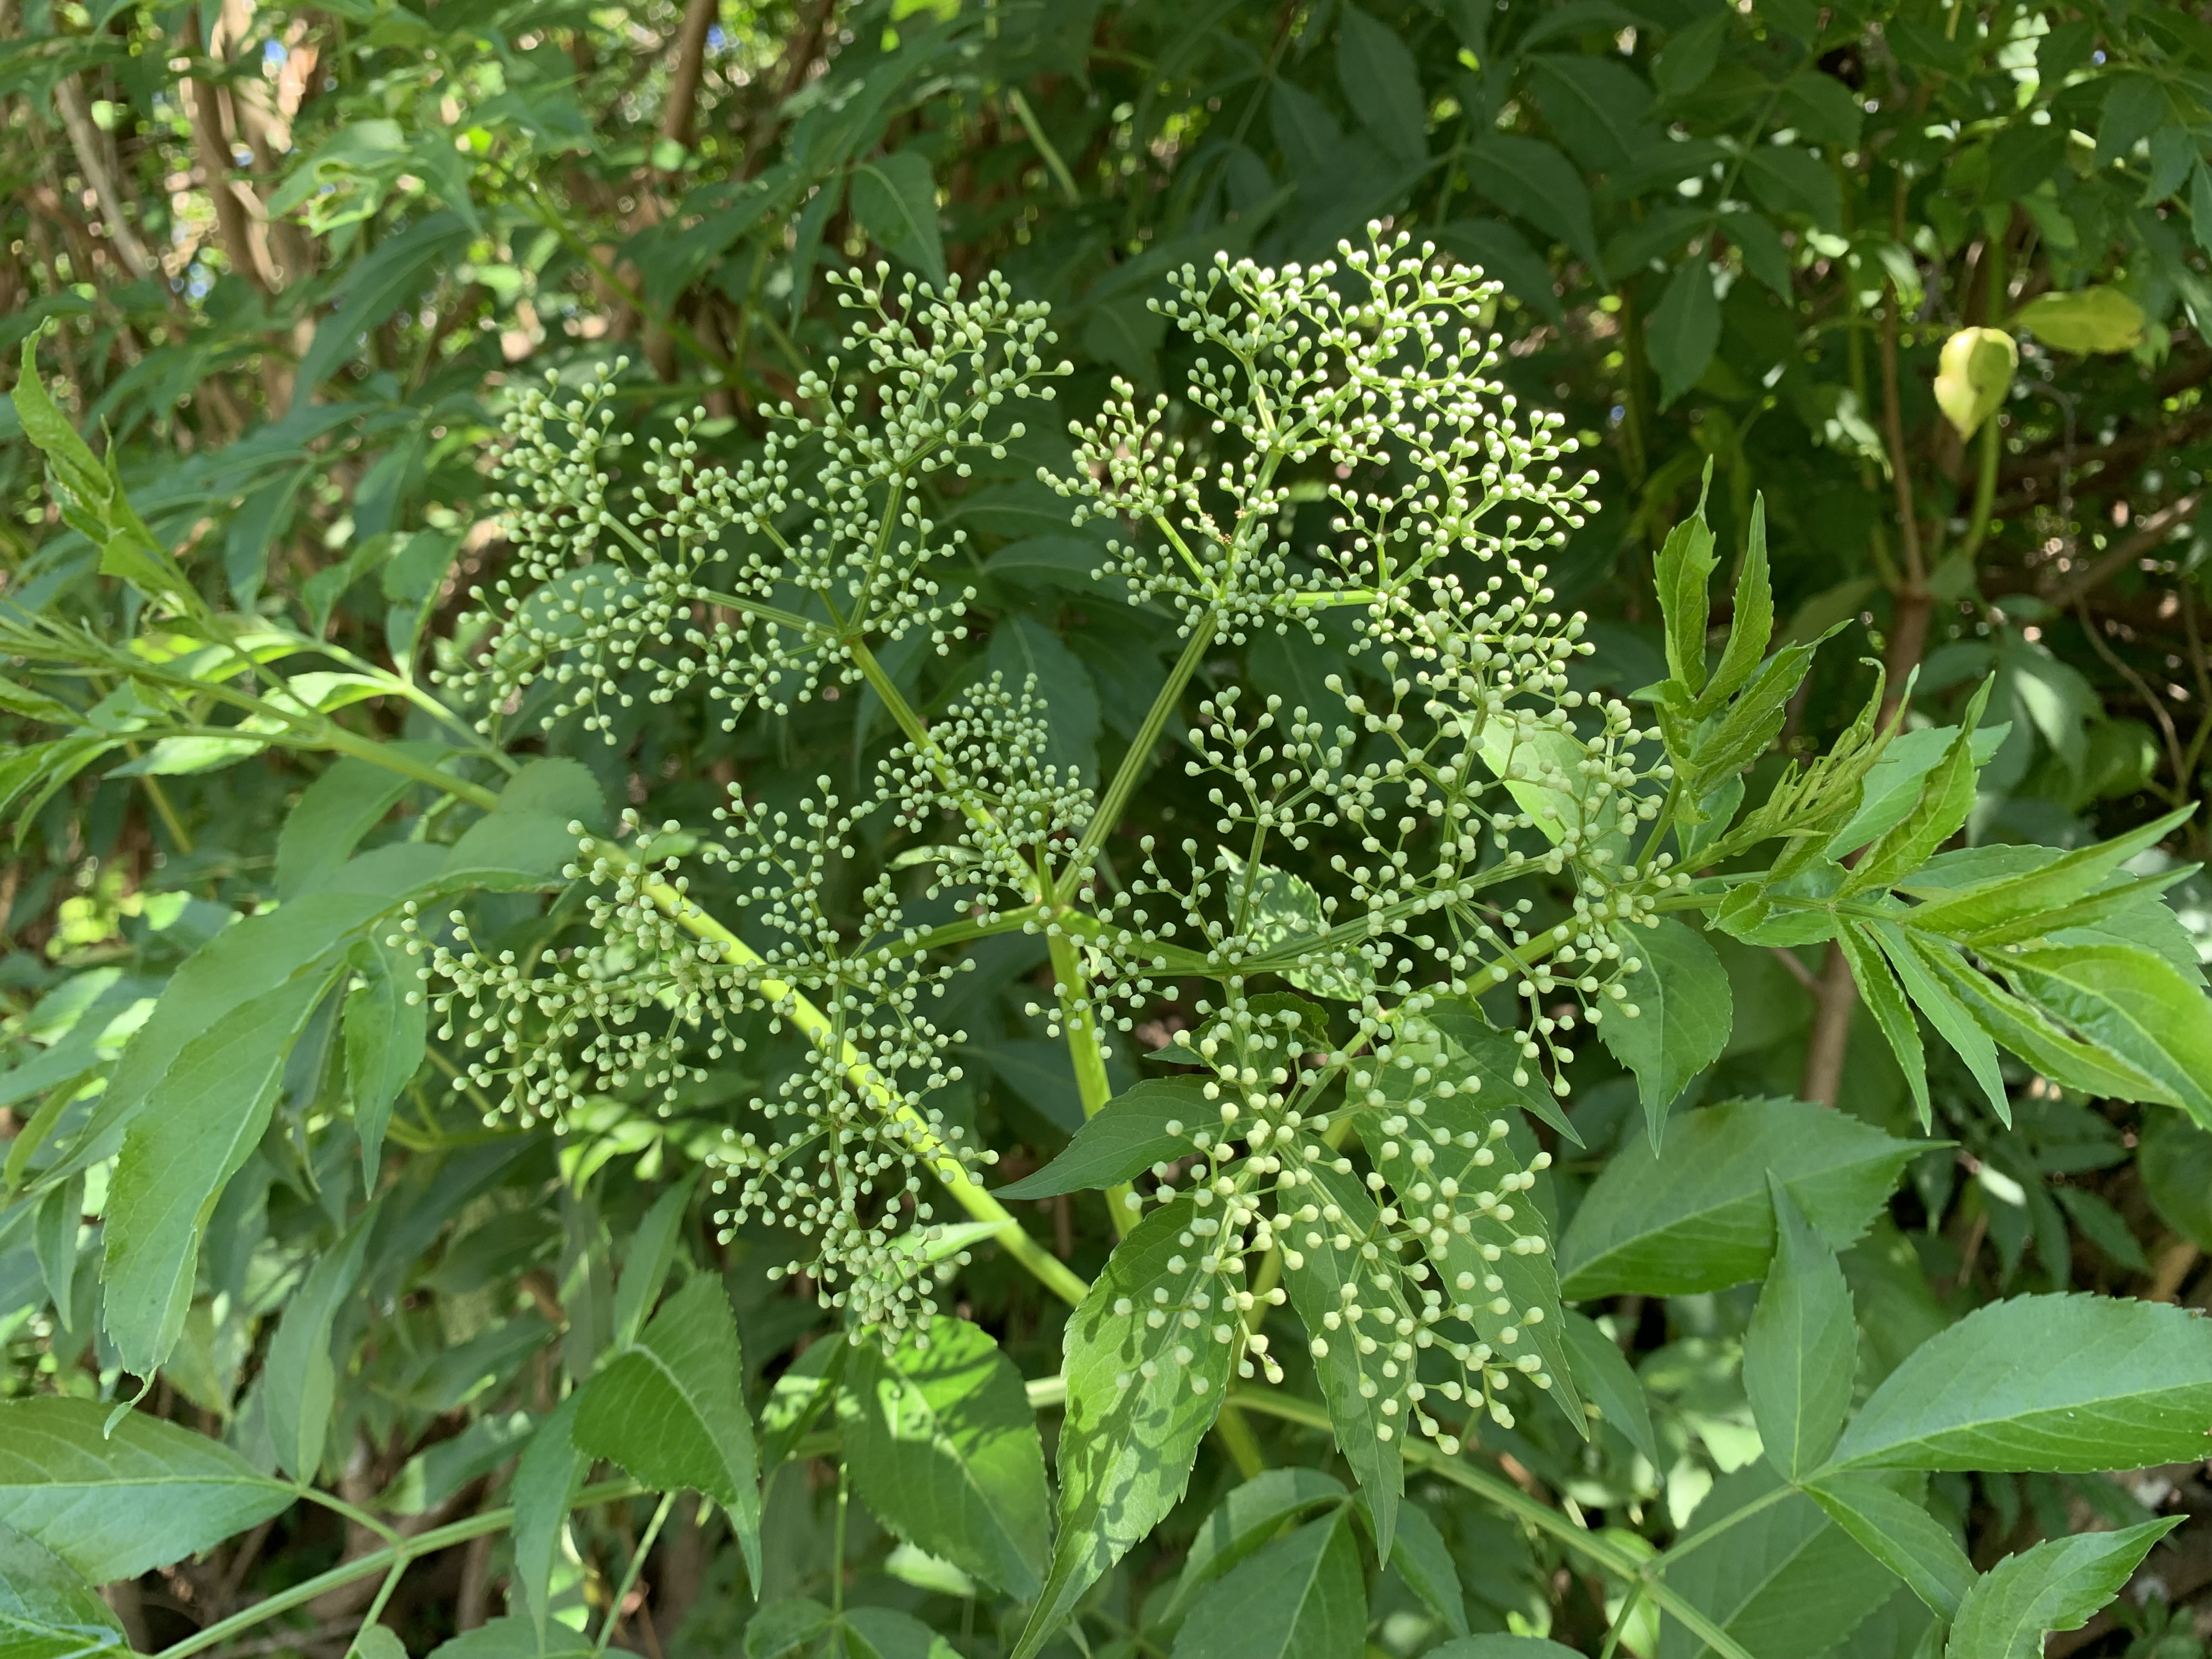
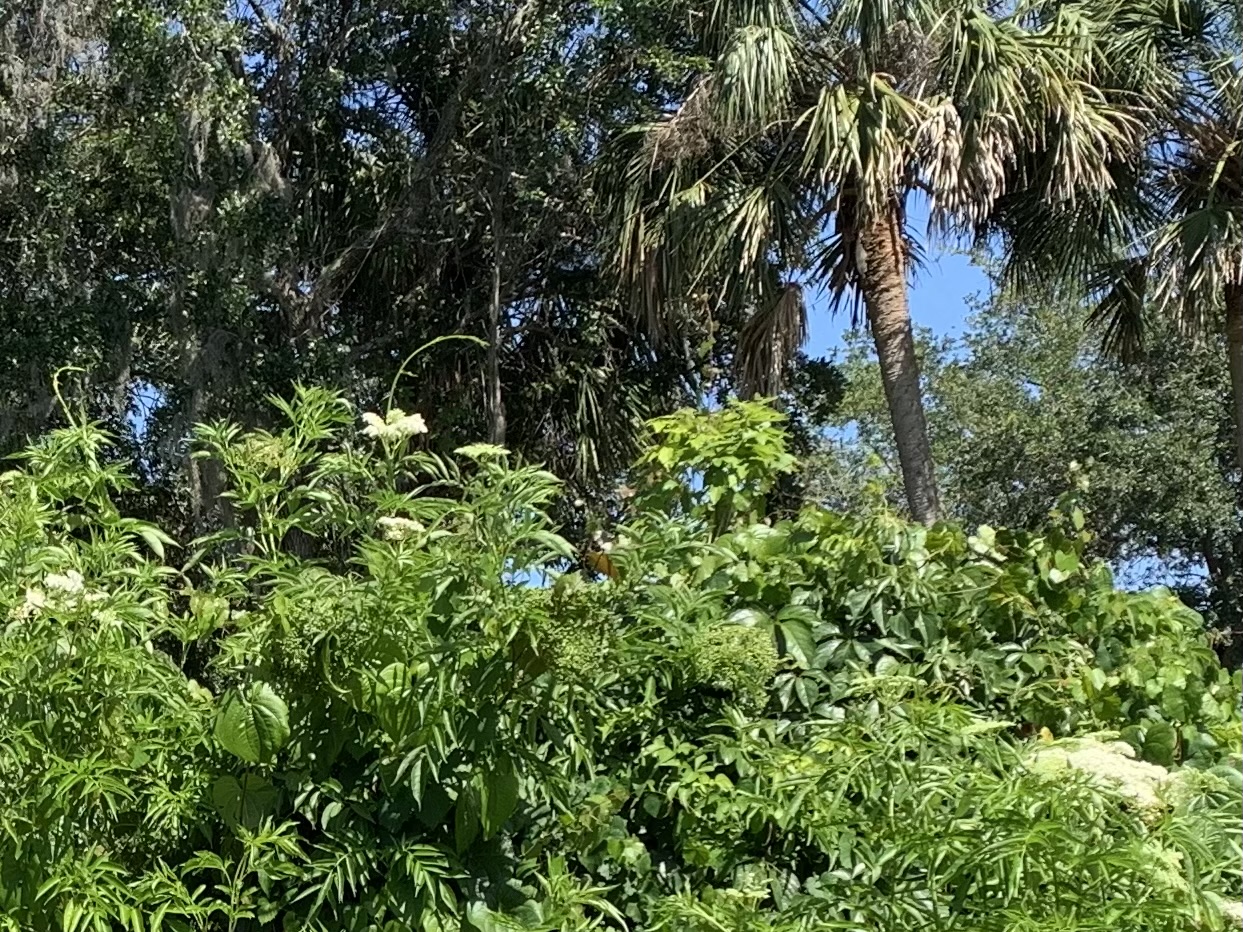
The elderberry plants are blooming their big white flowers in May.
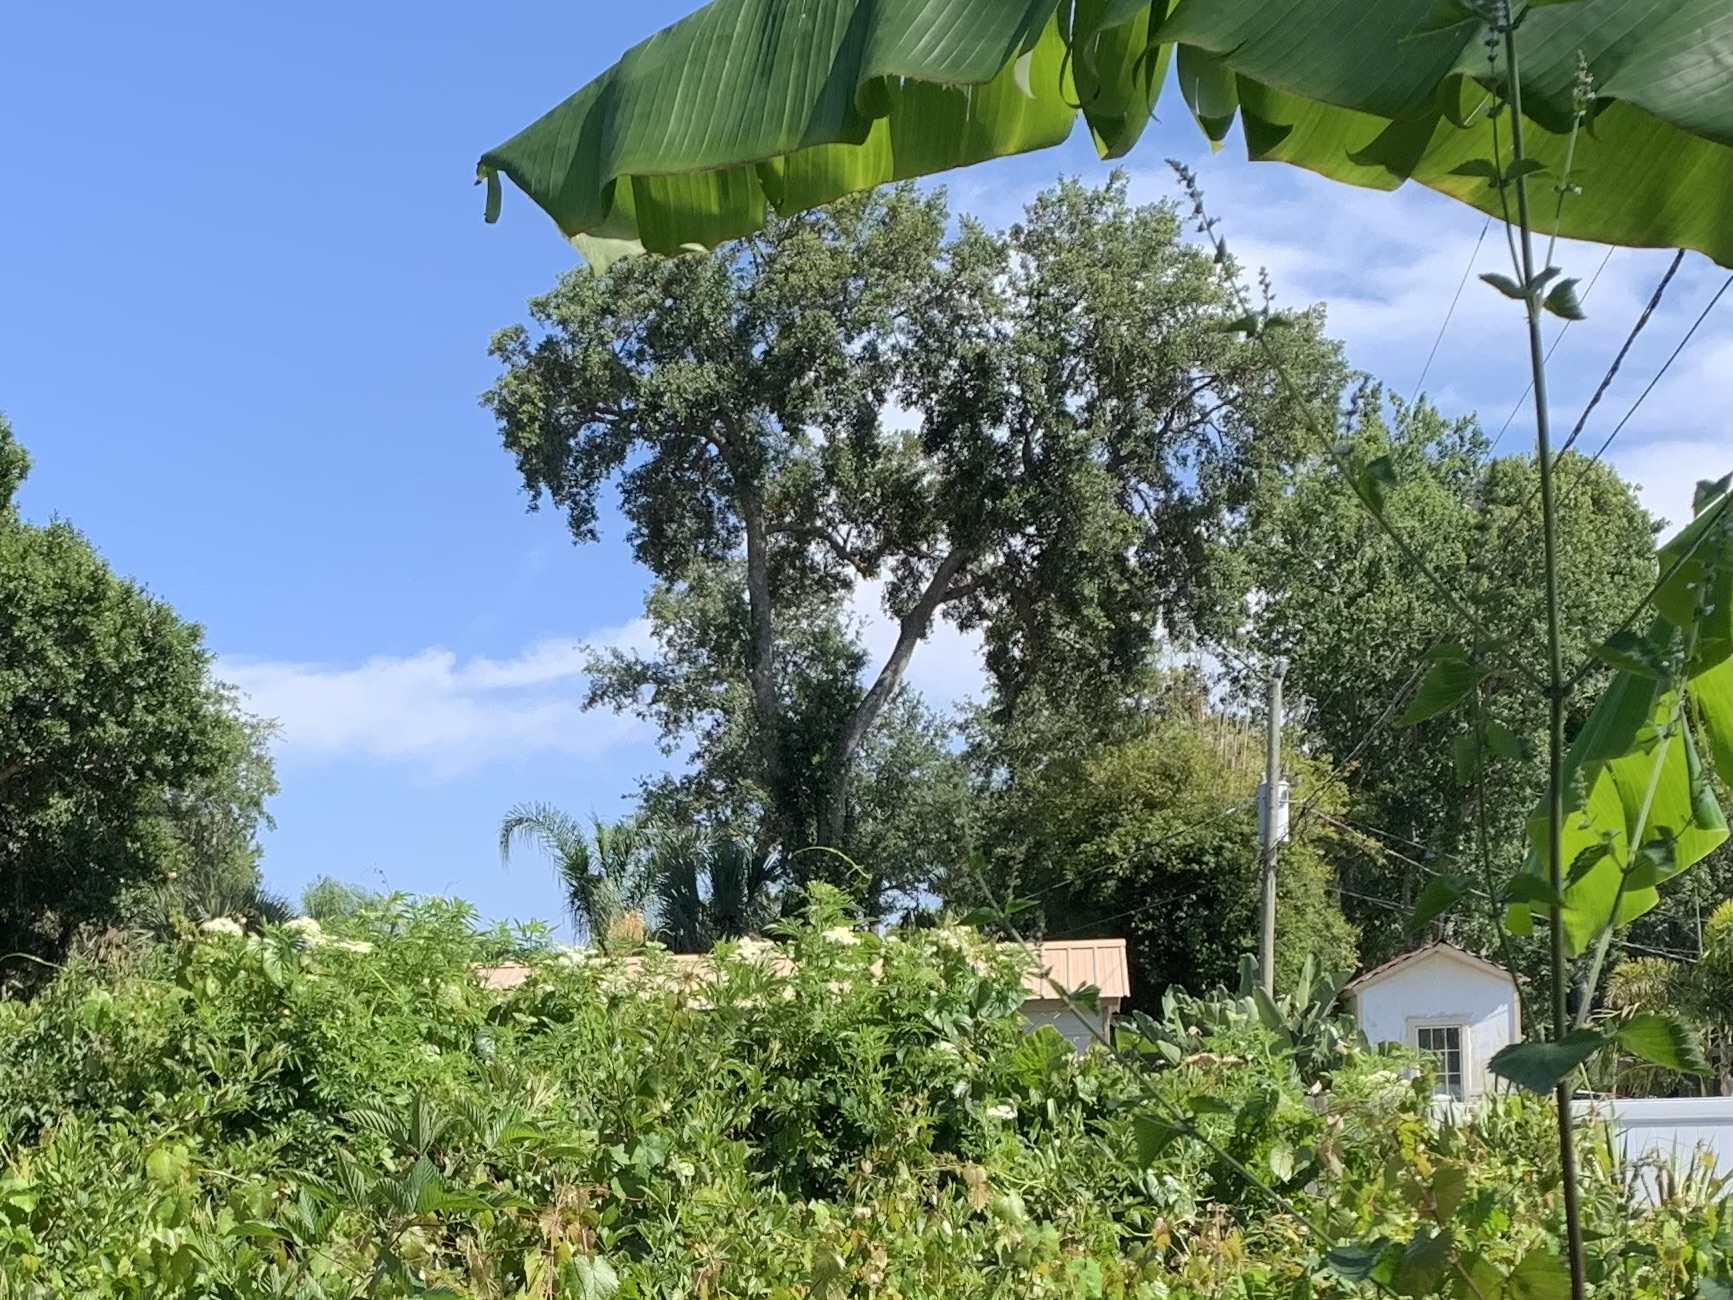
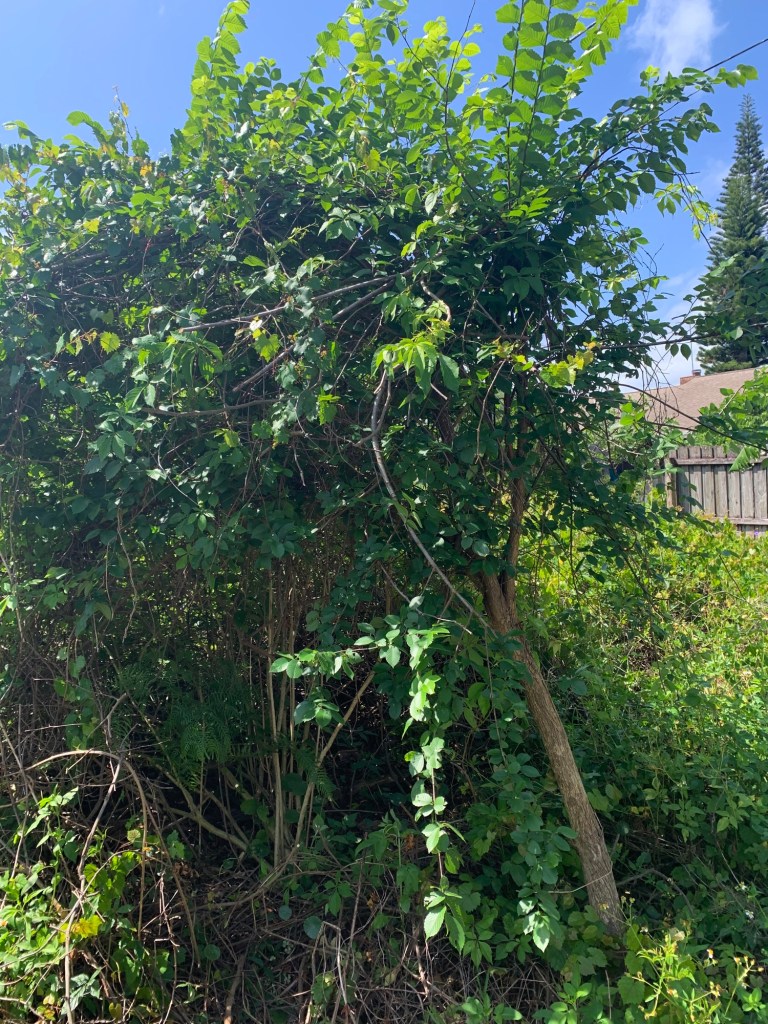
The lot next door is full of elderberry shrubs. Now they are all blooming and the white flowers are very noticeable.
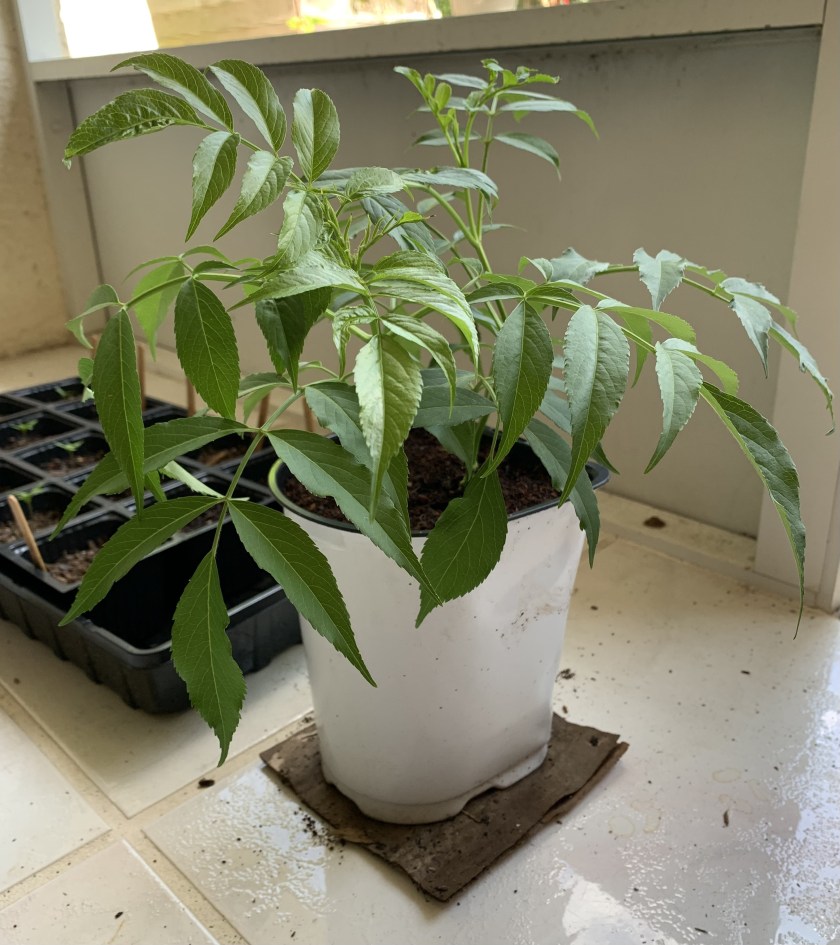
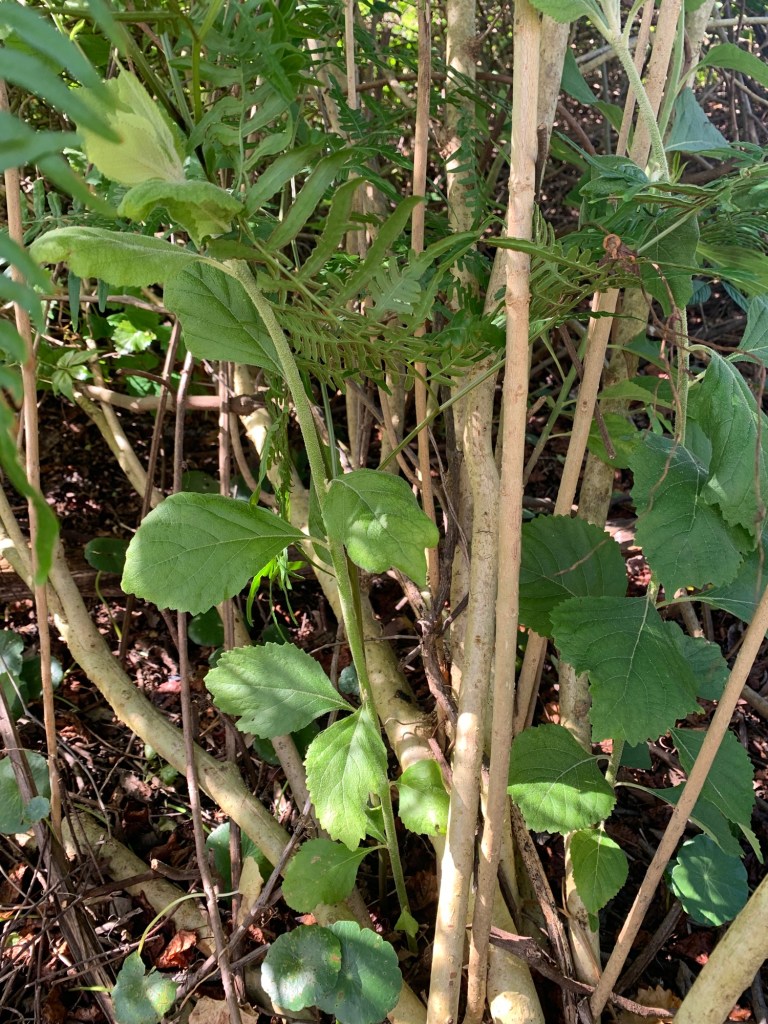
I took two longer cuttings from the elderberry that is next to my bird feeders. After they began to get roots while sitting in water, I put them into a tall pot.
They wilt quite a bit out in the sun, so they are growing on the porch for now.
I’ll need to find a good spot for this new plant. Maybe I will wait to plant it in Fall because it is very hot now.
Growing seeds from the Urban Harvest has been a rewarding experience. My small backyard vegetable garden is off to a great start.
This is a quick review of my experience with the Urban Harvest. This company is located on the western coast of Florida. Elise is the woman who does videos about growing vegetables in this hot Florida climate. I have linked to one of her videos below. She also has a beautiful website with information and seeds for sale. I am so happy to have found her, and very much appreciate her good advice about gardening.
I’m just getting started with my backyard vegetable garden, but so far I’m impressed with the growth from the seeds I bought.
Growing From Seed
Whenever you use seeds to begin a garden, it’s a guess as to how many seeds will actually grow. I’ve had very good luck with my seeds from The Urban Harvest. Everything has grown really well.
If you live in the St. Pete area of Florida (west coast), this company also sells living plants. See more at the Urban Harvest website.
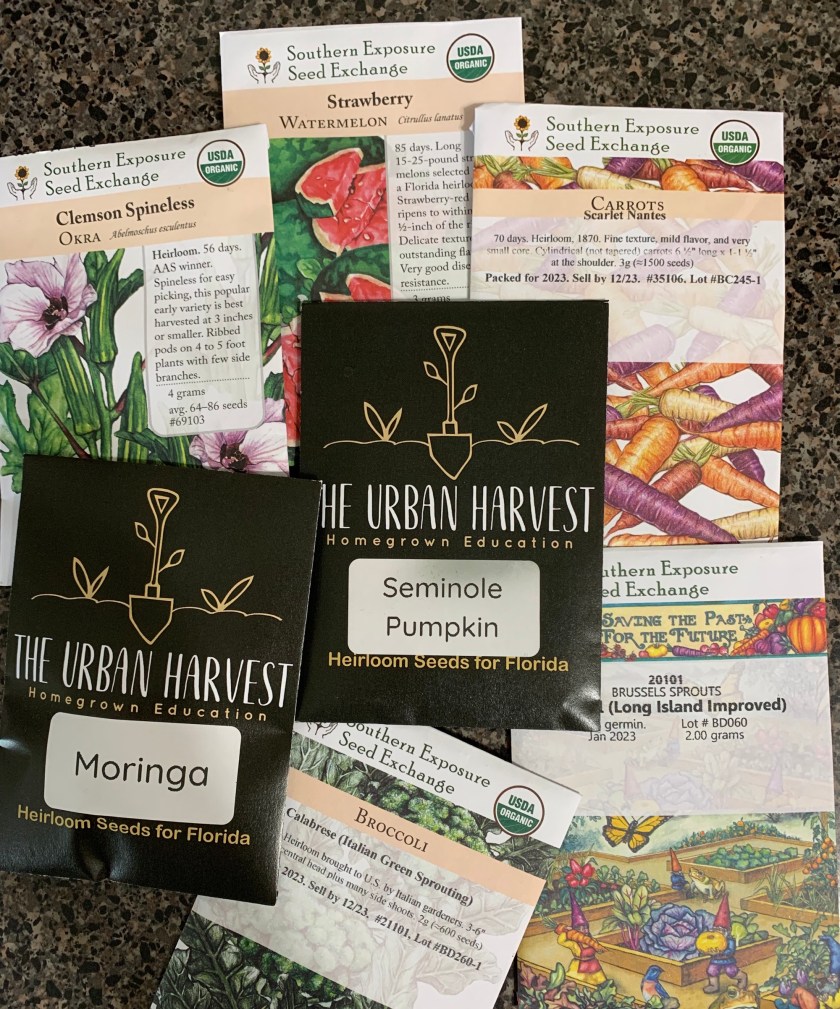
Seeds from Urban Harvest
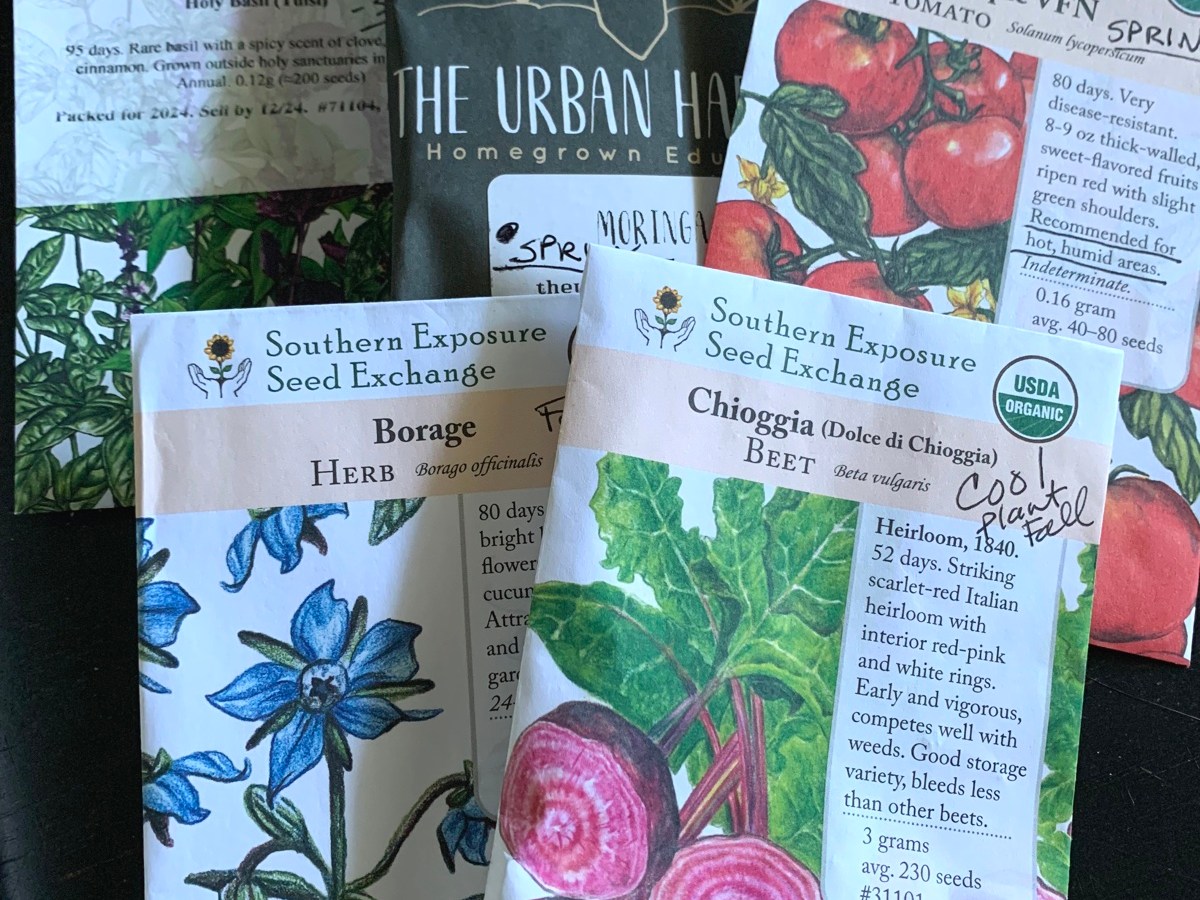
Seed packets cost around $3.00 and all the packets above came from The Urban Harvest even though only two packets contain their label. Shipping was fast. I received a thank you e-mail. In my opinion, customer service is great!
My seeds arrived in April, so I only planted what could handle the summer heat. (The carrots, broccoli and Brussels sprouts will wait until Fall.)
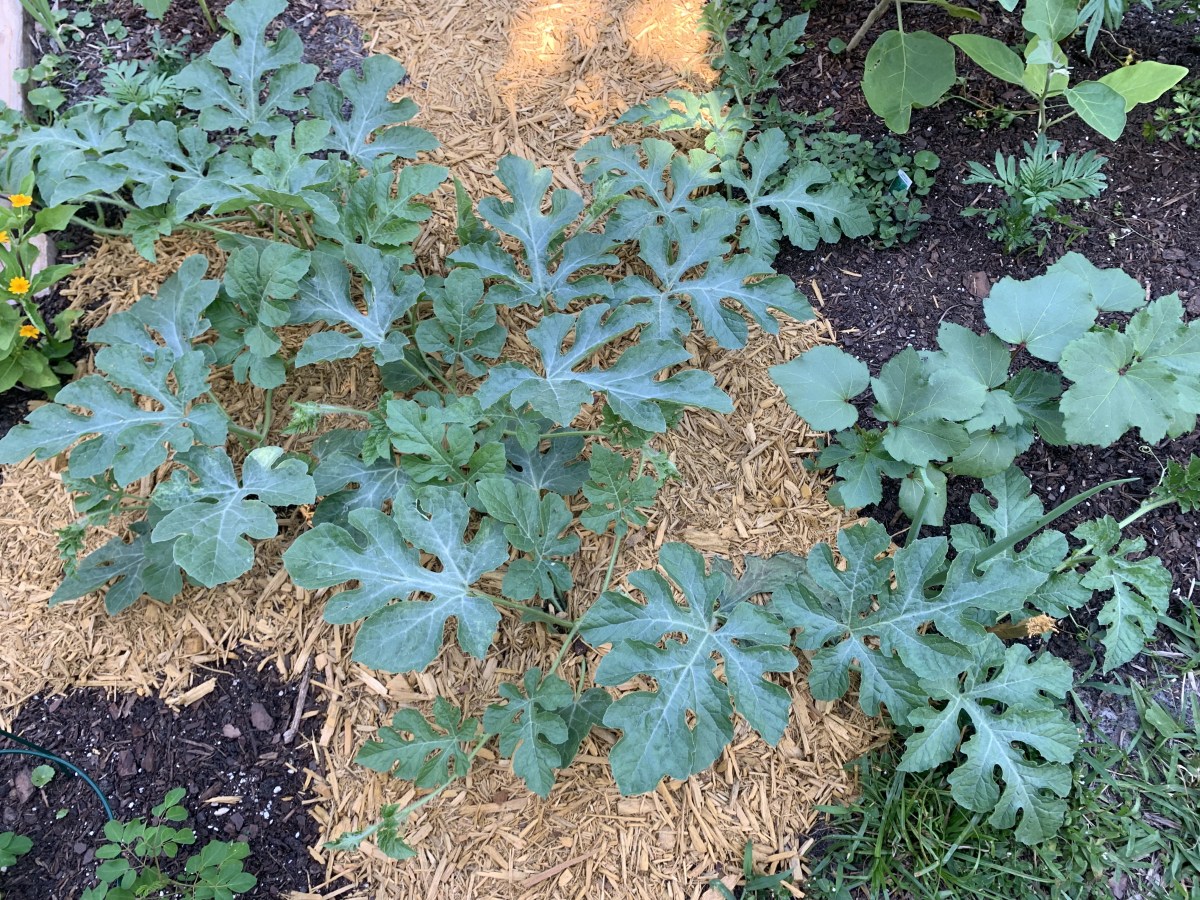
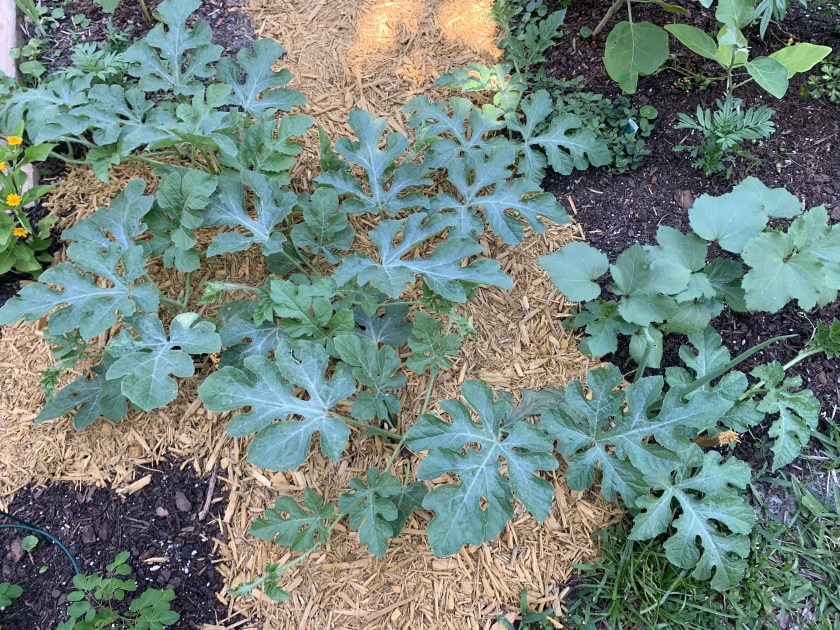
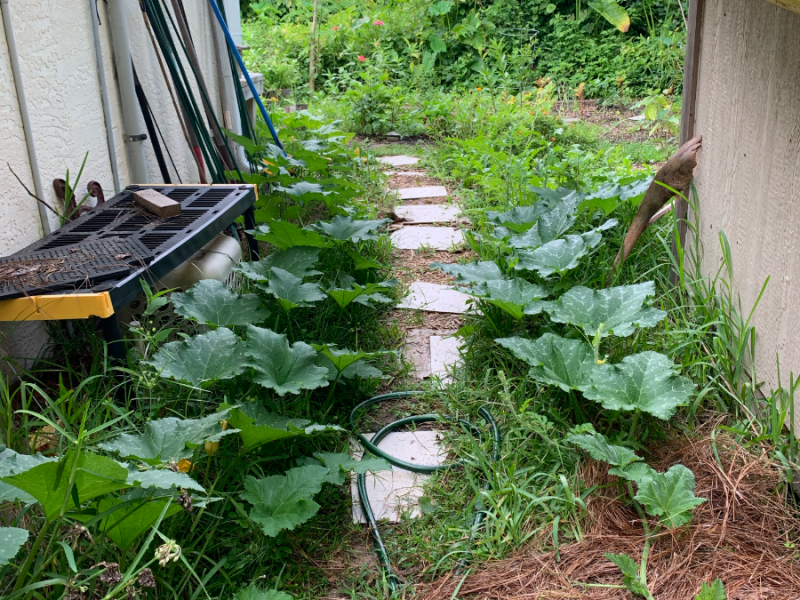
The watermelon and okra were put directly into the ground on April 8th. Of the 12 watermelon seeds I planted, 9 came up. I have thinned them to four plants. I simply don’t have a lot of space for them. (I should have thinned them to 2!)
Watermelon plants day 34
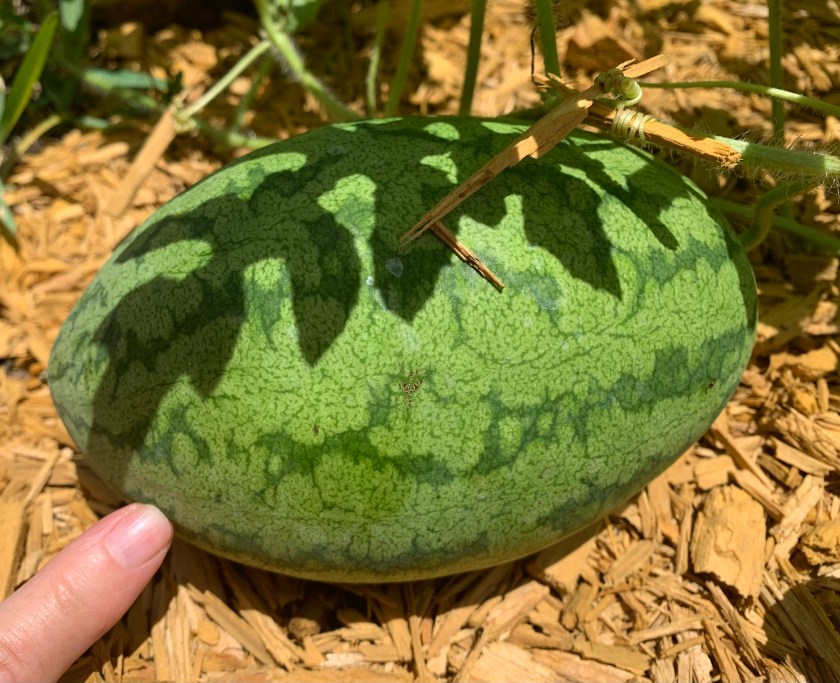
My largest watermelon – June 4th
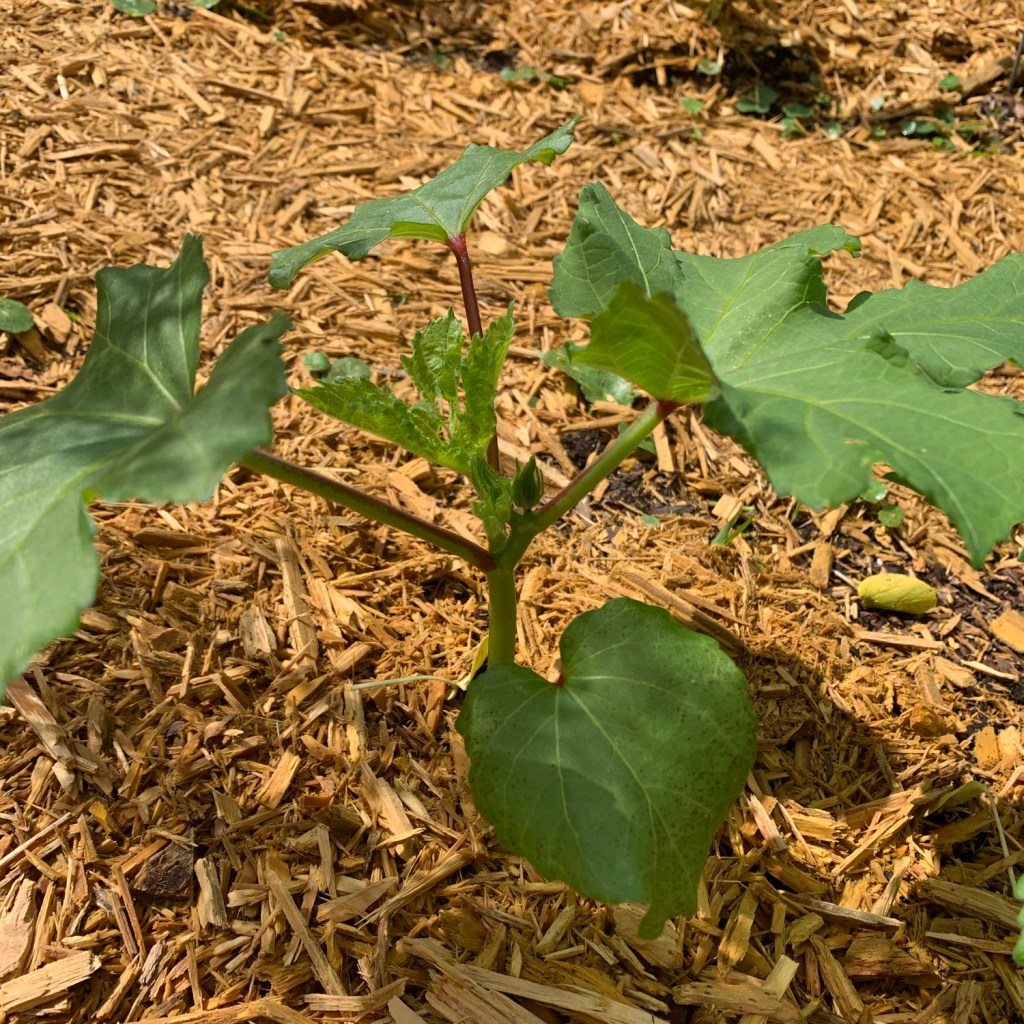
Okra
Almost all of the okra seeds sprouted. I transplanted a few of the seeds when thinning the rows, and I don’t suggest doing that. Those transplanted okra plants are not growing as well as the ones I left alone!
Okra
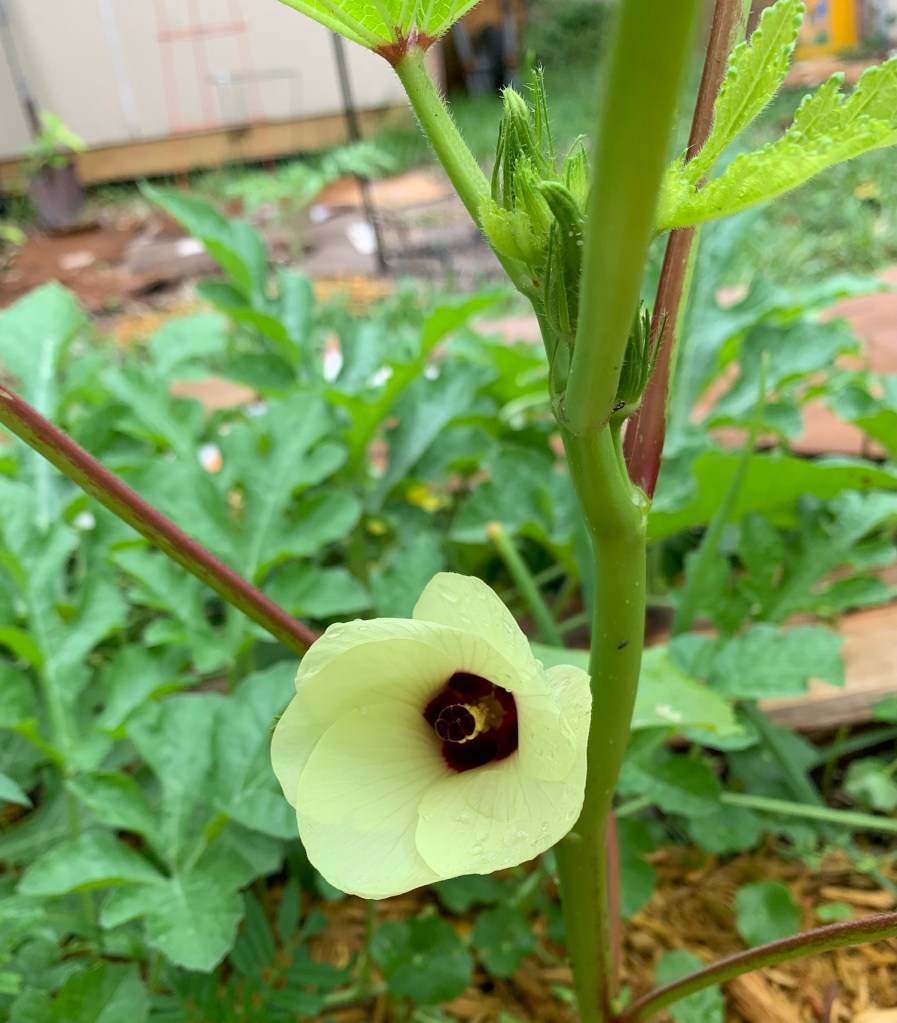
Okra flower
I’ve never grown, or eaten okra so I only planted three short rows. On May 25th I was picking some okra!
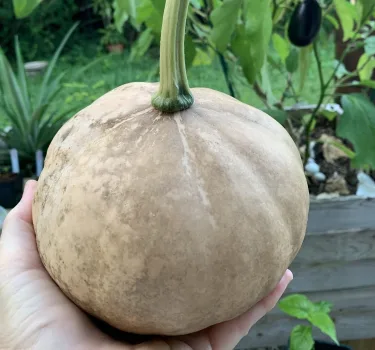
Seminole Pumpkin
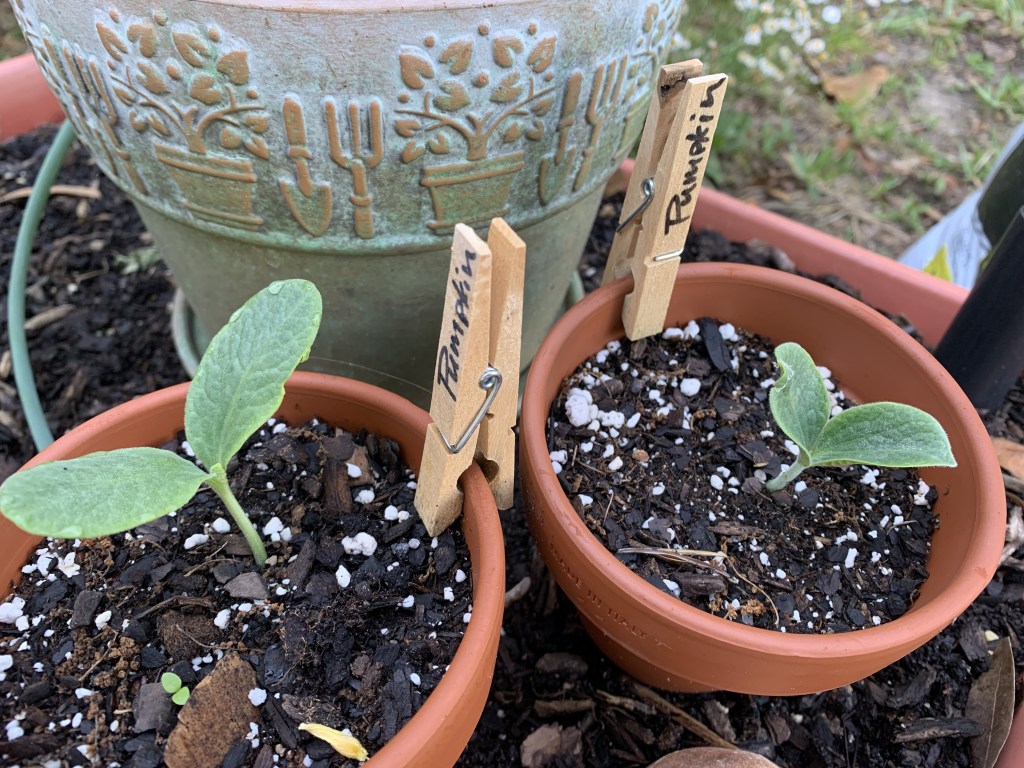
On April 8th I put the pumpkin seeds into pots.
Here are the pumpkin seedlings at growing day 10.
Pumpkin seedlings – day 10
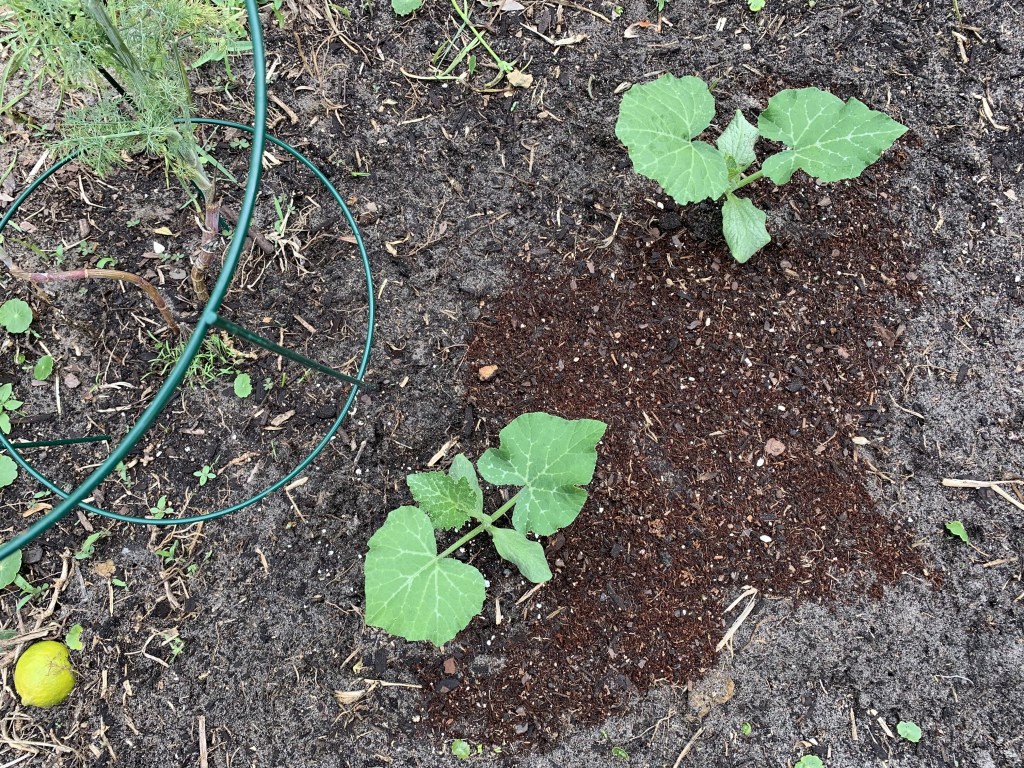
Pumpkins into ground and doing well.
Now the pumpkins have been growing in the ground since about April 29th. Today is May 12th so these two pumpkin plants are a little over a month old (photo below) from the time I first planted the seeds.
May 12th Seminole Pumpkin plants in the garden
Right now the pumpkin plants are growing upward and I hope they will trail off to the edge of the yard once they get going. I am very excited about these native Florida pumpkins! Search YouTube if you want to see how big the vines grow. They can even grow up through trees and produce hanging pumpkins!
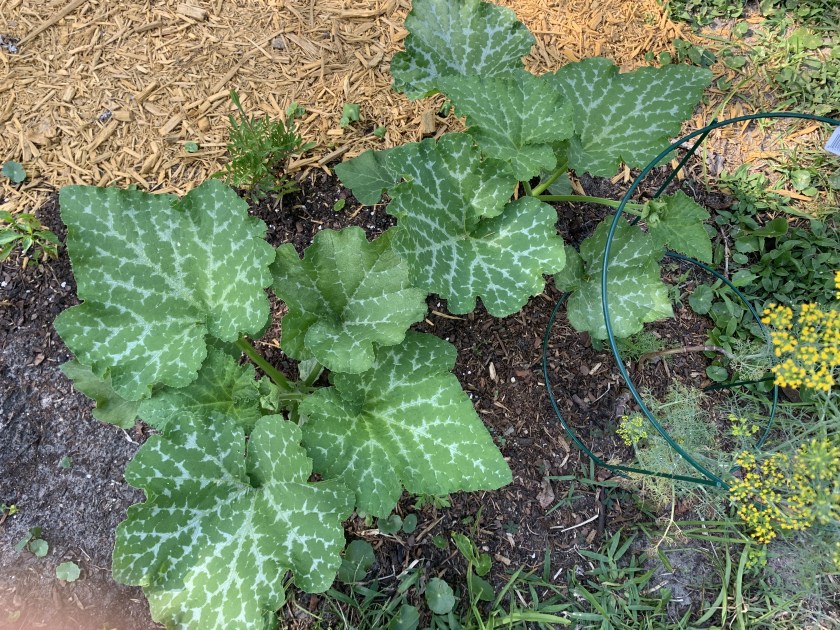
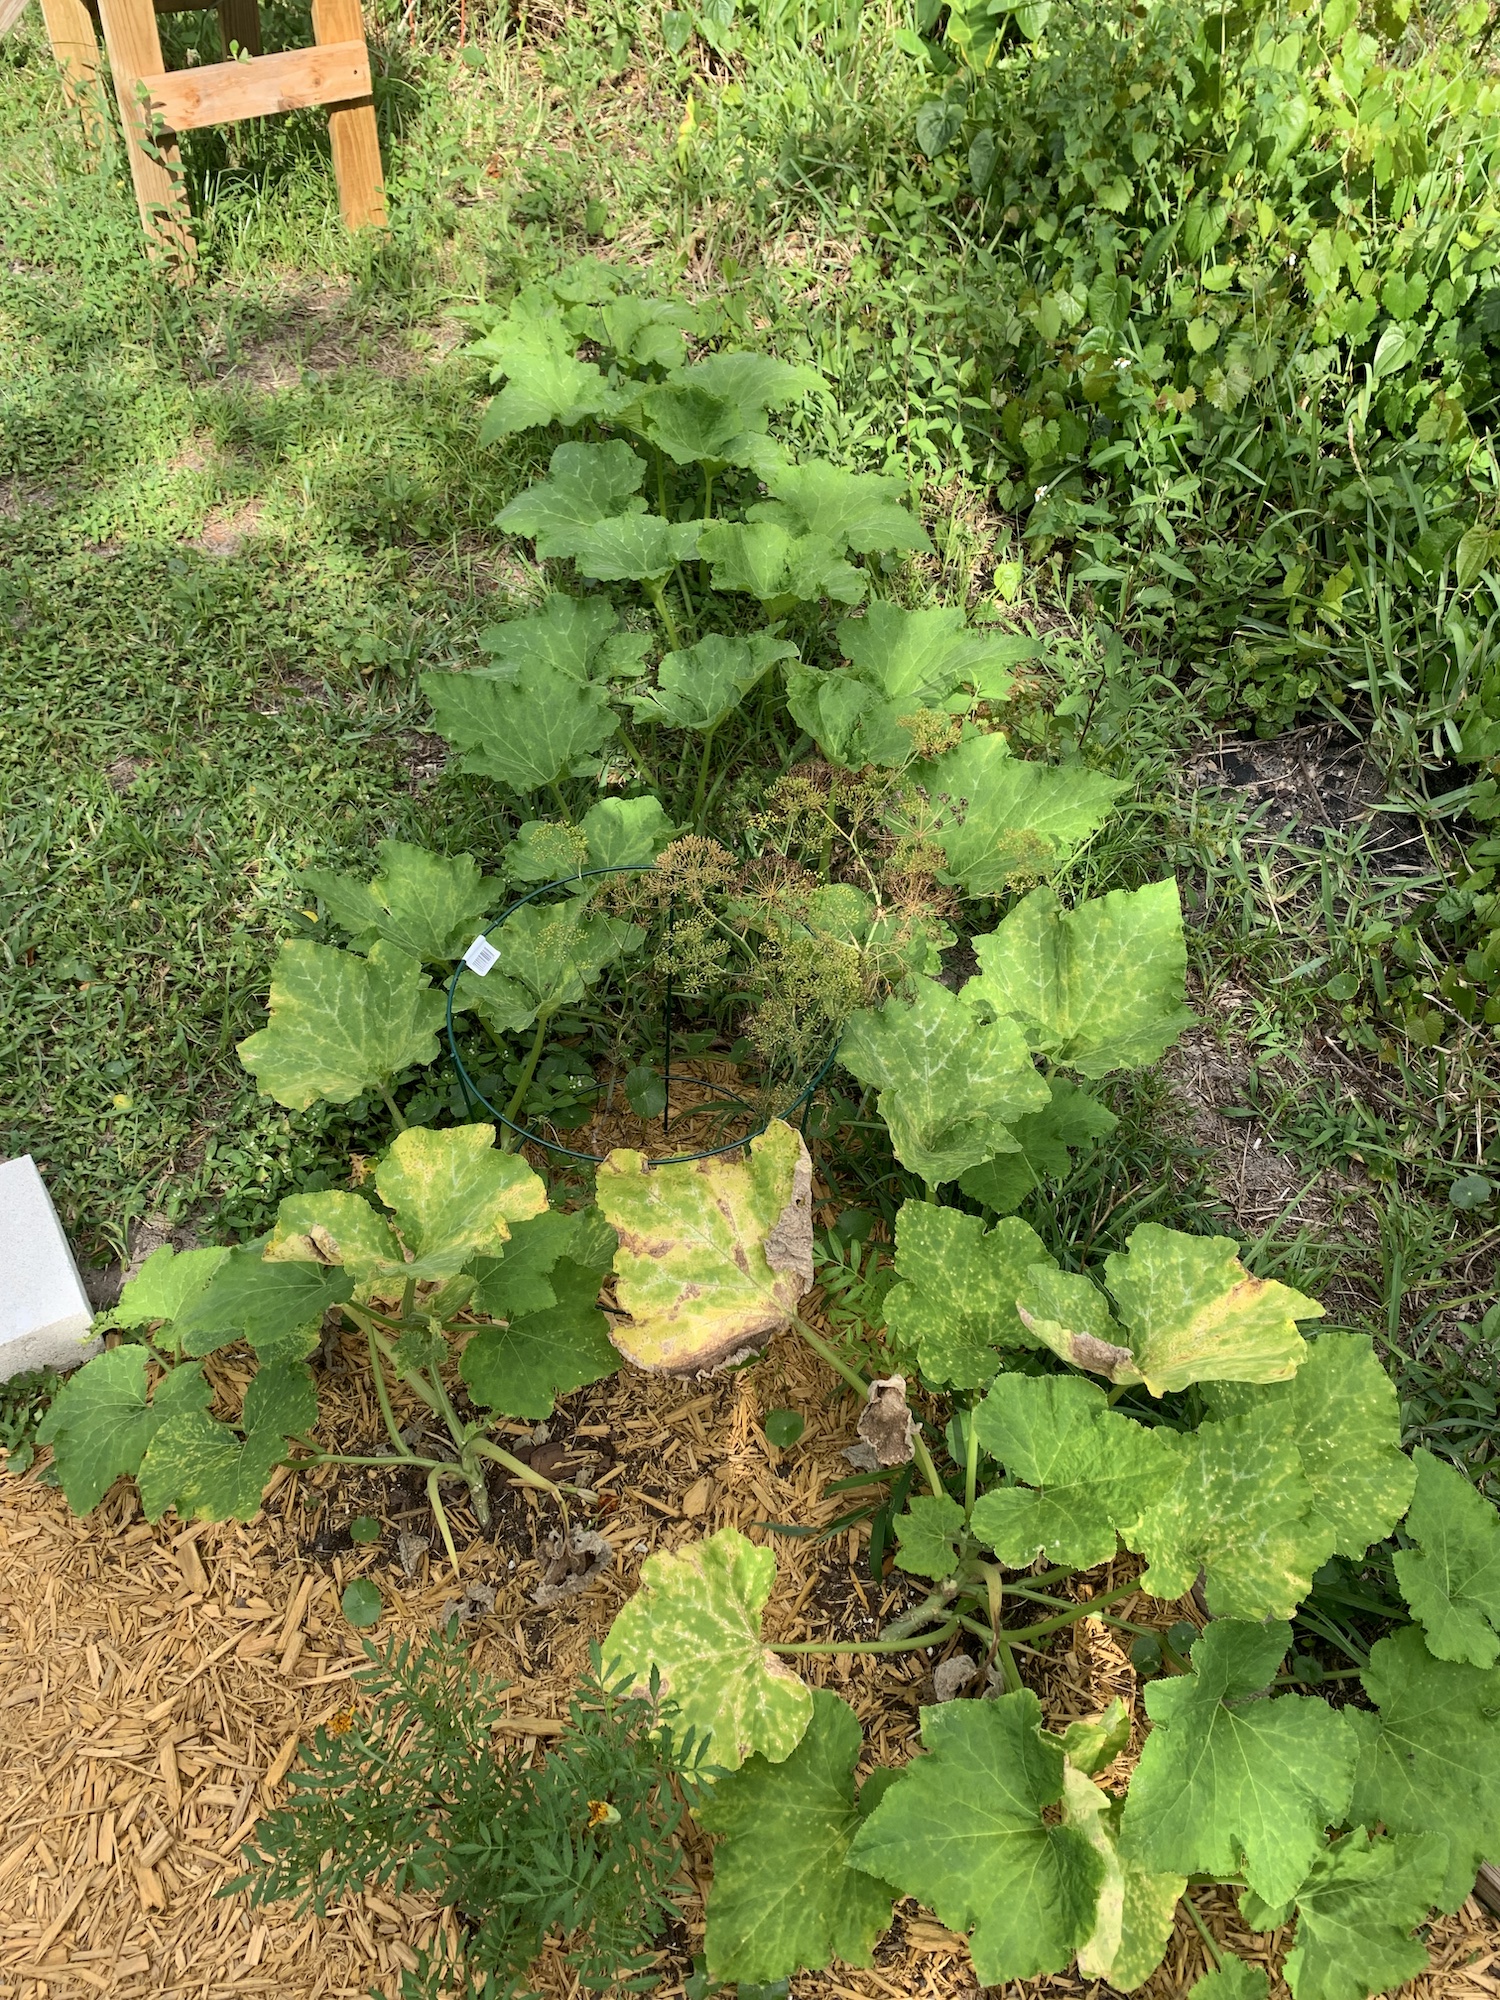
Update on the Seminole Pumpkin: Vines are long (June 4th), but no flowers yet. Leaves are turning yellow and I don’t know why. I’ve trained the vines to follow the edge of the yard.
Seminole Pumpkins
Moringa
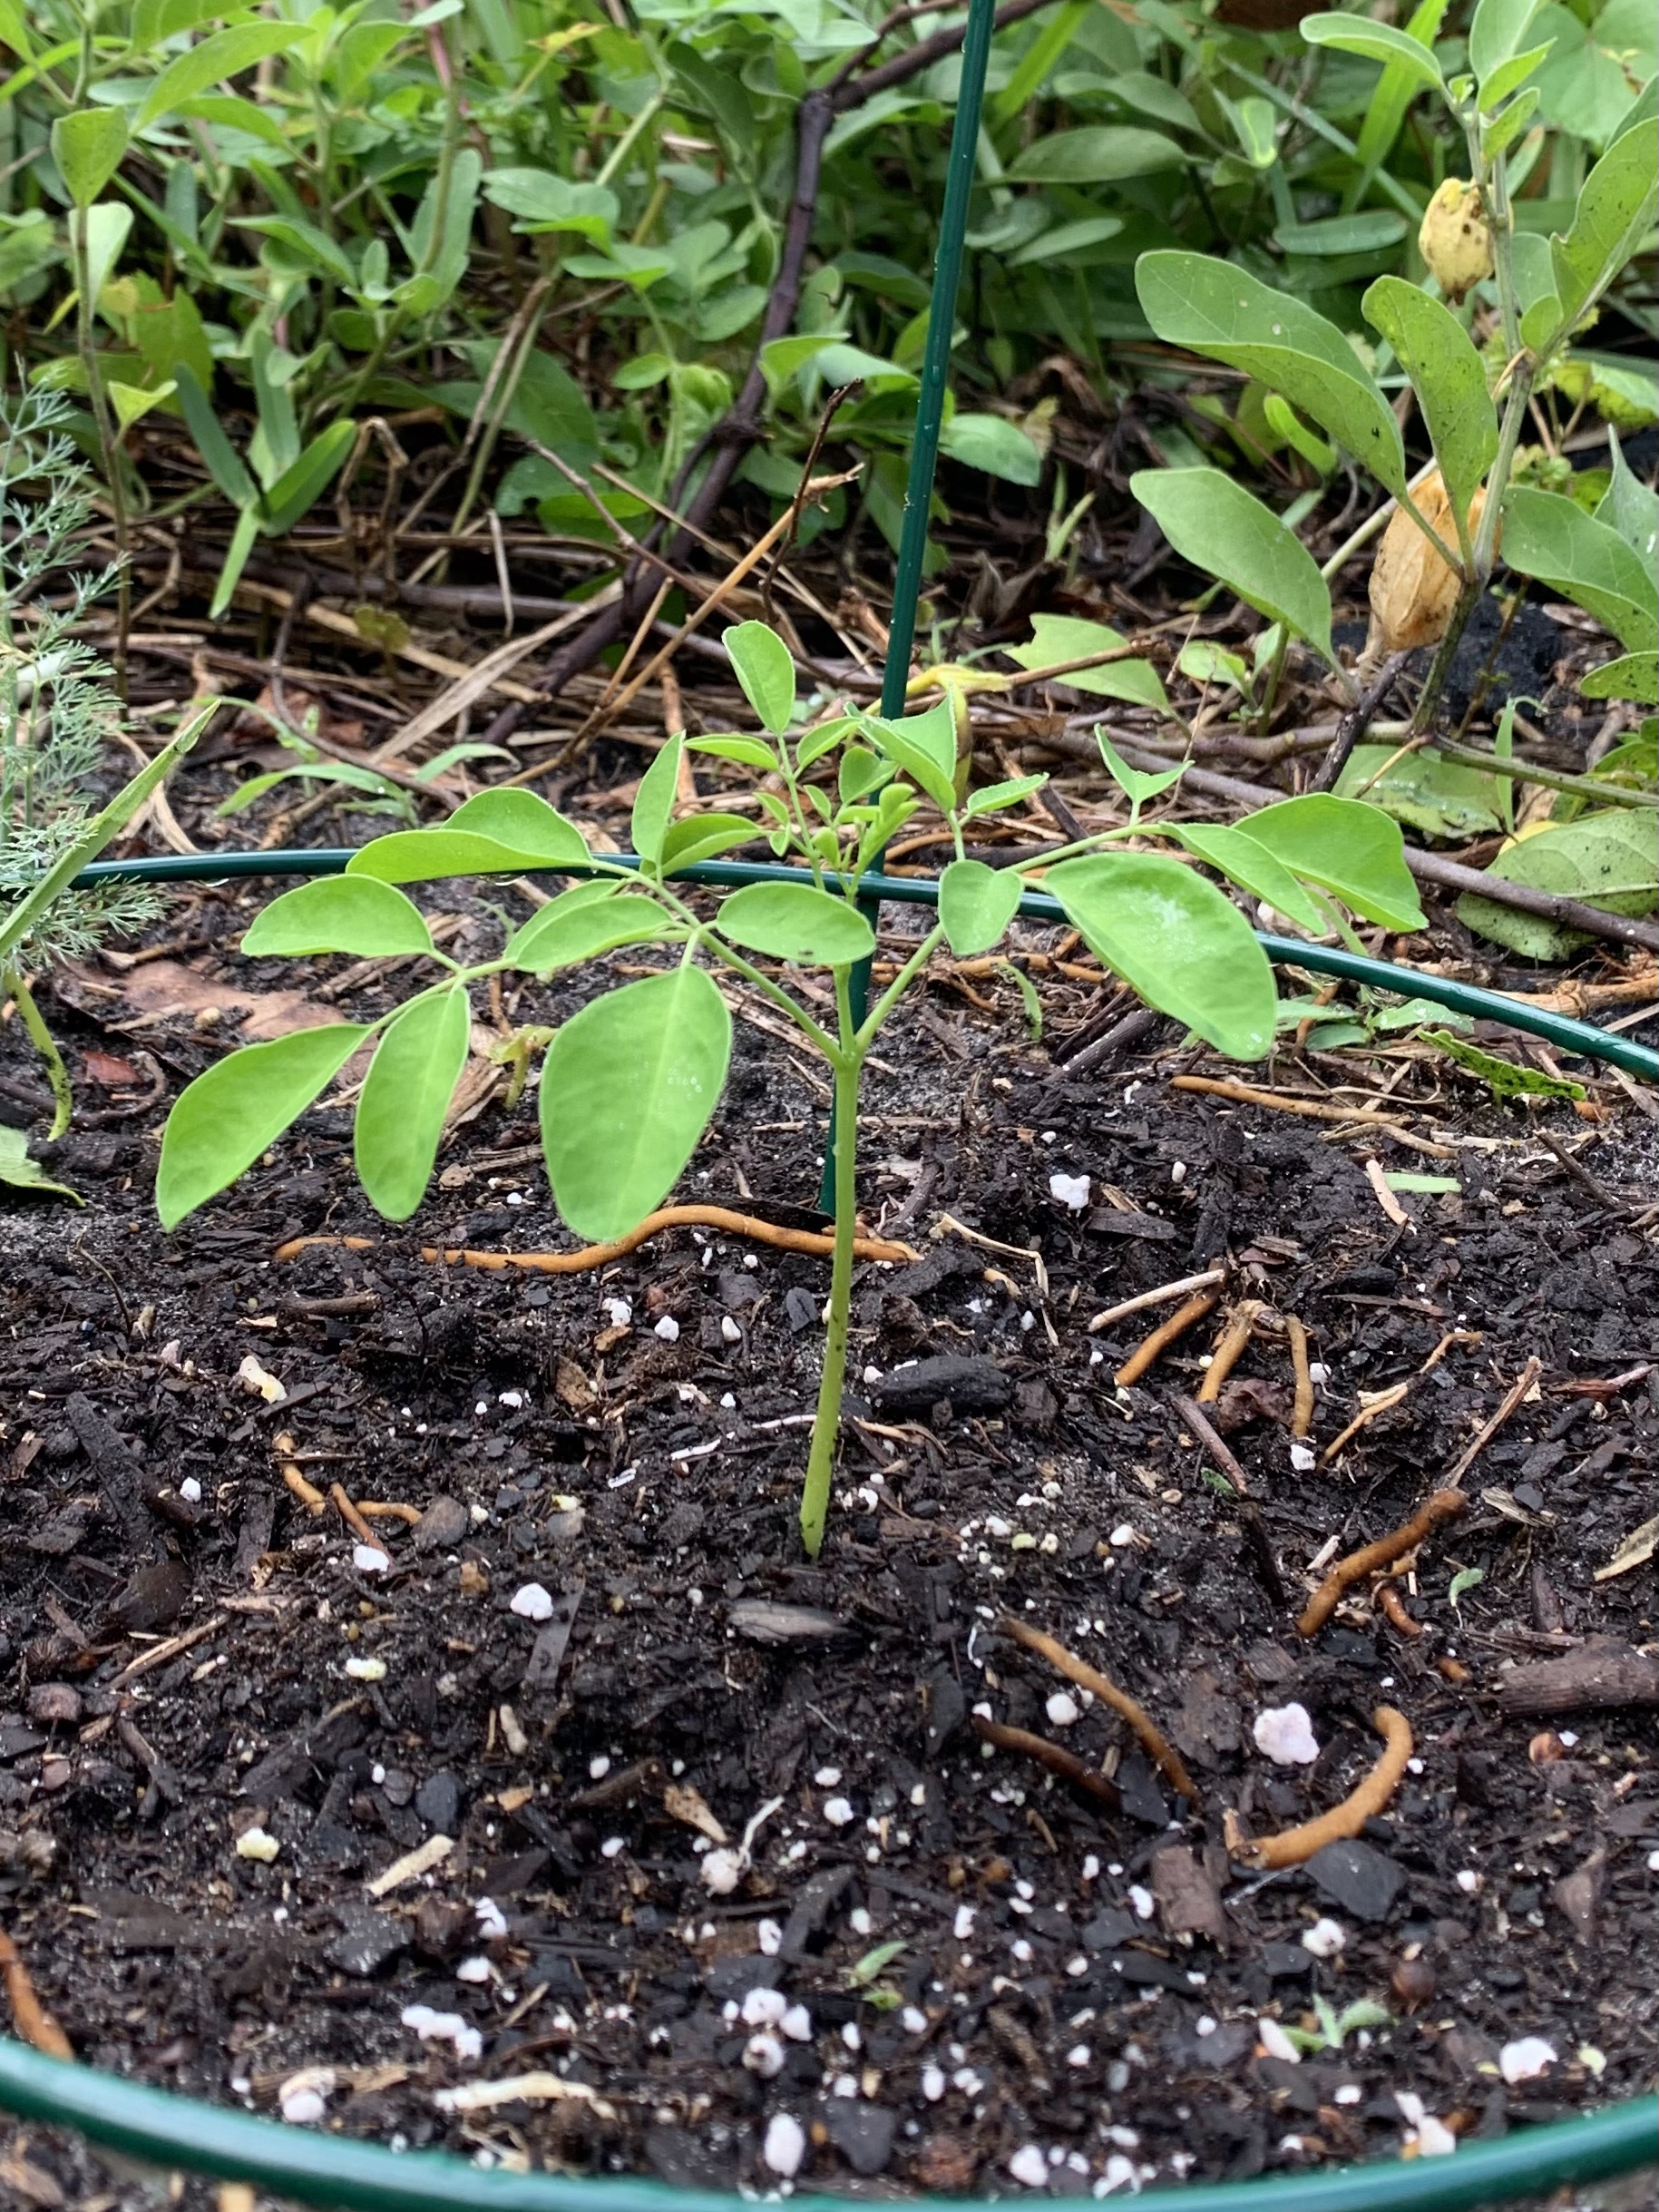
I was totally unfamiliar with the Moringa tree. The Urban Harvest sells Moringa seeds and I have a three growing in the yard, and one in a small pot. All seeds that were begun in pots sprouted, whereas the ones I put directly into the ground did not.
I wish I had more space and knew more about their growth habits, height and so on. This will be an experiment. Right now I have three planted and growing, but they are small.
Elise of The Urban Harvest has a few videos where she mentions growing the Moringa tree. See one here: Three Tropical Survival Foods You Must Plant in Florida. She has loads of videos that cover all kinds of things to do with Florida gardening. I’ve already learned so much.
Moringa
The Moringa trees are also growing more slowly than I expected. They look good and I guess it will take a while for them to become truly tree-like.
Garden Progress
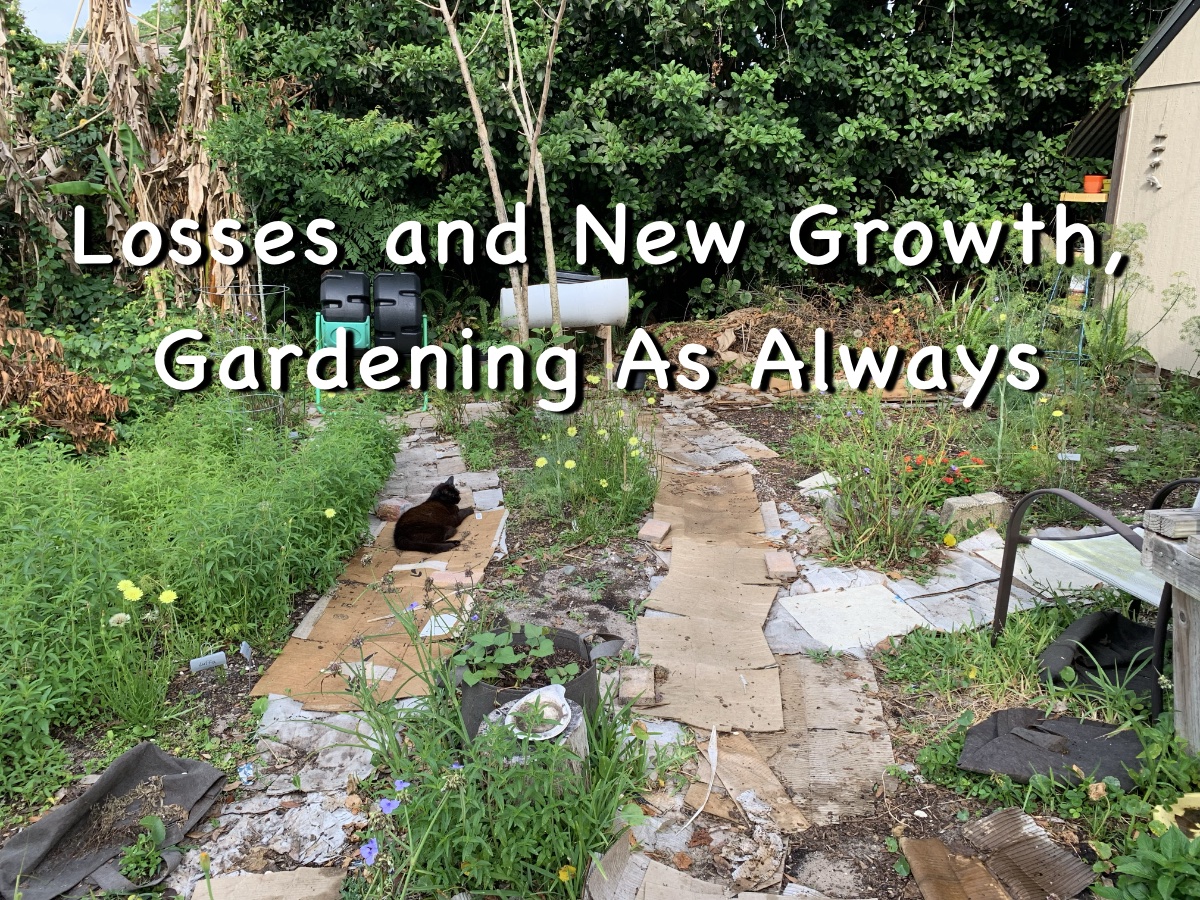
Creating a garden from a grassy space in Florida takes some work. There are many vines and deep roots to remove from all the natural invasion from the lot next door. Then I am left with sand which must be amended for growing.
In the photo below, I have removed the grass, added compost, planted seeds and seedlings (and added more compost and fertilizer) and watered each morning. From here I will add mulch to conserve moisture and keep the ground cooler. Summer is nearly here and it is already too hot after 9:00am for me to do much gardening.
I ordered a second batch of seeds from The Urban Harvest and will definitely buy more at a later date. I highly recommend this helpful place if you are a Florida vegetable gardener.
My garden before the mulch
All plants are organic, and she promotes sustainable and eco friendly gardening practices. Again, how to find information:
See how I planted a little flower garden in my Florida yard.
My son took me to Lindley’s Nursery in New Smyrna Beach the other day and I picked up some flowering plants for the yard. (More about Lindley’s further down the page.)
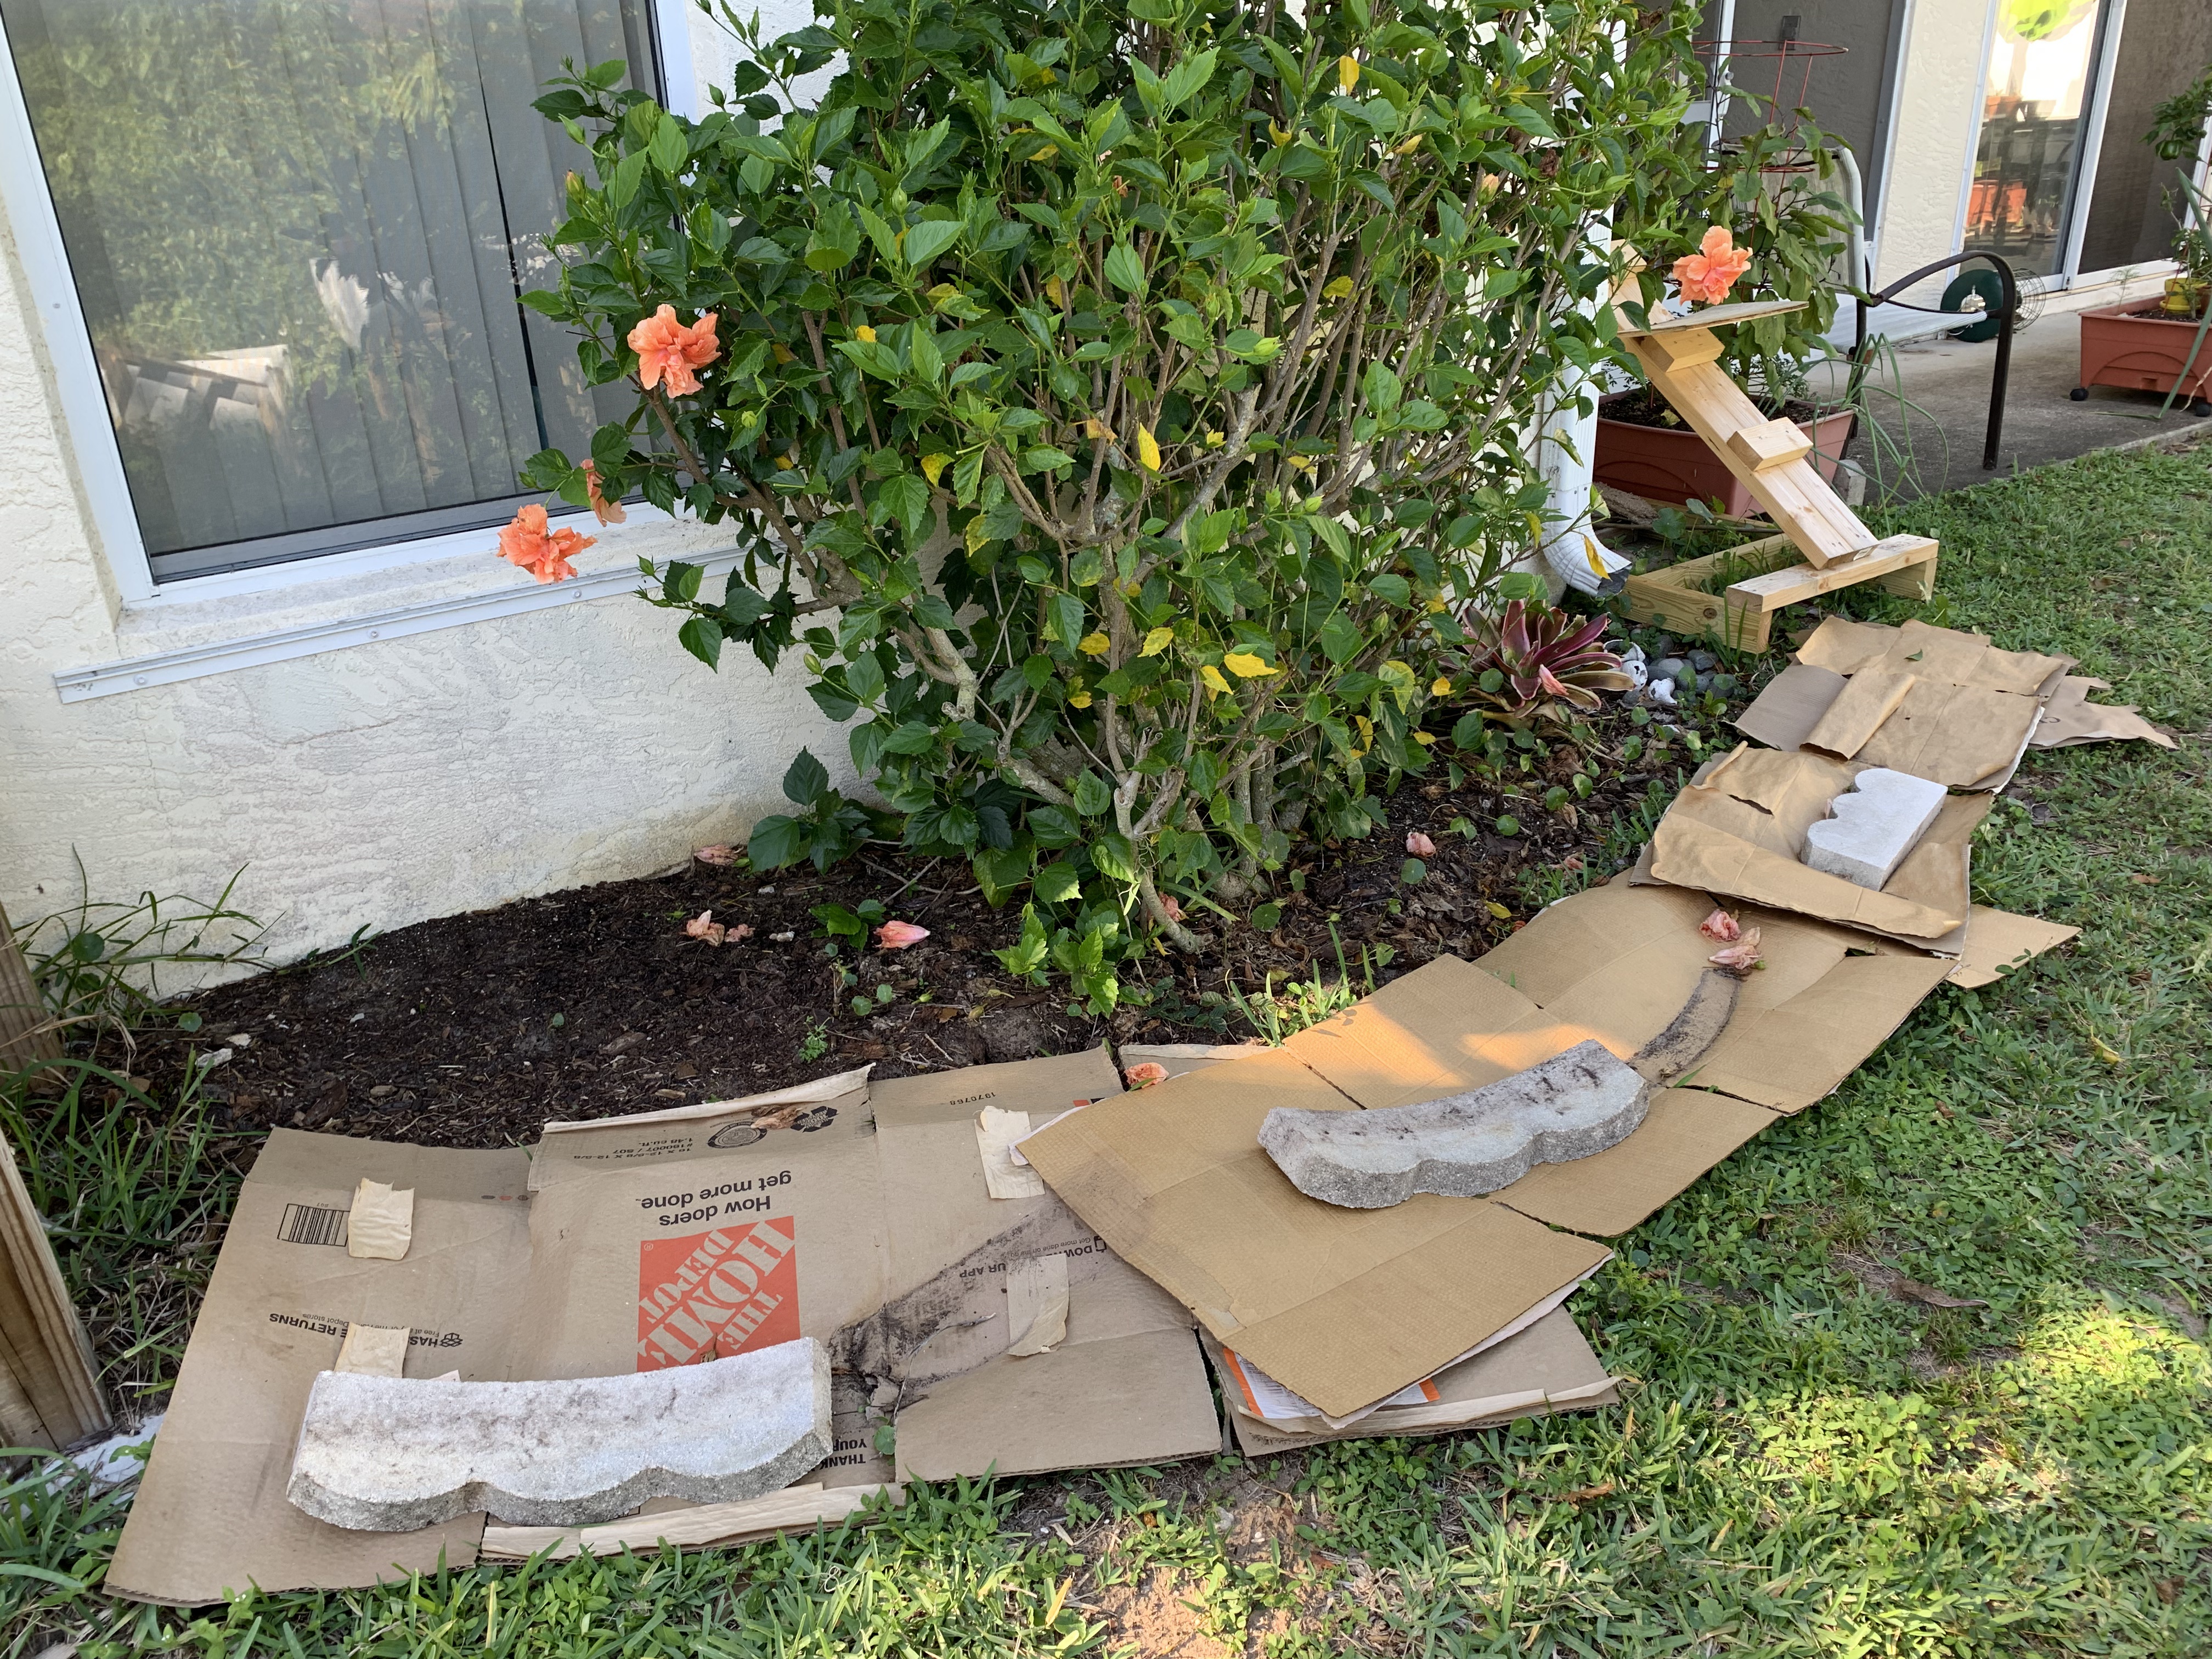
I’ve been saving cardboard boxes to use as grass killers in the yard. It is not that easy to kill Florida grass and weeds, but this type of thing works very well in New Hampshire! Haha… I’m not there, I’m here, so we used the rototiller.
Step Two
Dig up the grass, roots, and dollar weed (ugh) and pull it all out. (There is no way to remove all the dollar weed.) This leaves a sandy “dirt” to which I added a bag of store bought soil. (We buy our dirt, compost, and mulch from The Yard Shop in New Smyrna.)
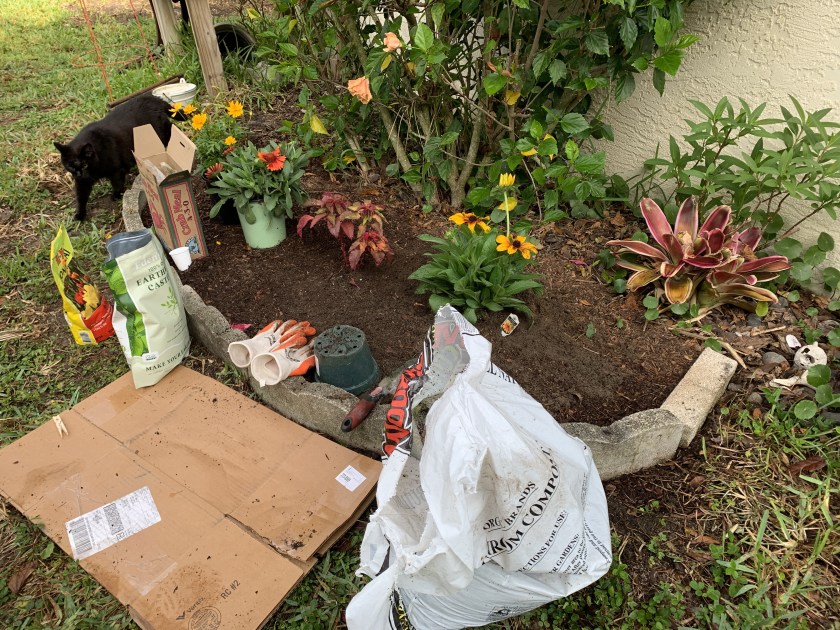
Nearly done with the garden
Plant the Shrubbery
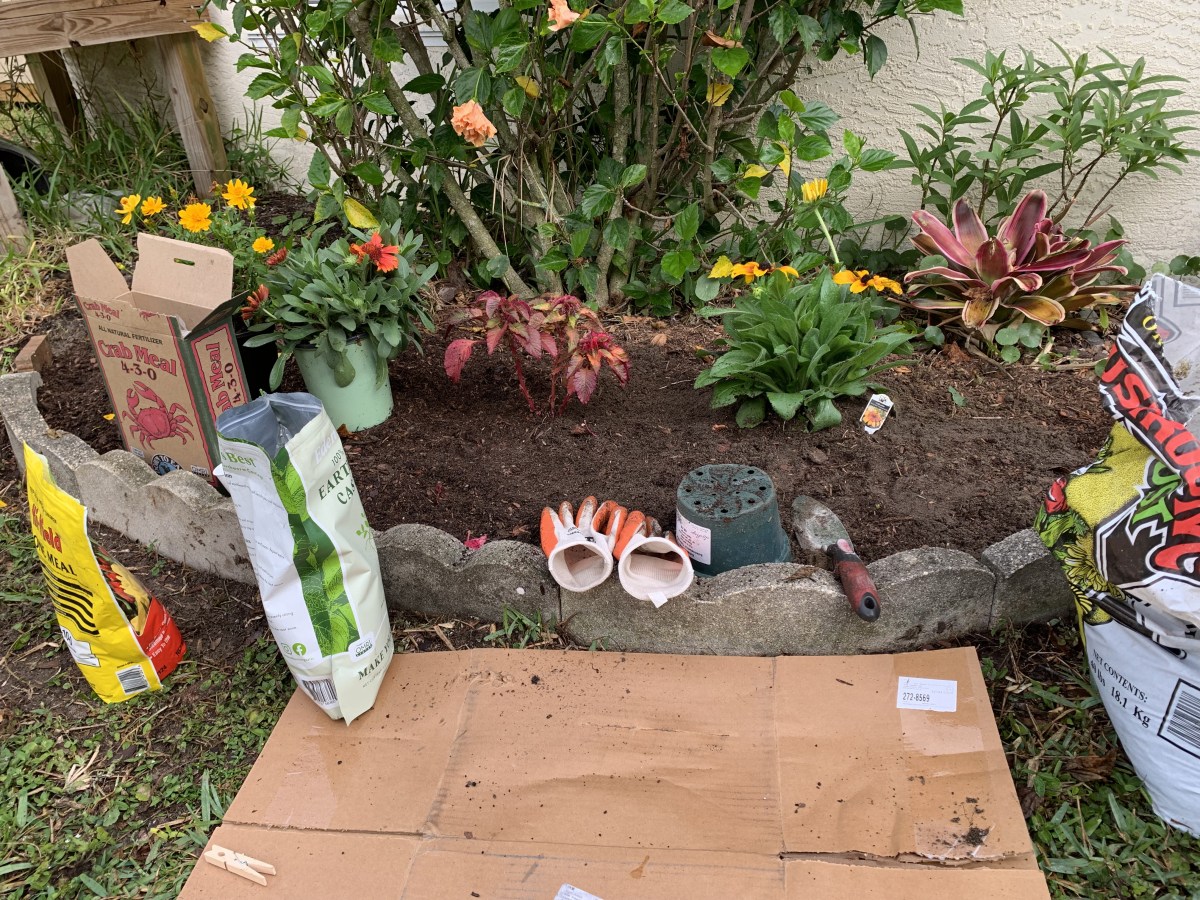
I had four plants to put into the space and I planted them back a bit to leave room for something in the front. Also, I’m not sure how big they will become. I used a piece of the cardboard to kneel on while planting.
These plants came from Lindley’s Nursery in New Smyrna Beach. I was so impressed with the upgrades they had done to the place since my last visit (quite a white ago). I would have stayed longer because the grounds were beautiful and they had so many wonderful plants, but I was with my son who was not into plant shopping.
I grabbed some flowering things that seemed to attract bees (if the bees are on the plants while shopping, it’s a good indication!). All the Florida native plant names totally left my head, but I will probably go back at a later date to find more plants. They did not have any native milkweed because I asked. It was sold out – and there was no sign – so I’m not sure which type they were selling. I hope it was not the tropical milkweed.
The digging began early in the morning to beat the sun. I have until around 9:00am until this area becomes sunny. I did have to finish with the mulch and do the watering in the sun, but at least the digging was finished.
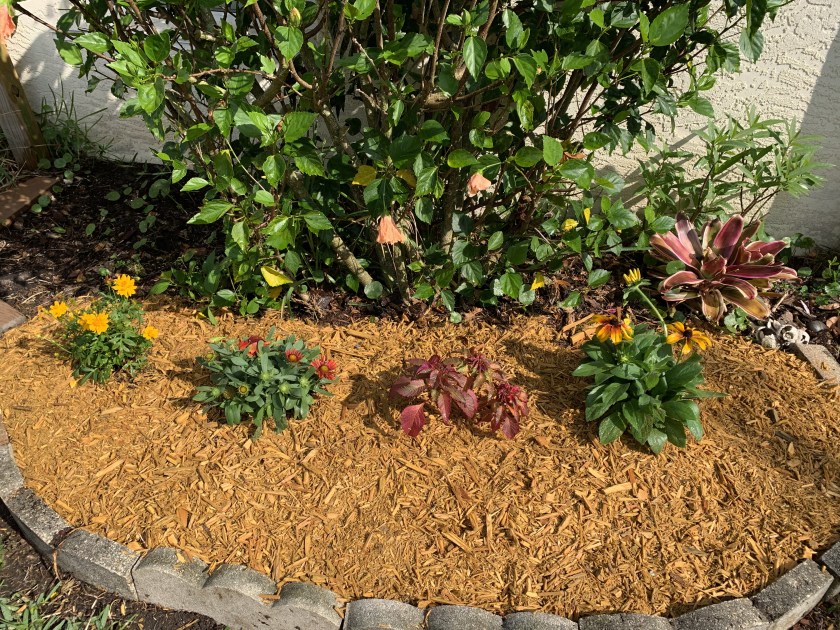
Finished!
Planting Tips
For each plant I added to the garden, I included some bone meal, crab meal, earthworm castings, and compost. All these things should help improve the soil and keep the plants happy for now. I used these amendments because I had them, but bone meal only would have been fine for now. (All links are Amazon affiliate links.)
A couple of the plants were very root bound, so I disturbed the roots by pulling them a bit to keep them from being tight. This helps them to grow outward instead of round and round like they had to do in the pot.
All the soil amendments I mentioned above were mixed with the ground soil once the plant was in its place. After planting, each plant was soaked with water, and once the mulch was added, I watered them all again.
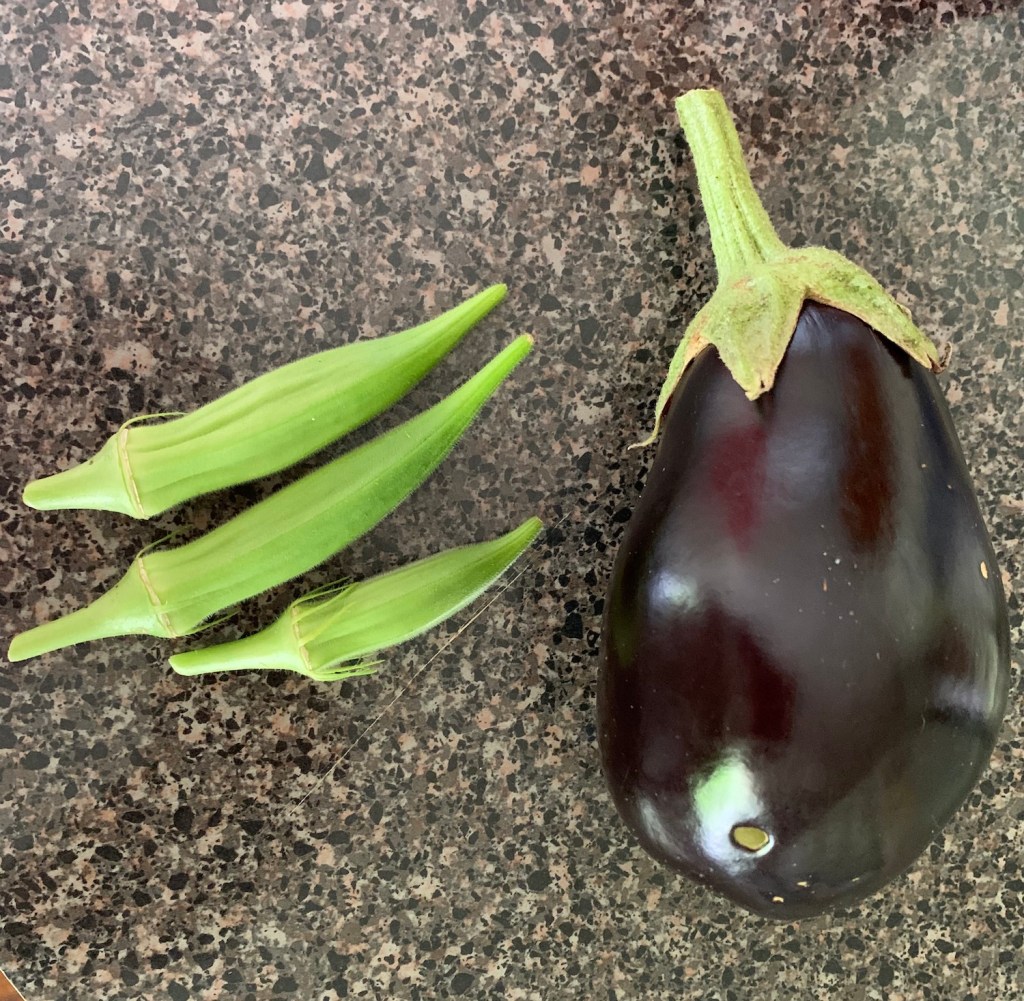
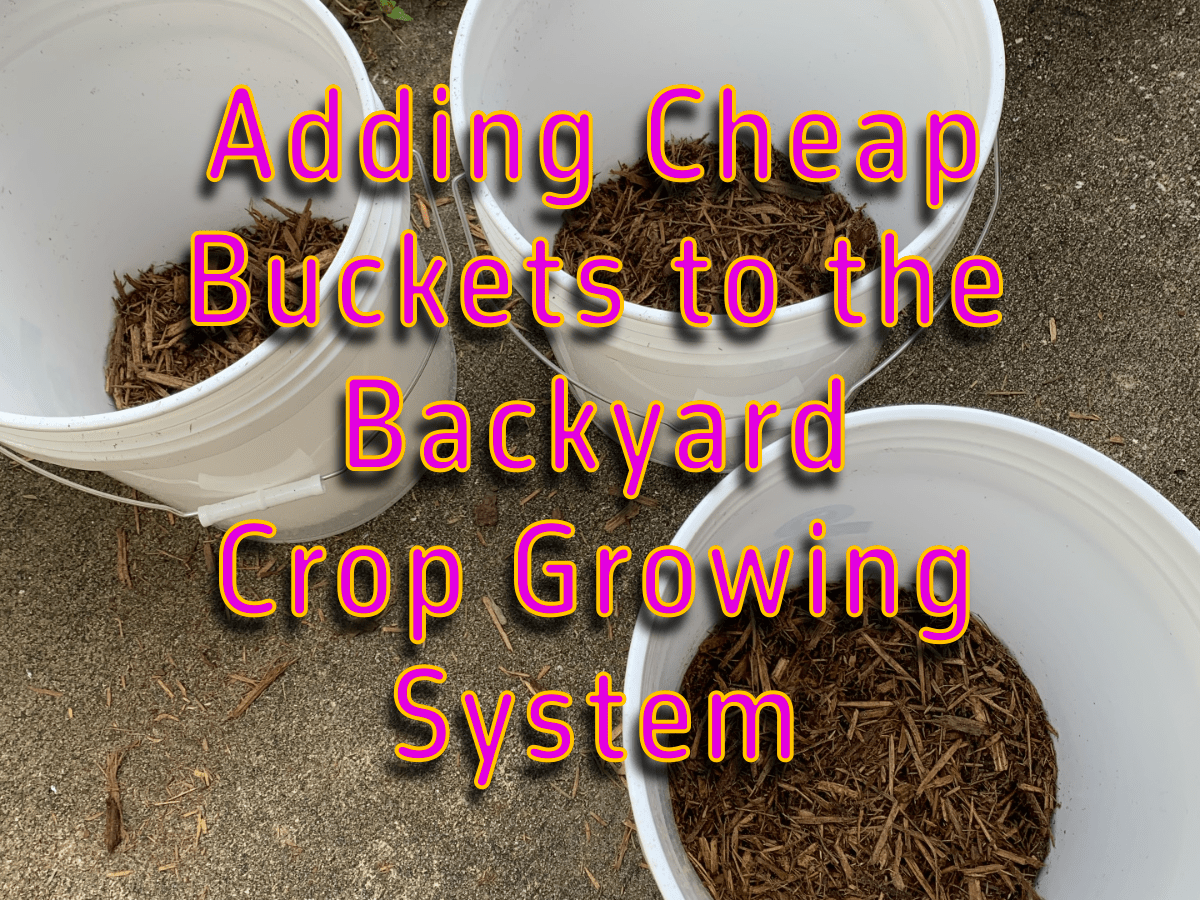
I’m trying a new way to grow larger individual vegetables in my small garden space. Tall buckets may serve well as pots for tomatoes, peppers and eggplant.
It is the beginning of September and my end of summer garden clean up is underway. I happily pulled up all the Seminole pumpkin vines. I managed to haul…
The American Beautyberry bush is an unusual and large blooming perennial here in central Florida. I’m trying to propagate from seeds that come from the shrub in my yard.
I’m beginning this post well before it will actually be completed. My goal is to start Beautyberry plants from seeds.
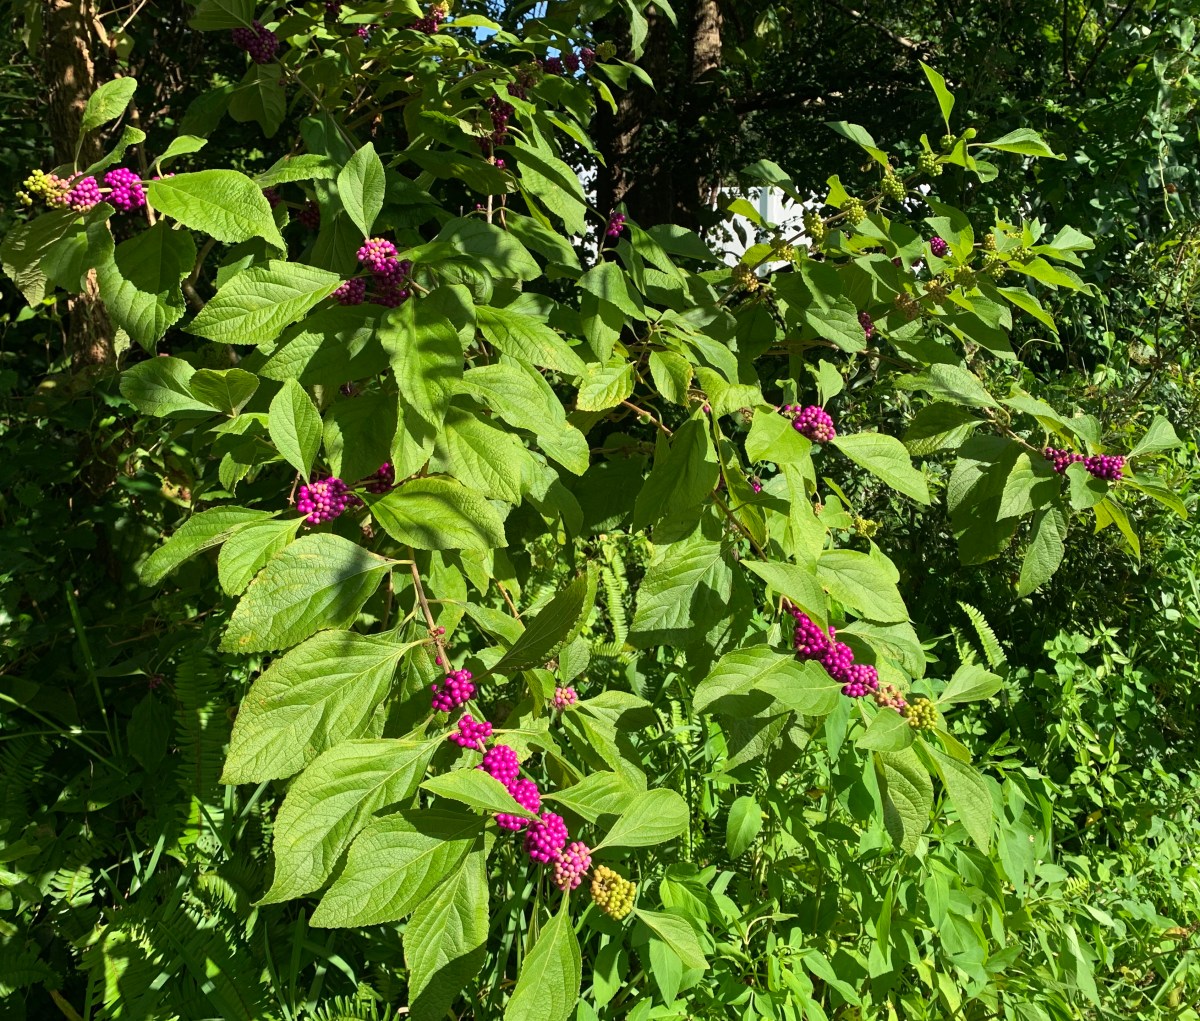
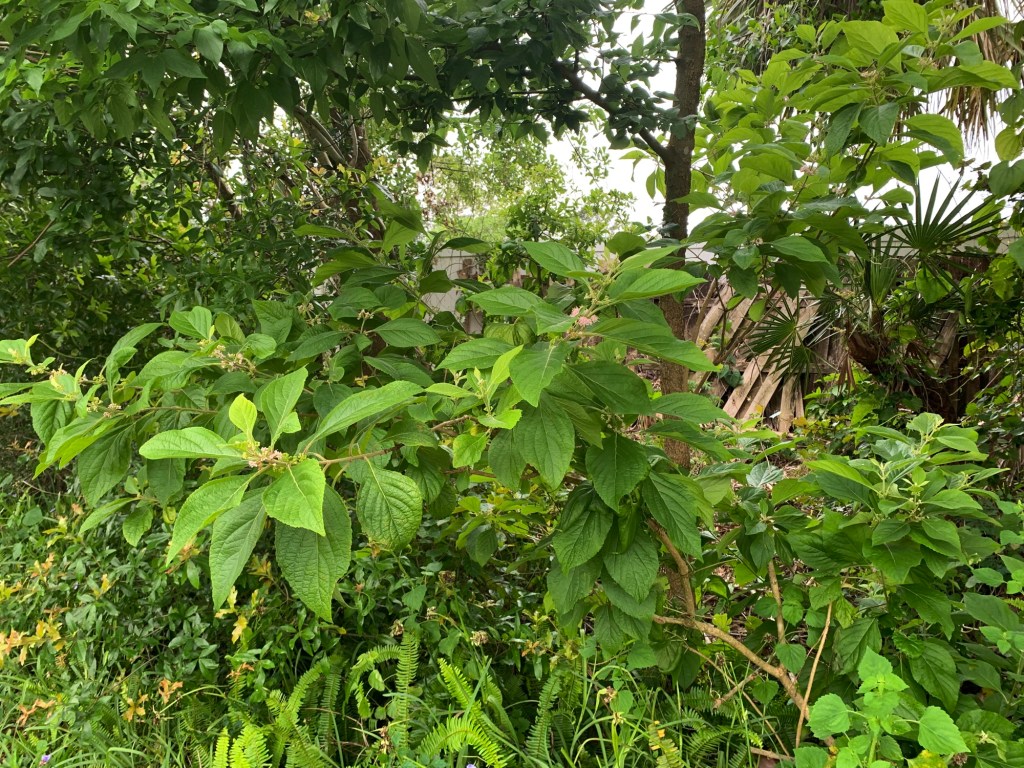
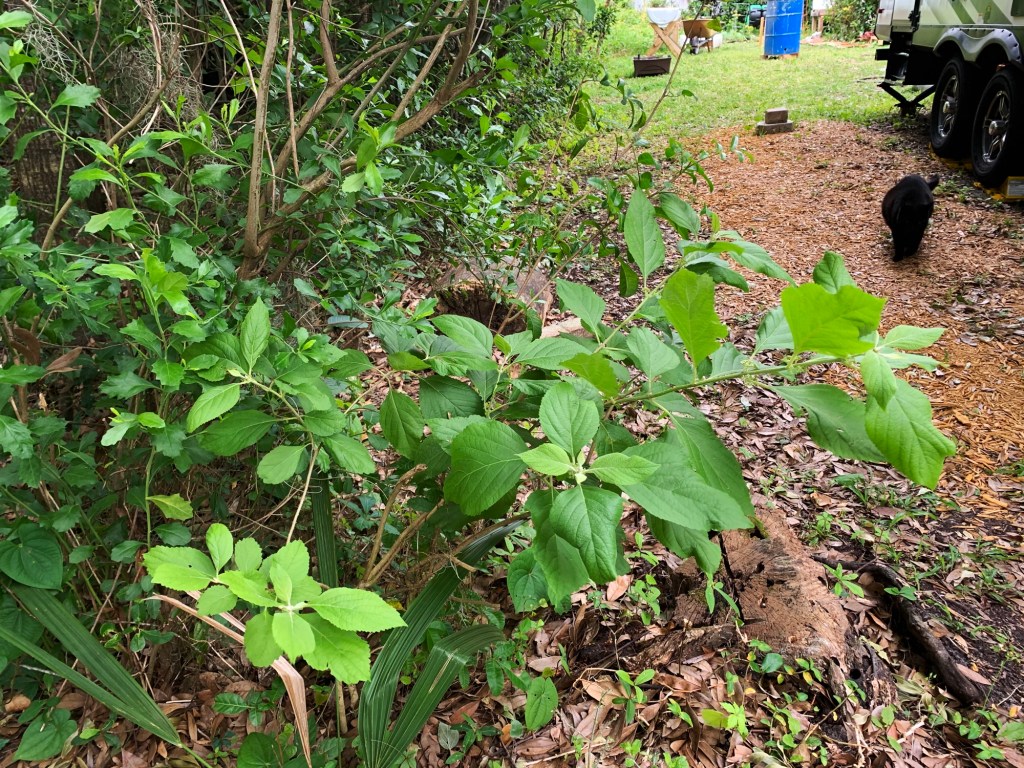
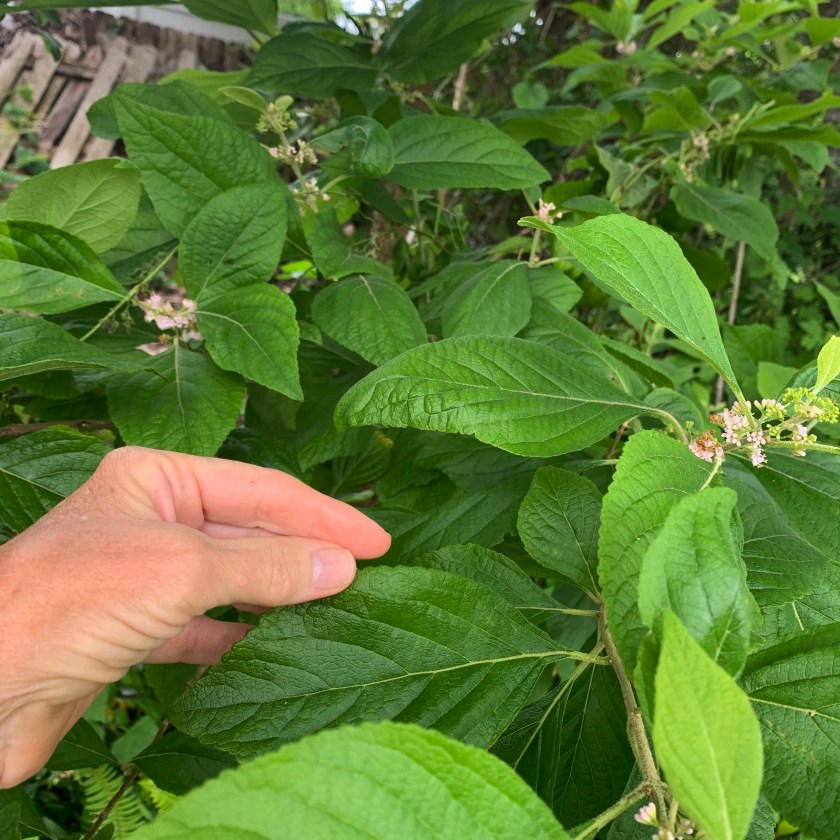
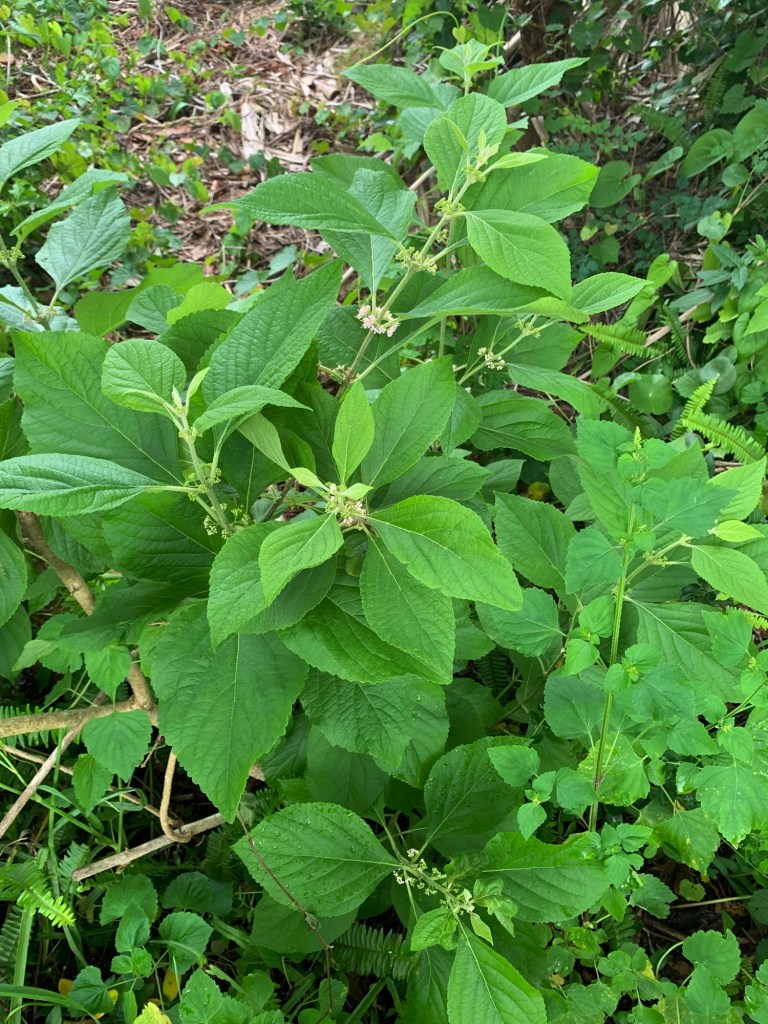
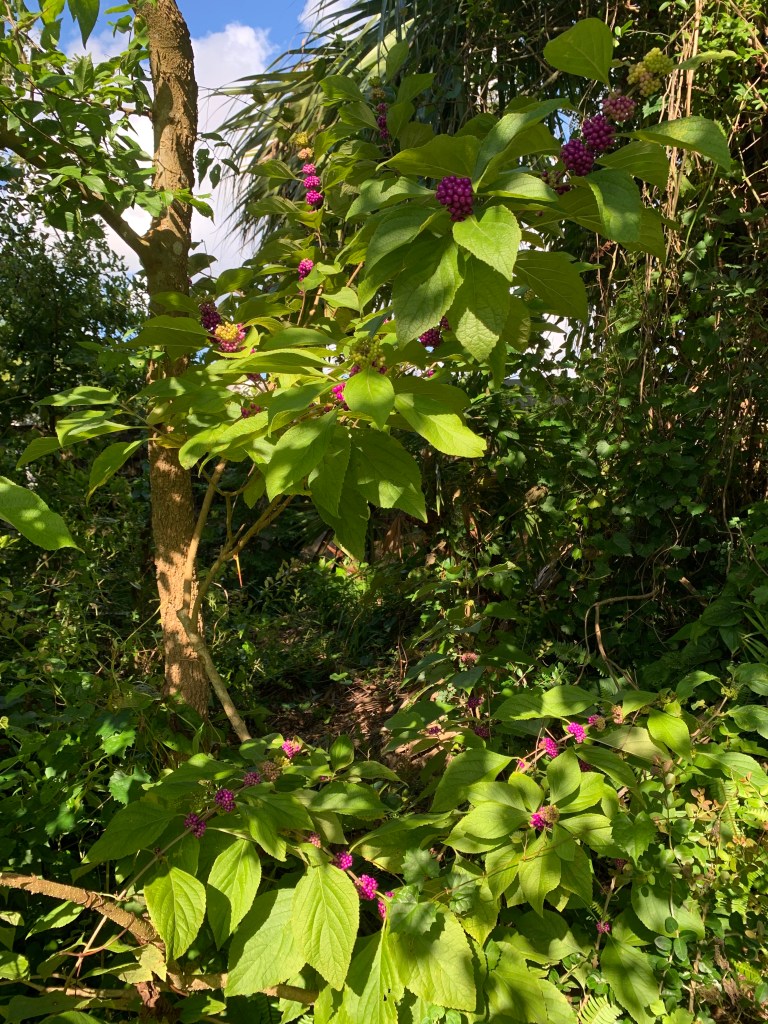
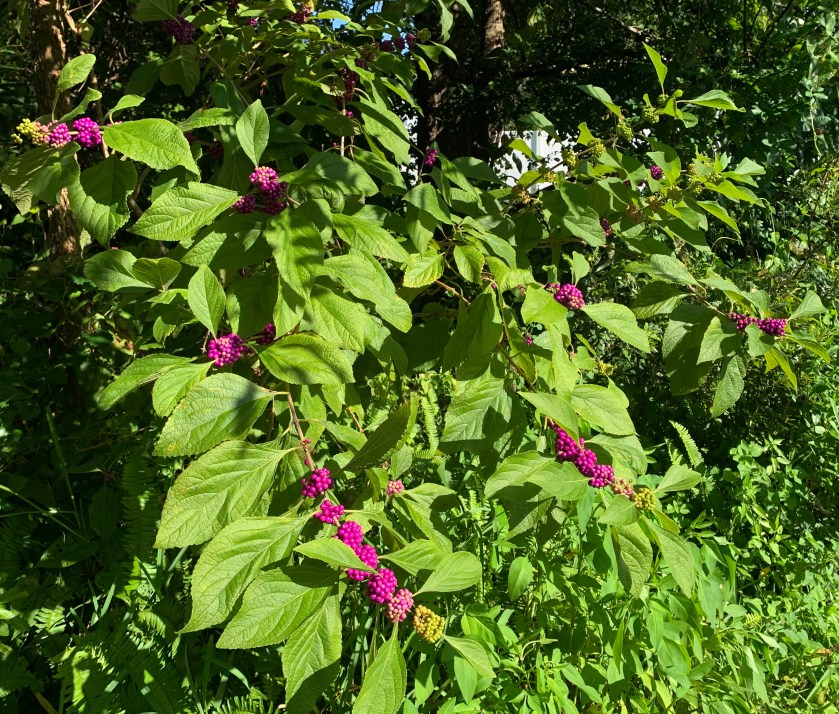
The Beautyberry bush, or American Beautyberry (Callicarpa americana) is a unique plant and I have two growing at the edge of my small Florida yard. I thought they were some sort of big weed until I saw the berries.
Backyard larger bushSide yard smaller bush
I have learned that it is a Florida native plant. It is easy to grow and needs no care. I have certainly done nothing to help these plants thrive. Both plants are growing among natural growth at the edge of the yard.
The Hidden Bush
On the lot next door, there is also a Beautyberry and an Elm tree side by side. However, both are covered in vines . The only reason I realized there is a beauty berry in that clump is that I went in to remove the vines (failed) and found new growth at the base of the bush.
This is not on my land, but I’d love to uncover them so they can grow correctly. In winter when the vines die, I will try again, unless the land is cleared by the owner before then.
New growth beneath the vine covered Beautyberry bush
A Natural Mosquito Repellant
The leaves are a bit fuzzy and I’ve read that they can be used to keep mosquitos away by rubbing them on the skin. I’ve tried this and it seems to work!
Timeline of Flowers to Berries
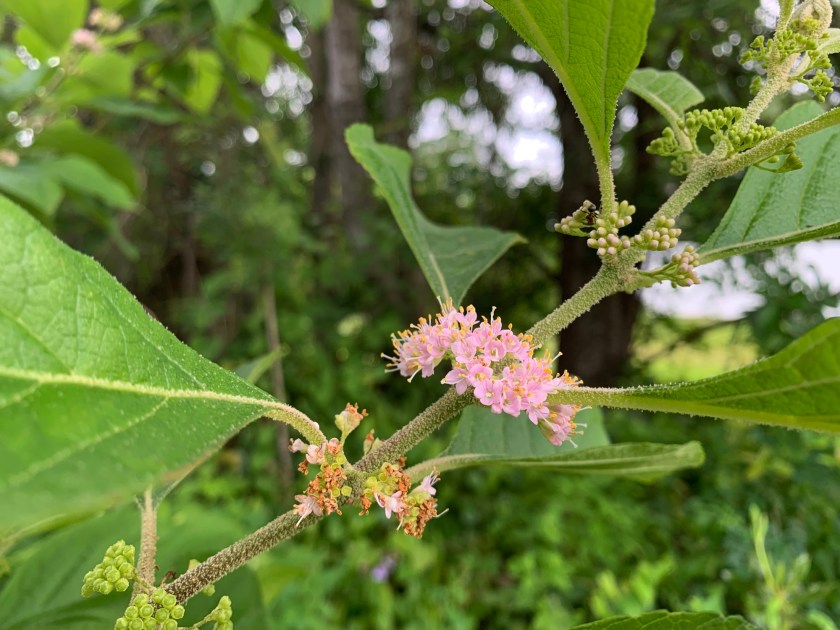
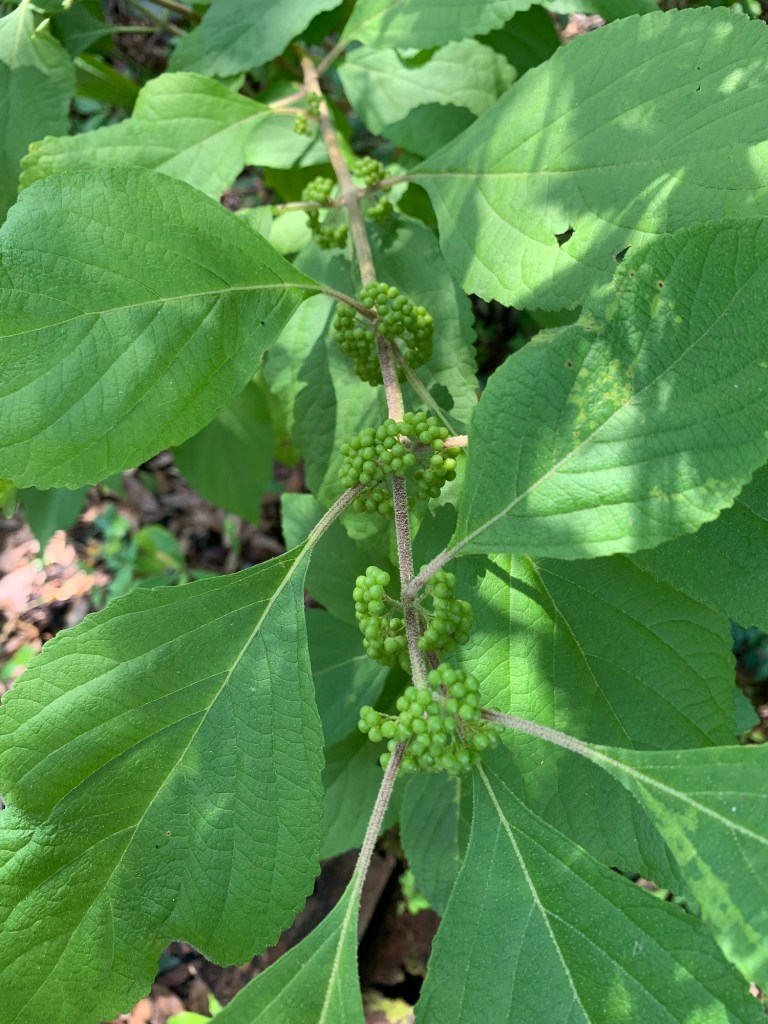
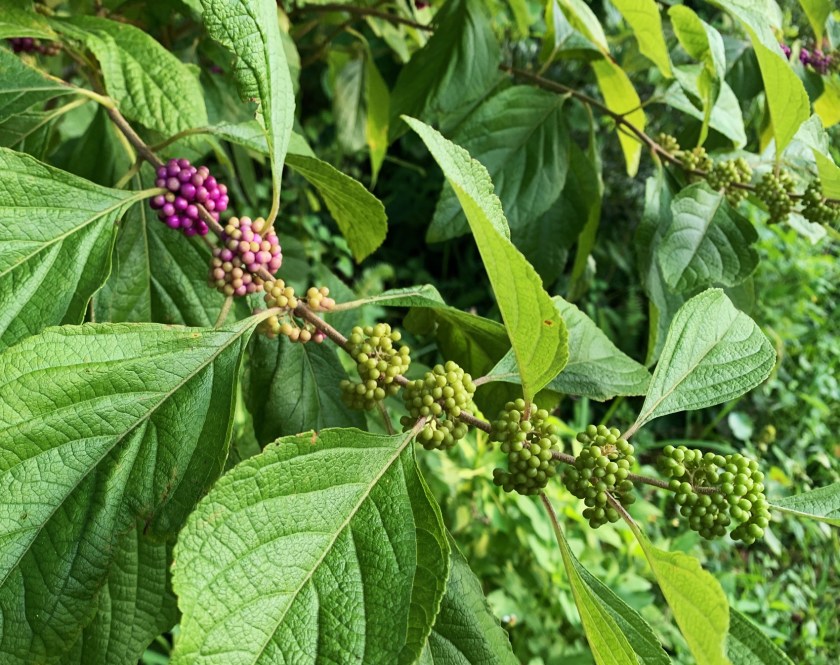
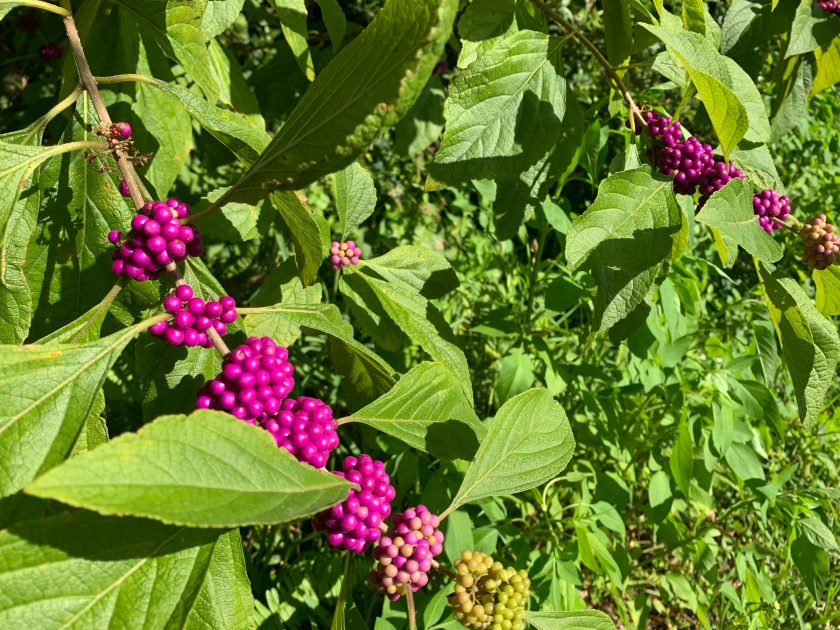
The little pink flowers begin to show up along the stems in May. By June, the flowers have become green berries. In July the berries begin to turn purple from the back of the stem toward the front.
May flowers on the Beautyberry bush
June
July berry stem on Beautyberry
August 3rd berries still turning purple
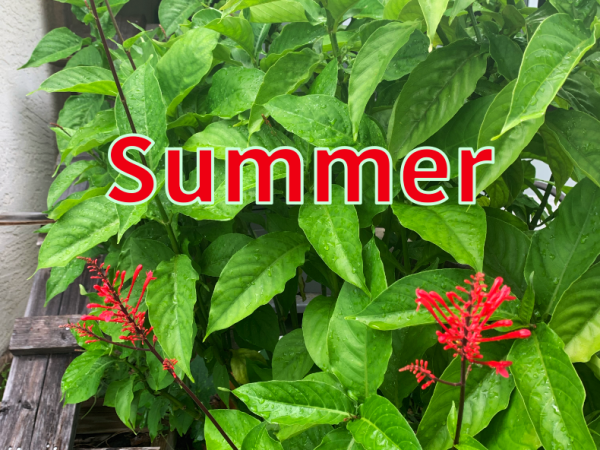
Birds love to eat the seeds and have therefore have helped this plant to spread. Because I have found another nice shrub (the Firespike) back behind this Beauty Berry, I suspect that this area of the yard was once a garden. It is overgrown with vines and weeds that are impossible to keep clear, but these nice, flowering shrubs have survived.
A Propagation Plan
Now, I know that this plant is hard to find, so I cherish the plants I already have. But, what if I could start new Beautyberries from the seeds?
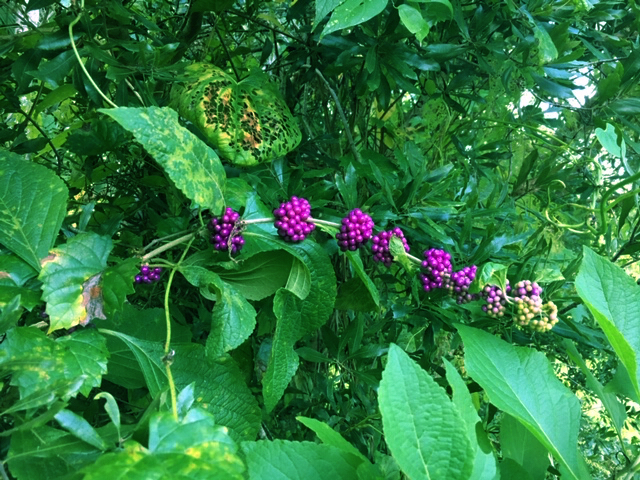
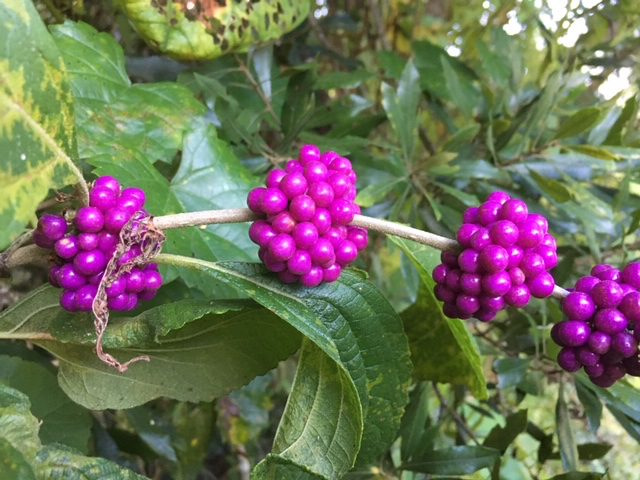
A striking stem of purple berries
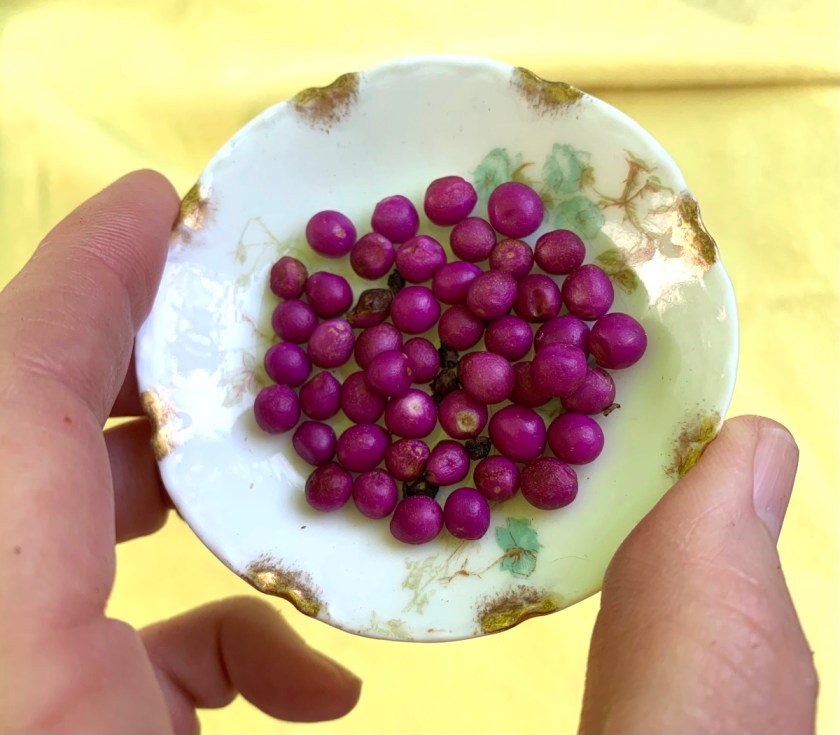
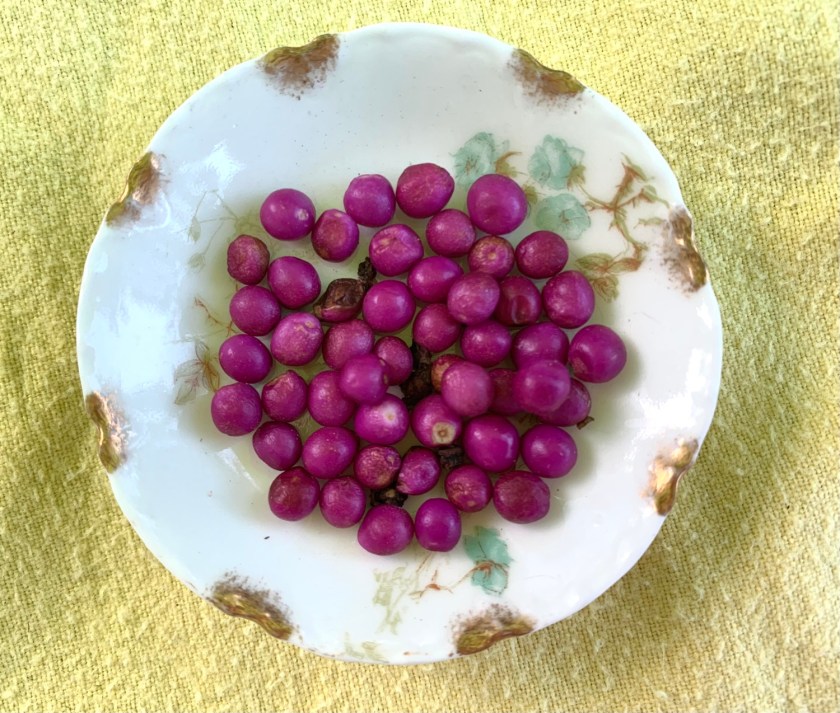
Collect the purple berries and find the seeds inside. Seeds form around the end of summer.
Let the seeds dry and then plant them in early spring.
End of August collection of berries from the Beauty Berry Bush.
Beautyberry bush berries
This propagating from seed was a big FAIL for me. Nothing grew. I’ll just enjoy the plants that are already growing.
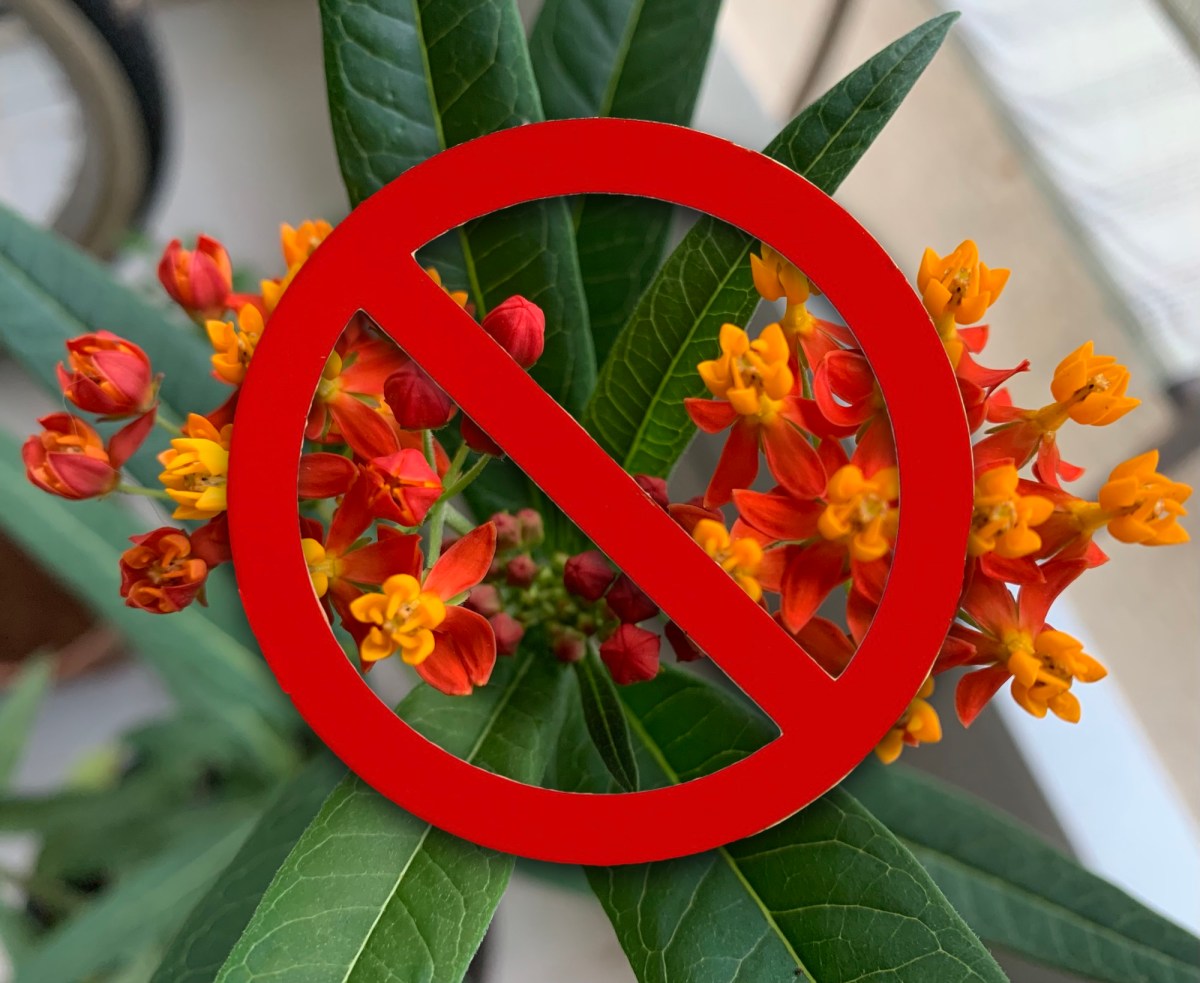
Be sure to select a native milkweed for the yard, or you could be harming the Monarchs instead of helping. Don’t take store and seller’s word for it – be informed.
When I wrote this blog post, over two years ago, I had read an article about Tropical milkweed being horribly bad for Monarchs. It seems that is not completely true. As I’ve continued to learn about growing milkweed, I think the Tropical variety can be used as a good stand in if native milkweed is not available. But it must be cared for correctly.
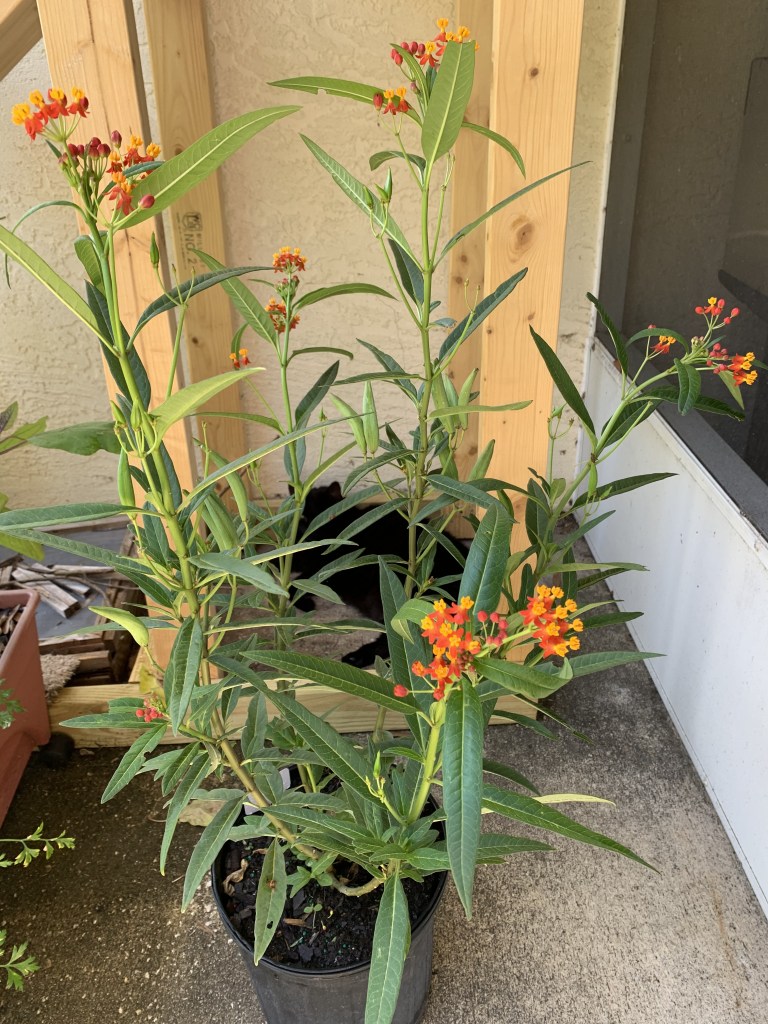
Back then: On a trip to the Farmer’s Market, we found some plants for the yard. I was happy to find this plant at the market. It cost me $15.00 but I was very excited to find such a wonderful, big plant to help the monarchs. What I didn’t realize is that it is NOT native. I bought Tropical Milkweed which is becoming a problem in the south.
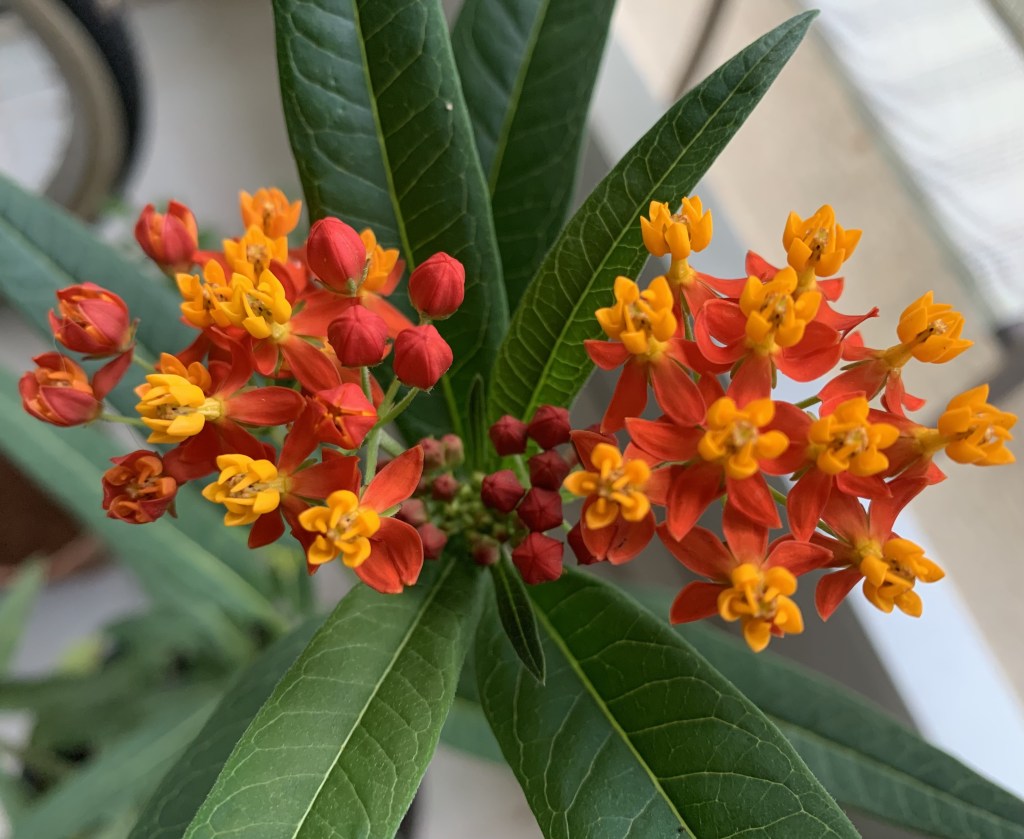
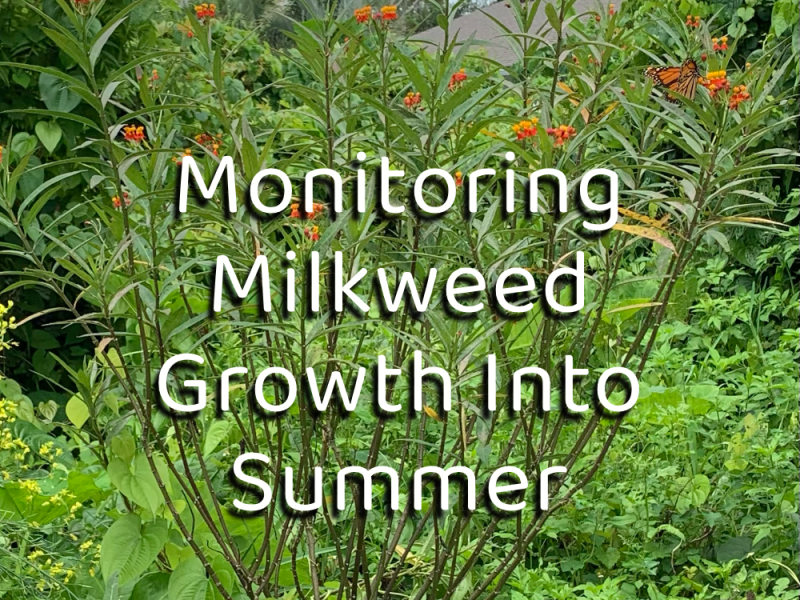
Two-colored flowers (red and orange/yellow) with pointed leaves – this is the non-native Tropical Milkweed. But, the only reason it seems to be a problem is that it does not die back in Fall / Winter.
Good Intentions
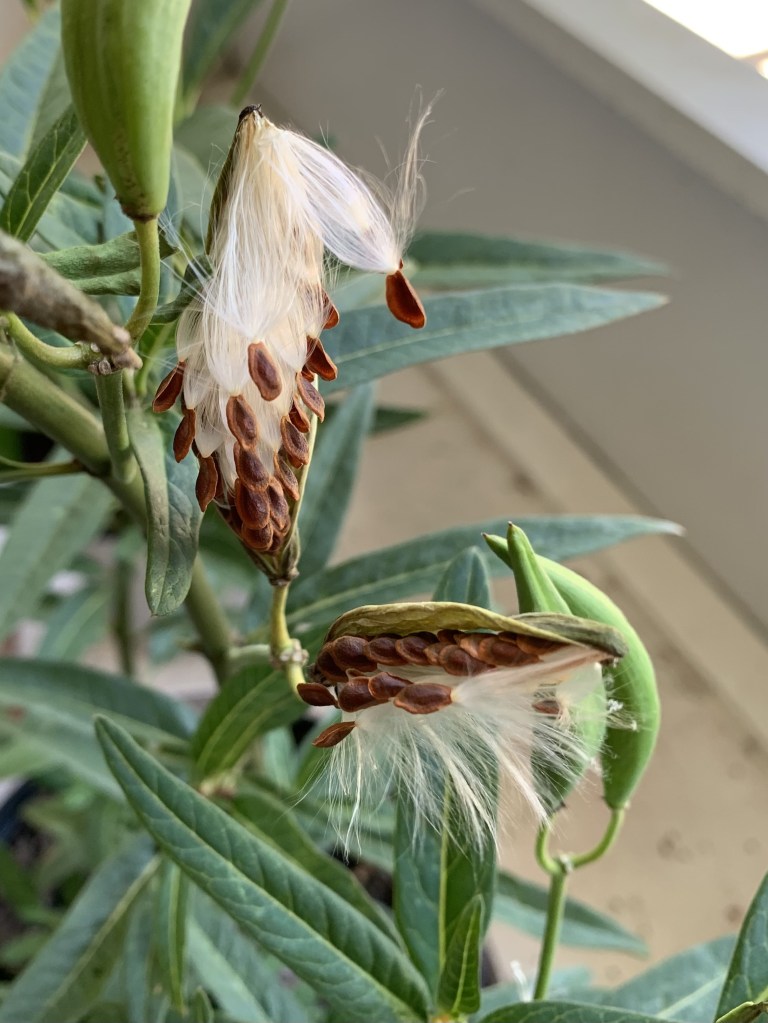
I want to fill my yard with food for the bees and butterflies (namely Monarchs)… BUT… this is not the right kind of milkweed for my area. When this milkweed plant began to drop its seeds, I looked for information about planting them. I’m so glad I searched for information. BUT, now there is more information.
I suggest removing the seed pods so the plant doesn’t spread into the wild where it can’t be cut back over winter.
This is when I realized that I have the wrong type of milkweed. Wrong meaning not native. It was time to learn more about milkweed.
Updated Info on Tropical Milkweed
Tropical Milkweed (Asclepias curassavica) is NOT a native Florida plant. It is native to Mexico. It’s always best to plant native. However, I have not easily been able to find nice, native milkweed plants at local nurseries and garden shops. Tropical milkweed is easy to grow, and it grows fast. No wonder plant sellers prefer this one.
If you have tropical milkweed, the most important thing is to cut it back by December. It won’t die back on its own in many locations. This keeps the Monarchs from migrating. If they stick around and continue to breed, the caterpillars can develop a lethal parasite (OE). Read the article about this at IFAS for more info.
I doubt that many sellers of the tropical milkweed even realize it is not native to Florida. And many probably don’t understand the need for cutting it down.
Non-native, flowers are bi-color red and yellow.
If you are willing to cut back the plants in winter, and remove the seed pods so the plant won’t spread outside the yard, Tropical Milkweed should be okay to grow.
When is it Okay to Plant Tropical Milkweed?
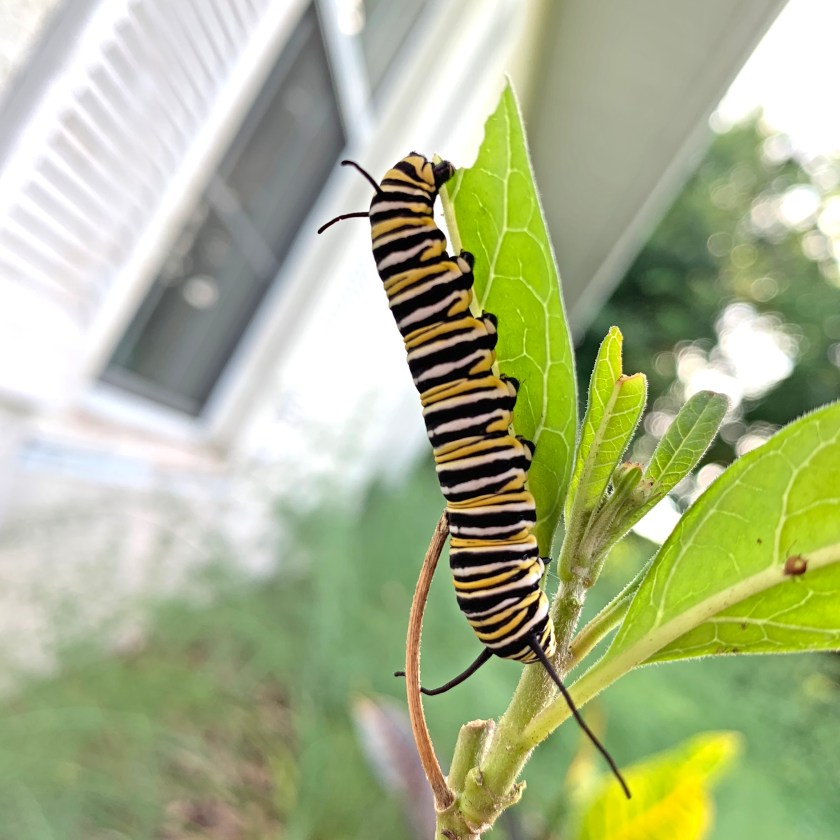
So what if you have this milkweed growing in your yard? After I removed my Tropical milkweed plants, two more plants grew – 2 years later. Right away I began to see caterpillars. I knew this was the wrong milkweed, but it was feeding those hungry caterpillars. So, is it better to help the Monarchs even if the milkweed is not native? I say yes.
I now believe that having some tropical variety can be good to supplement the native types. Native milkweed is hard to find to buy. Certain types need sun and lots of moisture (swamp variety). Others need sun and dry conditions (Sandhill). Milkweed is meant to grow in Florida’s diverse ecosystem, which is vanishing. It should not be grown in a yard that is sprayed with chemicals.
All these things make native milkweed hard to find. With roadsides mowed, and lawns taking the place of fields, butterflies are now endangered. If we can help by providing some plants – native or not – I say let’s do it.
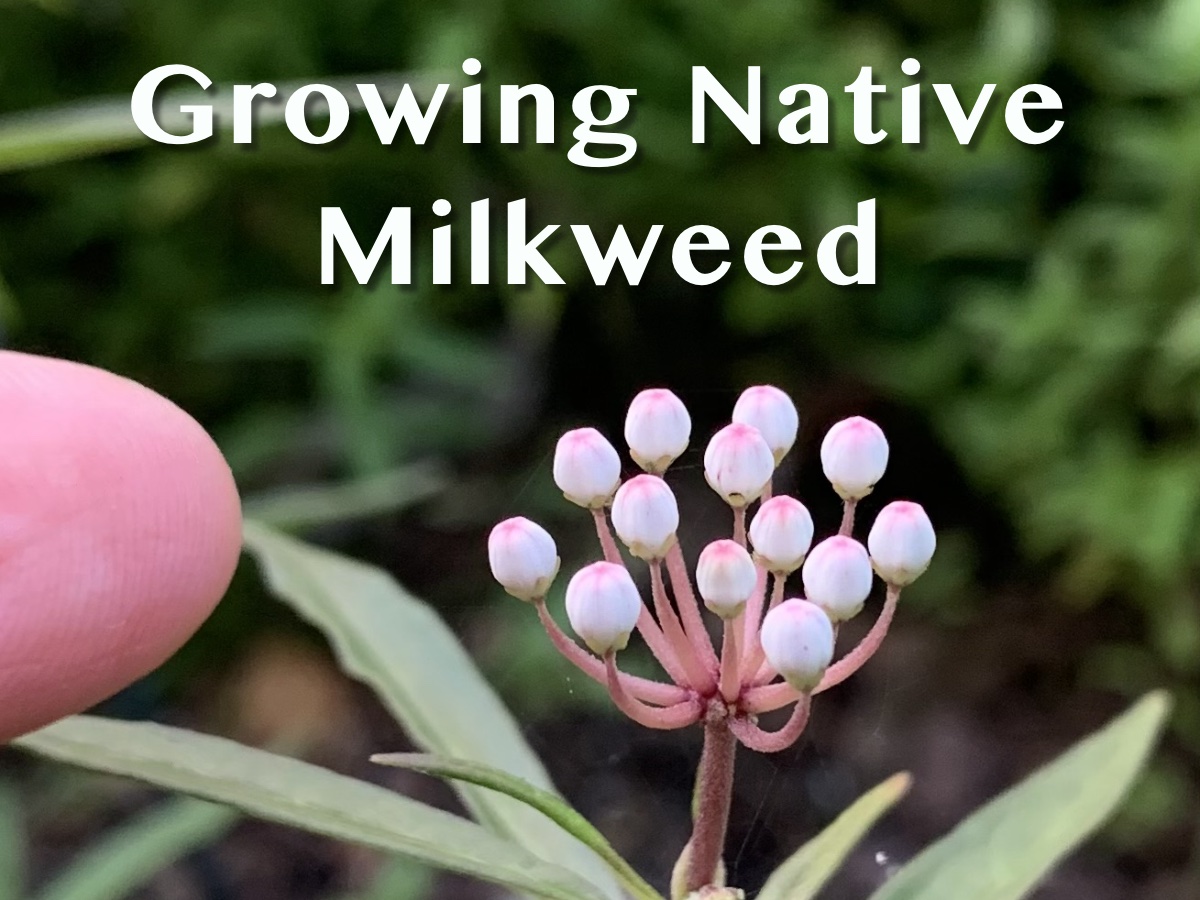
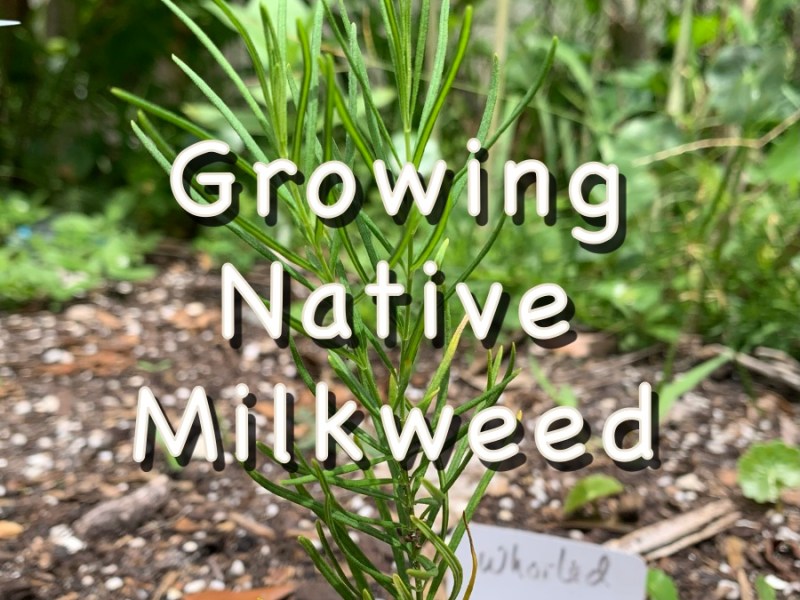
Right now I am trying to grow native milkweed for my yard. I have planted seeds, and purchased milkweed seedlings online. My goal is to have a variety, with many native plants (mainly) for the butterflies.
Florida Native Milkweed Links
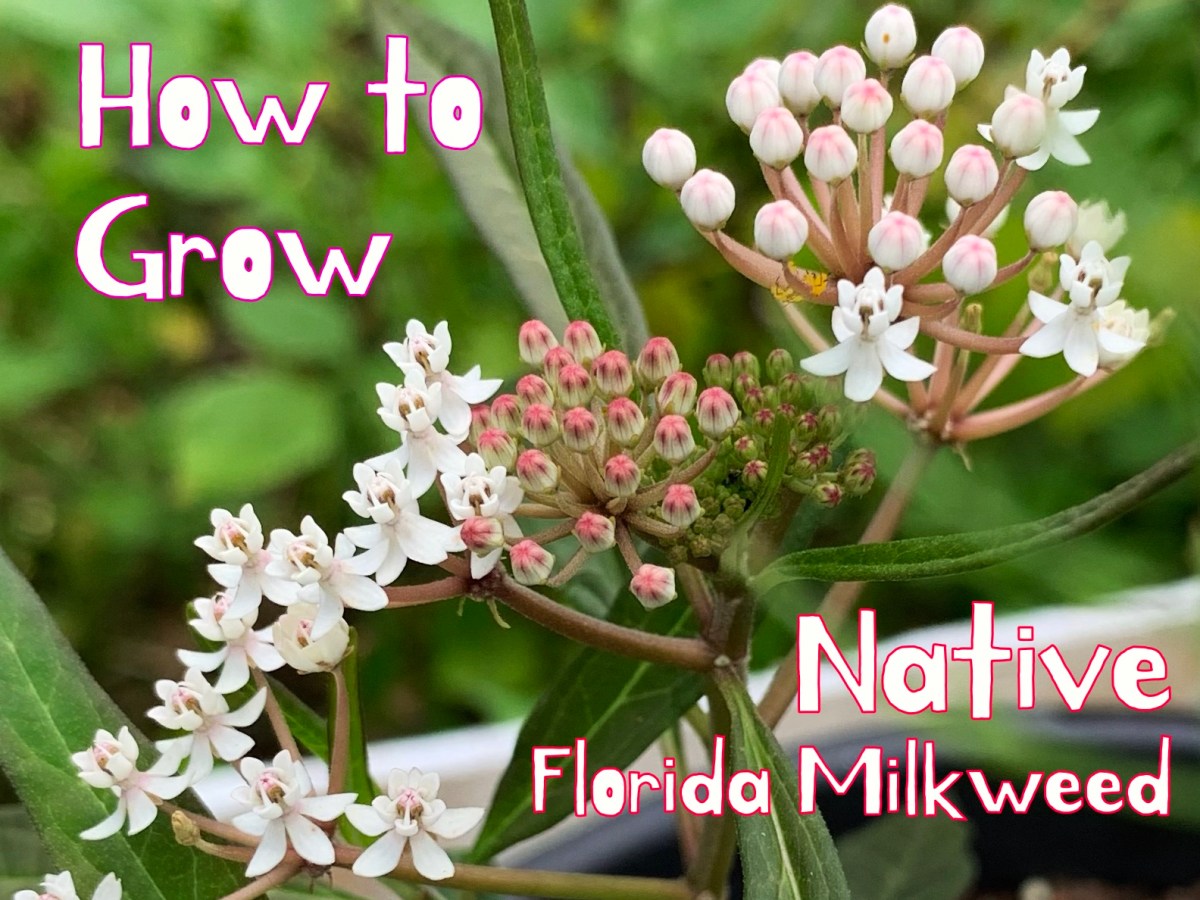
Sandhill Milkweed – Big, dark leaves and pink flowers. Likes to grow in sand and doesn’t need lots of water.
Orange Butterfly weed – Not preferred by monarchs (so I’ve read) but great for butterflies and other insects.
Swamp Milkweed, white / pink – Moist, well-drained soil. Full sun to part shade.
Whorled Milkweed – blooms longer, into Fall, and can supplement if other native milkweed has died back.
Find Milkweed Seeds and Plants Online
You may find what you want, along with other Florida native plants, from this list of growers / nurseries on the Plant Real Florida site.
I have purchased seeds from Johnny Butterfly seed. They have sprouted at this stage, but are still tiny.
Planting new types of seeds purchased from Eden Brothers online.
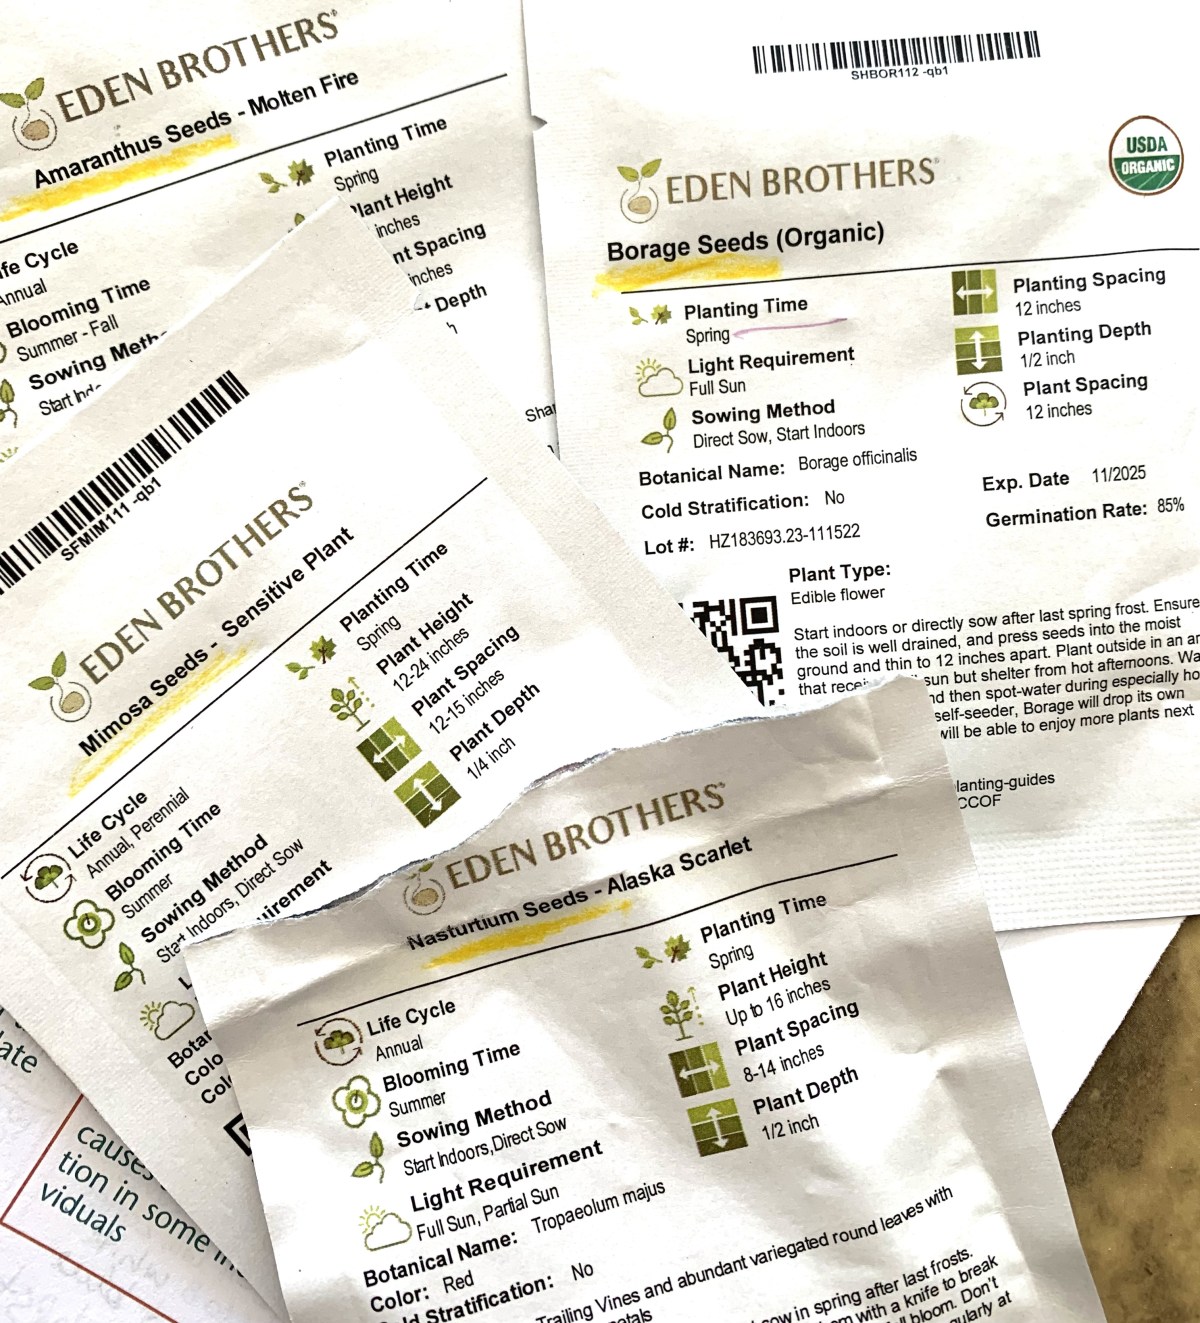
Finally my seed packet order from Eden Brothers arrived. It took ten days, and I’d actually forgotten about the order because they sent no information updates at all! I’m not too happy with the company for that reason. I chose them because they had the Mimosa seeds.
Now I need to figure out what to do with these seeds, which include Nasturtium, Amaranthus, Powderpuff Mimosa, and Borage.
Nasturtium
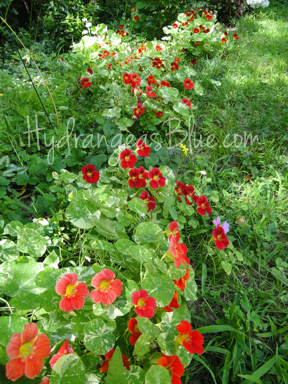
I had loads of lovely nasturtium growing in my northern summer garden. I’ve never tried growing them in Florida. For that reason I will plant some seeds into the garden dirt, and the others will go into pots.
The seeds went into the ground around my pumpkins plants and watermelon. Two clay pots also hold seeds. They are the Alaska variety which is pictured below. The leaves and flowers are edible.
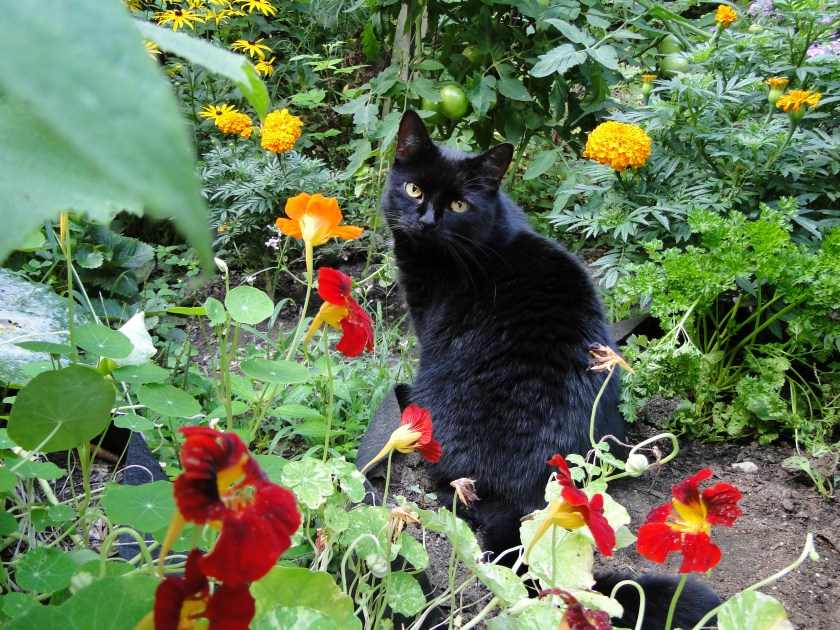
This is one of my favorite photos of my cat Skittle sitting amongst the nasturtiums and marigolds in my New Hampshire garden.
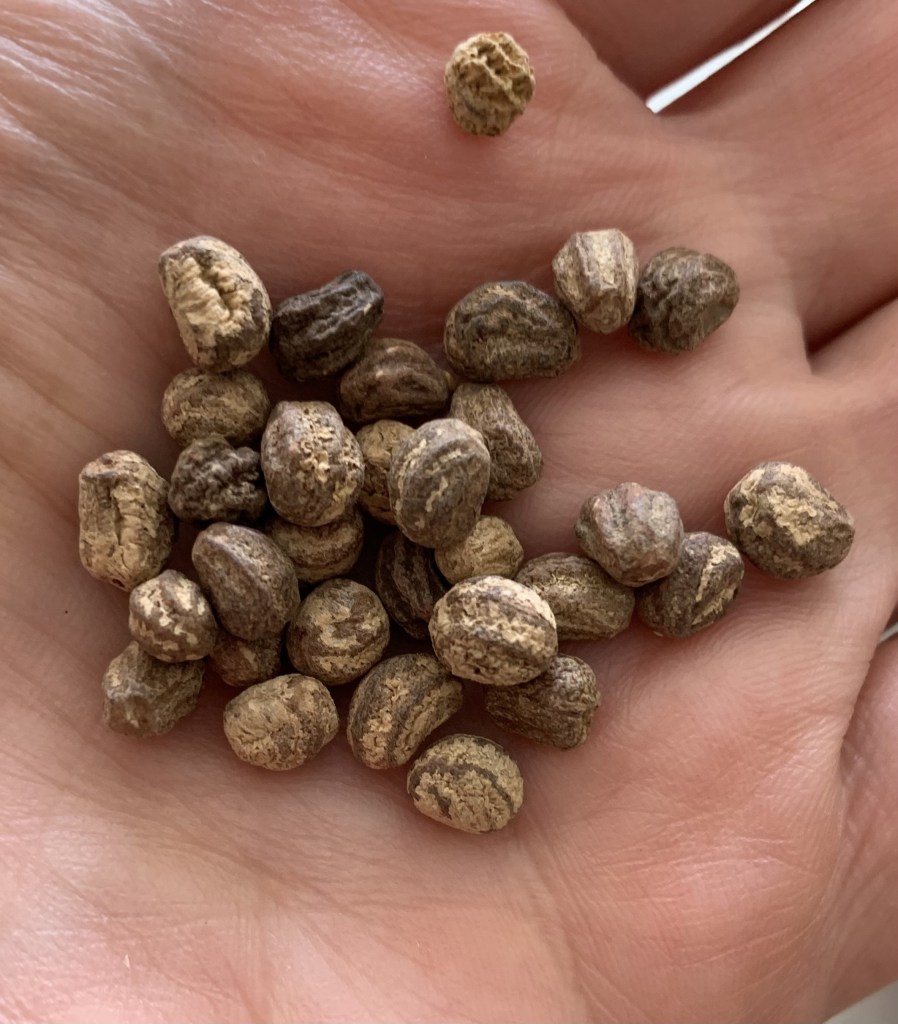
Nasturtiums and Marigolds (and Skittle the Cat) in my NH gardenThe full packet of seeds from Eden Bros.Alaska Nasturtiums grown from seeds in NH
Mimosa Seeds (Powderpuff)
I know nothing at all about the mimosa ground cover except that it has fluffy pink flowers. Most sites talk about growing it indoors, but here in Florida it should grow easily outside in the sun. Because I don’t care if it covers the grass, I’ll plant the seeds at the edge of my hibiscus garden.
This one is also called the Sensitive Plant because the leaves close / move when touched. And, I found it listed at the UF gardening site under Powderpuff Mimosa. I will put a few seeds in a pot and the remainder into the ground.
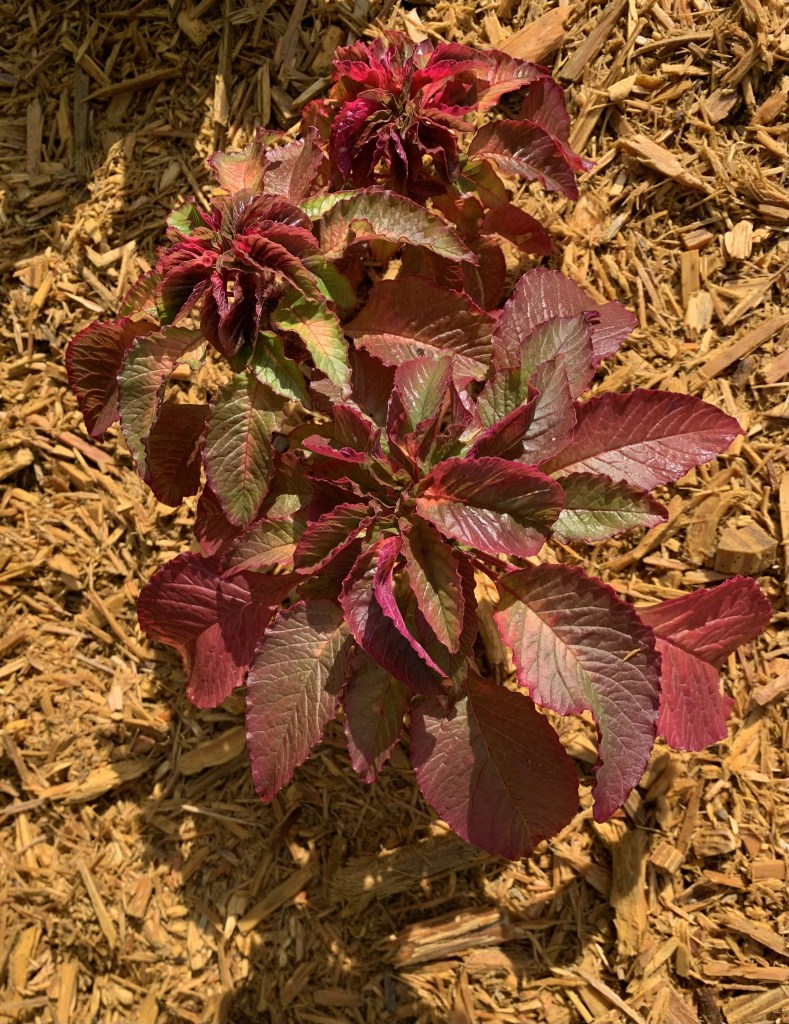
Amaranthus – Molton Fire (Edible)
Here is a page at UF, Gardening Solutions in the “food” section, all about the Amaranth. I guess it needs to go straight into the garden. Since I don’t have a lot of space left, some have been put into pots.
Borage (officinalis) – Edible
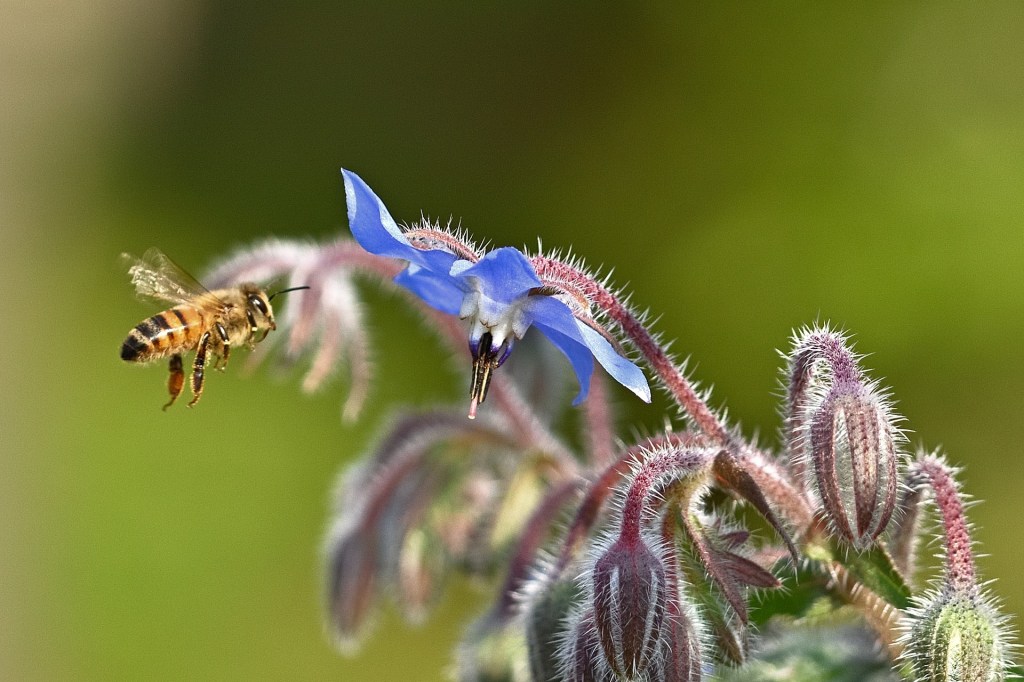
Borage is a herb that grows tall and is listed on this page at the IFAS site as a cool season crop. My Eden Brothers packet says that planting time is Spring, but shelter from “hot afternoons”. I think I will put some seeds into pots for now.
Borage has pretty blue flowers and it is edible. It also attracts bees. It grew wild near my house in New Hampshire, but I’ve never seen it here.









 Hydrangeas Blue