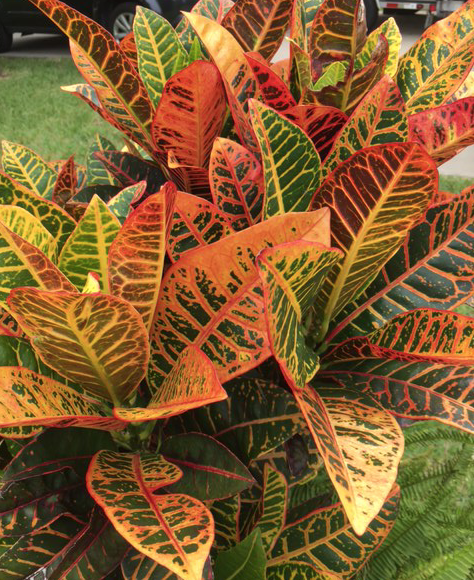
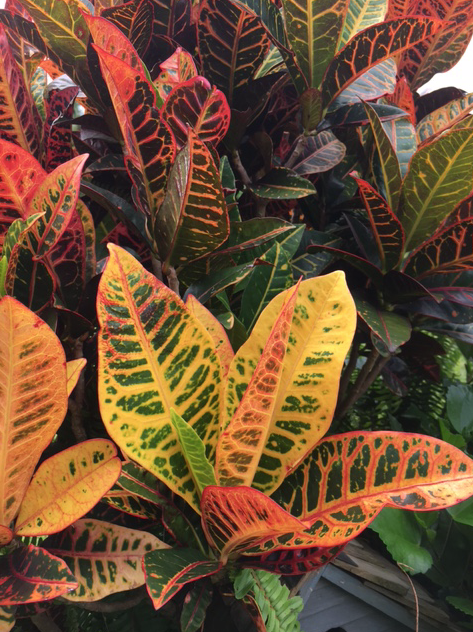
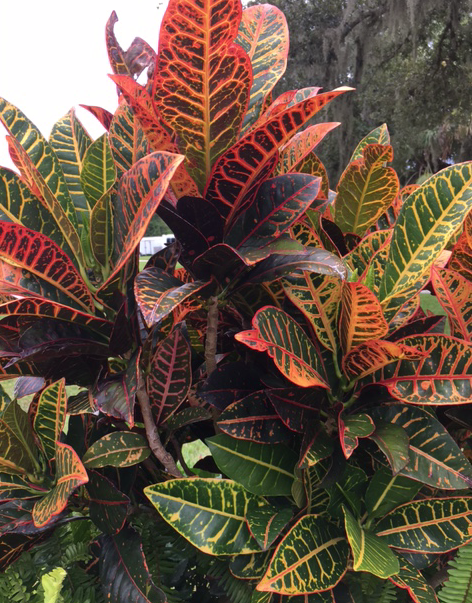
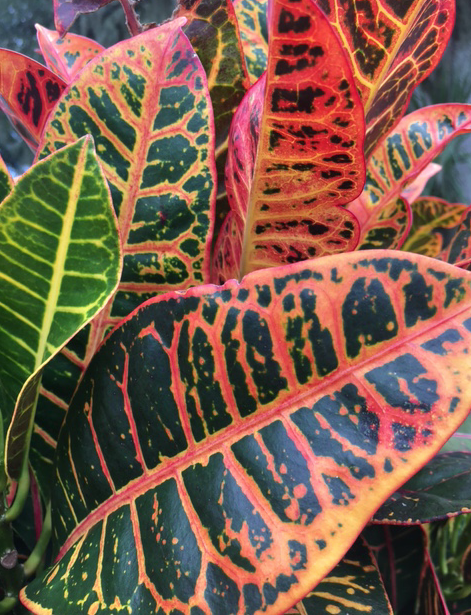
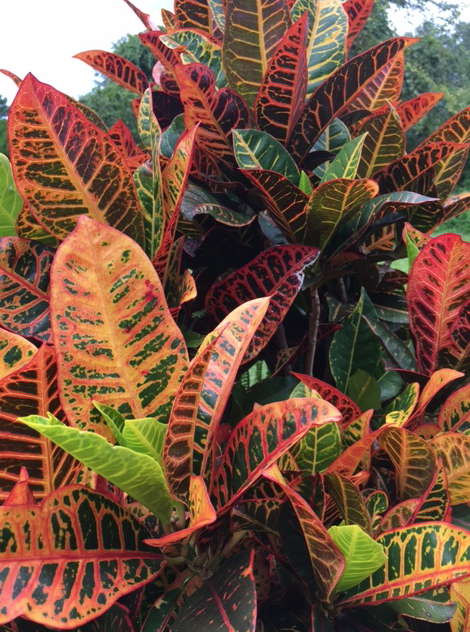
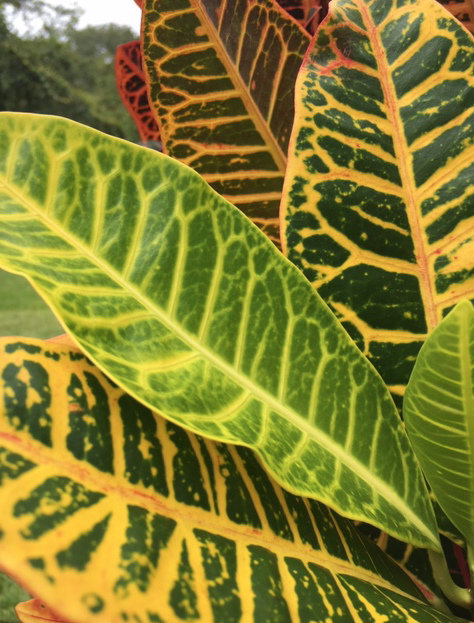
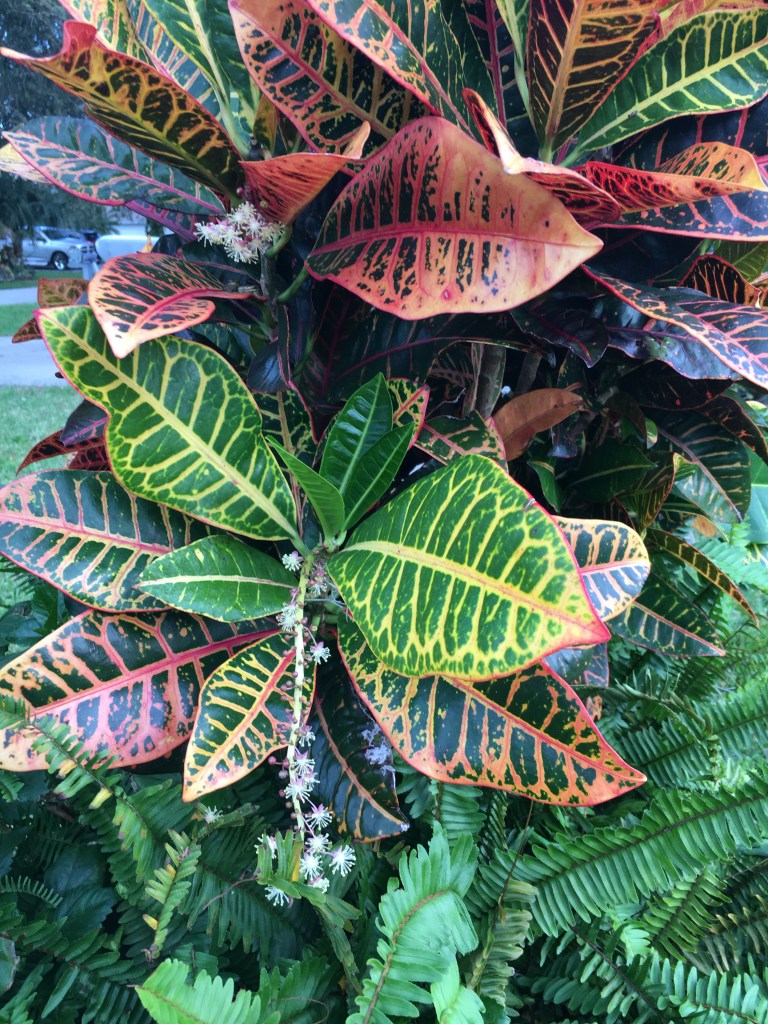
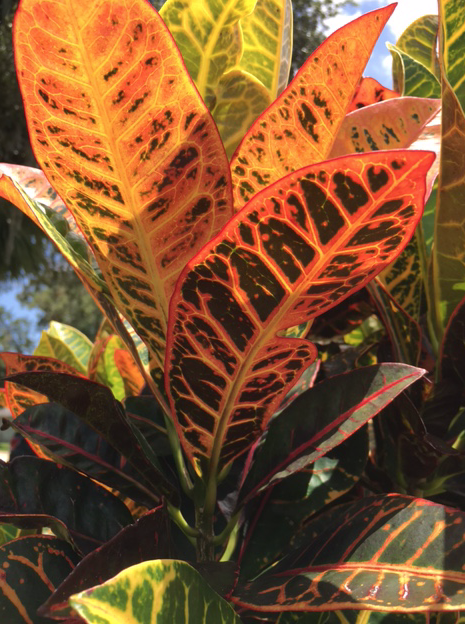
The leaves of the croton are really stunning. They are as pretty as any flower, and come in such an array of colors, that they can brighten any landscape, as long as it’s subtropical.
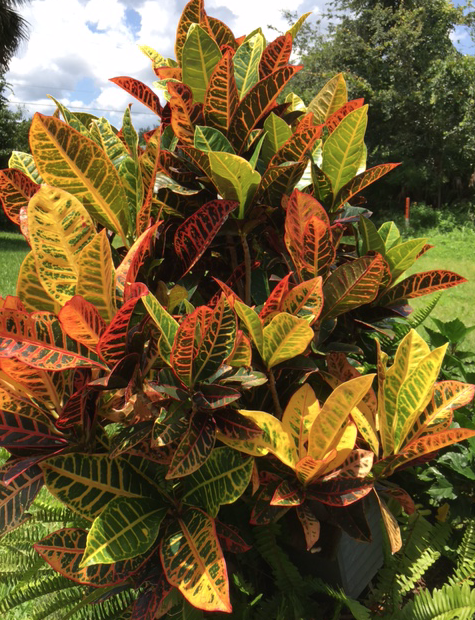
Crotons don’t handle cold well, with established, older plants handling it best. I live in climate zone 9 and have this big croton plant in my yard. I have no idea how long it’s been there, but I did not cover it at all last winter.
Then again, last winter in Florida was not all that cold.
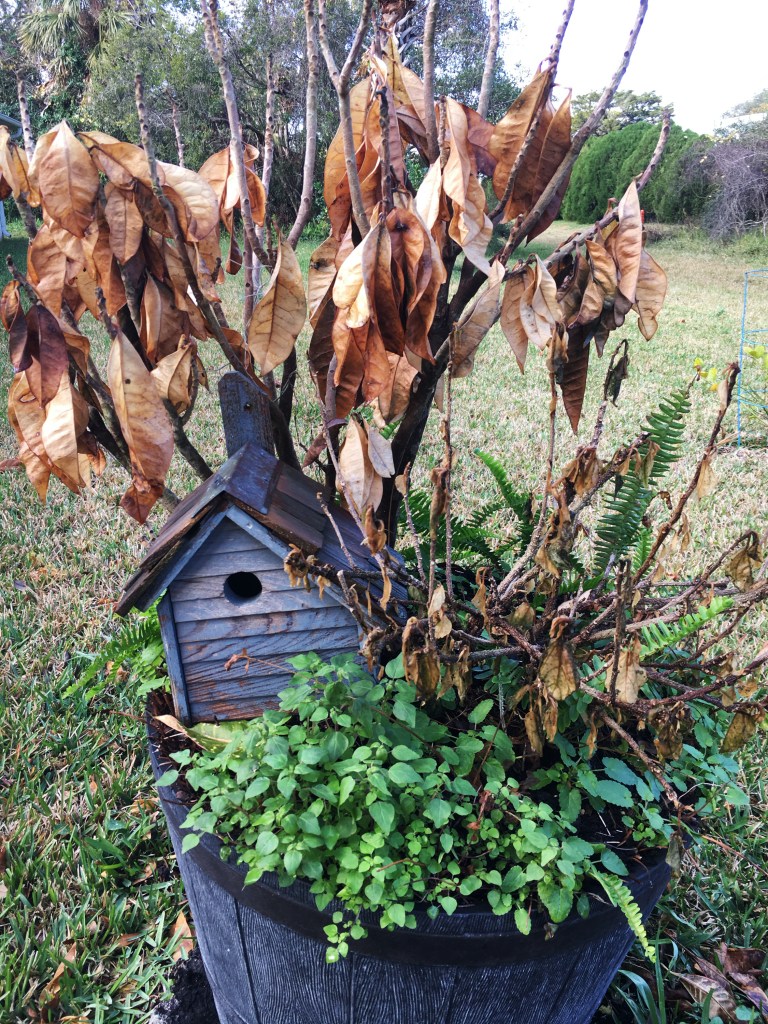
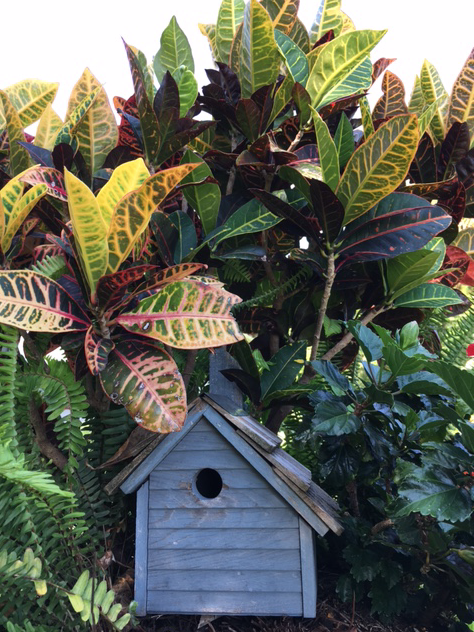
My croton is in a big pot with ferns and a red hibiscus bush… also a birdhouse is stuck within the branches.
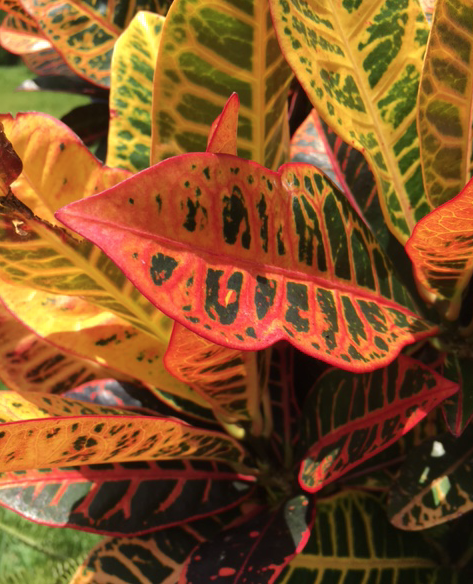
Recently I went out in my yard and took some photos of the croton leaves and wanted to share them with you.
If you are looking for brightly colored plants for your Florida, or tropical, landscape, check out the Cordyline plant and Caladium.
The bright reds can become dark purple as the leaves age
This croton has been growing for years, I imagine
Even the yellow and green leaves are outstanding
For those of you who do not live in a warm climate, the croton can grow indoors. I’ve never done that, but you can search the internet for helpful advice on doing so.
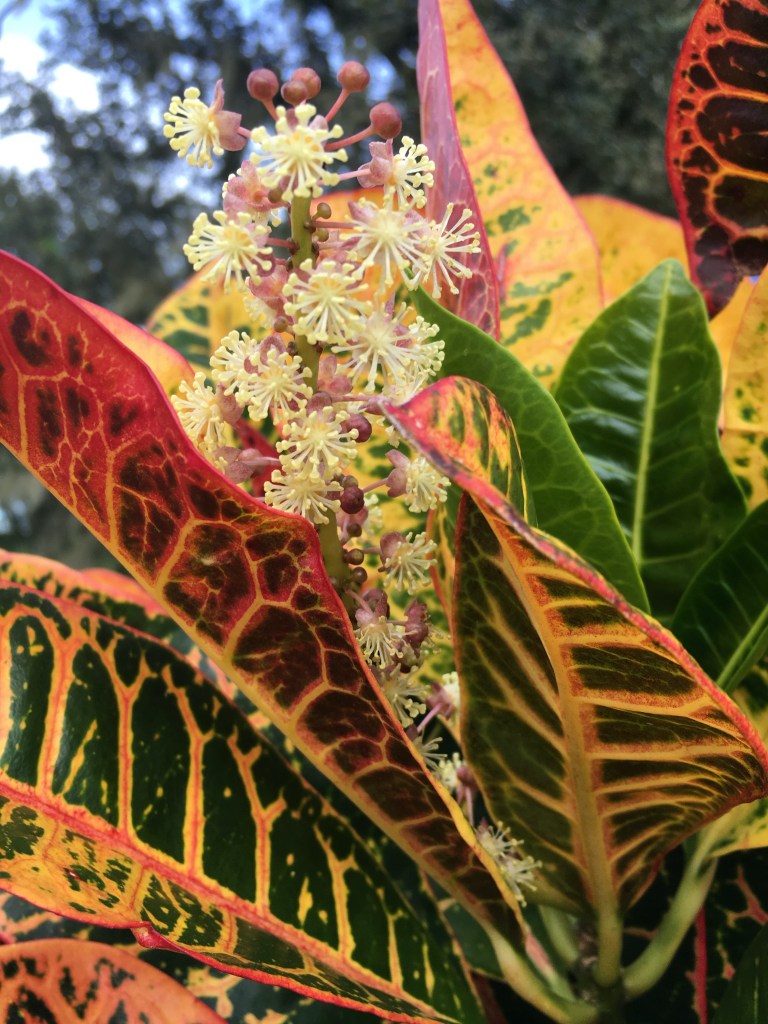
Croton with stems of flowers
Flowering croton plant
My big beautiful croton died over winter when we had exceptionally cold weather. But… I had taken cuttings and begun new plants so it lives on through it’s “babies”.
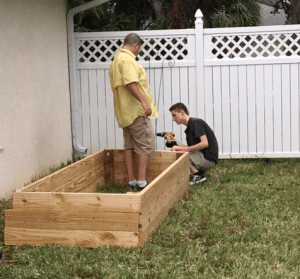
I was thrilled to see the raised garden bed my son had made. He wanted something to do, so he researched the “how to’s”, went and bought the wood and put the thing together. With his brother’s help, they carried it to the backyard and finished tightening the screws.
Step one on the road to Florida vegetable gardening was complete.
Now I just needed some dirt! But buying dirt doesn’t mean you will have the good soil needed to grown super veggies.
Most gardeners know that soil makes or breaks the growth of the plantings. Planting directly in the ground means there is at least something there to begin with, but starting with an empty box means building the good soil from scratch.
The Basics For Building Good Soil
Over the years this is what I use to create good, worm-loving dirt that gives a good yield of crops. I’m no expert, so feel free to leave a comment with your recommendations.
1. Loam / soil / organic dirt
2. Compost – store bought and / or homemade
3. Organic Fertilizer
4. Bone Meal (for crop root development)
The location of this raised bed presented a problem when it came to filling it. My son has a truck and was happy to go pick up a load of loam / dirt, but getting it to the wooden box was not going to be easy.
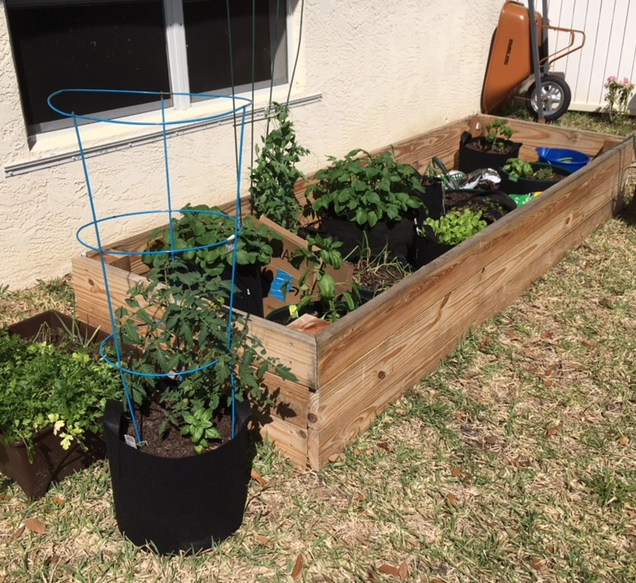
First we filled the bottom of the box with leaves and grass collected in the lawn mower bag. Then I put my black fabric garden bags inside the bottomless box. I also left a few pieces of cardboard in the bottom to help keep the weeds / grass from growing.
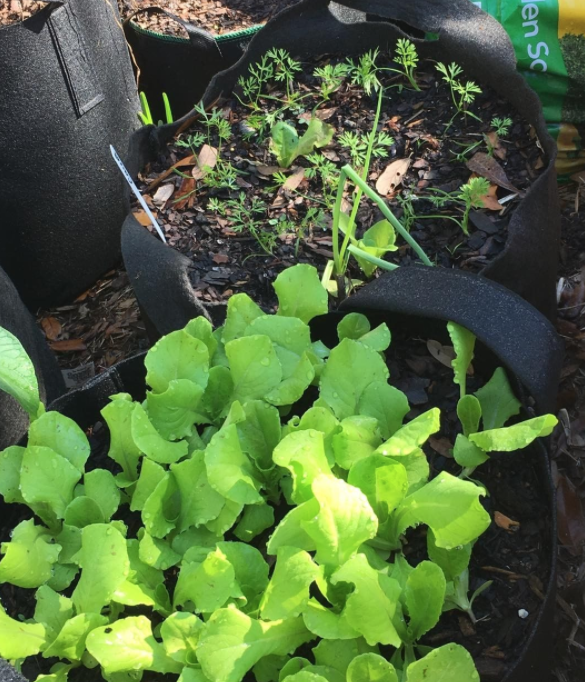
Bags with carrots and lettuce
For now, I planted vegetables separately in each of the bags, and I ended up buying some new bags, so I could grow more.
Two bags had potatoes – the red ones gave me lots of little red potatoes, with tomatoes, peppers, lettuce, and peas in the others. When the plants had gone by and were no longer producing, I dumped them into the bed, plants and all.
My Garden March 2nd
Between using the dirt in the black pots, and adding compost (store bought and home made), I can eventually fill the box with relatively good soil.
Creating good garden dirt is an ongoing process. Banana peels, egg shells, and chopped vegetable scraps can be added directly to the dirt in the box. Soil amendments must be continuously used to replenish the soil.
Hopefully, that will bring earthworms. Soil can’t be called good, unless there is an abundance of worms! This all takes time. The ingredients have to break down over time.
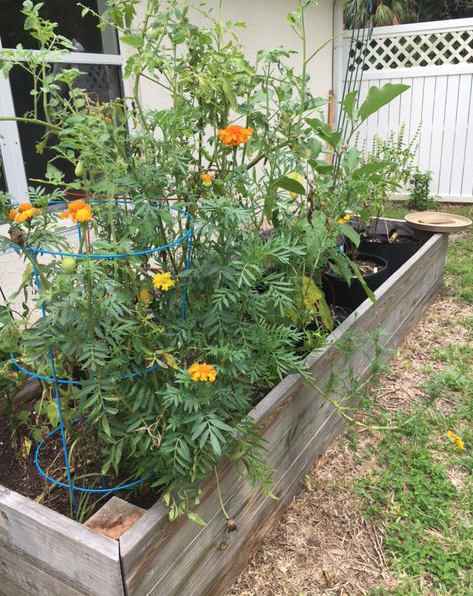
It’s been 6 months since I began to fill my raised bed, and haven’t done much this summer except let the tomatoes, basil, eggplants, and peppers grow wild. The heat keeps me inside, but I do pick a small tomato or pepper every now and then.
The wood has faded to a weathered appearance, and slowly I will be raising the soil level as I empty more of my fabric bags.
The Summer Garden Grows Wild
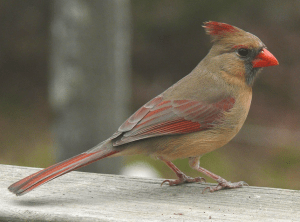
Female Cardinal, photo credit: Skeeze @ Pixabay
Cardinals come to the garden looking for bugs to eat, and they drink and bathe in my makeshift bird bath sitting on the corner. (I can’t get a good photo, so I used this one from Pixabay.)
Little lizards run along the edges and I see the occasional ladybug and butterfly on the plants. Parsley worms have been found on the parsley.
Once the weather cools off enough to work outside, I will dump all my fabric bags out into the box. I will add more grass clippings, along with organic fertilizer, bone meal, and cornmeal (supposedly it brings worms). In other words, I will work on building up the dirt to get it ready for winter planting.
I’ve found that the big wooden box is a good place to store my unused bags and pots for now.
I recently read a blog post where the writer explained about her backyard garden. She included photos and her plans for each area of the outdoor space. You can read it at the Hairytoegardener’s blog.
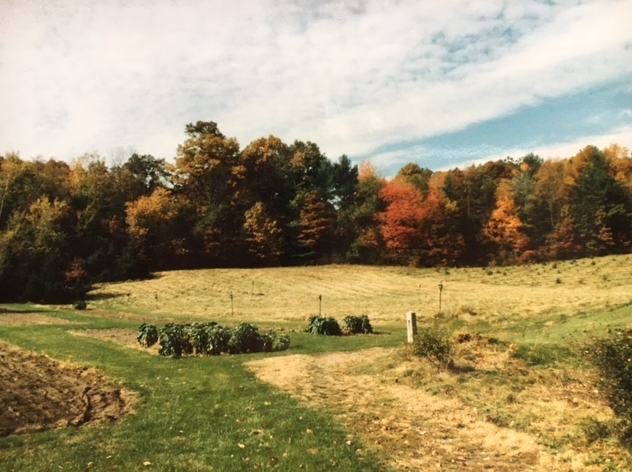
Growing up in Massachusetts, I lived on a hill overlooking my grandfather’s huge vegetable and flower garden. I remember him always there, working in the garden (except in winter of course). I can still picture him jiggling along with that old rototiller digging up the earth. I wish I had run down and helped him do what he did, because I could have learned first hand how to be a successful grower of fabulous fresh vegetables.
I think he liked the solitude of gardening, so I would have been an unwanted pest maybe. But as I recall, my grandfather was always kind and enjoyed us kids being around. I think he could have taught me a thing or two about gardening.
The Field and Garden – after Grandfather was gone
Anyway, I never really got into gardening mainly because I had children who took up all my time. I presently have a 40 year old son, a 19 year old son, and two more in between. The most gardening I have done over the years were in my big Florida yard, where I planted everything tropical I could get my hands on, and in New England where I truly enjoyed digging in the ground.
I’ve lived at 16 different addresses. Some of those for only a very short time. In fact, one address was merely wishful thinking. I never actually had the chance to move in, but my items were there for a few weeks. The condo I was about to rent flooded from a burst pipe, and it was necessary to find an alternate place to live – temporarily.
I’ve spent many of my later years in survival mode, and that means I didn’t get to even think about such frivolous things as gardening.
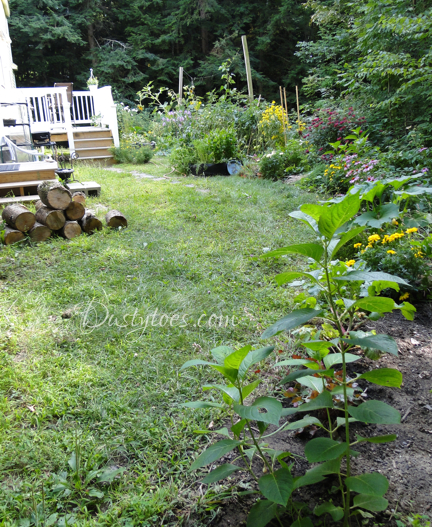
But, when I had the chance to allow my mind to dream of a backyard full of flowers and blooming trees, and an herb garden, and picking ripe tomatoes, I worked relentlessly to make it happen. A lack of land restrained me somewhat, but in the first home, which was all my own, in New Hampshire, I planted in every available sunny spot I could find. I did it all by myself, and I had a beautiful spot to enjoy.
My New Hampshire Backyard & Gardens
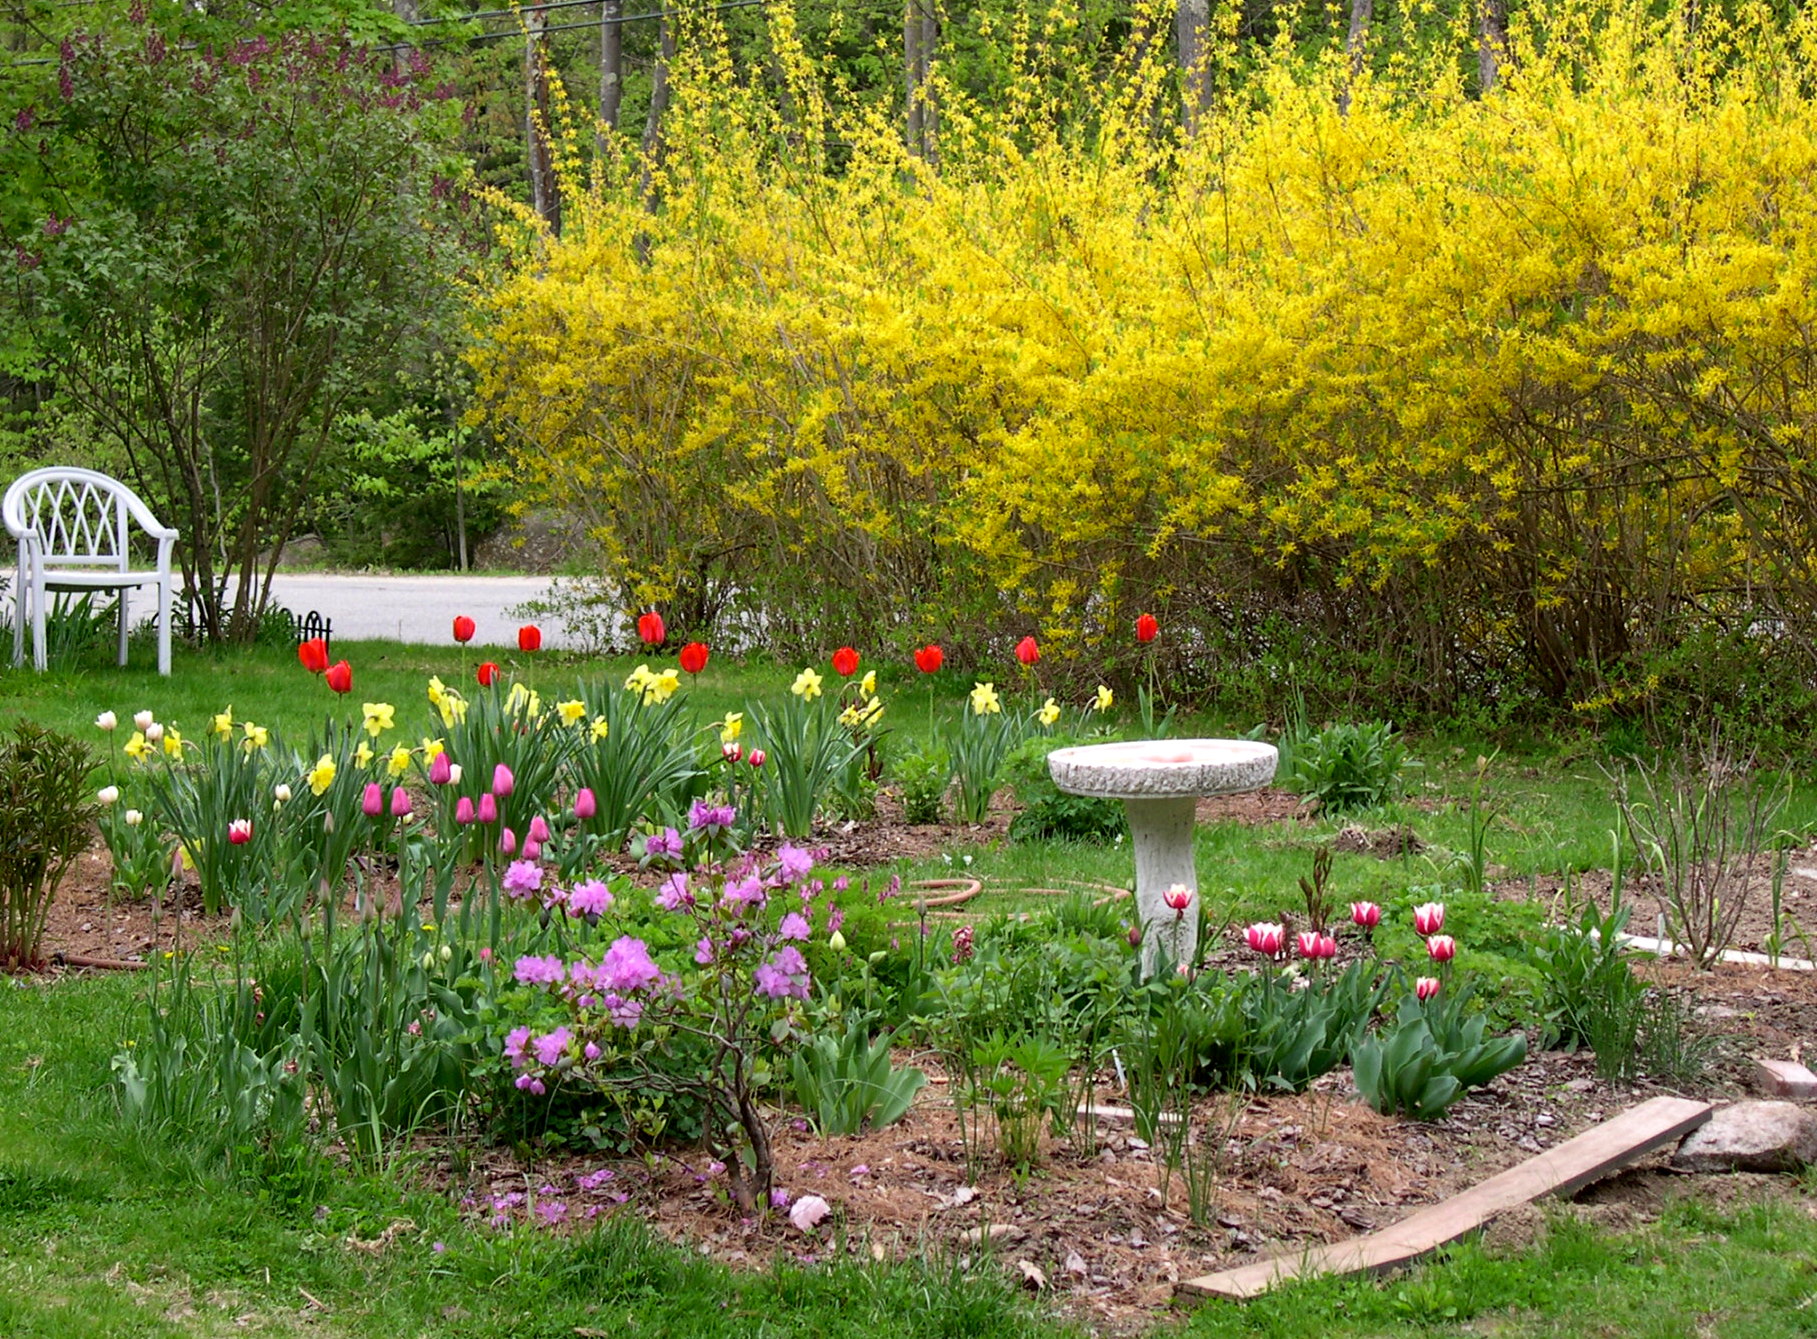
However, before that home, I had another New Hampshire home. It was the last place I lived. Really, those were the last days of my life. At that time, I lived more like most of the population. I was a normal person. And my husband (now ex) and I bought a house with land..!!!!… that had a wonderful array of gardens and ornamental trees, with a gorgeous forsythia hedge by the road. In spring, I saw the tulips and daffodils pop out of the earth… imagine! There is none of that in Florida.
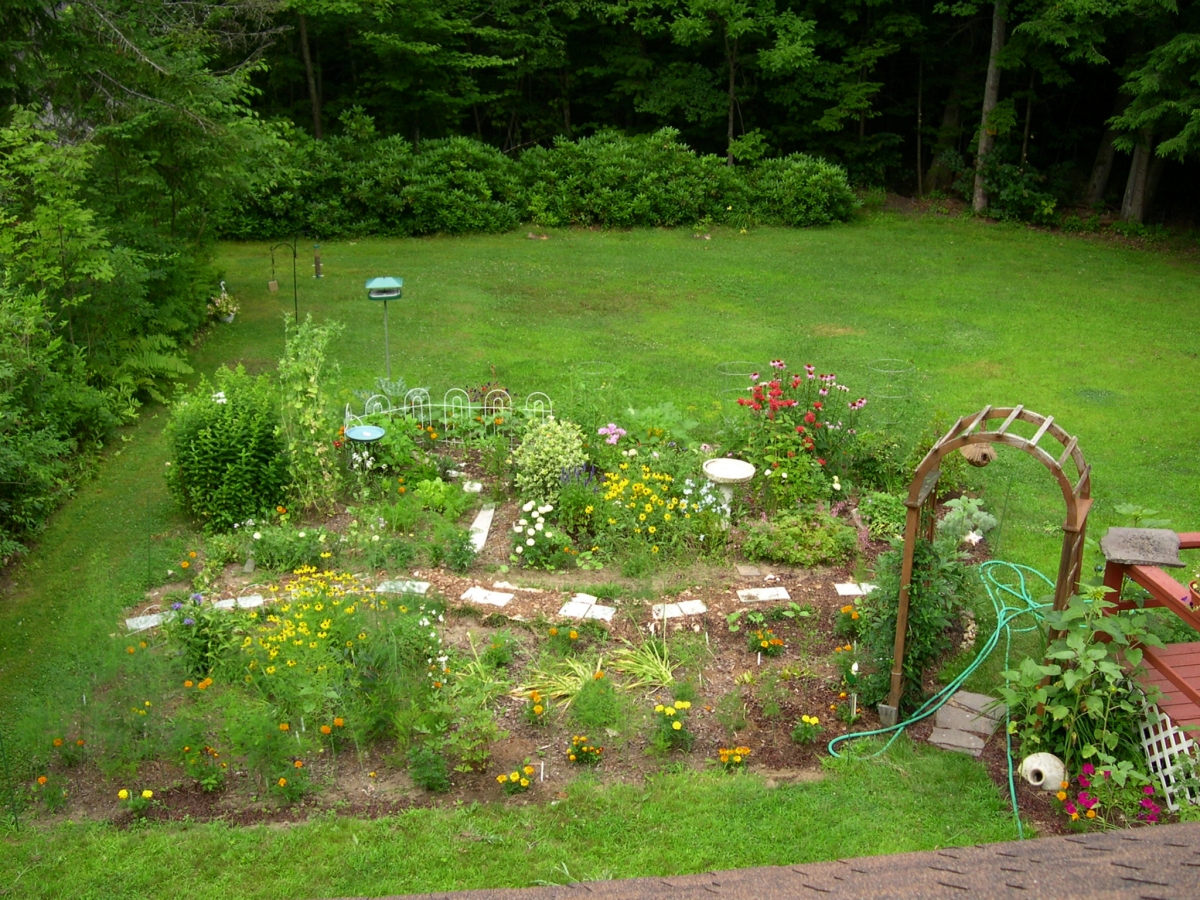
Immediately I began to study the New England plant varieties and saw my yard becoming even more stunning as I planned to include more and more new shrubs and trees over the years. In the two summers I lived here, I expanded the garden, adding a block pathway, bird feeders and bird baths. There was an asparagus garden – I’d never had that before – and we saw black bear, turkeys and deer in the yard. There was even a wisteria growing over a backyard arbor (not in the photos). Yes, I could have lived here for the rest of my life, but two years later we were gone.
Forsythia and Tulips, Spring at my first NH home
New Hampshire 1st backyard – photo taken from a skylight on the 2nd floor
When I write about my first NH house, it’s like I am talking about another person’s life. It was only 12 years ago that I lived here, but it seems like 100.
Today my yard is small and my house is surrounded by St. Augustine grass which grows like thick vines intertwining with itself. This makes it incredibly difficult to remove – if I wanted to plant a garden. Instead I have chosen a raised bed to grow vegetables (hopefully). The plantings in the yard are simple and easy to care for as this was a home owned by some wealthy people who rented it out over the 12 years they owned it. There is even a sprinkler system. It’s a self-sufficient house.
So I have begun yet again to try to establish a beautiful yard. Except now I am older, and struggle with a disease that saps my energy. The gardening bug, once installed in our DNA, is impossible to ignore. My mind says “it’s too hot here, give up and just be at peace with the yard as it is”.
But my heart calls me to don those gloves and go out and dig! Collect seeds, experiment with new plantings, take clippings and see if they will root and become new plants on their own.
The old dreams of a beautiful garden in my backyard are gone, but I feel good about the fact that when I had the chance, however fleeting the opportunity, I made the best of it. I’ve left some great gardens behind. I guess it was my tiny contribution to the planet.
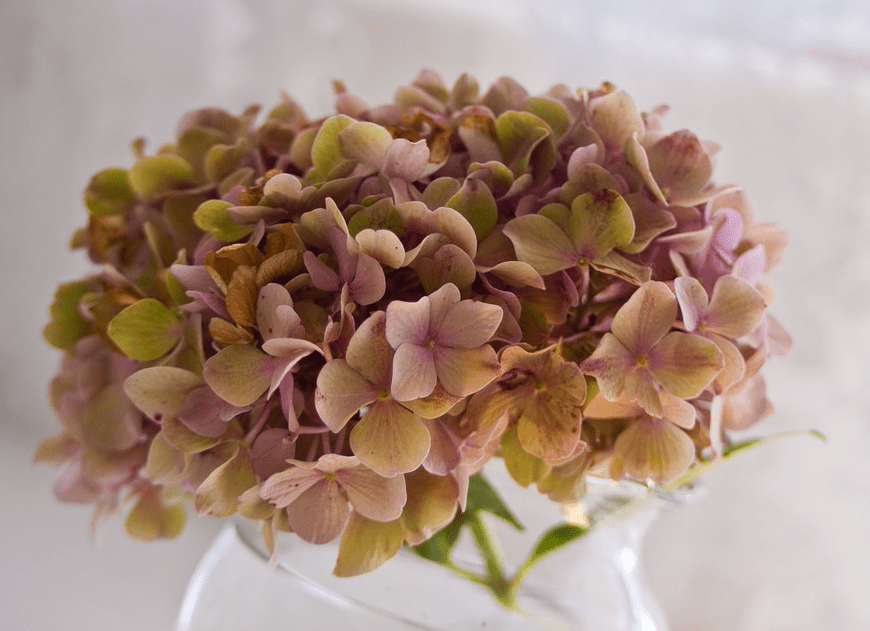
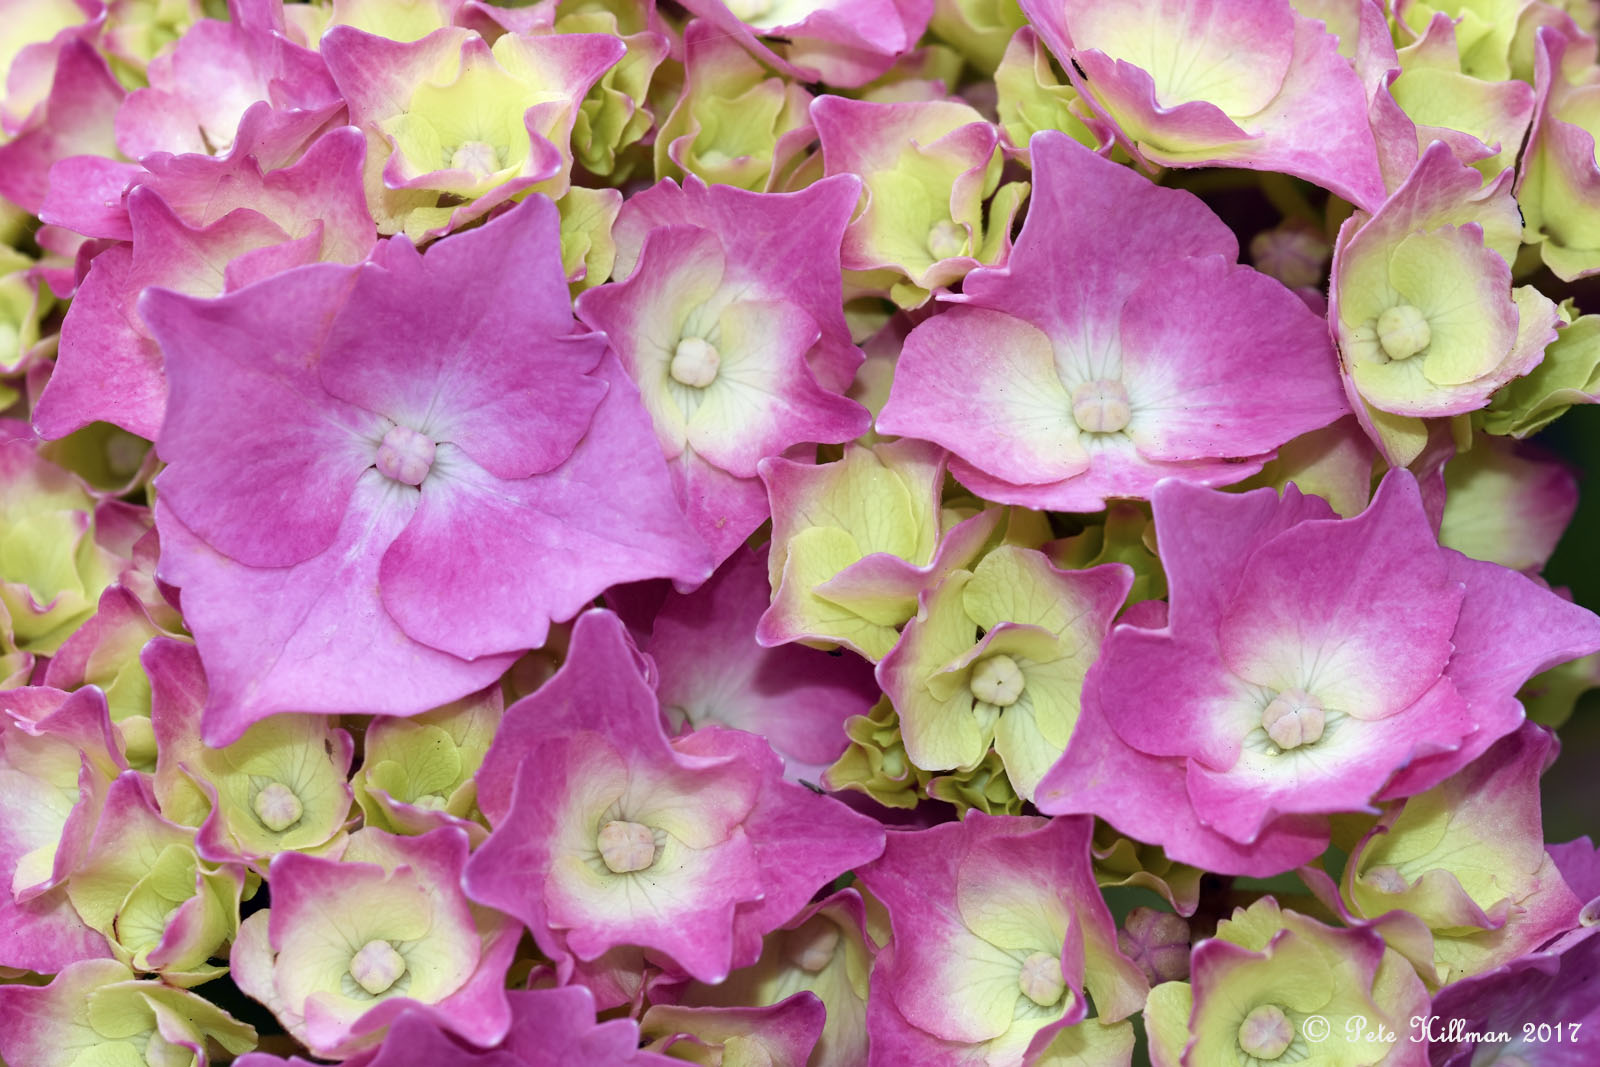
Found this hydrangea photo and good information on one of my favorite photographer’s site. I never grew pink hydrangeas like this one. It has fun little pointy petals. Pete kindly allowed me to re-blog here, so enjoy! And go see his photos… they are stunning!
I have always loved Hydrangeas. My Nan and Grandad grew them at the front of their house, and so did my Mom and Dad. It’s amazing how when you see a certain flower they bring back such wonderful, precious memories. Because of my love for the abundance of showy blossoms this popular shrub produces, and because of the fond memories, I have grown Hydrangeas in my garden for some years. Although, for the first time ever, I made the most silly mistake of pruning then at the wrong time so I did not get a single blossom last year. But this year, they are back again, and in splendour.
Here are a few facts about this colourful flowering shrub, some I already knew, and some I didn’t.
Hydrangeas go back a long way, and were here before we were. The oldest fossil finds discovered in America go back 40 to…
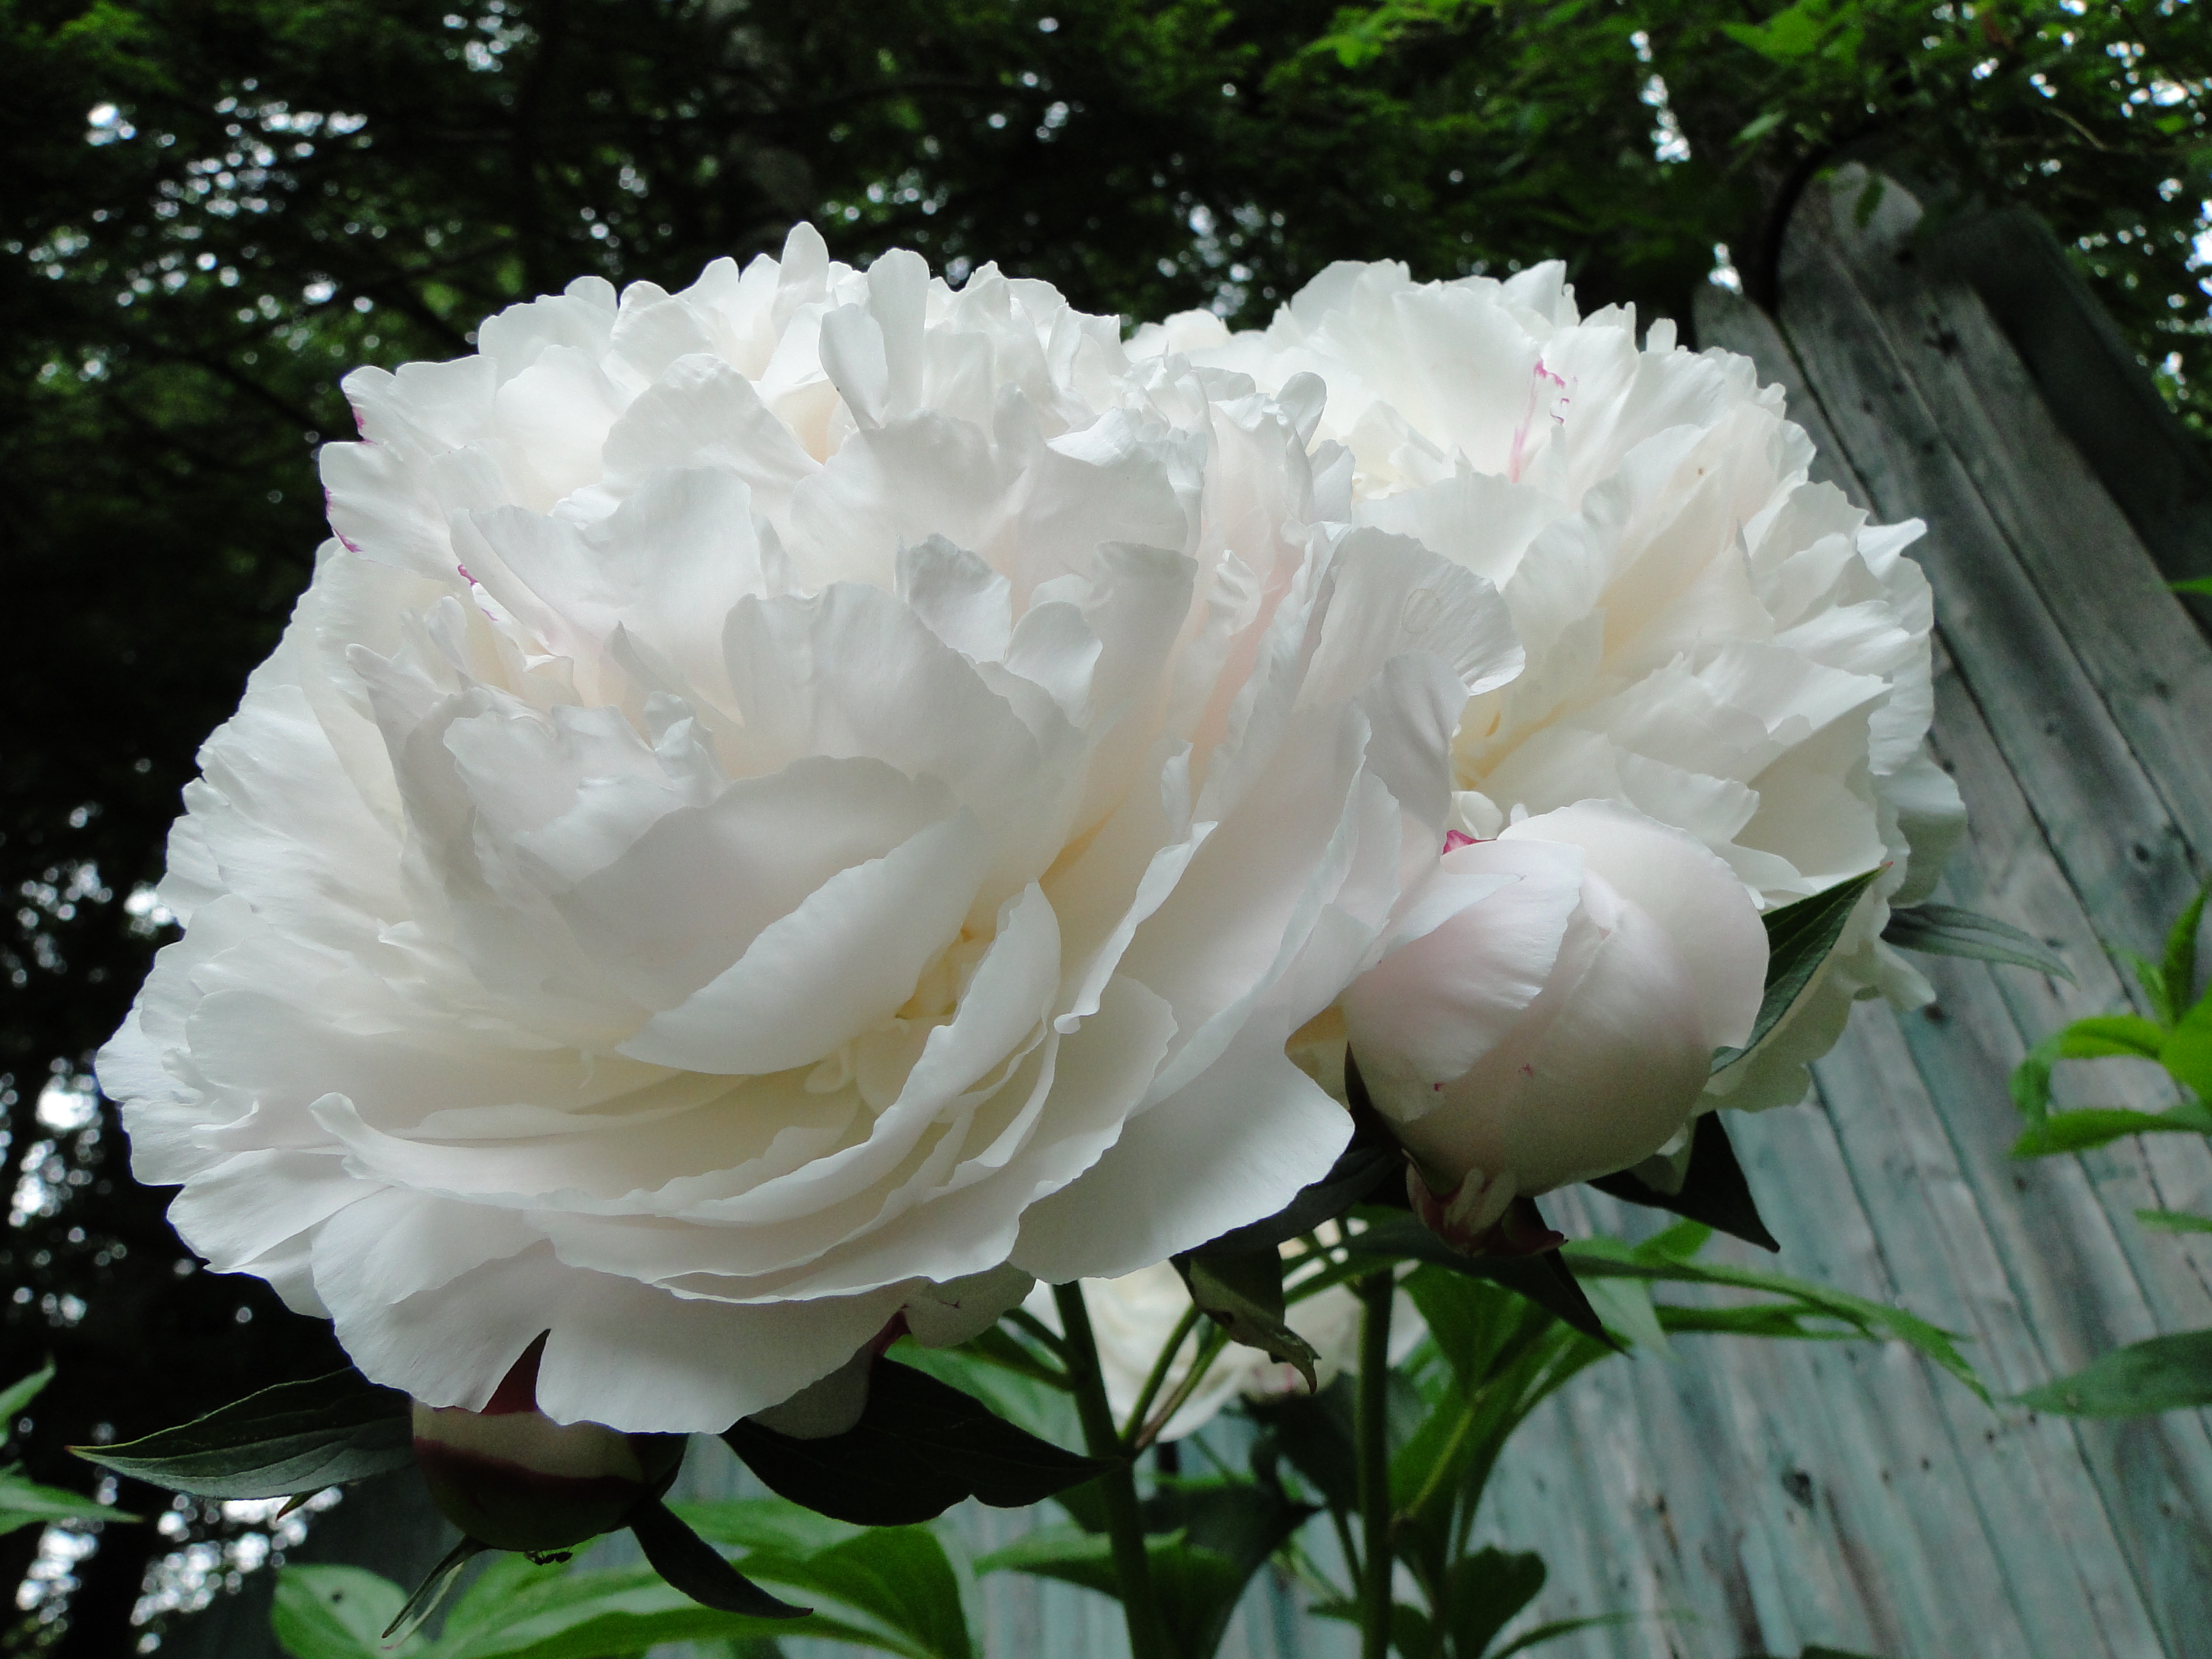
When I first moved to Florida back in 1979, one flowering shrub I missed was my favorite – the Peony. My grandmother had them in her Massachusetts garden around her old white farmhouse, and the huge blooms impressed me as a child. The fluffiness of the blooms were like none I’d seen, and the peony instantly became my favorite flower.
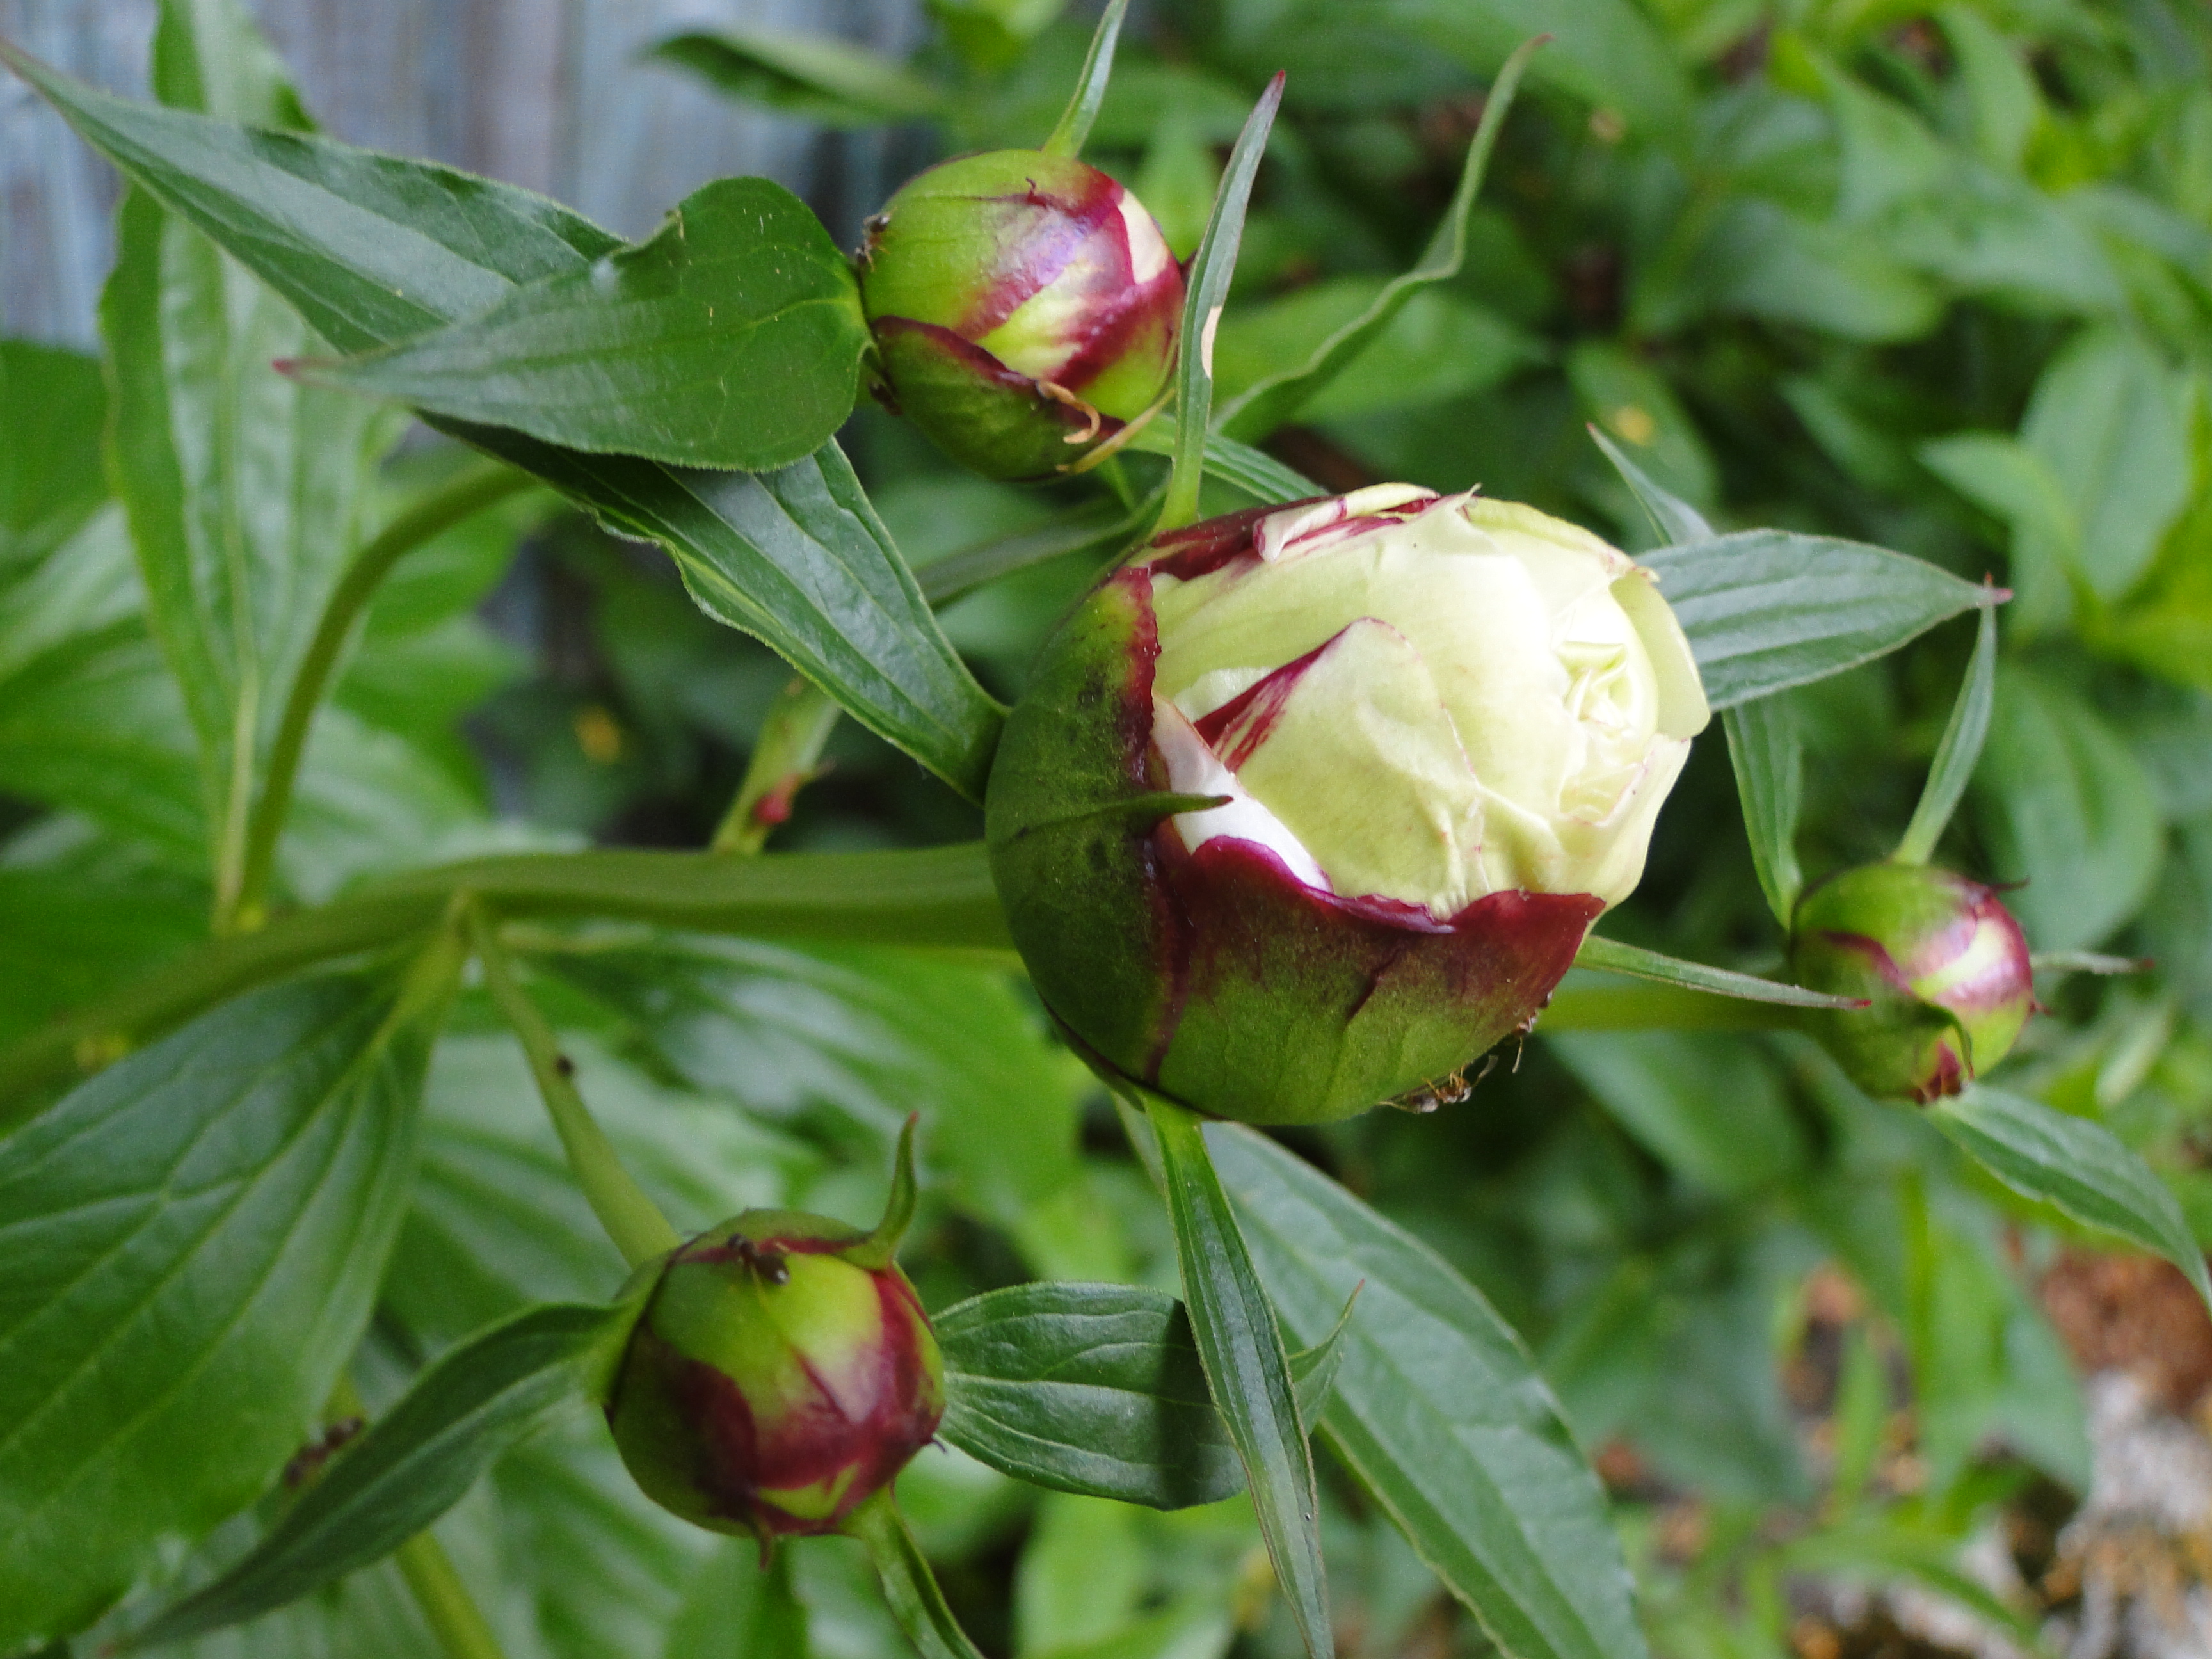
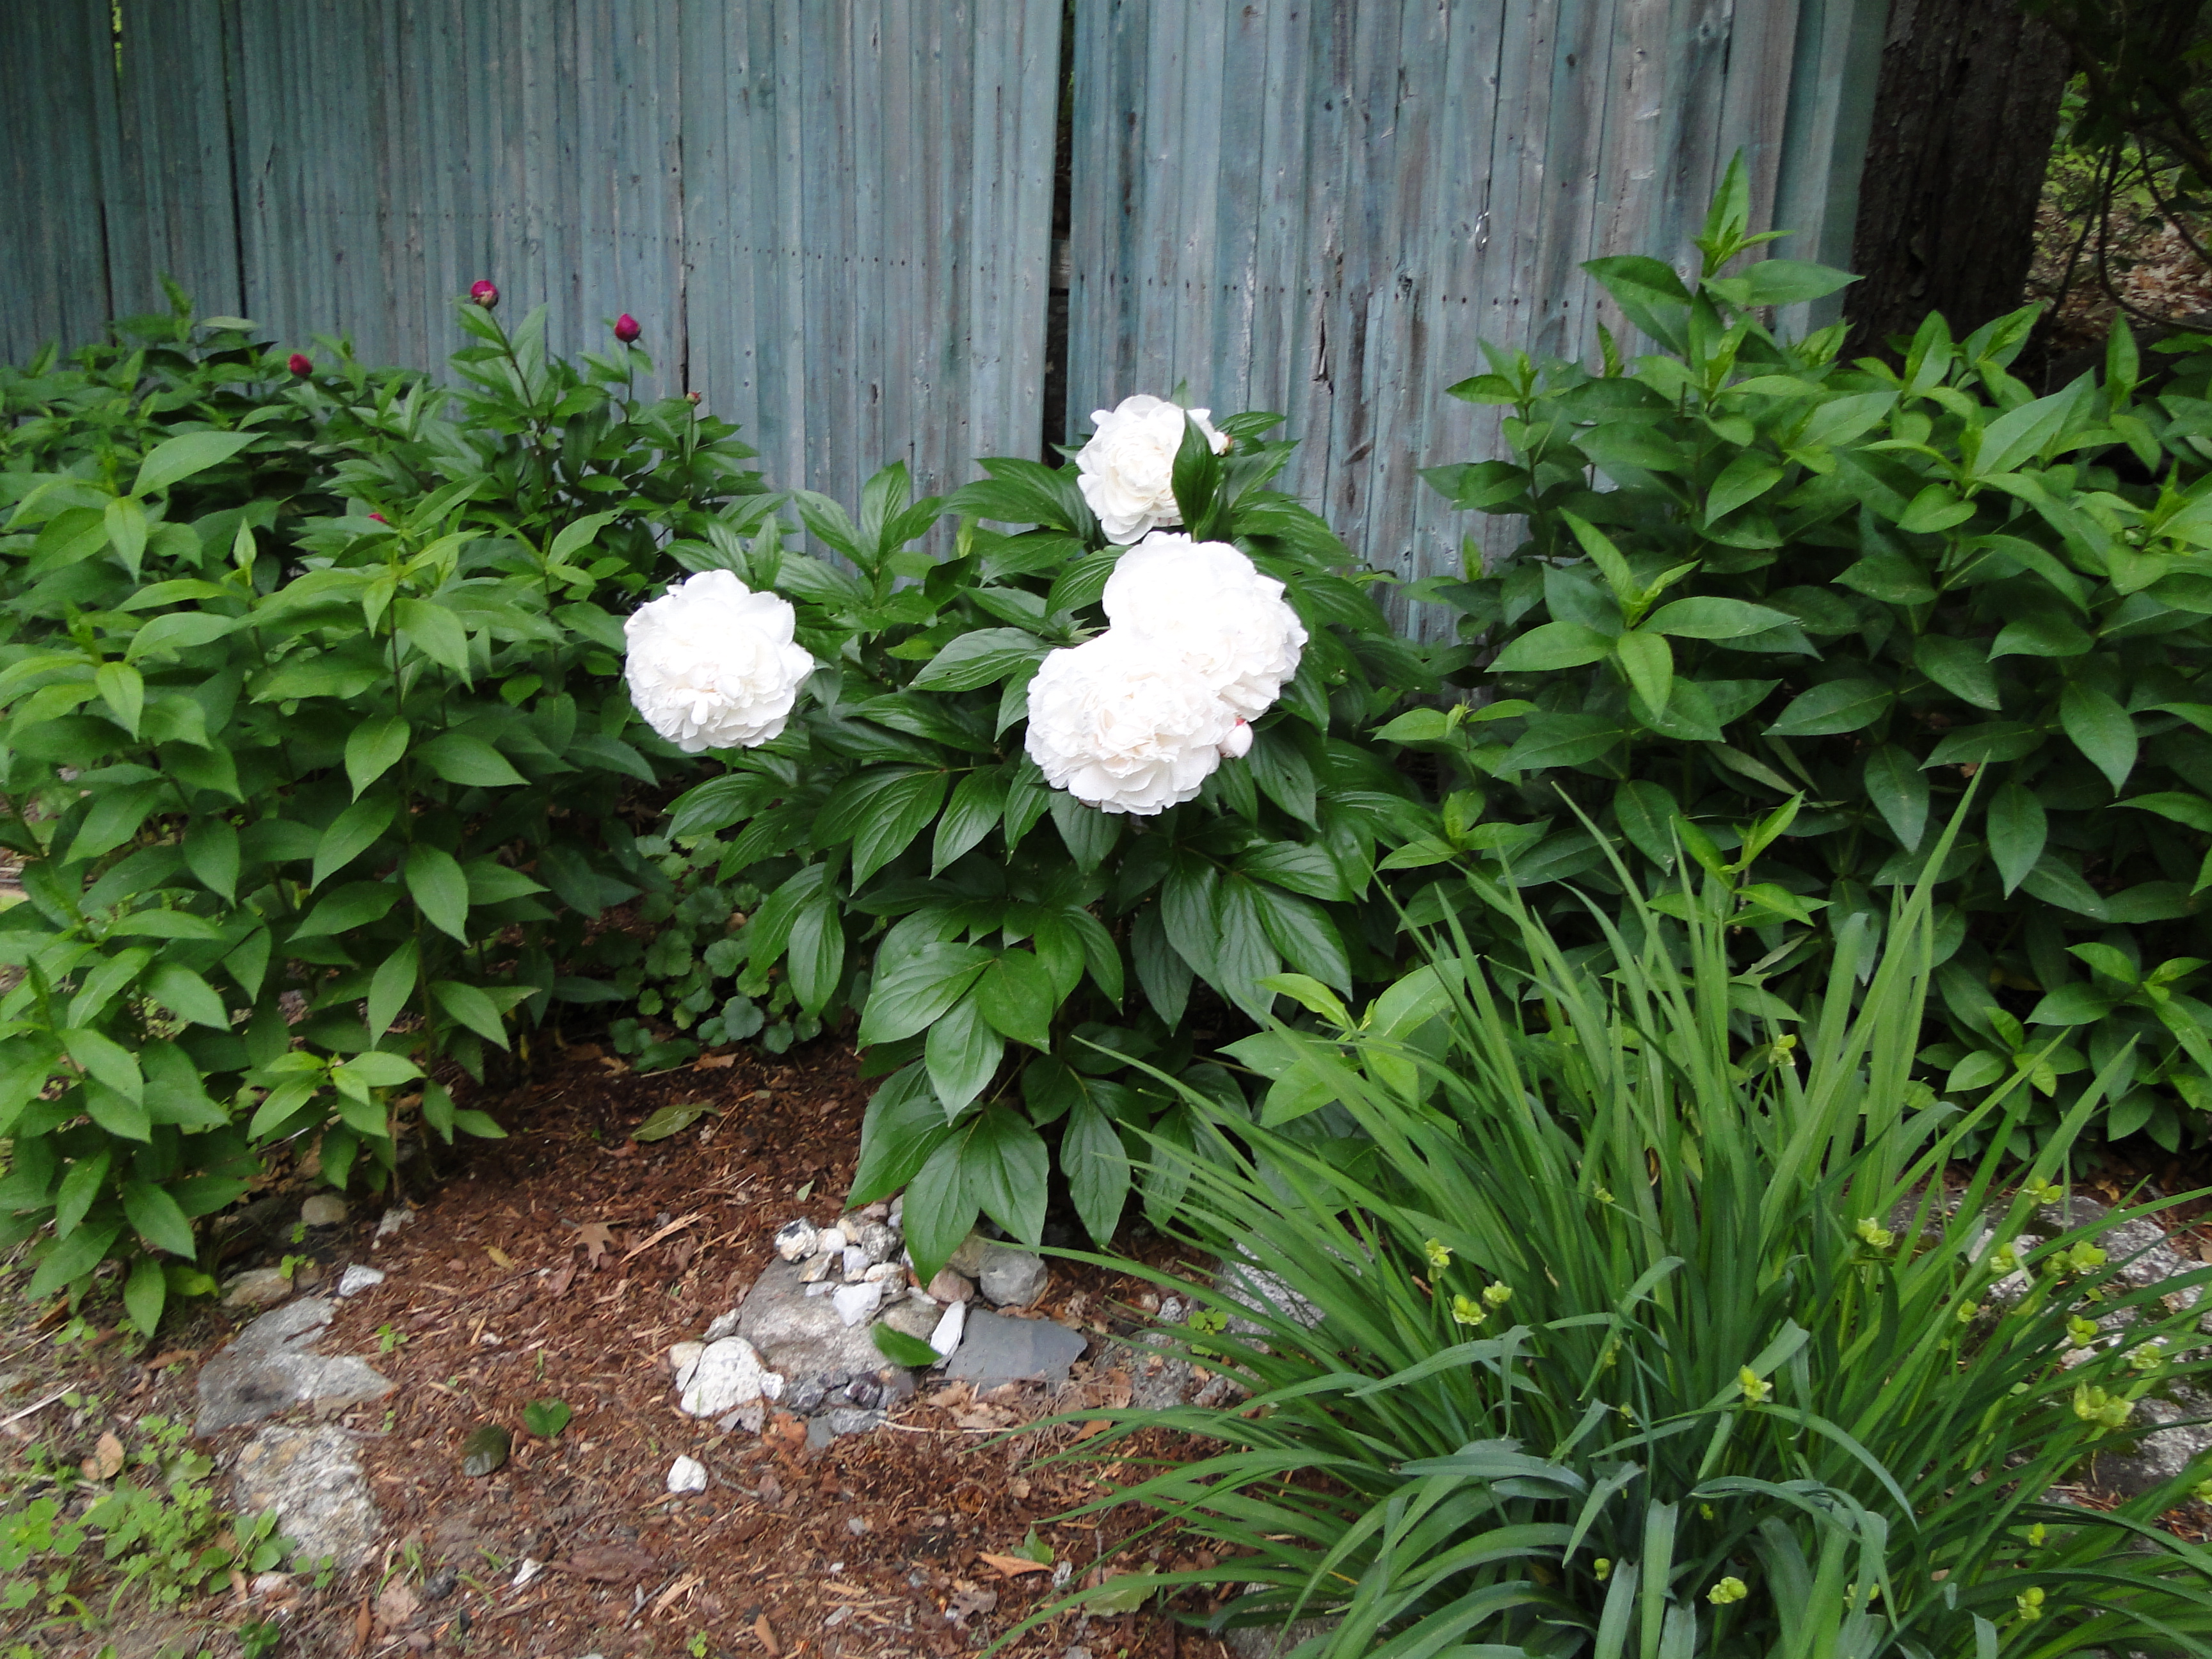
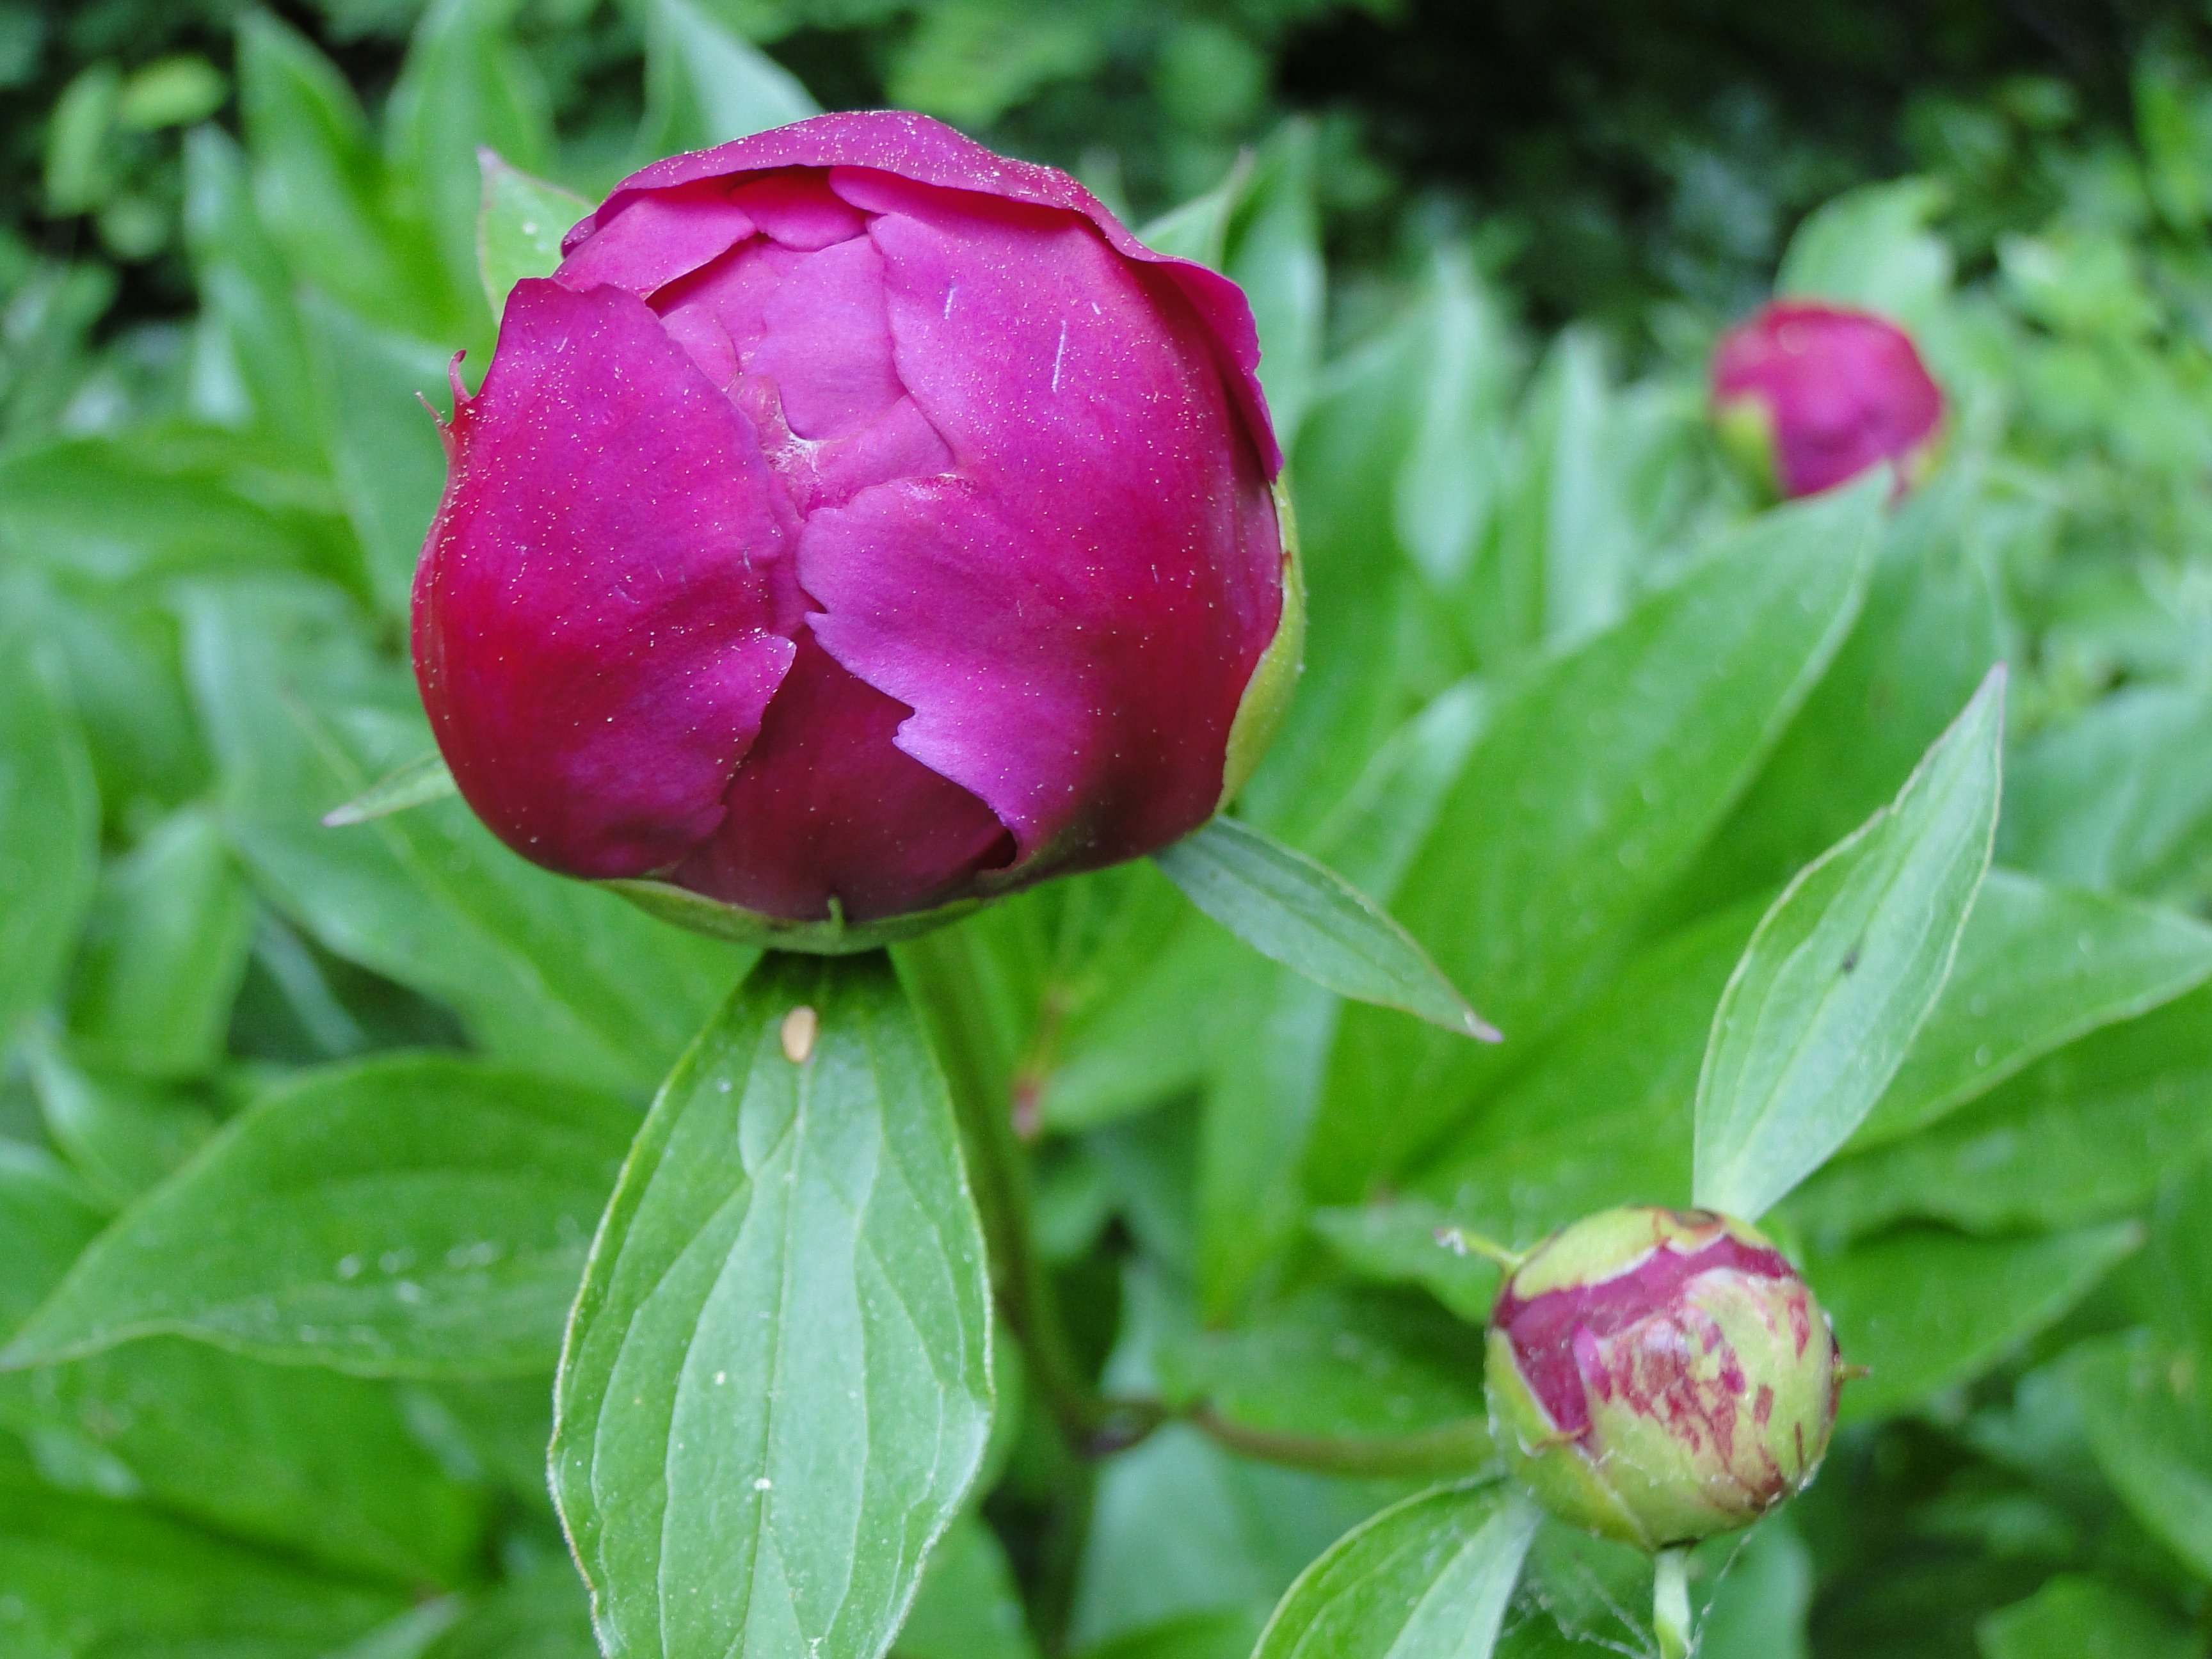
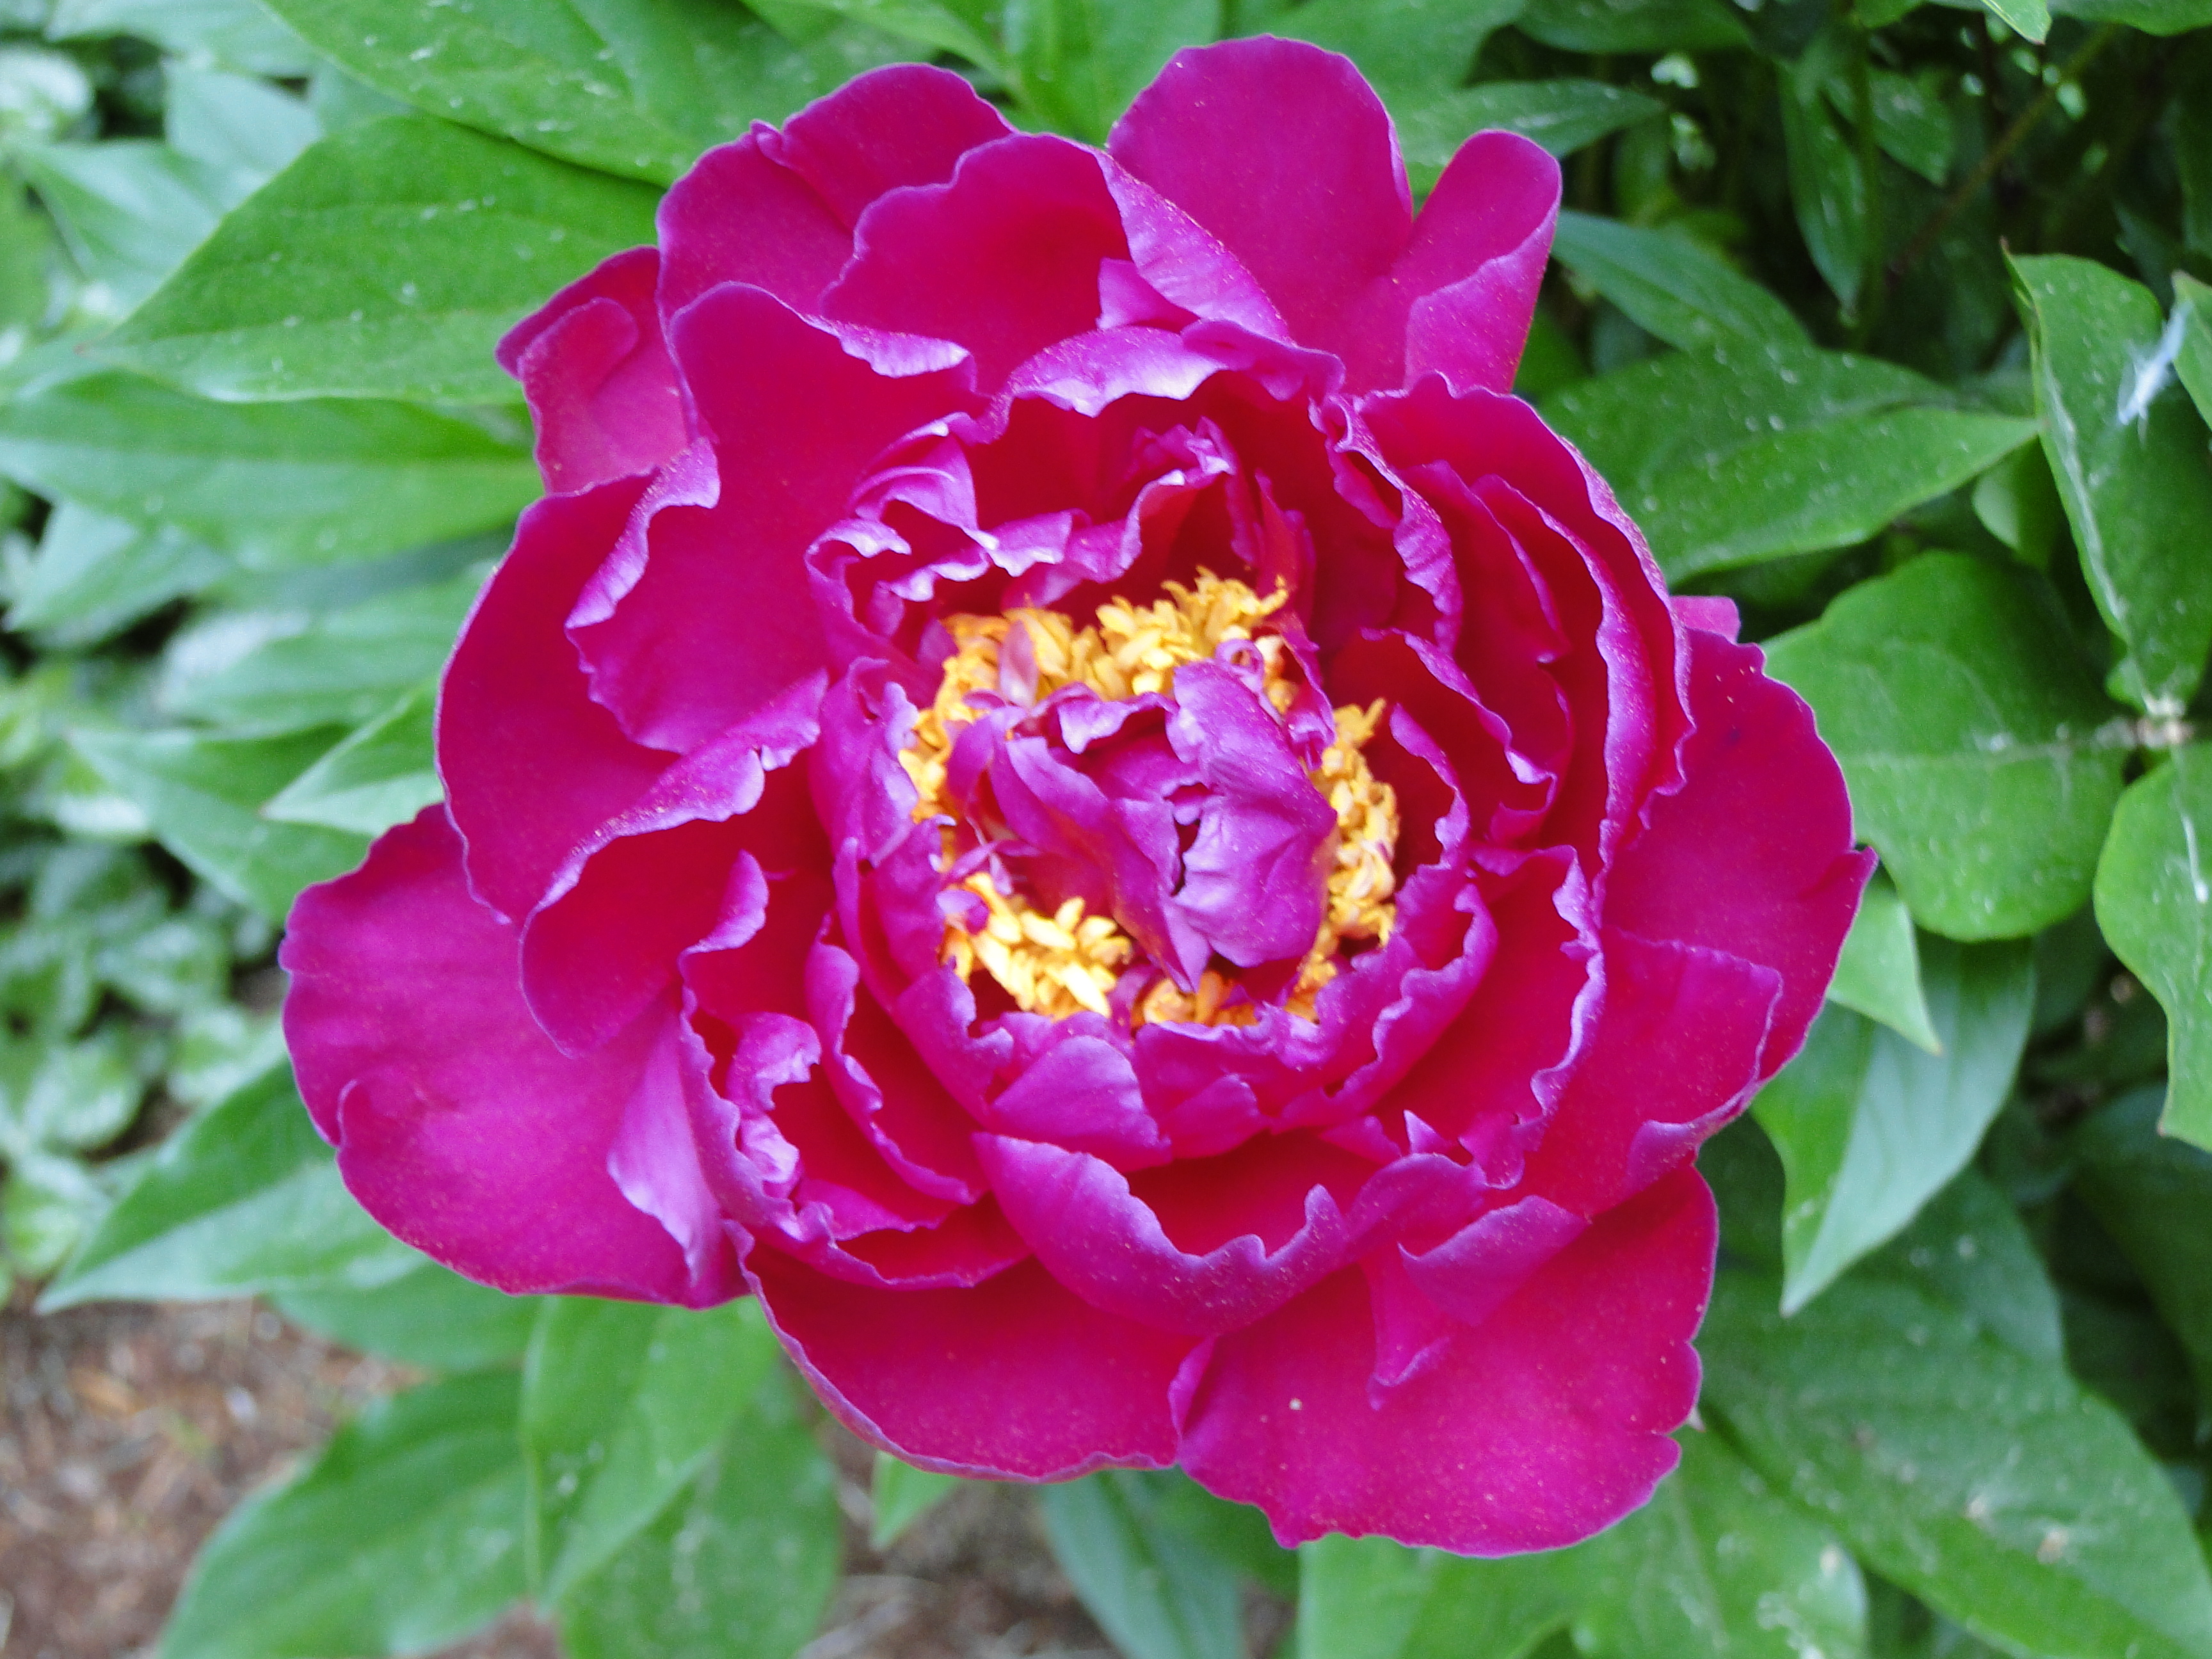
This page contains my photos of the peonies I planted and tended for the five years I lived in my New Hampshire house. They bloomed in July, so I thought I’d treat myself to a trip back in time, when I could walk into my yard and see these beautiful blooms. I wonder if the new homeowners are enjoying them today.
I live in Florida for 27 years, without growing any peonies in my landscape. I had everything else a southern gardener could grow including a white and yellow jasmine along my fence.
Camellias of all colors grew under the shade of the big live oaks in my 2.5 acre yard. I had a magnolia tree, orange tree, gardenias, hibiscus, crotons, and bougainvillea, lots of crepe myrtle, a stag horn fern, and more that I can’t remember now. But peonies don’t grow in the deep south.
I really missed seeing peony flowers, and when I moved back to New England in 2005, I couldn’t wait to have some growing in my yard. Unfortunately, I ended up not having a yard of my own to plant them in until years later. But once I had my own home, I went out and bought a peony bush. I believe the Sarah Bernhardt (light pink flowering peony) was the first, and I can’t find a picture of that flower in my photos… but that one is my favorite. (I’ll keep looking for a picture!)
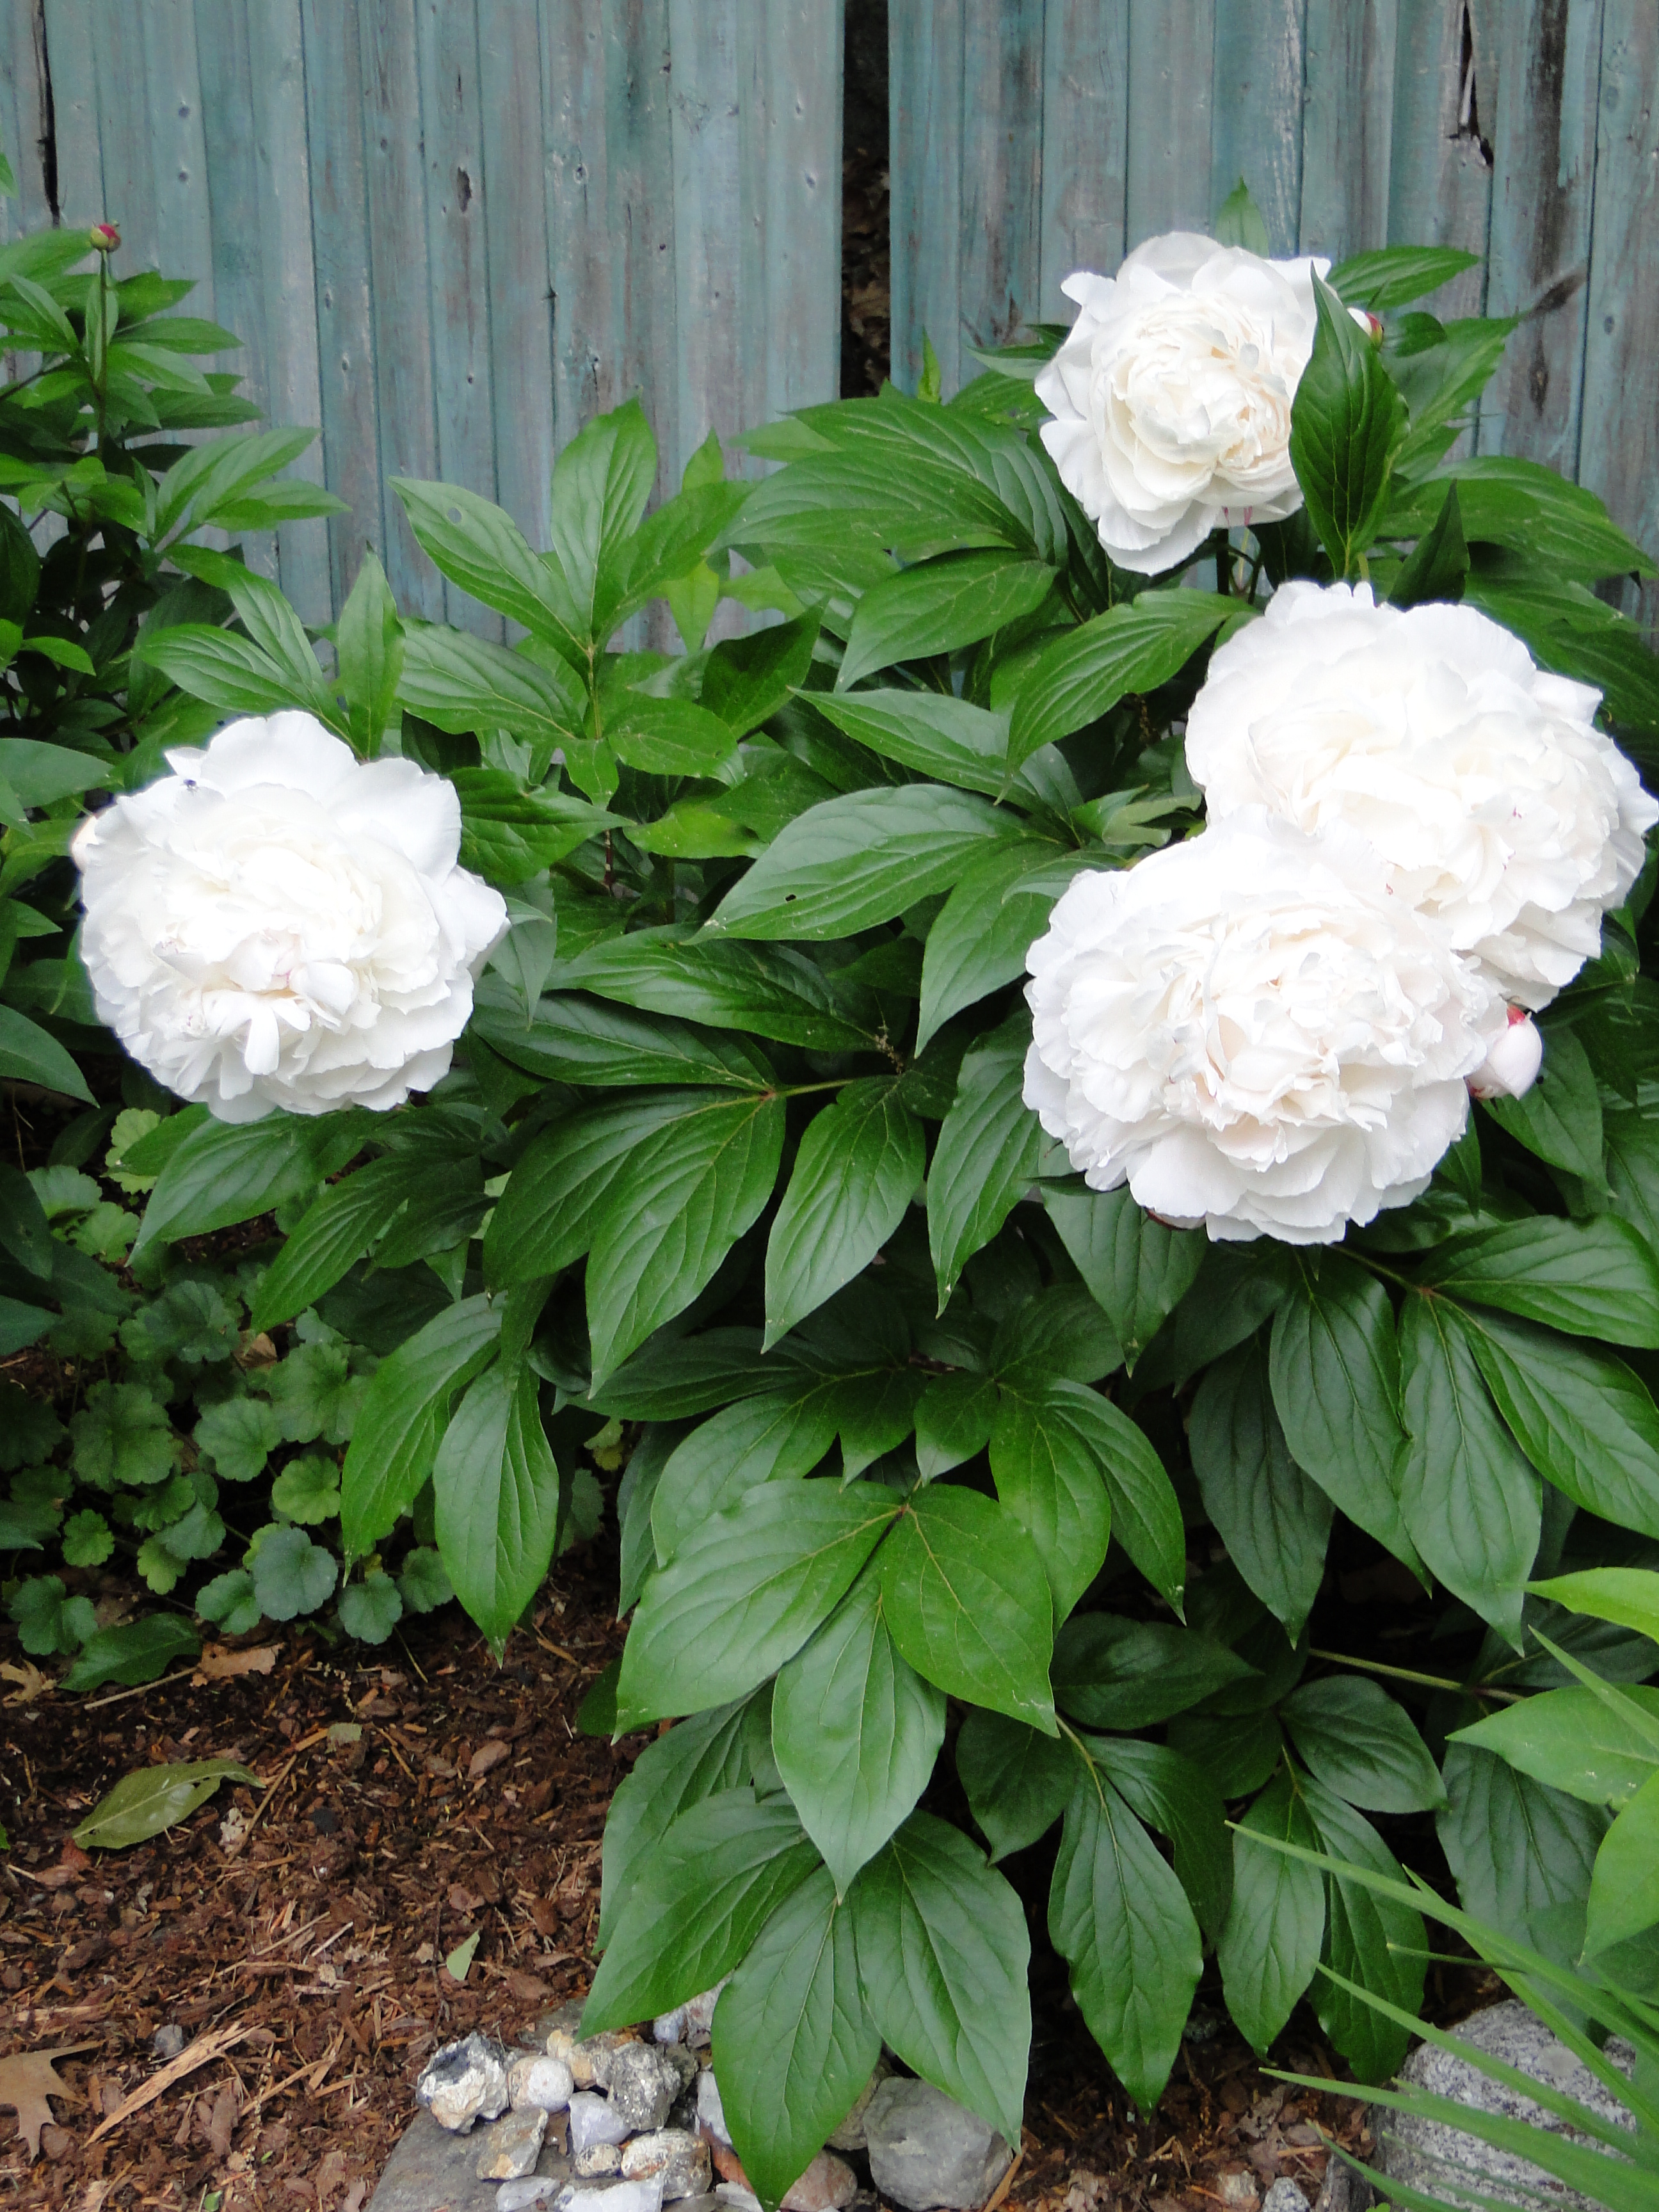
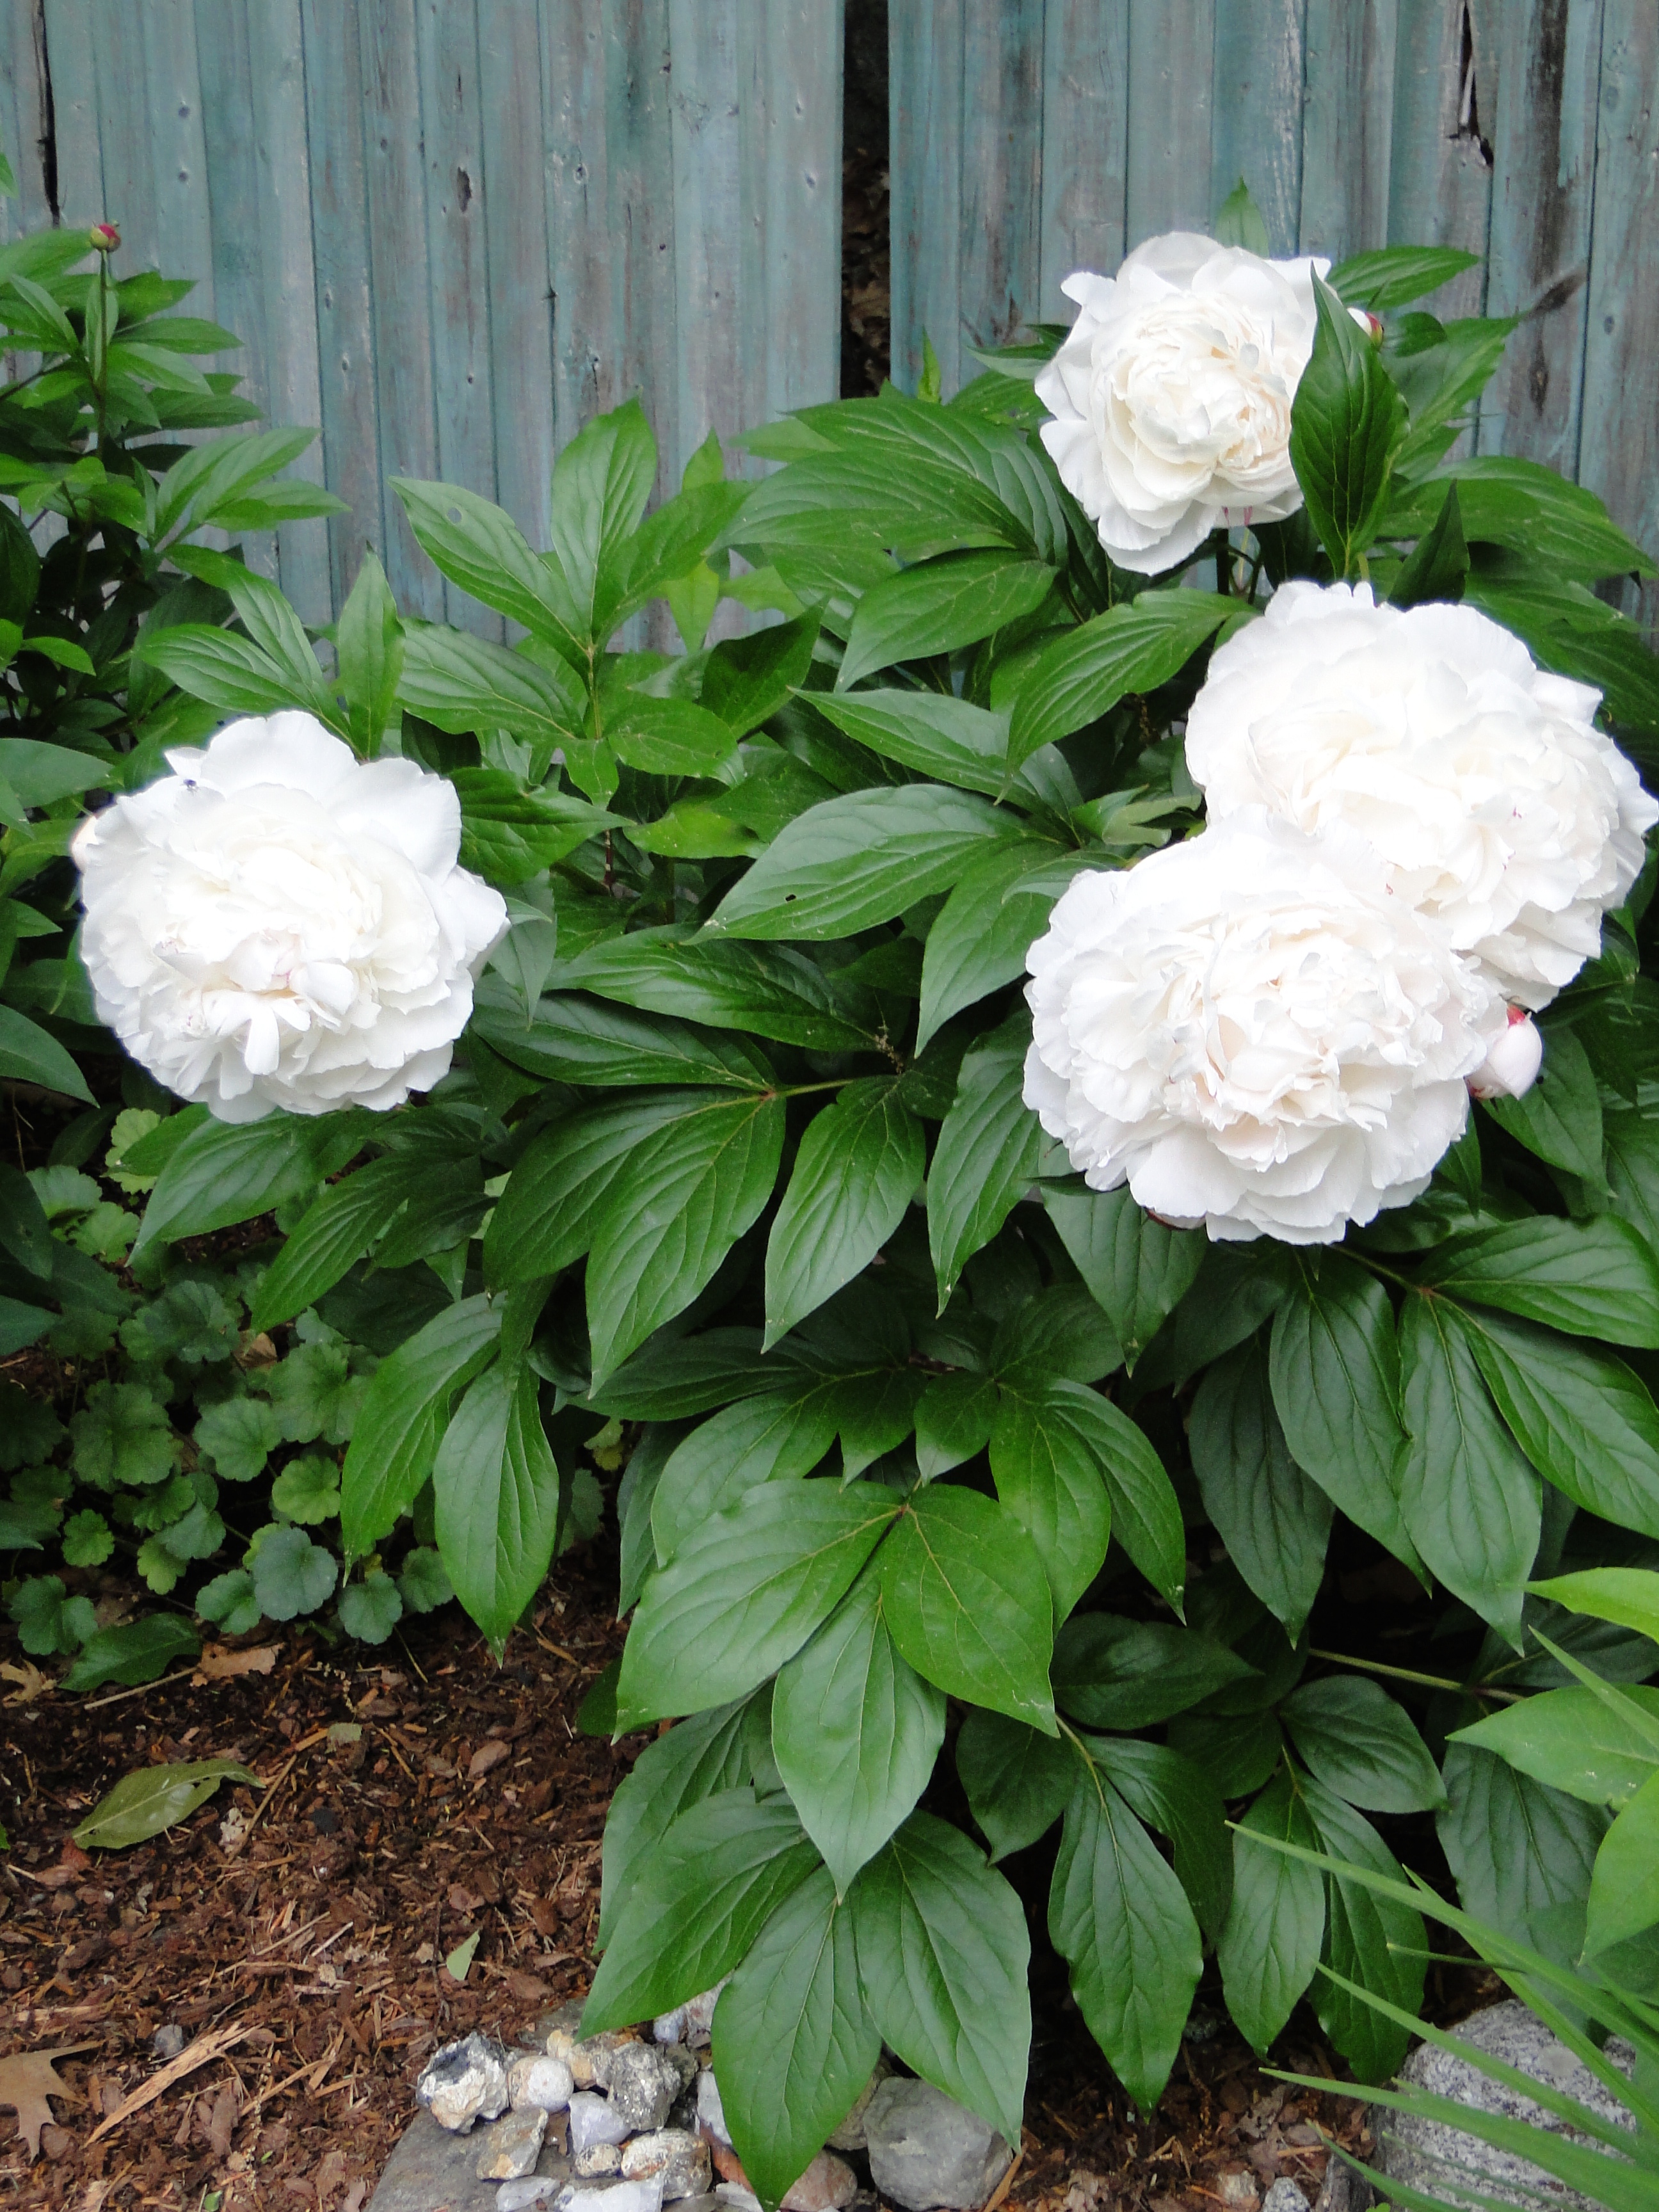
I don’t recall the name of this white flowering Peony. I always kept the name of the plant in the soil beneath the shrub so I could recall the name. I no longer live there, and I’ve forgotten.
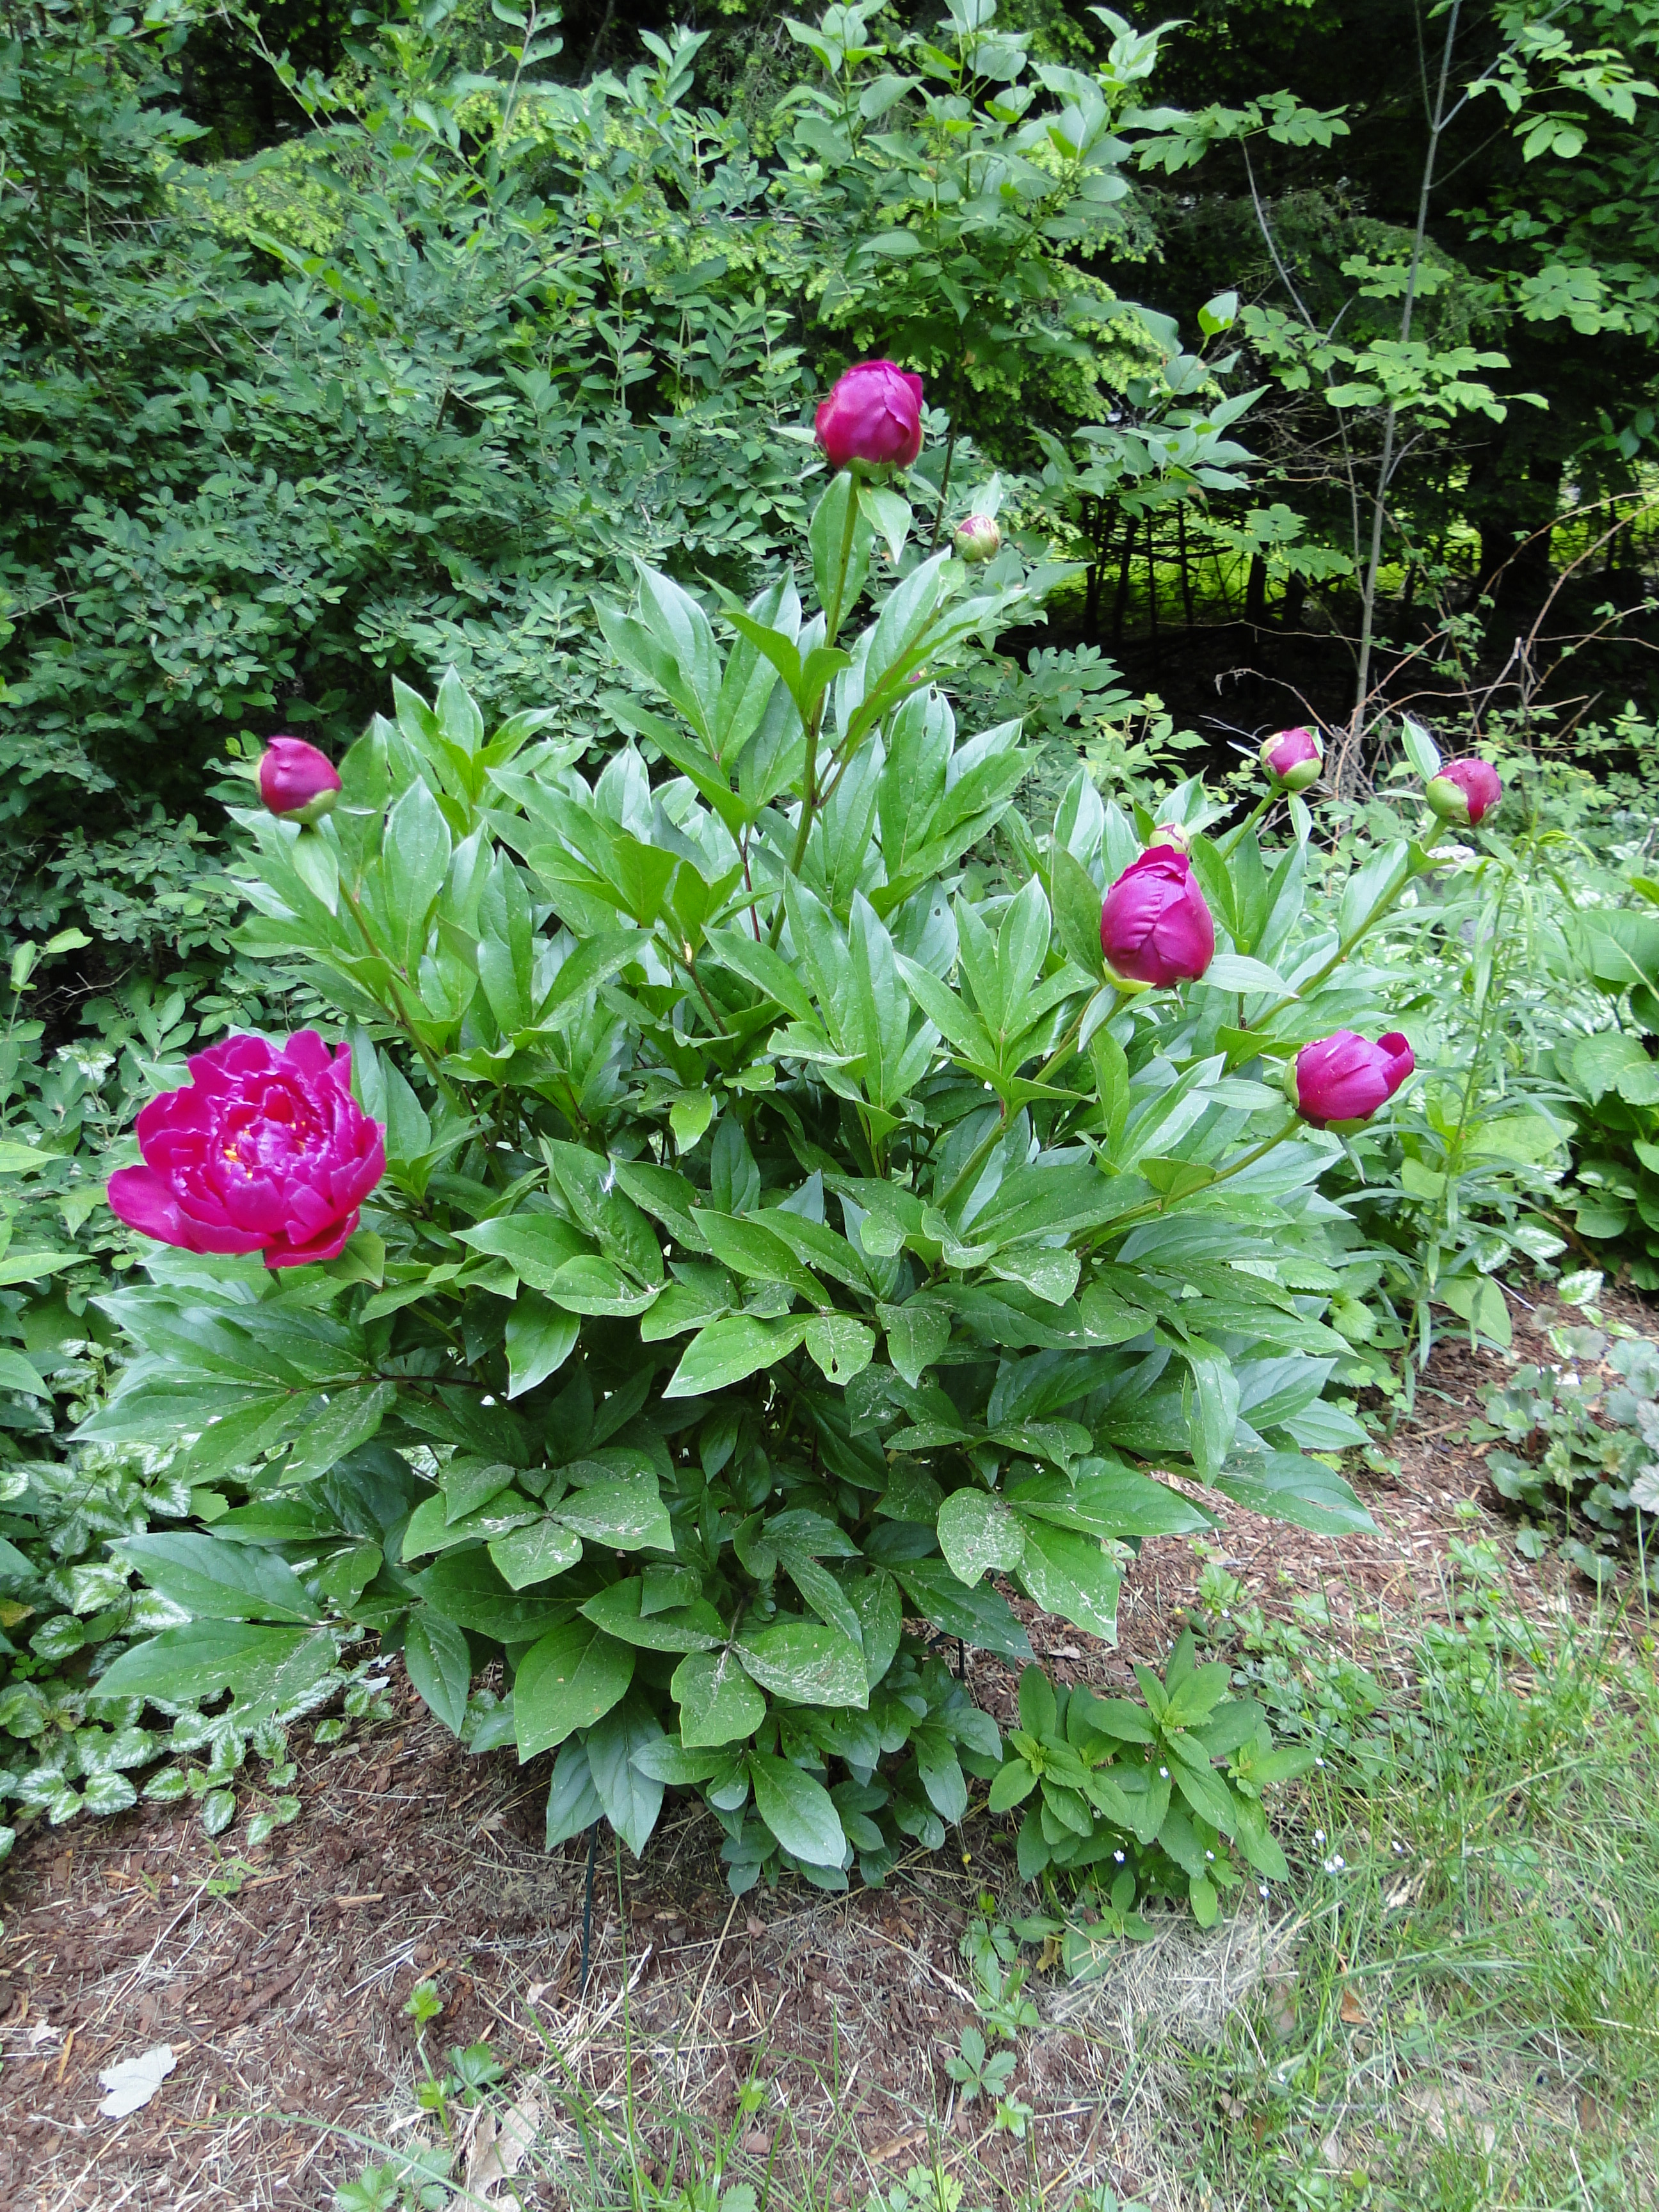
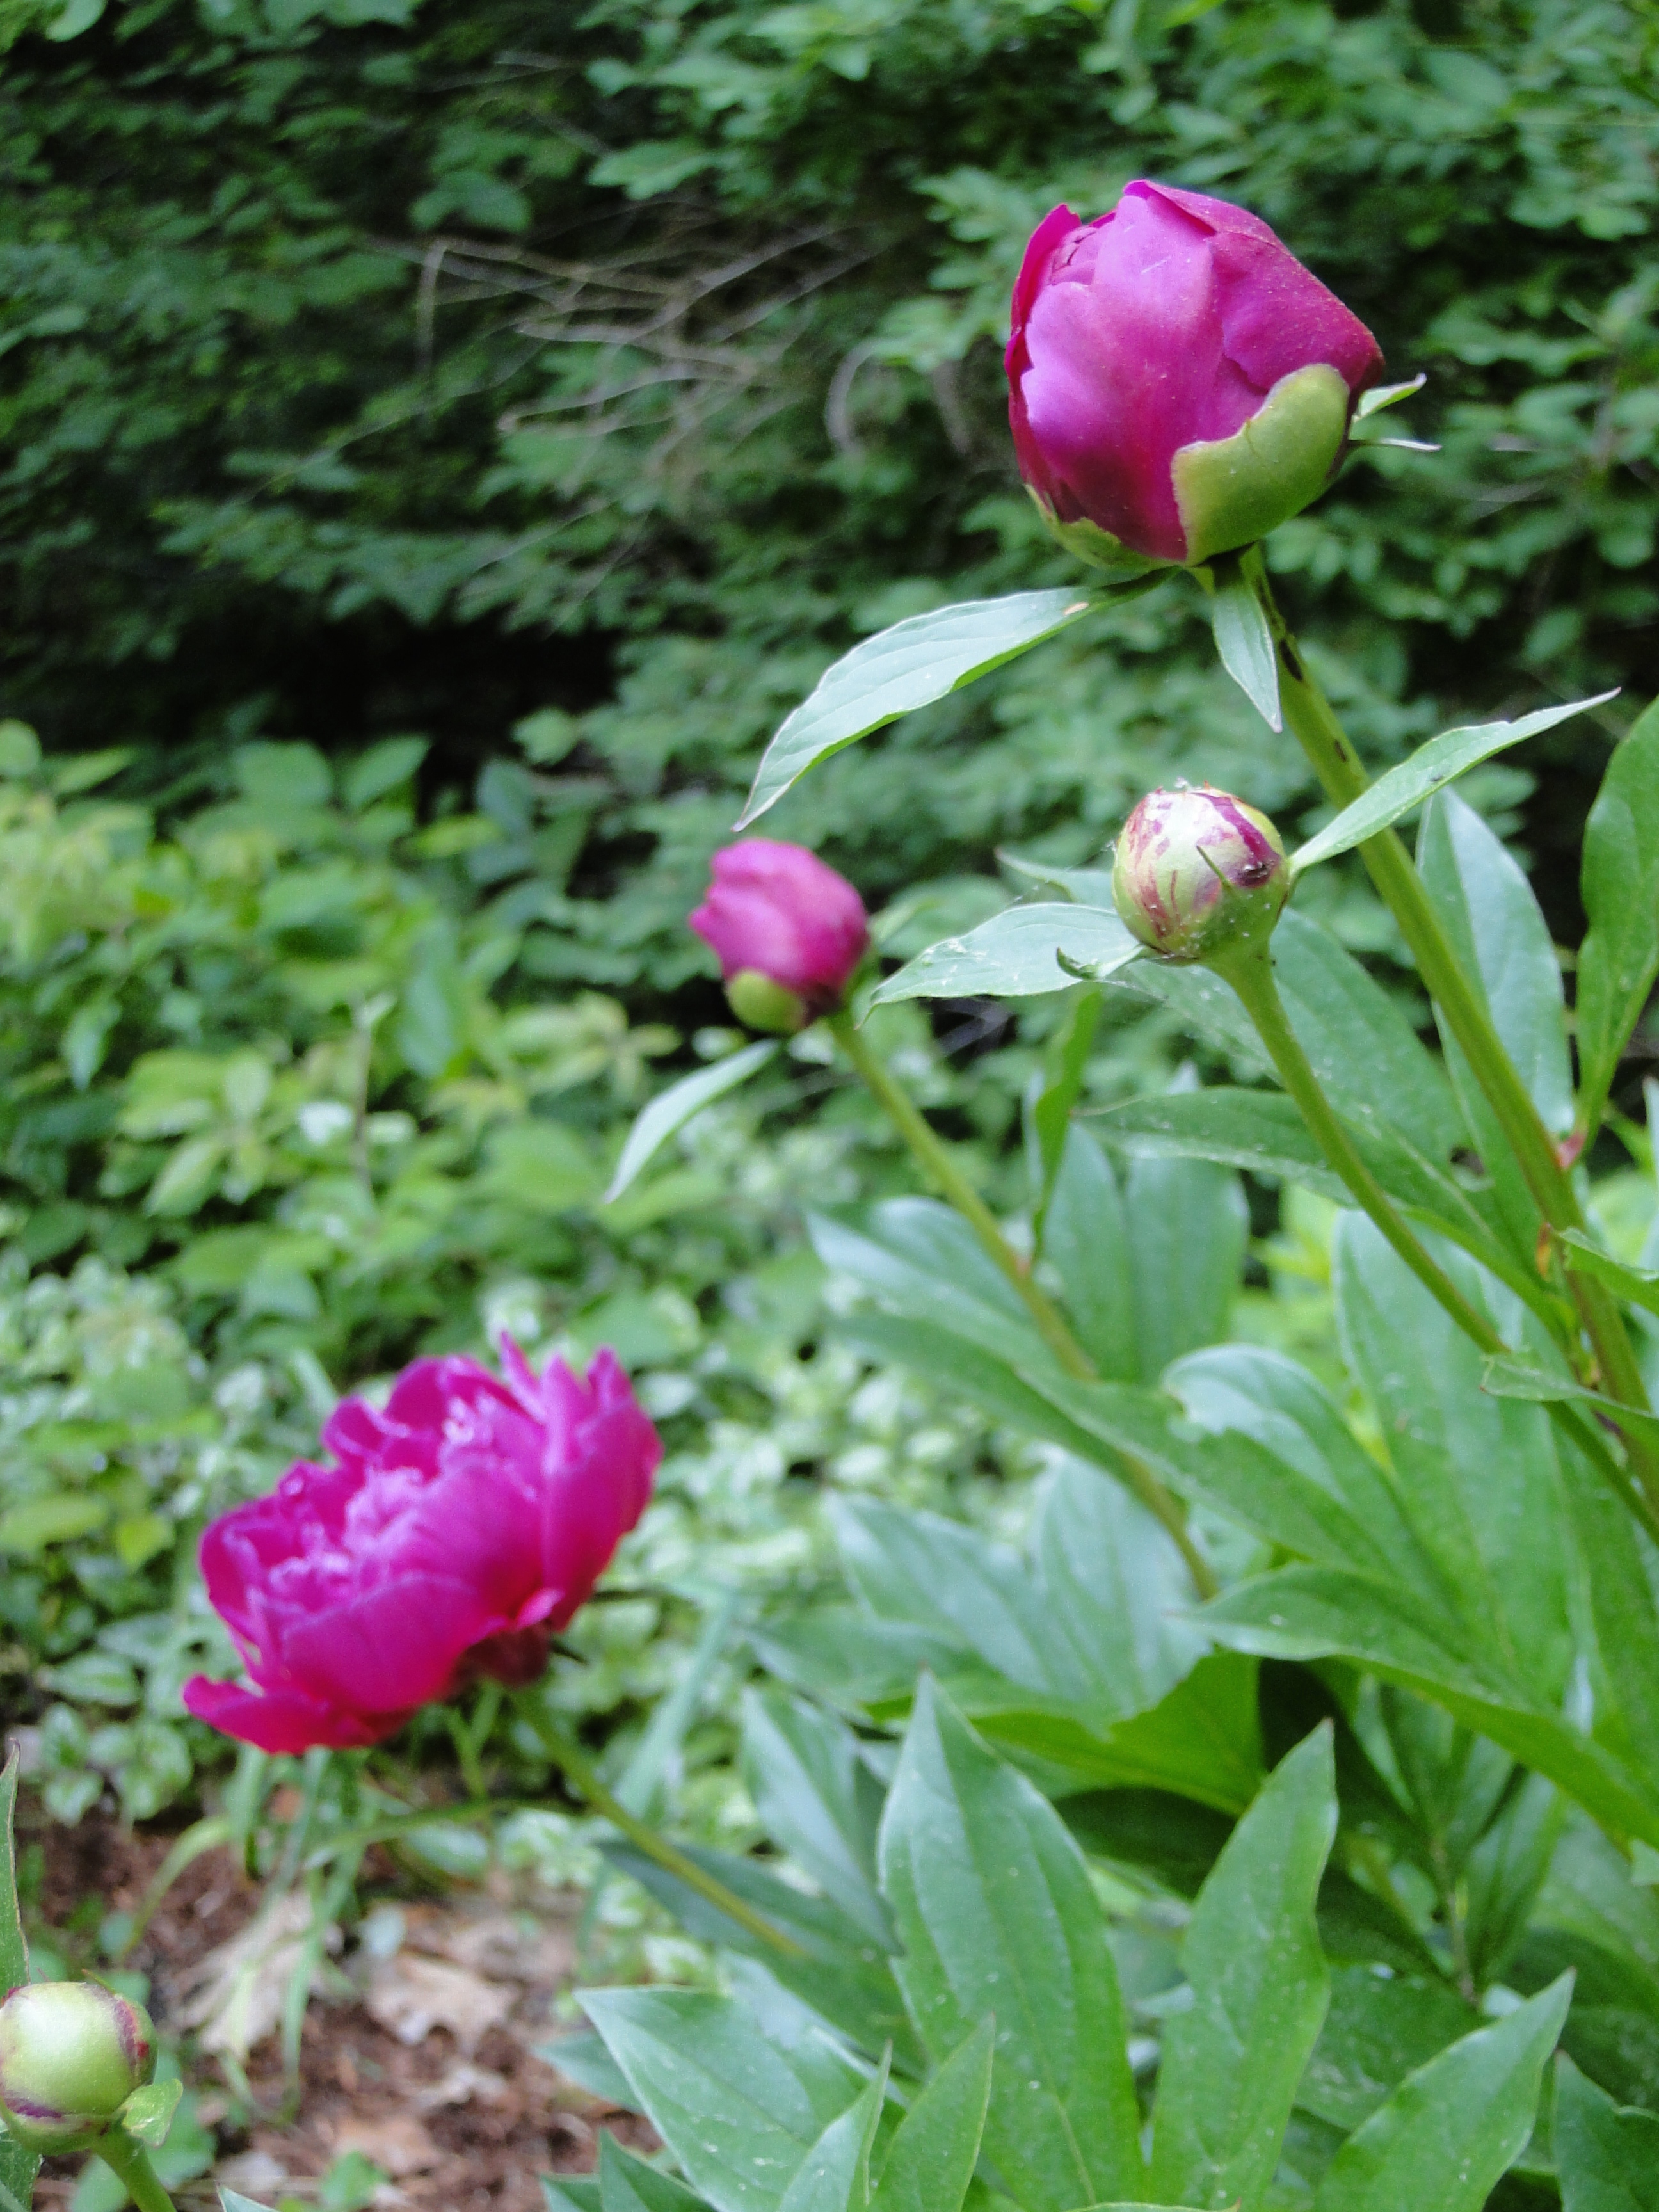
I know that the bright pink flower, with the yellow center is the Karl Rosenfeld. It’s not as fluffy as the other types I grew, but it was unique.
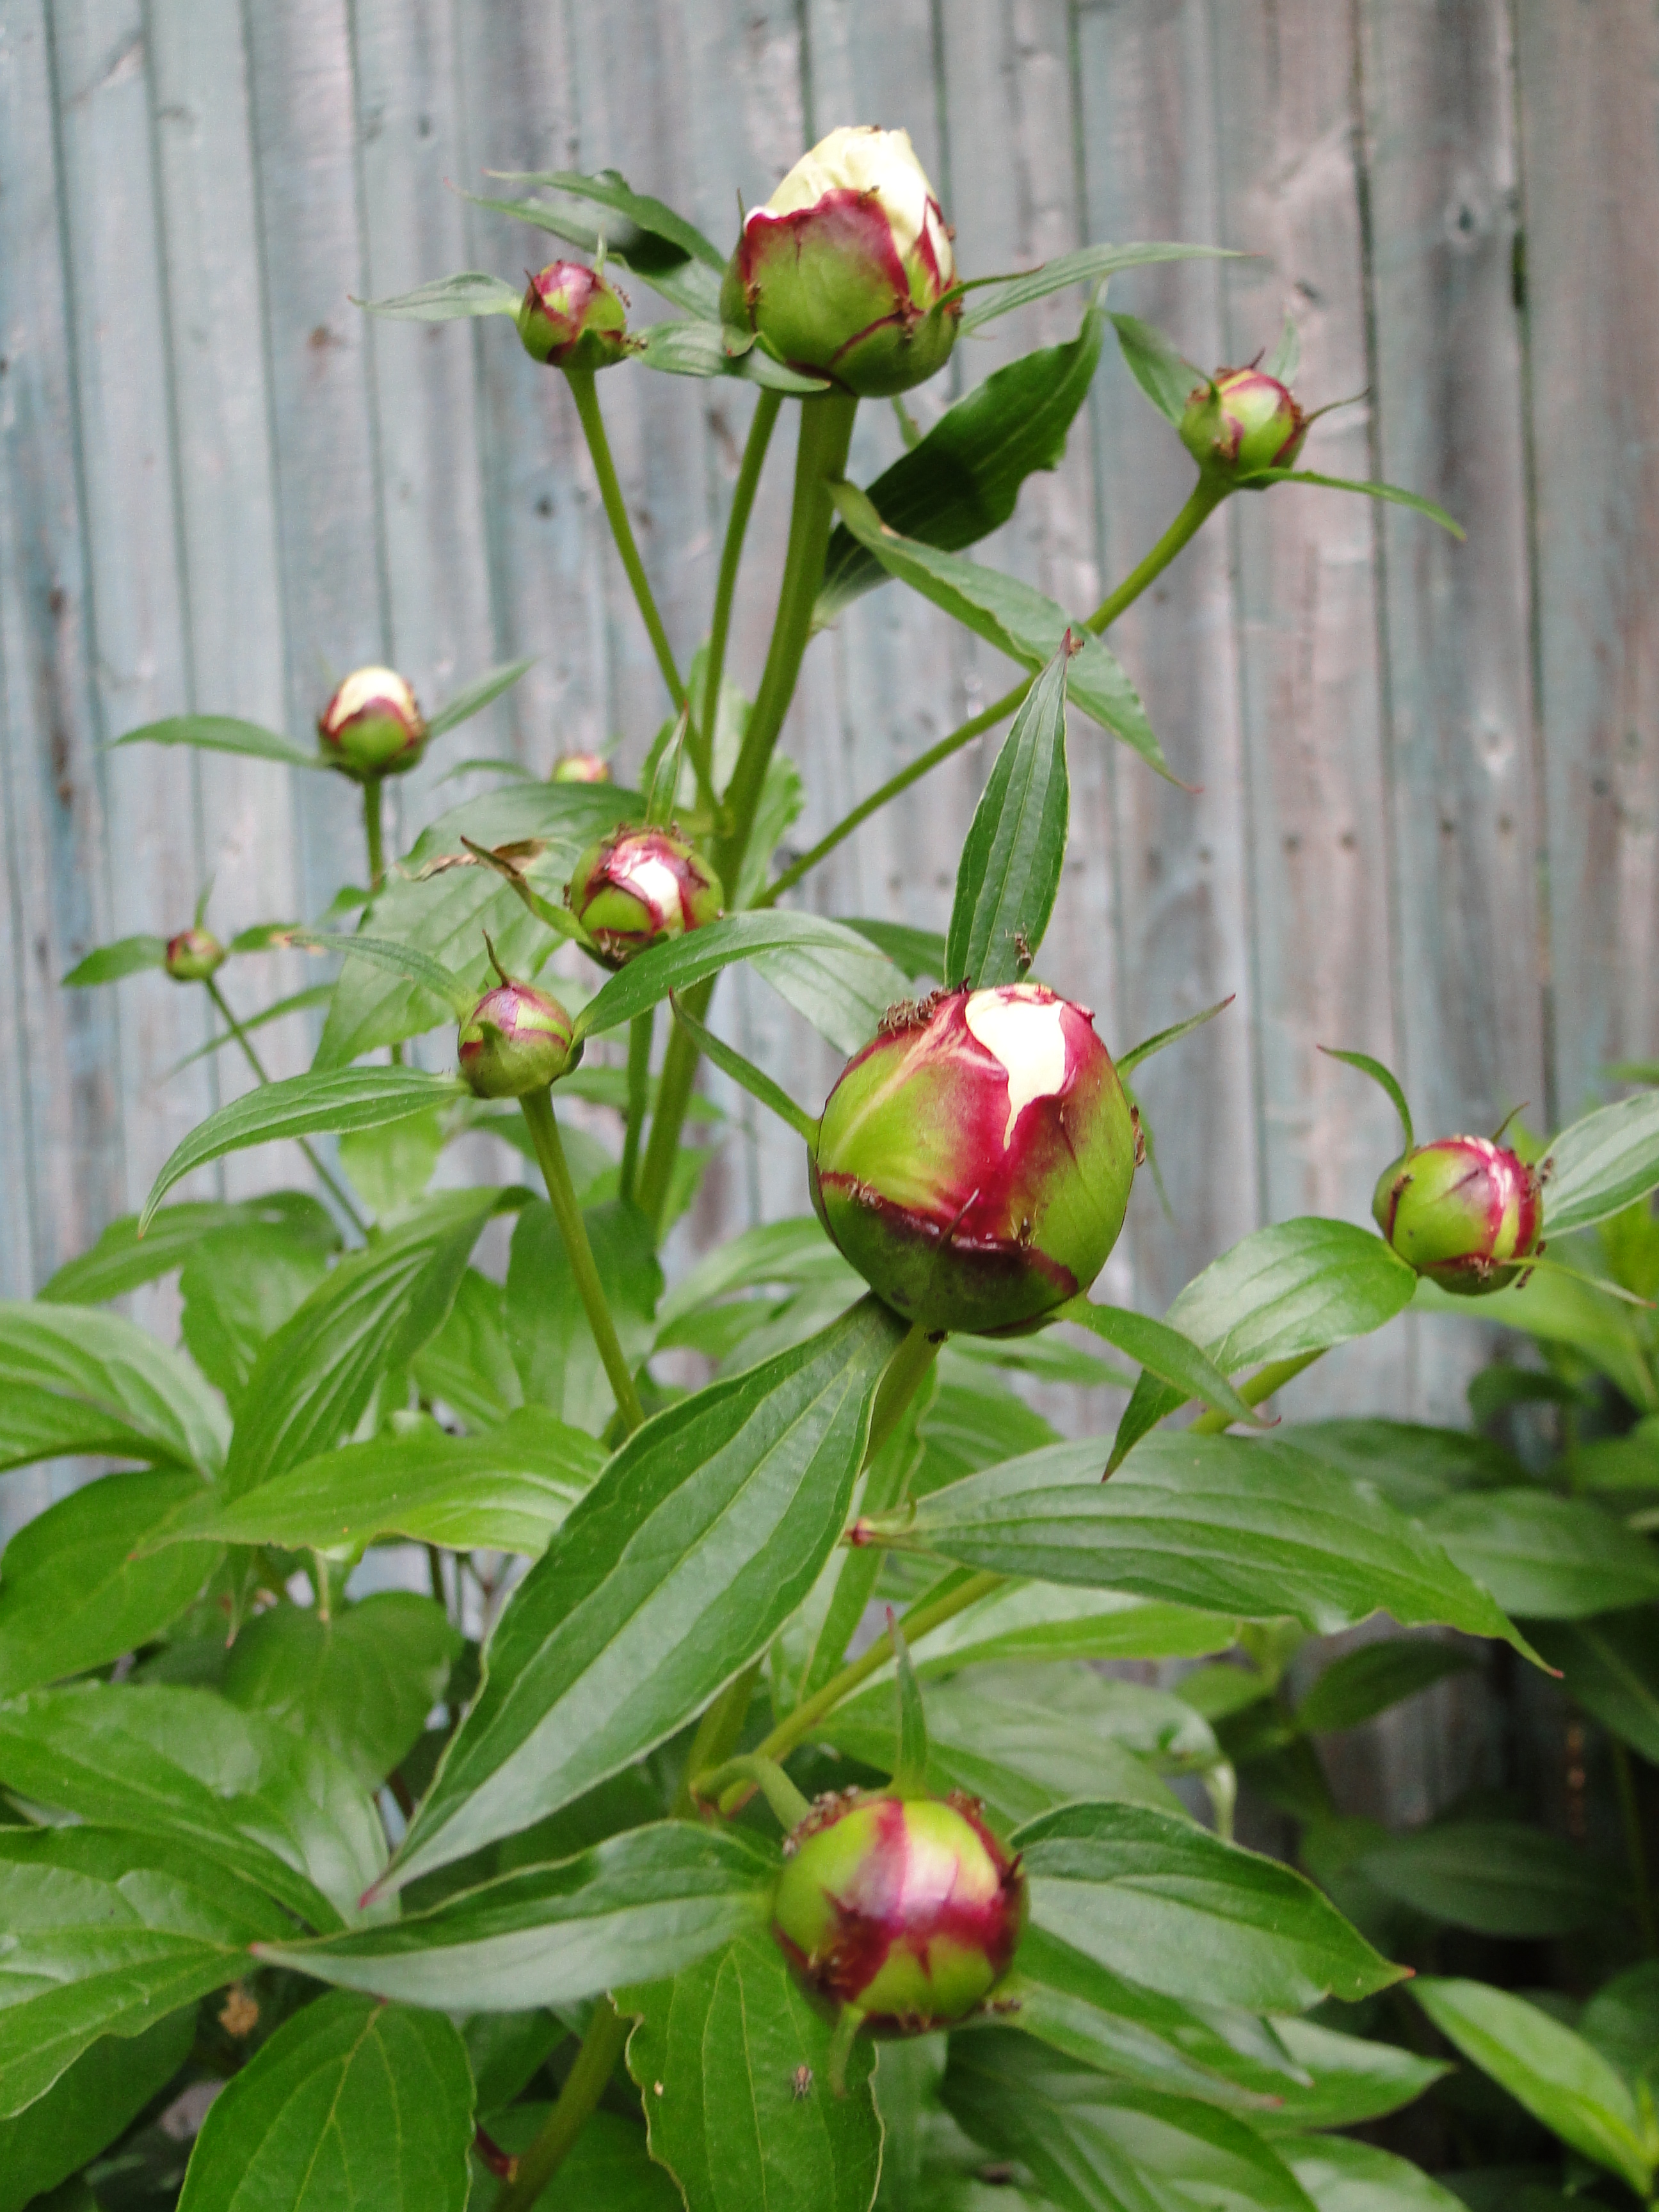
Peony flowers don’t last long. I loved to photograph the buds too. If I missed a day or two, and didn’t go outside (due to weather) I could miss the prime blooming time!
Most of my peonies – 3 plants – grew along an old wooden fence near the driveway. The Karl Rosenfeld was planted out back. The front gardens, near the house got too much sun for growing peonies, so I reserved that area for sun-loving shrubs.
Peonies are easy to grow, but some years they don’t get many flowers. When they do bloom, ants can be found crawling all over the flowers. Usually a cage or holder of some kind is needed to keep the stems upright once they flower. It’s best to put the cage up and let the stems grow up through.
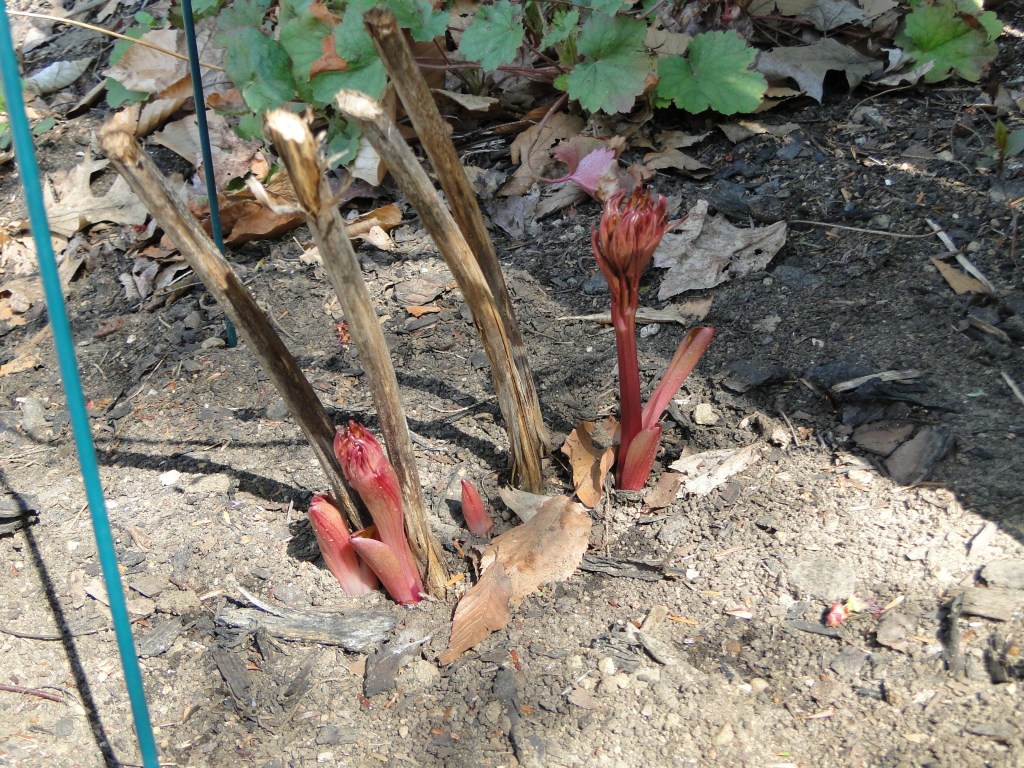
Viewing a sprouting peony in Spring, was just what I needed after a long cold winter! Here they come….
It’s easy to start new croton plants from cuttings.
Finding plants that will propagate easily has always been a goal of mine. Starting new crotons from old plants is easy. In fact it’s easier than propagating most things I’ve tried. Cut the stem, put cuttings in water and wait a few weeks. More detailed explanation below.
It is possible to propagate hydrangeas, but that takes time. It’s worth it, because in the end you have a new, lovely hydrangea bush. In fact my baby hydrangeas grew quite large before I had to move.
But back to the crotons. These plants love sun and heat and can live through a draught. The wilted leaves come back after getting some water. Crotons like well-drained soil, and the sandy soil of Florida helps this plant to love it outdoors. It can even survive the cold nights we sometimes get here in Central Florida.
This first photo below was taken over the winter months, when the leaves are duller in color with more green and dark purple colors. Or maybe this one just needed better care.
Winter Croton
In this second photo, you can see that this plant’s leaves have turned stunning red, orange, yellow and pink from the bright Florida summer sun. I’ve also given it fertilizer and cleaned out the pot a bit. It was full of ferns.
Summer Croton
So, to propagate this croton, I waited until Spring when it began to grow some new leaves. Then I cut off the top of a longer stem, also making the stem long enough to drink from a vase of water. Remove the lower leaves of that cutting, and put it in water.
Bright Orange Leaves of the Croton
You will want the stem to not be touching the bottom of the vase, so find one that leaves it hanging. The new roots will grow out of the bottom of the cut stem. Wait a few weeks and the roots will emerge. Be sure to change the water in the vase daily! Once you see roots, it won’t be long before they are long enough and you can plant the new croton in a pot or the ground. Don’t plant until the roots are at least an inch long.
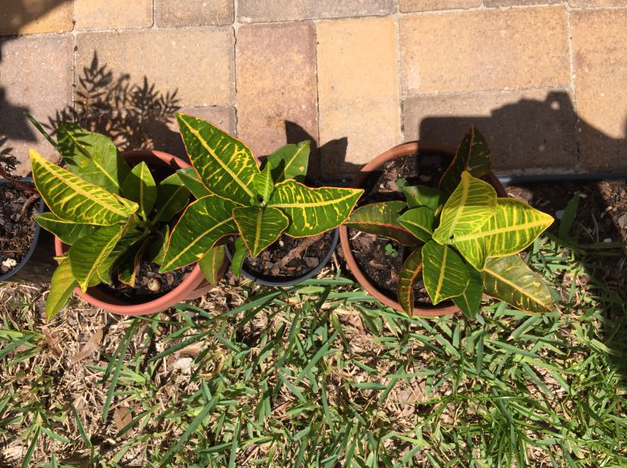
Three New Croton Plants
These are my three new croton plants. Their leaves are not as bright because I took the cuttings before the mother plant’s leaves turned so pretty. But once these new plants are in the ground, in a sunny location, they will turn just as bright.
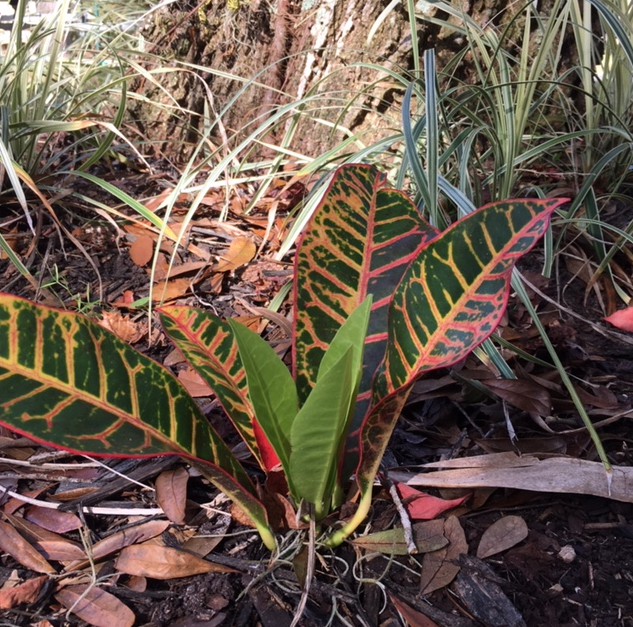
As you can see below, the baby croton is turning color. I need to fertilize these plants for better result, but even without much attention, crotons will grow beautifully.