No Cukes in the Garden, But Making Pickles

Making homemade fermented pickles, but don’t have my own cucumbers to use.

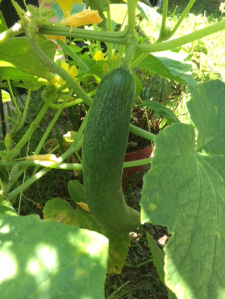
After a while gardeners come to realize where to spend their time so it pays off. Why waste efforts to bring in no food? I feel this way about growing cucumbers.

I’ve planted cukes over and over. I’ve tried growing them early, covering them at night, picking off the worms. And all that might be worth it if I got a nice crop, but that has never happened.

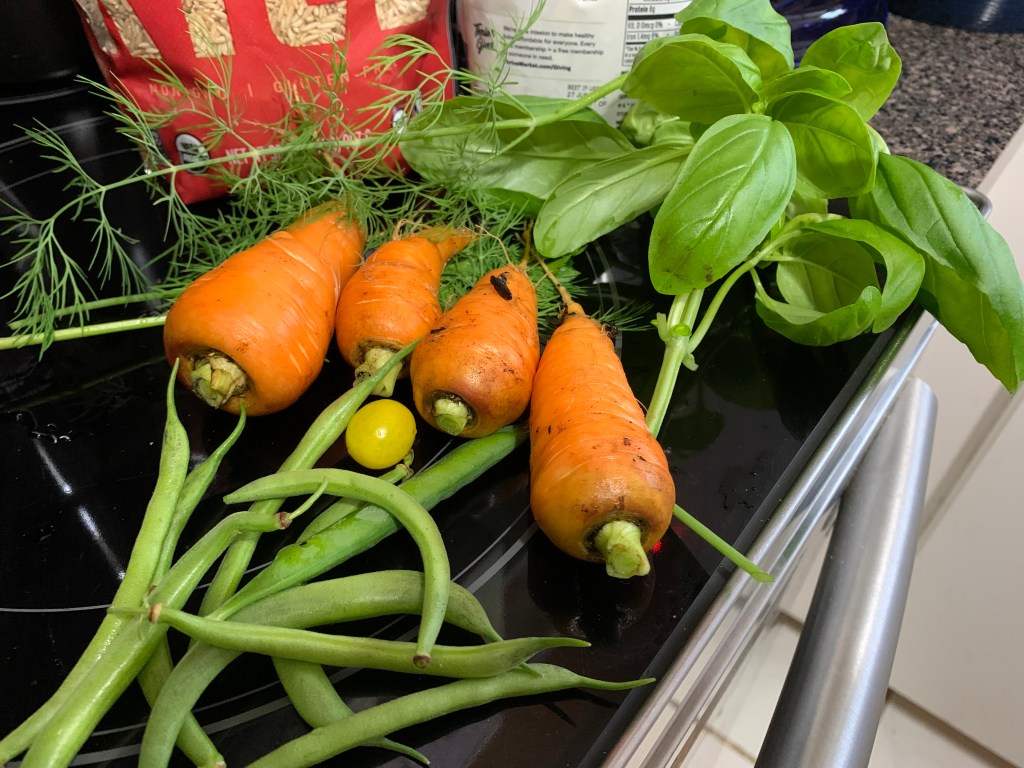
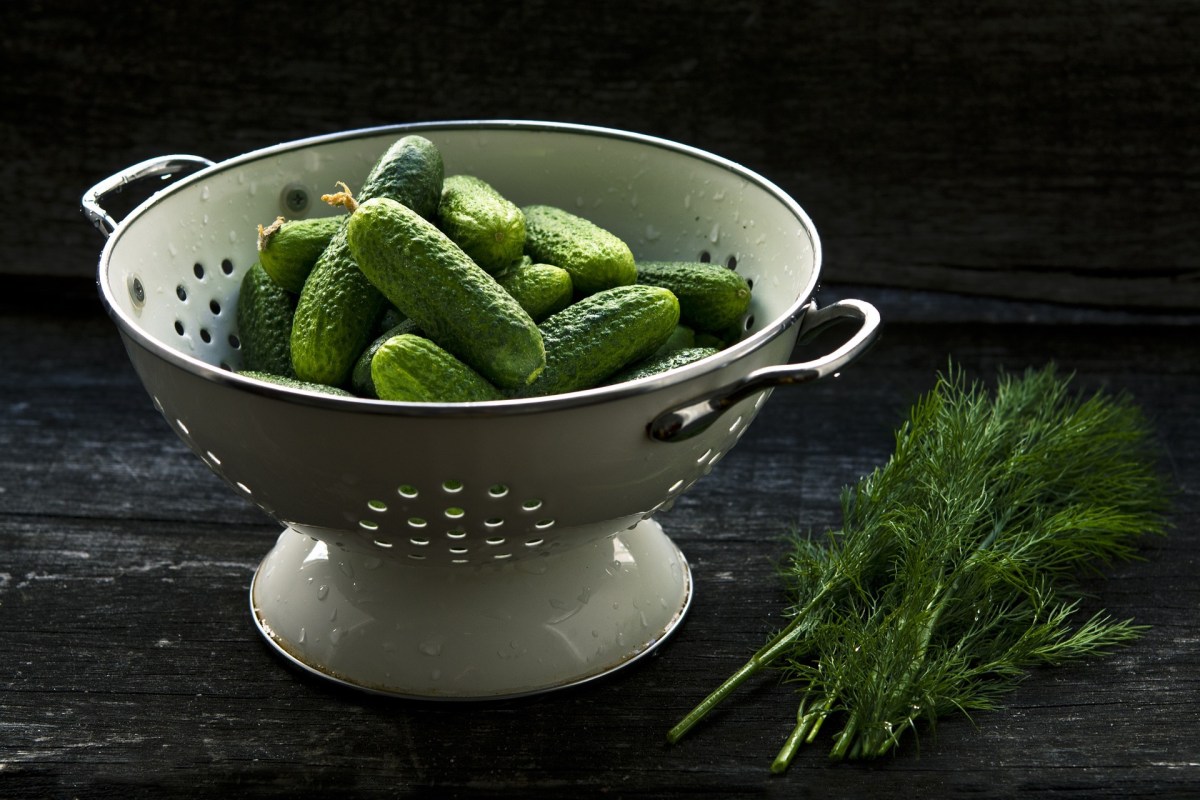
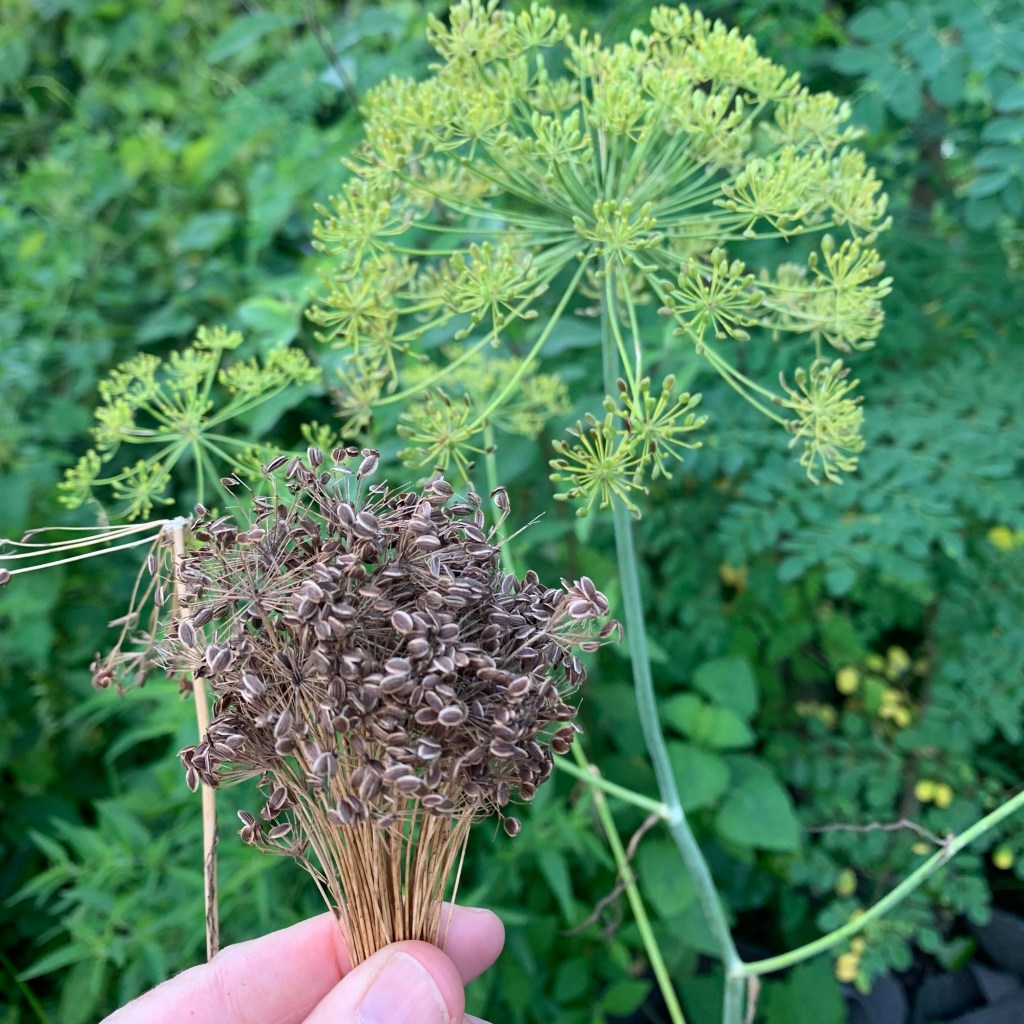
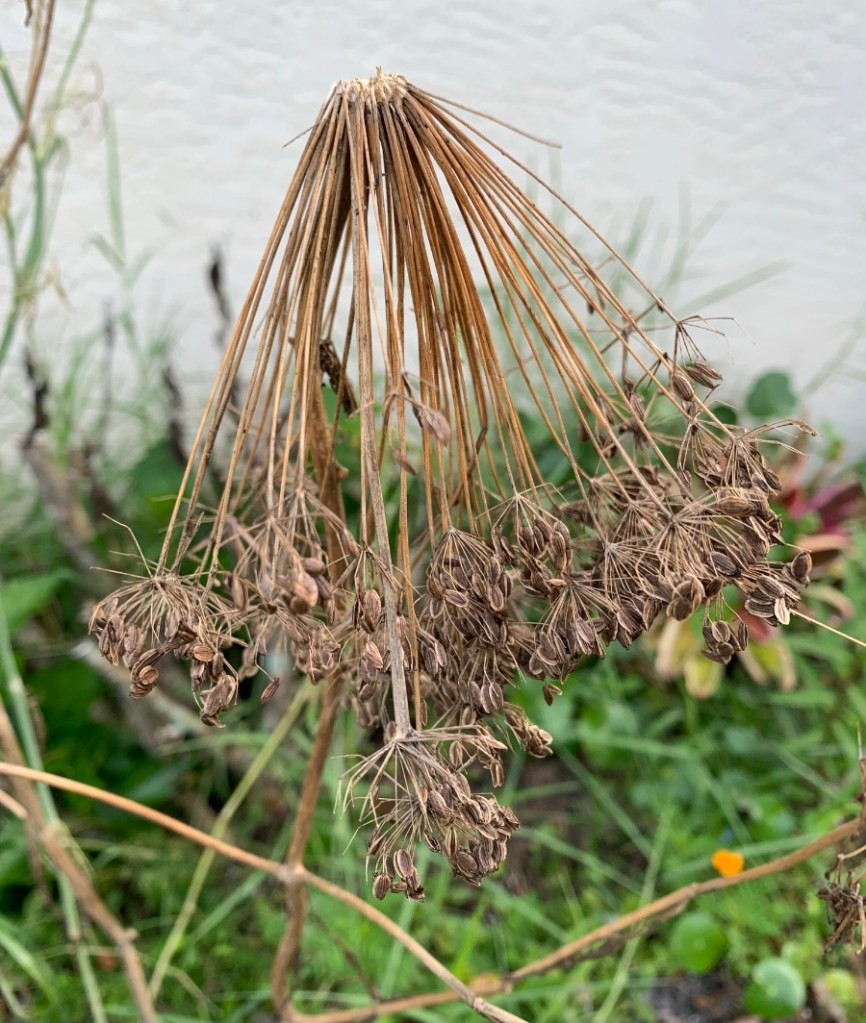
My dill plants are mostly gone by, but a few were still green enough to use the flowers for adding to fermented cucumbers.

Fermenting

I’ve done some fermenting in the past. Cabbage and Daikon radish come to mind. When I had an abundance of green beans I tried twice to ferment those without luck. What I really wanted was cucumbers.

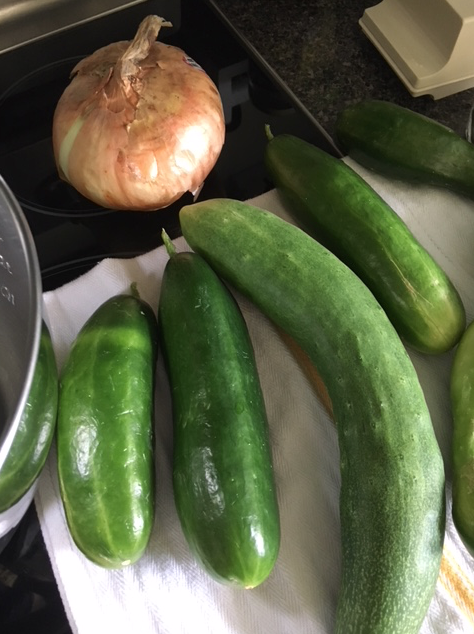
For the most part I shop at Aldi. It is the most affordable, but their produce can be old. Instead of getting the little packs of small cucumbers I chose two of the long, wrapped ones.

making pickles in saltwater brine

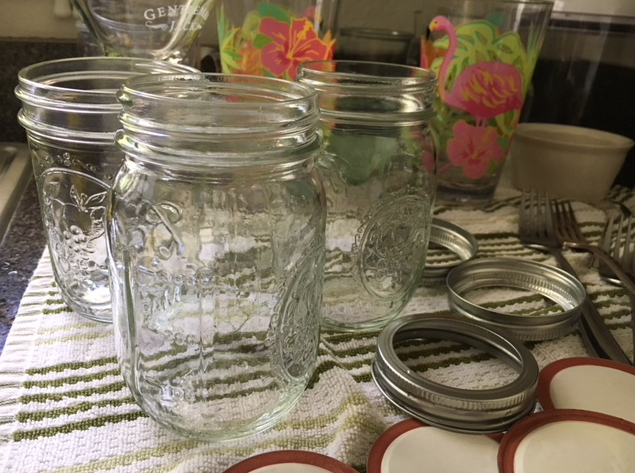
I love my Weck jars (Amazon paid link). I use them for everything from storing food, to making sourdough starter, and fermenting. The link goes to Amazon, but I buy my Weck jars from the Weck website. It can be hard to figure out what sizes to buy, so let me tell you which ones I prefer.

Weck Jars

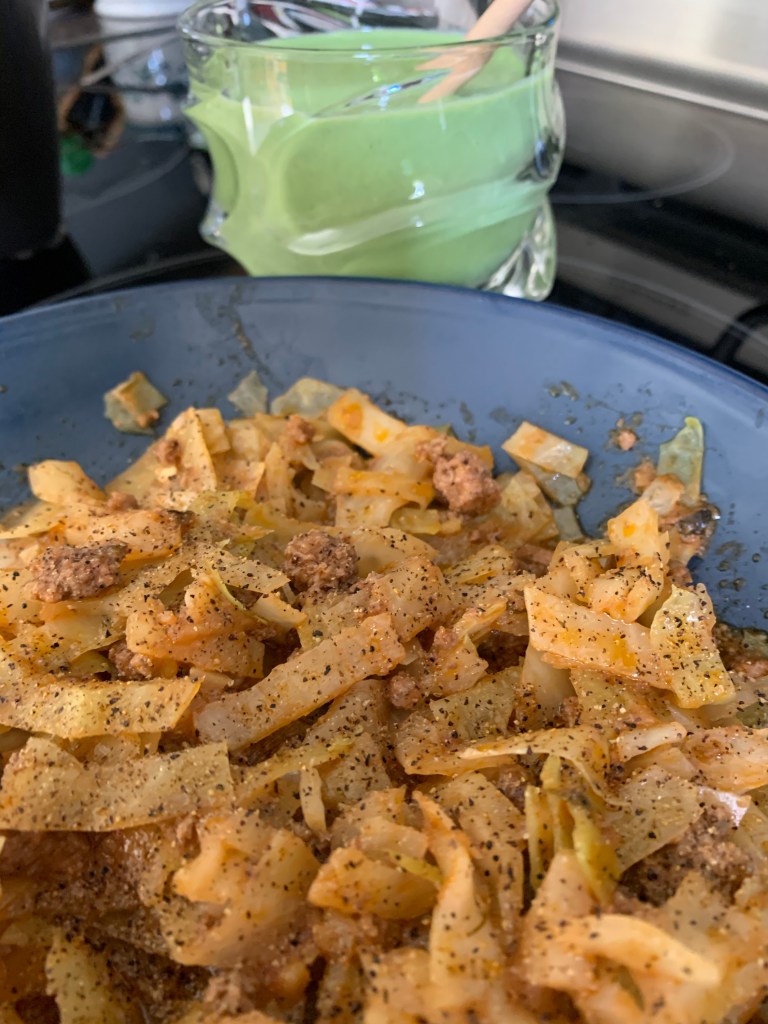
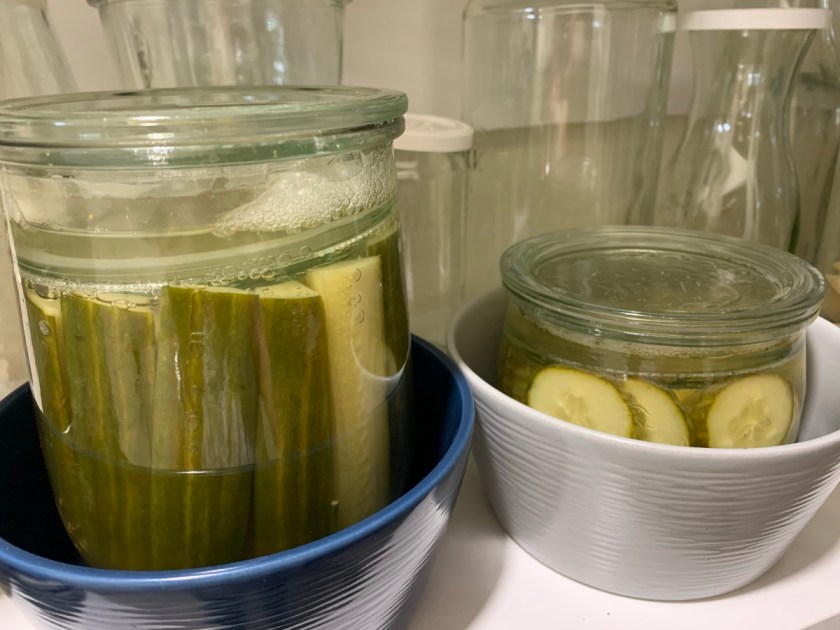
In the photo above I am using the Tulip (paid link) in two sizes. The Tulip jar has a wide opening and all Weck jars come with a glass lid. The smaller jars, and I have a few different types, have smaller openings and also come with glass lids. The Mold jars also work well for fermenting.

I buy my Wecks from the website. They come in packs, such as 6 large Tulips, or combo packs. They are cheaper than Amazon, but there is a shipping charge. I prefer to know that I am actually getting the real Weck jars and with Amazon, there is always a possibility they will not be.

What I do to make my ferments using Weck is this: I use a large jar then put the smaller glass lid down inside to cover the food and keep it submerged. I add the large lid to sit loosely on top.

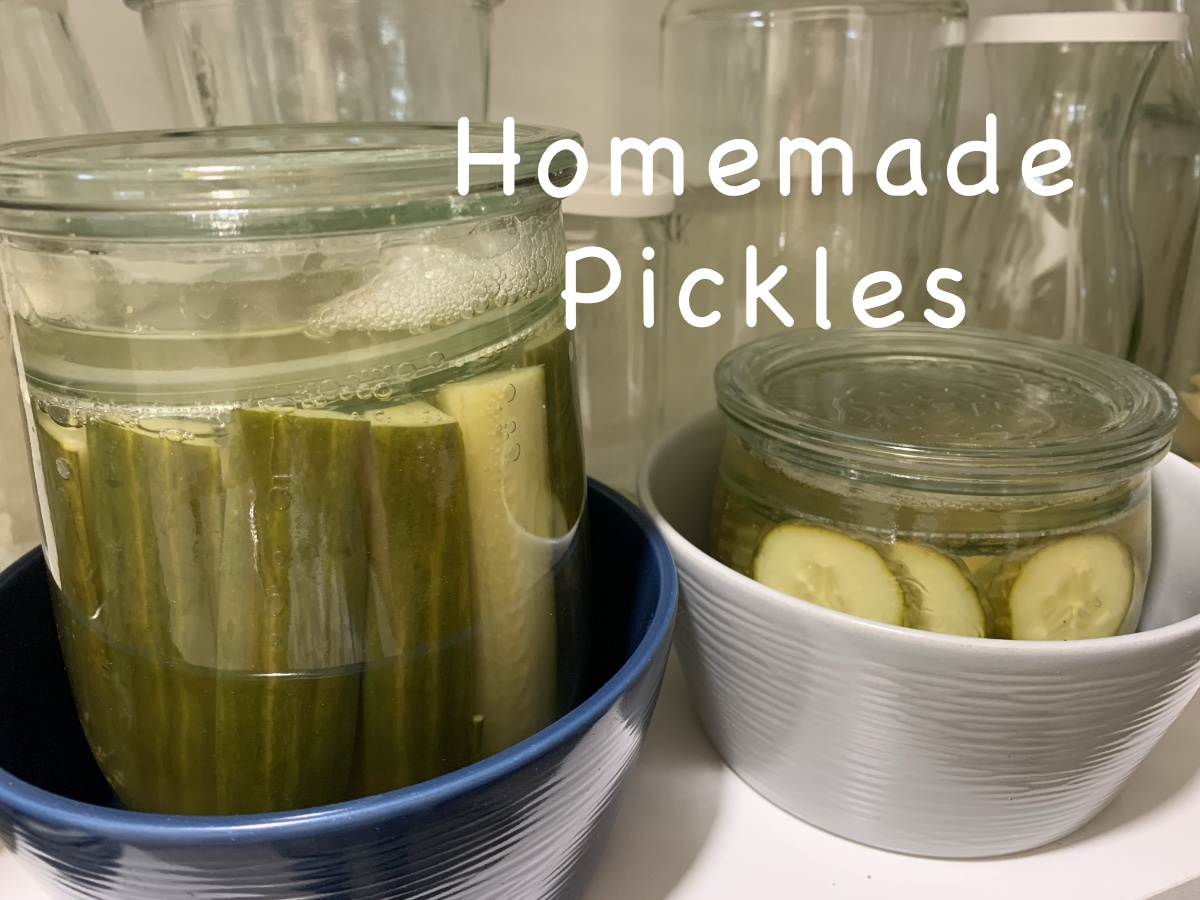
If you know anything about fermenting, it is that the food must stay submerged in the saltwater brine. If it pops up, mold can form and everything had to be thrown away. This is why everything needs to be packed in tight. Once the food begins to ferment, it bubbles and everything wants to float. The smaller glass lid keeps that from happening. The cover lid is not tight – it is just sitting on top, so any overflow from the bubbling can easily escape. This is why my pickle jars are sitting in bowls.

If you want to try this yourself, just ask – these days Chatgpt and AI knows everything. For my two jars I used 1 1/2 Tbsp. sea salt mixed into 4 cups of water. I only used about half to cover both filled jars.

This is day four for my pickles and I plan to try one soon. They can stay out on the shelf for weeks, but the taste will change. A warmer climate speeds up the ferment. The longer they stay out on the shelf, the softer they get, supposedly.

I also have a pH food meter to test my ferments, just to be on the safe side.

Although I would love for these pickles to be made from fresh backyard cucumbers, I have to make do. It is impossible to grow cucumbers in this climate, but I can grow dill. I added some whole, dill flowers to each of the jars for flavor.

I have not made this type of pickle before, but fermenting adds good bacteria to food. It is a bit like eating yogurt for the healthy gut bacteria, but in yummy pickle form. If I love these pickles, I plan to make more, but my dill will be gone. I have saved some dill seeds, which might work too.

Are you growing cucumbers this year? Will you make fermented pickles?

More gardening stories from my Florida yard.

Homemade Garden Soup, Informal Recipe

I cooked a garden vegetable soup the other day (with some beef) and wanted to share the informal recipe here. Make it vegetarian too. My garden has beets, carrots and herbs, which I used for freshness.

Whenever I make homemade soup, I know it will never be the same as the last time I made it. Soup should contain local and seasonal vegetables, if possible. I choose ingredients from my garden whenever possible. Depending on the season, I will have different food to use.

I’m not a food blogger, so this is an informal list of ingredients I used along with approximate cooking times. It is meant to be a guide.

Garden Soup Ingredients

During Florida winters, we can grow root vegetables and herbs. These are the ingredients I ended up using for my soup. You certainly don’t need to use the same ones. Feel free to add more, or use less. I pulled / picked vegetables (beets, carrots, and herbs) from the garden to supplement store bought. My soup ended up delicious and flavorful.

You will notice that I do not include amounts. I add whatever I think appropriate.

Ingredients

  • Chop celery, garlic, and onions and sauté in the bottom of a pan. I used my Staub pot on the stove. Then I moved it to a single electric burner (Amazon paid link) to slow cook. (My stove doesn’t work properly 😡.)
  • Add broth. I used approximately 6 cups total of vegetable (or chicken / beef) broth. I made all the broth myself and saved it in the freezer, plus beet juice from cooking my garden beets.
  • Chop and add: Carrots, beet greens, herbs (parsley, dill, basil & a rosemary sprig – pull out the stem after cooking). Sliced beets would work here, but mine were pre-boiled so I added them at the end of the cook time.
  • 2 bay leaves (remove at the end), 1 -2 Tbs. tomato paste (or can of diced tomatoes). A slice of jalapeño pepper for added flavor (removed at the end).

Dried peas, lentils, and rice

Adding dried items like rice, beans, lentils or even pasta, can help absorb some of the liquid in the soup. This will help thicken up the liquid. I added a little bit of all three items to mine. One of them alone would work well. Read my post about soup basics if you are new to soup cooking. I have more advice about how to thicken soup without using flour.

  • Brown rice
  • Split peas
  • Red Lentils
Garden soup in pot
Adding the partially frozen broth, chopped greens, veggies and lentils / peas / rice.

Slow Cook

Cook the vegetables, herbs and additional ingredients on a low setting for about 2 hours, or until the vegetables are soft.

Add near the end of Cooking time

Once the main vegetables are cooked, add these and cook on low for an additional hour to heat through. Personally, I rarely add salt to food while I am cooking it, but you might want to.

  • Any vegetables that are pre-cooked. My beets were cooked ahead of time so I added them about an hour before the end.
  • Beans – I used Cannelloni white beans
  • Chopped beef brisket (or any pre-cooked meat). It’s not necessary to use any meat. I happened to have a small amount of beef to use.
  • Vinegar – small amount (tsp. or so) – optional. Helps bring out the flavors.
soup in Weck jars

Once my soup was completely cooked, I divided it up for freezing. The 2 cup Weck jars are the perfect size to store a healthy, future meal in the freezer. And I ate a bowl of it too!

More to share here:

I Make My Own Tortillas

Once you make your own tortillas, you will never eat store bought again. Here’s a rundown on how they are made.

One day I decided to make my own tortillas. I’m not a big bread eater, but I love these tortillas. Store bought anything is usually loaded with extra things I don’t want to eat so I choose to make my own food. Plus, with the garden growing, I like to make quesadillas and use my veggies.

The simple ingredients of flour, salt, baking powder, oil, and water are mixed and then kneaded for a couple of minutes. Find the recipe here that I used, and the list of ingredients. It is loaded with ads, which is typical for recipe pages. I wrote down the ingredients on paper which I refer to each time I make them so I don’t have to go back to that annoying page.

These are easy to make, but they are very time-consuming. Do the first part of mixing and then they get to sit for a while. Rolling and cooking takes the longest. But, they are good. You will never go back to store bought!

Mix the dough, knead, and divide into 16 pieces.

I have an awesome wooden cutting board which I use for this. And I have a little dough cutter / scraper (Amazon affiliate link) that comes in handy.

  • divide the dough
  • tortilla dough cut into 16 pieces
  • dough circles resting

Once you have 16 pieces of dough – just keep dividing each section until you have 16 – roll and flatten a bit with your palm. Cover them with a towel and wait a while – up to 2 hours, or as little as 15 minutes.

Roll flat and into a round shape (not easy for me)

Stack each flattened tortilla with parchment paper between. They will be cooked one at a time so you don’t want them to stick together.

Consider the Pan

The pan type was tough to figure out. The first time I used a small non-stick fry pan and I ruined it! The tortillas are baked for about a minute total in a dry pan – add nothing… no oil. This can make bits of the tortilla stick to the pan and burn on as you continue to cook all 16 tortillas. I couldn’t clean the black bits off the non-stick pan. It was ruined.

Finally I have decided that a plain stainless steel pan works best. When I have some black, burned parts I can clean it with stainless steel cleaner. So, use a pan that you are able to scrub afterwards.

I do use a low heat, but they have to cook… it’s a fine line between cooking and burning, so pay close attention.

  • rolling pin tortillas on floured board
  • Dough between parchment
  • cooking homemade tortillas
  • frying a homemade tortilla

Using the Cooked Tortillas

Once all 16 tortillas are made, let them cool and store in the fridge. I usually freeze many of mine to use at a later time. They freeze well.

pile of tortillas stacked on a plate
Cooked and stacked

A favorite way to use the tortillas is to make delicious quesadillas. This meal is very simple (once the tortillas are made) and offers many ingredient options.

homemade quesadillas
Homemade tortillas to make quesadillas

Simply butter one side of a tortilla and place it – butter side down – on a pan, foil, or parchment paper. Add cooked meat, cheese, vegetables, or whatever you wish. Butter the top of the other tortilla and place butter side up. Bake at 350 for about 15-20 minutes or until brown and crispy.

Quesadilla homemade

Keep reading the blog…

Low Carb Meals, Simple and Healthy

After nine months on the Keto diet, my low carb meals have evolved to become simple and healthy.

Meals don’t have to be difficult and I rarely follow a recipe. Vegetables are at the top of my list when I shop, and they make up the bulk of the food I eat. Often I eat vegetables, with an egg, for my “breakfast”, which I eat at noon.

Keto breakfast food eggs, mushrooms, bacon, kale and biscuit
Egg, kale with bacon, mushrooms, and keto muffin

Many Meals Begin With Homemade Broth, or Stock

One thing I do quite often is make my own broth, or stock. The beef broth is made with bones I buy from the butcher. I bake the bones first to brown them, then add to water in my LeCrueset along with the bones, and fat that leaks out of the bones while they bake. Don’t skim off the fat! This is the good fat we need in our diets!

Chicken stock is made from the carcass of a baked chicken. Vegetable broth is of course made from only using vegetables.

Vegetables such as onion, celery, carrots, peppers, and herbs such as parsley and basil can be included. The vegetables don’t have to be perfect – use up older veggies this way. I usually add bay leaves too. The vegetables I add depends on what is around the house. Nothing has to be added, but the veggies add nutrients and flavor.

Make beef or chicken broth

Simple Scallops and Green Beans Meal

Seafood is a favorite of mine and this simple meal consists of fresh scallops which cook up quickly in a frying pan. The frozen green beans were boiled in water then topped with butter. That’s it! Serve with a salad if you like.

keto scallops green beans meal
Simple scallops and green beans meal

Ground Turkey, Asparagus and Shallots

Cook ground turkey (or chicken) in a pan. Remove the meat. Add butter and / or oil with pieces of fresh asparagus and sauce until nearly tender, then add sliced onions and return ground turkey to the pan.

Tamari or soy sauce can be added at this point, unless sodium is a problem.

keto meal turkey asparagus shallots
Ground turkey dinner

Beef and Cabbage Keto Meal

In a large pot brown ground beef. Add spices and herbs as you like. Remove the beef once it’s cooked and use the same pot to cook the cabbage. Slice a head of cabbage into “noodles” and boil them until tender. Either use water with (sodium free) bullion, or use homemade beef stock if you have it. I cook the cabbage in a small amount of liquid and don’t drain it.

Add the beef back to the pot, and some tomato sauce, or chopped tomatoes. Cook a bit longer (10-15 minutes) for flavors to combine.

Beef and cabbage Keto meal
Beef and cabbage

Cheeseburger Using Lettuce as “Bun”

Buy lettuce with big leaves and wrap a juicy bacon-cheeseburger inside. I honestly don’t eat much bacon, but this burger was delicious with onions, pickles, cheese and bacon.

Keto burger, no bun
Bun-less bacon burger

My Own Turkey Chili Recipe

My son smoked the Thanksgiving turkey this year and it was delicious. With only two of us to eat, we had a lot of leftovers, which I froze.

Now it’s time to make some winter chili, and I broke out the turkey and broth from my freezer to make this recipe tasty.

Turkey chili recipe
My version of chili made with leftover turkey from Thanksgiving

To begin, I got out my LeCrueset Dutch Oven, which I love.

I sautéed lots of green pepper (from my garden) and onions in oil for a few minutes. Then I added chopped garlic and cooked a bit longer. Then I added the turkey broth (thawed), can of organic diced tomatoes, and spices. I chopped the leftover turkey into bite size pieces and threw it in. The spices I used were parsley and basil from my garden. Dried spices would work too. I had bought some jalapeño peppers at the local farm stand so I chopped a small amount of one jalapeño to add some heat.

To begin with uncooked meat, brown it first then remove from the pan.  Add the pepper and onion with oil and sauté.  Add the liquid broth and scrape the bottom of the pan.  Add meat, spices and tomatoes.

It’s really your choice about how hot and spicy you want your chili to be. I like a little heat, but not overwhelming. If you don’t have flavored broth, use broth granules in water. About a cup or 2 is needed depending on the amount of meat, tomatoes and veggies you use. I basically wing it!

Once those ingredients simmer for about an hour, I add the black beans (or kidney beans can be used) with the liquid (I use organic beans only). Then I simmer for at least another half hour.  Don’t add the beans too soon or they will get mushy.

Because our turkey was smoked, this chili has a slight smoky flavor. Between the jalapeño pepper and spices and melding of the flavors while it slow-cooks, it turned out super yummy!

When I make chili or soup I fly by the seat of my pants and add whatever I have on hand or seems to work.

I had made a batch of cornbread (recipe on the cornmeal box) and froze it.  That way I had ready-made cornbread to add to my chili.

Use your freezer.  It’s your best friend.  BTW I froze a serving of this chili to enjoy later.

Simple Bread and Butter Pickles Made From Garden Cucumbers

Cucumber on the vine

Now that the cucumbers are growing in my Florida garden, I was reminded of a simple bread and butter pickles recipe I found a few years ago. No canning was involved. Fortunately I was able to find my printed copy.  (Recipe Link Below)

I don’t do canning, but I love bread and butter pickles made with fresh from the garden cucumbers. These pickles are stored in mason jars (or any jar) but there is no boiling required. Slice and mix the six ingredients (and add some of your own) and store in the fridge.

Include sliced onion and green pepper for flavor. Garlic cloves and hot pepper slices may work as well. Other herbs could be added to change the flavor, like fennel and dill.

And by the way, you don’t need to use a specific type of cucumber.  I am growing two types, and I can’t remember what they are, but as you can see in my photo below, one type is very long!

The shorter, regular looking cukes taste better, but when making pickles it doesn’t matter.  There are many other ways to use fresh cucumbers from the garden.

Cucumbers and onion

The recipe calls for 7 cups of sliced cucumbers, so wait until you have a bunch to use up. Cukes don’t last long once they are picked, so plan to make pickles the day you pick the cucumbers.
A mandolin slicer makes all that slicing go fast.

Note:  One thing I changed in the recipe was the amount of sugar. The recipe calls for 2 cups, and I reduced that amount to 1 cup.  I also added a few slices of hot red pepper and fennel sprigs.

Spoon the mix into clean mason jars. Divide up the remaining liquid into the jars, cover and put in fridge for 5 days. Then begin eating!  They will be good for months.

mason jars
Clean mason jars

The full recipe can be found here: Mamaw’s Refrigerator Bread and Butter Pickles.