The Best Way to Acquire Garden Dirt if You Have the Muscles For It

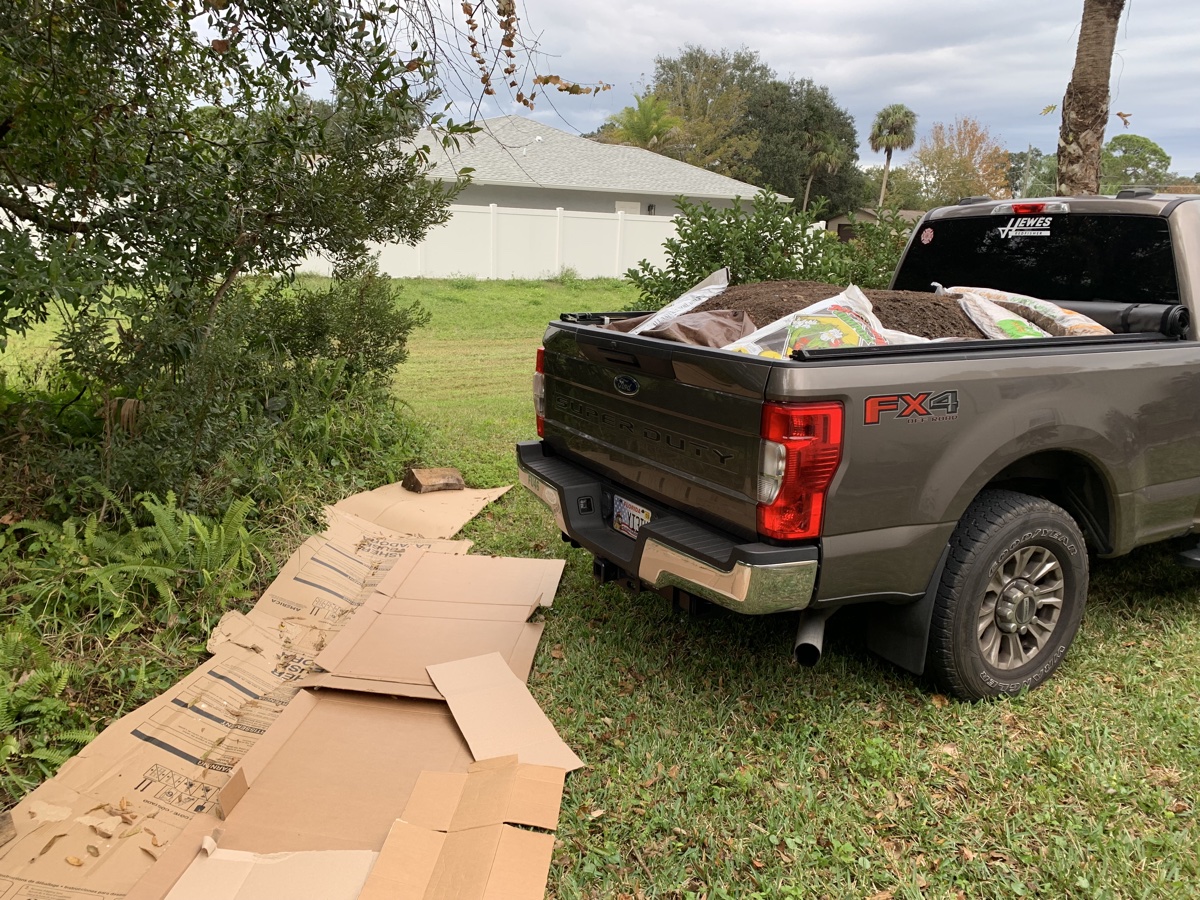
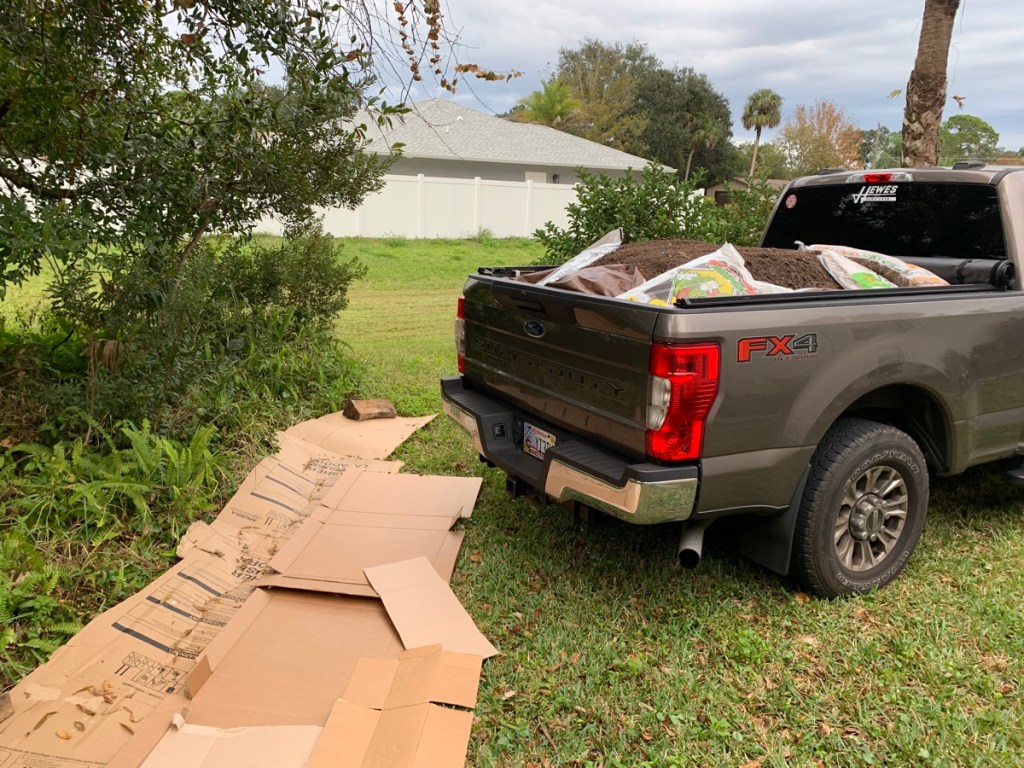
Changing my small backyard from all grass to a permaculture plot for growing food has been a challenge. It can also be expensive. Although I was dreading doing this, the best way to acquire my garden dirt was to fill the truck with purchased soil. We had to buy in bulk and do some shoveling.

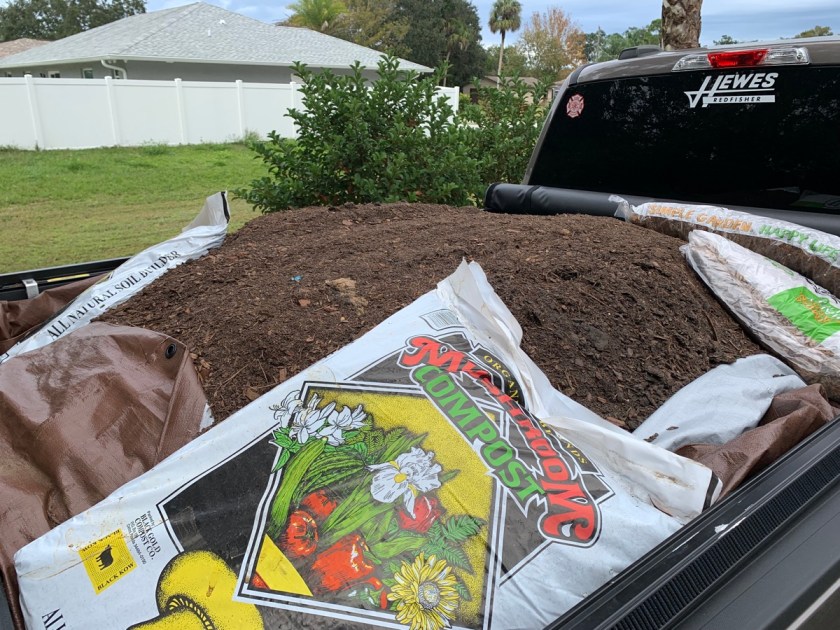
Not only would I have lots of dirt to work with, but buying dirt by the yard is cheaper. I bought two yards of soil which filled the back of the F250, along with two bags of mushroom compost and two bags of mulch.

dirt and compost in truck bed
Two yards of dirt fills the truck bed.

Winter is the Time to Do Yard Work

Now that a Florida winter is upon us, the desire to get outdoors and fix things up is high. After a long, very hot summer, the cooler weather feels great. And by cooler I mean near 80 degrees some days, but cooler in the morning and evening. In other words, it’s more like a normal “summer” elsewhere.

Finding a Place to Store the Dirt

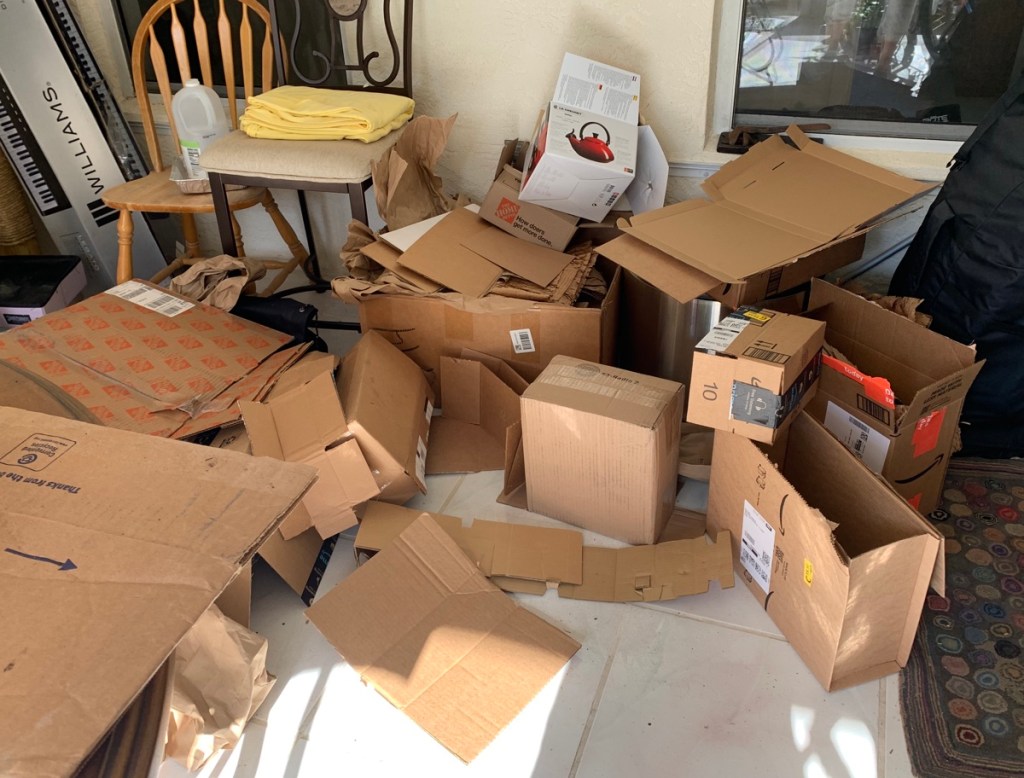
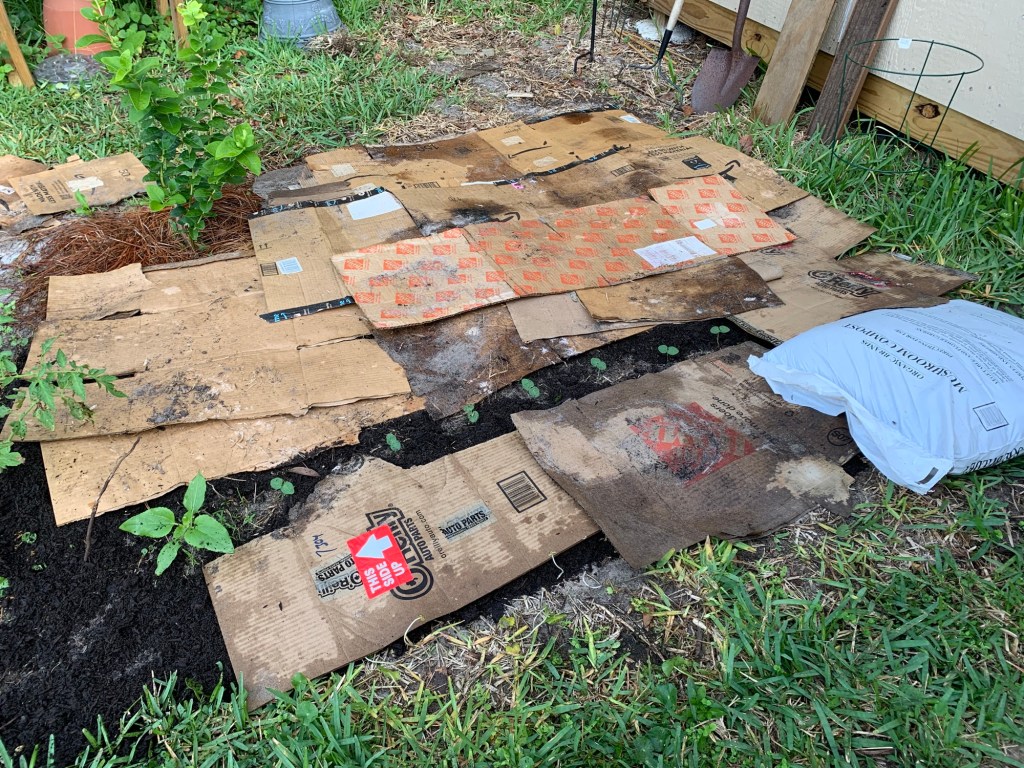
I need dirt. I’ve had the boxes piling up on my porch but can’t put that cardboard out on the grass without some dirt to help hold them in place. I’ve been buying bags of dirt, but that doesn’t go far. I considered ordering a load of dirt to be delivered, but there is no good place near the road for the shop to dump it.

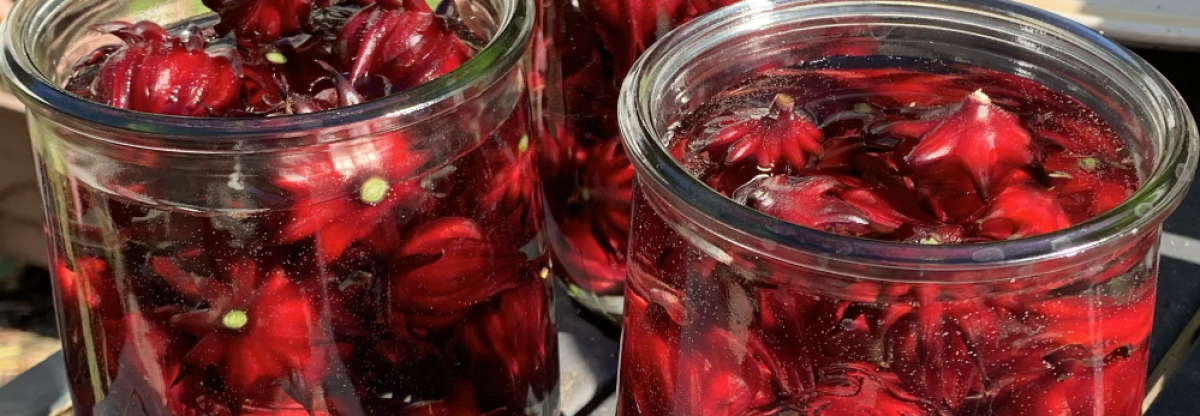
As my garden planning has progressed, I realize that I need more sunny spaces. I want to grow Roselle Hibiscus which will be large plants. They can’t grow where my vegetables area, so the plan is to begin a new garden in the front yard.

The area pictured below is where I believe there was once a flower garden. I’ve found a Beautyberry Bush and Firespike back in this overgrown location. Now it is also full of ferns, and little trees are growing. The only tree I have cut down is the invasive Brazilian Pepper. The front of this patch of ferns gets lots of sun all times of the year. If I can get the Roselle to grow, they will be planted here.

cardboard spread on grass
Broke down some big cardboard boxes for the new front garden

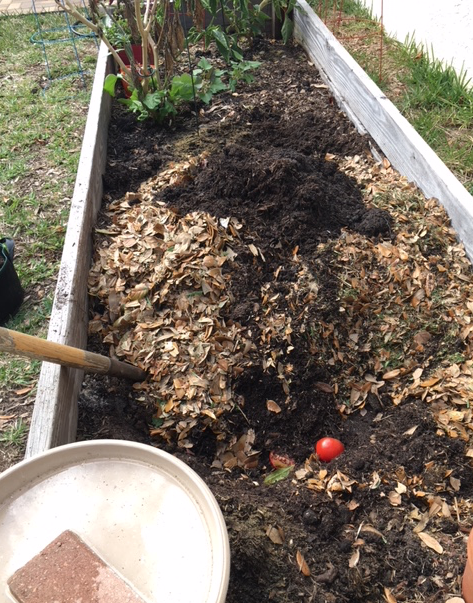
This was where the dirt pile would sit until I needed it. I put down big pieces of cardboard, (see my post about using cardboard in the yard) and we unloaded the dirt onto it from the bed of the truck.

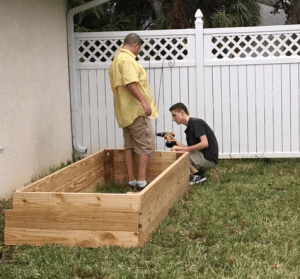
In order to get to this spot, we had to back the truck across the front yard. It meant moving some of the Christmas lights and taking down part of the fire pit. Then, of course, we (my son and I) had to shovel all that dirt out of the truck! It was a chore, but worth it.

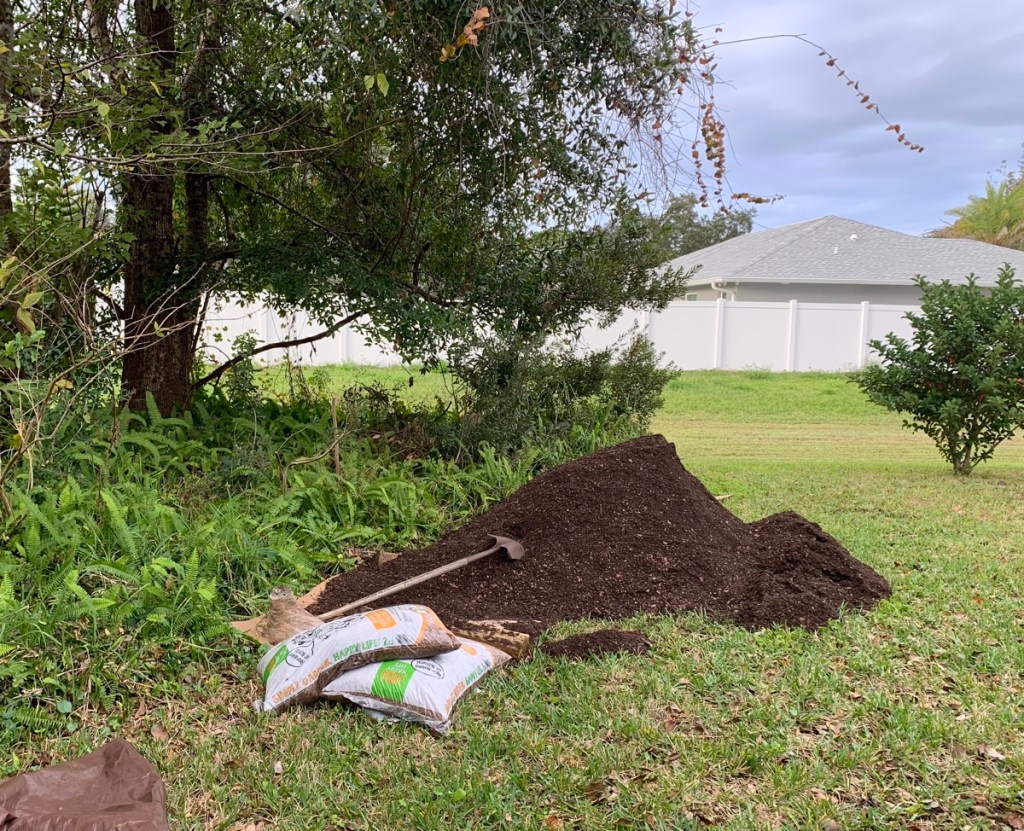
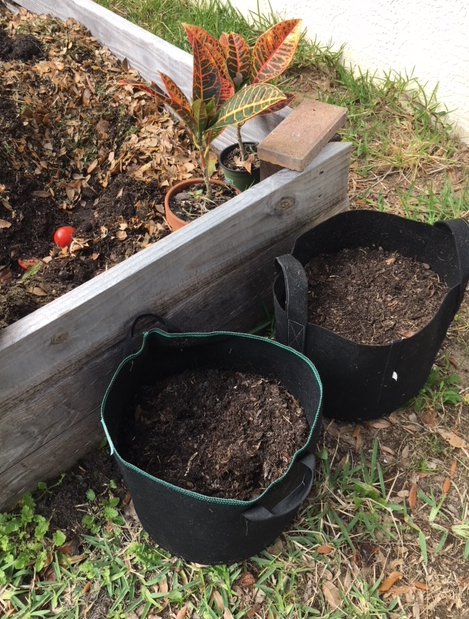
From here, I can fill the wheelbarrow and move the dirt to the back gardens as I need it. And the cardboard underneath, will be the spot to plant new things once all that dirt is gone.

The cost for all of it was right around $100. If you live near The Yard Shop in Edgewater, I highly recommend them for dirt, mulch, compost and stones. The people are super nice and helpful.

Now the Garden Plans Can Move Ahead

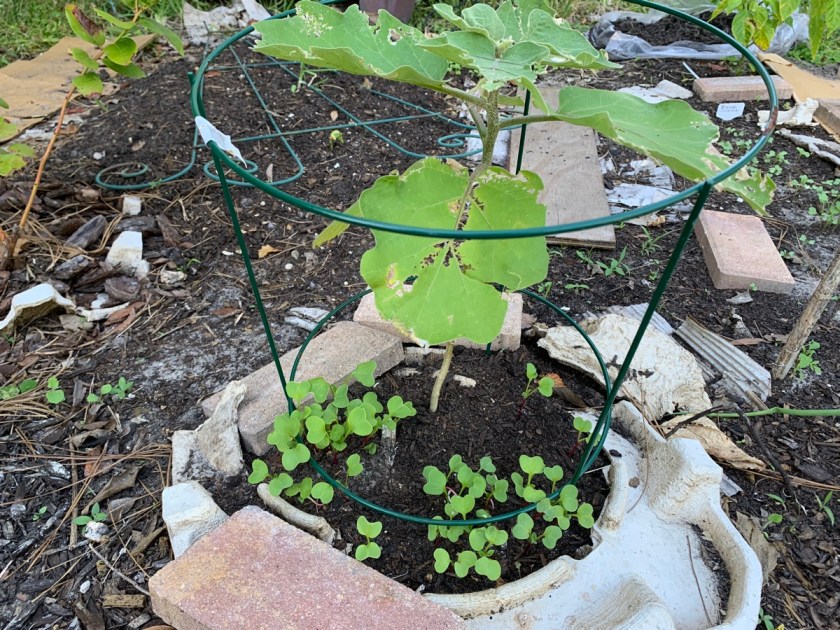
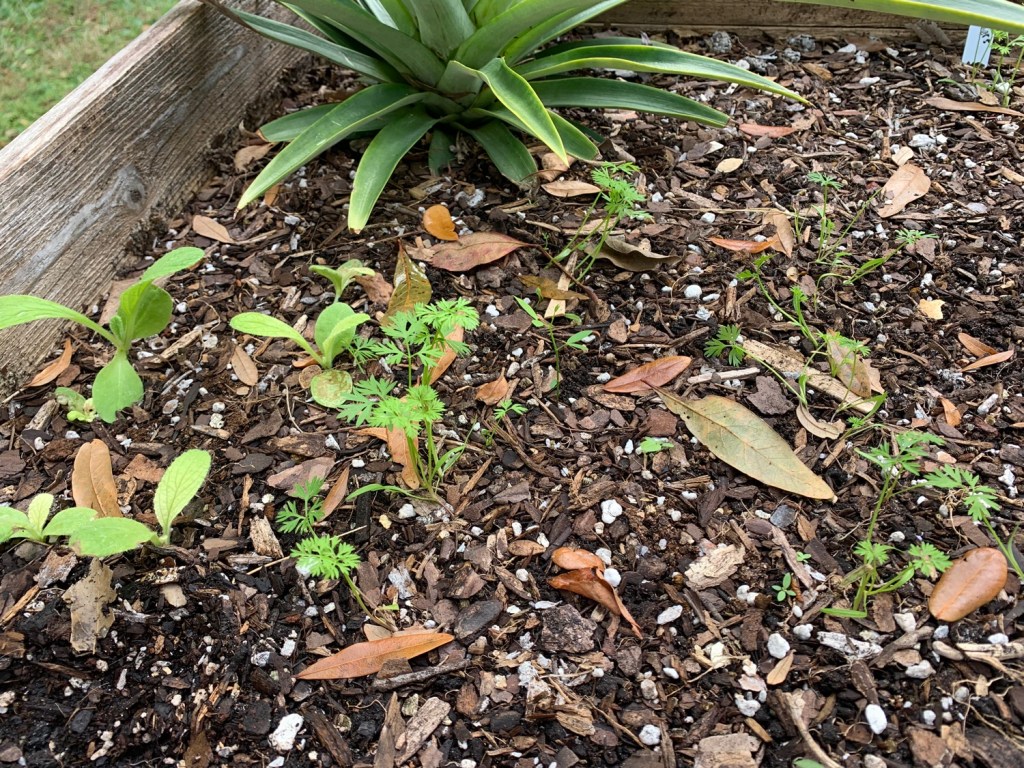
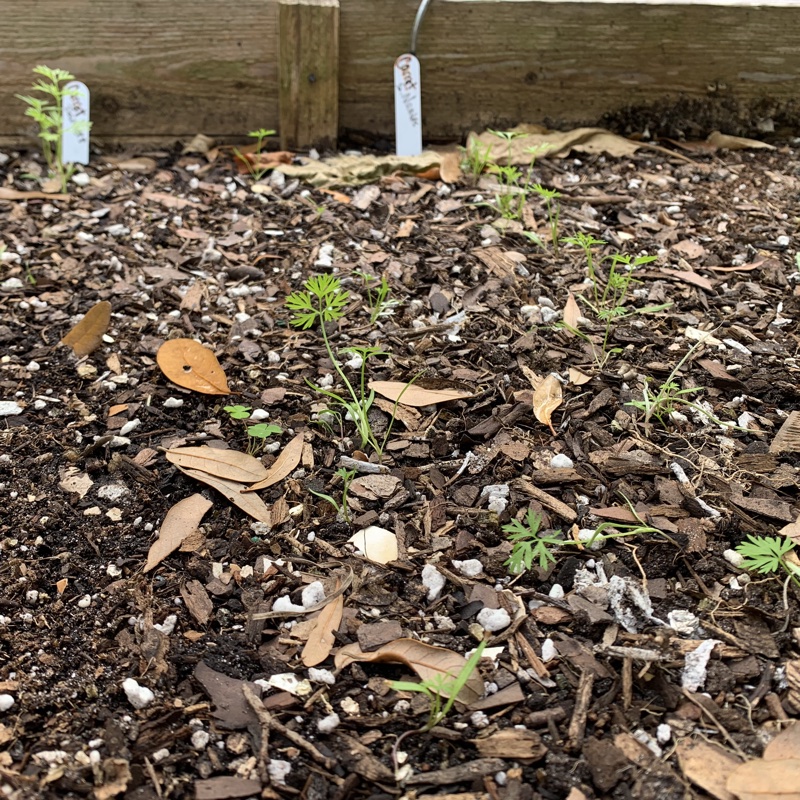
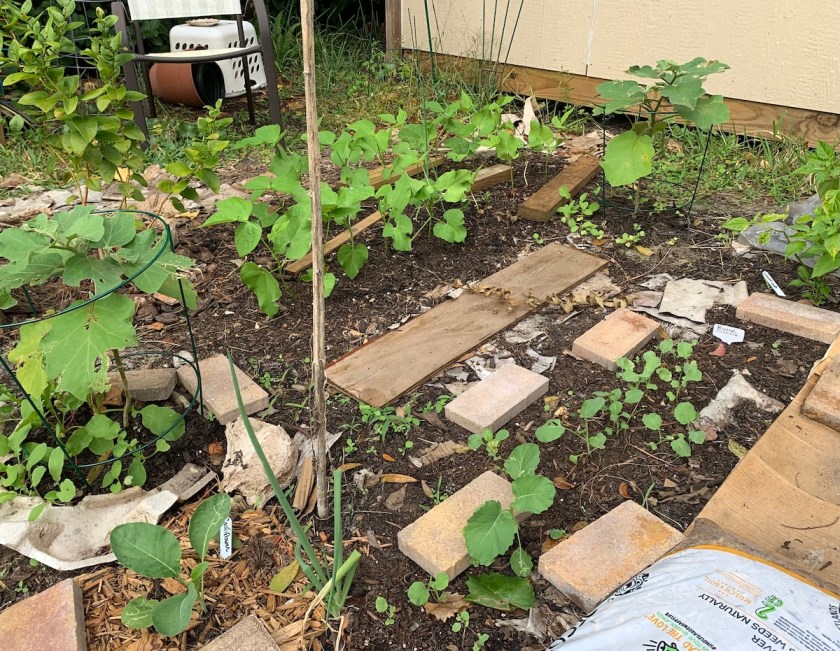
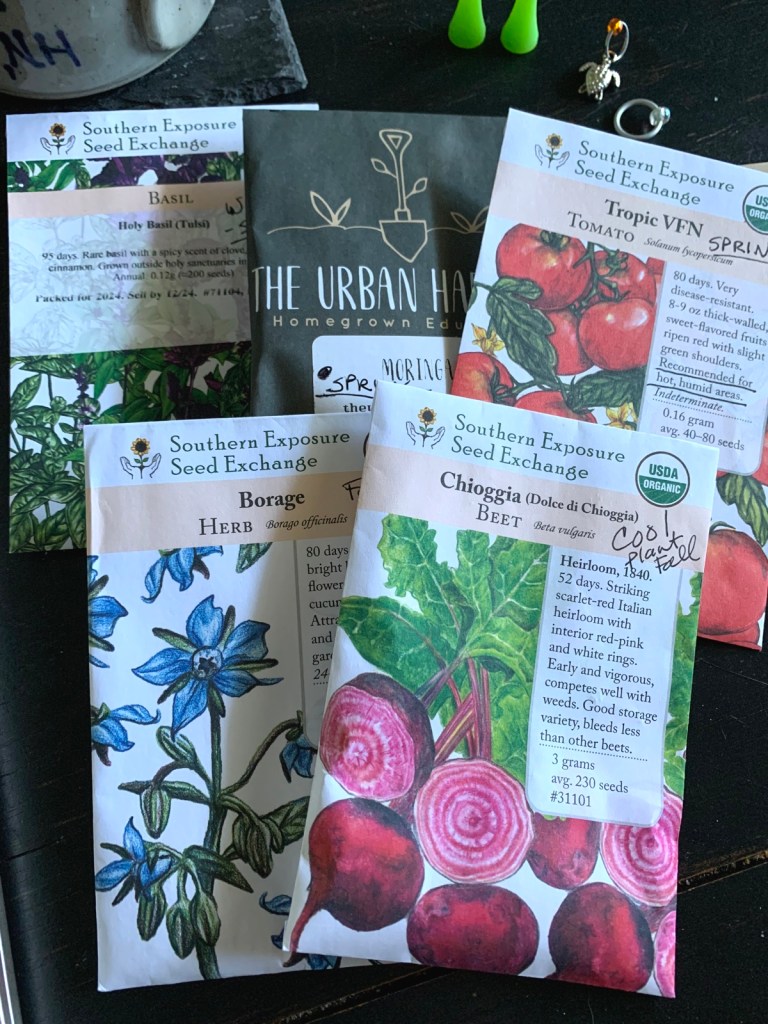
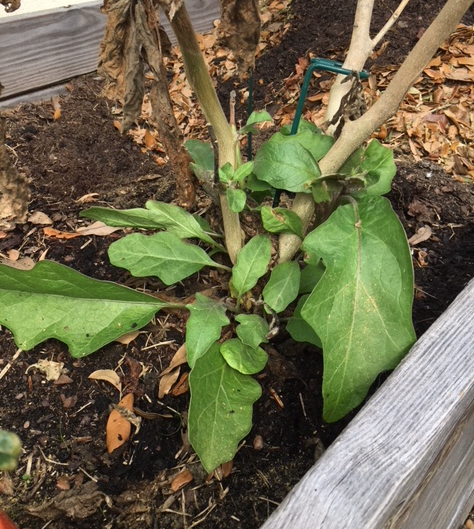
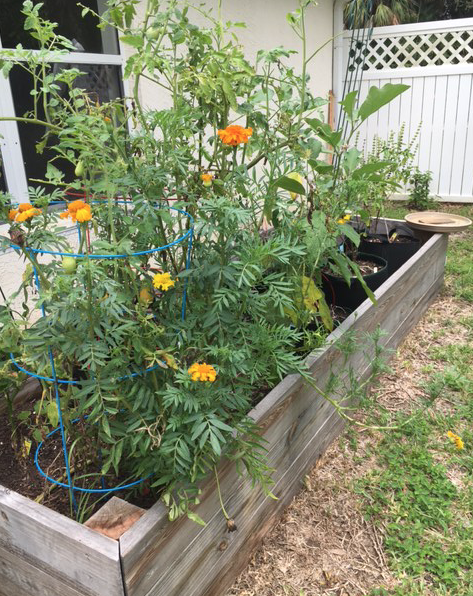
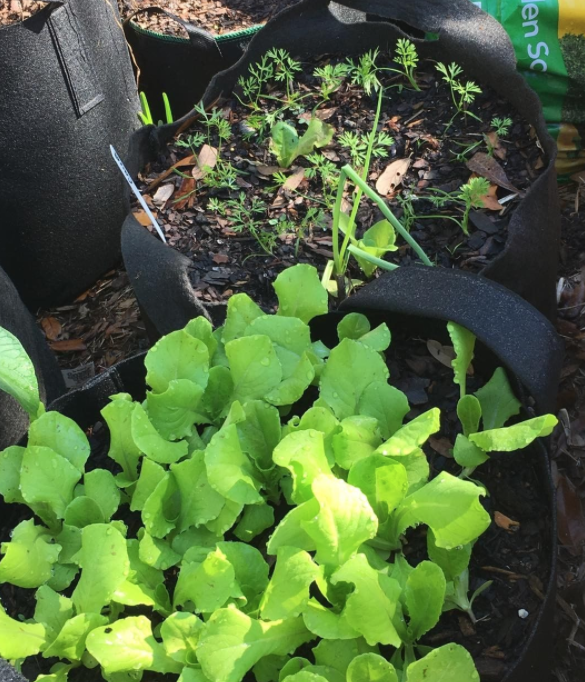
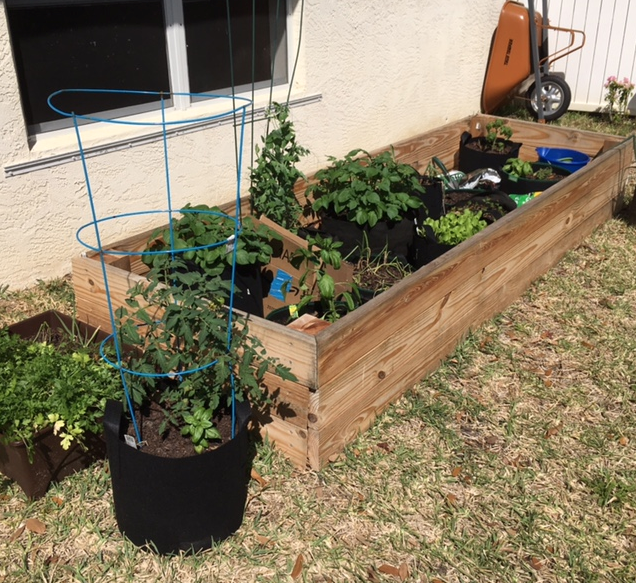
I have the dirt and I have the cardboard. My gardening plans continue to emerge with more space being made to plant. Over winter I am growing green beans, arugula and Chijimisai spinach, and a few other things.

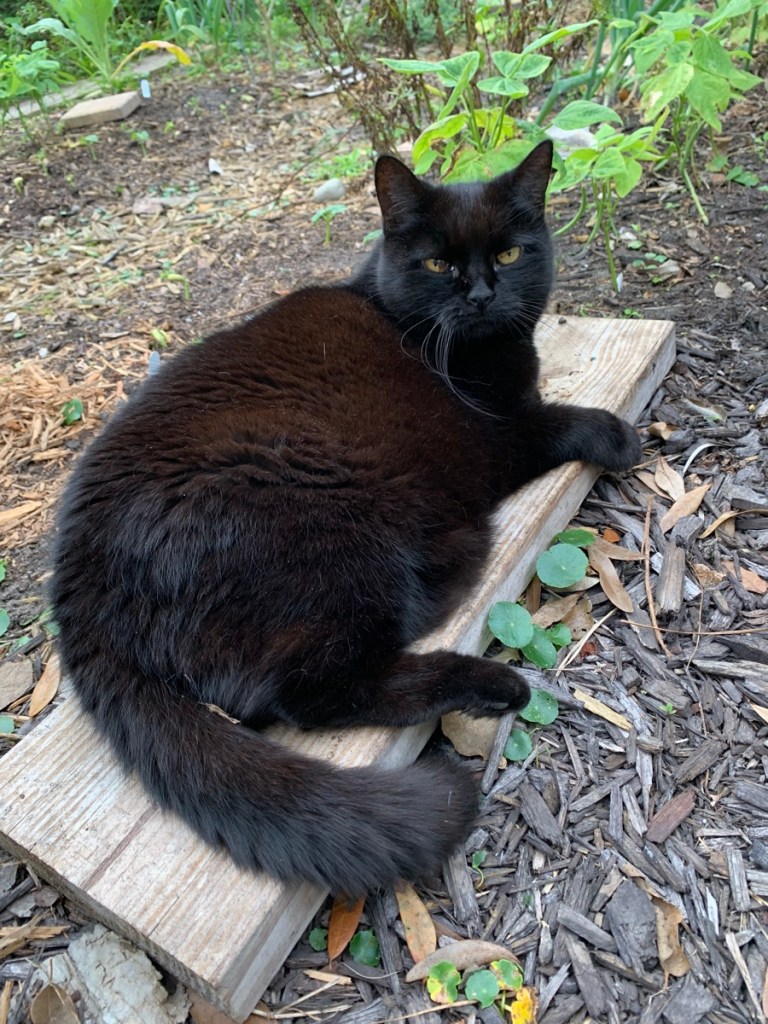
Skittle is overlooking my garden work, and I’m not sure if she approves or not!

Skittle in the garden

Keep reading my Florida gardening stories

Something went wrong. Please refresh the page and/or try again.

Compare: Soil, Site and Seeds

When something doesn’t grow well from seeds, it’s easy to blame bad seeds. But take into consideration the location of the planting. Does the site have enough sun, or too much? How is the soil? Were amendments added and were they the right ones needed?

I’m not much of a soil tester – okay, I never test my soil. This is probably a mistake, but I’m not ready for that yet. If nothing grew, I would blame the soil completely, but I have had lots of success. I’m not ready to check my soil.

Soil

When the same types of seeds are planted at the same time, but in different locations, comparing growth should tell me something.

In the case of the radishes, which I planted only because I happened to have a packet of seeds, some did way better than others.

radish growing under an eggplant in the garden
Radish under the eggplant
radishes growing in a box outside
Radish in the grow box

The radishes in one of my grow boxes have become very large. I have already eaten one small radish. None of the other radish plants, which grow everywhere in the garden and other boxes, are nearly as big. Most of them get the same amounts of sunlight, so it figures that this one specific grow box has some very nice dirt.

Lettuce was growing alongside these radishes, but it was from seeds I had saved, and the lettuce was bitter so I pulled it up. Now I have carrot seeds planted.

The Carrot Experiment

The carrots which were planted in my first choice bed are doing poorly. I choose the tallest grow box so the carrots would have lots of room for rooks. I had loosened the soil, and added some good stuff. I had high hopes, but they are barely growing.

Carrot seedlings after one month, alongside borage and a pineapple. The borage is not doing well either, so soil problems?
carrots growing in the raised bed

The carrot seeds were planted just about a month ago. According to the packet, they will be ready in 65-75 days. It is hard to believe that these tiny things will be ready to eat in just over a month’s time! I seriously doubt it.

My second carrot planting is in that box with the radishes. I am very sure that the soil is good. If the carrots still don’t grow, I will blame the seeds. The weather is cooler now, and both spots get good sun.

Growing Sites – Choose Many

If you are unsure about growing a crop, select more than one place to try to grow seeds. Everyone knows that most things need sun to grow, so definitely choose sunny locations.

I have two ground garden areas and a bunch of grow boxes and “raised beds”. It is easier to manage the boxes, and the dirt has been amended over and over. I can move them to shade, or sun, as needed.

This year I also added some new grow bags as well.

Interplanting of Crops

This fall I am doing a lot of interplanting of crops. For one thing, I am not sure which ones will do best and which won’t grow at all.

This small garden in my photo contains snap beans, 2 eggplant, radishes, broccoli, 1 cauliflower, 1 pepper, and a blueberry bush! I know it is not optimal, but I am trying to make the best of a small space.

interplanting beans, eggplant, broccoli, cauliflower
Fall 2023 garden in the backyard

As was true for my summer garden, I am experimenting with fall and winter crops. Whichever vegetables do well, will be planted again next year. I’m keeping lots of notes.

Seeds

Sometimes it is best to grow crops from seeds. Big seeds can be planted directly in the ground, and I’ve had great success with watermelon and pumpkin in spring, and snap beans now.

Buy seeds as close to planting time as you can, in the hopes that they will be freshest. Packets should have a date. I try to use my seeds within a year.

But first I needed to figure out when to plant what in my central Florida location. Even the seeds from Southern Exposure can’t be relied on to give Floridians planting advice. SESE sells seeds to the southeastern US, which means many growers don’t live in a Florida climate. The packets mention “last frost” and freezes.

seed packets
Seed order from The Urban Harvest

There are a few things I’ve purchased that just haven’t grown. I’ve tried them at different times, in different locations, and been unsuccessful. It probably means either bad seeds, or the stuff just doesn’t want to grow in my yard. I’m not going to fight with it, I will move on and grow something else.

The South is Nothing Like the North

Although I would love to grow some of the same plants I grew in New Hampshire, the south is nothing like the north.

Borage is one of the failures. It hates the heat, and I do have a few little seedlings coming up, but none of them look great. I’ve read that borage grows great here in Florida, but I don’t believe it.

Nasturtium has also done nothing. Most of the seeds didn’t even sprout. In this case I am blaming the seeds. But I doubt that the plant will like this Florida climate. Sticking with what works well in my area if a good choice and I won’t buy these again.

Experiment and Take Notes

Do your vegetable gardening research for your particular area, and then plant what is expected to grow well. The UF/IFAS gardening site is a good place to start.

Eventually, I plan to have a list of favorites to grow for every season in my area. The mistakes I make now will only enhance my knowledge of gardening.

Building a Garden is Slow and Steady Work

Building a garden is slow and steady work, but once the ground is prepared, the fun begins. This may take days, weeks, months or years depending on the size of the garden and how much help you have in doing it.  Cats not included.

As a new gardener you may think that growing things is pretty straightforward. Buy the plants, dig a hole and put them in the ground. A little water here and there and soon you’ll see flowers or vegetables emerge.

Experienced gardeners know it is far from being that simple.

A Little Back Story

The first house I bought in New Hampshire had ready-made, lovely garden areas. I enjoyed picking asparagus from the perennial asparagus bed. Stunning tulips popped up in Springtime all over the yard, and the large perennials included wisteria, dogwood, and hydrangea trees! I enjoyed that yard for only two years, then moved on, through no fault of my own.

tulips and daffodils
My old New Hampshire Garden in Spring

The nice thing was the fact that the gardens were ready for planting. I could go buy pretty plants, or vegetables and put them into the ground and they grew nicely alongside already established additions. Prepared beds and established perennials are a wonderful treat for a homeowner.

After that, I have never lived in a ready-made gardening landscape. This means planning the site, tilling the soil, adding amendments, and finally buying the plants which will hopefully grow happily in their designated spots.

Without the extra finances (or help in the yard) to put toward all this, it can take years to accomplish a garden plan. Really.

In New Hampshire I had loam delivered each year. I moved wheelbarrows full of the dirt to various areas in my yard over the course of weeks. I’m an older lady and can’t do a lot in any one day, so I had to pace myself. Within five years time I had some pretty nice gardens in my yard – then I moved away.

The Here and Now

I moved into my Florida home in Fall 2016. My son built me a raised bed and I’ve been working on filling it since then. At the time this writing it is April 2018 and finally the bed is full of good soil which is ready for planting.

raised bed garden dirt
The raised bed is ready for planting

I’ve been using the raised bed as a mixing station. One end is free of plantings so I can dump bags of dirt and compost in and mix it up. After adding blood meal, bone meal, and fertilizer, I mix it up like a big stew and fill black pots to grow individual plants.  (By the way, as I was writing this, I discovered that not all “organic” labeled fertilizer is really organic.  Read my post about identifying real organic fertilizer and even bags of dirt.)

I also had to re-plant a big bucket in the yard where everything froze over the winter.  This pot used to hold a huge croton.  Now you can see what’s left in the background.

bucket of flowering plants
Big pot re-planted with crotons and flowering plants

Now that I’ve used that good dirt mix everywhere it was needed, I will plant more vegetables in the raised bed. From here on out, all that is needed is to amend the dirt with compost every so often and re-plant when needed. The hard work is complete.

Yahoo! Yippee! Hallelujah!

February Yard Work Getting Some Planting Done

This past weekend (mid-February) I did some garden work and planted a few seeds. It was a hot day but I decided it was time to move the lemon tree from the front to the back yard. Thanks to that digging and lifting my back was aching the next day. But I have high hopes that the tree will recover and give me some lemons one day. (Photos below)

The raised bed still needs more soil. While my son was cutting the grass he bagged up some oak leaves (oak leaves are small here, not like the majestic oaks of the north which drop big leaves) and dumped them into the bed.

raised bed garden
Adding oak leaves to the raised bed

Creating good garden dirt takes a lot of adding and mixing, not unlike making a good soup or stew. All the ingredients together will give me some delicious dirt to help my vegetables grow well.
I still have two potted crotons which were cuttings taken from the big croton out front – which is now dead thanks to the cold. I’m not sure what I will do with them.
fabric pots
Filling the fabric pots to be ready for planting

Bone meal and blood meal was added, and I threw in an old tomato (I regularly add kitchen scraps to make compost within the bed. I’ve even seen a couple of big worms in the dirt recently …. yay!
gardening in February
Eggplant coming back after the freeze

During the winter months it’s not a good idea to trim back dead growth, but I made an exception with my eggplant. With all the top brown branches trimmed away I can more easily cover it if cold temperatures come back.

I planted lettuce seeds in one black pot and yellow squash in another. I should have planted the lettuce earlier, but oh well.

The Lemon and Lime Trees

About a year ago I added a Persian lime tree and Lemon tree to my yard. The lime tree has done very well, providing me with loads of limes in the Fall season. I kept it in it’s original pot and it’s in the backyard.

The lemon tree was planted in the ground in my front yard. Right off it began to have problems. When I planted it, I wasn’t used to our new home location yet. I didn’t realize that front yard gets a lot of wind which makes it an inhospitable place for most plants. Even though the new tree bloomed and grew some lemons, it’s leaves fell off and none of the lemons were nice enough to eat.

lemon tree
Moved the Lemon tree – Feb. 2018

This was a lesson in choosing a good spot for my trees and shrubs. I doubt I will try to grow anything out front.

I really thought the tree would be dead by now. Besides the wind, we’ve had a few nights of cold temperatures. I covered the tree, but lots of things died even though I covered them. Still the tree lived on.

Many of it’s branches are bare and it looks like some animal maybe had been chewing on the stems. Plus my son often hits the branches with his weed-eater.

Even after all this, the lemon tree still grows. Below you can see how pretty the Lemon tree was when I planted it. Because it is still trying to live, I feel guilty for leaving it unattended for so long.

I’m hoping that with it’s new spot in a fabric garden bag in my backyard, I can bring this tree back to it’s original beautiful form.

screen-shot-2016-12-31-at-8-57-26-am
Meyer Lemon Tree – 2017

Building Good Soil in a Raised Garden Bed

pine wood raised bed
Raised Garden Bed

I was thrilled to see the raised garden bed my son had made. He wanted something to do, so he researched the “how to’s”, went and bought the wood and put the thing together. With his brother’s help, they carried it to the backyard and finished tightening the screws.

Step one on the road to Florida vegetable gardening was complete.
Now I just needed some dirt! But buying dirt doesn’t mean you will have the good soil needed to grown super veggies.

Most gardeners know that soil makes or breaks the growth of the plantings. Planting directly in the ground means there is at least something there to begin with, but starting with an empty box means building the good soil from scratch.

The Basics For Building Good Soil

Over the years this is what I use to create good, worm-loving dirt that gives a good yield of crops.  I’m no expert, so feel free to leave a comment with your recommendations.

1. Loam / soil / organic dirt
2. Compost – store bought and / or homemade
3. Organic Fertilizer
4. Bone Meal (for crop root development)

The location of this raised bed presented a problem when it came to filling it. My son has a truck and was happy to go pick up a load of loam / dirt, but getting it to the wooden box was not going to be easy.

First we filled the bottom of the box with leaves and grass collected in the lawn mower bag. Then I put my black fabric garden bags inside the bottomless box.  I also left a few pieces of cardboard in the bottom to help keep the weeds / grass from growing.

growing carrots and lettuce
Bags with carrots and lettuce

For now, I planted vegetables separately in each of the bags, and I ended up buying some new bags, so I could grow more.

Two bags had potatoes – the red ones gave me lots of little red potatoes, with tomatoes, peppers, lettuce, and peas in the others.  When the plants had gone by and were no longer producing, I dumped them into the bed, plants and all.

screen-shot-2017-03-02-at-9-27-07-am
My Garden March 2nd

Between using the dirt in the black pots, and adding compost (store bought and home made), I can eventually fill the box with relatively good soil.

Creating good garden dirt is an ongoing process.   Banana peels, egg shells, and chopped vegetable scraps can be added directly to the dirt in the box.  Soil amendments must be continuously used to replenish the soil.

Hopefully, that will bring earthworms.  Soil can’t be called good, unless there is an abundance of worms!  This all takes time.  The ingredients have to break down over time.

It’s been 6 months since I began to fill my raised bed, and haven’t done much this summer except let the tomatoes, basil, eggplants, and peppers grow wild. The heat keeps me inside, but I do pick a small tomato or pepper every now and then.

The wood has faded to a weathered appearance, and slowly I will be raising the soil level as I empty more of my fabric bags.

summer garden raised bed
The Summer Garden Grows Wild

female cardinal
Female Cardinal, photo credit: Skeeze @ Pixabay

Cardinals come to the garden looking for bugs to eat, and they drink and bathe in my makeshift bird bath sitting on the corner. (I can’t get a good photo, so I used this one from Pixabay.)

Little lizards run along the edges and I see the occasional ladybug and butterfly on the plants.  Parsley worms have been found on the parsley.

raised garden bed building the soil
Once the weather cools off enough to work outside, I will dump all my fabric bags out into the box. I will add more grass clippings, along with organic fertilizer, bone meal, and cornmeal (supposedly it brings worms). In other words, I will work on building up the dirt to get it ready for winter planting.

I’ve found that the big wooden box is a good place to store my unused bags and pots for now.

Making Hydrangea Flowers Turn Blue: Lowering the pH

Blue hydrangea shrub
Blue Flowering Hydrangea Shrub

Certain plants need a low pH, or acidic soil to grow and thrive. The hydrangea will do well in any pH – acidic or alkaline – but the soil type will effect the flower color. If you don’t care what color your flowers are, then you will accept the fact that your alkaline soil will give you pink blooms, but many people want hydrangeas for their bright blue color.
The pH scale goes from 0-14, with 7 being neither acidic nor alkaline – it is neutral. If your soil is naturally alkaline, or has a pH above 7, you can try adding an organic amendment to bring down the pH which may change your hydrangea flowers to blue.

I live in an area that has acidic soil naturally.  We can easily grow acid soil loving blueberries, rhododendrons, azaleas and other plants – including blue hydrangeas – without adding any amendments.   I have never used any products to create an acidic soil, but I’ve read about it and this is what I’ve learned.
If you buy a blue hydrangea and want it to grow blue flowers in your yard, check your soil’s pH – in the place you plan to plant them.  Any soil that is high in lime can cause pink blooms, and that means plants near the cement walls of a house could be growing in a more alkaline soil.

There are various ways to bring the pH down to the right levels.   Making an acidic soil mix for a pot is relatively easy, but changing the pH out in an area of your yard is much more difficult, and it will need constant monitoring.  It is not a permanent fix and could take weeks to achieve.
In general, organic type matter will help lower a pH. When starting a garden add organic compost, composted manure, and / or pine needles which all help lower the pH.  Also, you may want to buy a bag of garden sulfur and follow the directions for application on the bag.

If your soil is naturally alkaline, you will be fighting the elements to get those blue flowers.  It may work better to grow them in a pot, or learn to love hydrangeas that are pink.

Read more at this page:  How to Lower Your Soil’s pH and Turn Hydrangea Flowers Blue