New England native, Florida resident. Blogging about boating, beach-combing, gardening, camping, and knitting. Work for Zazzle as a designer since 2008.
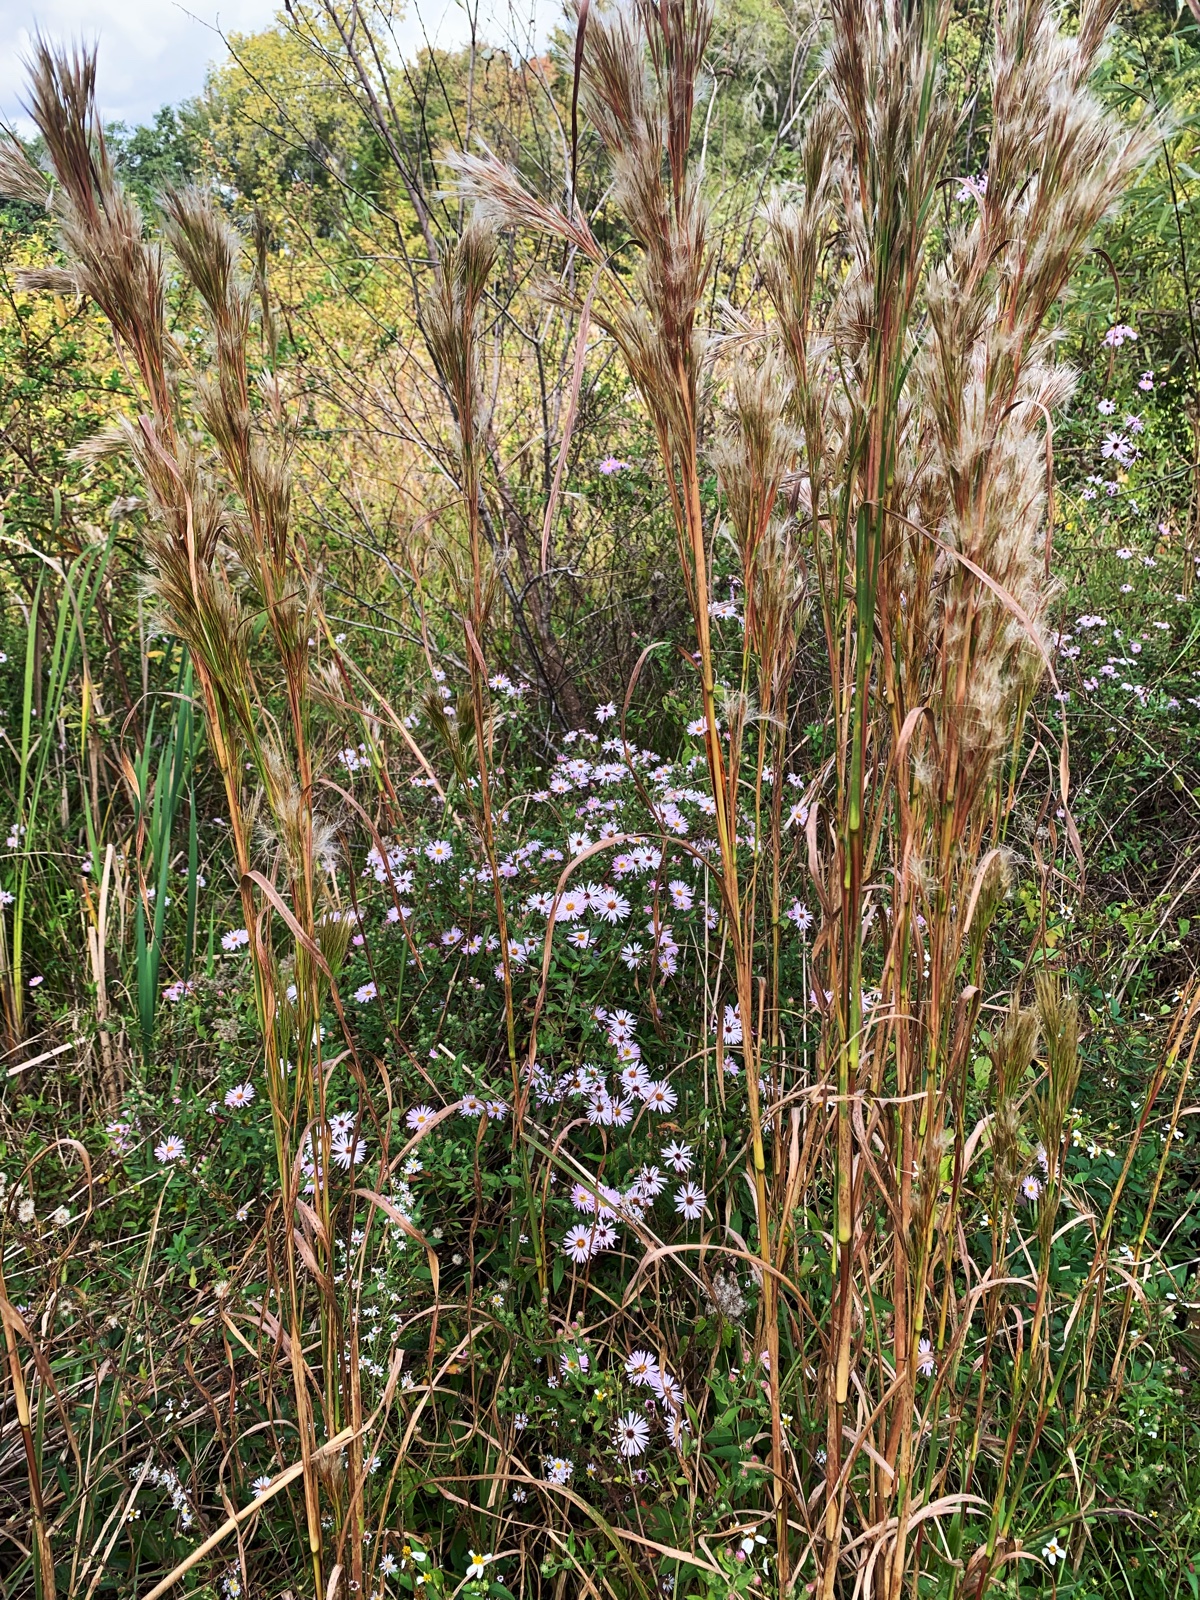
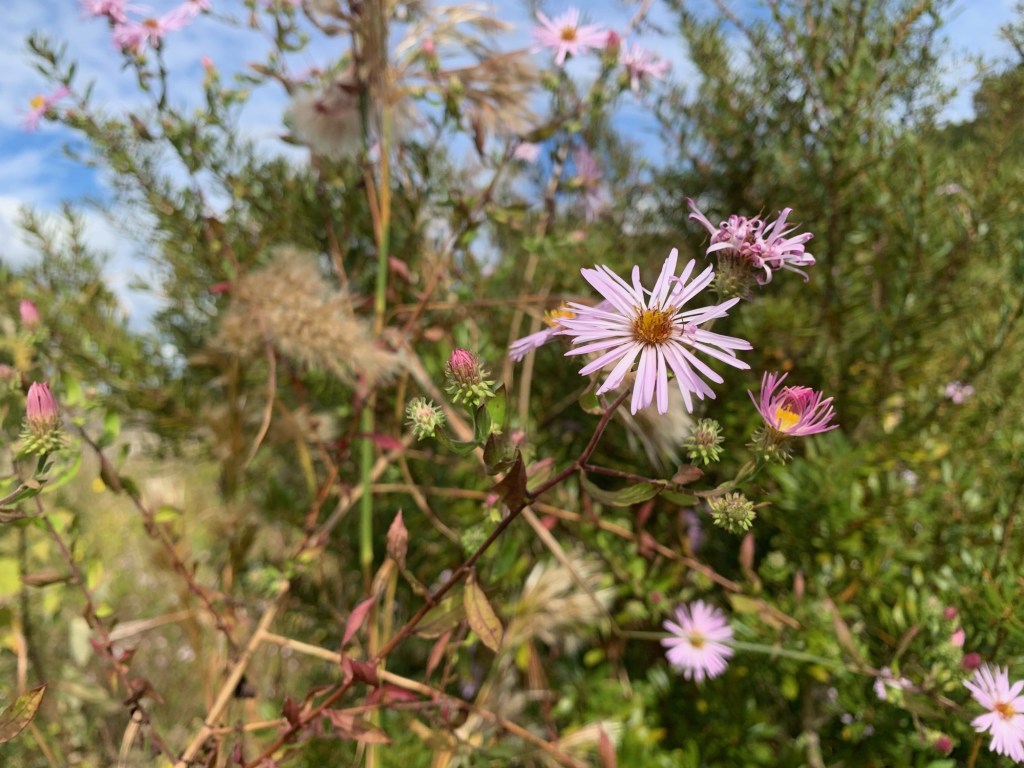
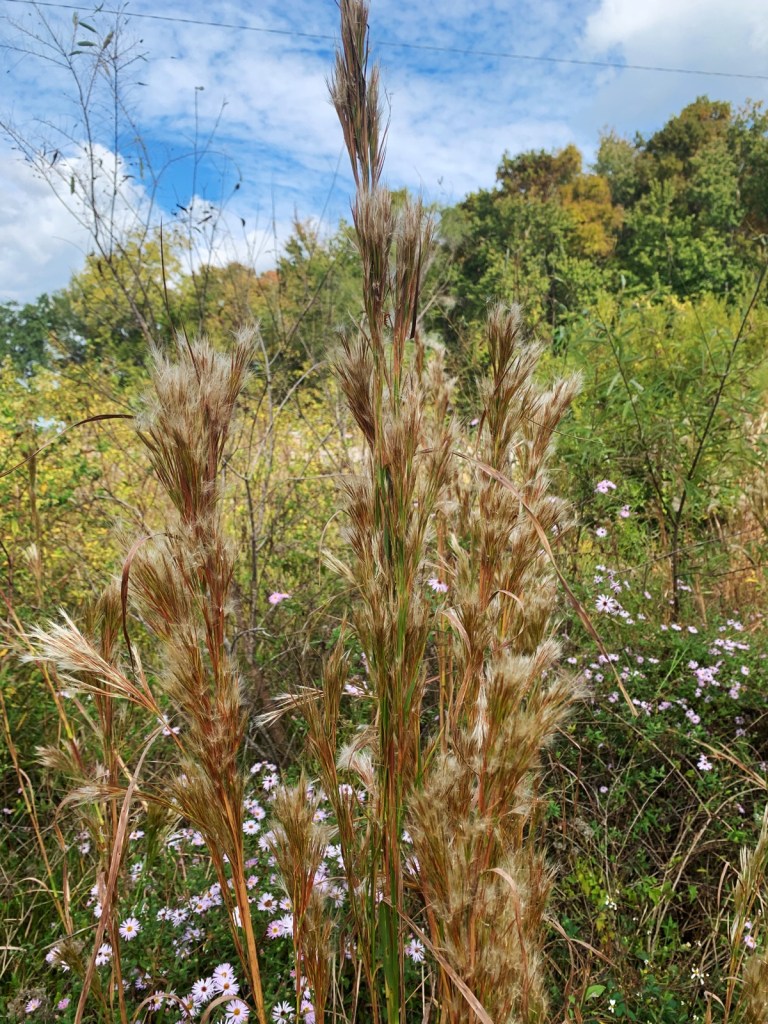
Pictures of native Florida tall grass and flowers.
While camping at Rodman Campground in Palatka, Florida, we drove to the local dam. A central garden, or natural area, by the boat ramp, contained some beautiful native flowers and tall grass.
Loads of bees were all over the flowers. Not sure exactly what the grass is, or an exact name for the flowers, but the area was beautiful.
When something doesn’t grow well from seeds, it’s easy to blame bad seeds. But take into consideration the location of the planting. Does the site have enough sun, or too much? How is the soil? Were amendments added and were they the right ones needed?
I’m not much of a soil tester – okay, I never test my soil. This is probably a mistake, but I’m not ready for that yet. If nothing grew, I would blame the soil completely, but I have had lots of success. I’m not ready to check my soil.
Soil
When the same types of seeds are planted at the same time, but in different locations, comparing growth should tell me something.
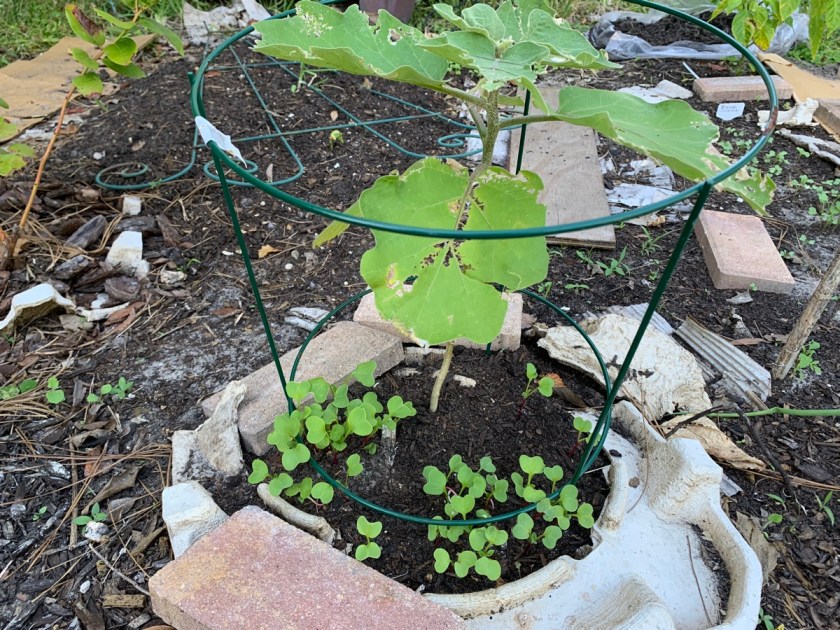
In the case of the radishes, which I planted only because I happened to have a packet of seeds, some did way better than others.
Radish under the eggplant
Radish in the grow box
The radishes in one of my grow boxes have become very large. I have already eaten one small radish. None of the other radish plants, which grow everywhere in the garden and other boxes, are nearly as big. Most of them get the same amounts of sunlight, so it figures that this one specific grow box has some very nice dirt.
Lettuce was growing alongside these radishes, but it was from seeds I had saved, and the lettuce was bitter so I pulled it up. Now I have carrot seeds planted.
The Carrot Experiment
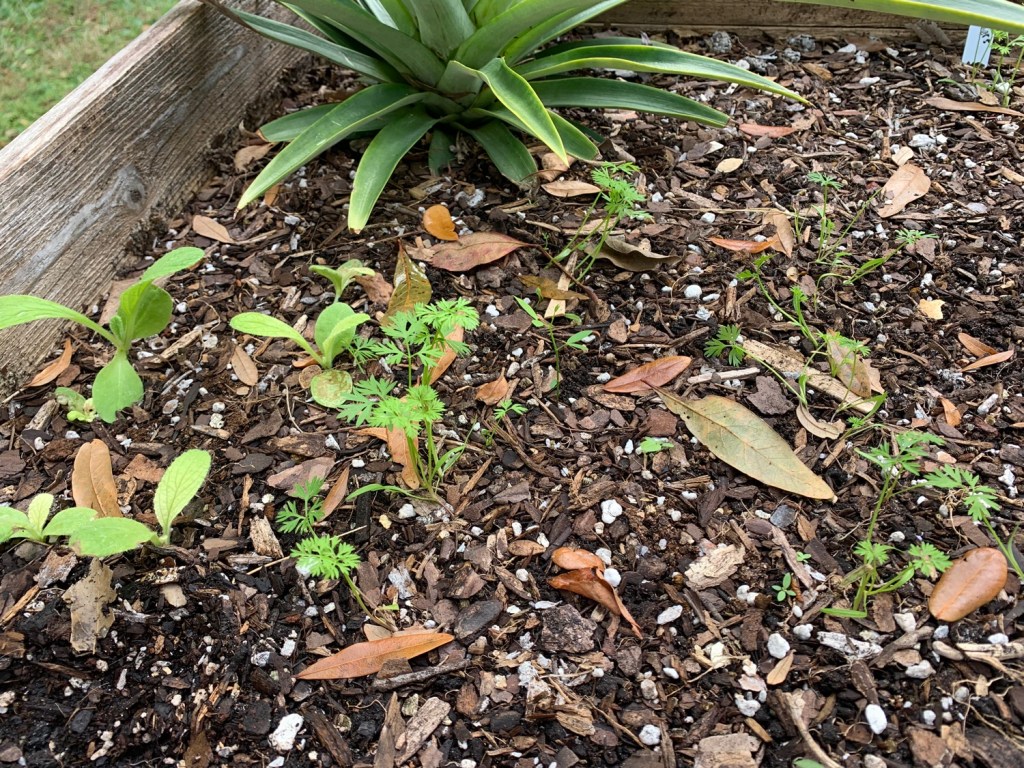
The carrots which were planted in my first choice bed are doing poorly. I choose the tallest grow box so the carrots would have lots of room for rooks. I had loosened the soil, and added some good stuff. I had high hopes, but they are barely growing.
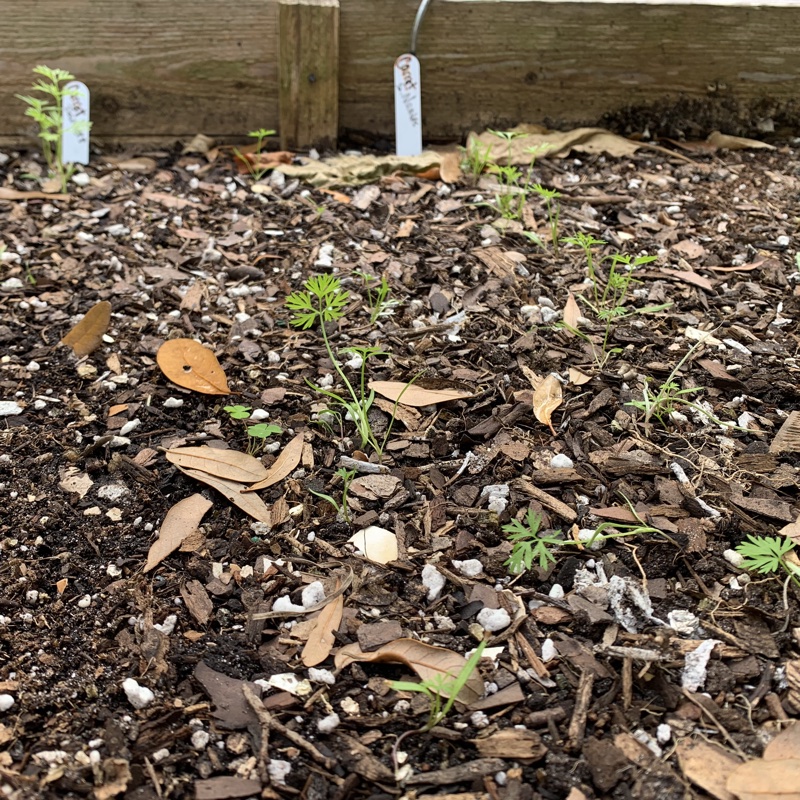
Carrot seedlings after one month, alongside borage and a pineapple. The borage is not doing well either, so soil problems?
The carrot seeds were planted just about a month ago. According to the packet, they will be ready in 65-75 days. It is hard to believe that these tiny things will be ready to eat in just over a month’s time! I seriously doubt it.
My second carrot planting is in that box with the radishes. I am very sure that the soil is good. If the carrots still don’t grow, I will blame the seeds. The weather is cooler now, and both spots get good sun.
Growing Sites – Choose Many
If you are unsure about growing a crop, select more than one place to try to grow seeds. Everyone knows that most things need sun to grow, so definitely choose sunny locations.
I have two ground garden areas and a bunch of grow boxes and “raised beds”. It is easier to manage the boxes, and the dirt has been amended over and over. I can move them to shade, or sun, as needed.
This year I also added some new grow bags as well.
Interplanting of Crops
This fall I am doing a lot of interplanting of crops. For one thing, I am not sure which ones will do best and which won’t grow at all.
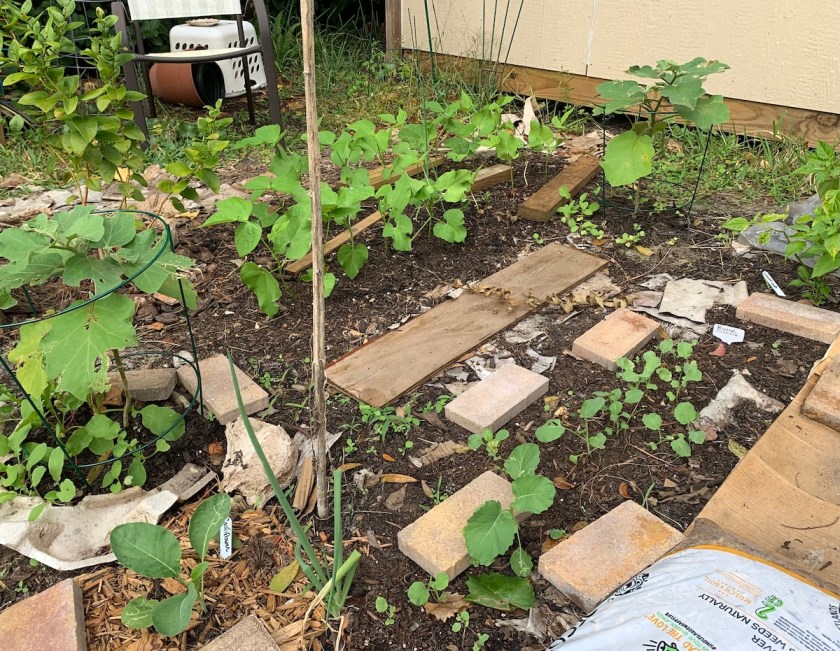
This small garden in my photo contains snap beans, 2 eggplant, radishes, broccoli, 1 cauliflower, 1 pepper, and a blueberry bush! I know it is not optimal, but I am trying to make the best of a small space.
Fall 2023 garden in the backyard
As was true for my summer garden, I am experimenting with fall and winter crops. Whichever vegetables do well, will be planted again next year. I’m keeping lots of notes.
Seeds
Sometimes it is best to grow crops from seeds. Big seeds can be planted directly in the ground, and I’ve had great success with watermelon and pumpkin in spring, and snap beans now.
Buy seeds as close to planting time as you can, in the hopes that they will be freshest. Packets should have a date. I try to use my seeds within a year.
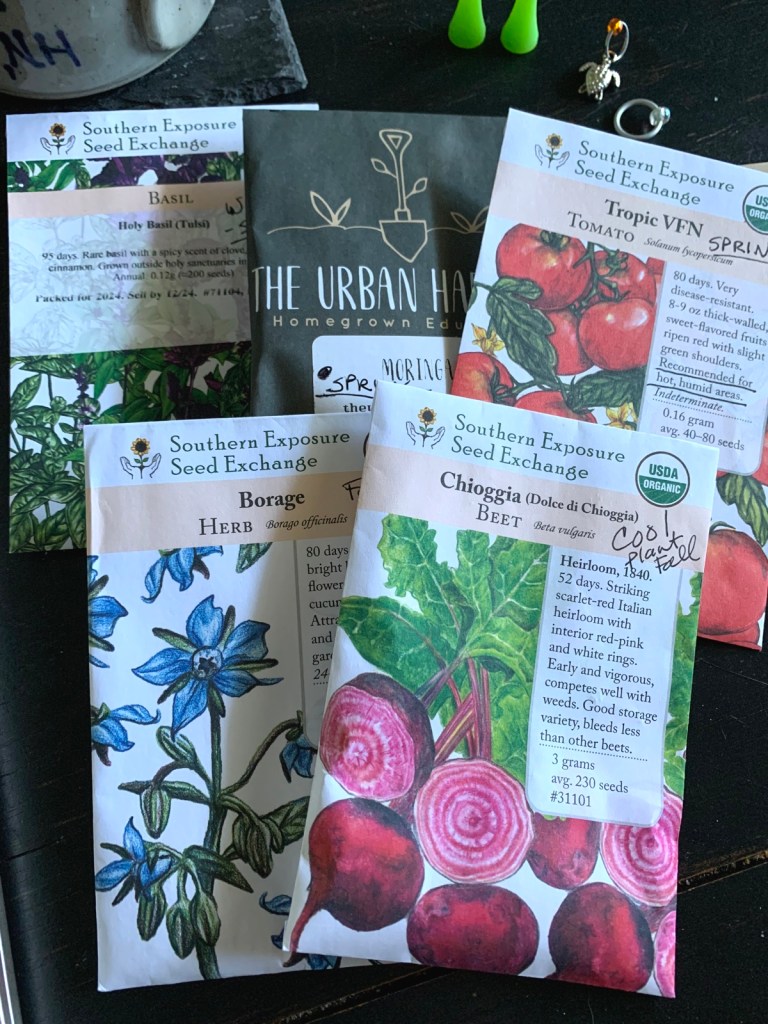
But first I needed to figure out when to plant what in my central Florida location. Even the seeds from Southern Exposure can’t be relied on to give Floridians planting advice. SESE sells seeds to the southeastern US, which means many growers don’t live in a Florida climate. The packets mention “last frost” and freezes.
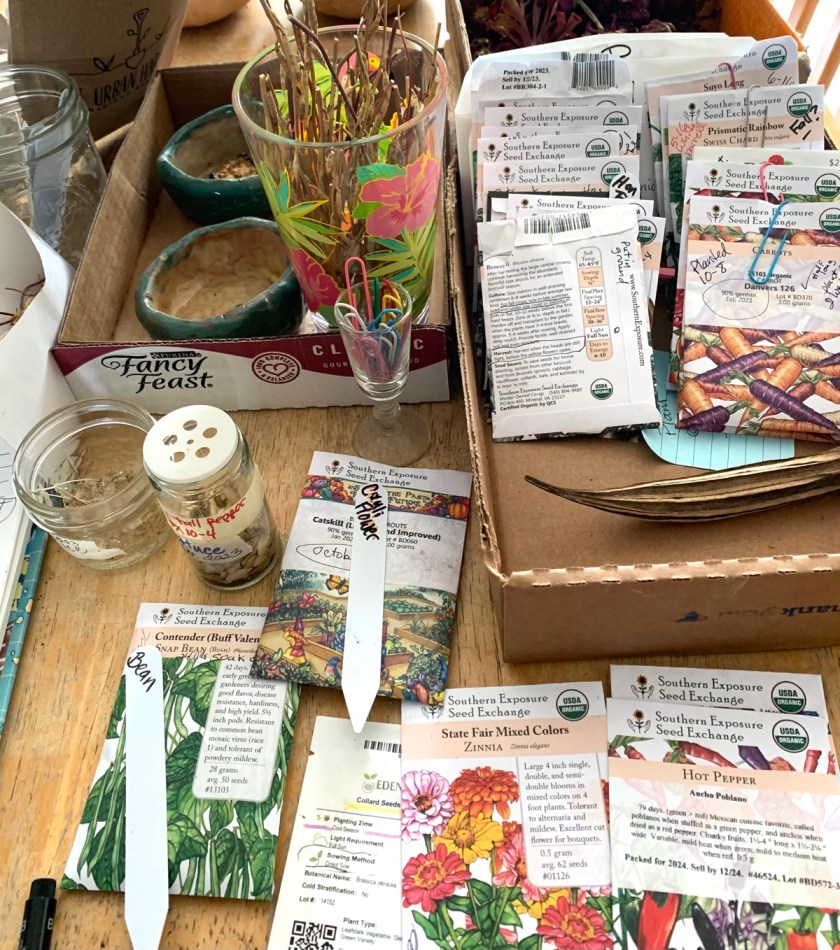
Seed order from The Urban Harvest
There are a few things I’ve purchased that just haven’t grown. I’ve tried them at different times, in different locations, and been unsuccessful. It probably means either bad seeds, or the stuff just doesn’t want to grow in my yard. I’m not going to fight with it, I will move on and grow something else.
The South is Nothing Like the North
Although I would love to grow some of the same plants I grew in New Hampshire, the south is nothing like the north.
Borage is one of the failures. It hates the heat, and I do have a few little seedlings coming up, but none of them look great. I’ve read that borage grows great here in Florida, but I don’t believe it.
Nasturtium has also done nothing. Most of the seeds didn’t even sprout. In this case I am blaming the seeds. But I doubt that the plant will like this Florida climate. Sticking with what works well in my area if a good choice and I won’t buy these again.
Experiment and Take Notes
Do your vegetable gardening research for your particular area, and then plant what is expected to grow well. The UF/IFAS gardening site is a good place to start.
Eventually, I plan to have a list of favorites to grow for every season in my area. The mistakes I make now will only enhance my knowledge of gardening.
It is not often that I buy cauliflower, but I do eat it. When I had the chance to buy seeds, I decided to try my hand at growing my own. One nice head would be just fine, but the packet has 600 seeds!
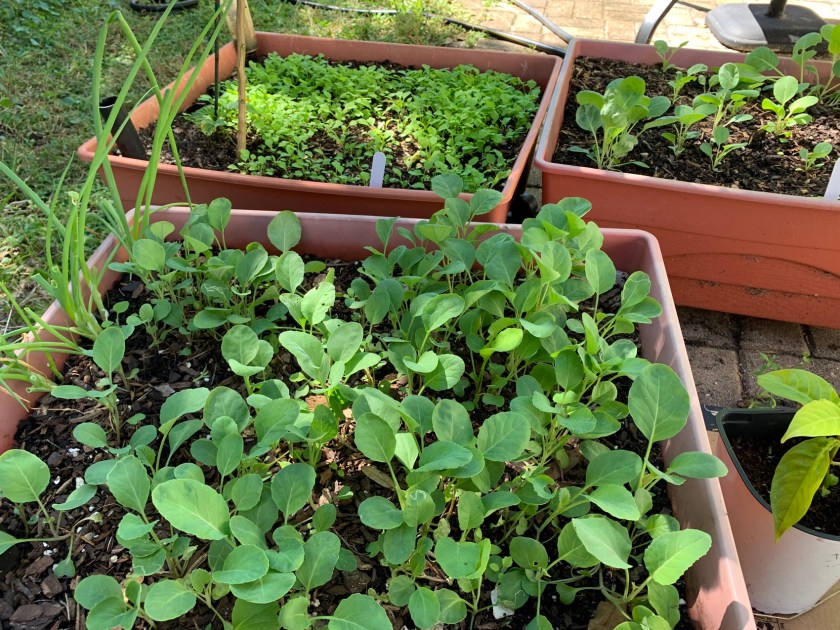
Often my grow boxes, aka little raised beds, become a nursery for seedlings. Once the babies grow, I can redistribute them to large pots or into the ground. A lot of these plants will be pulled up, or cut off, and added to the compost bin.
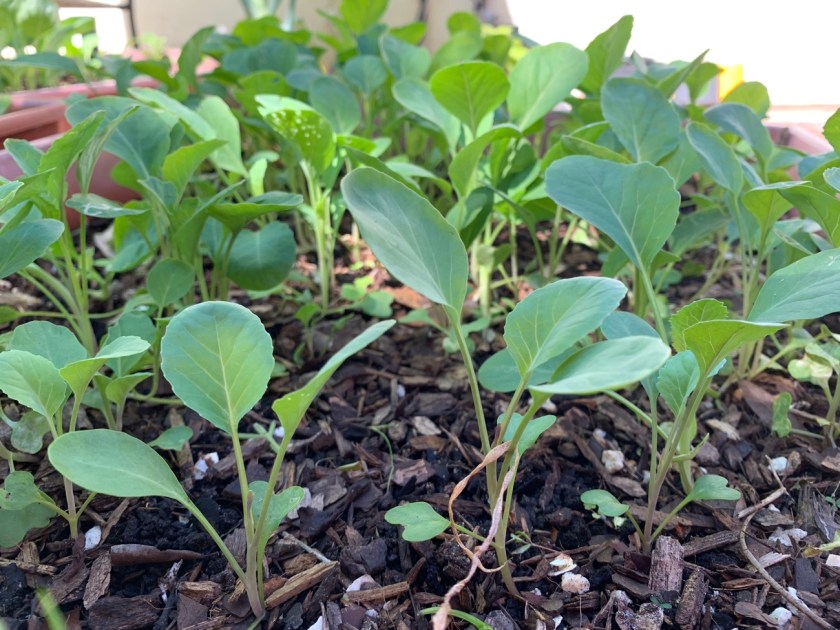
Cauliflower likes cooler weather. Here in Central Florida it can be planted in fall. I put some of my seeds into a grow box on September 12th, and by October 21st they have really sprouted! (photo below)
Overcrowded cauliflower seedlings – 10/21
Cauliflower plants need a foot or more of space for each plant to grow. That means I will probably grow only one plant in this box! Obviously a lot of these seedlings will have to go. A few can be put into the back garden, and I might use my grow bags for a couple.
According to the UF|IFAS Gardening Solutions “Cauliflower” page, each plant needs to be 12-18 inches apart. All of my gardening areas are small, so I will only be attempting to grow a few cauliflower plants. How much cauliflower do I need anyway?
Self-blanching cauliflower means that when the leaves grow, they will automatically wrap around the head. This is for protection from the sun. Thankfully, I had purchased Snowball Self-blanching, so I shouldn’t have to worry about that – BUT the seed packet says this, “Tie the inner leaves around the crowns as they form to blanch them white.”
Cauliflower Seedlings
After the seeds were planted in this box outside, and just beginning to grow, we had over a week of rain – lots of rain. We had 9 inches in just 2 days and it rained for over a week. I wondered if any of my newly planted seeds would survive, but they did.
The seed packet directions also inform me to provide fertile, well-drained soil and even moisture. I guess they can handle the water. This grow box is not getting a lot of sun. The plants will have more sun in the grow bags.
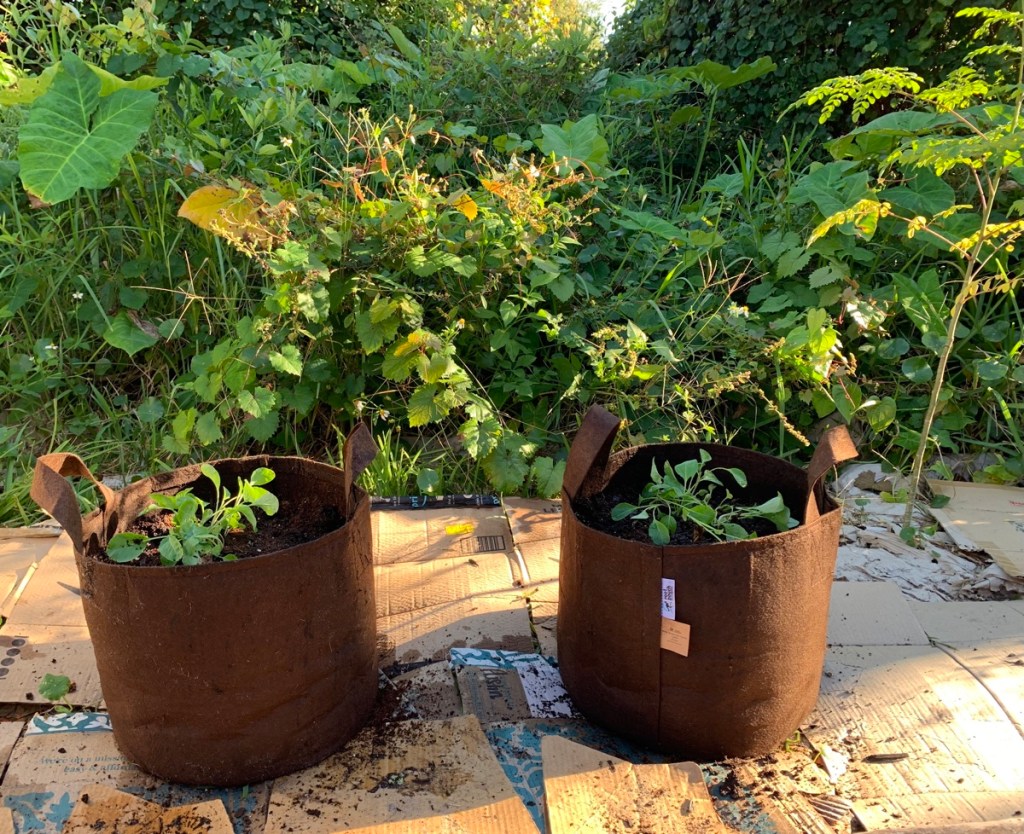
Once the sun was heading down, I dug up groups of the cauliflower seedlings, from the box, and planted the whole clump into each of two bags.
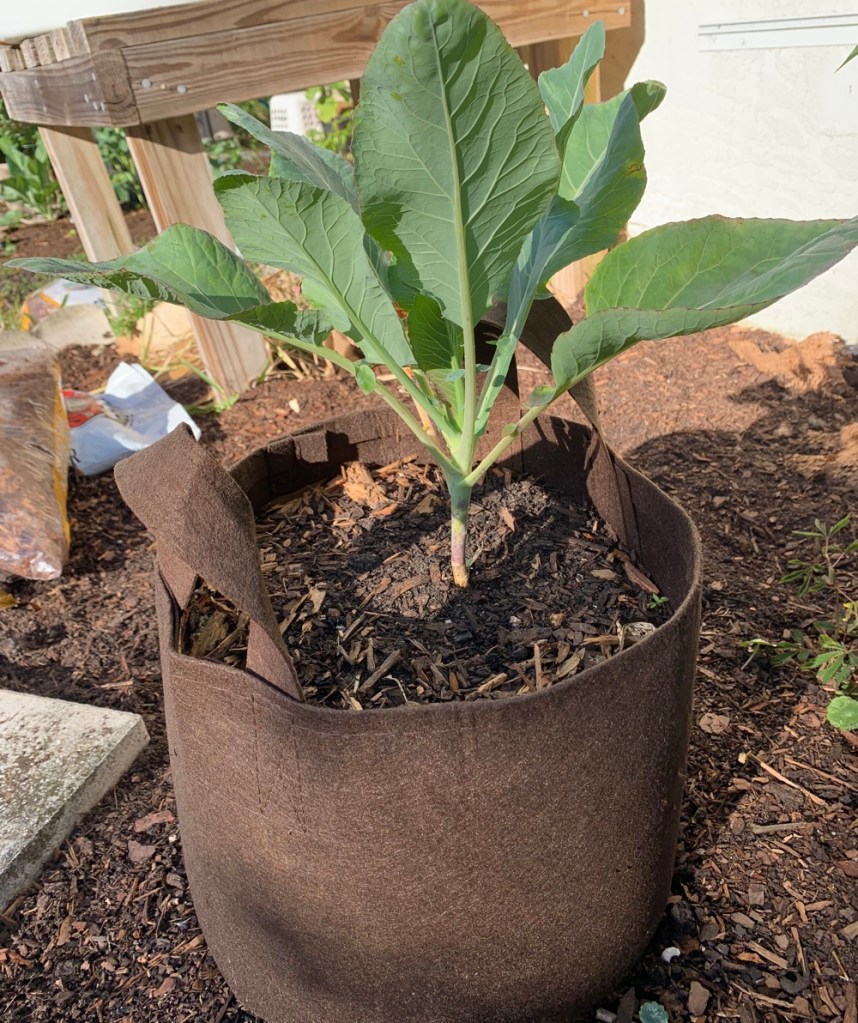
Once they began to grow, I thinned them down to one plant per bag. After months of growing, I never got an actual cauliflower head, so I began to eat the leaves! Many cruciferous vegetable leaves are edible.
A few seedlings in each potThinned to one auliflower plant
Tendency to Overbuy Seeds
Little seed packages are inexpensive. Because of this, we tend to overbuy. Each seed packet usually has more than enough seeds for a small, backyard garden area.
I’ve divided my seed packets into Fall and Spring, with a few Cow Peas / Black Eyed peas to use in summer. I’m not going to try to grow much next summer.
My garden planning area and my used (and unused) seed packets.
The exception to this packaging of seeds, is the Moringa. The seeds are large and I think there were only seven or eight in the packet. Also, other larger seeds like squash, cucumber, beans, and watermelon won’t have a lot of seeds. But, if your garden is small, one package will probably work.
I am still learning what to grow in my area, so I have over-bought this past year. Seeds don’t stay viable for more than a year or two – unless the packet says differently. They can’t be kept and stored for long (as far as I know), so there is really no need to stock up without having a plan for sowing.
Saving seeds is fun too, although I am learning that it should not be done if you grow more than one type of that vegetable, or from that family. They can get cross-pollinated and the seeds won’t give you the correct vegetable next time – when you use the saved seeds to grow again. It gets complicated. If you want more info on saving seeds, read this article at Seed Savers Exchange.
I saved lettuce and arugula seeds from Spring and have recently planted those seeds. Both veggies are growing well. I have a lot of seeds left over too.
Experimenting with growing Hon Tsai Tai Flowering broccoli during fall and winter here in Central Florida.
I’d never heard of Hon Tsai broccoli until I saw it mentioned by Elise Pickett of The Urban Harvest. Now, I can’t find the location of that mention, but here is what I am doing.
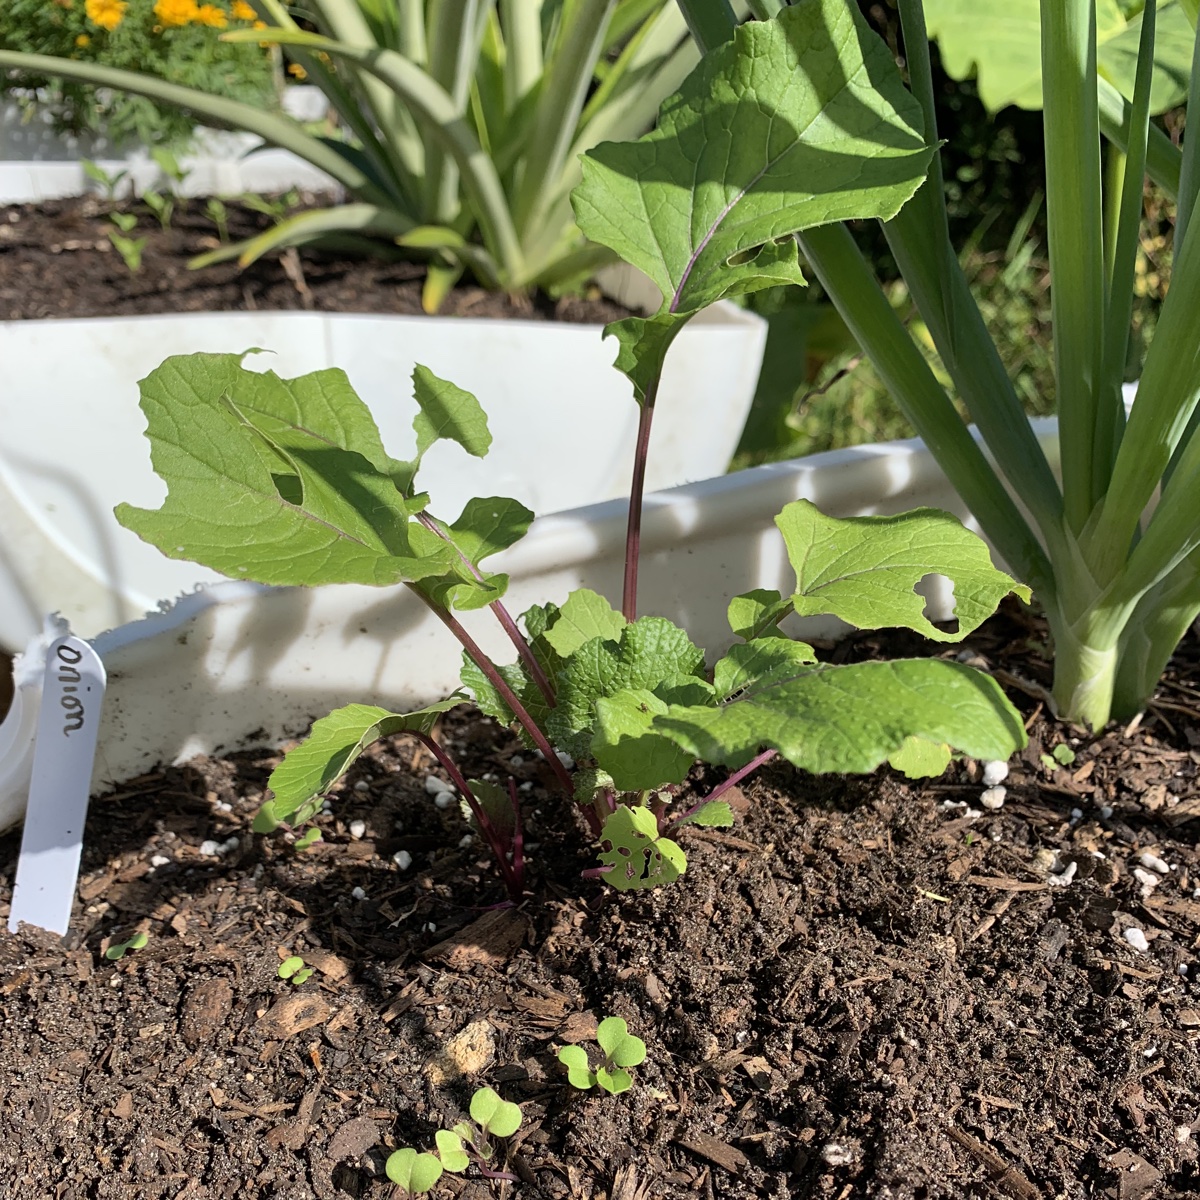
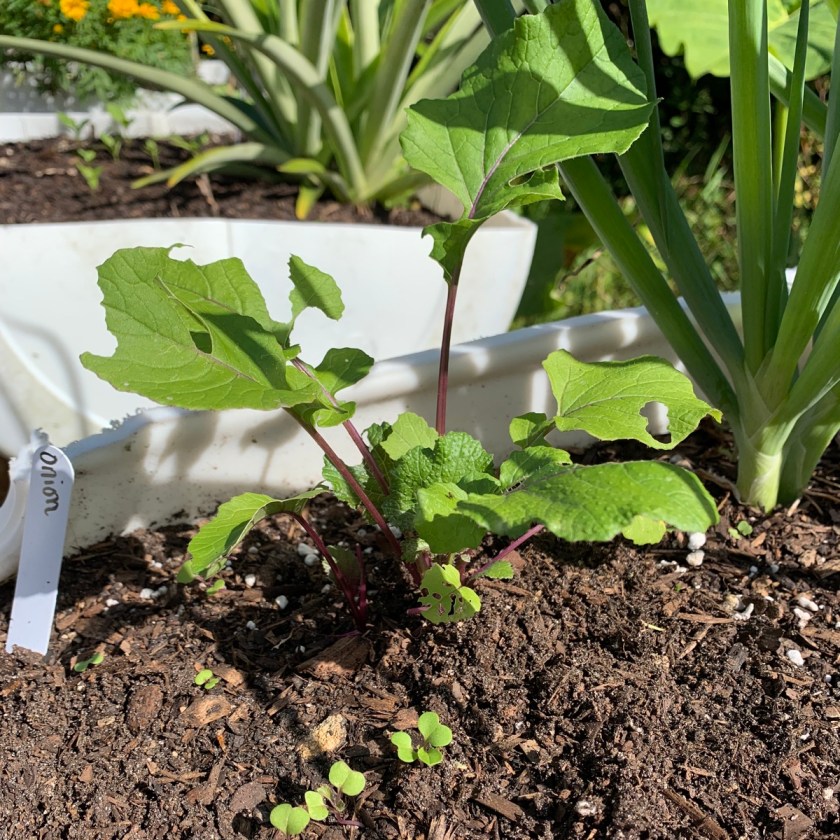
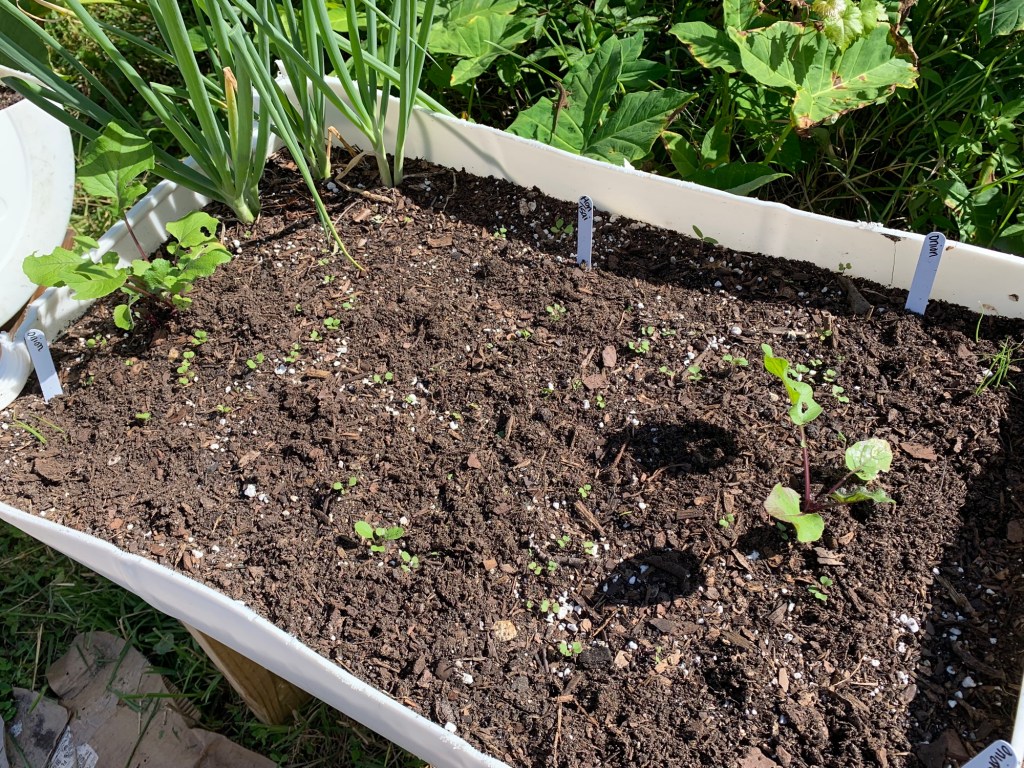
I bought a packet of her seeds and planted a few in pots in September. Just a few weeks ago I transplanted the two seedlings into a raised bed (October 4th). More seeds were added and have now sprouted. The early starts are much bigger. Some of the leaves have been chewed by something that I can’t see.
Hon Tsai broccoli
Info on Hon Tsai Tai Broccoli
I love broccoli, and I’m not sure if the normal stuff can be grown here (planted in Fall also, but have only leaves to eat), but I’m trying to grow this type from Heirloom seeds. It will not look anything like “normal” broccoli though. I’ll take it for the fresh greens and make a stir fry.
The packet of seeds, which came from The Urban Harvest, doesn’t have any information – the back of this packet is plain white. I have made notes about the Hon Tsai but I have no idea where I got the information! I’ve searched and searched. I think it was an Urban Harvest video, but I can’t find it.
Here is what I will share from the notes written on the back of my seed packet. This link goes to the page to buy the item at The Urban Harvest. There is some information on that page.
Another site, High Mowing, has information about the Hon Tsai Tai Flowering broccoli they sell. Information on Hon Tsai Flowering Broccoli. The goal is to have leafy shoots with unopened flower buds that can be eaten.
This type of broccoli is a cool weather crop. Articles online mention that temps should be in the 70’s and below. Here’s the thing – seeds need warmth to germinate and in general seedlings like it warmish. A Florida fall season can be very hot at times. It can also be cold overnight as we get into November and December. Right now, we are still getting hot days (it was 80 today on Oct. 20th).
* I ended up replanting this bed (pictures below) with kale and Texas Early Grano onions. I did keep one Hon Tsai broccoli plant and it turned out to have some beautiful flowers.
Flowering Hon Tsai Broccoli
In closing, I’ve decided to grow the Hon Tsai broccoli again next Fall, but I will put it into the ground gardens. I’ll start it from seeds in pots, in September – because those plants did the best. Although I have been eating the leaves, they are not a favorite food. The flowers are fragrant and pretty and I wouldn’t mind having those growing all over the ground.
Videos For Growing Greens in Florida
Here is a list of videos that might give Florida gardeners an idea of what to plant during our winter months. It’s a bit tough to decide what to grow and when because our winters can be hot, and very cold. We can get freezes – at least where I am. If things are growing, they might need covering on very cold nights. Save up those old sheets and buy some clothespins!
Hon Tsai & Kale – not a great video but she shows her big Hon Tsai plants.
5 Winter Crops for your Florida Vegetable Garden – No Hon Tsai here either but some other ideas for planting. I suggest looking for onion seeds meant for the south. I’m planting the Texas Early Grano bulb onion variety purchased from Southern Exposure Seed Exchange.
Growing Bulb Onions
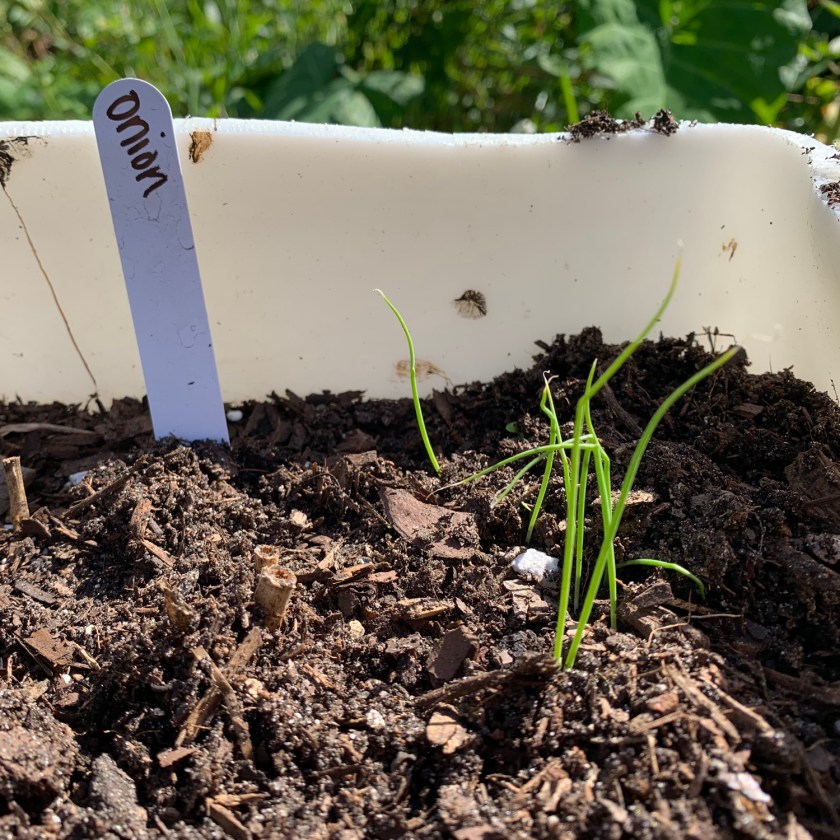
I can easily grow chives / scallions – those thin green stalks, but actual onions were thought to be impossible to grow here.
Then I saw a post on Instagram by a local farmer who successfully grew onions. They were planted in Fall and harvested before summer. The Texas Early Grano (link above) is the type mentioned. So I immediately bought some seeds.
I now have onions coming up all over the place. Onions take up very little space. I don’t have much space, so my onion seeds are tucked in all over the place. I really hope to have some slicing onions by next Spring.
The heat of summer here in Central Florida is something tomato plants don’t like. I grew one tomato plant this summer. It grew tall and big, but never had a single tomato. Now that things are cooling off a bit, I am hoping the tomatoes might grow and give me fruit.
But, I’ve had some trouble along the way.
I started the tomatoes from seeds. They grew tall and lanky and I put a few into the ground. They were promptly dug up overnight! I suspect raccoons, but maybe armadillos. We have both.
These tomato plants need more sun.
My only choice was to get them planted in a planter, off the ground, where they were not as likely to be dug up by the wildlife.
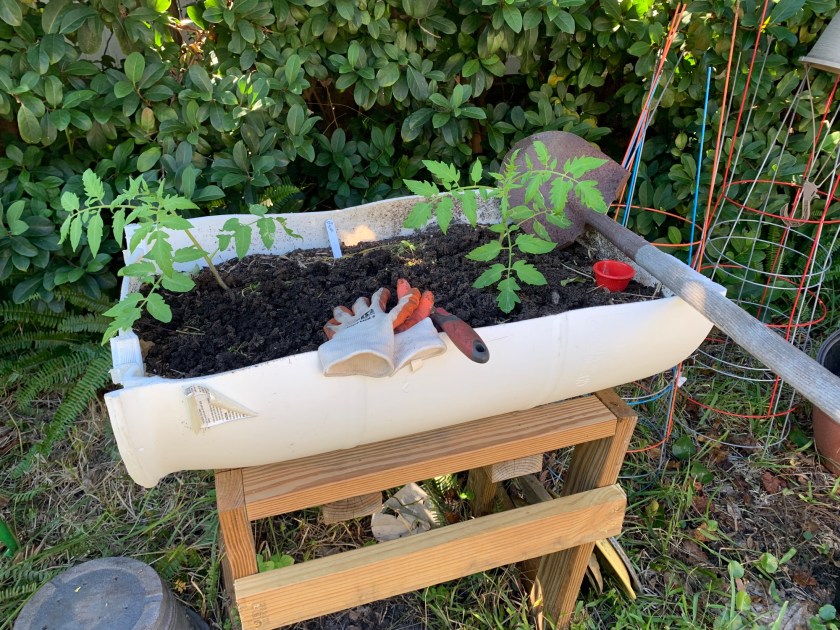
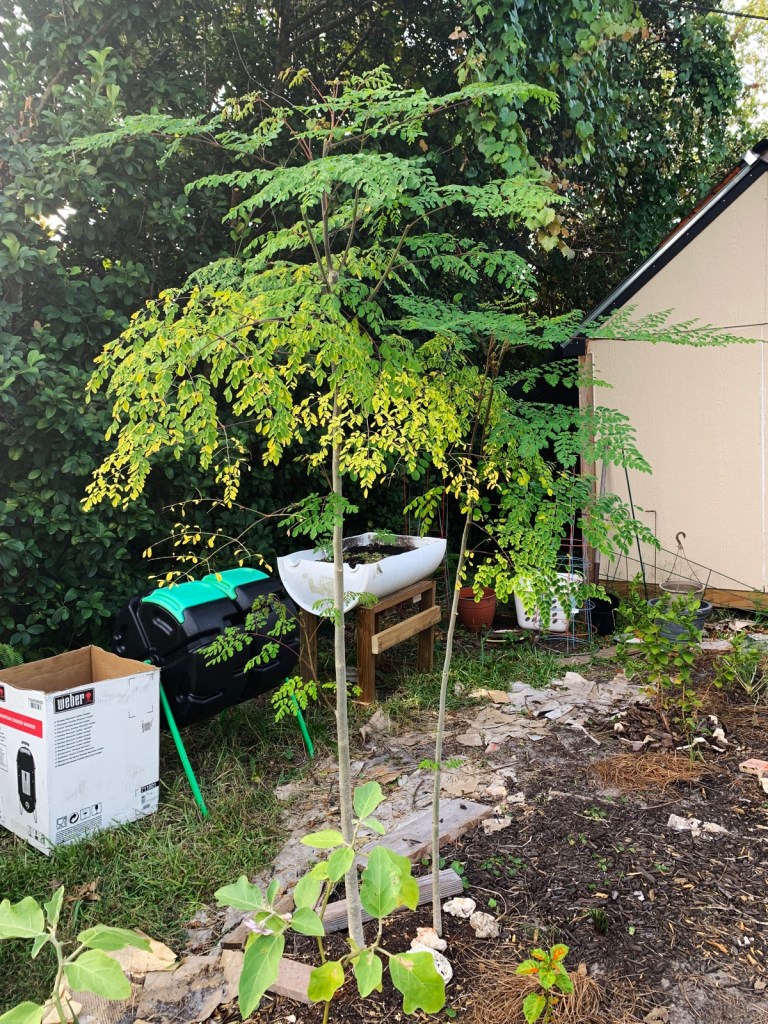
The white barrel planter at the back of my yard was being used as a compost bin. It sits alongside the Hot Frog barrels and I use it to throw larger branches and stems into. This raised bed area was full of good compost dirt. I decided to plant two of my larger tomato seedlings here.
You can see the barrel in my photo below, which I took for the Moringa trees post. Unfortunately it turned out that there is not enough sun back here for the tomatoes. I had to move them.
Backyard area
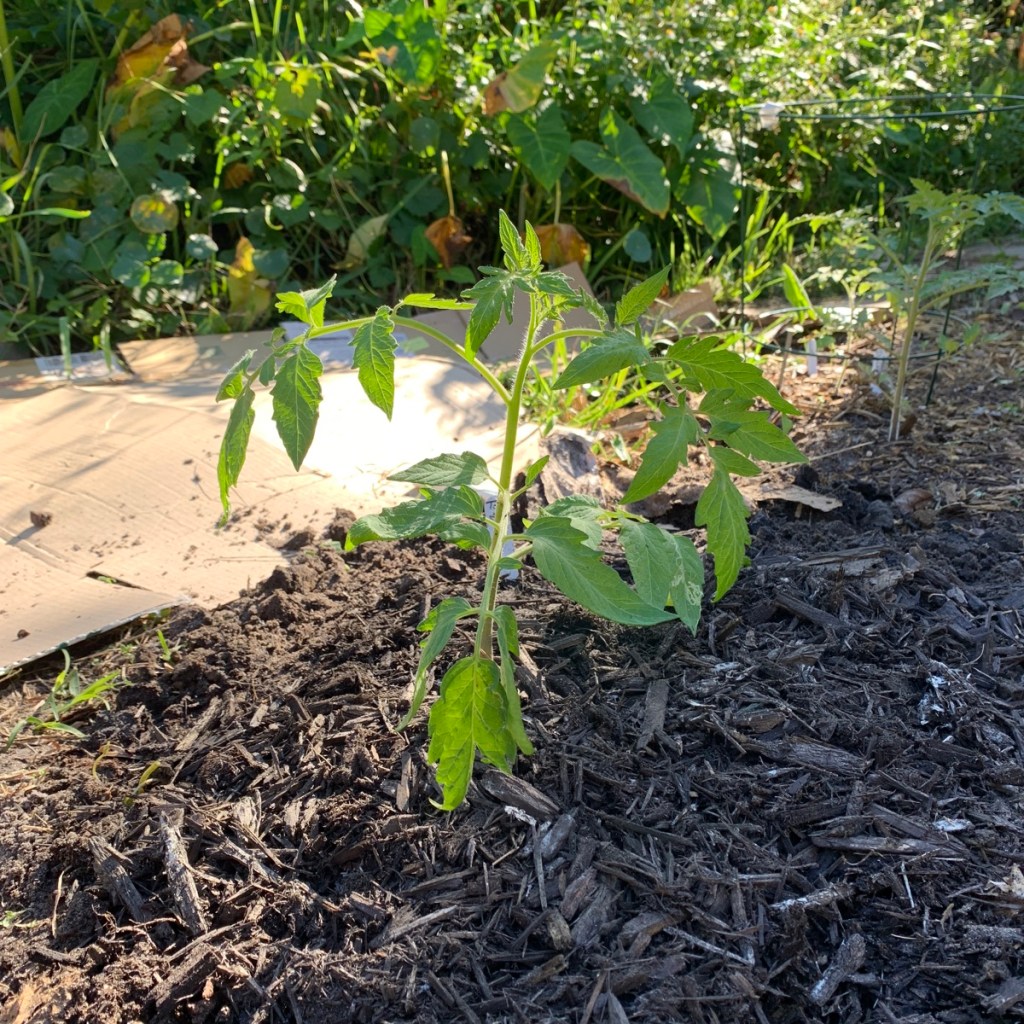
It was time to transplant these tomatoes again to a sunnier area of the yard.
Without all my garden areas ready to be planted (it’s a slow process), I have few choices. Also, they could be dug up again by the critters.
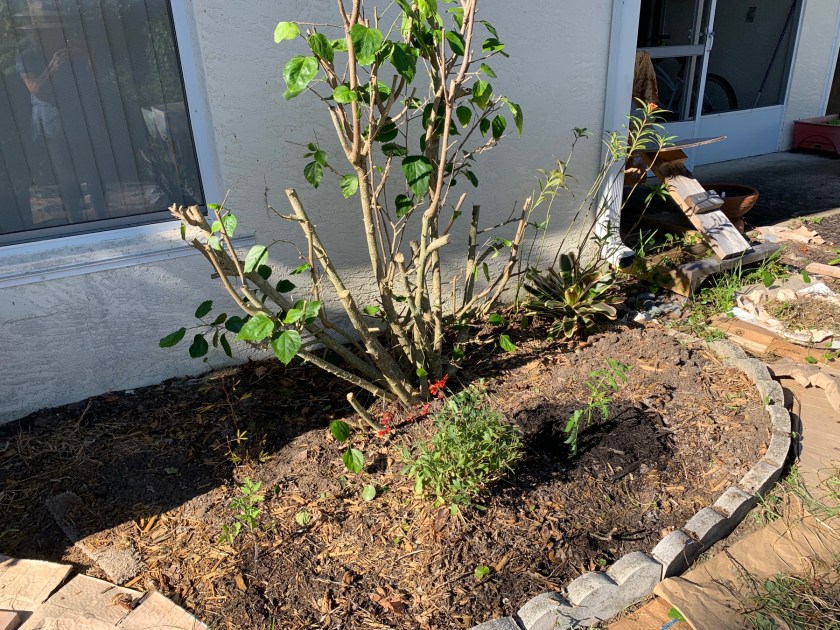
I had cut back the hibiscus and cleaned up the garden area around it. Of the four flowering plants planted here in Spring, only one has survived! My new little flower garden was mostly a fail! Haha… what can you do but move on.
This is where I planted one of the Eva tomato plants. I have some native milkweed seeds coming, and I plan to grow milkweed in this area.
Changes to the Hibiscus Garden
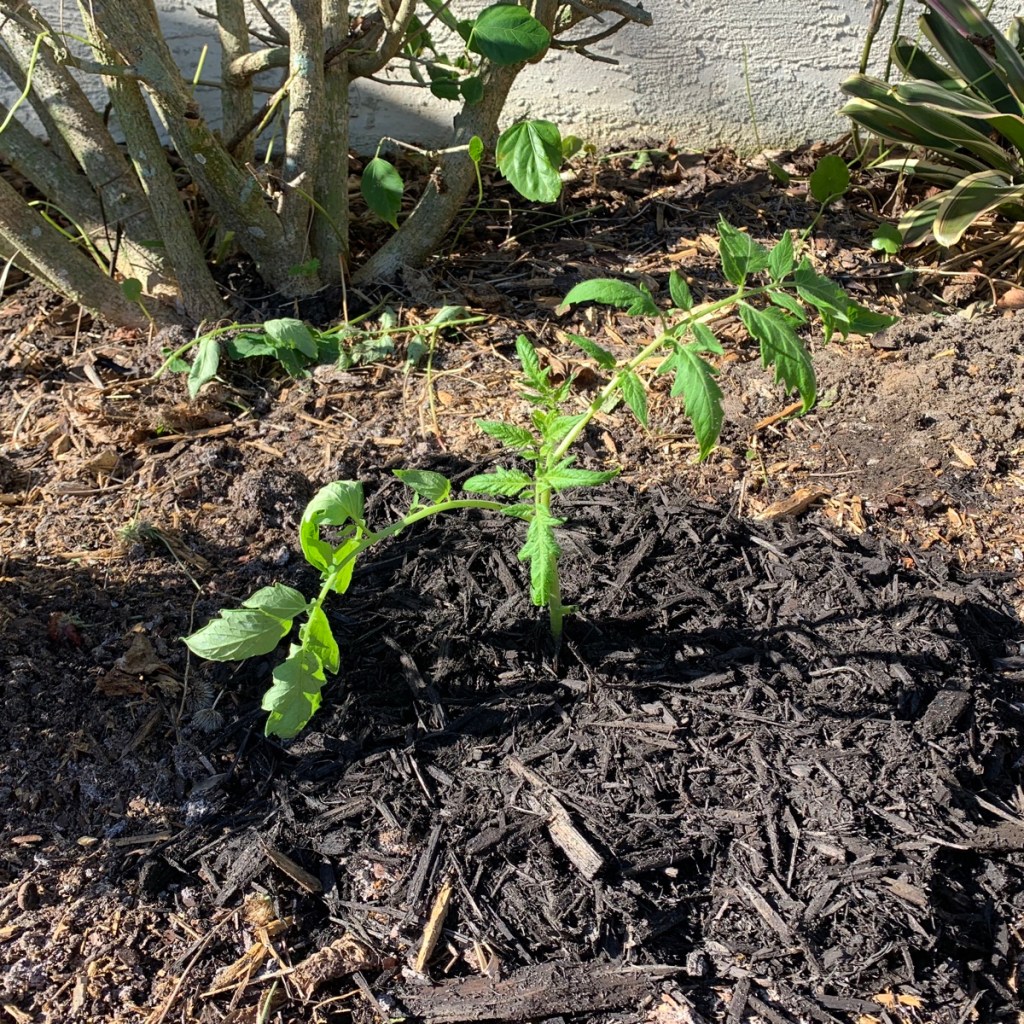
The Eva Purple Ball tomatoes are in new spots, which now will get a bit more sun. Already the sun is lower in the sky and the whole garden area is less sunny. Most of it gets at least six hours of sun a day, so I hope we are good.
I’m hoping these little tomato plants will grow well and give at least a few tomatoes before the weather gets too cold. We have plenty of warm days ahead, but by December we could have a cold night or two.
This Fall weather is much like a northern summer, where I grew tomatoes just fine. It’s all an experiment, so we’ll see.
The tomato seeds I purchased were: Amish Paste, Druzba, and Eva Purple Ball. I also have a packet of Tropic VFN. I will plant the rest of these seeds in Spring, Only three Eva and one Druzba are currently growing. A couple of volunteer tomato plants have sprung up and I’m letting them grow to see what happens.
Buy Tomato Seeds For Southern Gardens
I buy seeds for southern gardens from either The Urban Harvest or Southern Exposure Seed Exchange – SESE. The Urban Harvest is located on the west coast of Florida (St. Pete), so the seeds they offer are meant to grow well here in Florida. At SESE, some of the seeds they sell will not work this far south, as they seem to cover a wide area of the southern US.
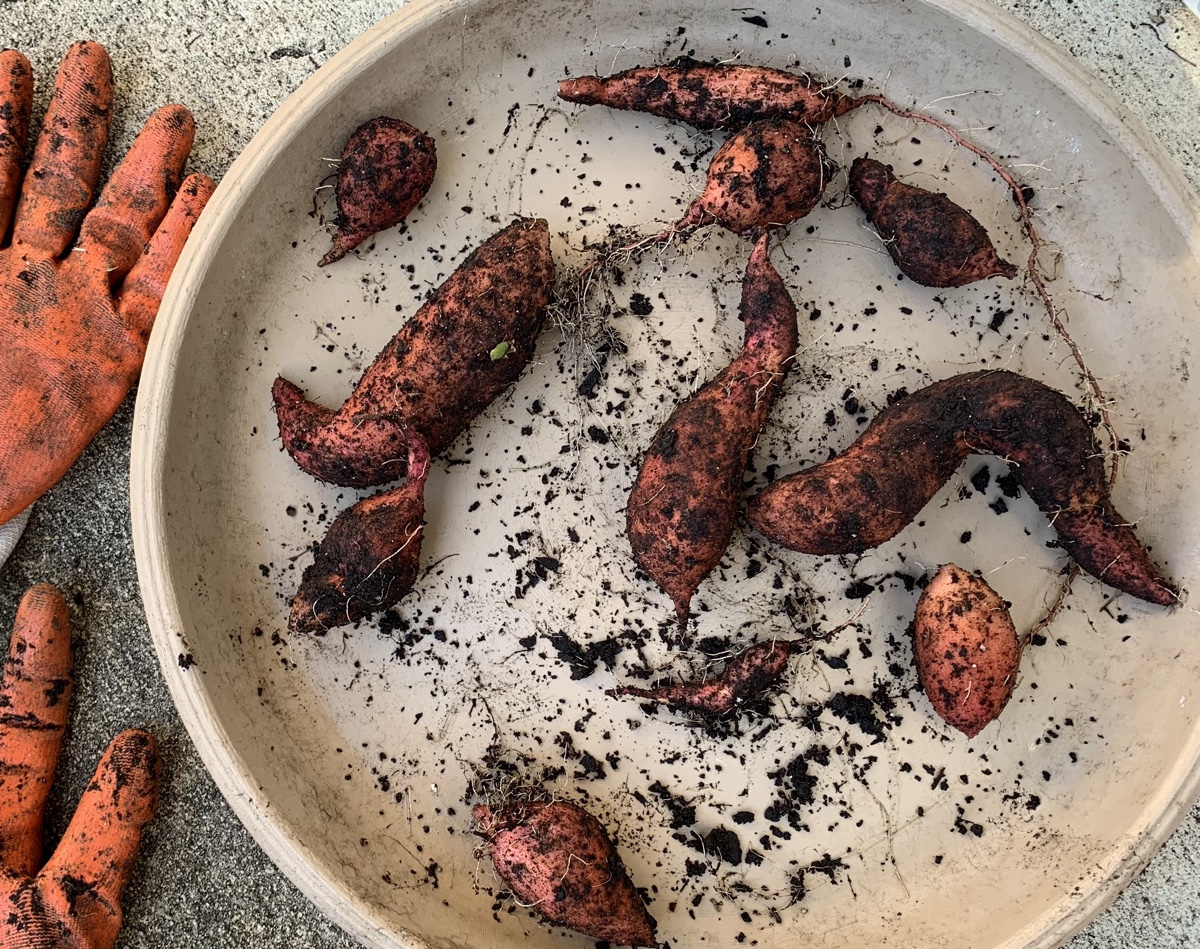
Sweet potatoes grow really well where I live. They need no attention at all and just vine around the grass while the roots create little potatoes. At least in my case they are little. This is probably because they were crowded into a small box.
Sweet potatoes dug!
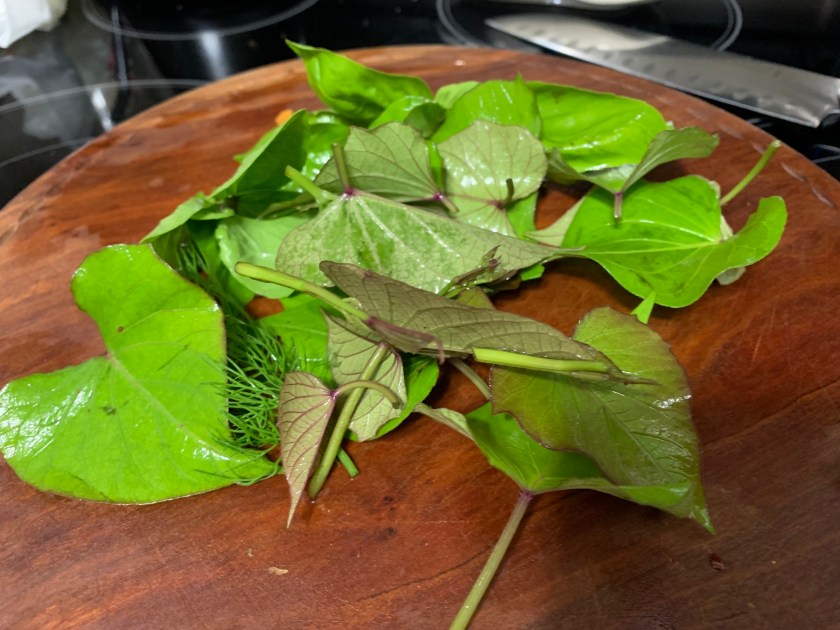
I began growing sweet potatoes this spring for the leaves. It is the one green thing that has done well during the heat. I would pick a few leaves and chop them to cook or add to soup and / or stew.
Then, one day I was making a pot roast and wishing I had a sweet potato to add. Oh wait… I am growing them. Sure enough, I dug down into the grow box and pulled up a little sweet potato! It was added to my stew.
Sweet potato leaves
In order to store sweet potatoes they should be “cured”. Basically it is done to let the skins toughen up for storage, and the potatoes sweeten.
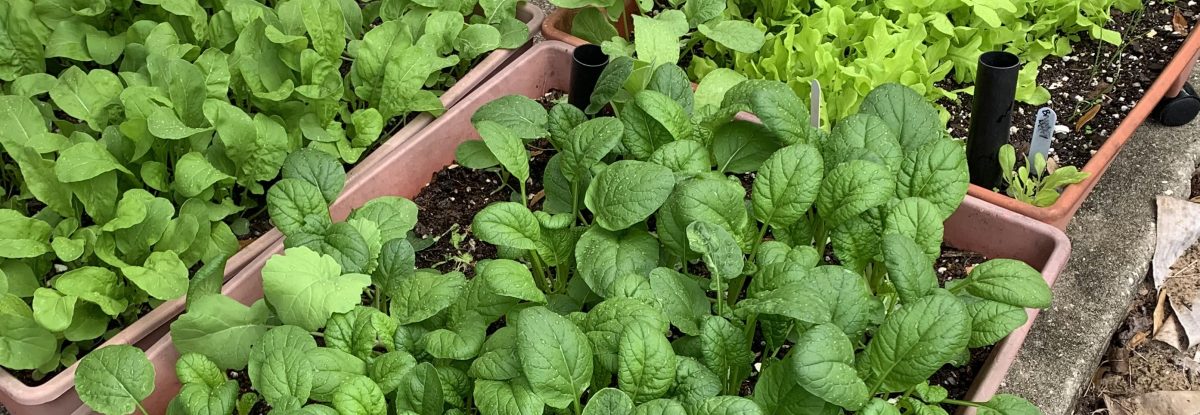
I am leaving my dug potatoes outside to cure, because we have heat and humidity – see my first photo. After two weeks, I’ll brush them off and bring them inside. Here’s a video by Elise of The Urban Harvest to explain harvesting sweet potatoes. (I’m jealous of her big garden spaces.)
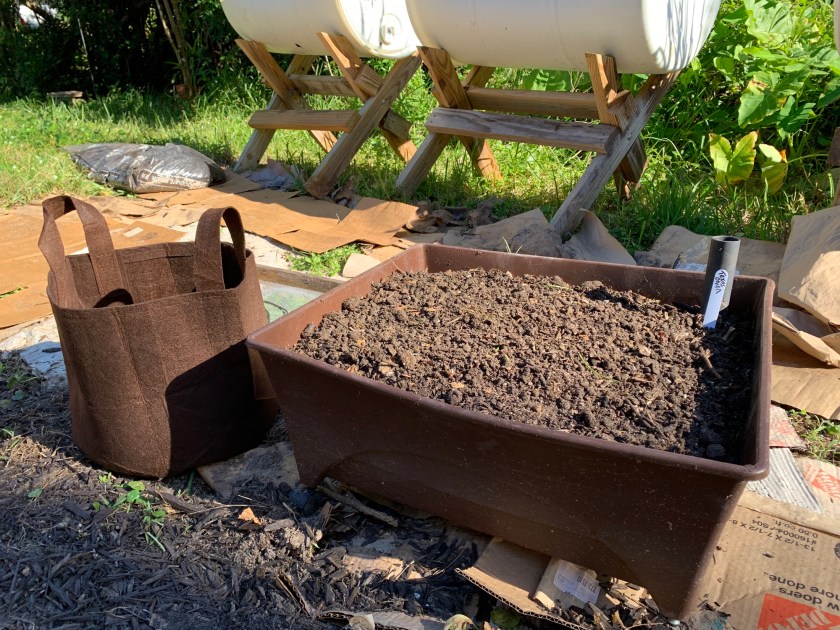
Planter and bag ready for seeds or seedlings.
Freeing Up the Box For Planting
Another reason I dug the sweet potatoes is that I can really use another grow box for planting this Fall.
I also invested in two new grow bags with handles. You can see them on this page which I wrote about using grow bags for gardening. I like small, manageable pots that can be moved around if needed.
That box in my photo above has wheels on the bottom and I just drag it around to find the sun. The grow bag pictured is only half full of dirt, which makes it easy to move too. Once I plant, I will fill it where it stands.
By the way, as soon as I had these new places ready to plant, the raccoons dug all through them overnight! (They dug up a potato I missed!) Maybe the trick is to put something new out, let them be nosey, and wait until they are no longer interested, before planting.