Homemade Garden Soup, Informal Recipe

I cooked a garden vegetable soup the other day (with some beef) and wanted to share the informal recipe here. Make it vegetarian too. My garden has beets, carrots and herbs, which I used for freshness.

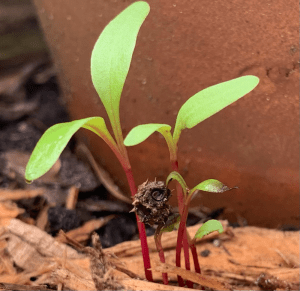
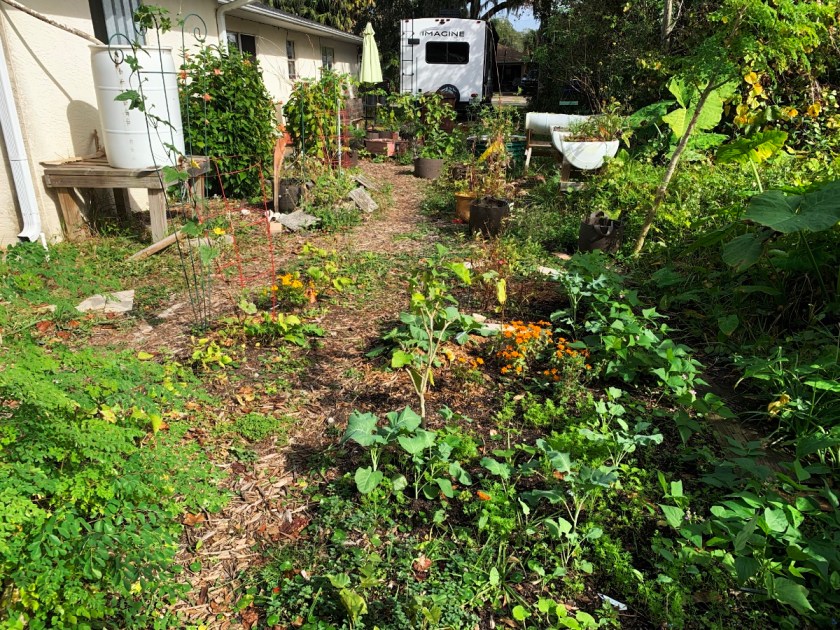
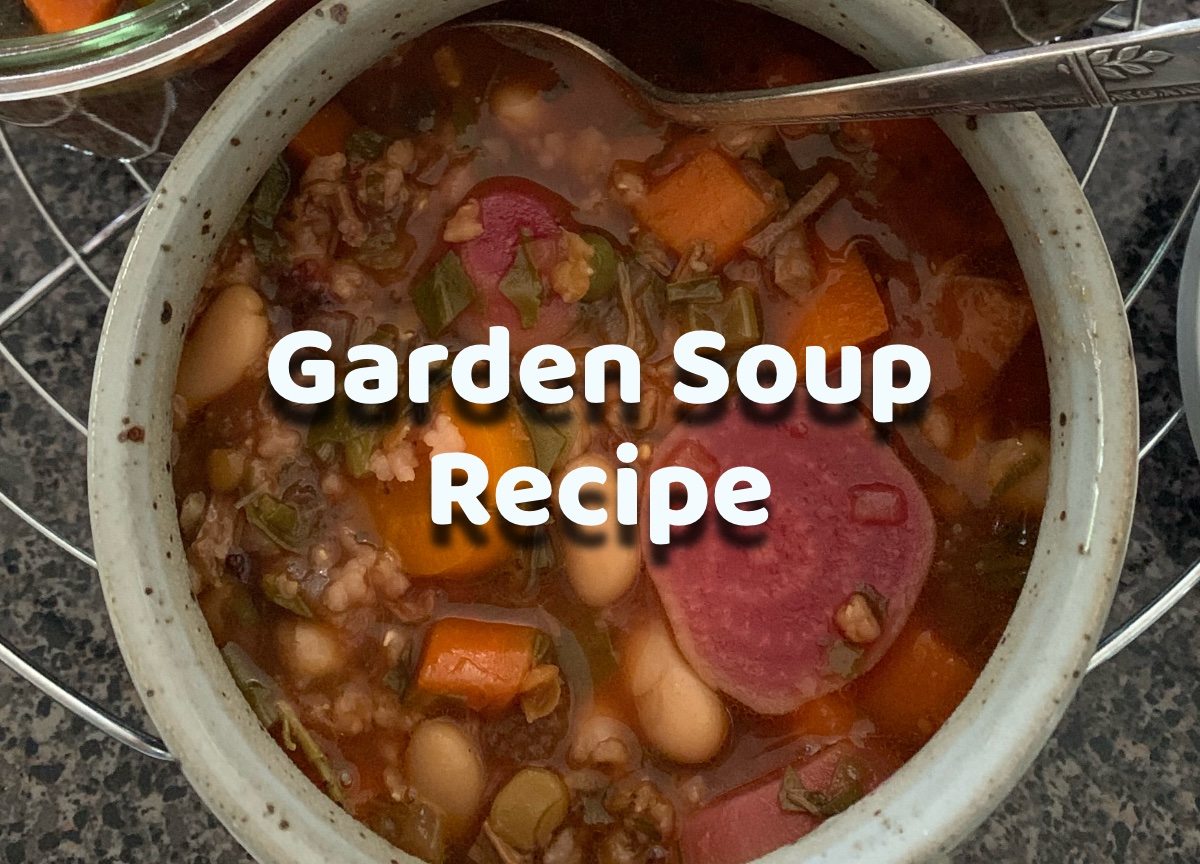
Whenever I make homemade soup, I know it will never be the same as the last time I made it. Soup should contain local and seasonal vegetables, if possible. I choose ingredients from my garden whenever possible. Depending on the season, I will have different food to use.

I’m not a food blogger, so this is an informal list of ingredients I used along with approximate cooking times. It is meant to be a guide.

Garden Soup Ingredients

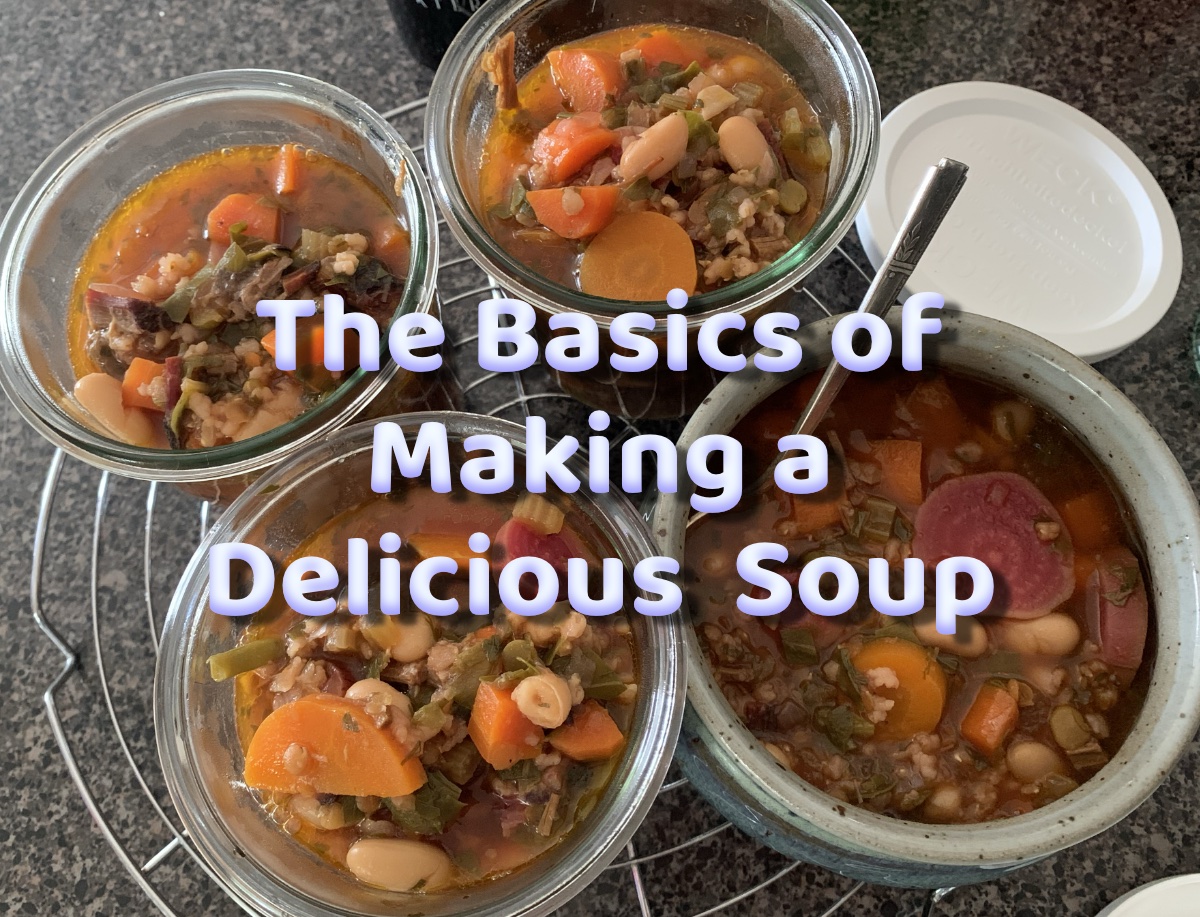
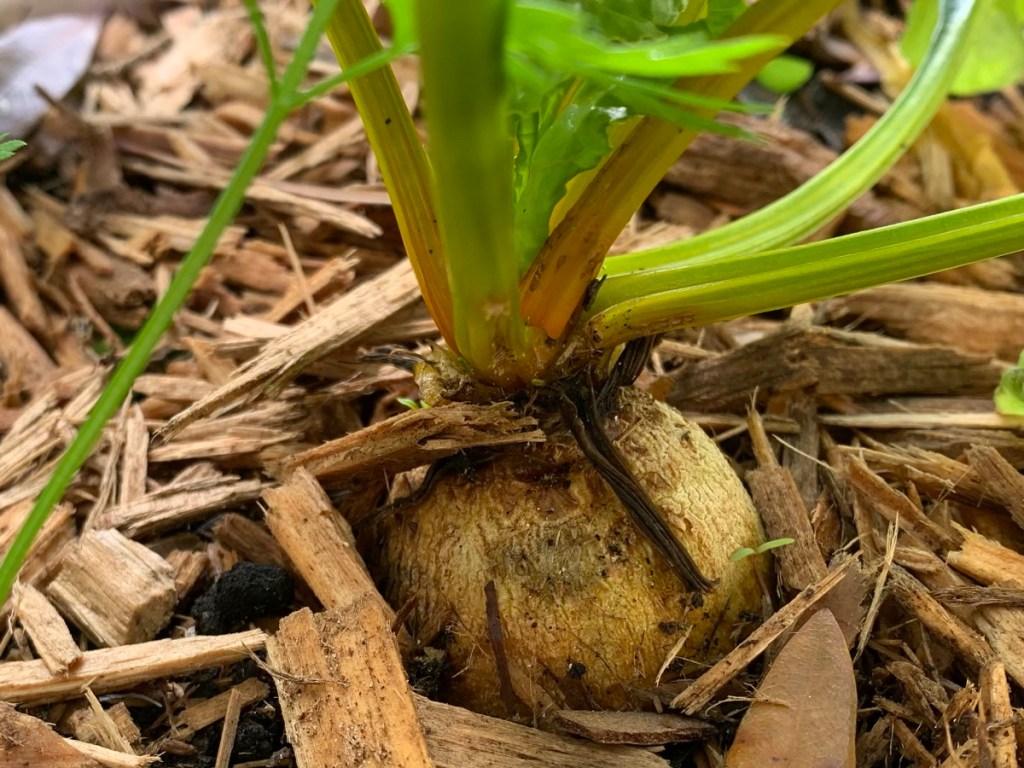
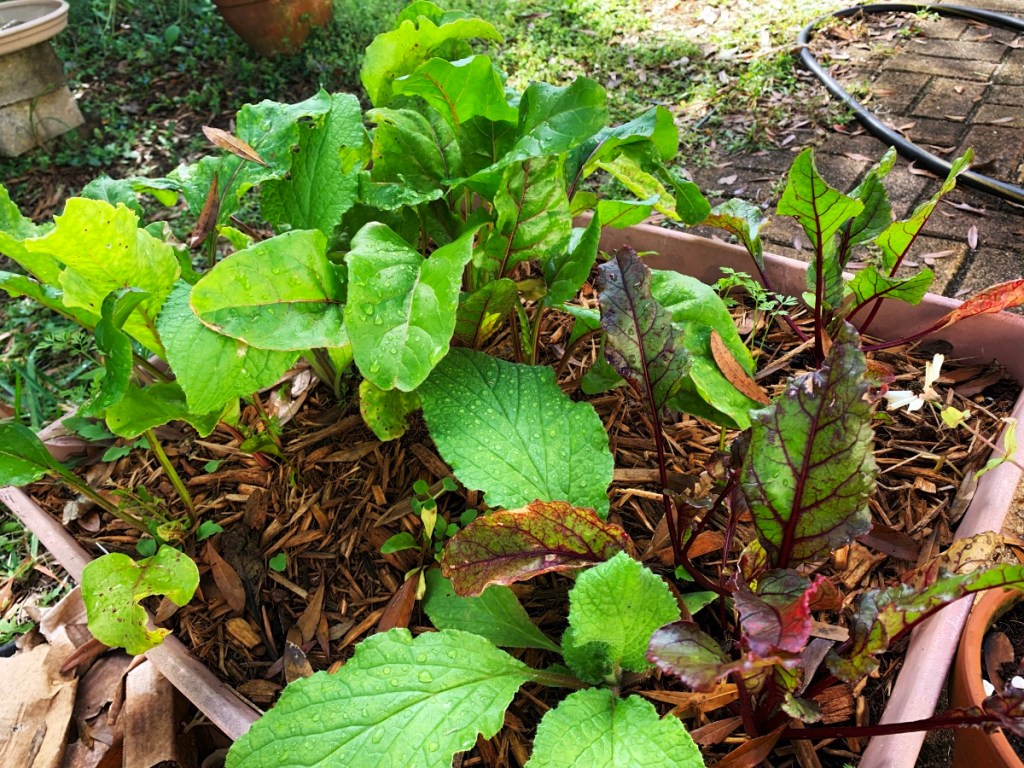
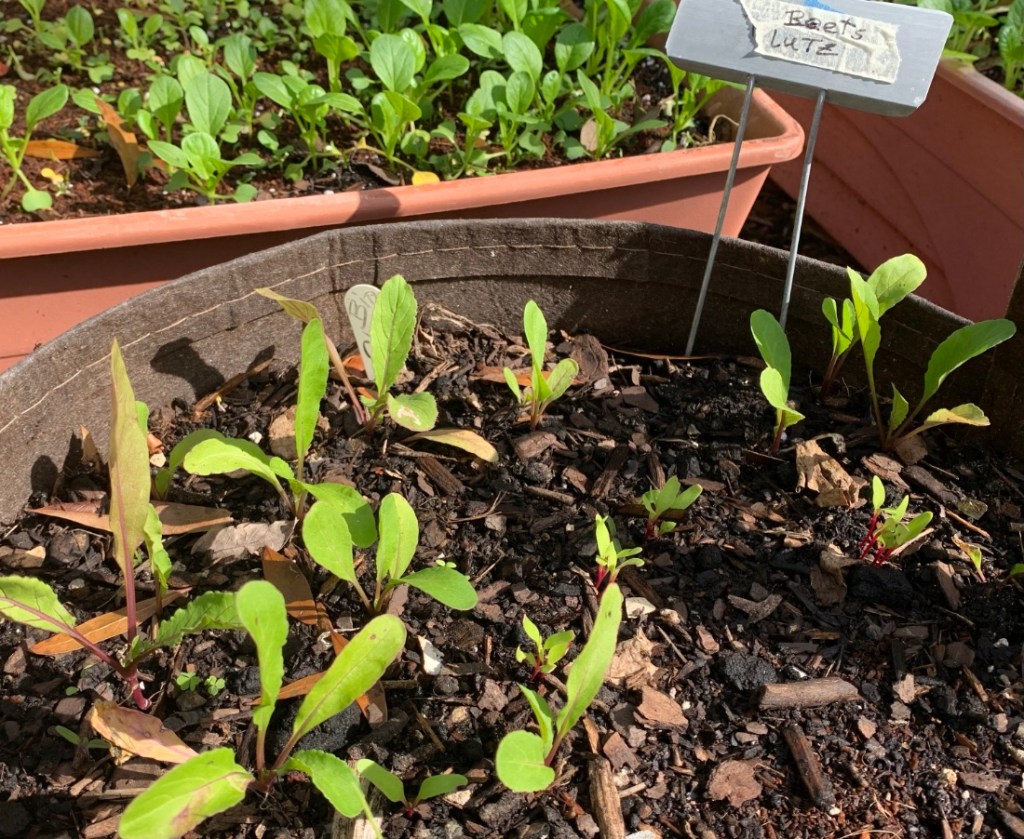
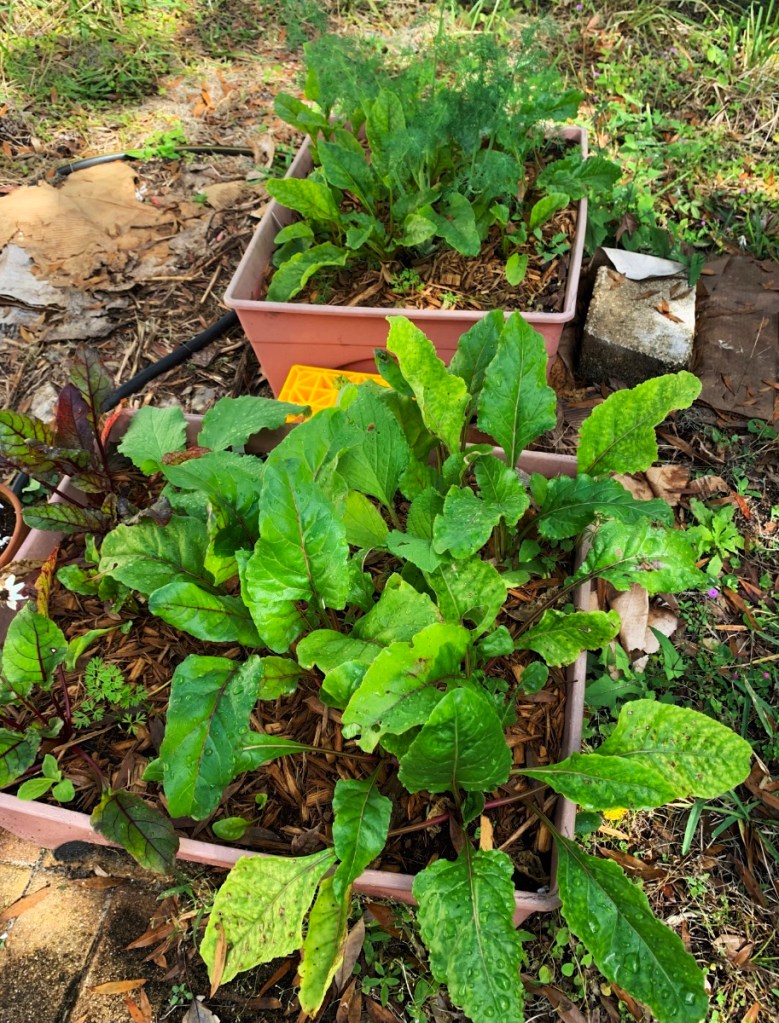
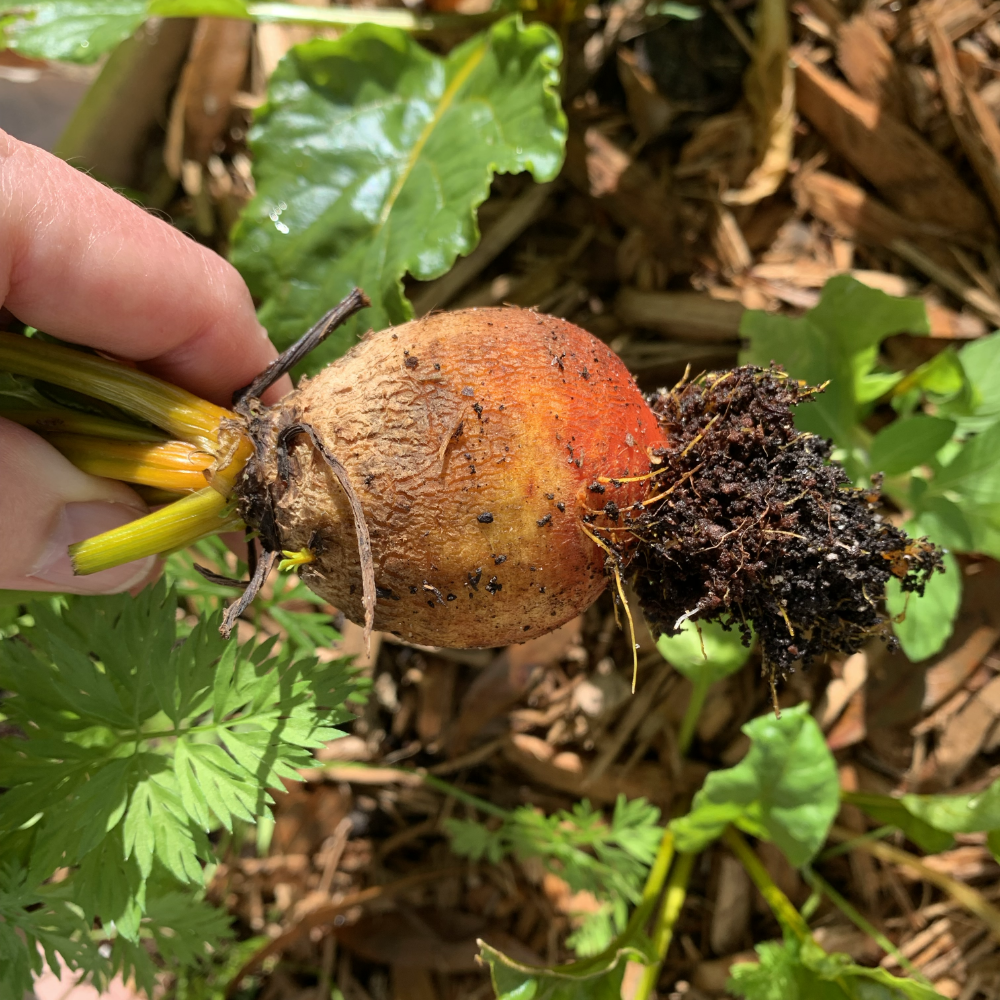
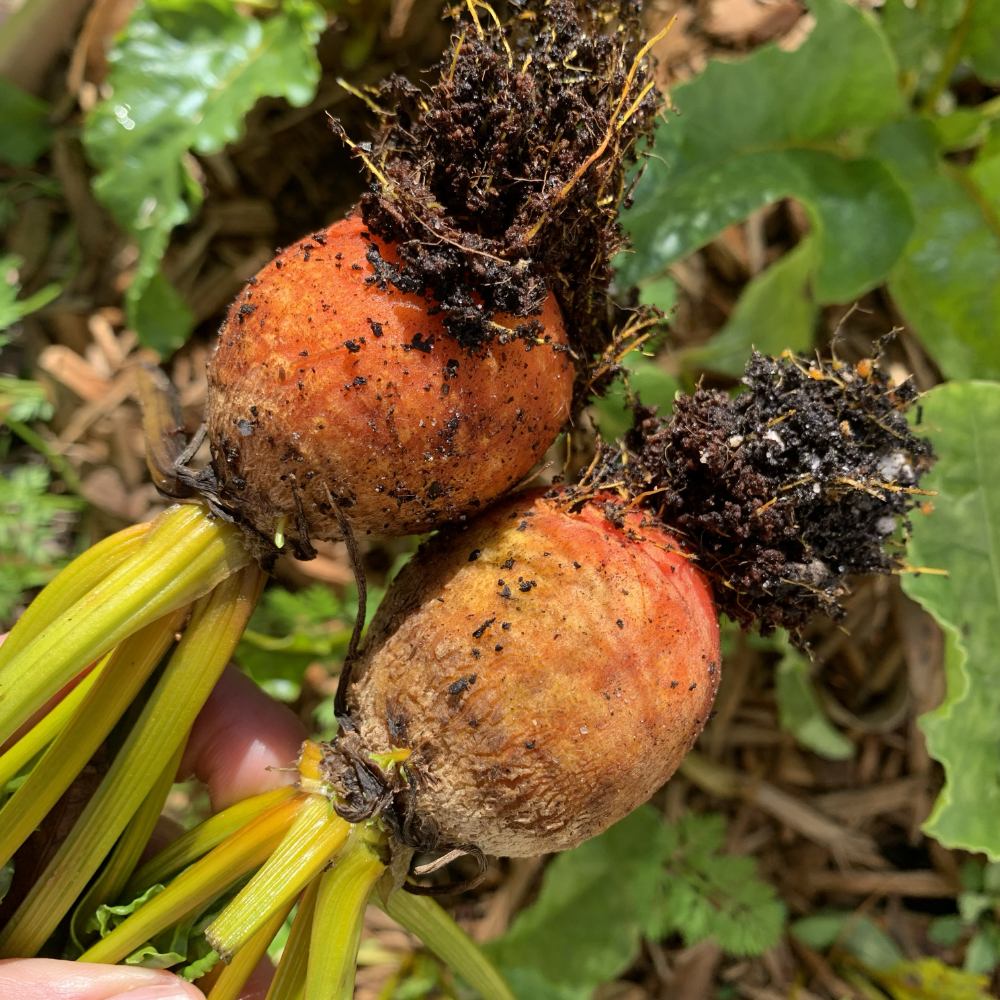
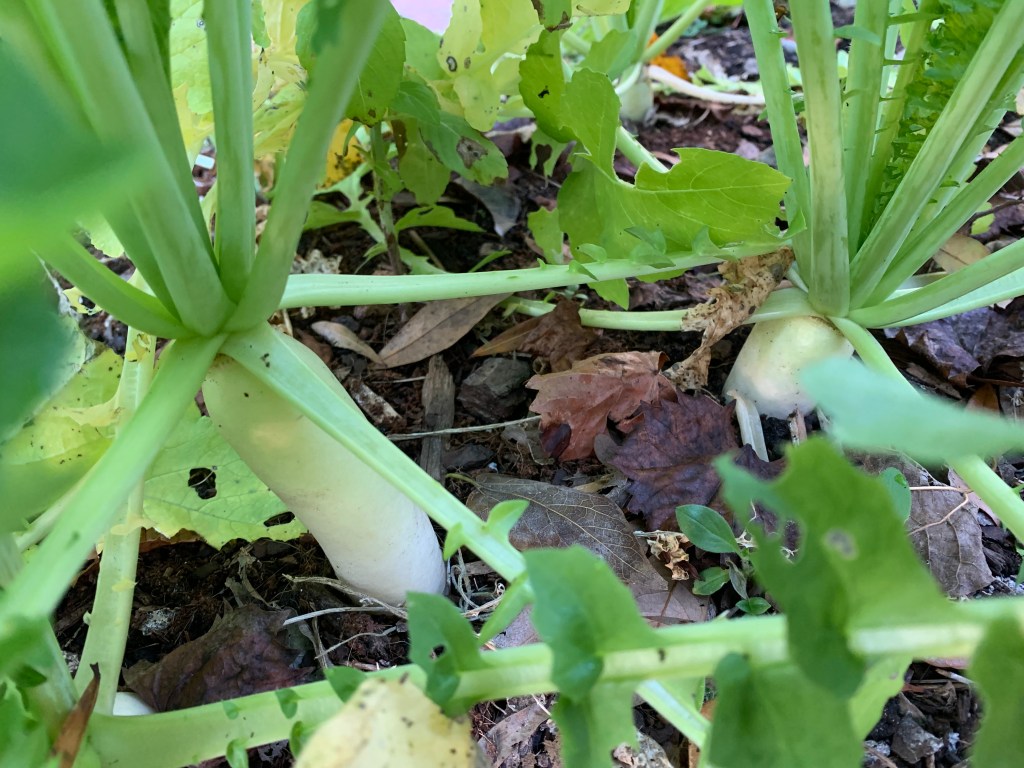
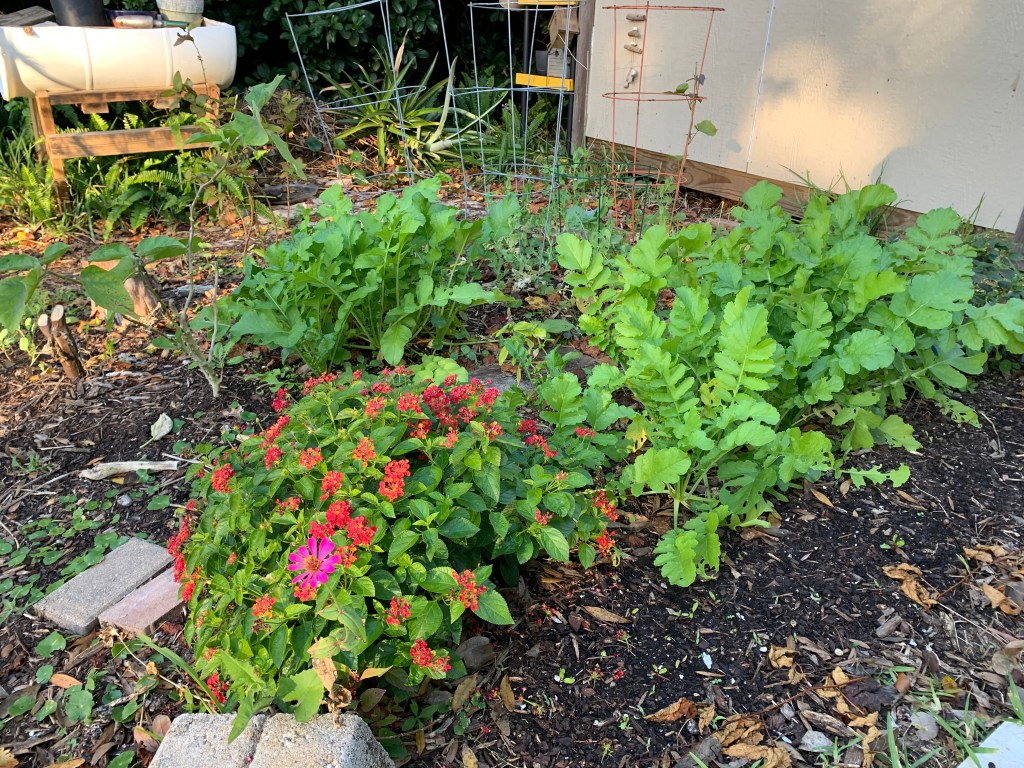
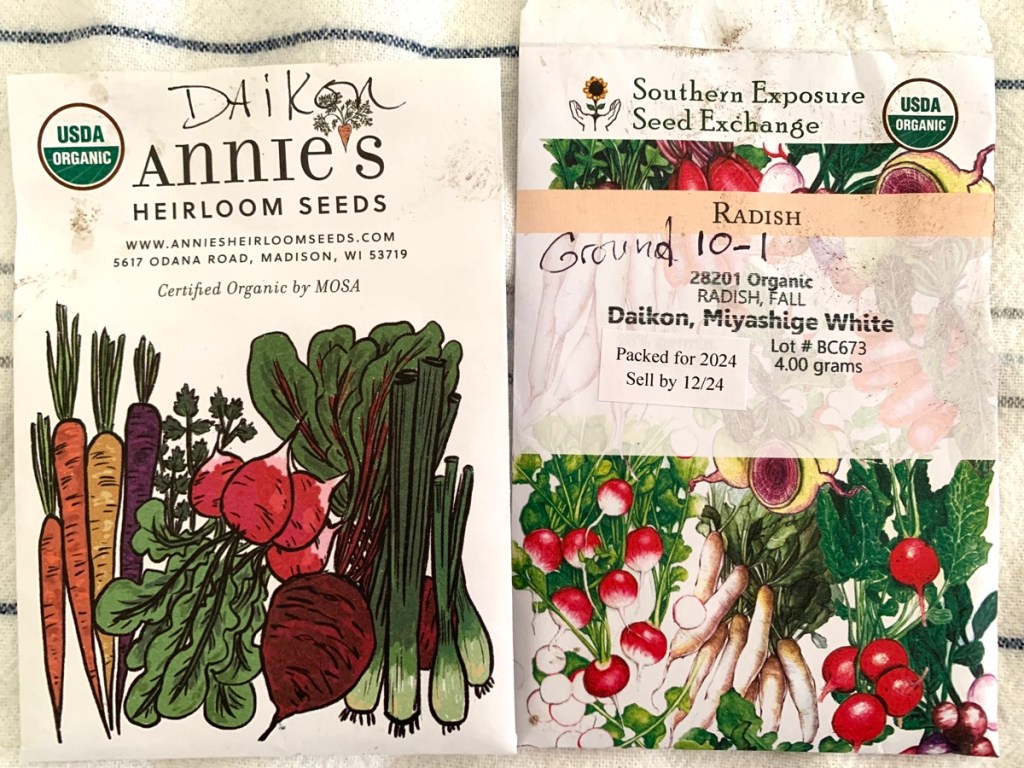
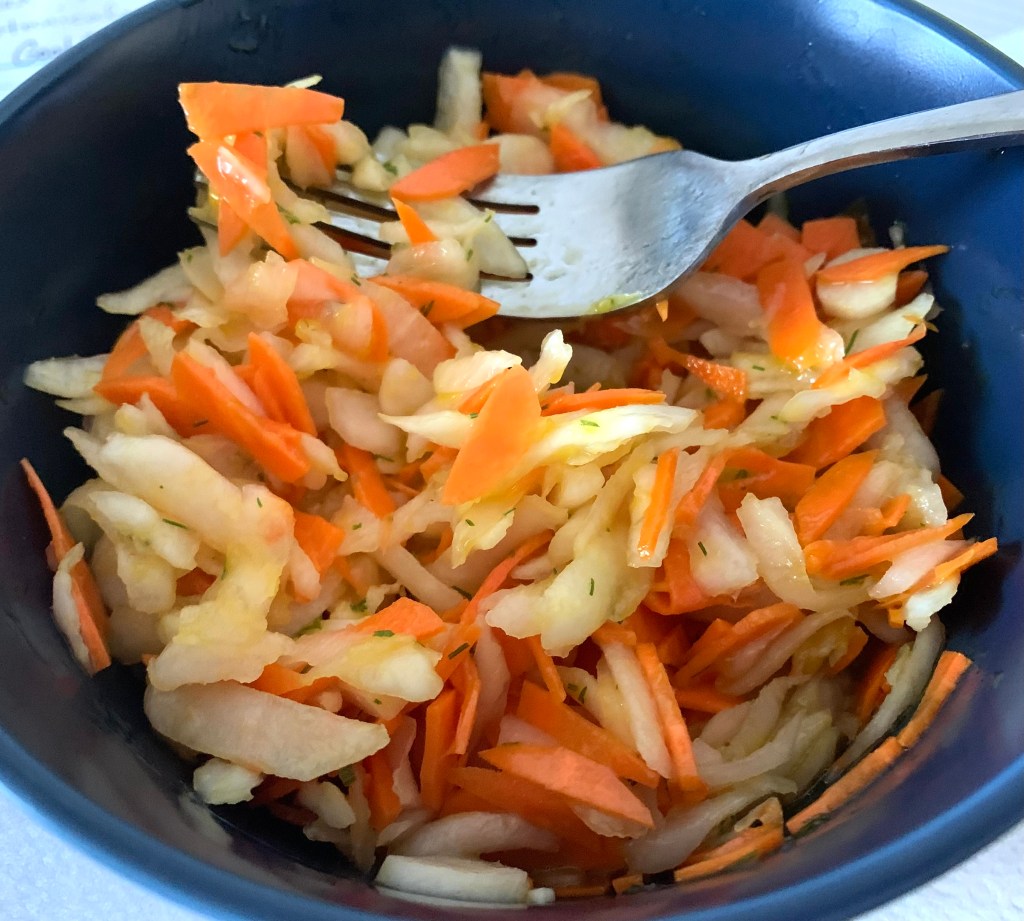
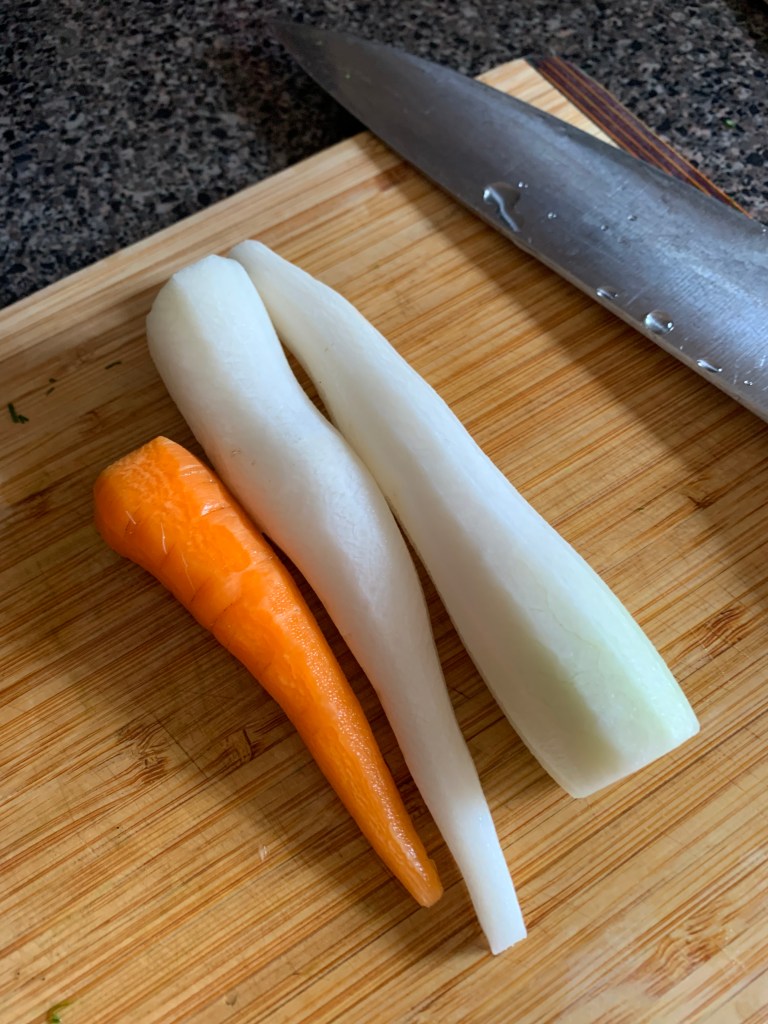
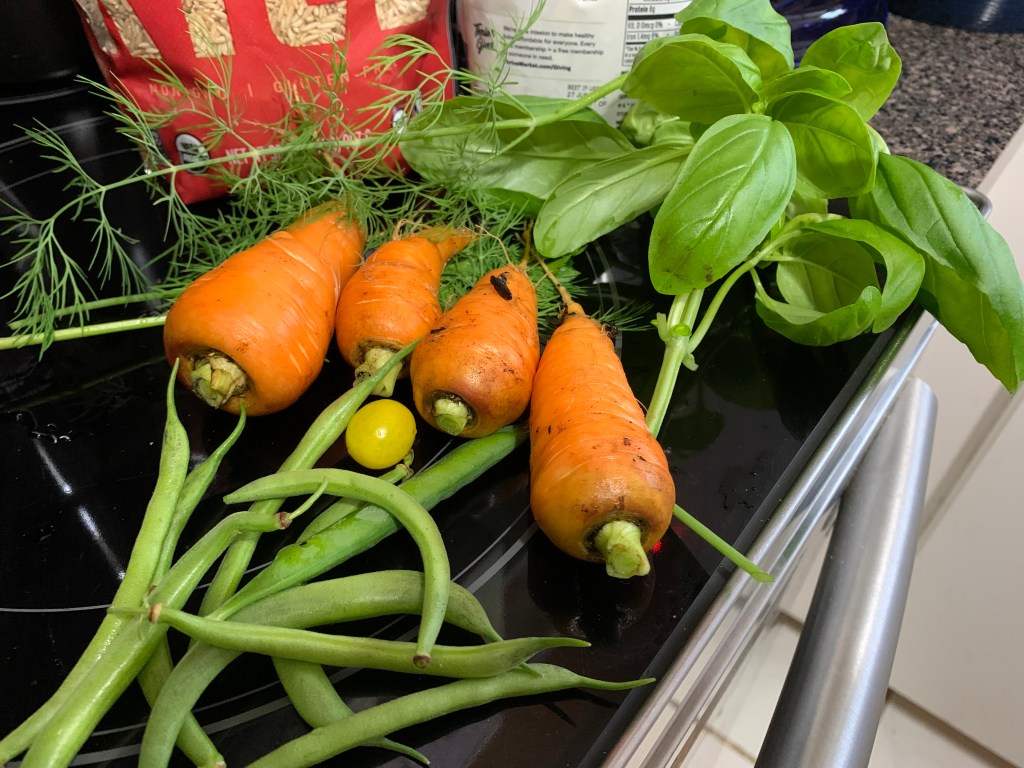
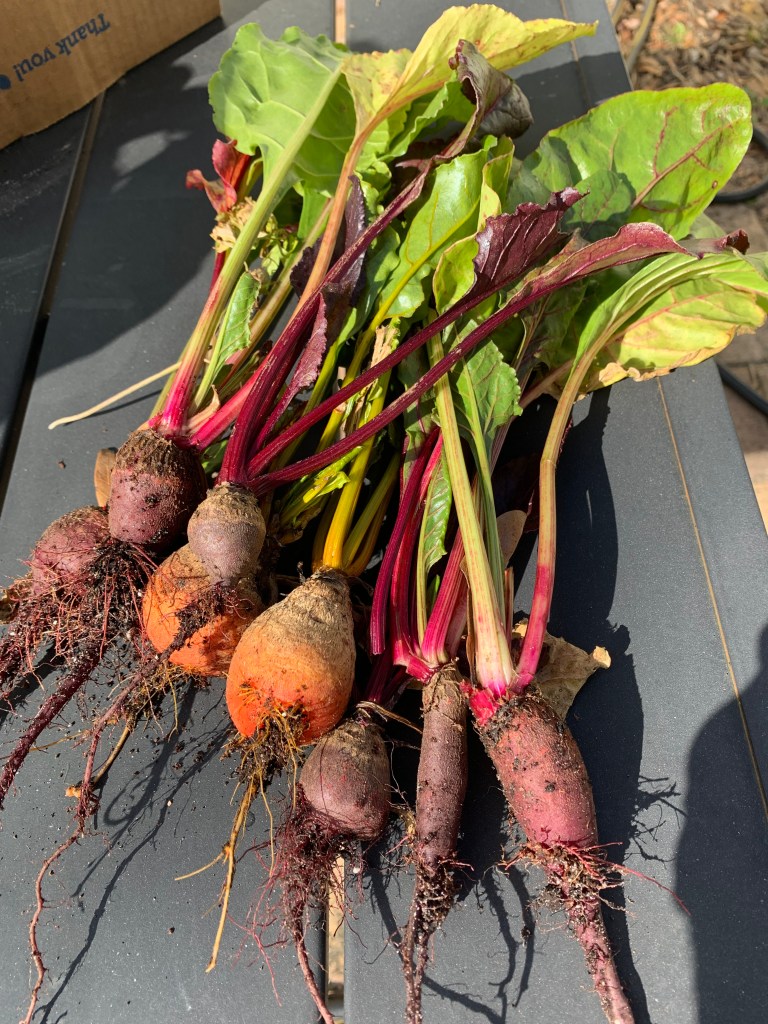
During Florida winters, we can grow root vegetables and herbs. These are the ingredients I ended up using for my soup. You certainly don’t need to use the same ones. Feel free to add more, or use less. I pulled / picked vegetables (beets, carrots, and herbs) from the garden to supplement store bought. My soup ended up delicious and flavorful.

You will notice that I do not include amounts. I add whatever I think appropriate.

Ingredients

  • Chop celery, garlic, and onions and sauté in the bottom of a pan. I used my Staub pot on the stove. Then I moved it to a single electric burner (Amazon paid link) to slow cook. (My stove doesn’t work properly 😡.)
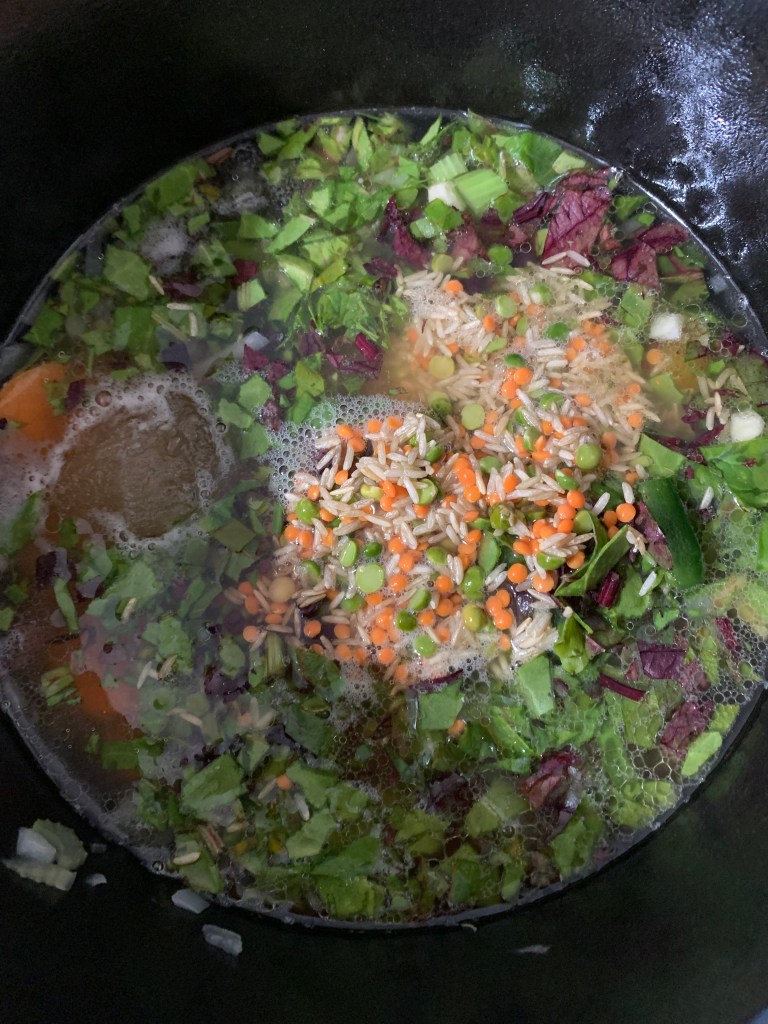
  • Add broth. I used approximately 6 cups total of vegetable (or chicken / beef) broth. I made all the broth myself and saved it in the freezer, plus beet juice from cooking my garden beets.
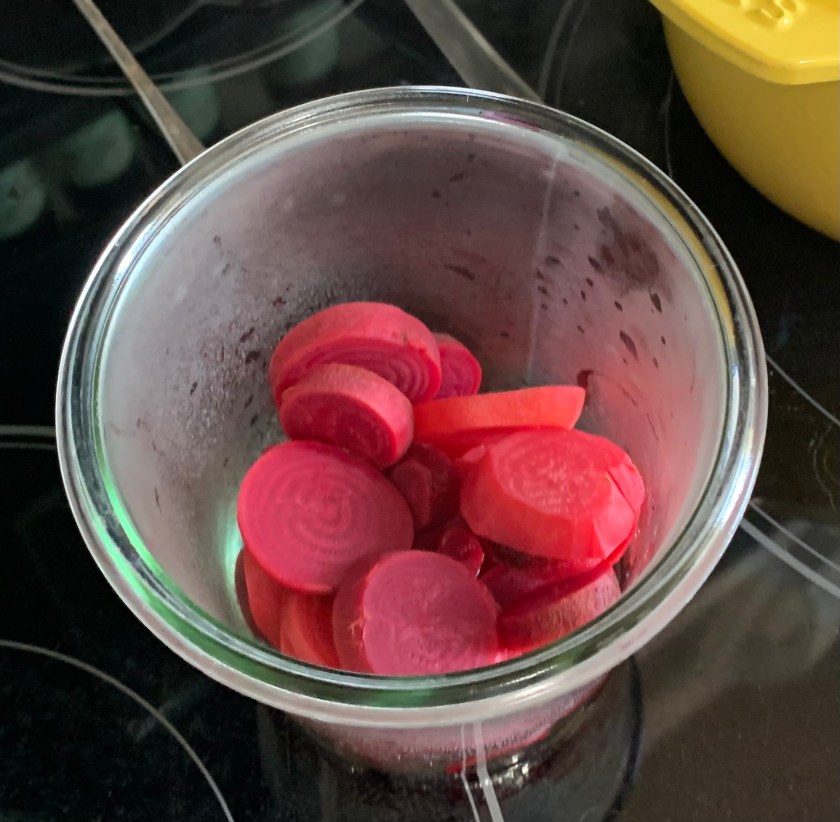
  • Chop and add: Carrots, beet greens, herbs (parsley, dill, basil & a rosemary sprig – pull out the stem after cooking). Sliced beets would work here, but mine were pre-boiled so I added them at the end of the cook time.
  • 2 bay leaves (remove at the end), 1 -2 Tbs. tomato paste (or can of diced tomatoes). A slice of jalapeño pepper for added flavor (removed at the end).

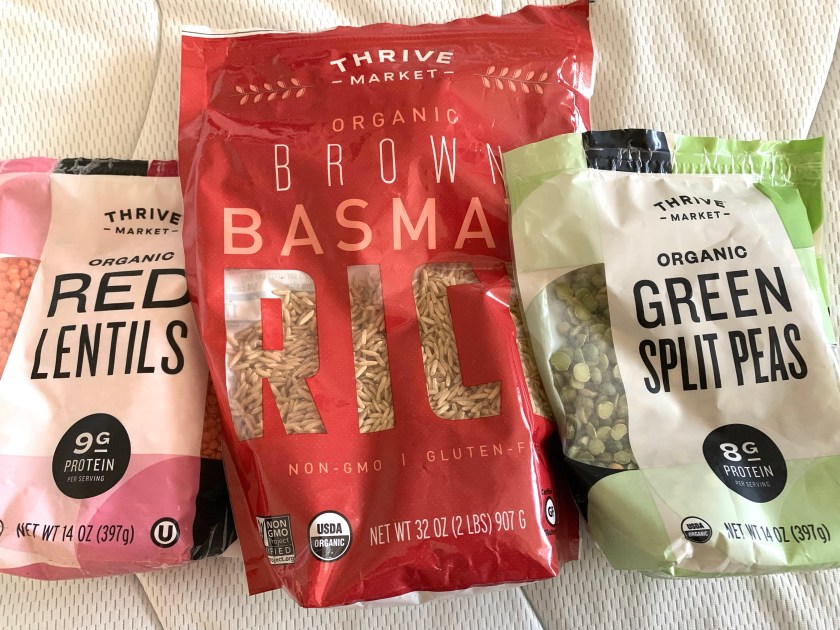
Dried peas, lentils, and rice

Adding dried items like rice, beans, lentils or even pasta, can help absorb some of the liquid in the soup. This will help thicken up the liquid. I added a little bit of all three items to mine. One of them alone would work well. Read my post about soup basics if you are new to soup cooking. I have more advice about how to thicken soup without using flour.

  • Brown rice
  • Split peas
  • Red Lentils
Garden soup in pot
Adding the partially frozen broth, chopped greens, veggies and lentils / peas / rice.

Slow Cook

Cook the vegetables, herbs and additional ingredients on a low setting for about 2 hours, or until the vegetables are soft.

Add near the end of Cooking time

Once the main vegetables are cooked, add these and cook on low for an additional hour to heat through. Personally, I rarely add salt to food while I am cooking it, but you might want to.

  • Any vegetables that are pre-cooked. My beets were cooked ahead of time so I added them about an hour before the end.
  • Beans – I used Cannelloni white beans
  • Chopped beef brisket (or any pre-cooked meat). It’s not necessary to use any meat. I happened to have a small amount of beef to use.
  • Vinegar – small amount (tsp. or so) – optional. Helps bring out the flavors.
soup in Weck jars

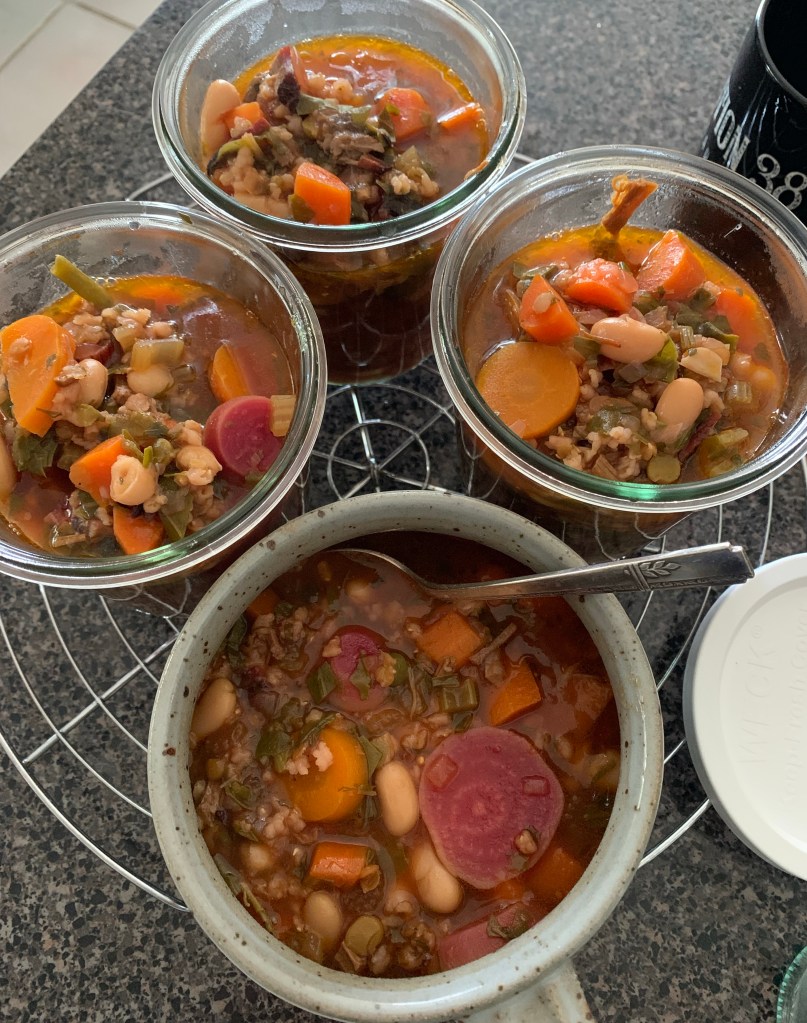
Once my soup was completely cooked, I divided it up for freezing. The 2 cup Weck jars are the perfect size to store a healthy, future meal in the freezer. And I ate a bowl of it too!

More to share here:

Create Homemade and Delicious Soup With Flavor and Consistency

Making a nutritional and good tasting soup is such an achievement. Homemade goodness can’t be beat. I have a few tips for making sure the flavor and consistency is there.

When the weather finally gets cool, or downright cold, here in Central Florida, I want a hearty soup. I rarely follow a recipe to the letter. Recipe tips combine with my own ingredients and knowledge to create a delicious soup.

I have cooked for many years. I have found some good ways to make sure my soups and stews are loaded with flavor and goodness. I’m sharing my ideas on this page.

Often the troubles that come when cooking soup have to do with blah flavor and / or watery consistency. There are simple ways to deal with these things. Easily make delicious soup every time. And, you don’t have to stir in flour or a thickener.

Flavor It

1. The best way to start a soup is to use a good broth or stock. I like to make my own and freeze it for things like this. Many places sell lovely broth as well. Read the ingredients and make sure it is good stuff. I also like organic.

One of the easiest, homemade vegetable broths is created from the water used to boil, or steam, vegetables. This is very easy to do. It’s perfect for vegans or vegetarians. Don’t pour that good nutrition down the drain. If you don’t want to save it, take it outside and pour it onto the plants!

I use Weck jars (paid link) with plastic lids, and add to them each time I have vegetable water leftover. *Be aware that only certain types of Weck jars are made for the freezer. and they must have the right type of lid that is plastic – not glass. The link goes to Amazon, but I buy mine from Weck.com.

soup in Weck jars
My Garden Soup – Recipe to come

Beef bone broth, as well as turkey and chicken broth, are popular too. It is very easy to make a stock, or broth. Use the crock pot, or an Instant pot to cook the bones on a low temperature for many hours. I always use my saved broth when cooking rice.

2. Herbs are a must. Herbs not only add flavor, they add goodness in the form of healthy nutrients. Get to know your herbs and how they taste. I’ve come to love Rosemary and grow it in a pot out back. I had never added it to soup until recently. Parsley, dill and basil are regular additions to my food. I grow them all so they are readily available at various times of the year. Dried, organic herbs are just as good and I use them too.

3. Cut and chop fresh vegetables. Fresh is key for a good tasting soup. If you are a grower, check the yard for anything that can be added. If they come from the store, find the freshest looking.

I had one pea pod – yes, only one – when I checked my garden the day I made my soup. I included about 10 little peas in my Garden Soup. Even though I may never even taste those peas, it’s the nutrition value from a backyard food that was added.

I also pulled some beets (and the chopped greens) and carrots. It all went into the soup. You can probably see why my soup comes out a little different every time I make it!

Thickening Without Flour

There are a couple of ways I like to thicken my soups and stews. They are all easy, and don’t involve flour or cornstarch.

  • A favorite method is to blend some of the soup, without meat pieces, and include some liquid. Make sure to cool it first. Pour the blended soup back into the pot. About a cup full of soup will work.
  • Add some type of white liquid like coconut cream or milk. It doesn’t really thicken it much, but looks better!
  • Include dried things like rice, split peas, and / or lentils. They will soak up some of the liquid. (I added a little of all of them to my Garden Soup!)
bags of dried rice, lentils and split peas

Once the soup is made it can be saved in the freezer. When I cook soup, I end up being the only one who eats it. The frozen jars of deliciousness often go camping with me. Or pull it out on a cool day when soup is appealing. Vegetable soup is a good side to other food also. Enjoy!

Keep reading the blog:

Yay, It’s Time to Cook the Garden Beets!

A simply and healthy way to use beets from the backyard garden. Use the whole beet to get all the nutrition they offer.

I am becoming very impatient with my beets. They were planted back in September and it is now January. The tops are beginning to break off so I decided to pull some of the bigger ones. Haha… they are not very big.

I love beets, and have had a bit more success growing them this year. Even the small beets can be eaten, along with the green tops.

beets pulled from garden grow box
Fresh pulled beets

The beets are small. The Golden variety grew larger than the red. I had tags in the beds to differentiate the red varieties (Detroit red and Lutz), but they have disappeared. I blame the raccoons who love to mess with my things. I wanted to know which ones grew best, but I think the Golden are the winner!

If you are curious about the healthy benefits of eating beets (and especially fresh from the yard!), read this page at Heart.org.

Easy Peasy – Simply Boil Them

There are many ways to cook beets. From boiled to roasted, you can find many recipes online. I immensely dislike all the pop up ads on cooking websites, so I cooked my beets the way I always do. Simply boil them in good water. I always save my vegetable cooking water.

To cook the beets I cut off the tops and roots. Then, I scrubbed them with a brush under water. I did not peel them, except for the really dried up areas around the top. After that, I thinly sliced them. After boiling in water for about 30 minutes they were tender. Freeze or use the water leftover!

I didn’t get many, and the yellow ones turned red, but they are good. There is nothing like fresh picked garden vegetables.

sliced cooked beets in a jar
Cooked beets

The beet greens were rinsed and finely chopped. The beets, greens and red water will be part of the slow cooker soup I am making tomorrow.

More beets are still growing in the yard and I’ll leave them to get larger. I don’t need the dirt space this time of year. Our Central Florida January has been pretty cold so far.

More small backyard gardening stories

Growing Beets in Florida Zone 9B

Beets are a cool season vegetable that can be grown in central Florida gardens. Last year at this time (November) I tried growing beets. I ended up with a few small ones. They didn’t grow very well, and I ate more of the beet greens than the root.

This Fall I planted beets a little early (September) to see what happened. Some of the seeds did grow. I bought a few varieties, including golden, Lutz, and Detroit red. The first planting was done in grow boxes. The boxes were recently overhauled to improve drainage and make space for crops.

Beets will grow in little clumps of 2 or 3, and need to be thinned. I cut off the extras, leaving the roots undisturbed.

beet seedlings growing in a clump

Now, it is December. My beets are looking good. I’ve eaten a few leaves with my salad greens.

My later planting of beet seeds was done in the ground. Those are still very small.

Cooking My First Beets of the Season

Some beets look ready to be pulled, so I pulled two golden beets. I cooked them, with the greens, for supper. The taste was pretty good, but they were small.

Challenges of Fall and Winter Growing

It’s funny trying to grow Fall crops in Florida. The beginning of “fall” is very hot. September and into October can be too hot for winter crops. But if you miss the warmer planting time, then the cold can move in and seeds won’t want to germinate.

Check out this December planting guide (UF IFAS) to winter vegetables and herbs. REMEMBER – they don’t say growing from seed. I believe this guide is referring to transplants.

Early planted seeds don’t do much. They slowly push up and then seem to stop growing. Once the cold hit us in November, most of my Fall crops seemed much happier. My growing plan is to have decent size seedlings already growing when the cold arrives.

backyard garden in December
Winter garden view

Keep reading the blog…

Smelly and Weird Stinkhorn Mushrooms in the Garden

Pictures of the Stinkhorn mushrooms growing in my garden.

I did write about the unusual looking stinkhorn fungi in the past. Suddenly I am seeing lots of them in one particular area of the vegetable garden. You can’t help but be curious about this smelly and weird looking mushroom.

Yes, they smell, but I don’t find them to be overpowering. I began seeing them pop up about a month ago – in November. They seem to be confined to one area.

To begin with, they look like a round white ball that is mostly buried. Then they expand and become a bizarre, open-sided orange thing.

They are growing alongside flowers and bean plants, eggplant, dill, and broccoli. I was hoping they were not “bad”. I couldn’t remember from the last time I investigated.

According to the IFAS site, they are pink to orange colored here in Florida. Stinkhorns break down material, such as mulch, to make it easier for plants to use. This fungus is helpful, as most are. They are visible for a short time, once or twice a year in Florida.

More About the Stinkhorn Fungi

Don’t worry if you have these orange things in your yard. They won’t last, and they don’t smell that bad – especially from a distance. This fungi is working to help the ecology of the location, so let it do it’s thing!

Keep Reading the Blog

My First Experience With Daikon Radishes: Tips & Recipe

Growing the white, Daikon radish in my Florida yard. Trying a new slaw recipe to use them up.

This fall, for the first time, I am growing Daikon radishes in my garden. I direct sowed seeds in a small bed back in September.

It is now mid-November and I am pulling up my first radish. I’ve never grown, or eaten a Daikon radish before. I had to do some research into ways to use them.

Pulling the Daikons by the end of November

Growing Daikon Radish – An Early Fall Crop

My experience with growing the Daikon radish was a good one. I put seeds into the back garden (early September), watered them occasionally, and watched them grow. Of course the raccoons (or possibly an armadillo) dug around the garden, but most of the radishes survived. I thinned them out a little, but they can grow fairly close together.

The first planting took place September first. One month later I planted another section with seeds from another company. I was eating the first ones in 3 months.

Daikon radish seeds packets from Annies and SESE
Daikon seeds packets from Annies and SESE

As is always true, the planting instructions are meant for normal (more northern climates). Wording such as; “Direct sow in Spring as soon as the soil can be worked” and “plant in late summer for a Fall harvest” or “harvest before the ground freezes”, don’t apply to my area. I can only grow cold weather crops in Florida’s “winter” months.

The fact that I planted Daikon seeds the first of September, and they grew, is very encouraging. It was still very hot in September. This type was from Annies Heirloom Seeds, and is called Raphanus sativus (organic daikon radish).

Preparing and Eating Daikon Radish

First of all, the leaves can be eaten! I only just discovered this. However, like beets, I wouldn’t want to use too many as it could keep the roots from growing well. Also, the leaves are prickly! Might just add them to the compost.

Pick the white Daikon when the top is around an inch across. A lot can be done with these radishes. Slice or shred into a salad. Stir fry with other vegetables. Make into pickled veggies.

Here is a video I found for Musaengchae. This is a quick, and instant salad made with white radish that incorporates garlic, green onion, and very little sugar. Her radish is huge, but I’m thinking that my smaller ones would work.

My Own Daikon Slaw Experience

So I have pulled a few daikon radishes from my garden. They grew so nicely that I want to keep them in mind for next year. But, I need to find a way to use them. They taste a lot like a normal red radish, to me. And I’m not a big fan.

When shredded and added to a mix of sugar (honey / Swerve Amazon paid link), vinegar and oil, they do taste pretty good. I added carrots. The mix lasts in the fridge for three days.

Because my Tatsoi greens are also growing well by December, I can mix this Daikon slaw into a normal salad. It’s pretty good. I don’t eat much sugar, so I add as little as possible and use Swerve as much as possible. It doesn’t have a weird aftertaste like other fake sugars.

If you grow this type of radish, I’d love to hear about your favorite ways to use them.