Digging, Planning and Planting a Backyard Food Garden in Florida

Digging and planting a backyard garden takes muscle and planning, but is worth it to pick homegrown food. Here is my small beginner garden in my little Florida backyard.

I live on the central east coast of Florida. As a gardener, who knows quite a bit about gardening – in New England – this area has been a challenge. In fact, I have given up trying to grow my old favorites. Squash and zucchini turns moldy right away and even tomatoes seem to struggle in the heat. All I have had luck with are peppers and eggplant.

Time to change my outlook and ways, and adhere to a new way of growing things in this subtropical climate.

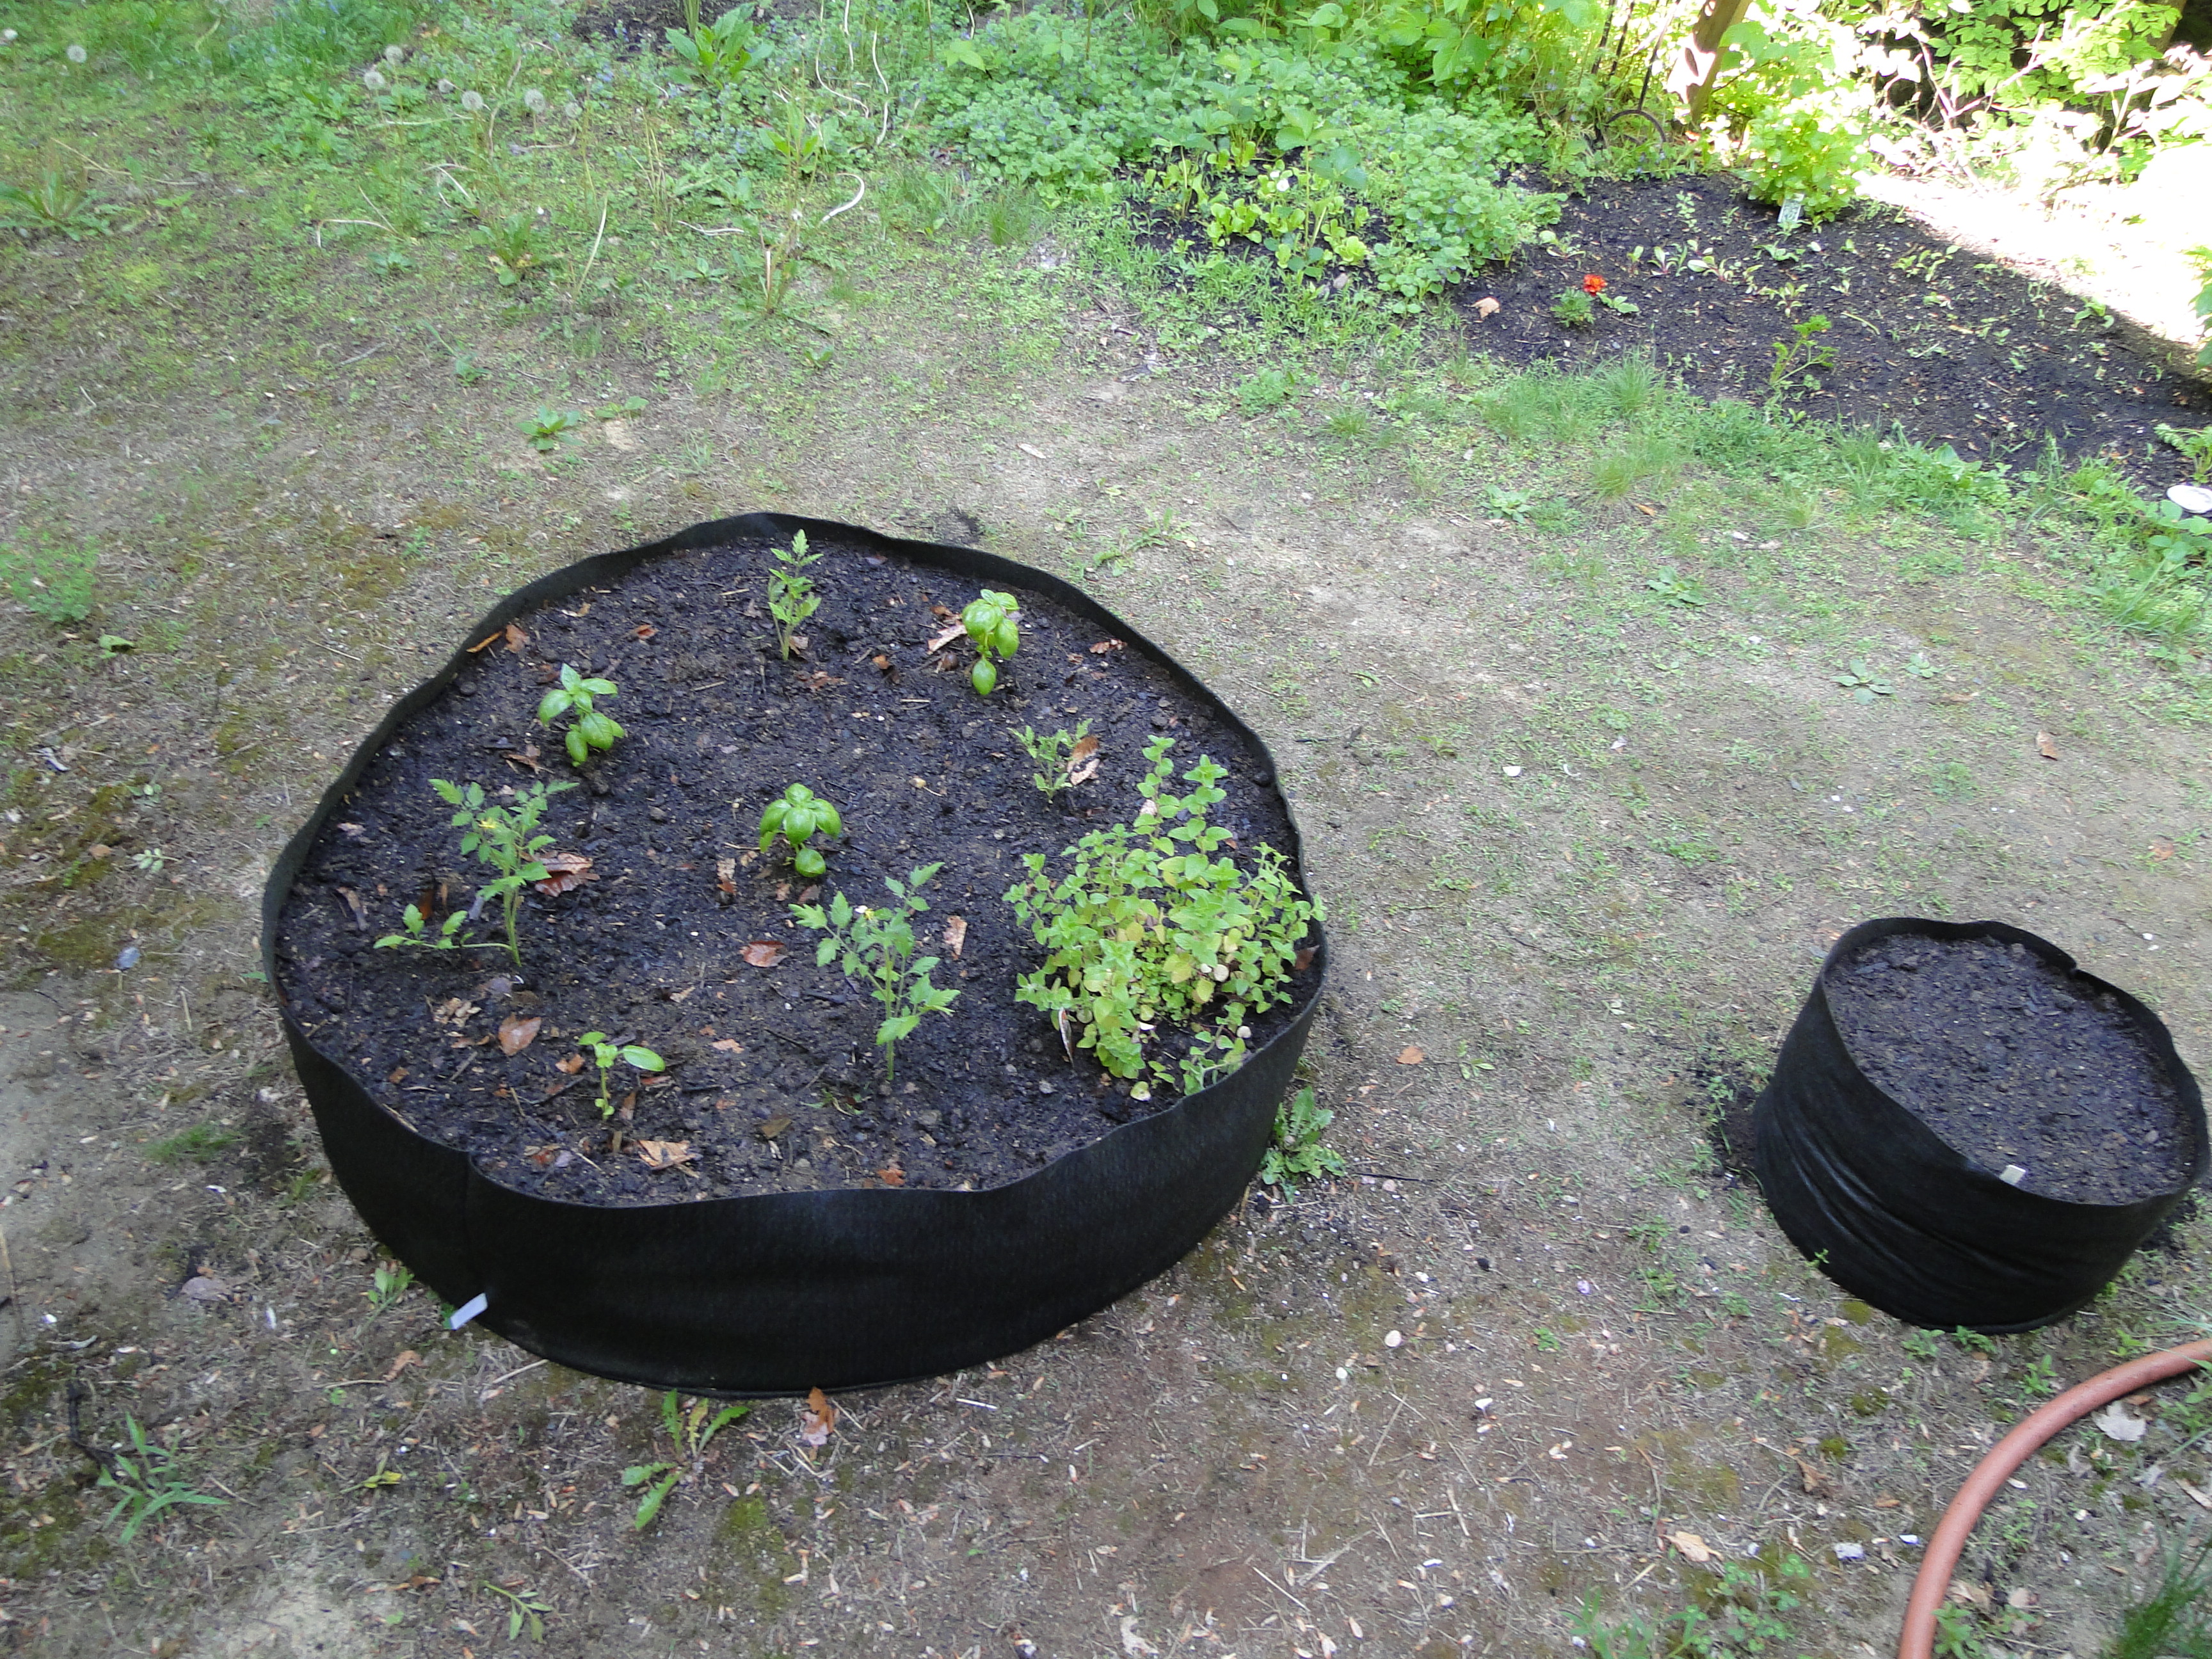
Over the past couple of years I have invested in a few grow boxes. My son made a few raised beds last year. We’ve been growing (or trying to) in these beds somewhat successfully.

This Spring I purchased a Tiller. It was not cheap but it did the work of creating a fairly small garden out back.

garden area tilled earth

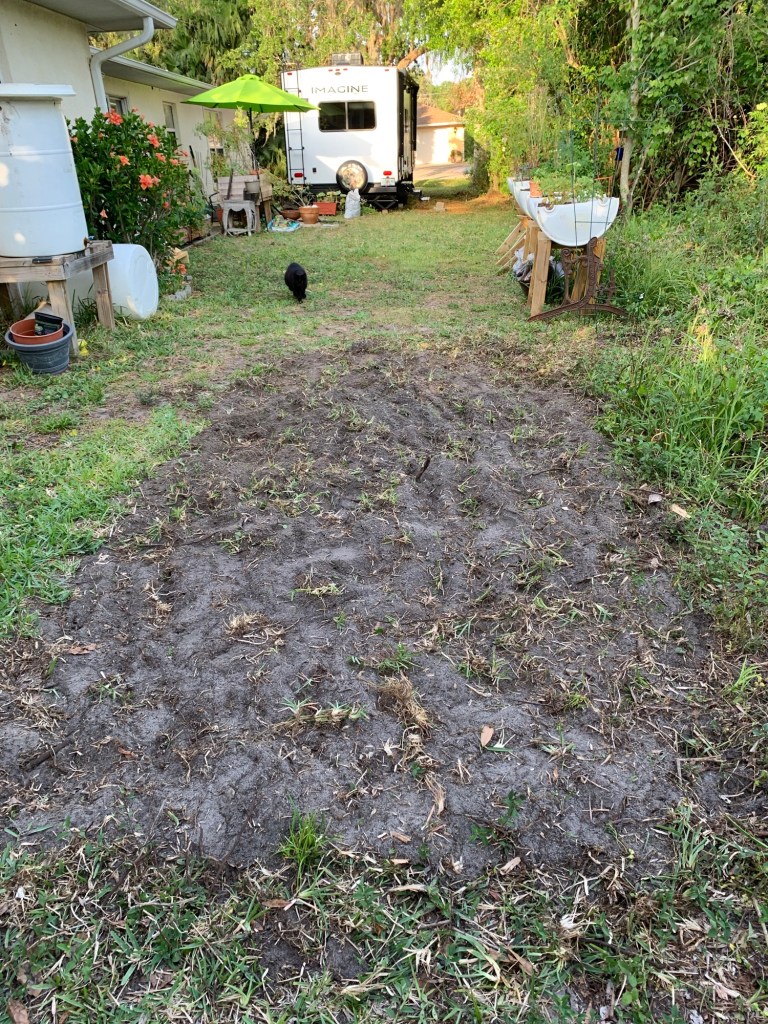
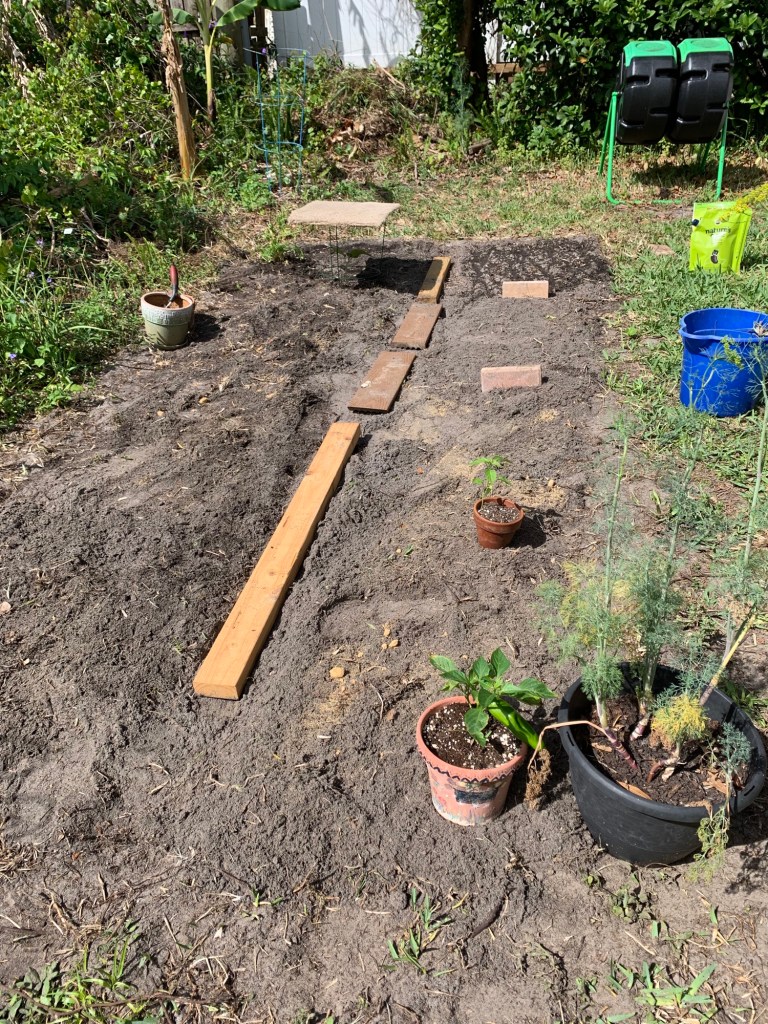
I have removed a lot of the roots, vines and horrible grass that grows in tendrils. Next I mixed in three bags of compost.

The “dirt” in the ground here is sand. I never saw a single worm, which is typical. I think it will take a lot more compost over the months to create a decent place to grow things. For now, this will have to do. I can amend later with compost from the Hot Frog.

Spreading bags of compost into a freshly dug garden

First I found some boards to set down the center. I remember from my northern gardening that mashing down the earth is not a good thing. If I can remember to stay on the boards, the remainder of the dirt should stay loose for growing.

Next it was time to plan the layout for planting. I had to think about which things would be long vines (watermelon and sweet potato) and those would be in a place where the vines could go out into the grass.

Okra gets tall, I guess… have never eaten it or grown it … so I planted those seeds along the edge. I only planted it because it’s a southern thing and should grow well.

I saved a spot for the sweet potatoes yet to come, and will fill in the rest with some pepper plants and more eggplant.

My basic sketch for planting is subject to change.

backyard garden planting

I managed to get some watermelon seeds and okra seeds planted. Then an eggplant, which I covered with a piece of rug to give it shade.

It was so hot by then, that I took a break inside and waited for the clouds. The forecast called for rain later, but all I got was tons of hot sun!

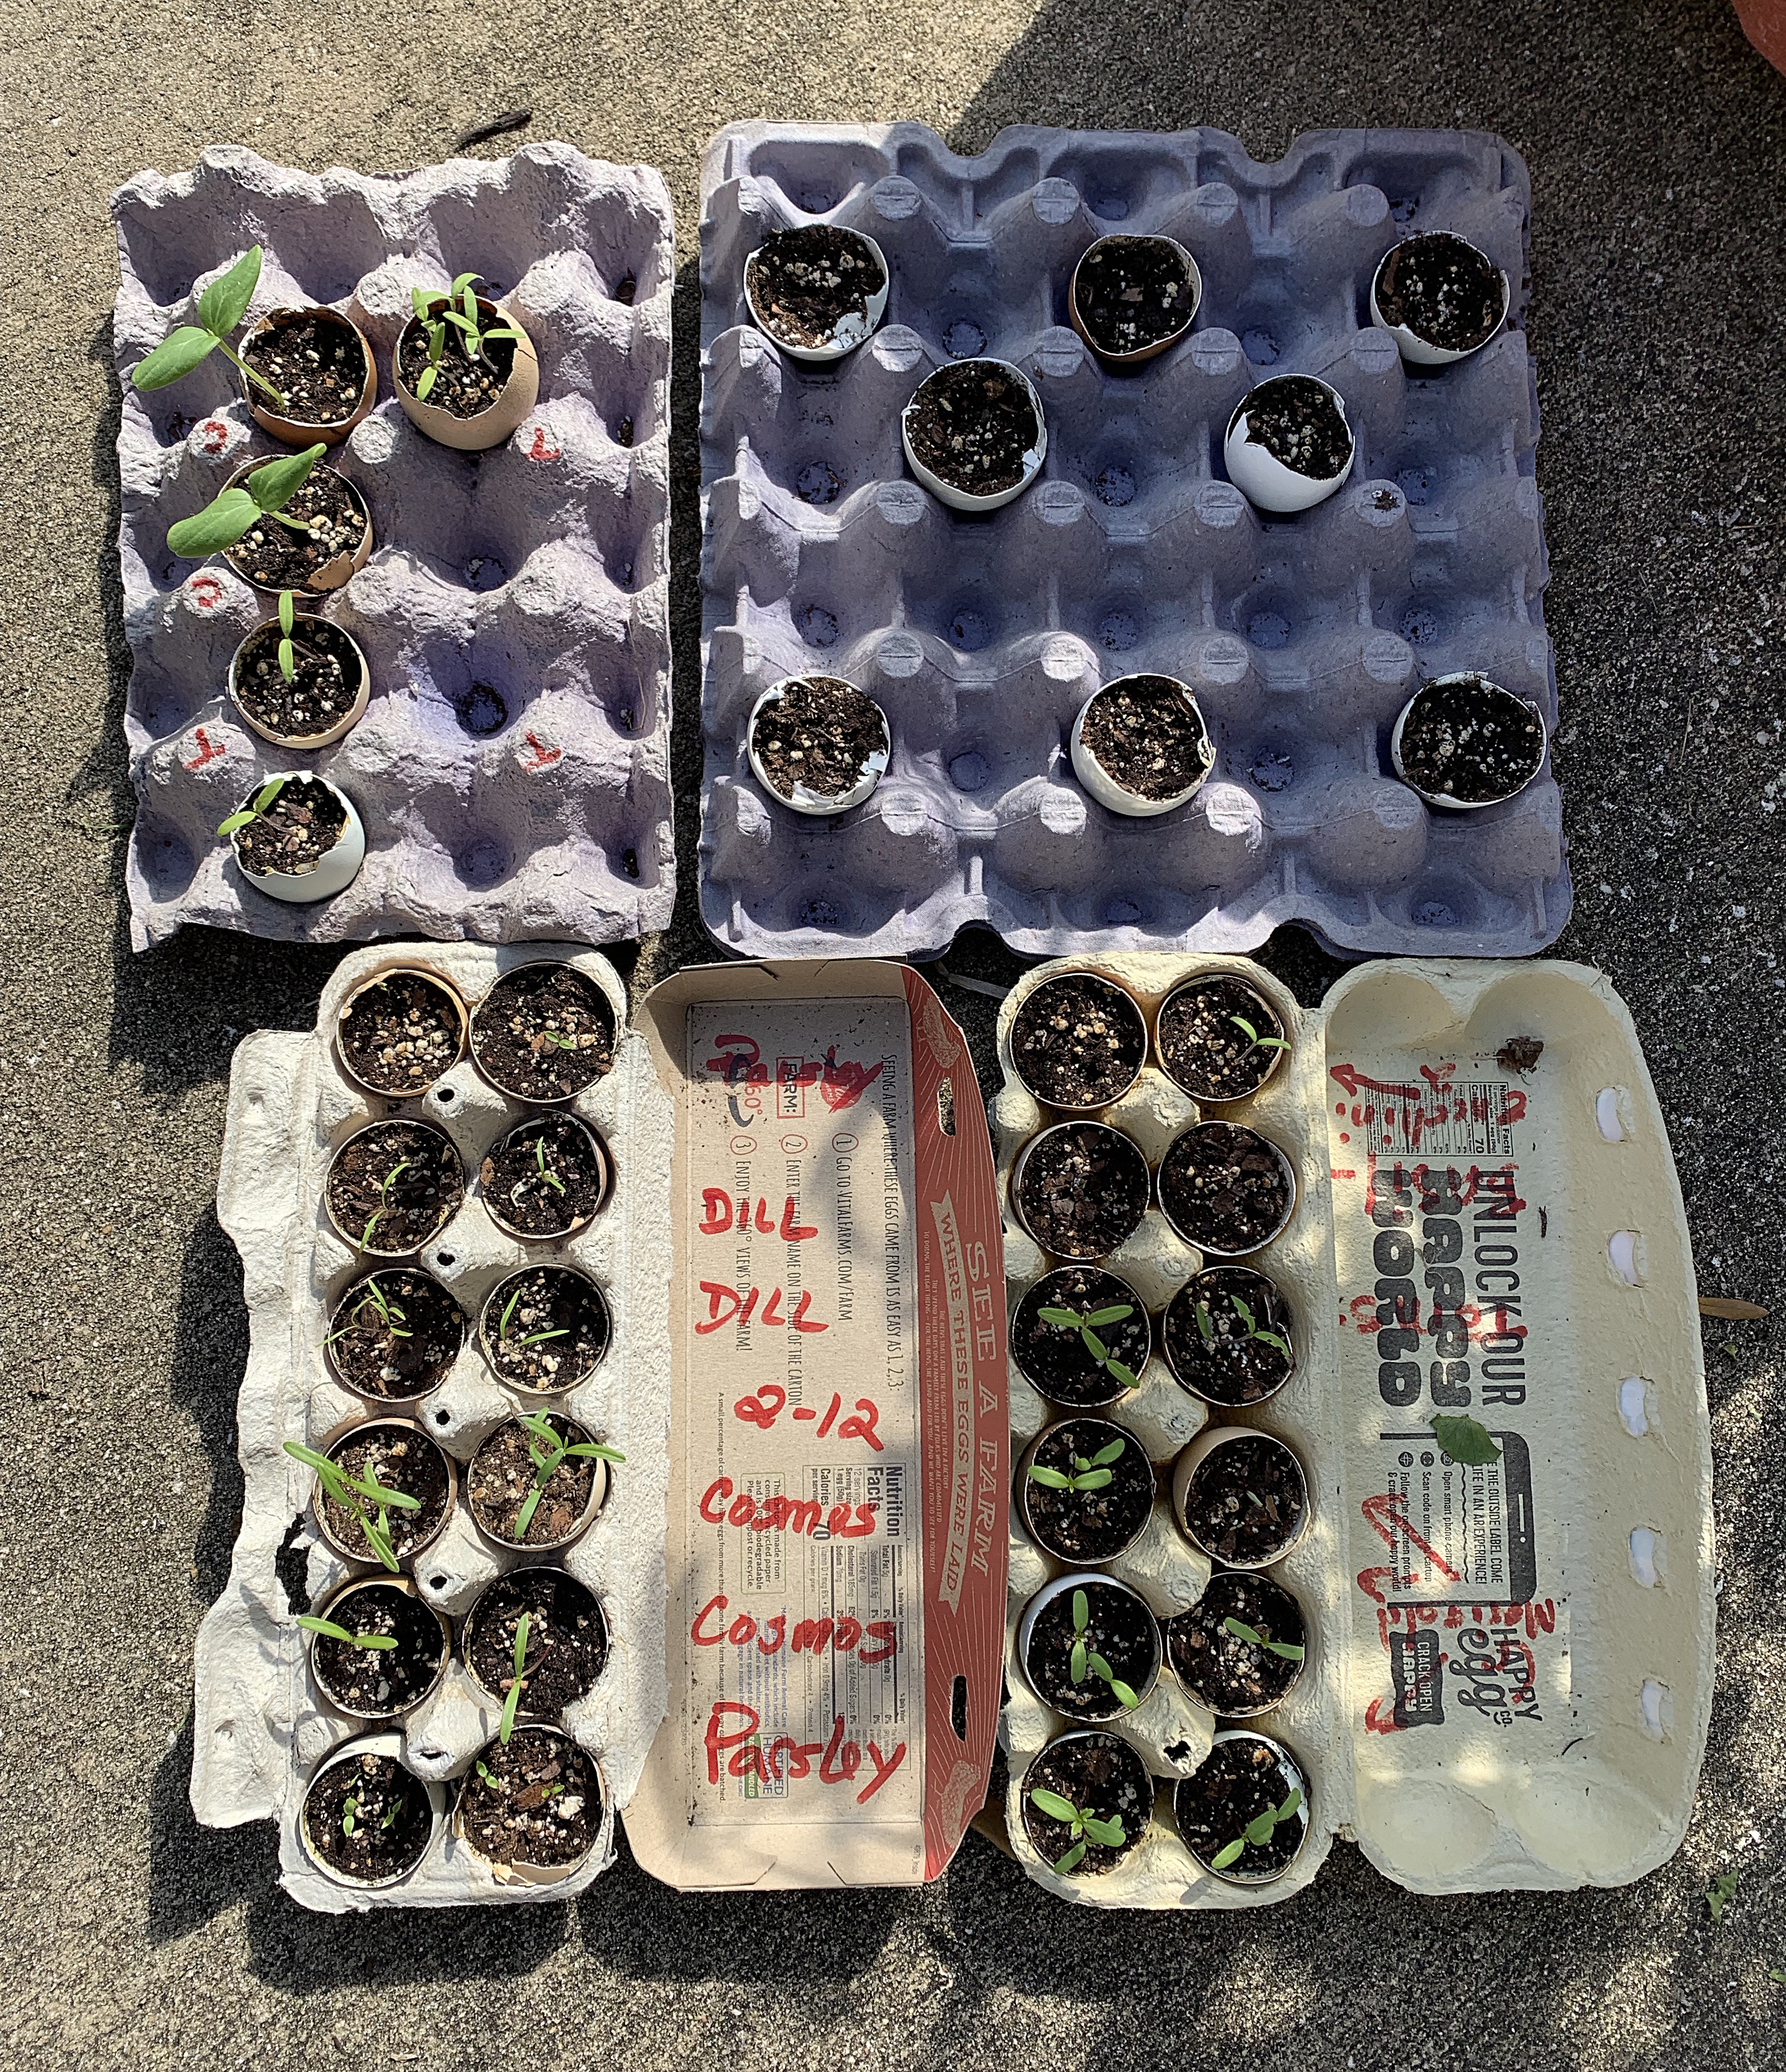
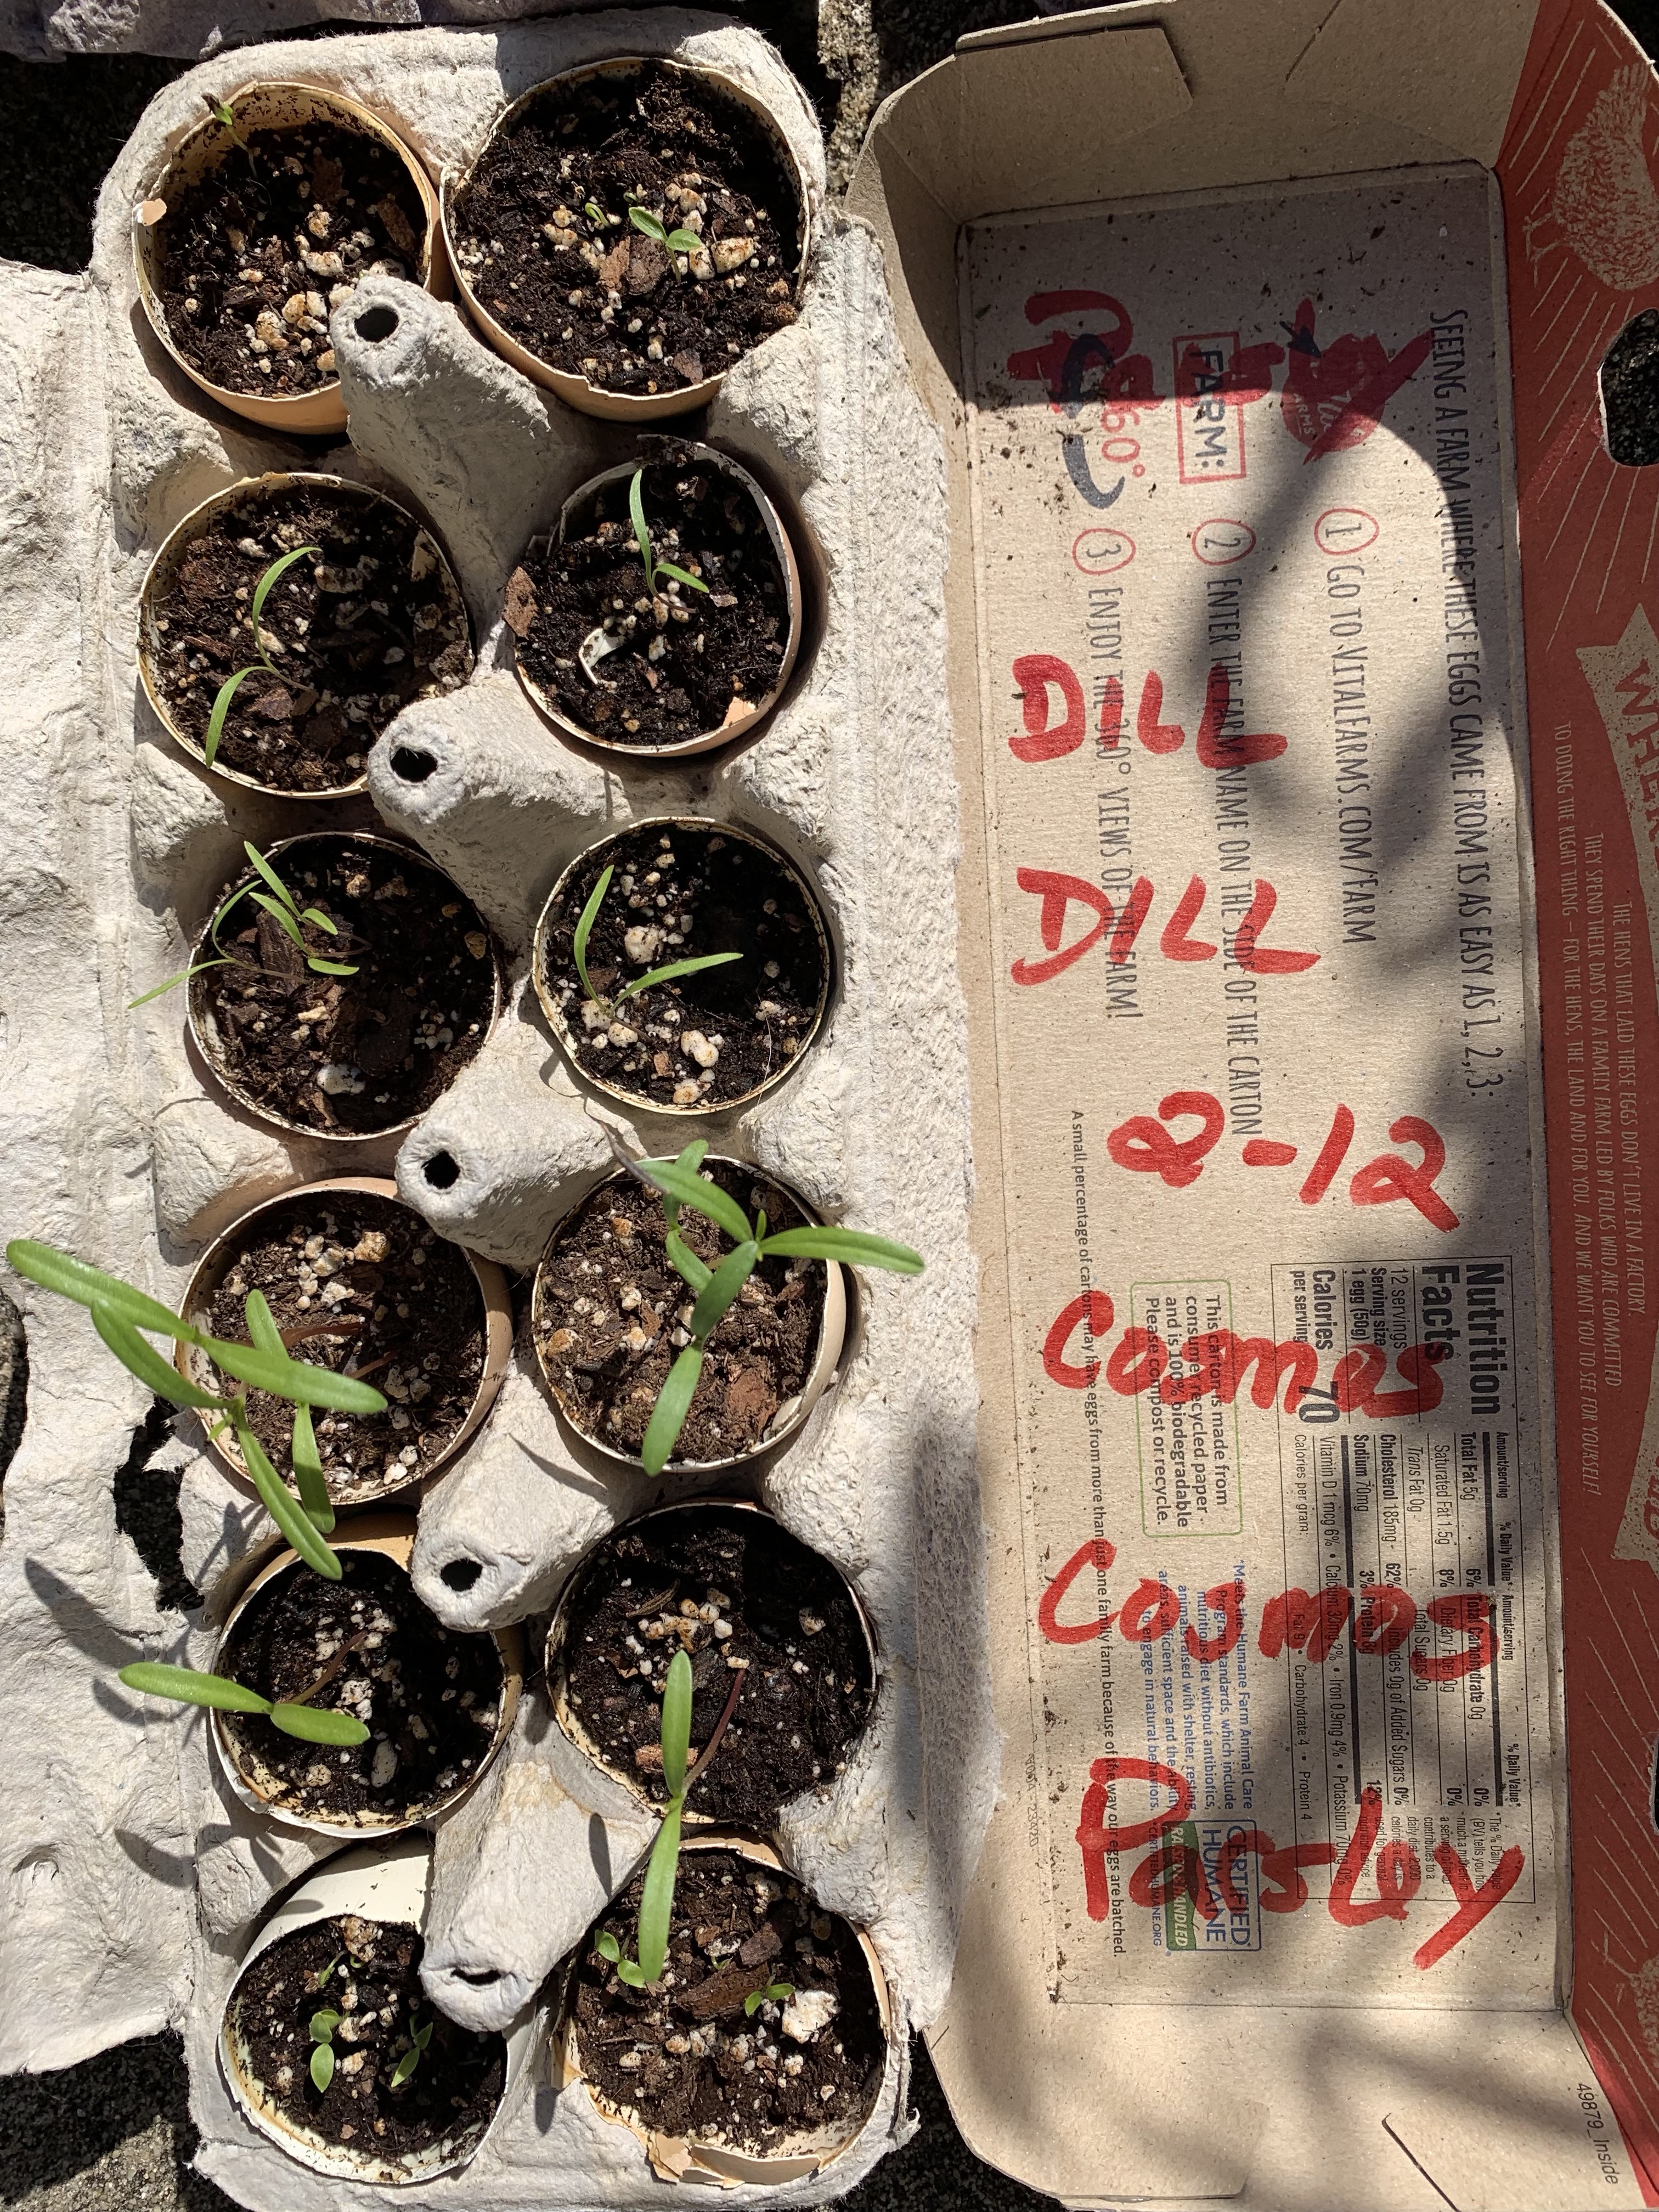
Some dill plants went in the corners, along with a parsley plant. Last of all, I threw in some saved Marigold seeds.

Backyard garden planted with seeds, dill, parsley, peppers and eggplant

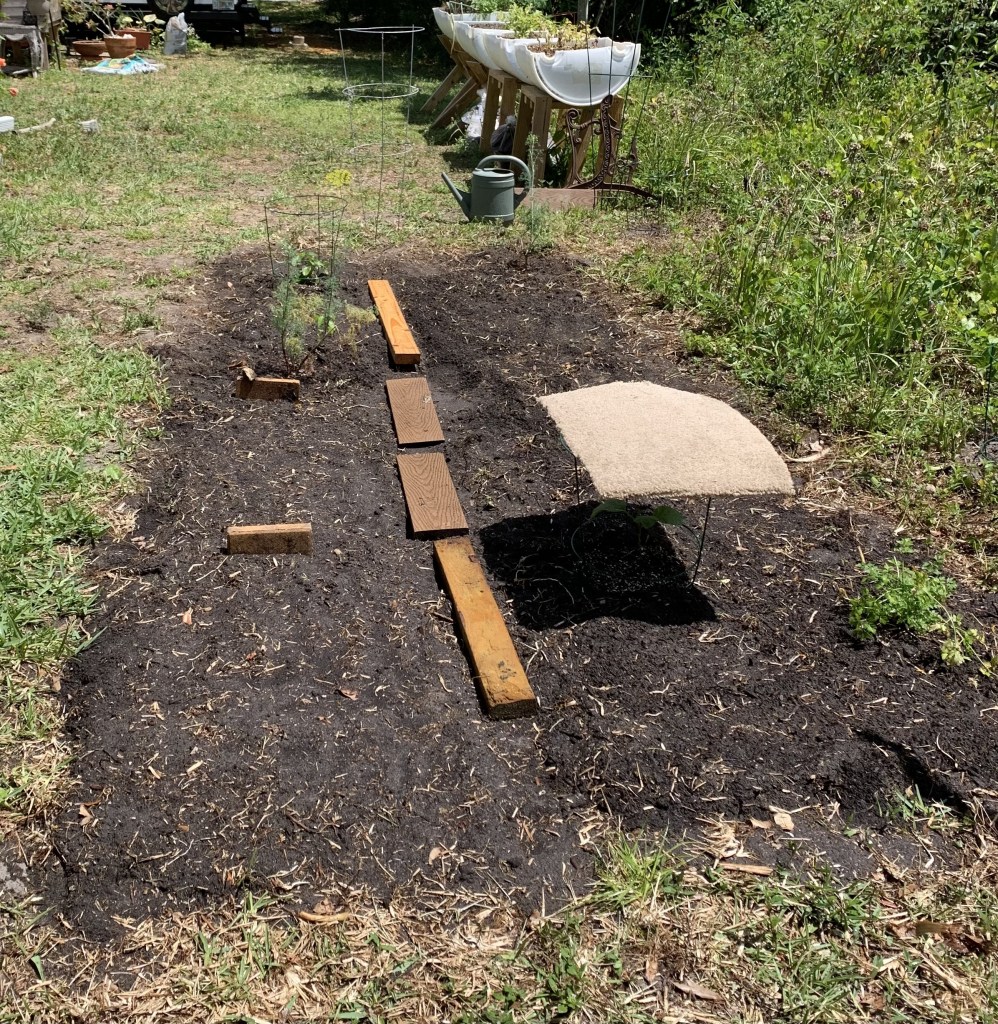
As soon as I took the rug covering off the eggplant, it began to wilt. They really cannot take the midday sun. I quickly watered the whole garden (each plant got it’s own soaking as I planted it) and put the rug back.

Already I am thinking of moving the okra to in front of the eggplant to give it some shade. I can’t run outside every day to cover it because of the sun. (Side note here – the okra was popping up out of the dirt on day 4!). The seed packet says this okra will be 4 -5 feet tall!

okra seeds sprouting
Okra – tomato cage animal deterrent

Although my summer garden may not do well due to the heat, this section of yard will remain a garden bed. When winter comes I can plant lettuce and kale. Also, I will continue to look for hardy, Florida crops to plant.

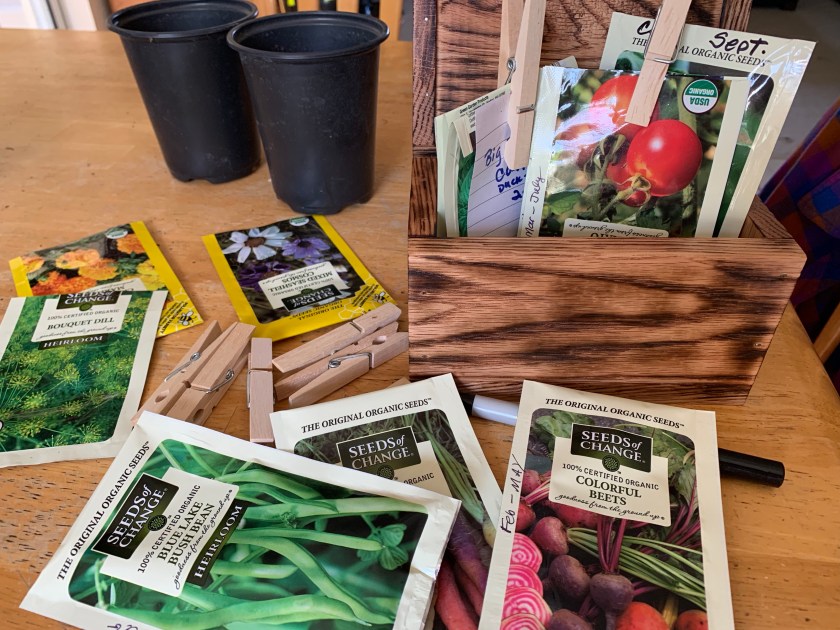
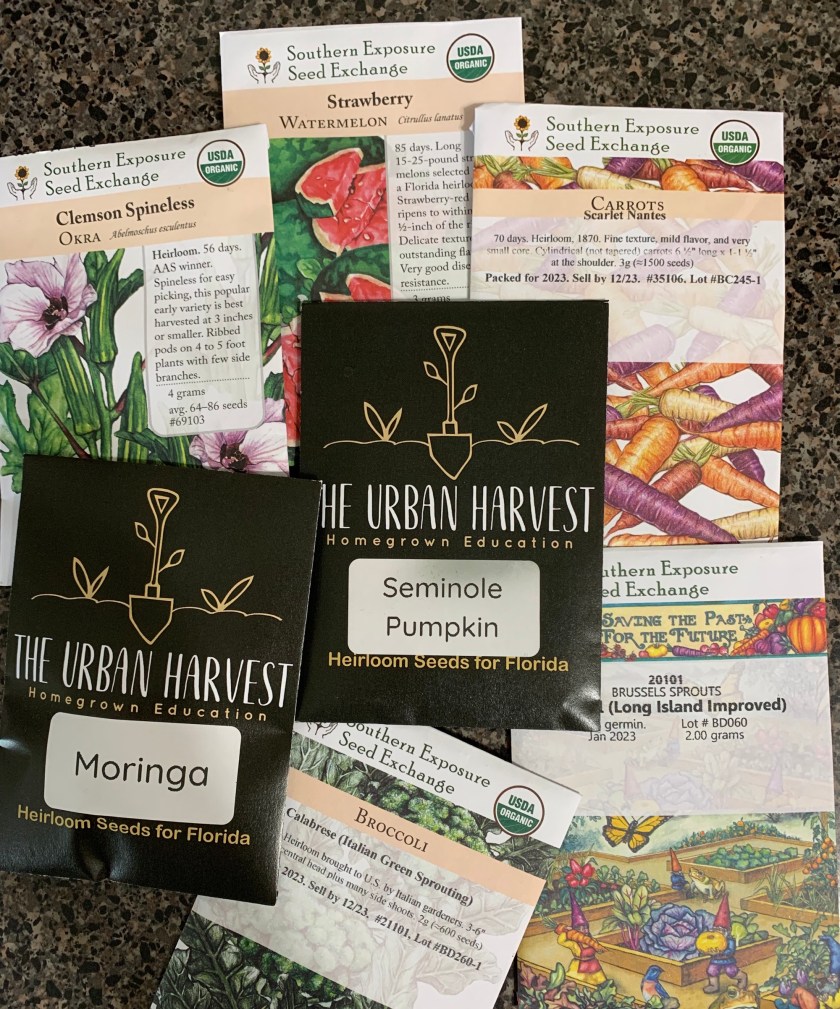
Bought My Seeds From Urban Harvest

I found this wonderful gardener online who has a YouTube channel called: The Urban Harvest – Homegrown Education. She lives on the west coast of central Florida and has lots of videos about growing things that actually will grow here in Florida! Immediately, I bought some of her seed packets.

The Urban Harvest website

seed packets from Urban Harvest
Seeds from Urban Harvest

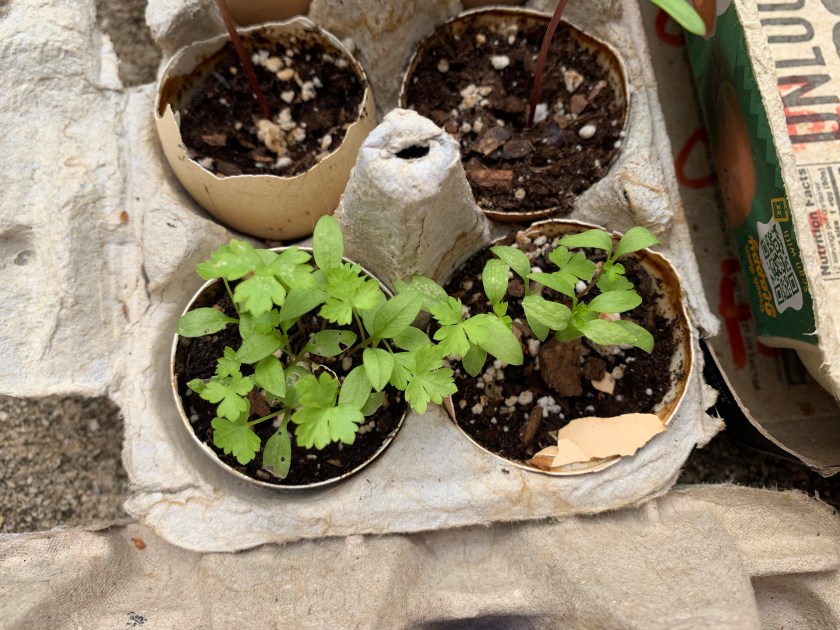
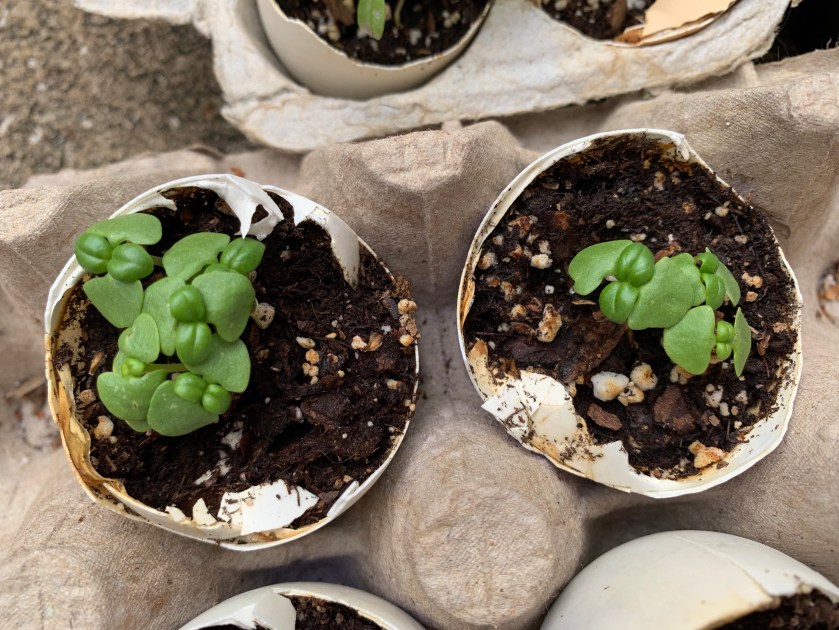
I bought some organic Coconut Coir blocks and have added seeds and other things to the pots. I’ve never used the stuff before and I will compare to planting in dirt.

I’m getting ready to post this on April 15th and noticed this AM that one of my pumpkin seeds has sprouted! More about this unusual, southern Seminole pumpkin to come.

More Gardening Stories on the Blog

Starting Vegetable Seeds in Eggshells

While using my local, fresh, free range chicken eggs one day, I looked at the beautiful shell color and remembered something. I had read, at one time, about using eggshells as pots to start seedlings for the garden.

The shells were so pretty that I hated to just throw them out, so I began rinsing the broken shells to save.

free range chicken egg colors

Getting Ready to Plant Seeds in Eggshells

Here in central Florida frosts and freezes tend to happen in January and February, if they happen at all. By March the weather seldom gets all that cold, but can be chilly overnight. March is the month to plant in Florida.

However, seeds can be started indoors in February, or sooner, to have little seedlings ready to go into the ground by March. I planted mine in the middle of February.

With my organic bags of dirt – Black Gold by Sungro (Amazon affiliate link)- is what I used, and organic seeds purchased, I filled each eggshell and then stuck seeds down into the soil. Keep the egg cartons to use as the plant tray.

When the weather got nice enough, I put all the cartons outside in the sun for the day. I brought them inside each evening. And checked them often to add water.

Difficulties and Challenges to Eggshell Gardening

Unlike little pots, the eggshells are delicate. One online site said to put a pin hole in the bottom of the shell for drainage. I did not do that because I tried and failed to make a little hole. It is not really necessary as long as you don’t overwater. Also, with a hole in the bottom, the cardboard containers would be wet.

Watering can be challenging. The eggshell pots are very small. They will dry out quickly when outside in the Florida sun. I water the seedlings twice a day, and this is March. Because the pots are so small and I don’t want to overwater and have them sitting in a puddle, I use my pour-over tea pot which has a small thin spout. Alternatively you could use a paper cup or anything that allows you to easily add small amounts of water.

Get the Seedlings Outside During the Day

Each day I put the seedlings – or soil with seeds – outside into the sun. Once the plants begin to grow they will need lots of direct sunlight and also some moving air. When plants grow in slightly windy conditions, it causes the stems to become strong. Or so I’ve heard.

Seedlings growing in eggshells
Seedlings are about a month old

I’m lucky enough to be home all day and can easily do this. Even if the plants can sit in front of a sunny window it will be helpful.

All in all, be ready to spend some time caring for the little pots. You can’t just plant and forget.

Choosing Seeds to Grow in Starter Pots

It is tempting to go overboard when picking out seed packets! I’m picturing the bounty of fresh veggies – arms loaded as I come in from the back yard. Realistically, I certainly don’t have space for many plants and seeds are generally good for one year only.

I love almost all vegetables, but must be picky about which ones I will grow. Fresh herbs are one thing I would use often. My basil and parsley has diminished over the years so I wanted to grow those two things again. I also have had difficulty finding dill plants here in Florida, so I am trying to grow that. Dill and fennel plants have flowers that attract the Swallowtail Butterfly.

Italian flat leaf parsley seedlings
Flat leaf Italian parsley seedlings – lookin good!

Getting to start plants from seeds gives me the chance to learn what’s what in newly sprouted form.

The basil did pretty well, but something did eat some of my basil. I planted as much as I could, filling all the saved eggshells. I knew that some things would do better than others.

Basil seedlings in eggshells
Little basil plants

My yard needs more flowering plants. Some of these eggshells contain marigolds and cosmos. I plan to plant more of those flower seeds in larger containers as well. Flowers don’t have to be planted in the garden – especially when your garden is made up of a few grow boxes. They can be in containers to save on garden space.

Flowering plants in pots can be moved around the yard as needed to keep bad bugs away and hopefully draw in the beneficials.

organic seed packets

Larger seeds such as zucchini and cucumber can go directly into the ground. Let’s face it, I would need a lot more egg shells to get everything started. Also, I don’t know how well transplanting will go. More to come on that!

For now I am keeping up with the shell starters.

My First Moringa Tree Drumstick Bean

Two Moringa trees are growing in my backyard. I’m in Central Florida and the trees grow great all summer, but slow down the remainder of the year. Hurricanes, or strong wind, will knock these trees over. I had to cut mine last year because it fell over the garden. New stalks have grown and I…

Why I Remove the Peat Pot When Planting Seedlings

From the time I first began buying plants from Pell’s Nursery in Osteen, Florida I was told to “rough up” the roots when the plant was removed from the pot.

I’m talking plastic pots here, which are the way big plants usually come. Often the plant is a bit root bound from growing in a container. In order for the plant to do well when it’s in the ground, the roots need to know they can now grow outwards.

Some plants with thick roots can actually be sliced, or cut to train them to spread. You do this at a few intervals around the root and dirt ball before it’s set into the ground.  The Pell family gave me good advice and I always had excellent luck when adding their trees and bushes to my Florida landscape.  Their planting suggestion was a good one.

Screen Shot 2018-05-13 at 8.17.22 AM
Hot pepper plant from store

These days little seedlings are often sold in biodegradable, plantable pots, which will disintegrate in the dirt. We are told to plop the whole thing (minus the bottom, says the label) into the ground. Easy-peasy, no muss, no fuss.

I don’t like it. Why would I want a pot in my garden? And what is it really made of? I also believe it inhibits plant growth.  “Peel off bottom of pot for optimum root growth” – it says this on the plastic.  So imagine if you let the roots around the sides have that optimum growth chance as well!

In short, it’s not necessary. Treat it like a regular pot and remove it.

Screen Shot 2018-05-13 at 8.17.15 AM
Everything removed and ready to plant

I always remove the peat pot when I plant something purchased at the store (in my case the Home Depot). I do this because it releases the roots so they can instantly grow into the garden dirt in a natural way. I see no reason to add a pot to the garden soil. It’s just as easy to remove the plastic wrap and the pot.

This type of pot is often used for starting seeds. When I tried this when growing things for my northern garden, the pots began to turn moldy! So they aren’t necessarily a good choice for that either.

Screen Shot 2018-05-13 at 8.17.05 AM
New little pepper plant

By the way, I’ve found that hot pepper plants are one of the easiest types of vegetable to grow.

Getting Ready to Fill The Yard with Flowering Plants

February is the time to begin thinking about planting here in Central Florida. Not only vegetables, but replenishing the yard after the winter freeze. I’m still getting used to gardening in this weird climate.

In New Hampshire

I had gardening down pat in the north.  I had a yard full of wonderful flowers.  It took me a few years to get them going, but once the Monarda (Bee Balm) and Cone Flowers (Echinacea) began to grow, I counted on them bringing birds and beneficial bugs to my yard.  And they did.

Besides those perennials, I had wild blackberries and raspberries, lots of dandelions, some Queen Anne’s Lace, and other “weeds” which flowered as well.  And then there were the hydrangeas, lilacs, daisies and peonies that kept the yard pretty throughout the season.  If you live in a climate that supports these types of plants, put them in your yard!

nasturtiums in glass pot
Nasturtiums in pot – my photo

I knew what I could plant in my yard. I dug in the rich New England dirt, added some bone meal and fertilizer and the plants were happy. In winter they went to sleep and appeared again in Spring. They grew bigger each year.

Florida Growing is Not Easier

Now my growing knowledge is turned upside down.  I don’t know what to plant.  I live in a place without winter, but we do get freezing temperatures. We also get months of extreme heat which some flowering plants can’t handle. Nothing hibernates here. I think I’ve lost my beautiful croton this winter.  Yes, it’s in a big pot – and that makes a difference, but this one I can’t move indoors.

dead croton in a barrel
This was a beautiful croton and hibiscus

See how pretty this was on this page. Makes me want to give up on planting altogether.

I have to learn what to plant and what will live in 100 degrees and also in 20 degrees. I covered my outside plants this winter, and they died anyway. These tropical plants do best when they can be brought indoors overnight if temps will be dropping.

I don’t want a yard full of pots that I have to lug back and forth… I want a pretty flower garden. I’m not so sure it’s possible, but I will give it a try.

Since the “dirt” here is simply worthless sand, any time I think about growing something, I know I will have to build my own dirt.

At the present time my plan is to fill up some of my grow bags with a mixture of good garden dirt (from my raised bed) and bone meal or blood meal and plant something that flowers.

bird bath with cardinal
Female Cardinal in Bird Bath

For the birds, I already have a birdbath which I view birds using every day. In fact they sometimes fight each other over the water, to drink and bathe in.  Next I will add a tray feeder.  Because I live next to a lot that has not been cleared, there are plenty of trees and bushes where the birds can land and hide. They especially love the Dahoon Holly tree which is not in my yard, but close.

What I’ve Learned About Planting, Harvesting and Drying Garlic

Information on how to plant, harvest, dry and store your own garlic.

hardneck garlic bulb cloves
Planting, Harvesting and Drying Hardneck Garlic

I live in southwestern New Hampshire and each year I attempt to grow my own garlic.  After much trial and error and reading articles and books, this is what I’ve learned about planting, harvesting and drying garlic in my area of the country.

The first couple of years I had little luck, but I didn’t know what I was doing.  I wasn’t sure exactly when to plant it, and it never grew very large when I did manage to grow a few bulbs. As time went on, I read more, and realized that it needs to be weeded well. Weeds will compete for nutrients and keep the bulbs small. Also a little fertilizer when the stalks begin to grow can help. Continue reading “What I’ve Learned About Planting, Harvesting and Drying Garlic”

A Raised Garden Bed Made of Fabric

large fabric raised garden
The Bigger Fabric Garden

This weekend I ordered more dirt and filled up my larger fabric “pot” to create a raised garden for some tomatoes and basil. The smaller one in my photo is planted with beans, and next to that I have used one for growing potatoes. What I love about a raised bed is the fact that there is plenty of good dirt for the roots of the plants. I guess that is one of the great things about a raised bed. Digging in the ground means creating layers of great dirt, over time – and it can take a while if the dirt under the garden is fill dirt, or something else that is not good for growing.
My house was built on the side of a big hill. Fill dirt was brought in to make the site level, as often happens. Fill dirt, is usually sandy stuff and that is what I find when I dig down a few inches in my back yard.   You can see that there is little growing in the spot of yard where I put this bag.  I used the loam mix that was delivered from Agway along with my own compost and added a little bonemeal, so I know that my plants are in good soil.
This garden has four tomato plants with some basil and one Italian oregano plant. I don’t know if four tomatoes are too many for this space, but I have other tomatoes planted in the ground too. In fact I made another raised bed using cinder-blocks and set that up out front where there is more sun.

That is the great thing about using these fabric pots and gardens – set them up anywhere!  Find a sunny spot and add a little vegetable garden.  They have allowed me the chance to plant more while I continue to expand my gardens in the ground.

If these black pots can be used year after year, the investment will be worth it.  I don’t know much about them at all.  Can they stay up all winter, or will I have to empty it and store it?  If they don’t last, I will stick to the smaller ones only.