Here’s how to bring along vegetable packets for grilling on a camping trip.
Each time we get read to go camping in our trailer, I create vegetable foil packets to take along.
My son like to grill, so he takes care of bringing the meat. I’m not a big meat-eater, but I always have a small amount. My main dish consists of vegetables.
Creating the Packets
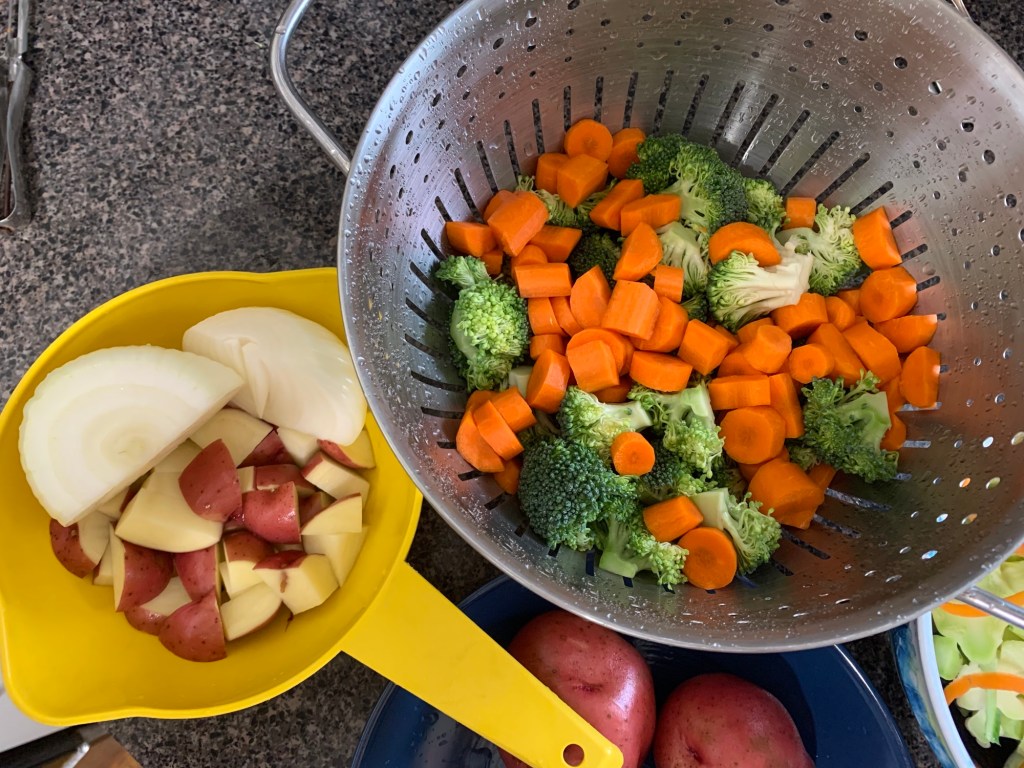
Close to the camping dates, I shop for fresh vegetables like broccoli, cauliflower, asparagus, carrots, potatoes, and onions. I don’t buy all of these, just what looks freshest and is affordable. (I skipped the asparagus as the price was ridiculous!)
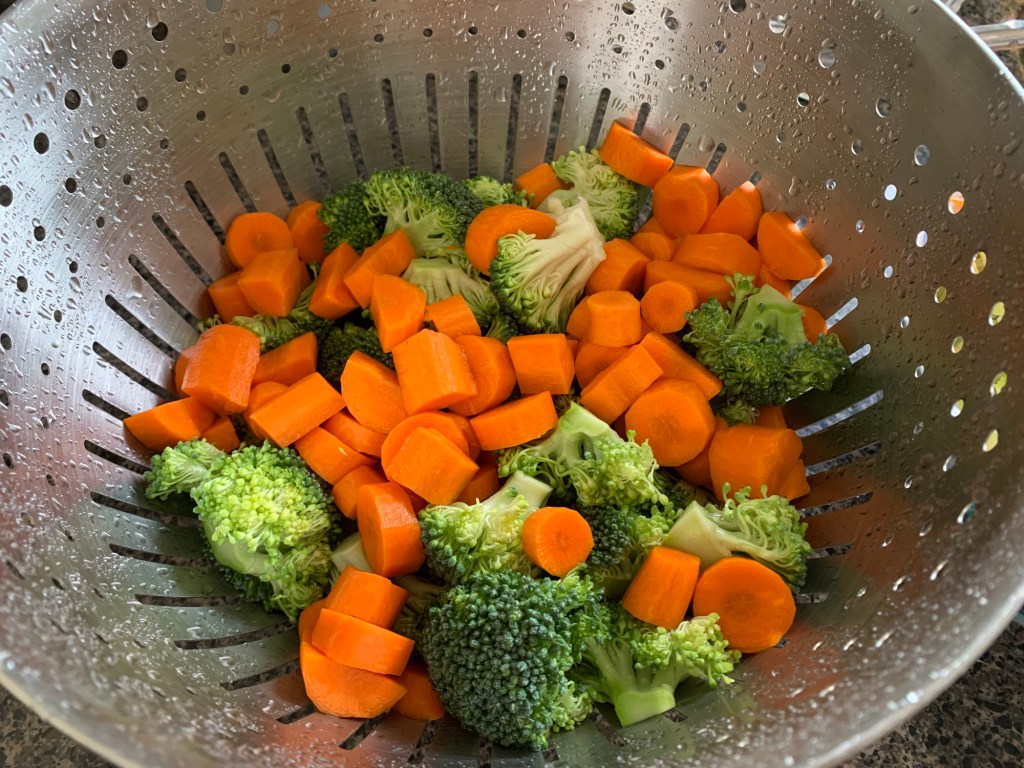
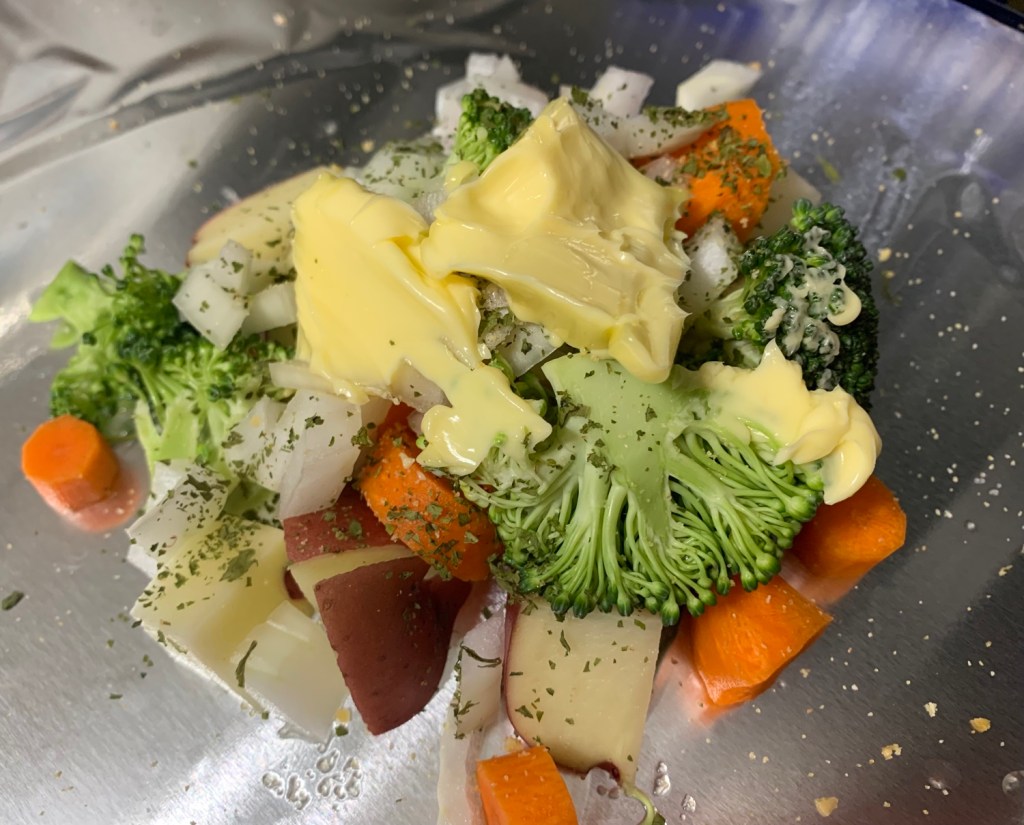
The day before we leave the vegetables are rinsed, chopped and wrapped. Potatoes and carrots will take the longest to cook and need to be cut very small. I add butter and seasoning, like dried parsley and garlic powder. We add our own salt, if needed, after cooking.
Chopping vegetables
Use heavy duty foil, and place a mix of vegetables in the center of a large piece of foil. About a big handful size. Or, separate out the vegetables according to who likes what.
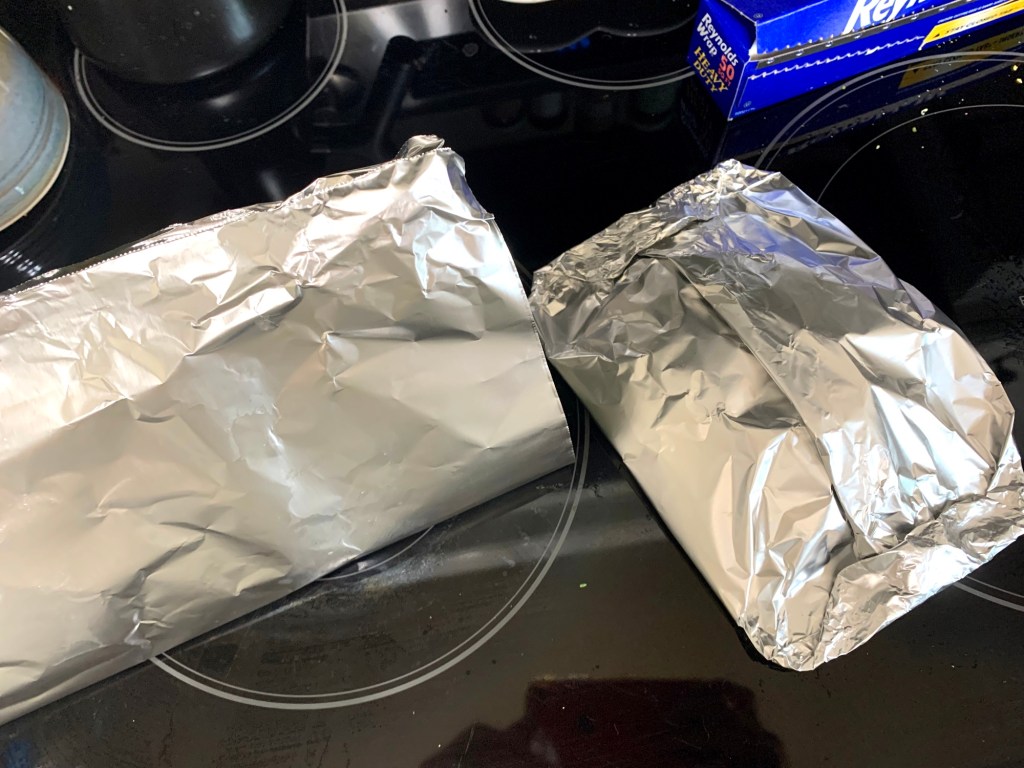
Top with butter, sprinkle with seasonings you like. Wrap the top first by placing the long ends together and folding over and over to the food. Fold each end in like wrapping a gift.
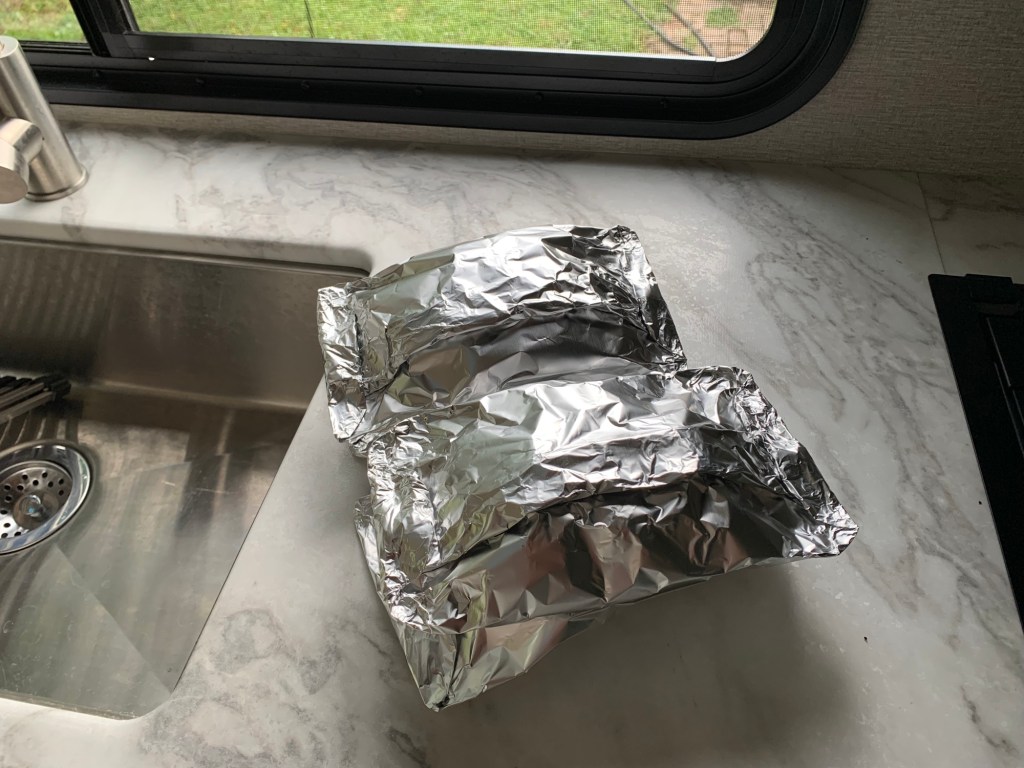
Tightly wrappedVegetable foil packets going into the camper.Camper fridge
I bought a head of cauliflower, four red potatoes, one onion, and about 5 carrots to make 8 packets to take with us.
We grill the foil food for about 30 minutes.
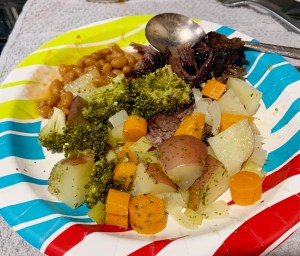
We ate four packets our first night when my son grilled chicken. We cooked the other four packets the second night, and ended up bringing two back home the next day. So, we had plenty.
I almost forgot to get a photo of the meal! It’s not ready for a food magazine, but you get the idea.
This is a simple way to continue eating healthy away from home. Camping food doesn’t have to be all bread and cheese and pancakes! I don’t eat like that at home, and I won’t while away.
Once you make your own tortillas, you will never eat store bought again. Here’s a rundown on how they are made.
One day I decided to make my own tortillas. I’m not a big bread eater, but I love these tortillas. Store bought anything is usually loaded with extra things I don’t want to eat so I choose to make my own food. Plus, with the garden growing, I like to make quesadillas and use my veggies.
The simple ingredients of flour, salt, baking powder, oil, and water are mixed and then kneaded for a couple of minutes. Find the recipe here that I used, and the list of ingredients. It is loaded with ads, which is typical for recipe pages. I wrote down the ingredients on paper which I refer to each time I make them so I don’t have to go back to that annoying page.
These are easy to make, but they are very time-consuming. Do the first part of mixing and then they get to sit for a while. Rolling and cooking takes the longest. But, they are good. You will never go back to store bought!
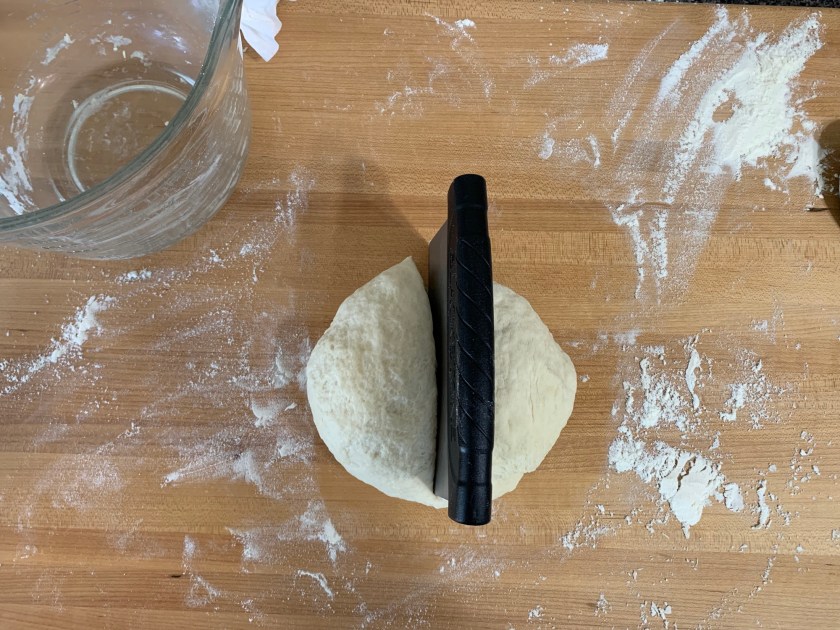
Mix the dough, knead, and divide into 16 pieces.
I have an awesome wooden cutting board which I use for this. And I have a little dough cutter / scraper (Amazon affiliate link) that comes in handy.
The dough has to be cut into 16 pieces
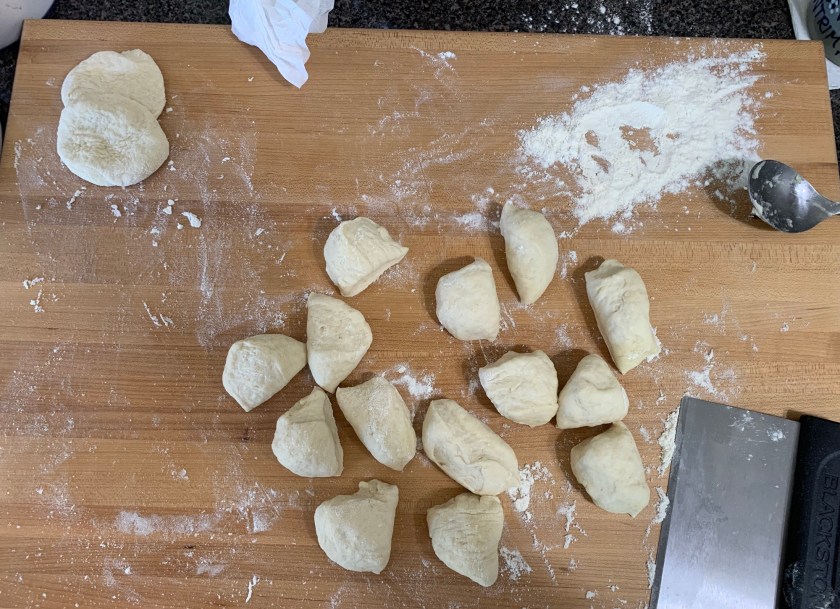
Dough is cut and ready to make into small round discs.
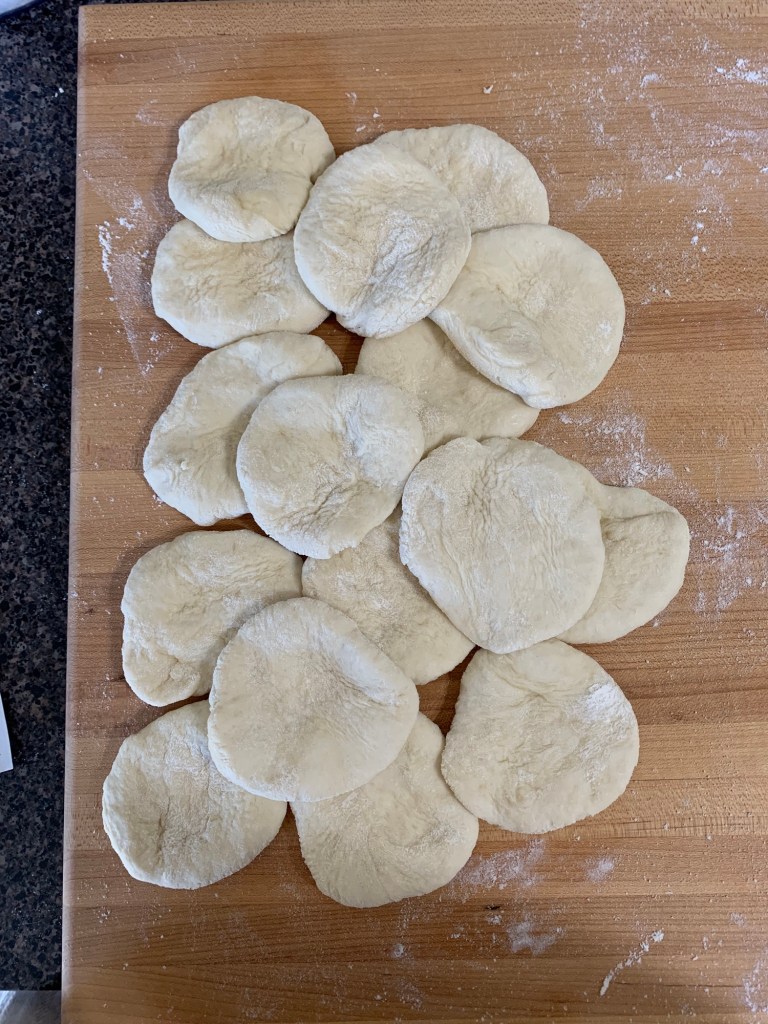
Once flattened, these flat patties will sit covered for about an hour.
Once you have 16 pieces of dough – just keep dividing each section until you have 16 – roll and flatten a bit with your palm. Cover them with a towel and wait a while – up to 2 hours, or as little as 15 minutes.
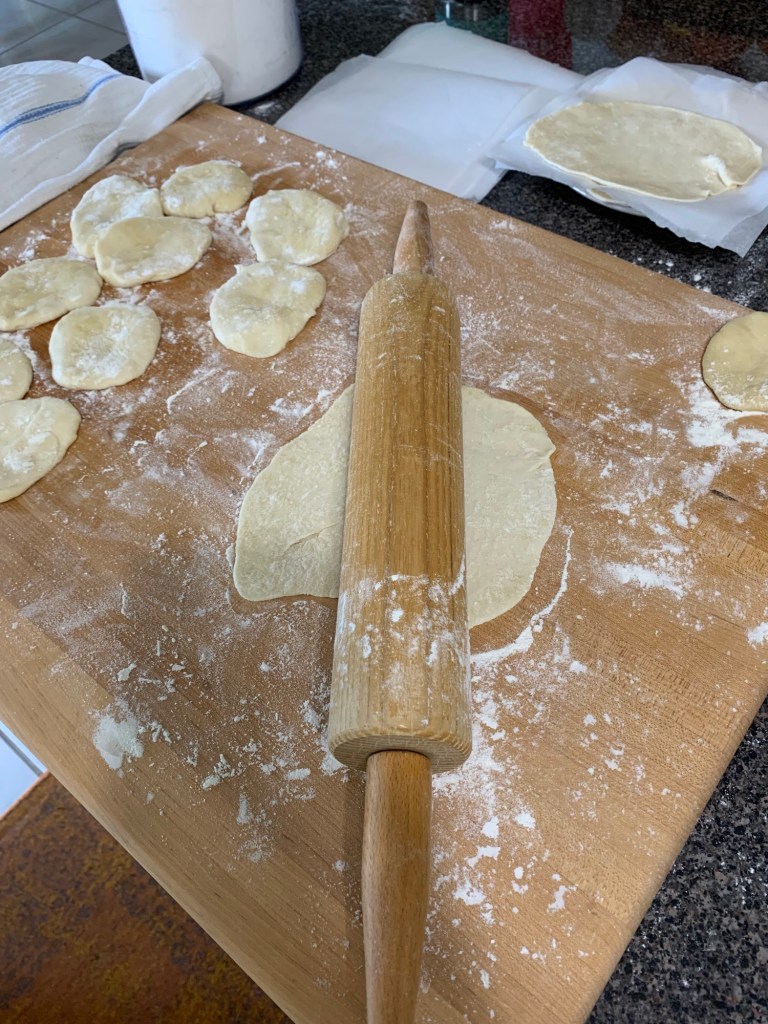
Roll flat and into a round shape (not easy for me)
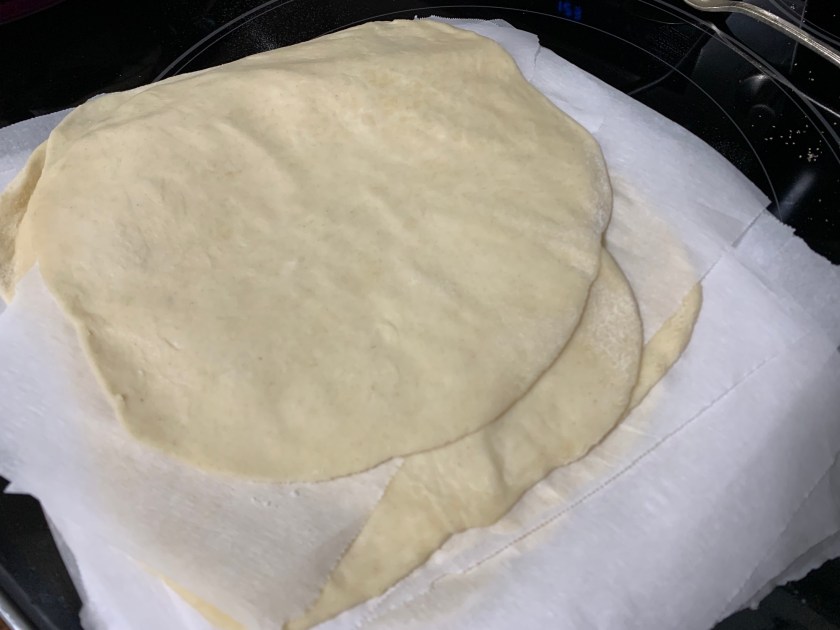
Stack each flattened tortilla with parchment paper between. They will be cooked one at a time so you don’t want them to stick together.
Consider the Pan
The pan type was tough to figure out. The first time I used a small non-stick fry pan and I ruined it! The tortillas are baked for about a minute total in a dry pan – add nothing… no oil. This can make bits of the tortilla stick to the pan and burn on as you continue to cook all 16 tortillas. I couldn’t clean the black bits off the non-stick pan. It was ruined.
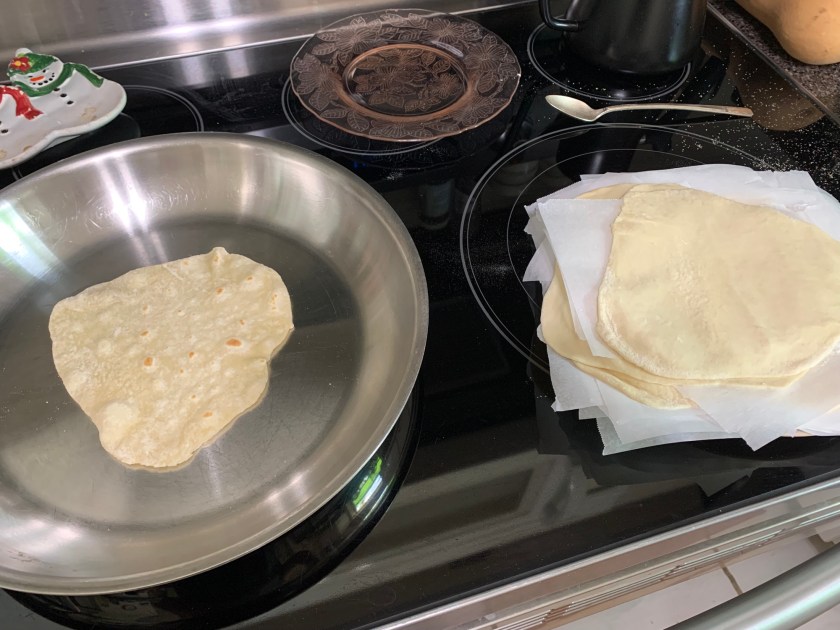
Finally I have decided that a plain stainless steel pan works best. When I have some black, burned parts I can clean it with stainless steel cleaner. So, use a pan that you are able to scrub afterwards.
I do use a low heat, but they have to cook… it’s a fine line between cooking and burning, so pay close attention.
Roll each piece of dough very thin
Put parchment paper between the flattened tortillas
Cook tortillas one at a time
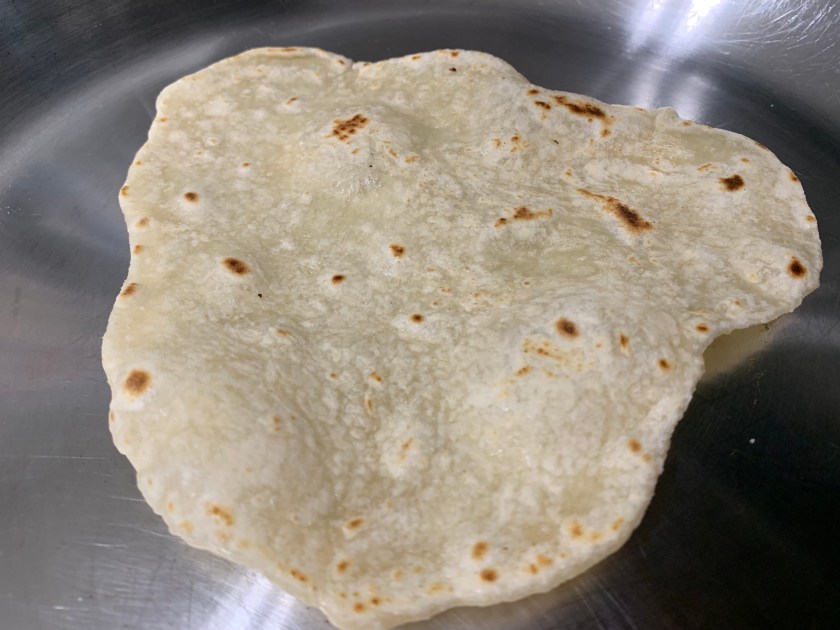
They will bubble up when cooking
Using the Cooked Tortillas
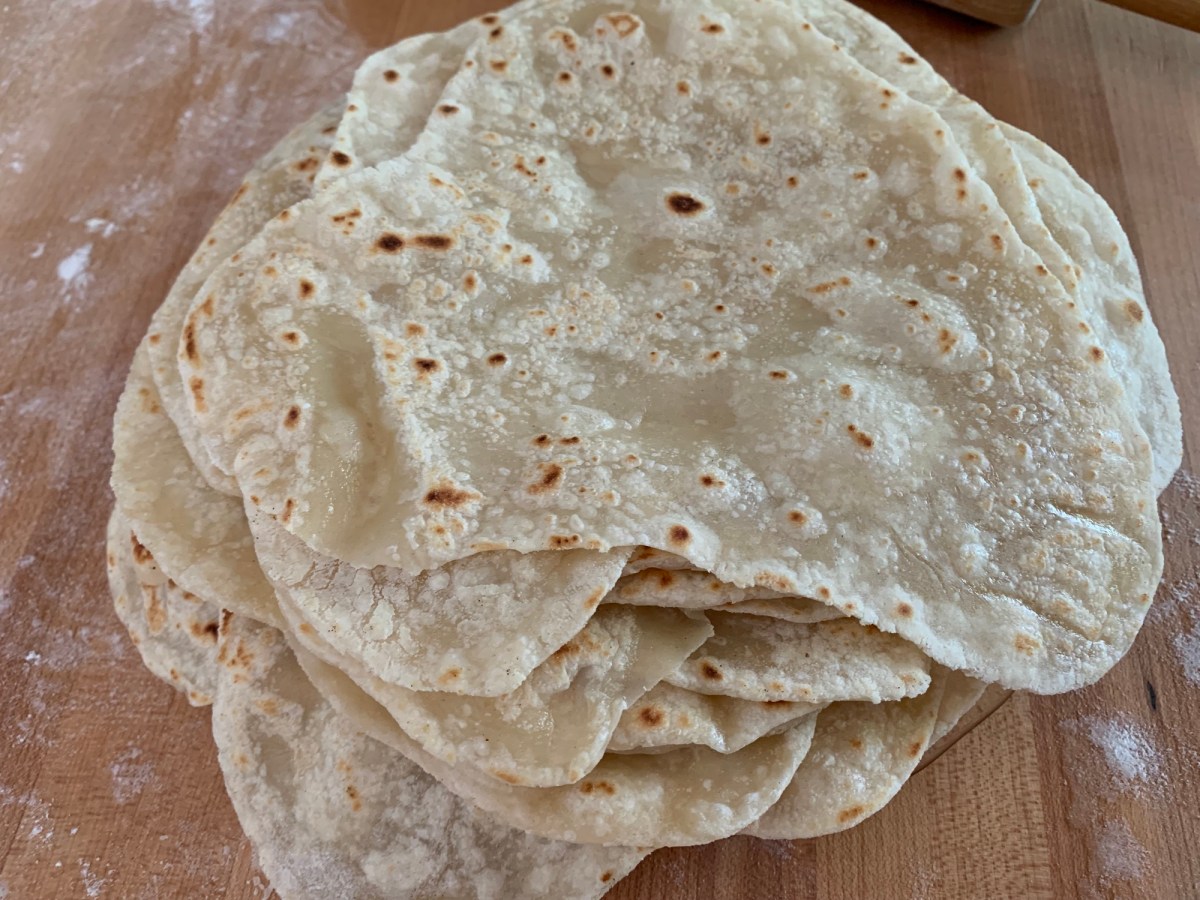
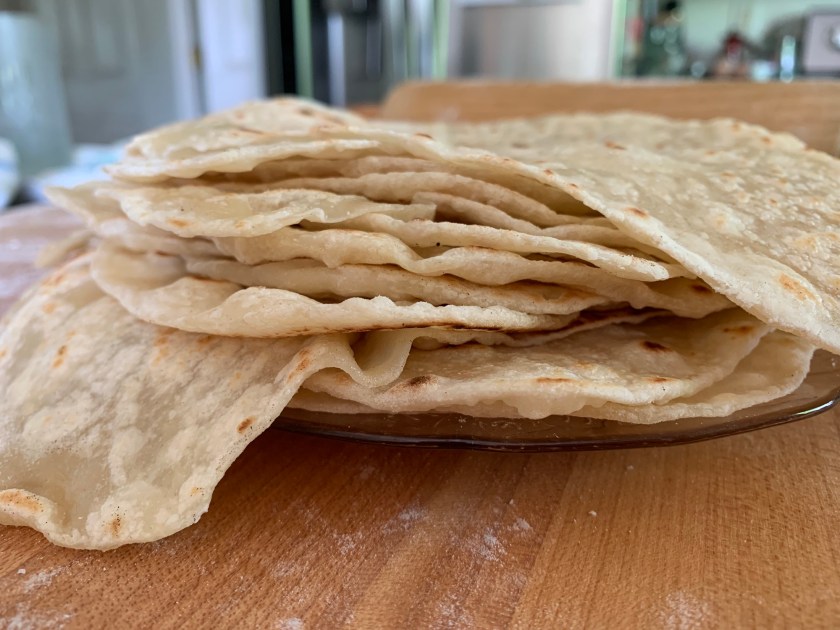
Once all 16 tortillas are made, let them cool and store in the fridge. I usually freeze many of mine to use at a later time. They freeze well.
Cooked and stacked
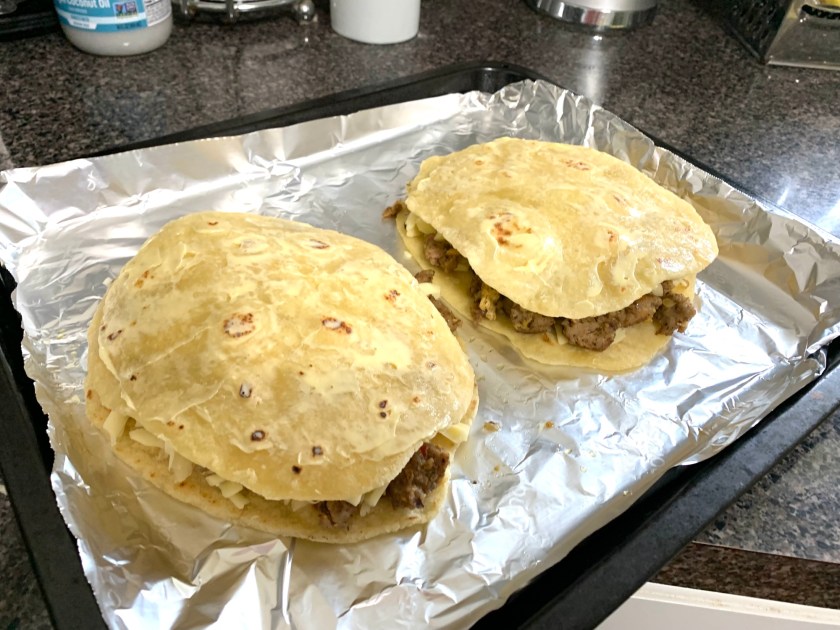
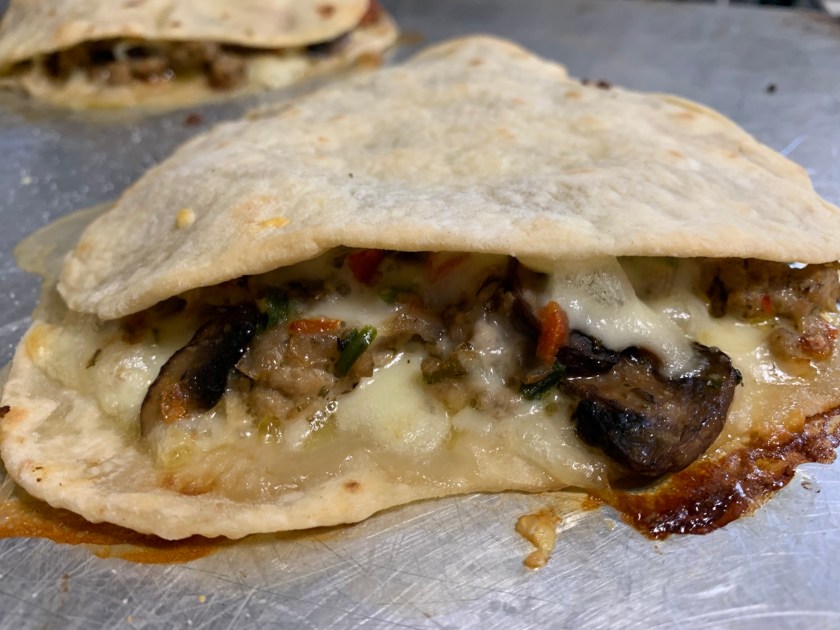
A favorite way to use the tortillas is to make delicious quesadillas. This meal is very simple (once the tortillas are made) and offers many ingredient options.
Homemade tortillas to make quesadillas
Simply butter one side of a tortilla and place it – butter side down – on a pan, foil, or parchment paper. Add cooked meat, cheese, vegetables, or whatever you wish. Butter the top of the other tortilla and place butter side up. Bake at 350 for about 15-20 minutes or until brown and crispy.
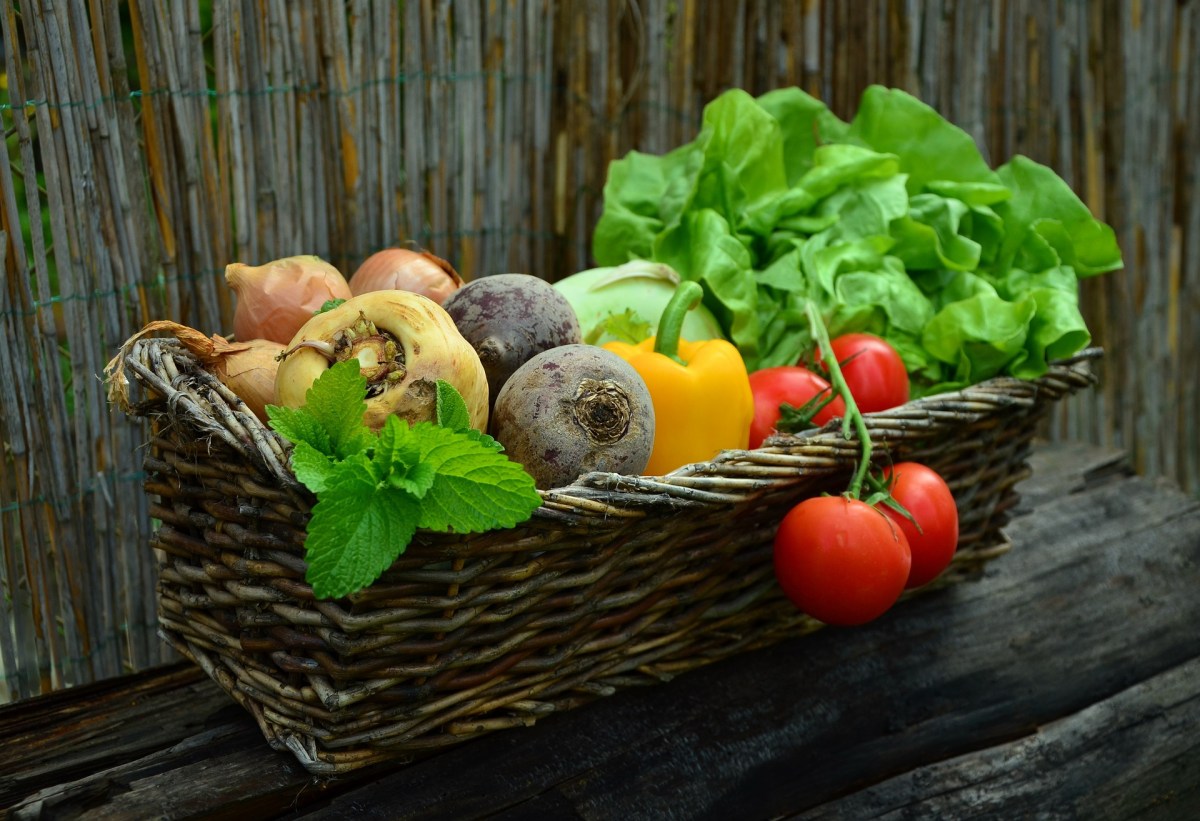
Many of my northern friends are getting ready to plant seeds indoors in time for June gardening. These simple little recipes helped me use up an overload of zucchini, cucumbers, tomatoes, and other lovely home-grown vegetables.
As I was looking through my little notebook about gardening, I came across a page of simple recipes I’d made in the past. Specifically, the food was meant to use vegetables I was growing in my New England garden.
In New Hampshire I tended to have lots of squash, zucchini and cucumbers. Late in the season I’d have wonderful tomatoes, if the blight didn’t get them.
A lot of these veggies I can’t seem to grow here in Florida, but I wanted to write out the recipes to save. You don’t really need a recipe, just the ideas to work from depending on what you are picking in the backyard. It all depends on where you live and what you are growing.
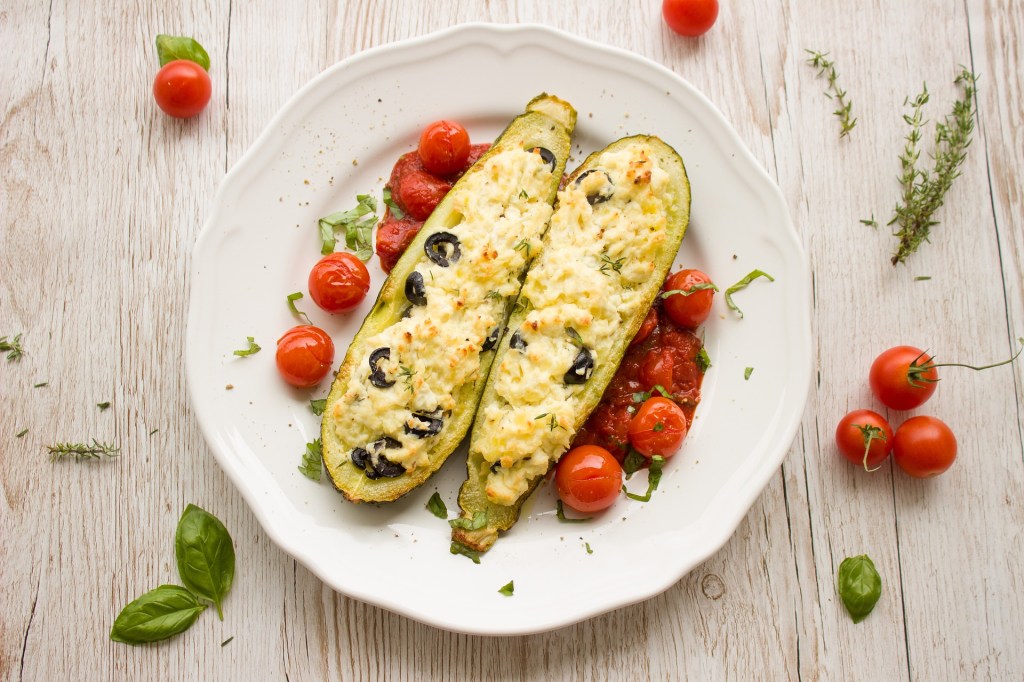
Stuffed Zucchini (Boats)
Slice zucchini lengthwise in half and scoop out the middle. Chop this and fry with onion and garlic – also ground beef / turkey – if you want. Mix in chopped tomatoes, or tomato sauce and parsley. Put mix into hollowed out zucchini, sprinkle with cheese and bake for 40-50 minutes. (350)
Photo credit: Pixabay
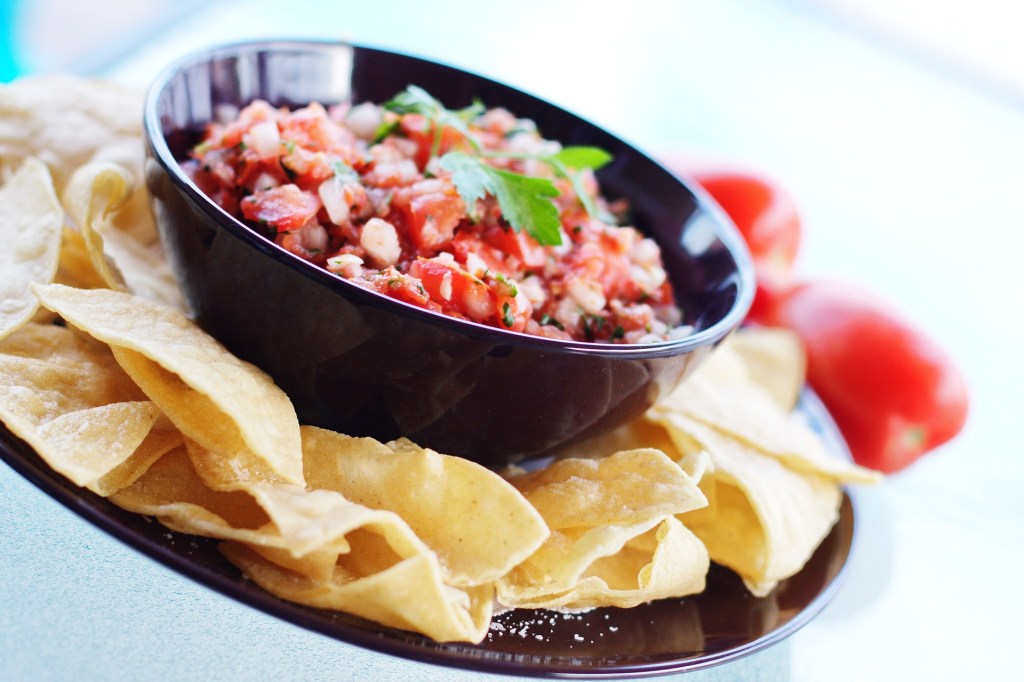
Tomato Salsa
Cherry tomatoes or big tomatoes, chopped. Also chop parsley, chives, onions, garlic. Cucumbers and / or zucchini can be added. (Hot peppers, bell peppers, also work).
I used to eat this along with some plain, whole milk yogurt as a type of dip with chips. I could not grow peppers in the north, as they like warmth, but here in the south, they grow very well. Tomatoes like the heat also and I can easily grow cherry tomatoes.
Photo credit: Pixabay
Cucumber Salad
I wrote this recipe down after going out to eat at the Bantam Grill in Peterborough, NH. I don’t have their recipe, but the basics used were chopped cucumber, with thinly sliced radishes and onion. Mix with some sort of dressing (oil & vinegar) and crumbled goat / feta cheese. It seems that many other good things would go with this, but I was always looking for a way to eat all those radishes I grew. Their version was served with salmon. If you are ever in the area, eat at the Bantam Grill… the food is wonderful and they use local ingredients whenever possible.
Here in Florida, I can’t seem to grow cucumbers.
Easy Pickles (Sweet)
If you end up with tons of cucumbers, try this easy pickle recipe that does not require canning.
7 cups of thinly sliced cucumber, 1 cup of onion and 1 cup of bell pepper – also thinly sliced. A mandolin slicer (Borner mandolin is what I have – this is an affiliate link to Amazon.) is the easiest way to get this done. Mix one cup of sugar and 1 cup of cider vinegar together and then mix in the vegetables. Add some celery seed and put into large mason jars. Store in the fridge (and maybe share with the neighbors). These pickles last for a few months, but eating them fresh is best.
It is the beginning of September and my end of summer garden clean up is underway. I happily pulled up all the Seminole pumpkin vines. I managed to haul in my huge harvest (not) of three little pumpkins. Two of them have holes from something trying to bore in. I’m so over the vines that…
Two Moringa trees are growing in my backyard. I’m in Central Florida and the trees grow great all summer, but slow down the remainder of the year. Hurricanes, or strong wind, will knock these trees over. I had to cut mine last year because it fell over the garden. New stalks have grown and I…
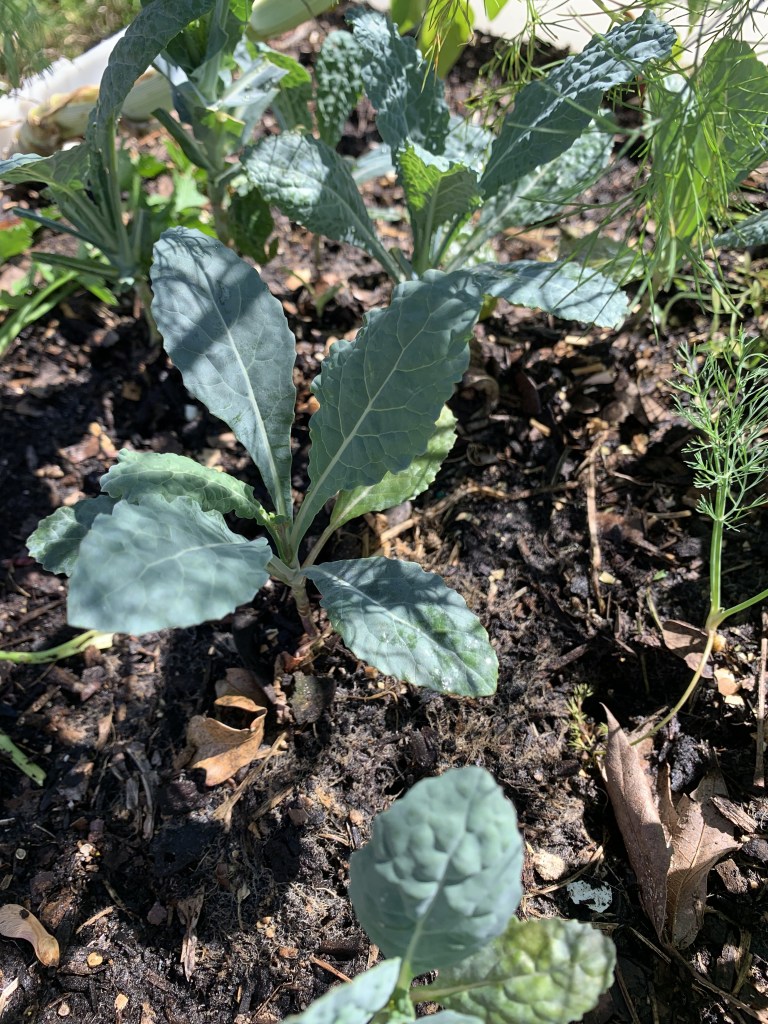
Kale grew in the garden over our very short Florida winter. Now the heat is already here, so I am using the leaves and hoping for seed pods.
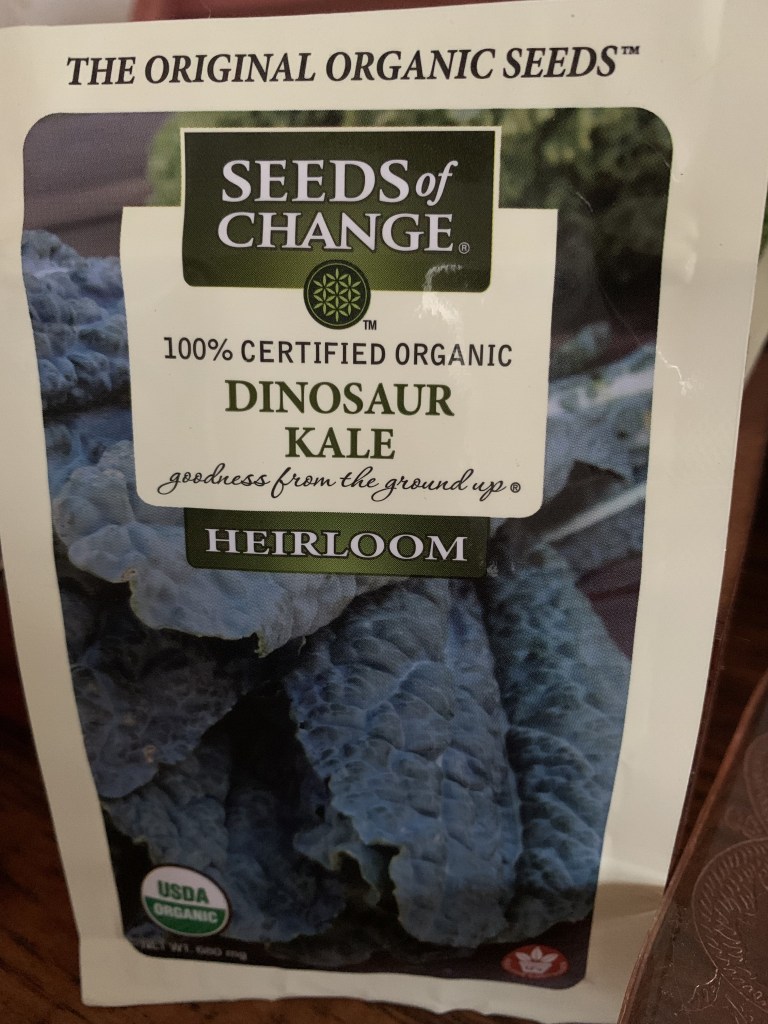
Last fall I planted organic kale seeds. Kale is a vegetable that does well in cold weather.
Now that “winter” is here, I am picking kale leaves to make chips. My leaves are not very big, but hot weather is already here, so I need to make use of the kale.
Dinosaur Kale
I eat kale because it is healthy and not necessarily because I love it. The two ways I use kale are either blended up for a smoothie, or baked in the oven to make chips.
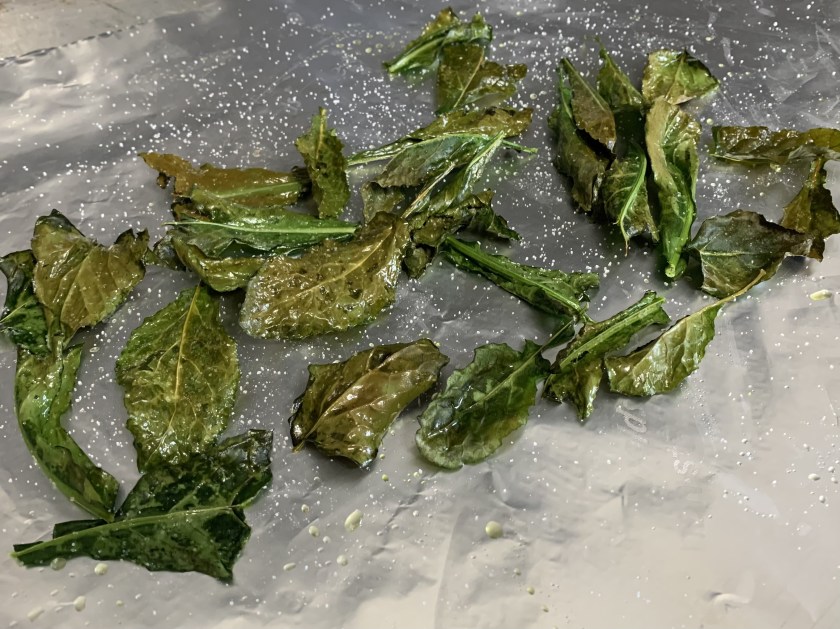
On this day, I made chips.
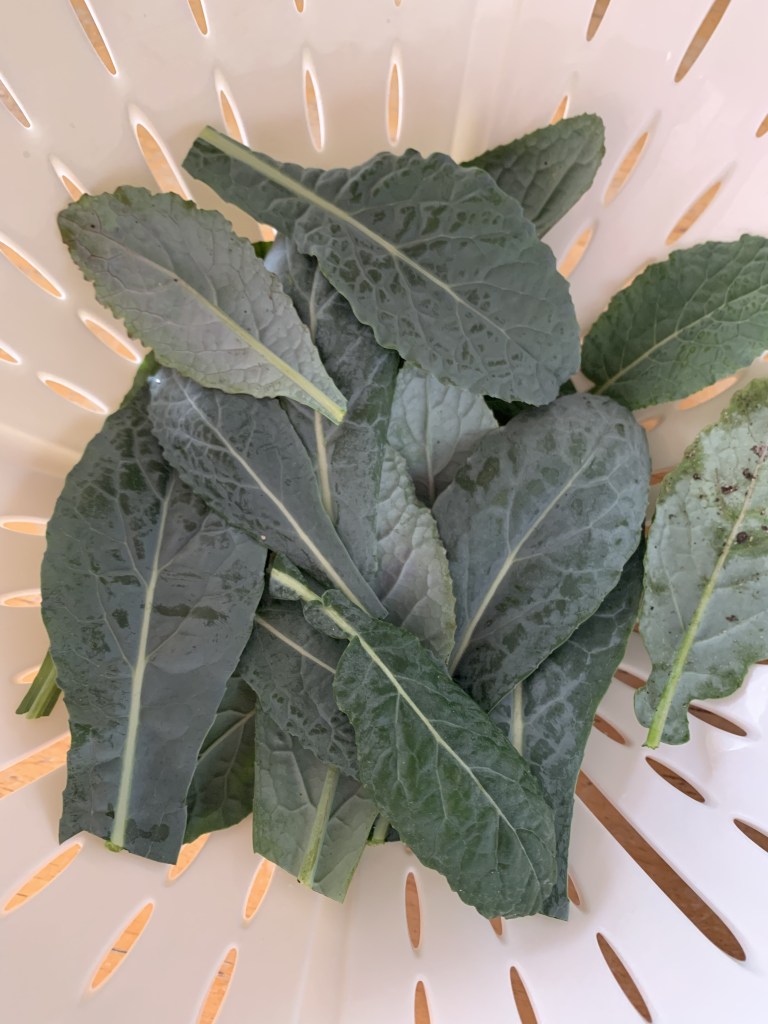
Kale for chips
Kale chips are very easy to make. Cut the leaves, wash, pat to dry a little, drizzle olive oil over the leaves. Use your hands to rub the oil all over the leaves and then place them on a sheet for baking.
Bake for a short time, checking often, and moving them / turning over as needed. Oven not too hot – I think around 325? Once they crisp up, they are done. Add salt and eat!
In the process of making kale chips
I’m waiting for my kale plants to give me some seeds to use for next year. I’m not sure how that happens, so I am watching for a flower to form. Apparently then there should be seed pods.
My dill from seeds also did quite well. I ended up with more dill than I have room for in the garden. The black swallowtail butterfly loved it to and deposited her eggs everywhere. I had loads of caterpillars, but they all ended up being food for the cardinals! Such is life.
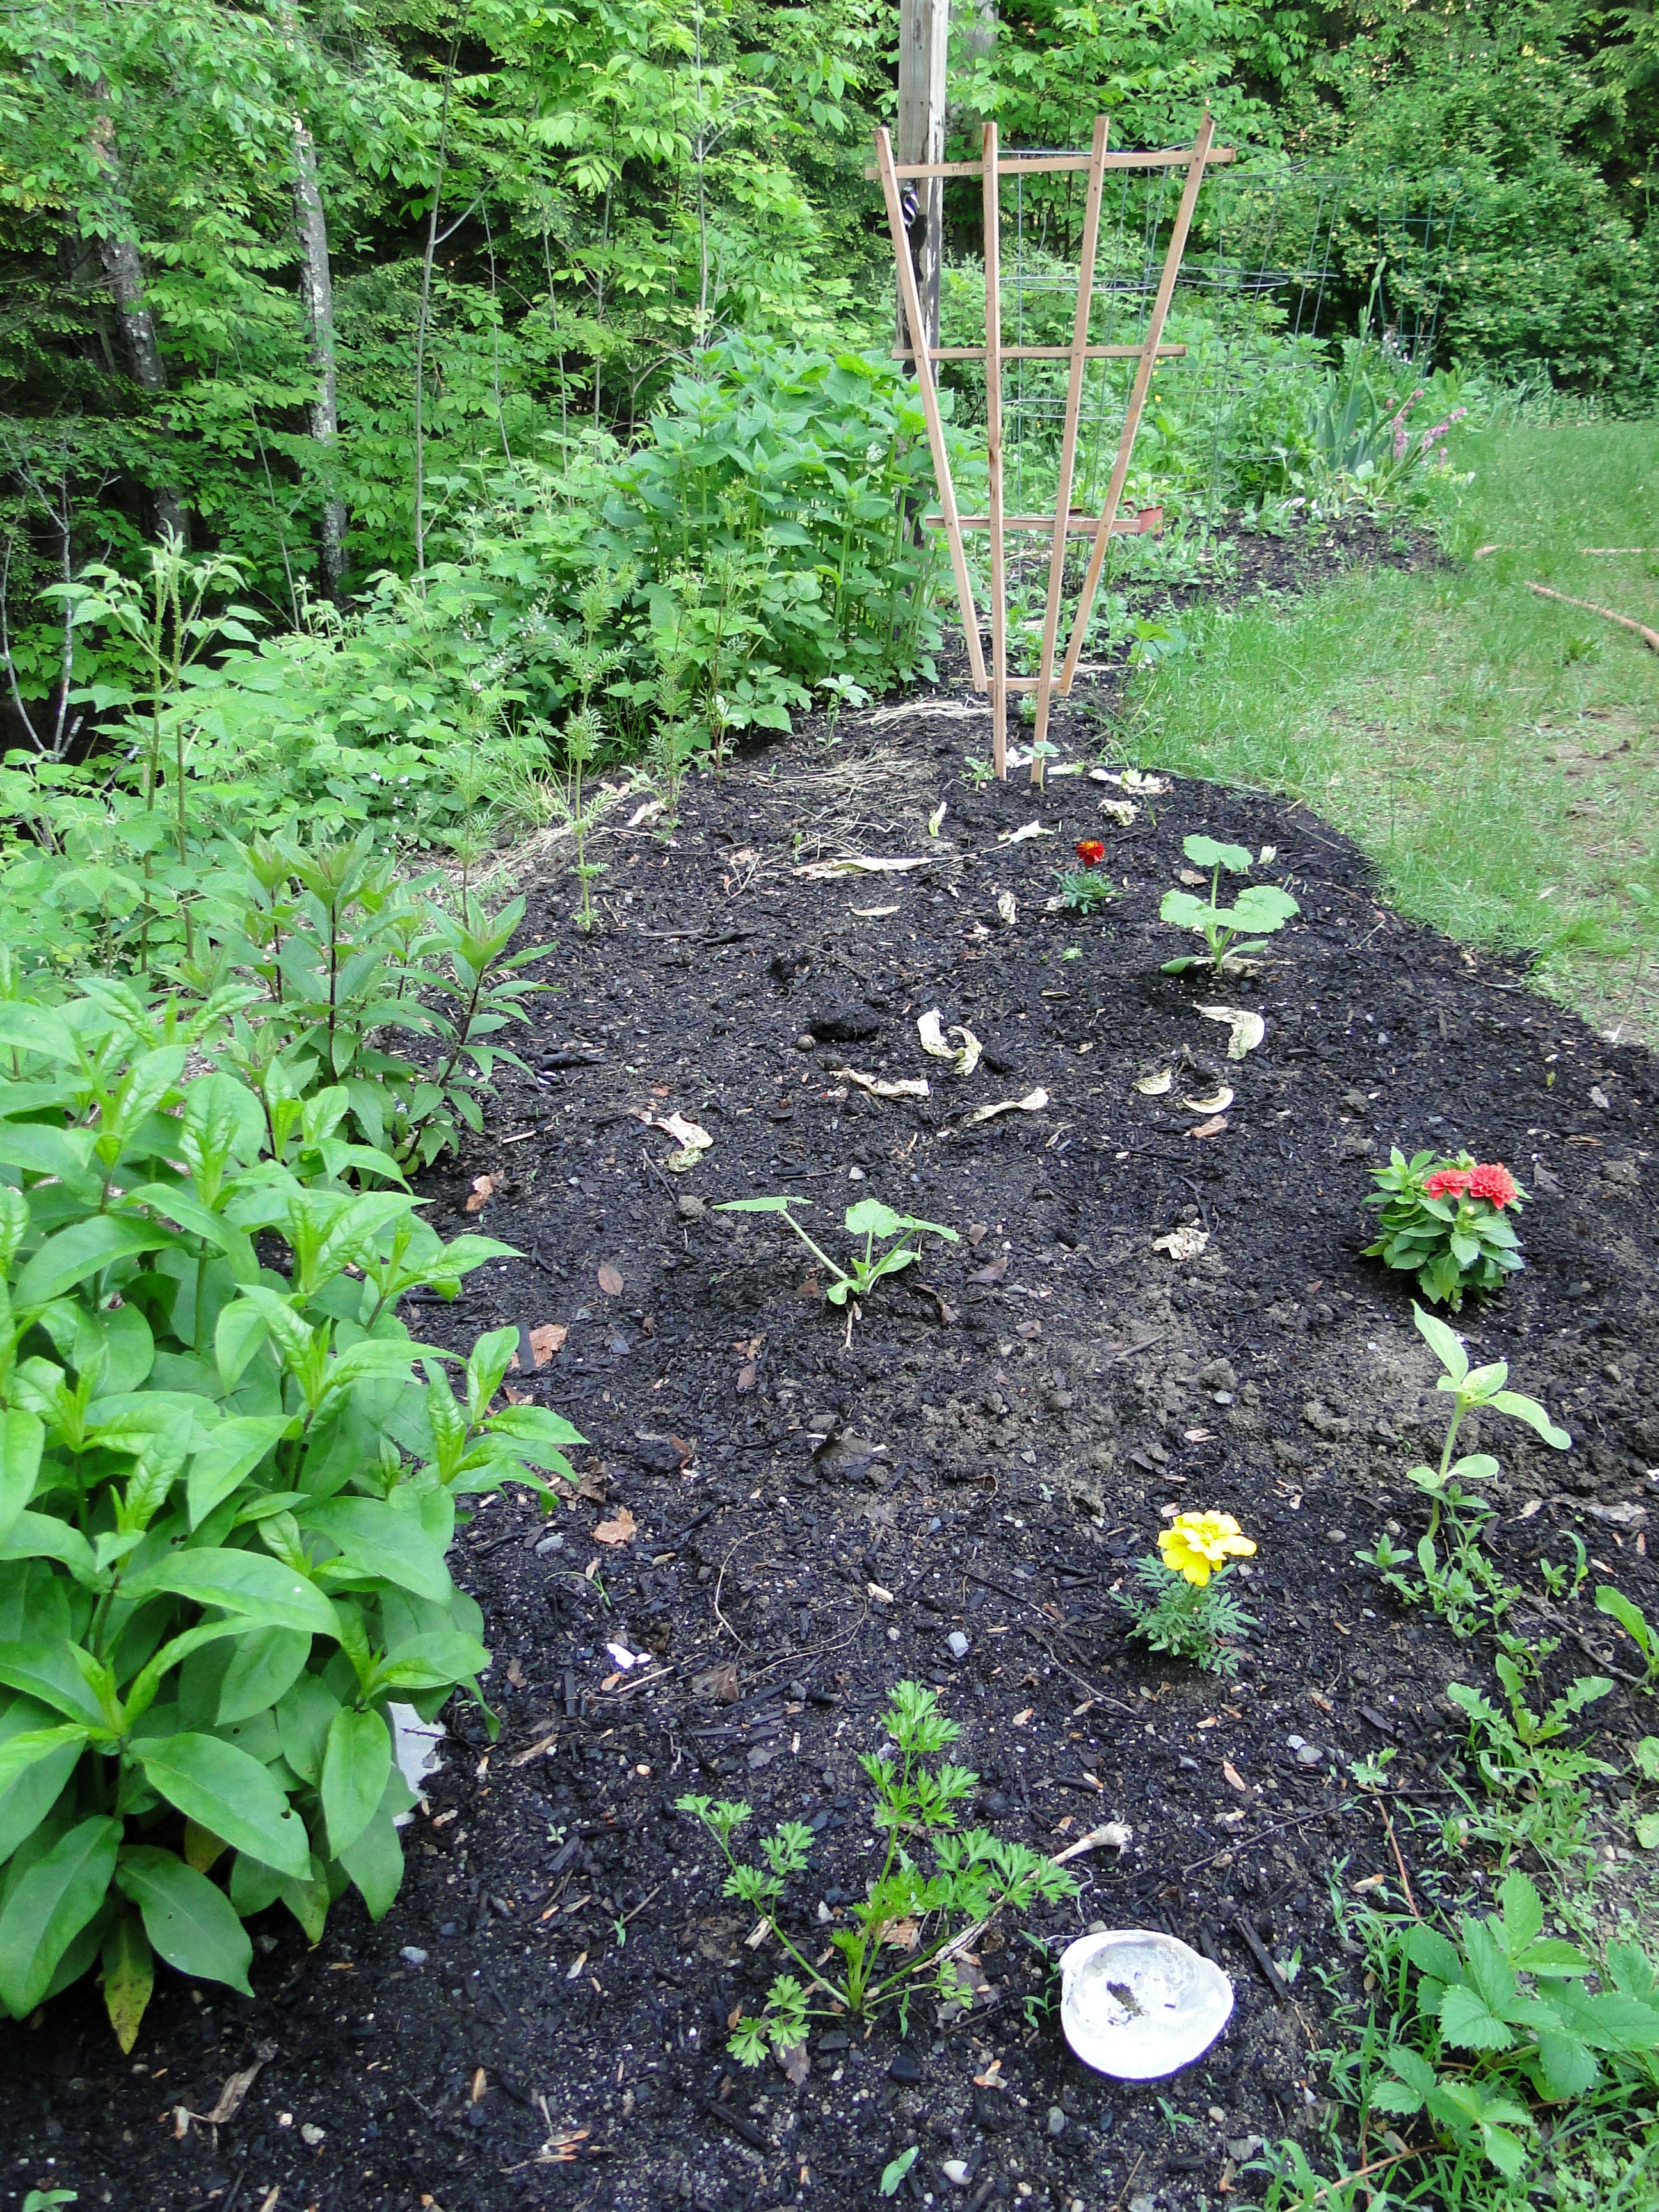
As I walk around the yard getting photos of what’s growing, I realize how fast things are changing.
The potatoes planted in the fabric pot are now huge. The zucchini and cucumber seedlings (they are in this photo) are now twice the size they were. Many of the tomatoes now have little yellow flowers. And all the strawberries are loaded with unripened fruit.
That is how it’s suppose to be. Everything has to hurry up and grow – Fall is not far away! Really, the growing season in New England is so short. It’s been difficult for me to adjust to this fact after gardening year round in Florida.
But having a garden blog means updating could literally take place every day – with new photos! Sorry, can’t handle that schedule. As I get ready to write about something I photographed last week, I realize I’m already behind. Continue reading “Gardening: Now it’s Moving Fast”
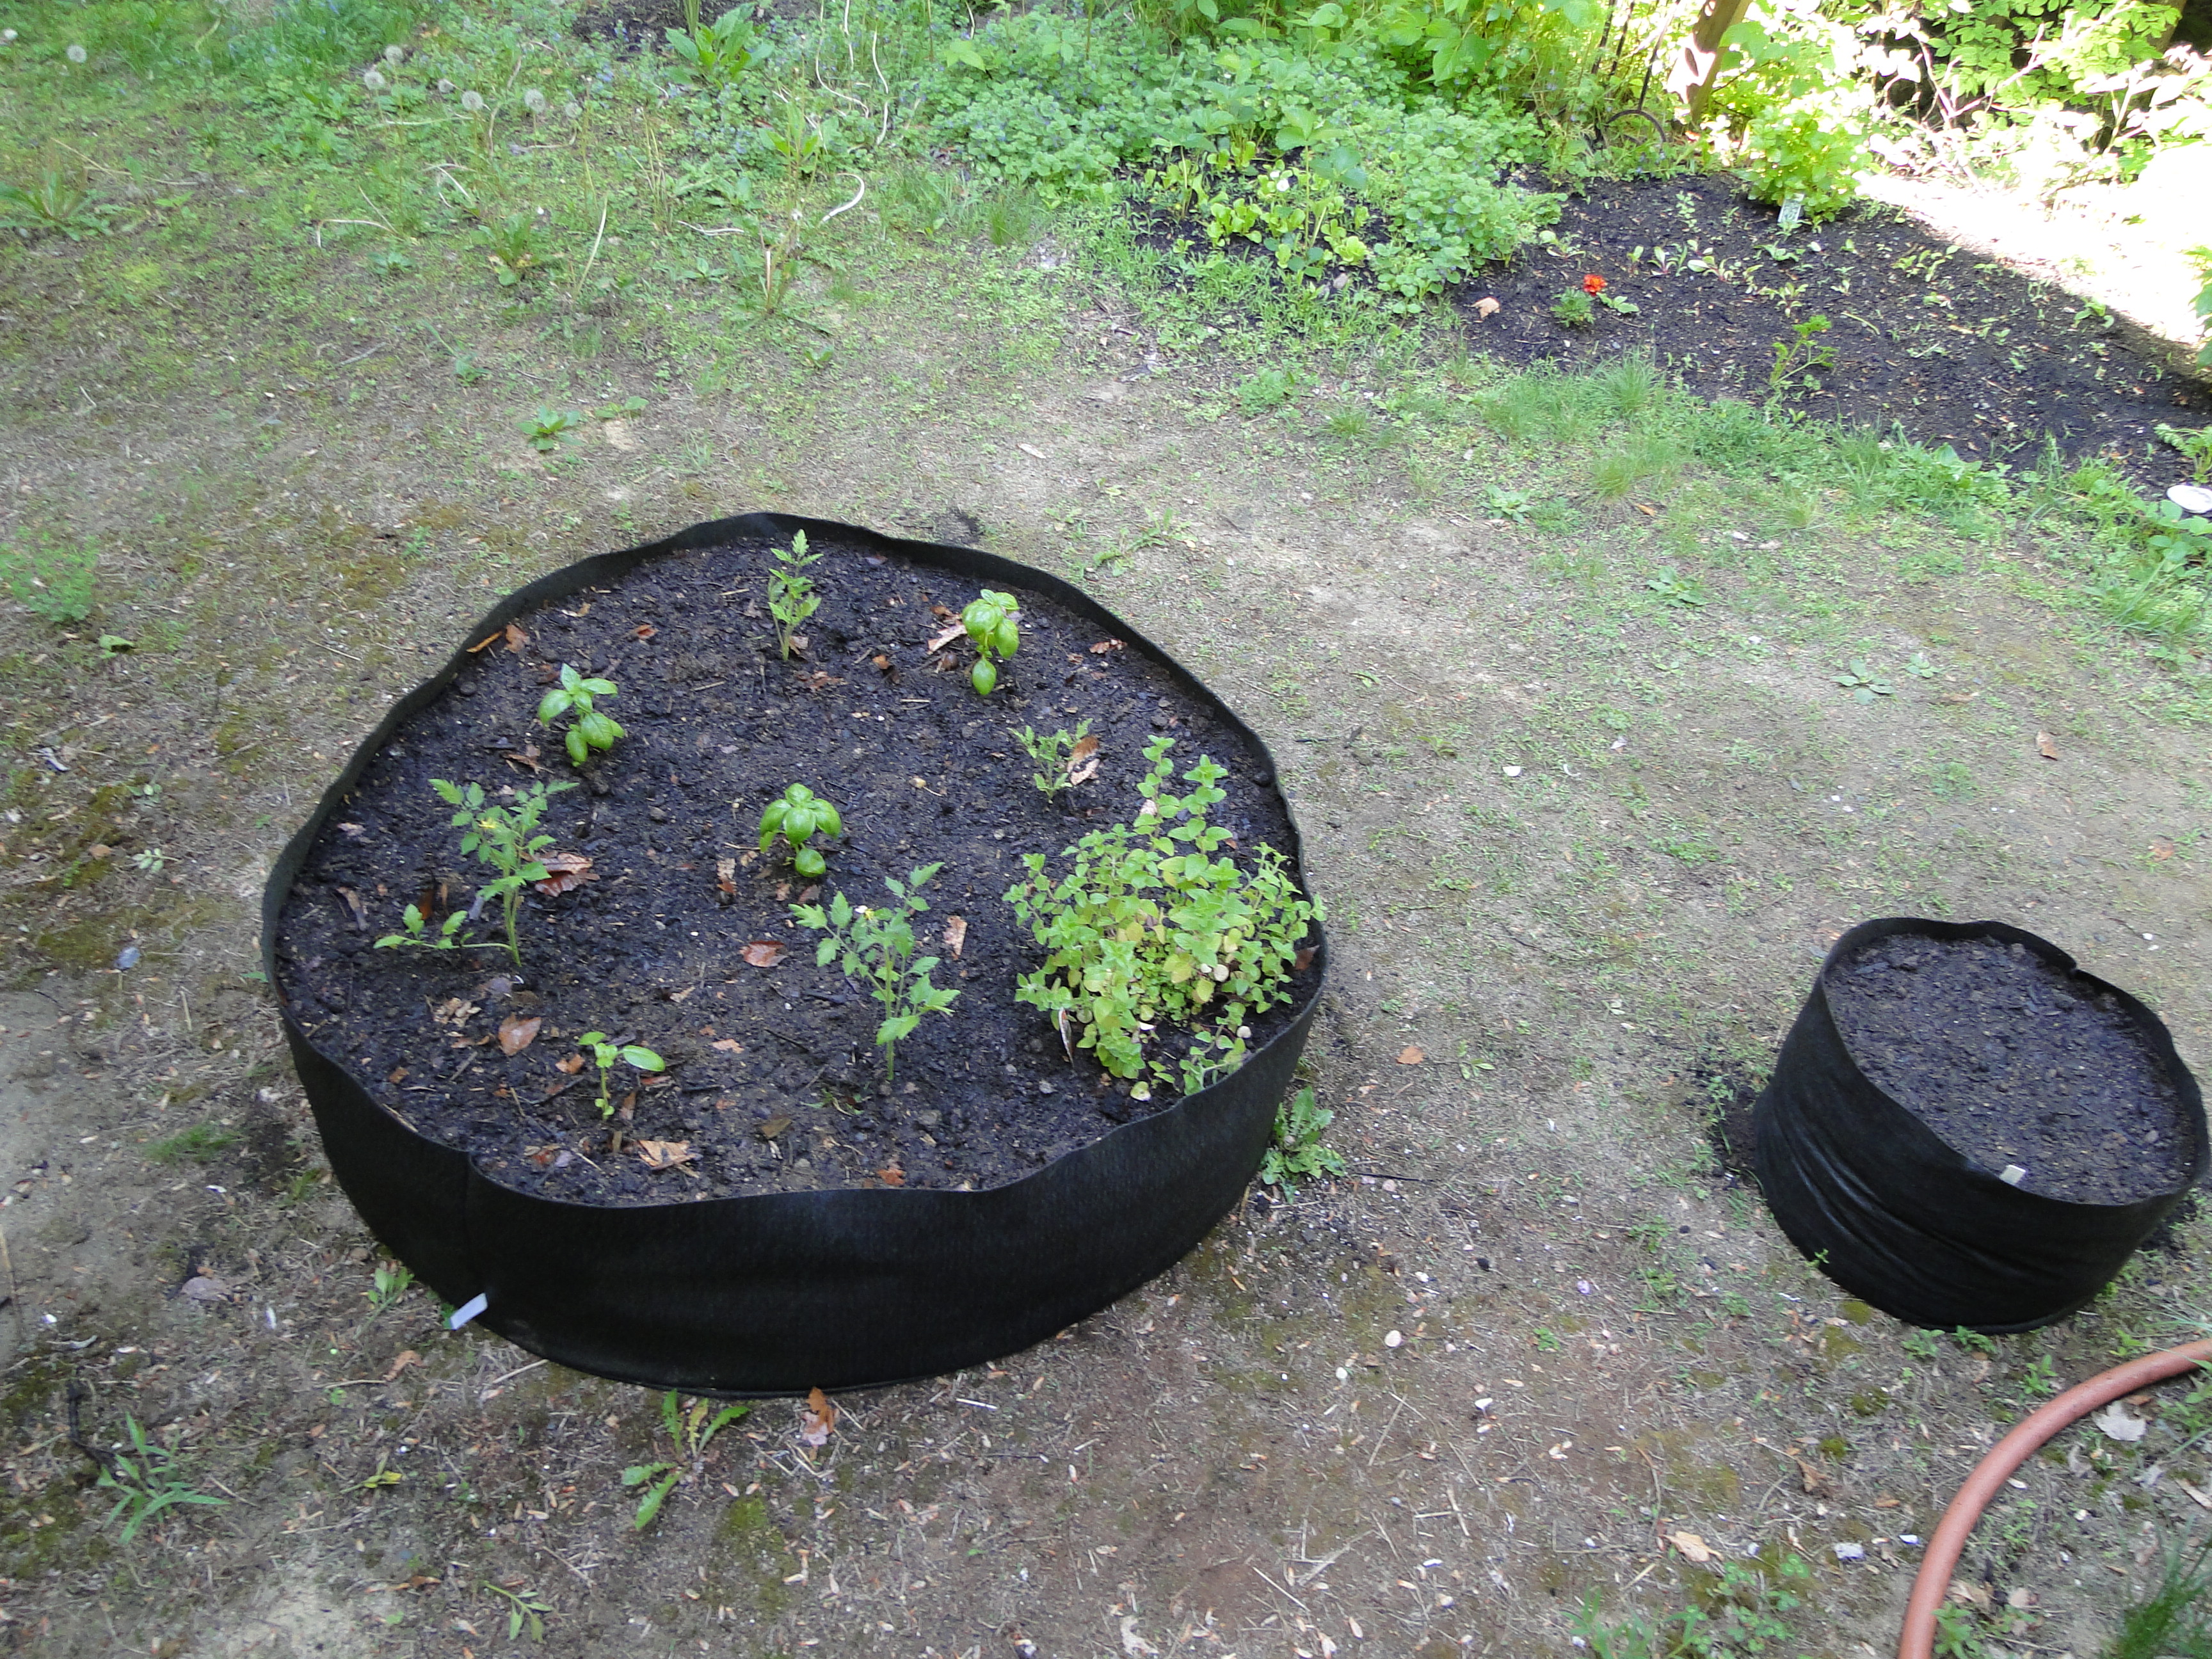
This weekend I ordered more dirt and filled up my larger fabric “pot” to create a raised garden for some tomatoes and basil. The smaller one in my photo is planted with beans, and next to that I have used one for growing potatoes. What I love about a raised bed is the fact that there is plenty of good dirt for the roots of the plants. I guess that is one of the great things about a raised bed. Digging in the ground means creating layers of great dirt, over time – and it can take a while if the dirt under the garden is fill dirt, or something else that is not good for growing.
My house was built on the side of a big hill. Fill dirt was brought in to make the site level, as often happens. Fill dirt, is usually sandy stuff and that is what I find when I dig down a few inches in my back yard. You can see that there is little growing in the spot of yard where I put this bag. I used the loam mix that was delivered from Agway along with my own compost and added a little bonemeal, so I know that my plants are in good soil.
This garden has four tomato plants with some basil and one Italian oregano plant. I don’t know if four tomatoes are too many for this space, but I have other tomatoes planted in the ground too. In fact I made another raised bed using cinder-blocks and set that up out front where there is more sun.
That is the great thing about using these fabric pots and gardens – set them up anywhere! Find a sunny spot and add a little vegetable garden. They have allowed me the chance to plant more while I continue to expand my gardens in the ground.
If these black pots can be used year after year, the investment will be worth it. I don’t know much about them at all. Can they stay up all winter, or will I have to empty it and store it? If they don’t last, I will stick to the smaller ones only.