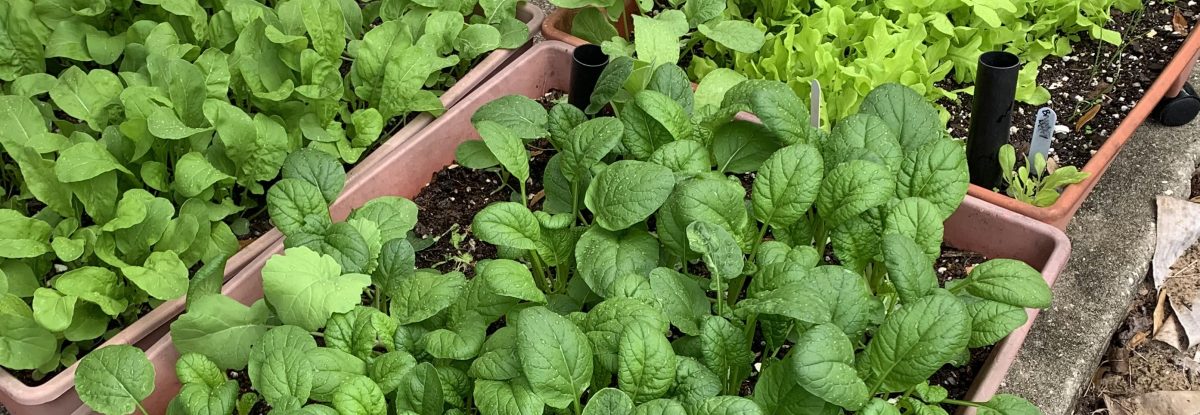
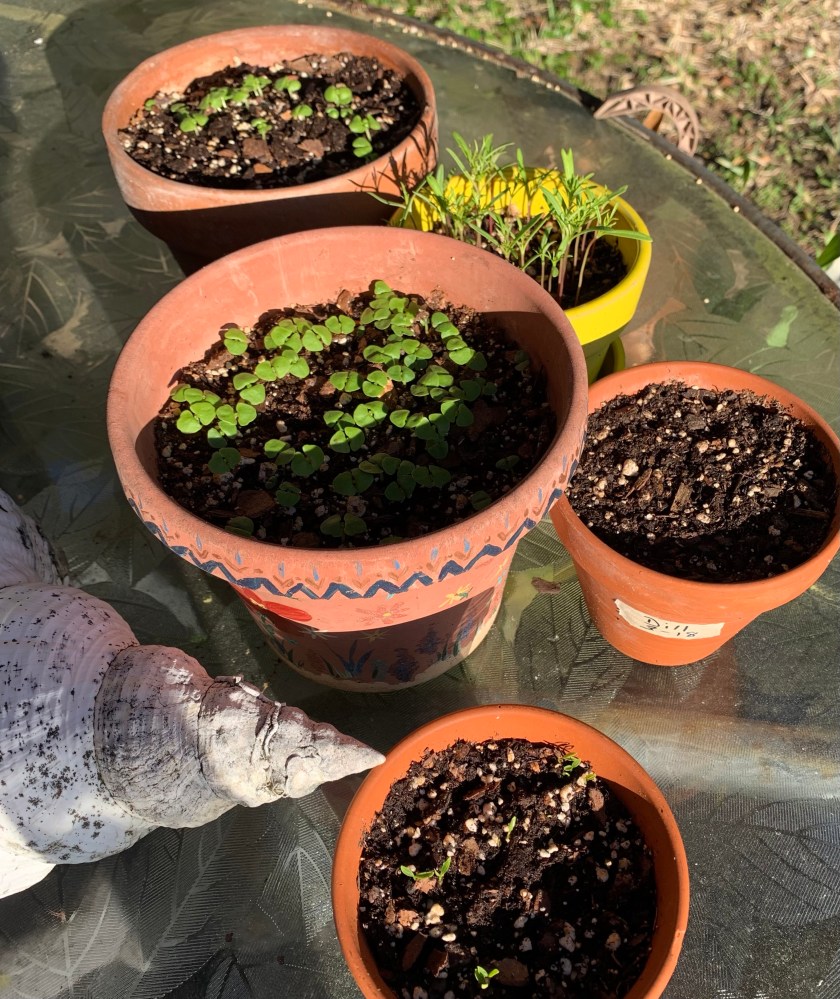
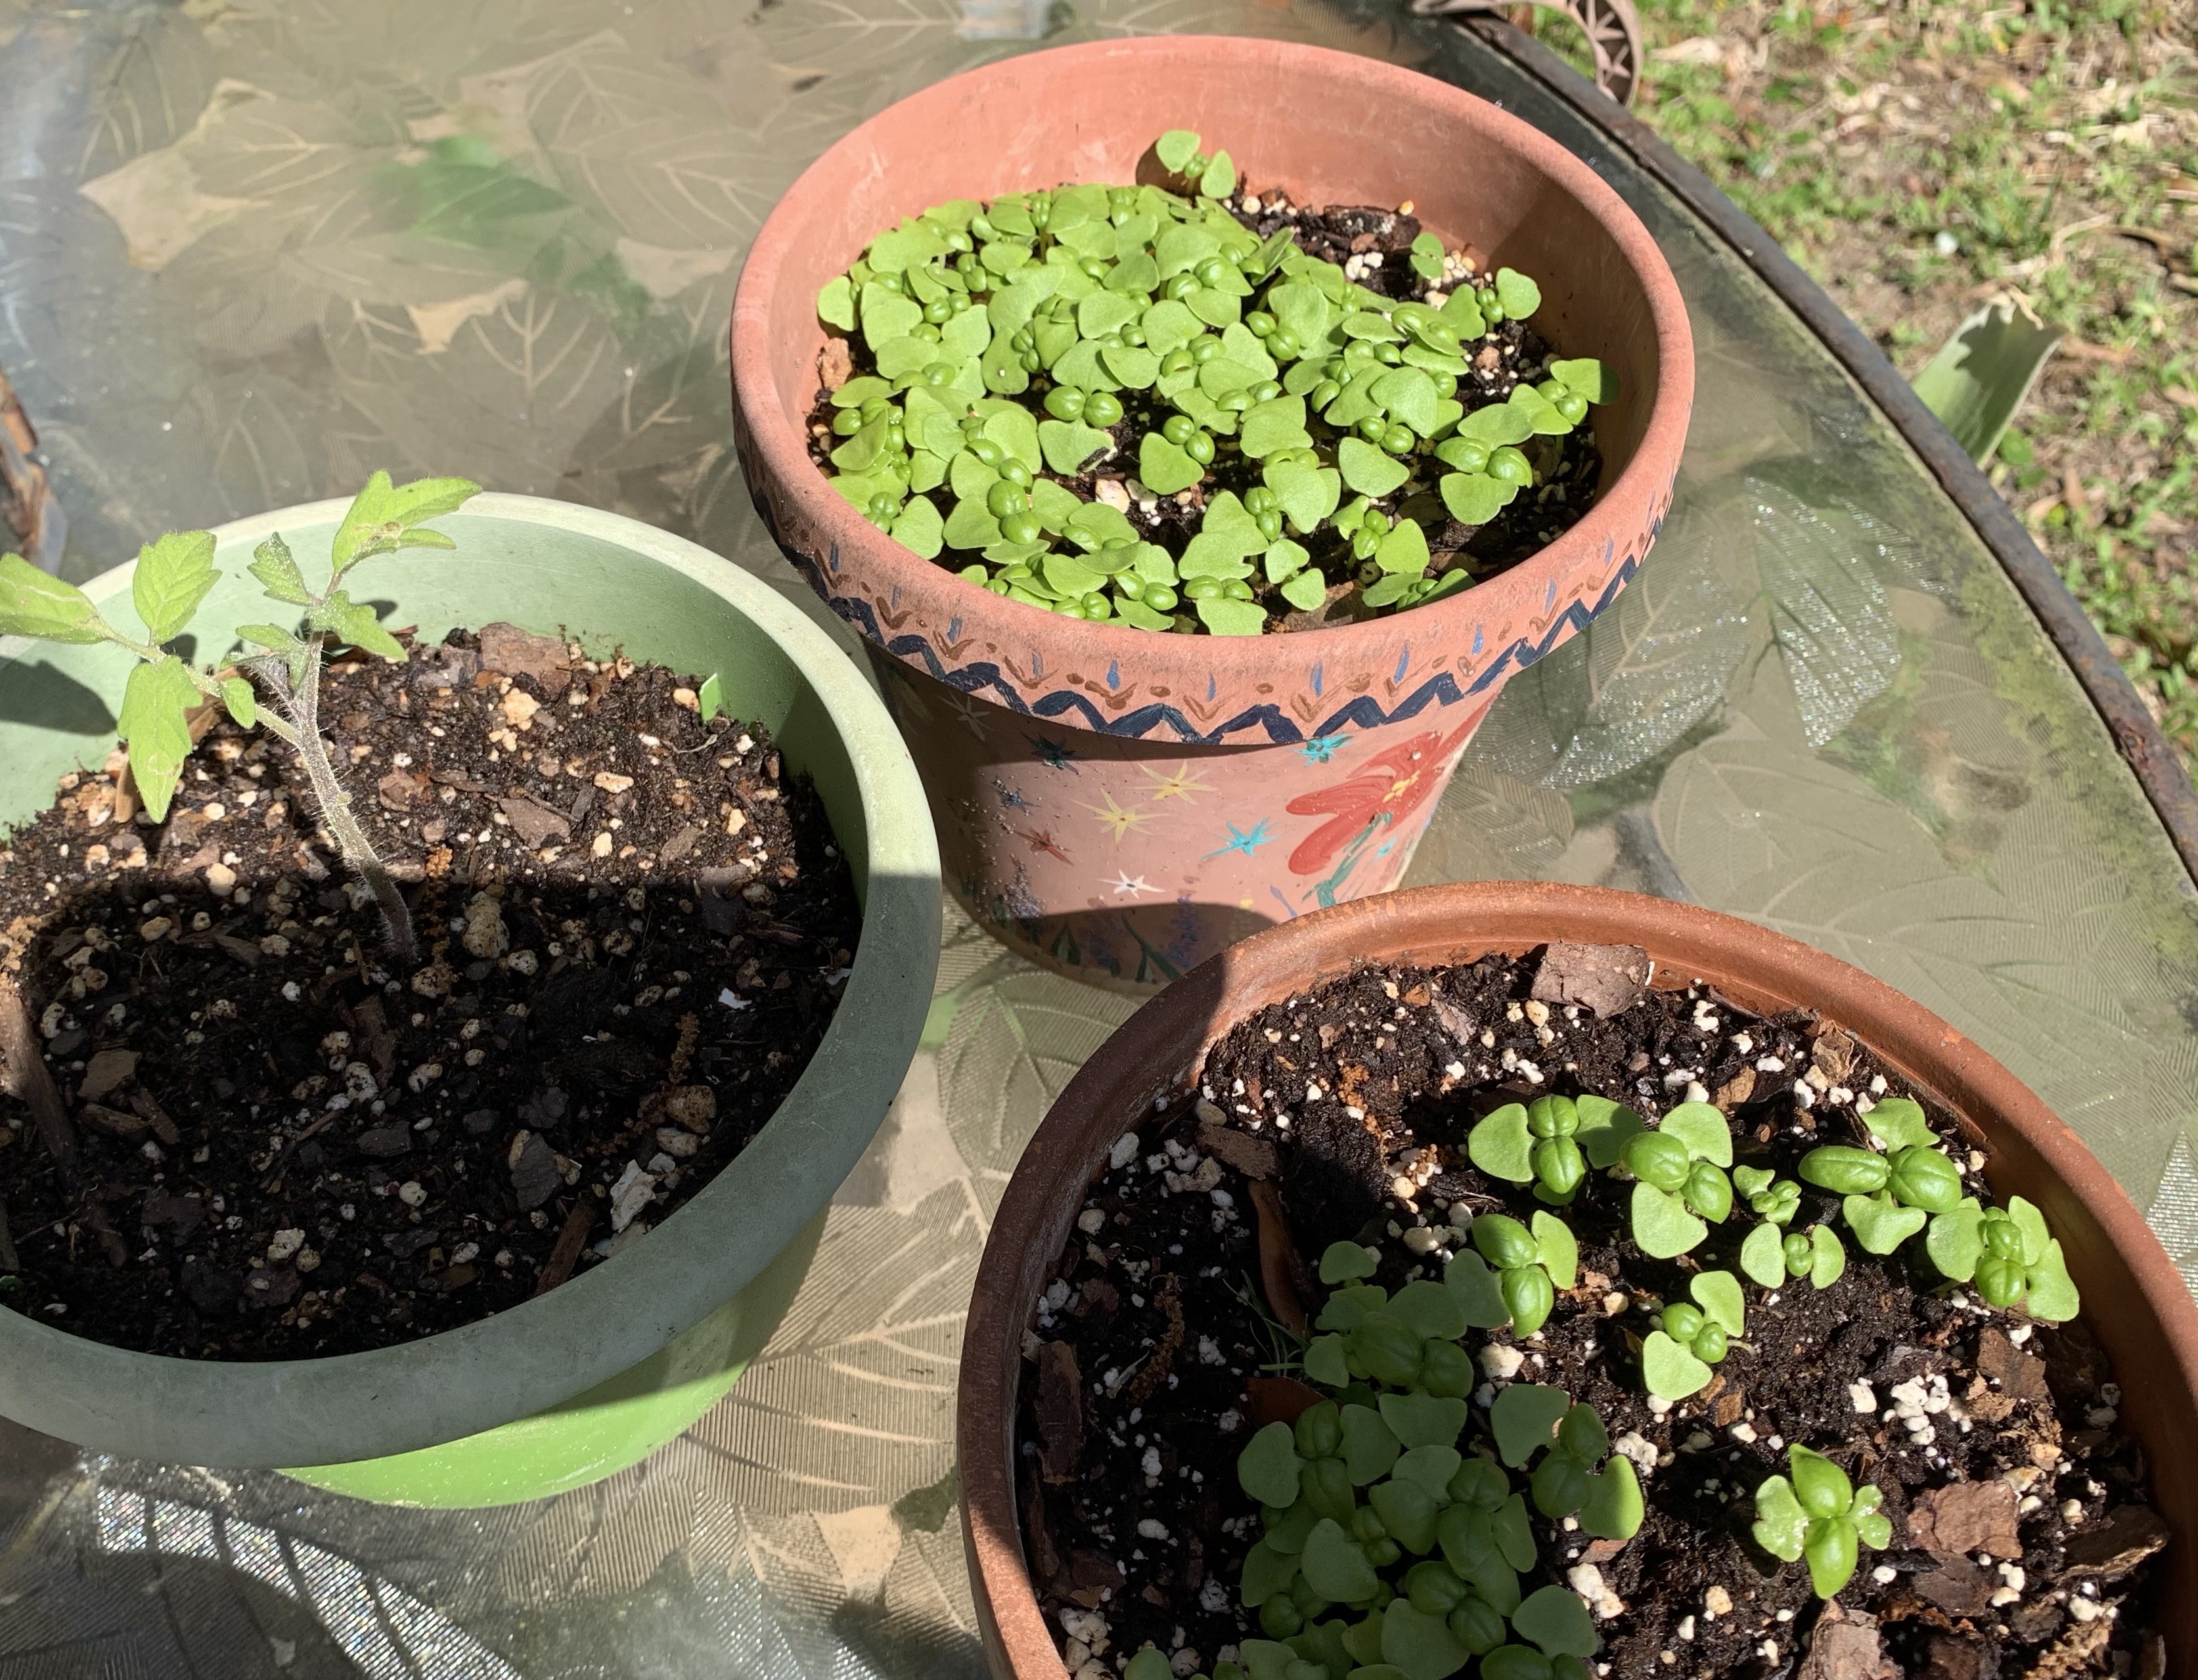
With attention and lots of watering, the seeds I started in larger pots are doing well.
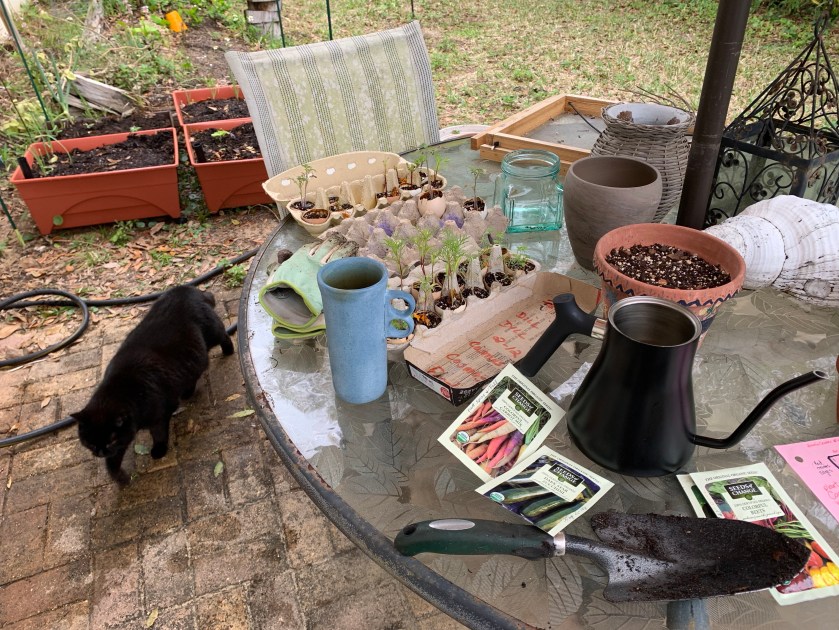
After caring for my seedlings in eggshell pots for weeks, I decided to start some seeds in big pots. They won’t dry out as quickly and are able to stay outside overnight.
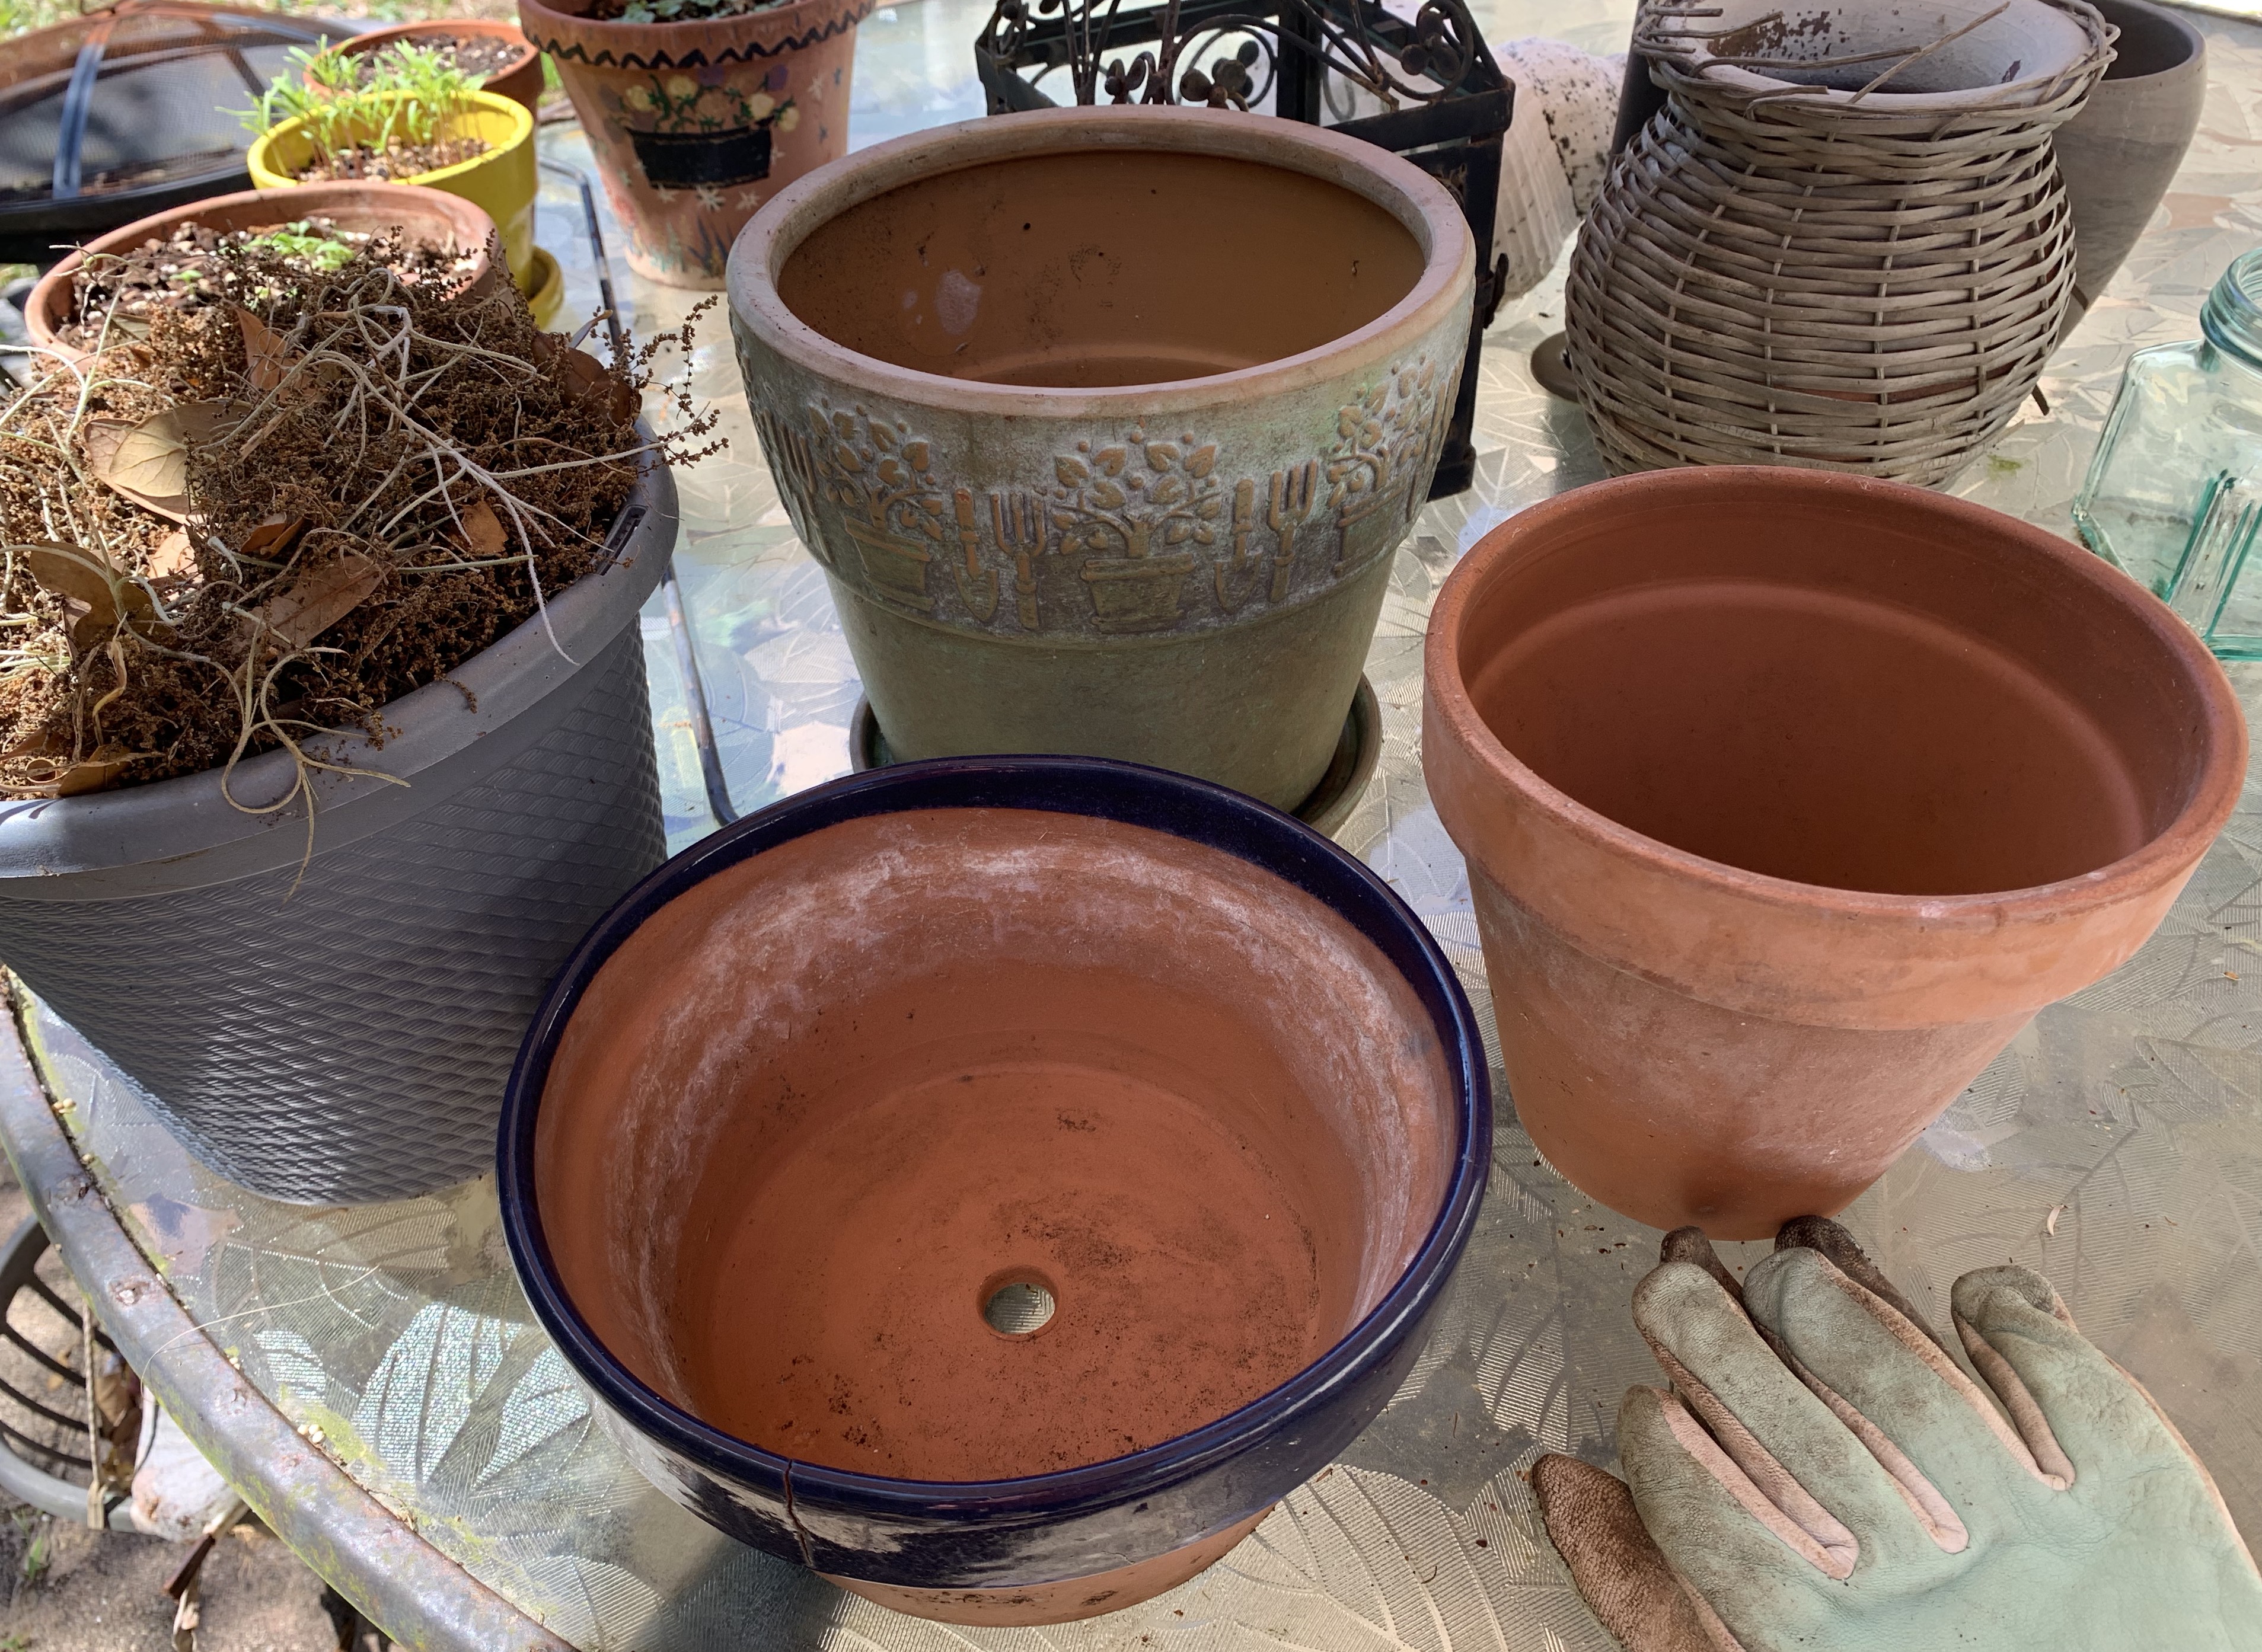
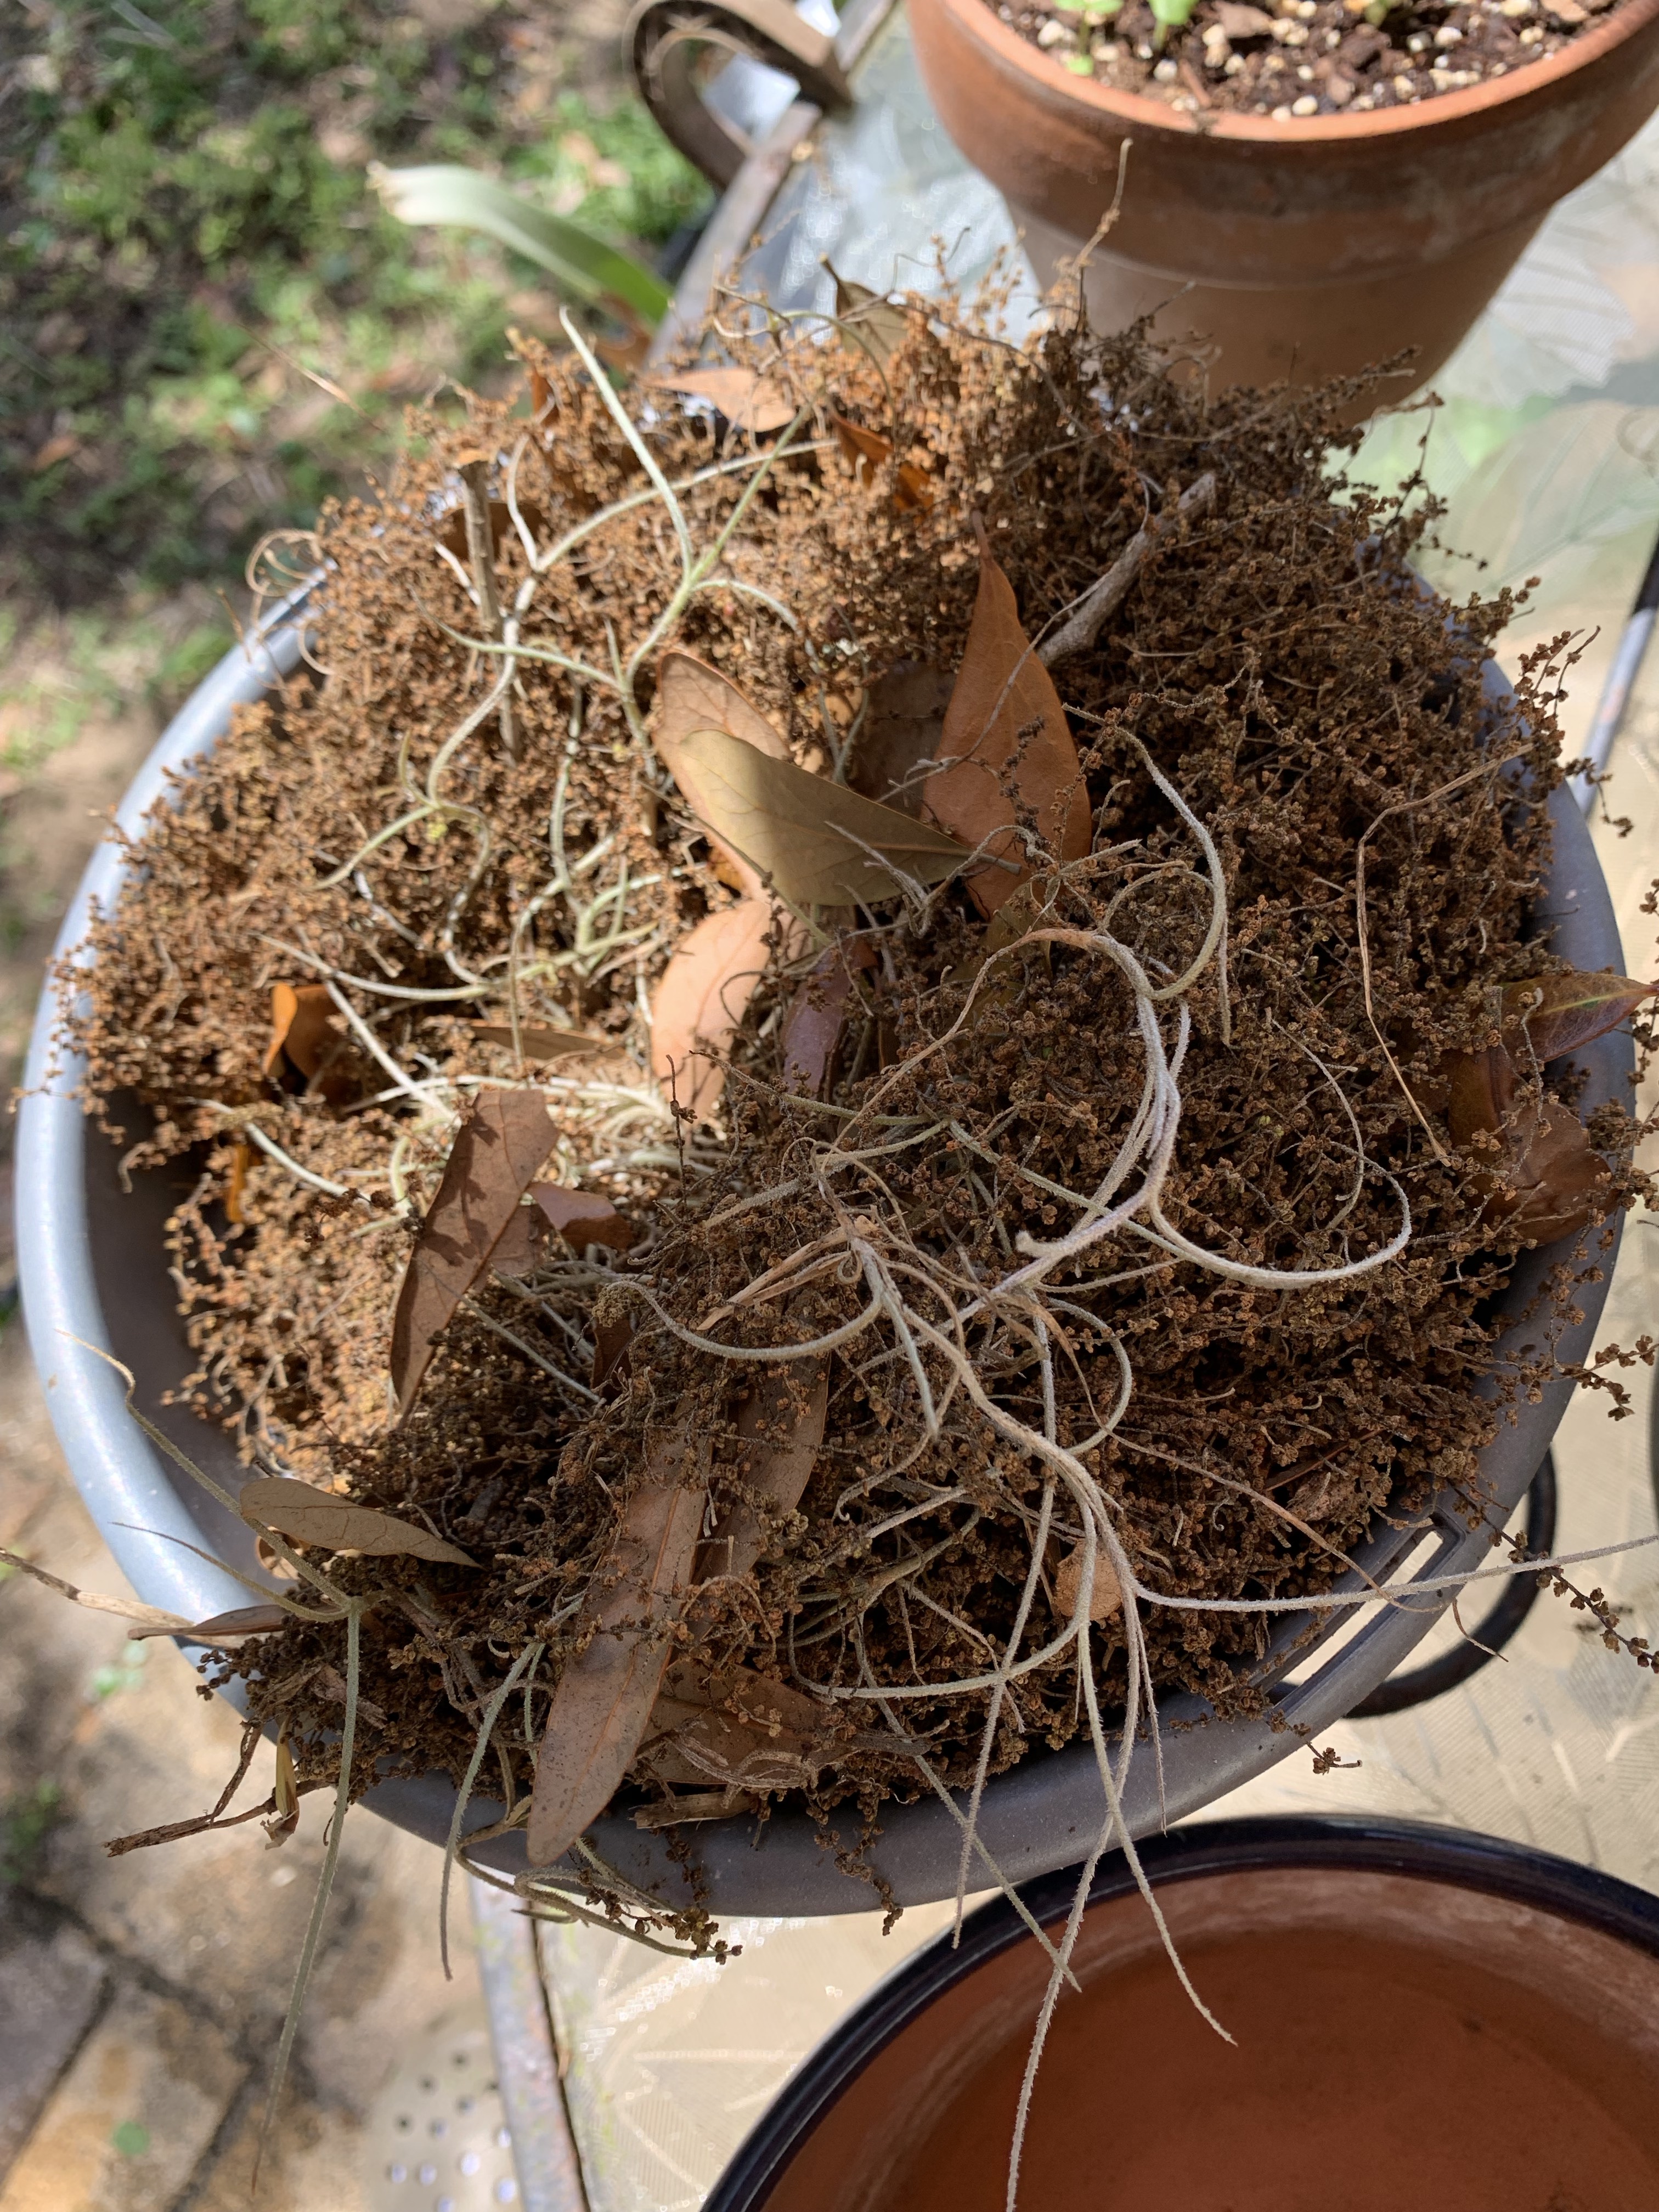
I gathered up pots of all sizes that had been lying around and cleaned them out. for drainage I used yard debris, which was a mix of oak leaves, catkins (those long brown things) and Spanish moss. That mixture was pushed into the bottom of each pot before adding dirt.
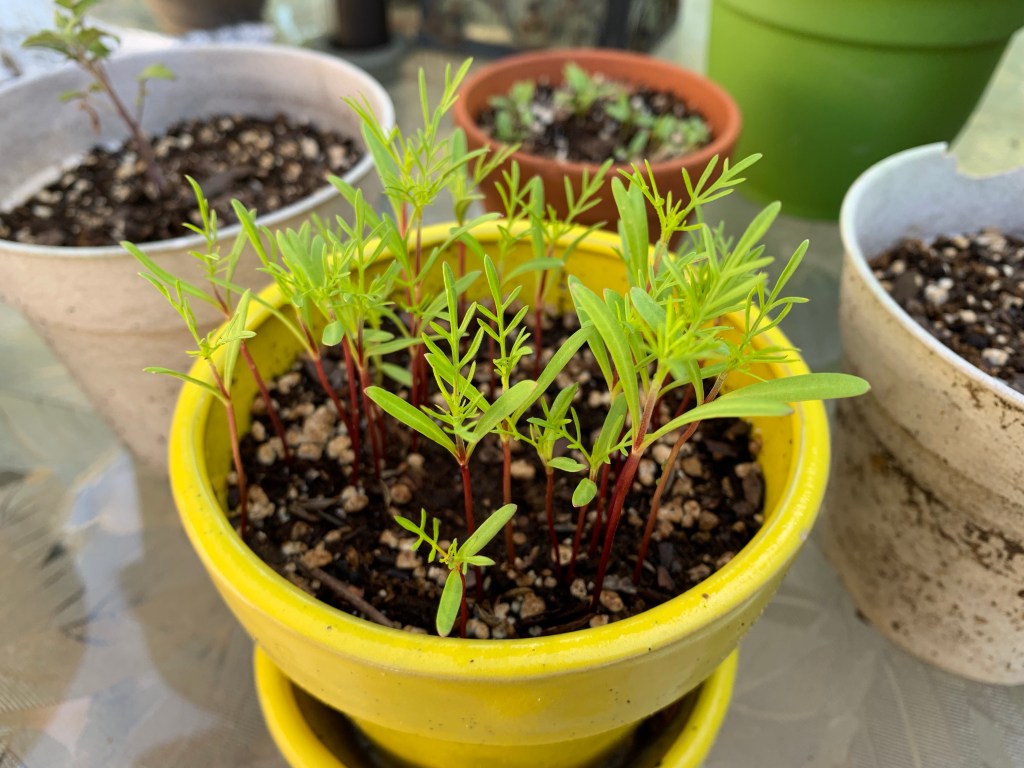
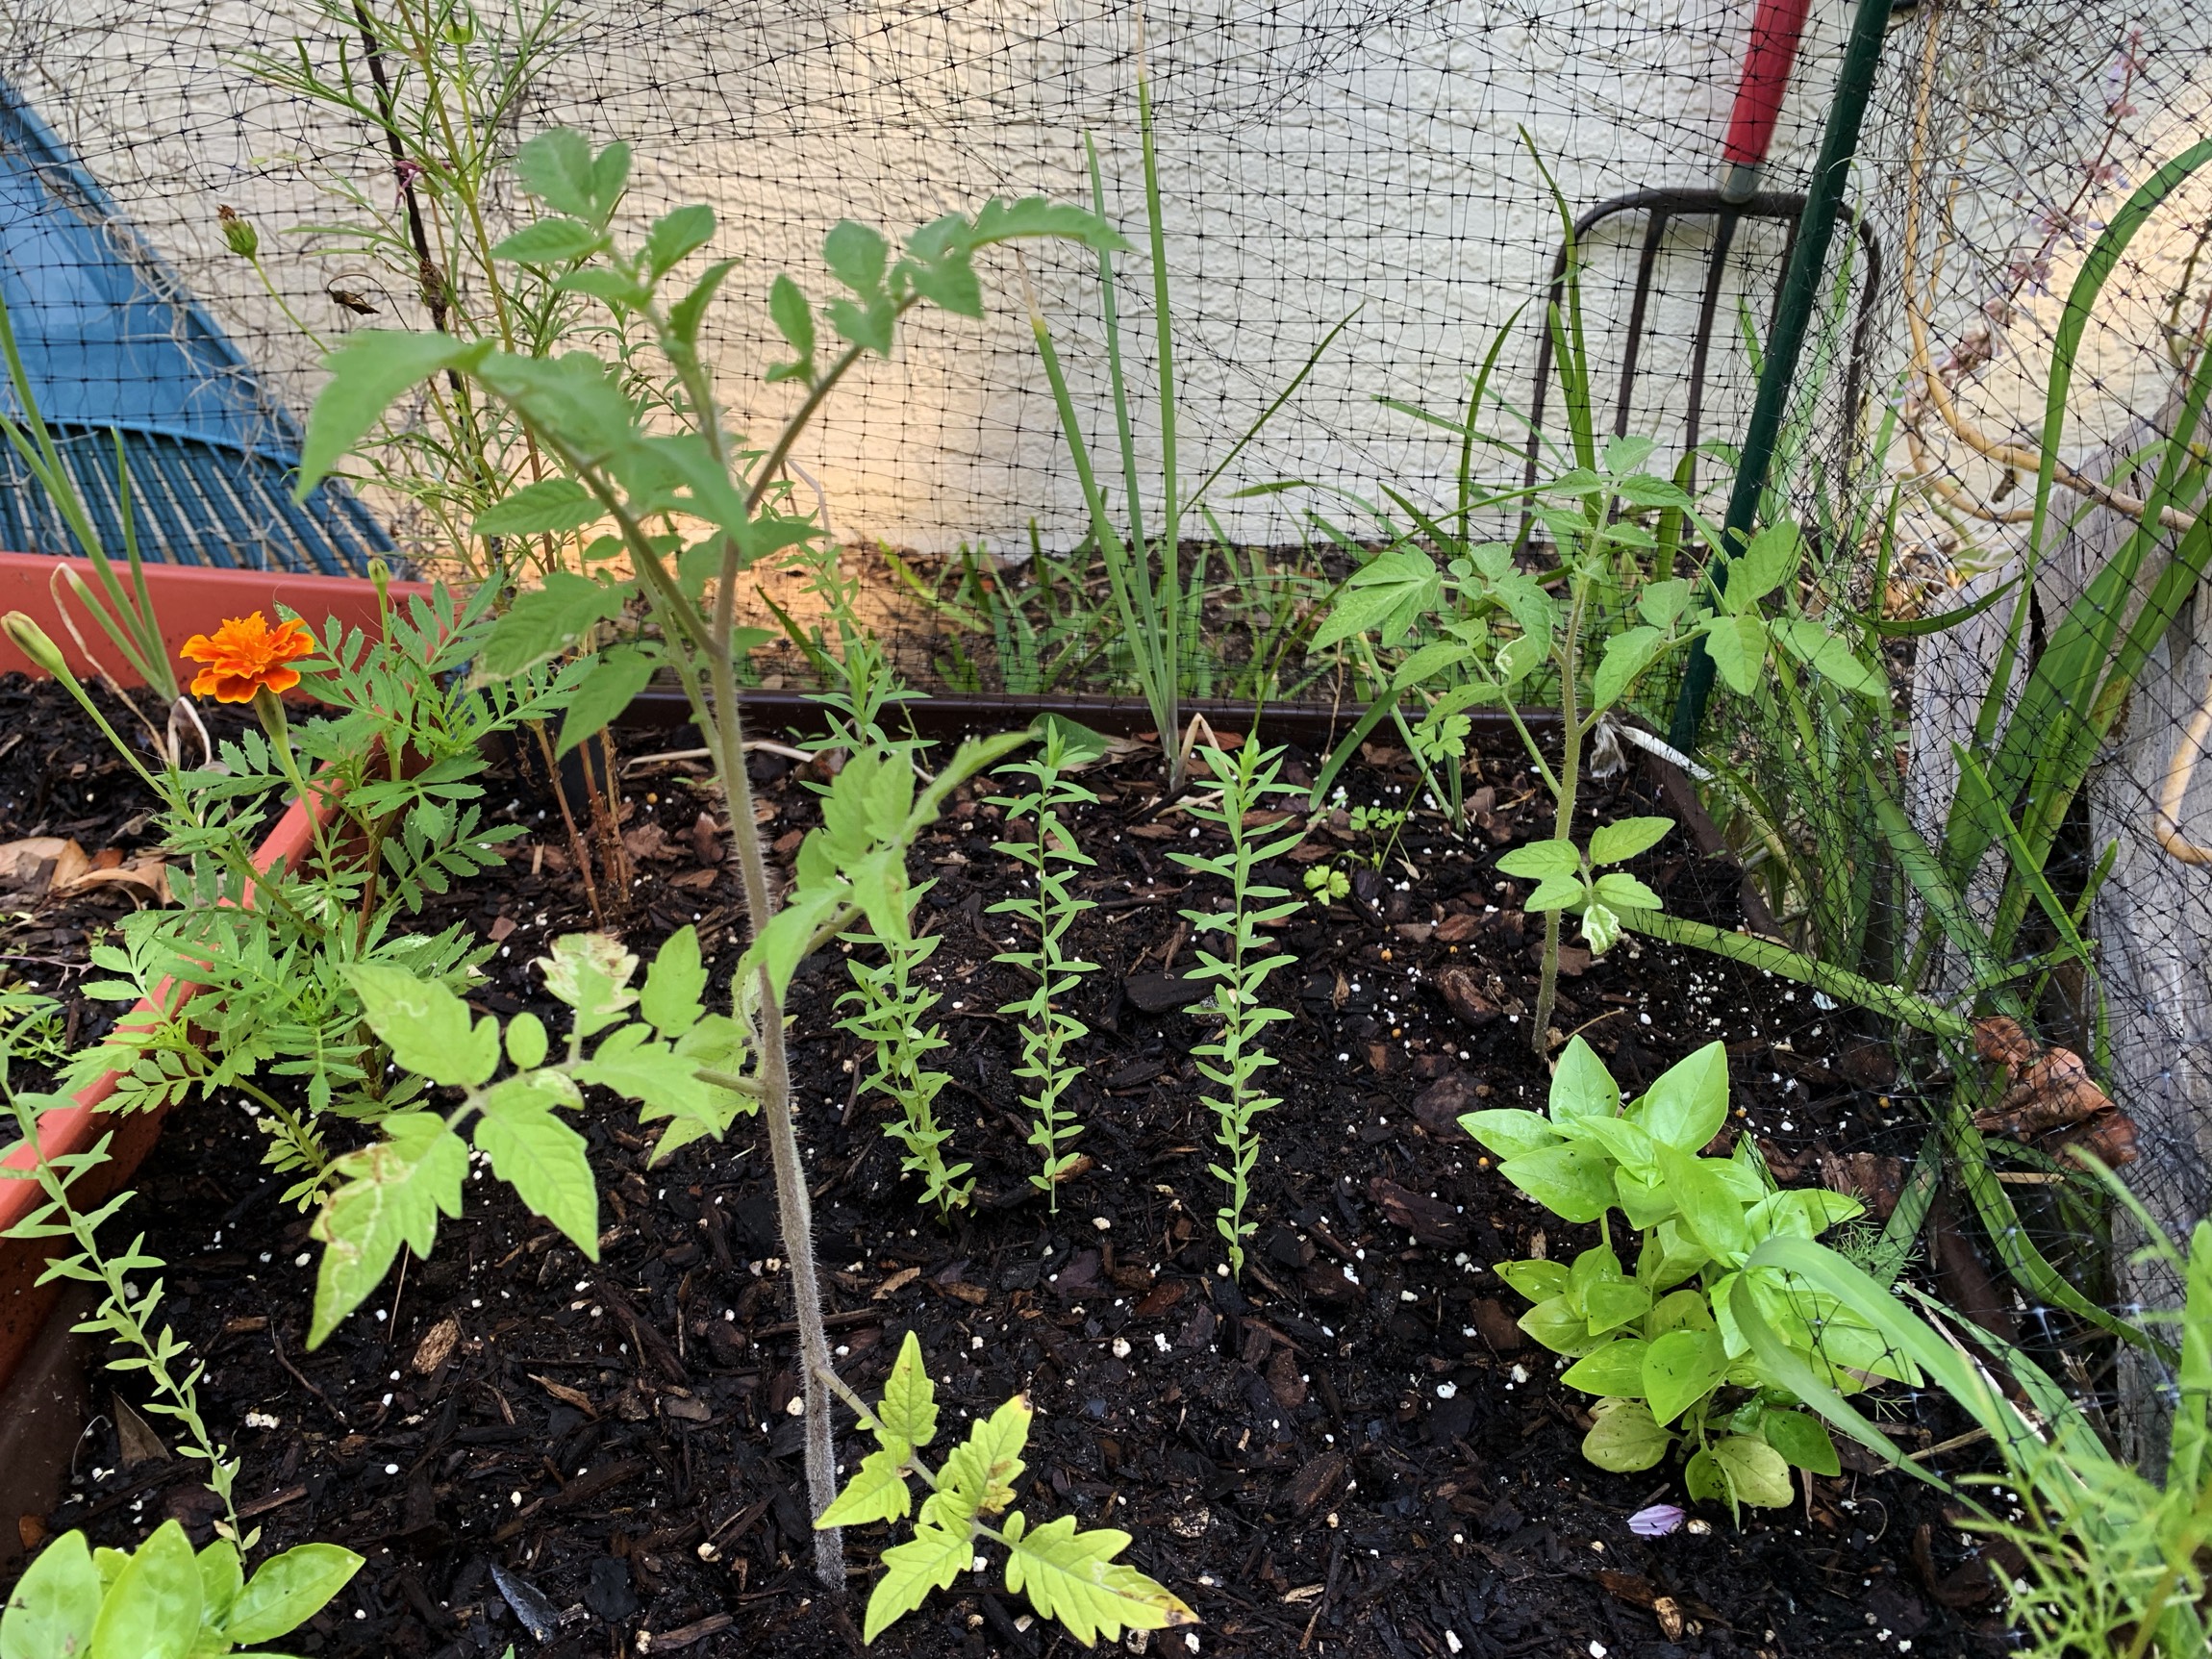
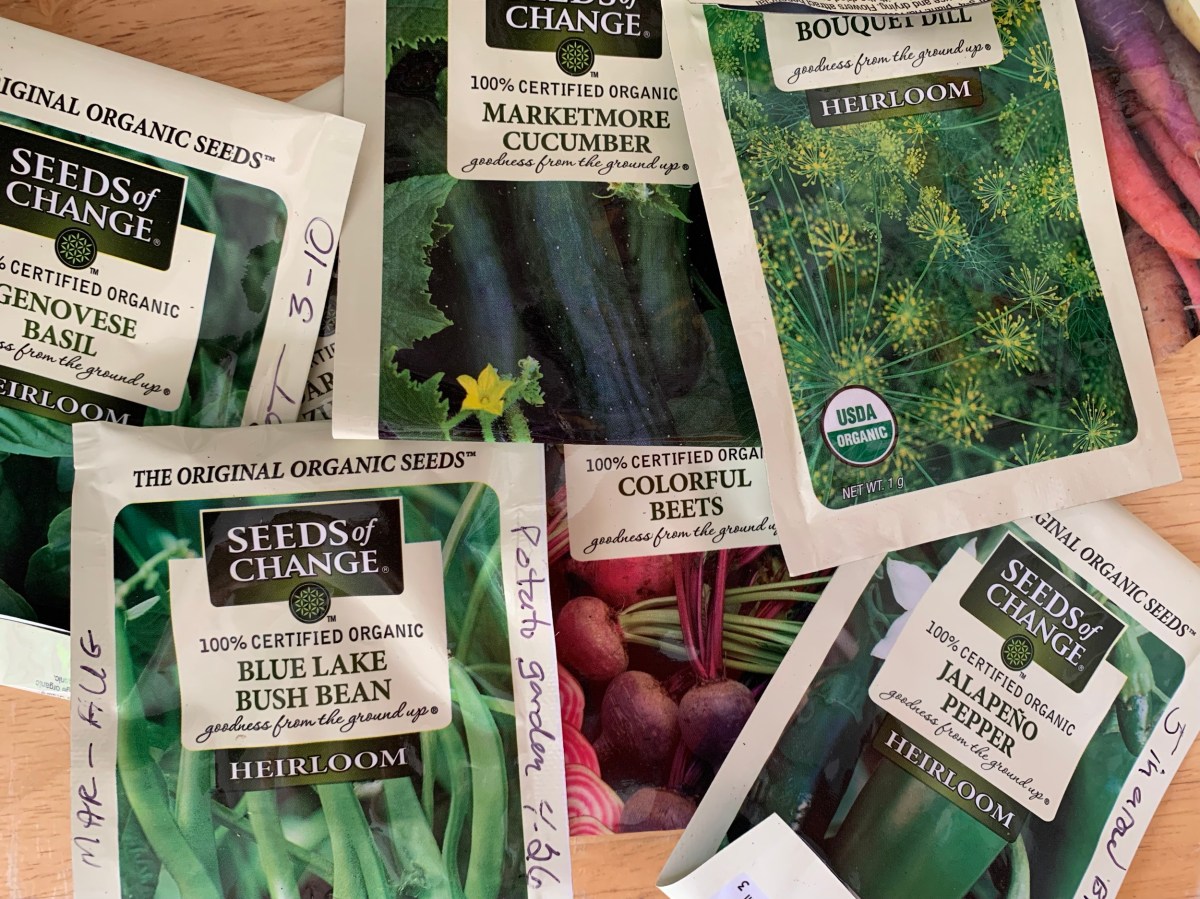
I’ve planted basil, dill, cherry tomatoes, marigolds and cosmos. I used freezer tape to label the pots with the date they were planted.
Growing Basil
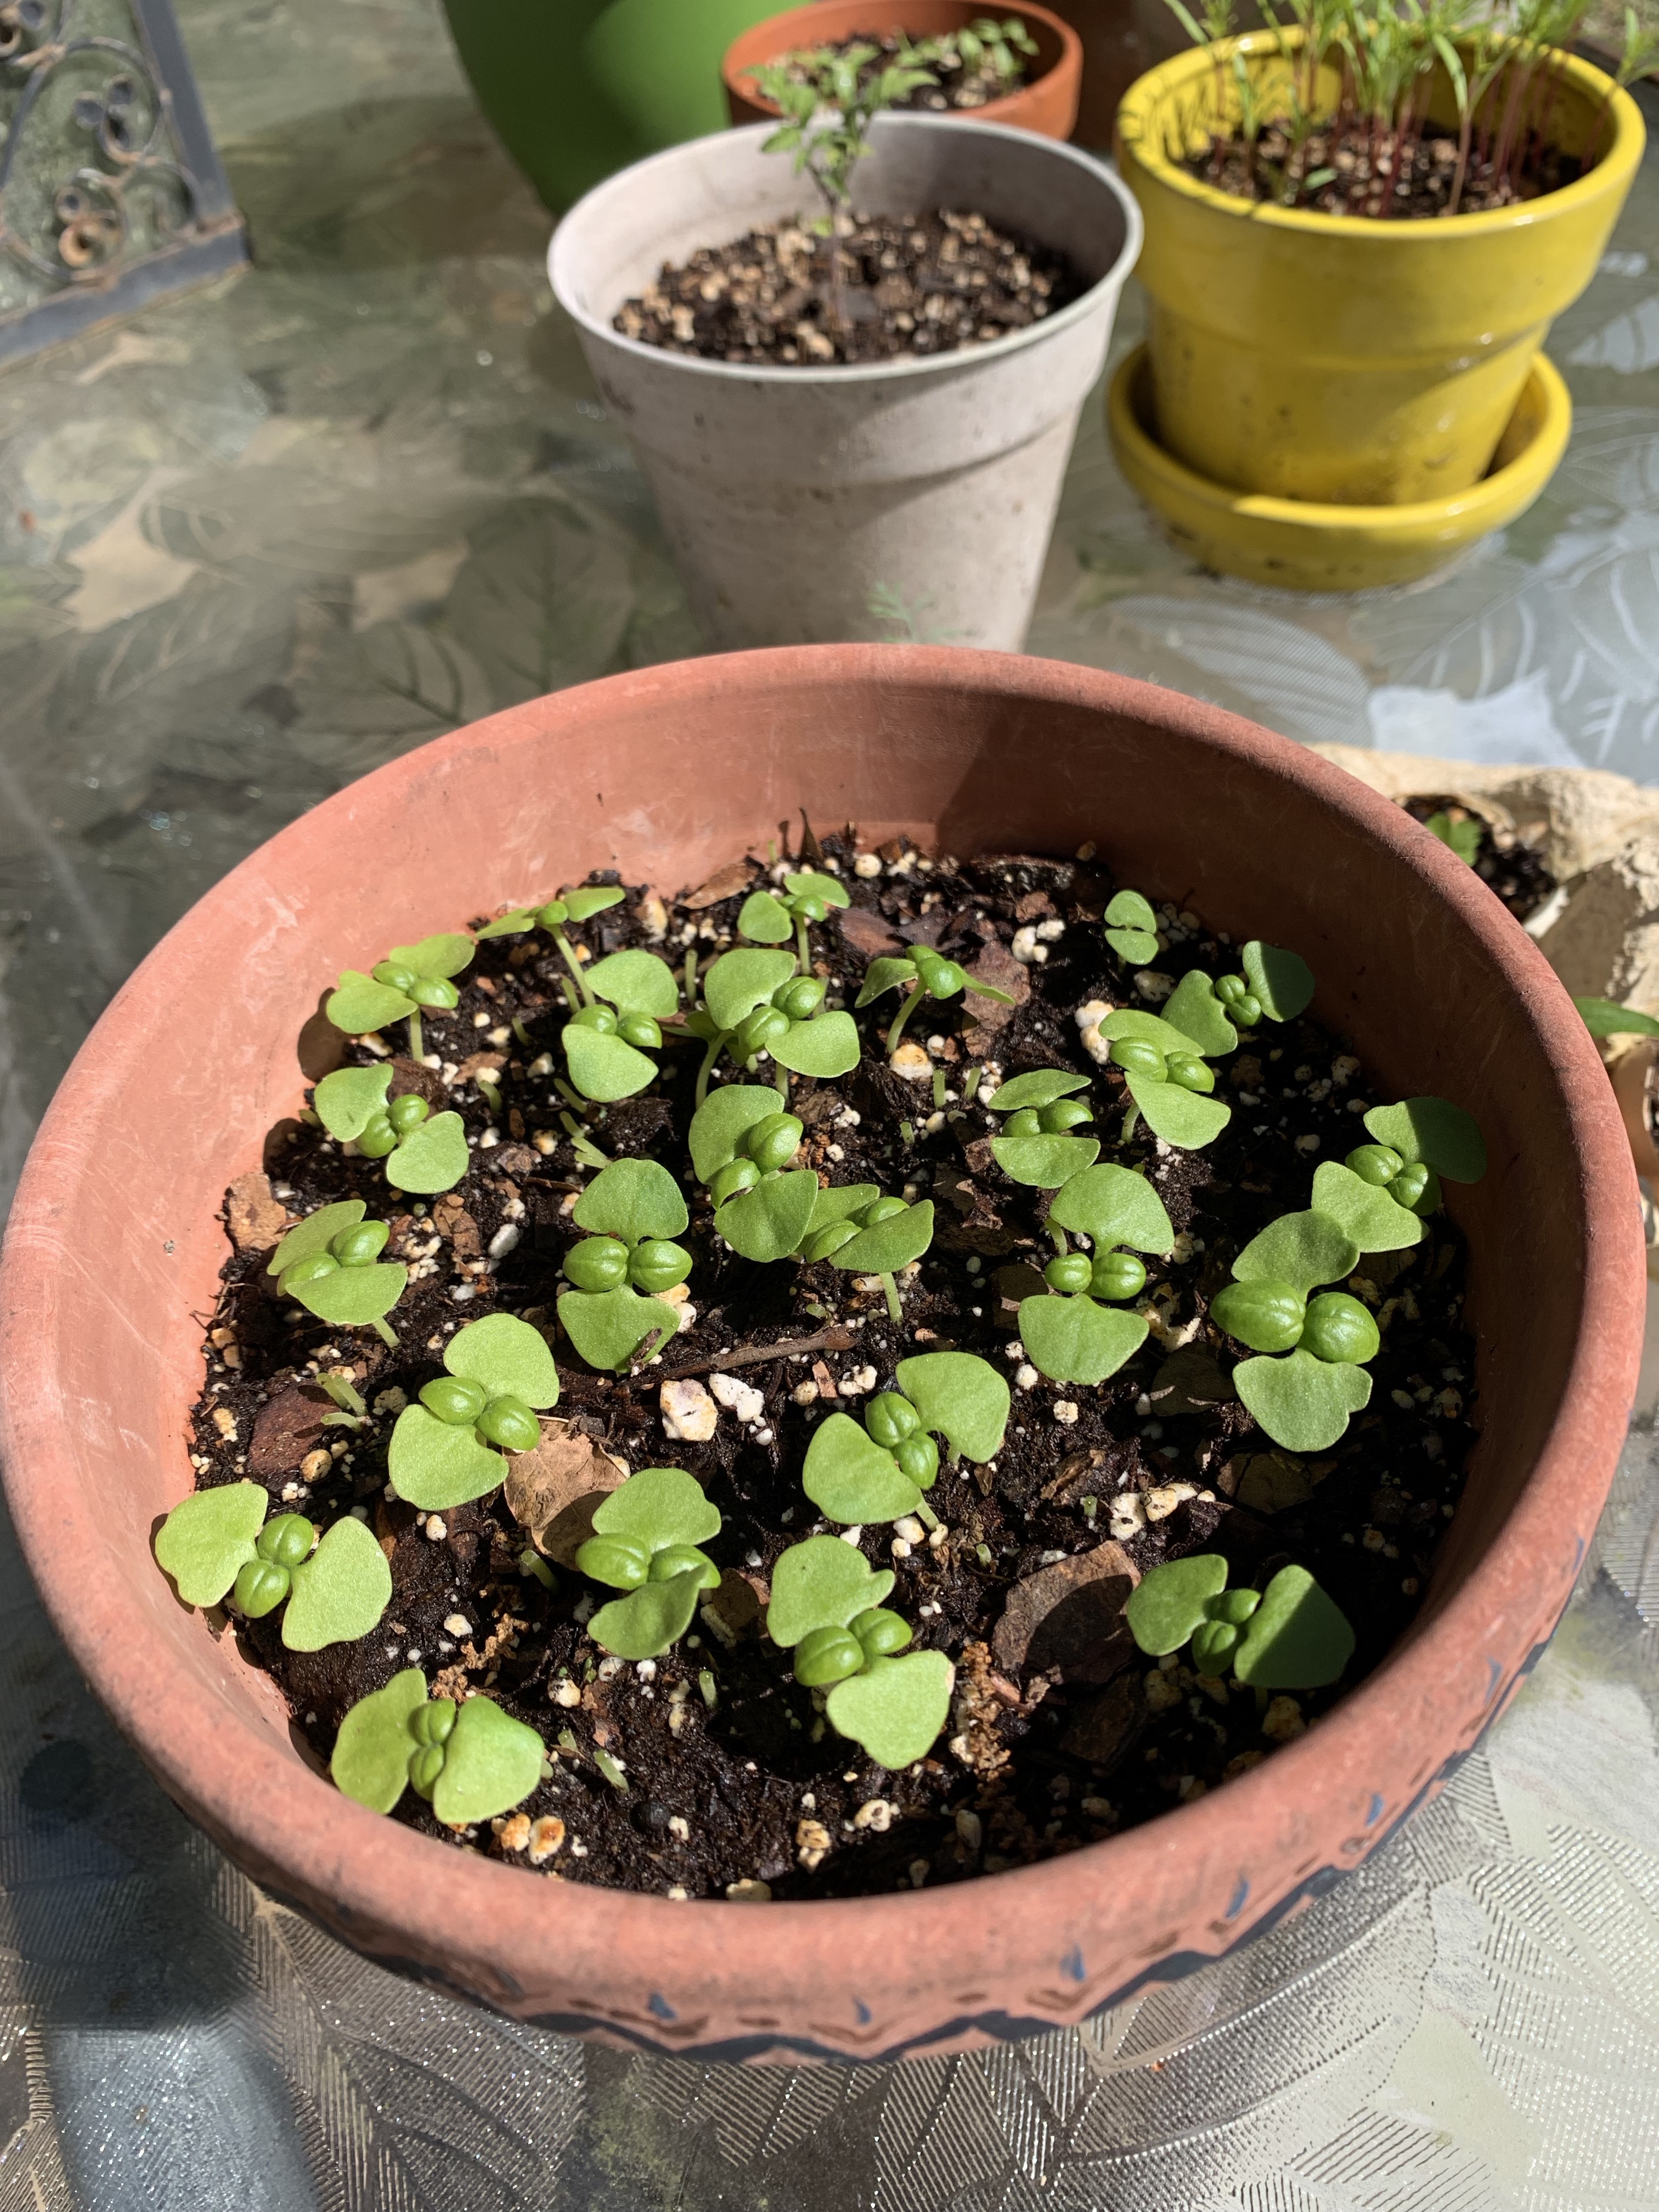
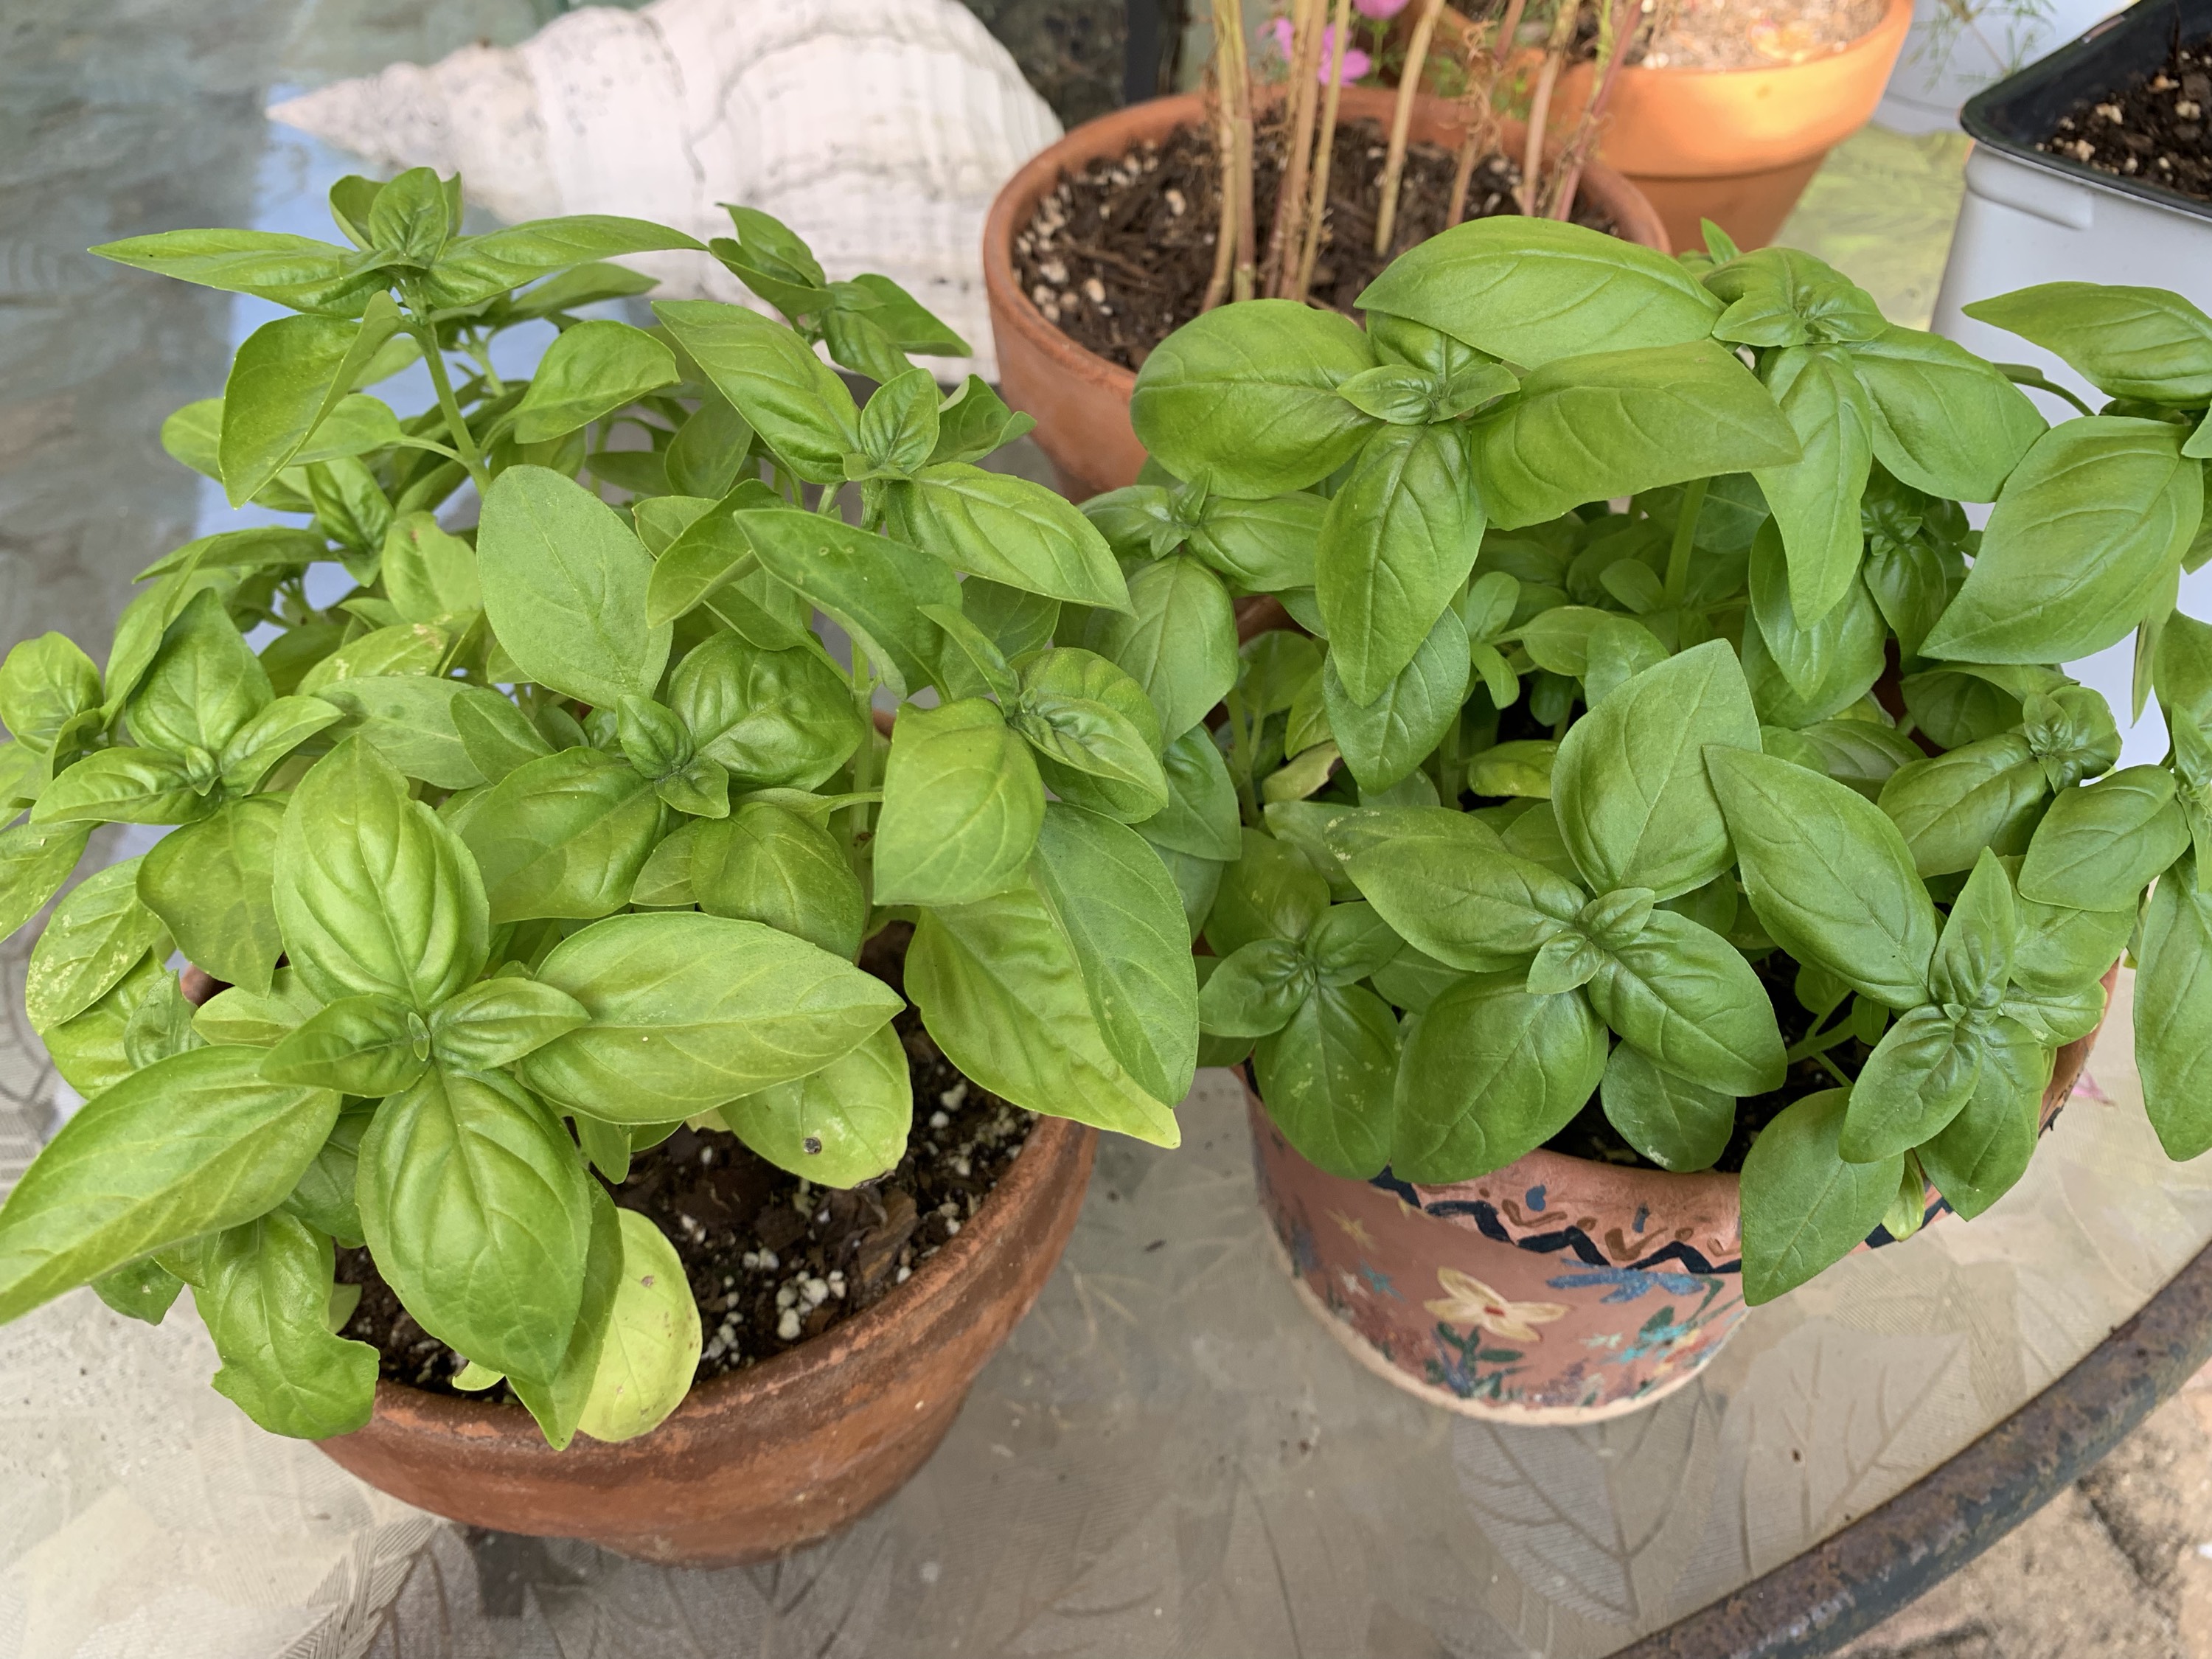
Basil can be difficult to grow in Florida, or so I’ve heard. I had some basil plants in the garden that lasted a couple of years, but then they died. Basil does self-sow if you let seeds form. I now have two pots of basil.
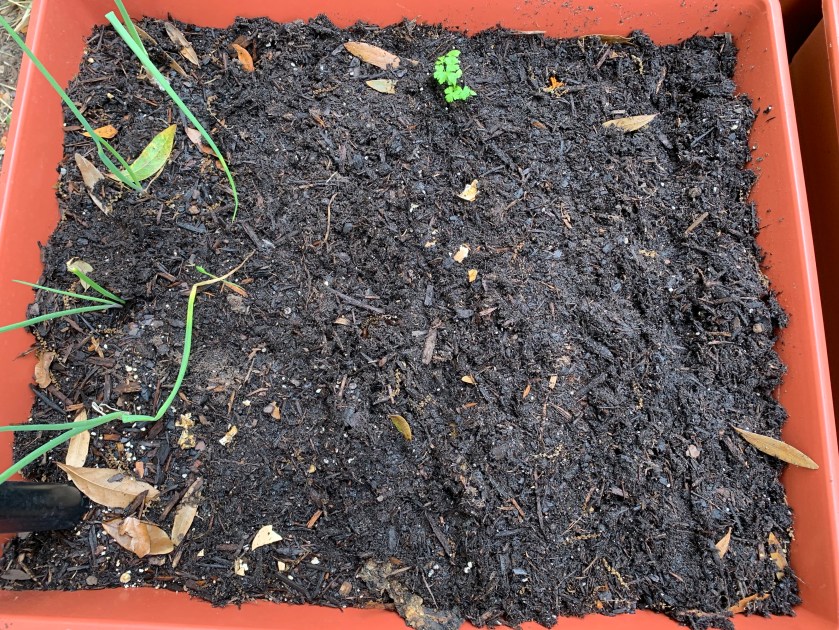
The basil seedlings became so crowded that I removed some of the plants by cutting them off. You should cut and not pull when thinning so as not to disturb the roots.
I kept the cuttings to use when cooking! So far, everything looks good and I hope to have nice big basil plants to pull from year round.
Before thinningBasil after thinningBasil one month later – end of May
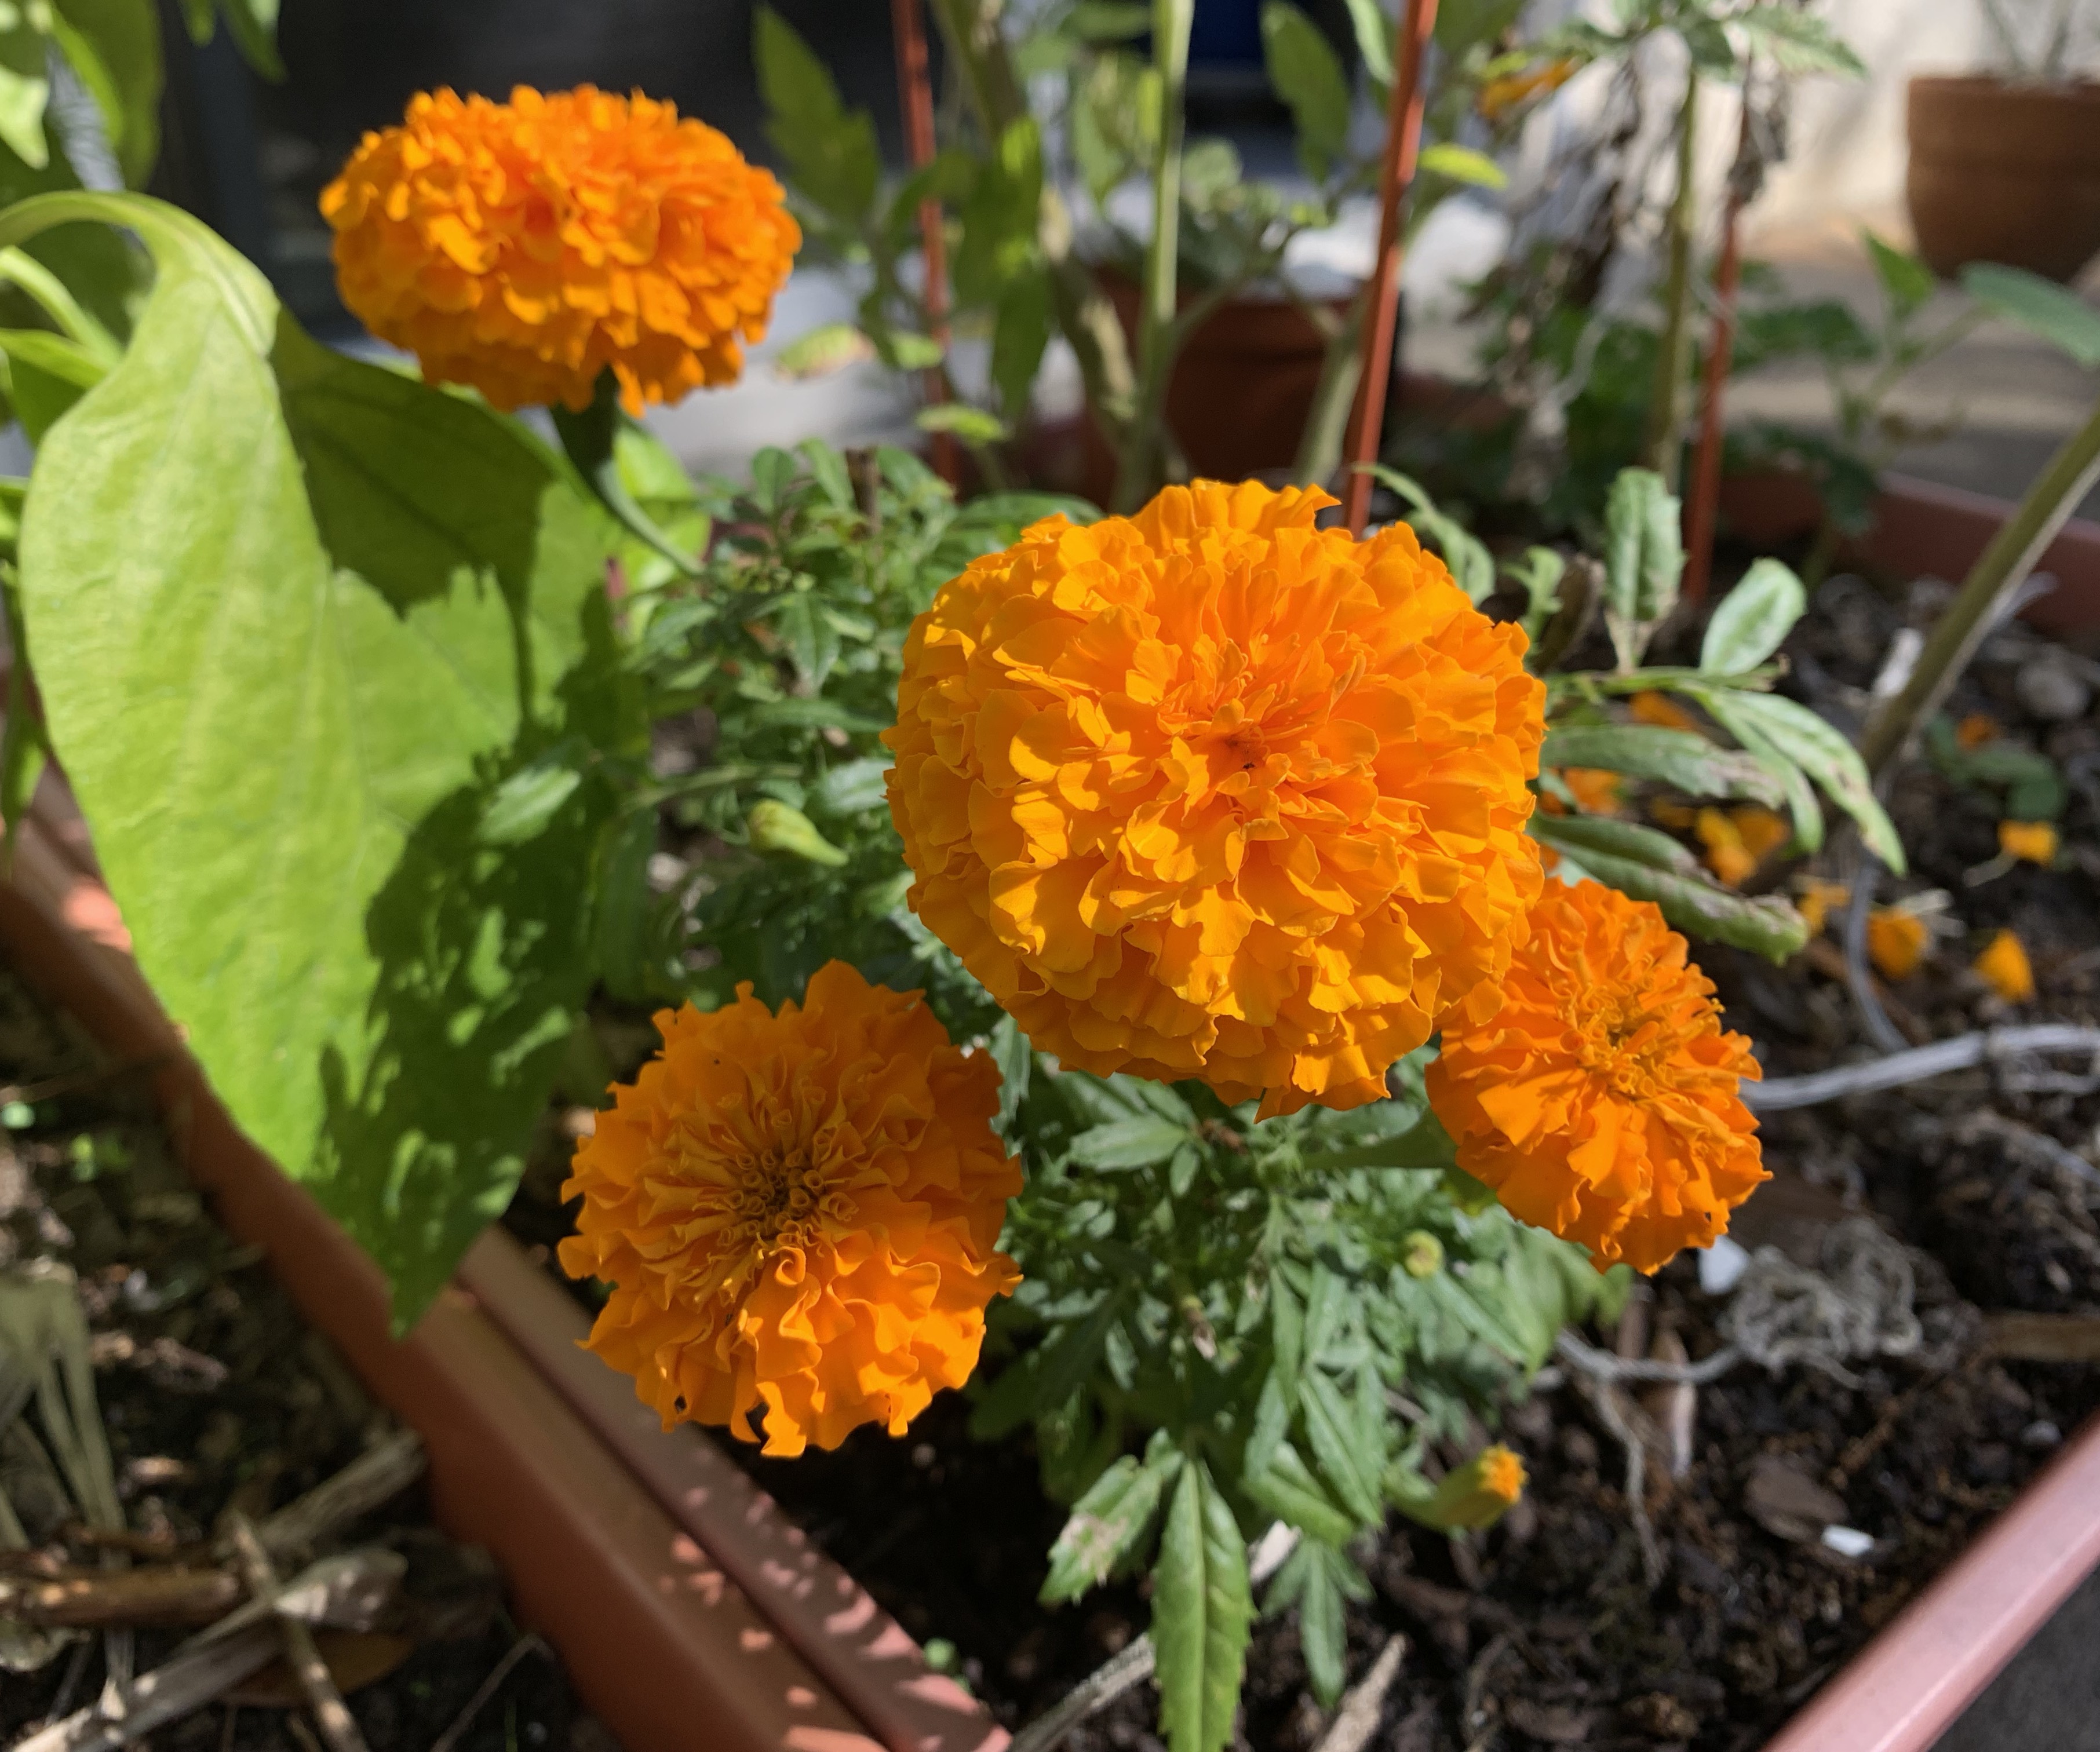
Cosmos and Marigolds
I chose two types of flower packets to grow from seeds. Marigolds are so wonderful for gardens, because they repel certain bugs that could be destructive. They should be dead-headed (pull off the old flowers) and I rip the flower head apart and scatter it among the vegetables. Every gardener probably includes marigolds when planting. I think certain varieties are better than others, but I didn’t have a lot to choose from at the store.
I bought two flowering marigold plants – see the orange one below – and will see what happens with the seeds.
MarigoldMarigold plantCosmos and MarigoldsCosmosCosmos
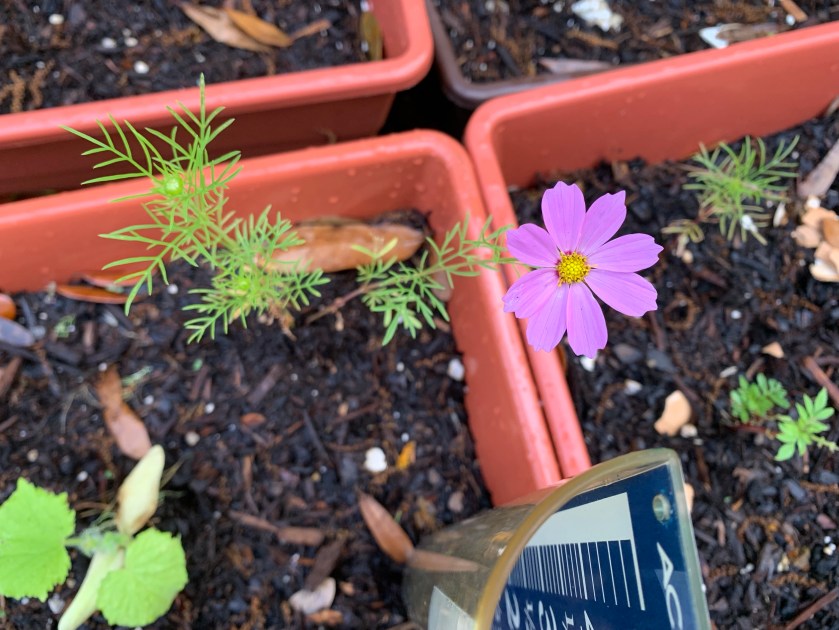
Flowering cosmos in a grow box
The cosmos seedlings are looking pretty good. A little purple cosmos flower has bloomed in my grow box. That plant was begun in an eggshell pot.
This is certainly a different looking cosmos from what I am used to growing in New Hampshire. Or maybe the plant needs to mature to grow larger.
Actually, the secret is to plant seeds in real good dirt.
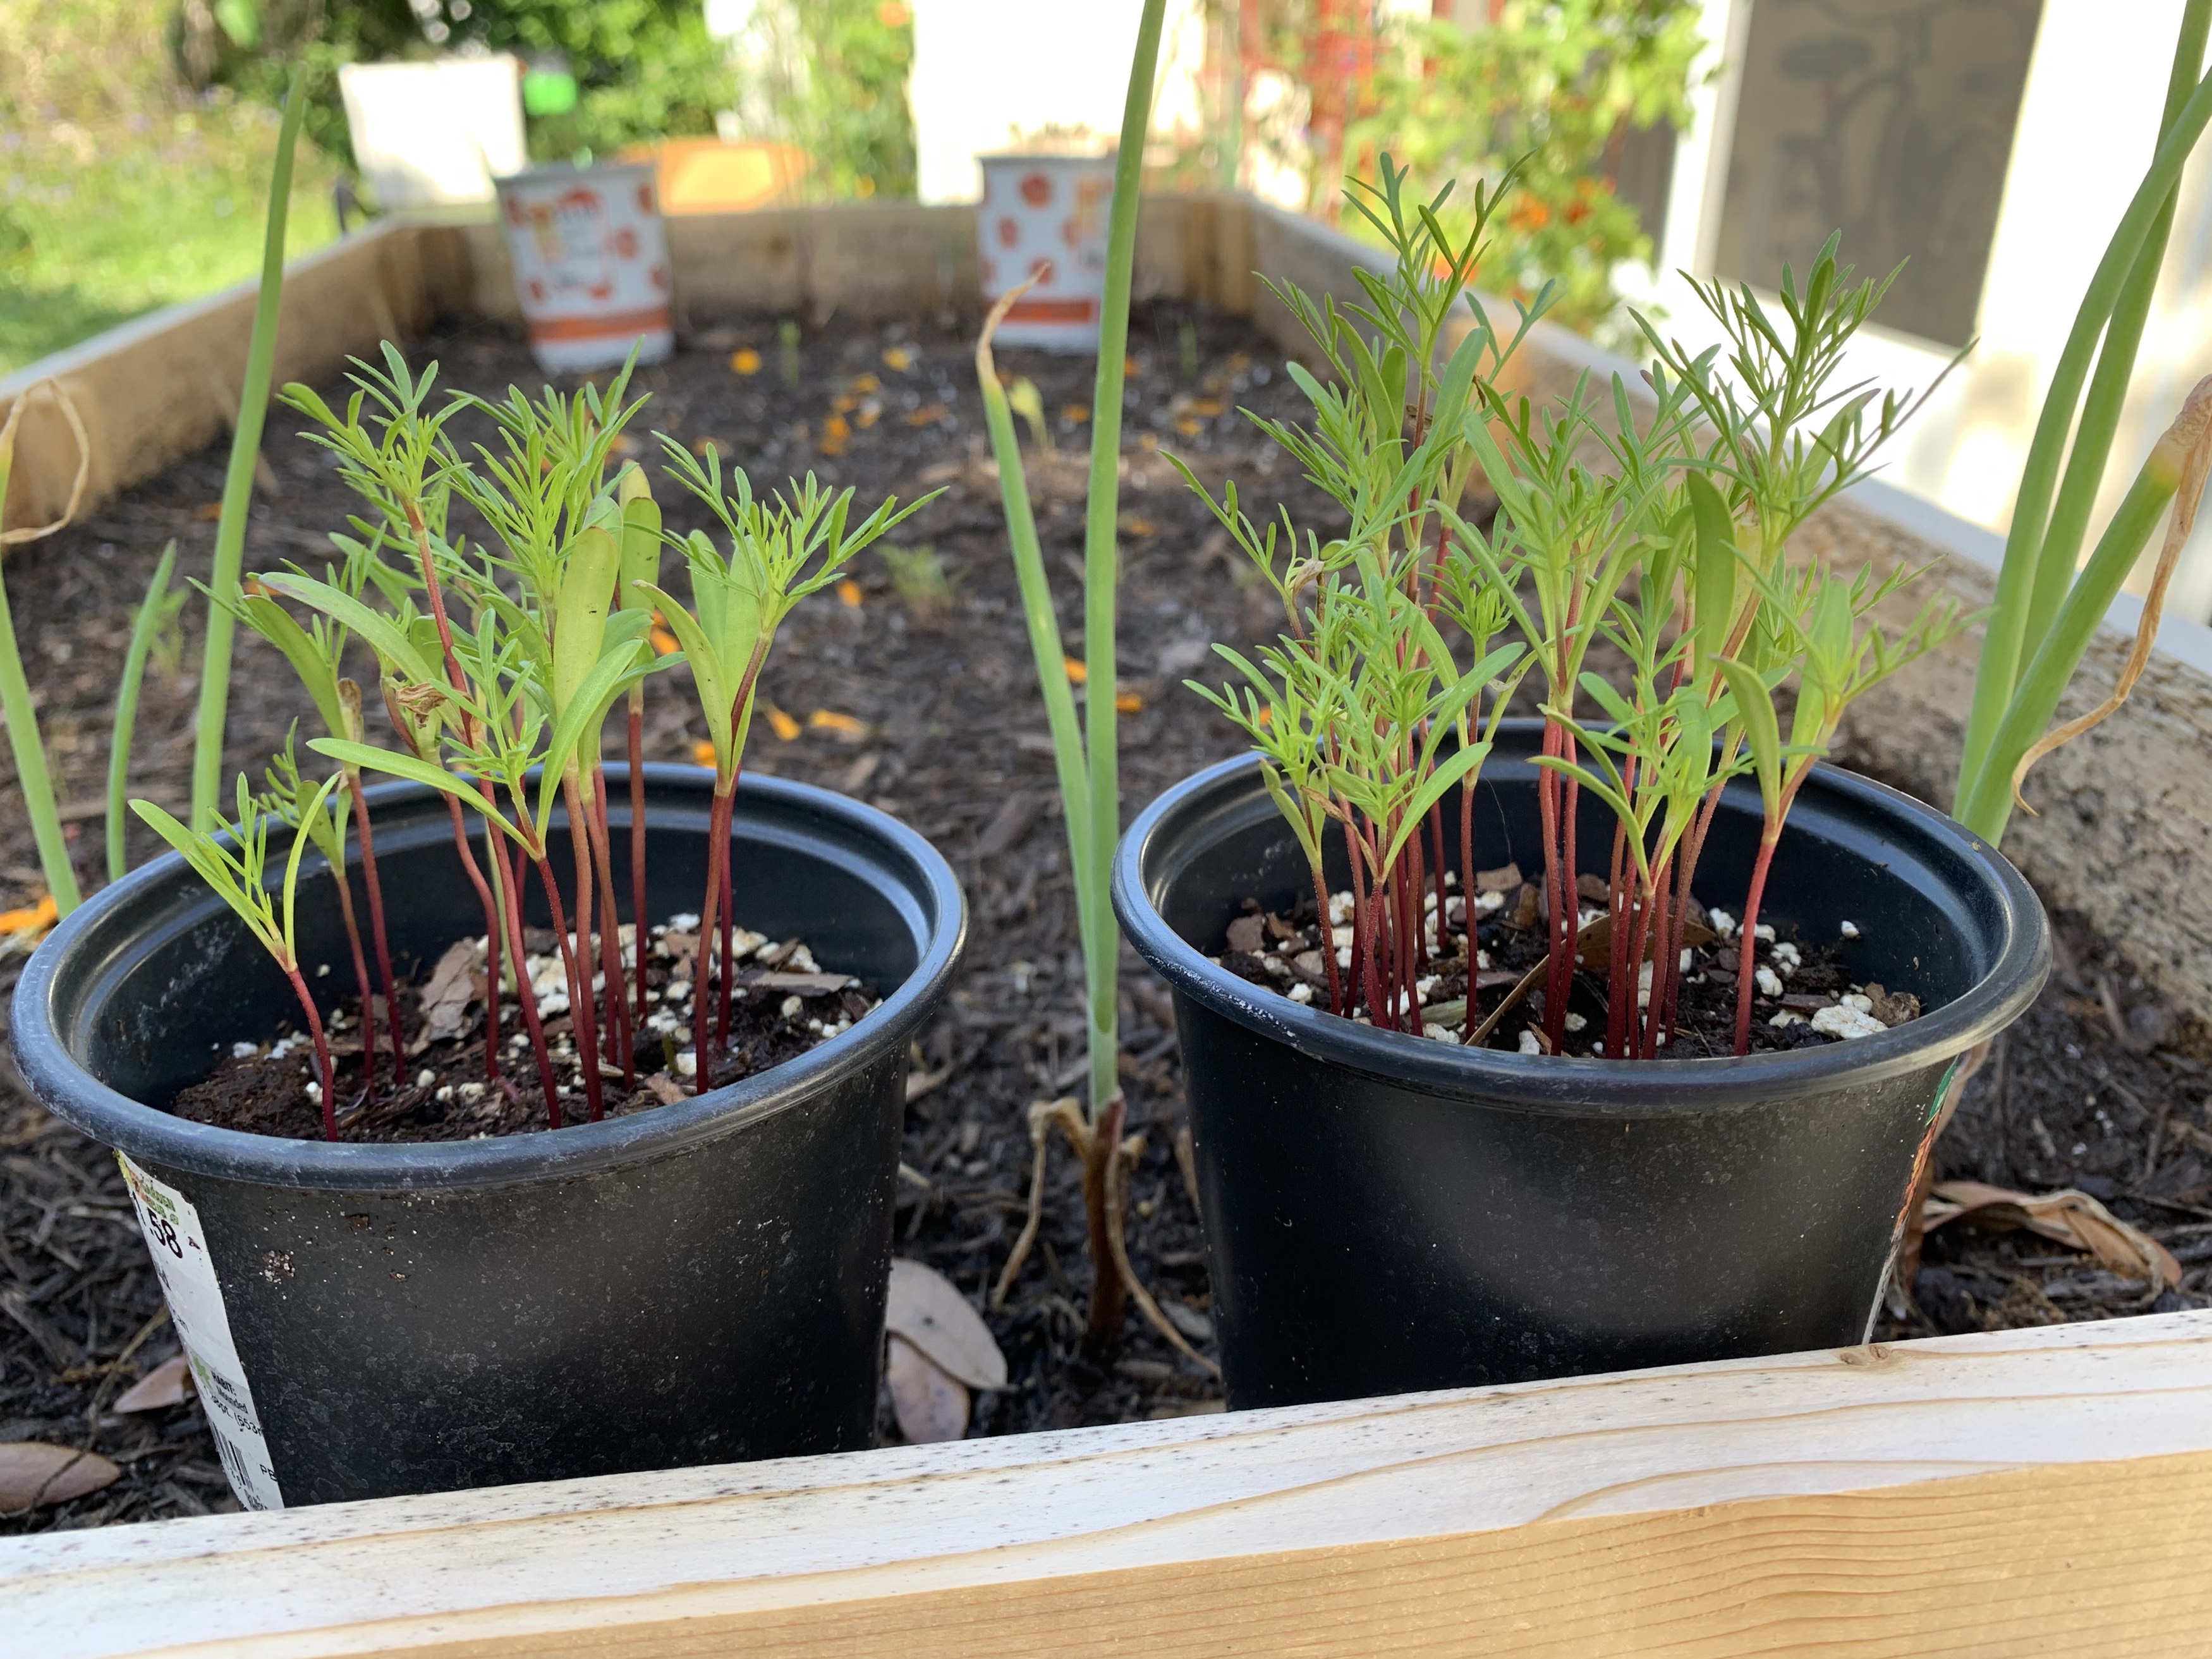
The cosmos in the larger pot is looking nice and blooming regularly
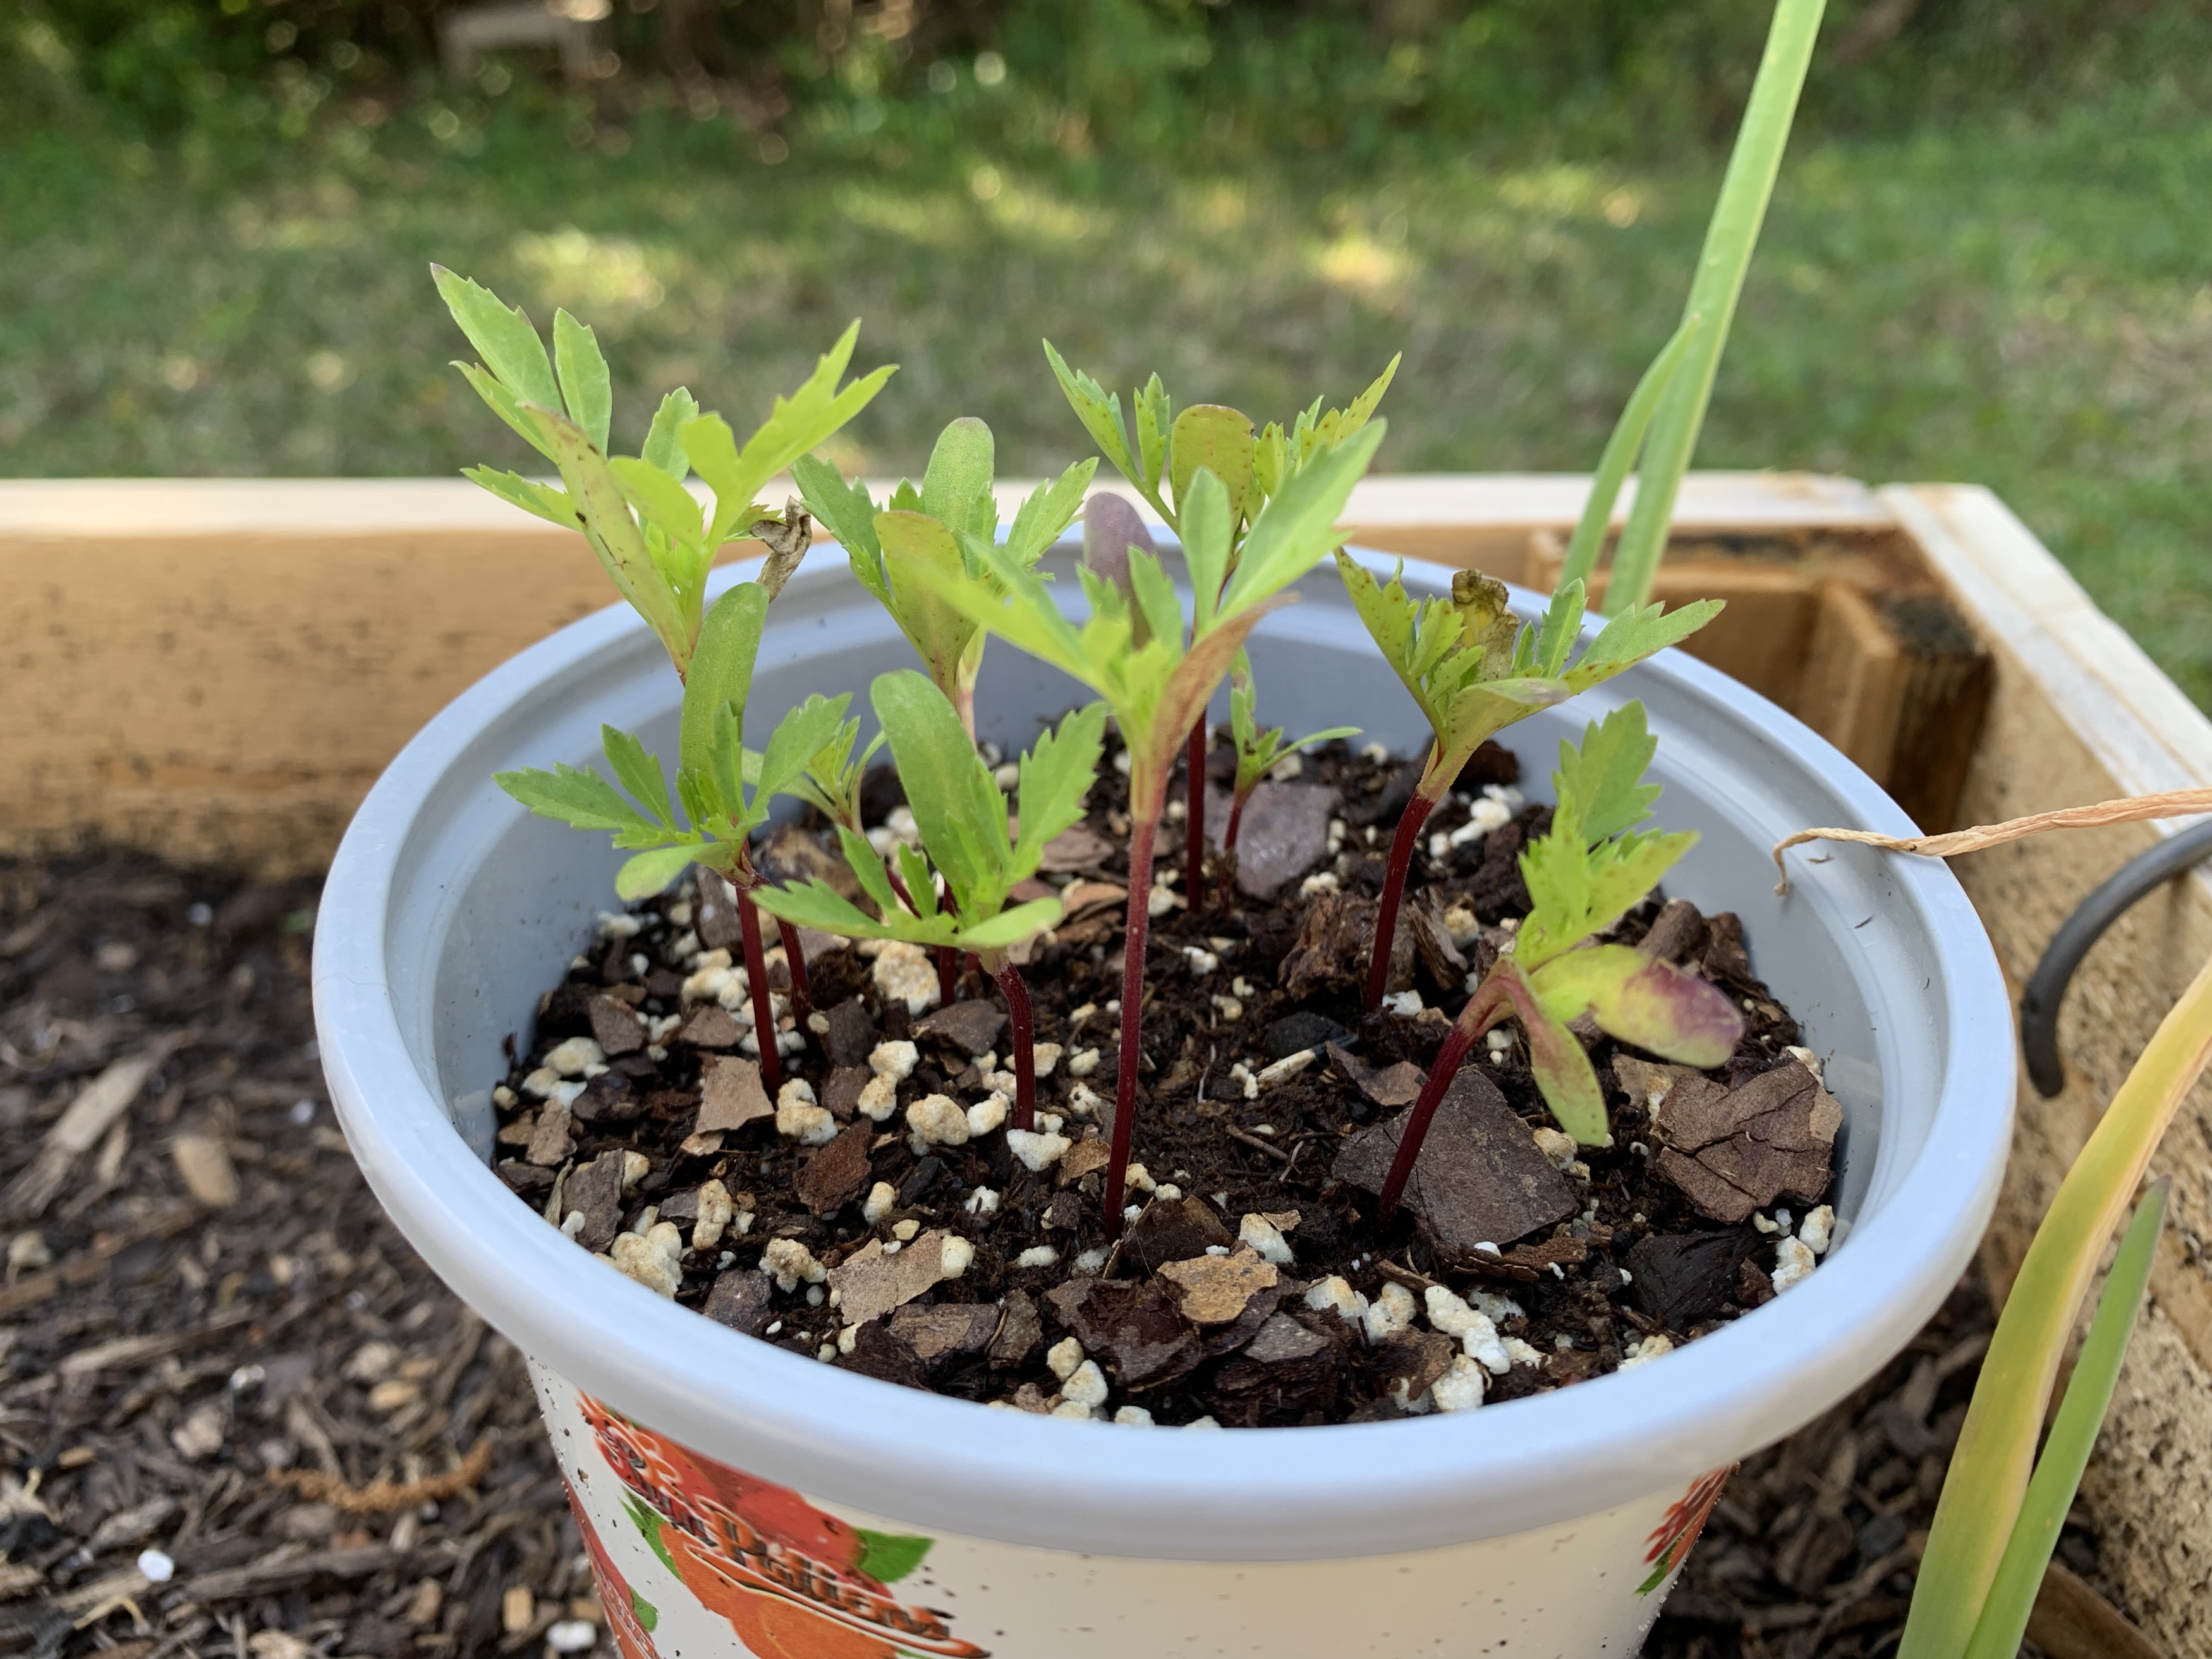
Growing Dill
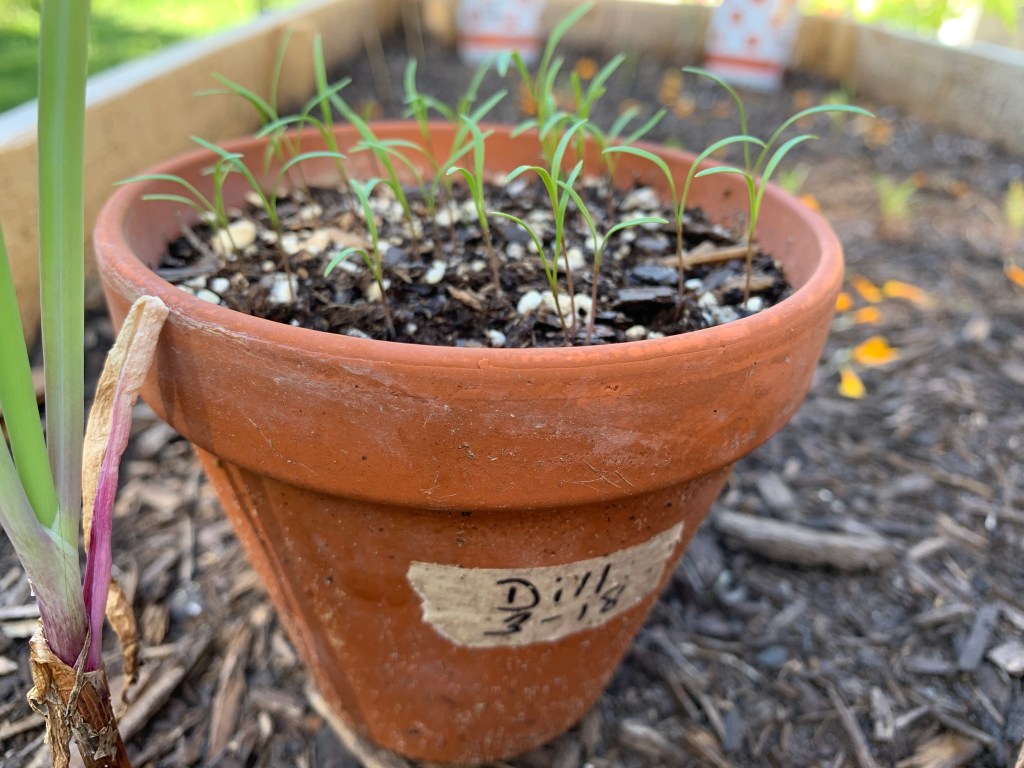
I always grew dill in my northern garden, but have not had luck growing it here in Florida. I do have a few small seedlings in the grow boxes, and now have dill sprouting in this terra cotta pot.
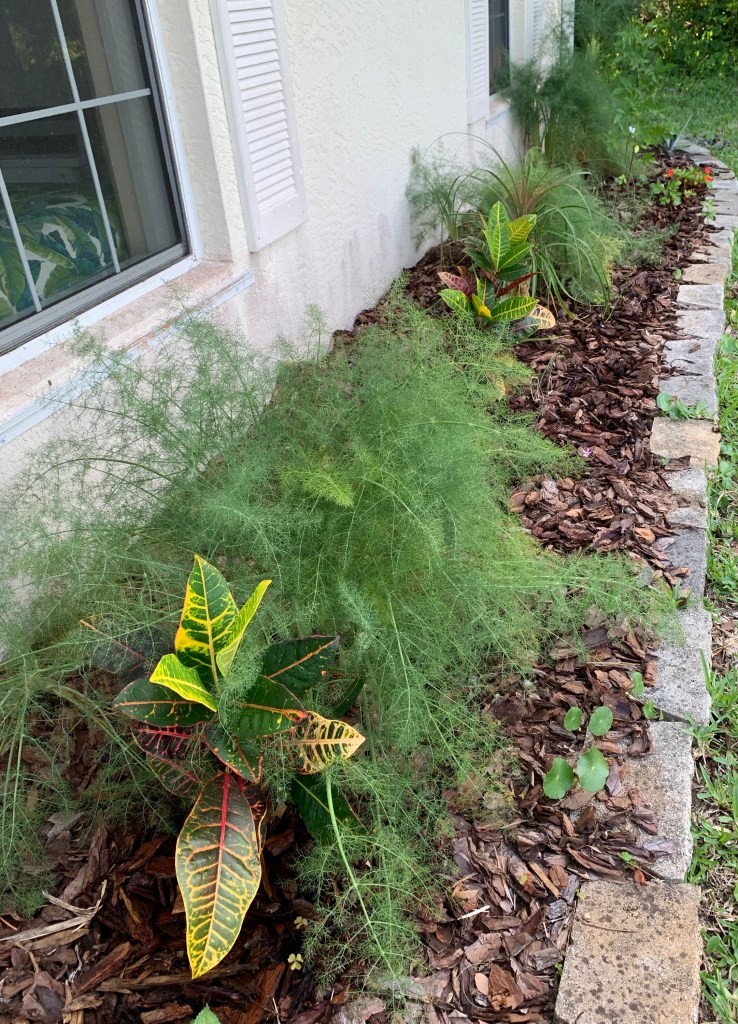
Because I don’t have much luck growing dill, I have chosen to grow fennel. It is similar in that it also grows tall and feathery and has flowers that attract beneficial bugs. Also the Swallowtail butterfly will leave her eggs on fennel, just like parsley and dill.
Dill seedlings
I needed up putting the dill into the potato garden and planted more dill seeds in a large pot.
Cherry Tomatoes
My cherry tomato seedlings were not doing much at first, but now in May they are large plants. I’ve transplanted them a few times and they have little tomatoes on the vine.
Both tomato plants in their new potsPlants by the end of May
I’ve combined these two herbs in this post because one of them I can’t seem to grow. Because dill doesn’t like my yard, I’ve grown fennel in it’s place.
The two herbs are not interchangeable for cooking and seasoning, as they are both different, but as far as gardening goes, they are similar. They are both airy and lacy and have big yellow, open flowers that attract beneficials.
Dill
I first grew dill in my New Hampshire yard. I absolutely loved the flowers that came at the end of the season, which attracted good bugs. Here in Florida I have tried numerous times to grow it without success. This potted dill you see here was grown from seeds.
Aside from the fact that the raccoons dug around in the pot one night, it looks pretty good.
Fennel
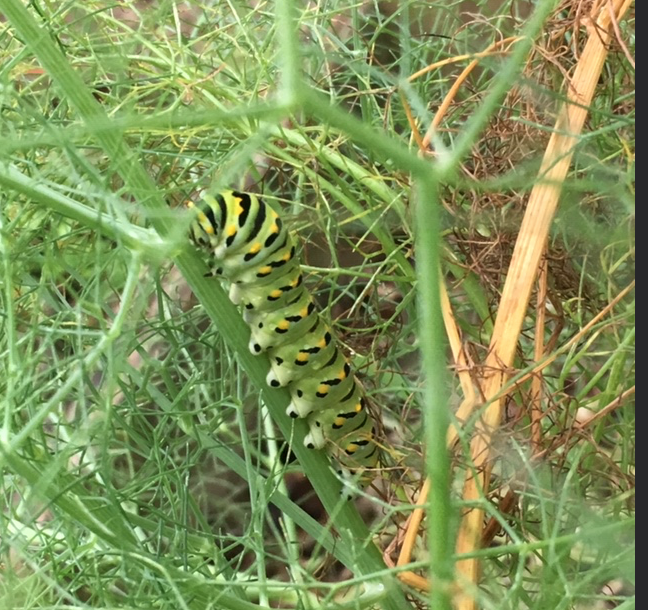
Fennel on the other hand grows all on it’s own. It is considered a perennial. It has successfully re-seeded itself in my front yard and I’ve seen caterpillars on it in past years. And often the stalks will last into the following year. Here in Florida that happens with many vegetables.
Unfortunately the brown lizards ate all the worms, so I didn’t see any turn into Swallowtail butterflies.
Parsley worm which will become a black swallowtail butterfly
Saving Seeds
Both dill and fennel have seeds that form on the flowers and are very easy to save. Because I don’t have luck with dill, I have photos of fennel seeds only.
Fennel flowers turning to seeds
Fennel easily grows from seeds. I have some plants that have sprung up along the front of the house. This year I saw no caterpillars on them, but I like to have them just in case a butterfly comes by to lay her eggs.
May in my Florida vegetable and flower gardens. See what is growing well and what is not. Also advice on beginning plants from seeds.
Because there are no farm stands to buy Spring seedlings, I started my vegetables from seeds this year.
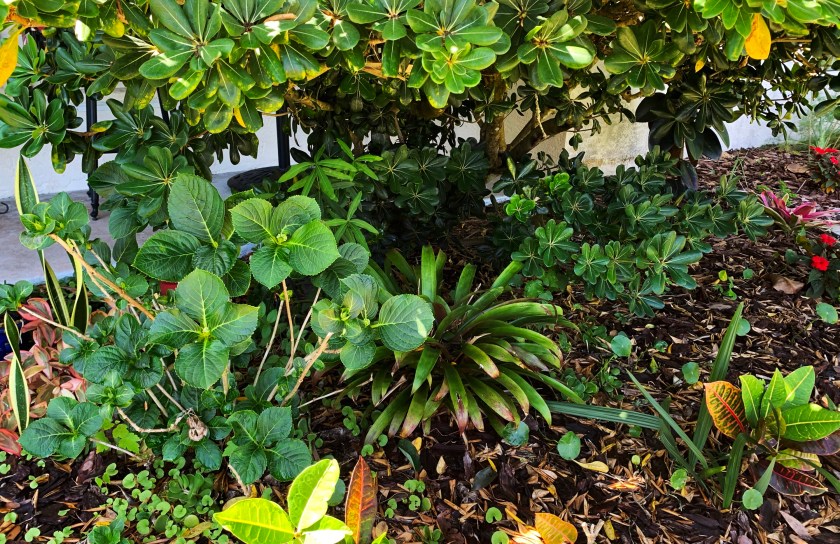
This page is an update on how my vegetables, and some flowers are growing. The hydrangea that I planted in the yard a few years ago is still doing well – surprisingly. See photos down the page.
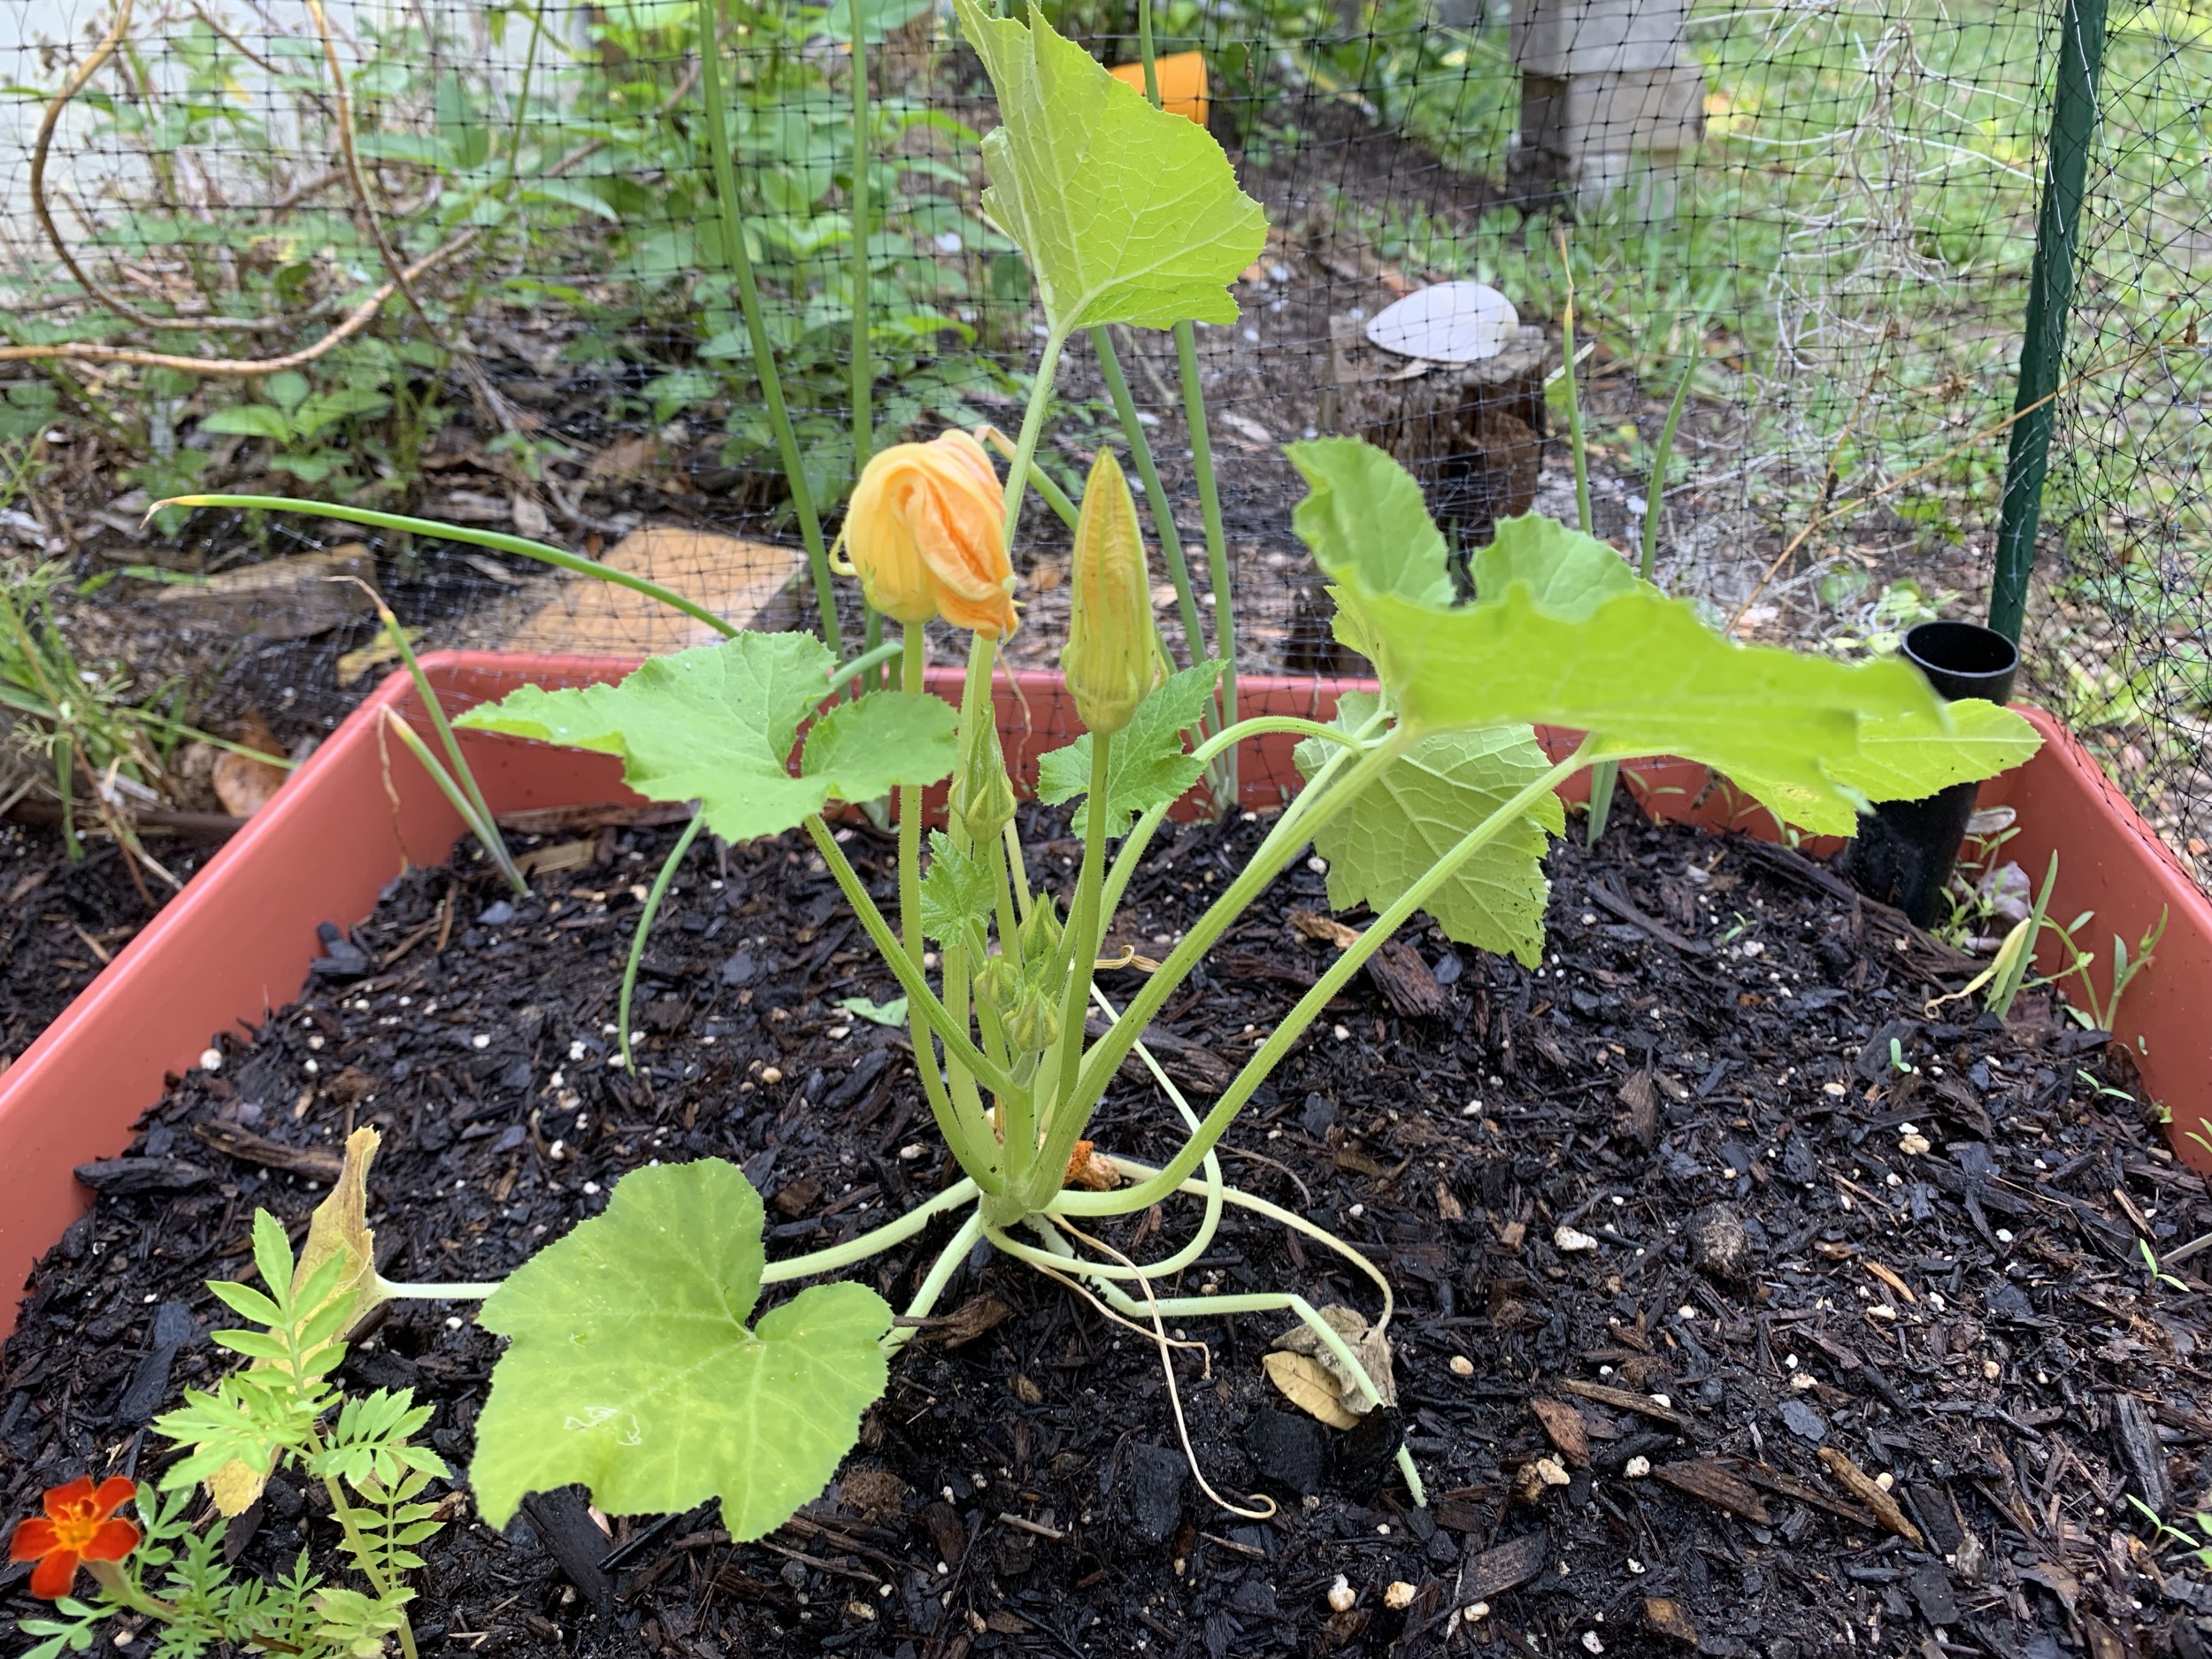
Zucchini, Beans, Tomato, and Eggplant
Zucchini seeds were planted directly into a grow box. One plant is hanging on, the other two died. It is not growing well.
The beans are newly planted and doing very well. More about the beans further down the page.
The Cherry Tomato plants are thriving, and the eggplant (not from seeds) is giving me little eggplants.
Most plants have been in the ground, or transplanted to pots, for a few weeks now. We have not had much rain, so I water every day.
ZucchiniBush beansCherry tomatoJapanese eggplant
The Cherry Tomato Plants
All of the cherry tomato plants were begun in eggshell pots. Depending on where they went when transplanted, it has really made a big difference in their growth.
tomato plant seedlingtwo tomato plants in garden box
the First Transplanting of the tomatoes
The little seedlings that went straight into the garden grow box are still quite small. In fact, one of them died.
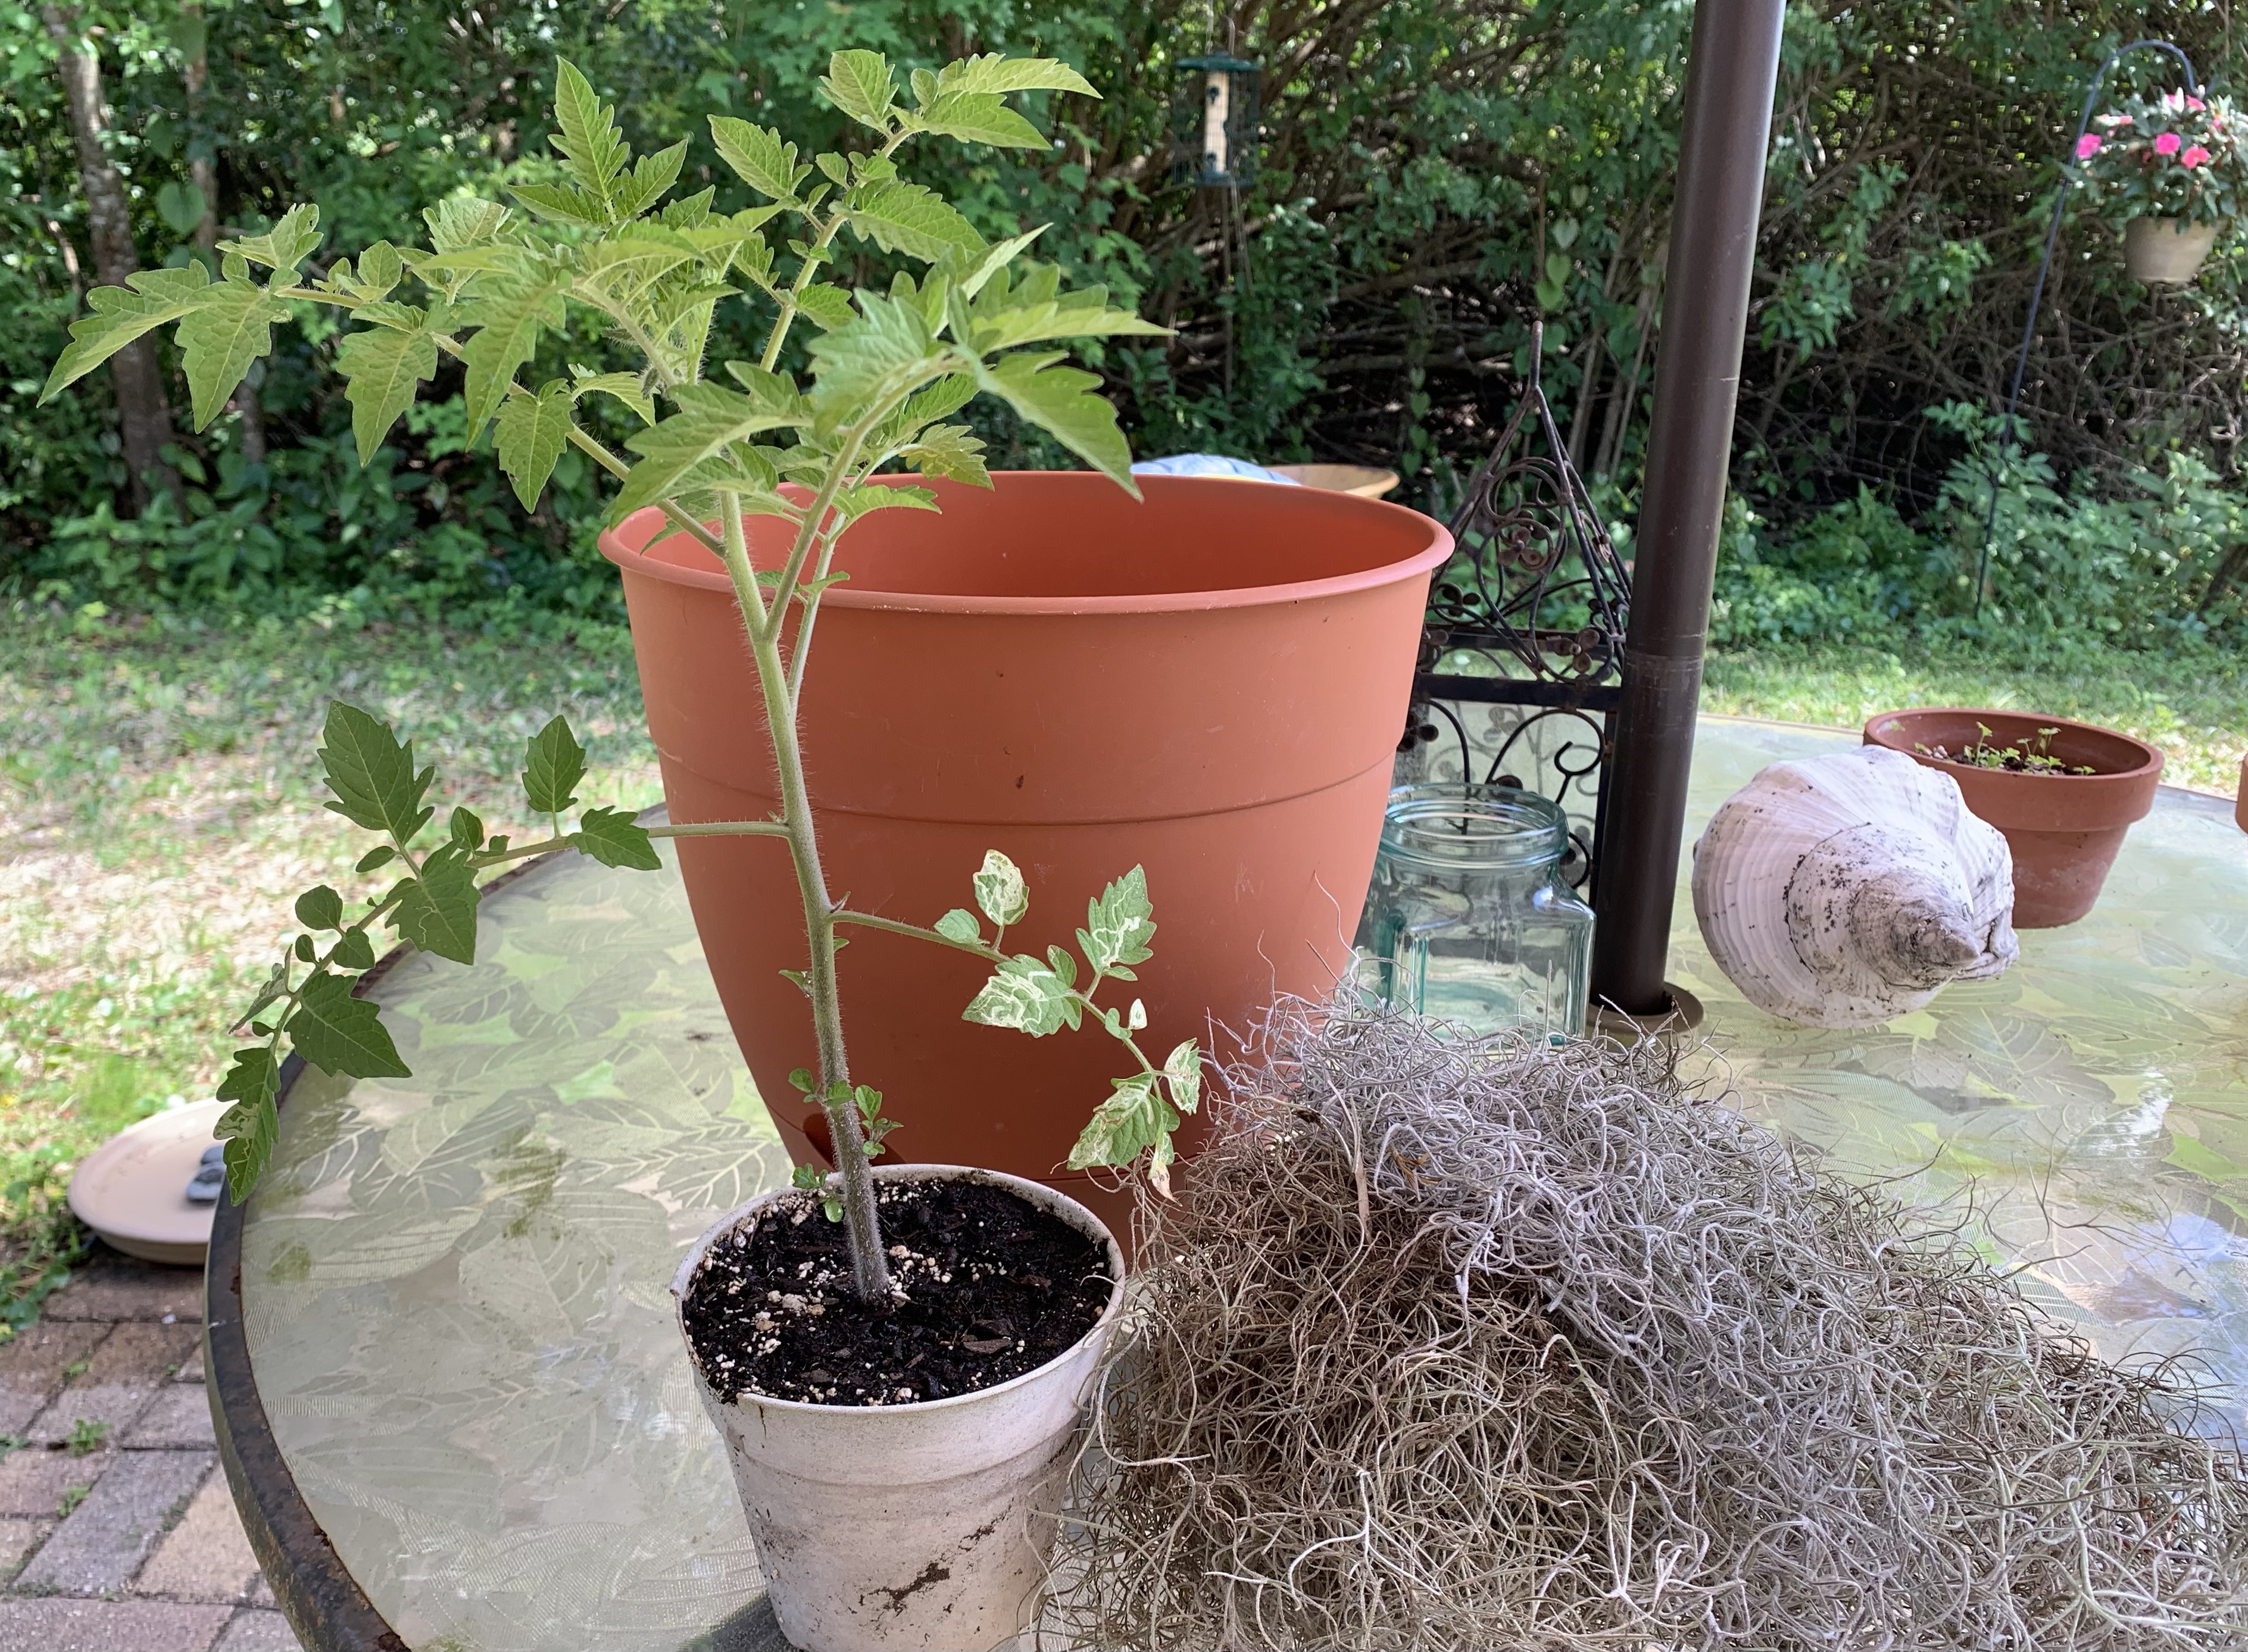
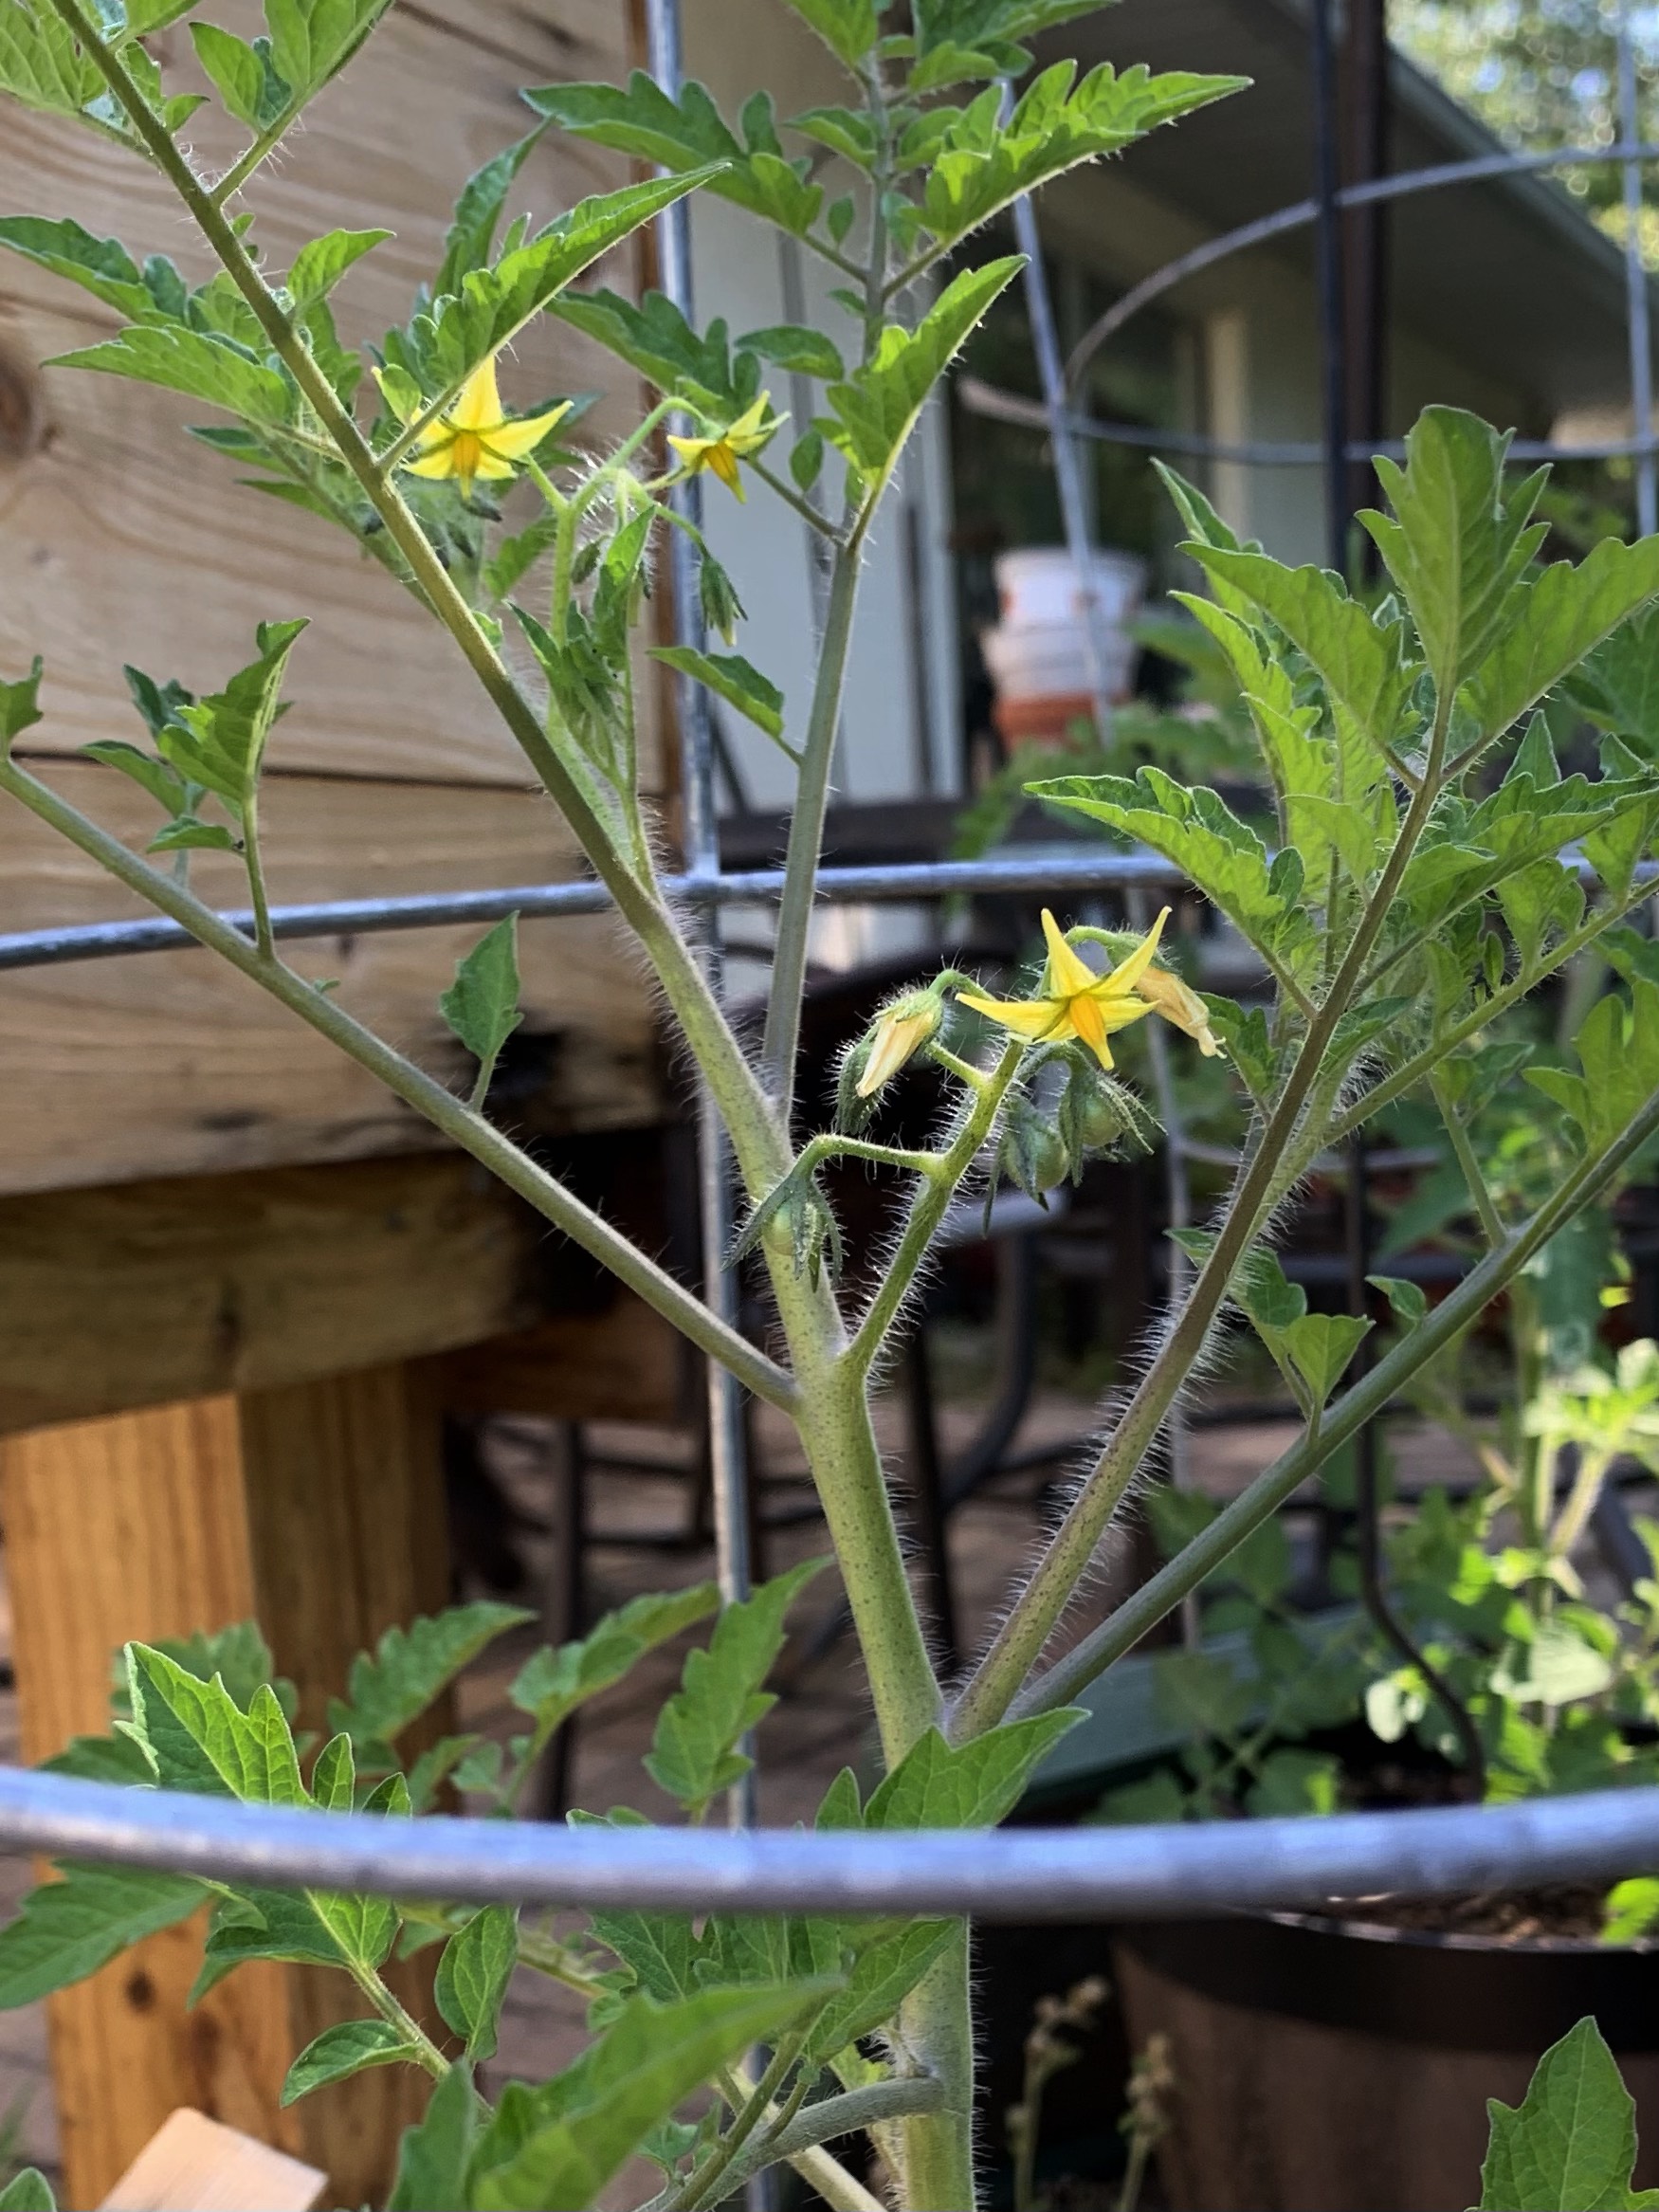
The cherry tomato plants that were transplanted into small, individual pots began to thrive. I think I would plant seeds directly into these pots next time.
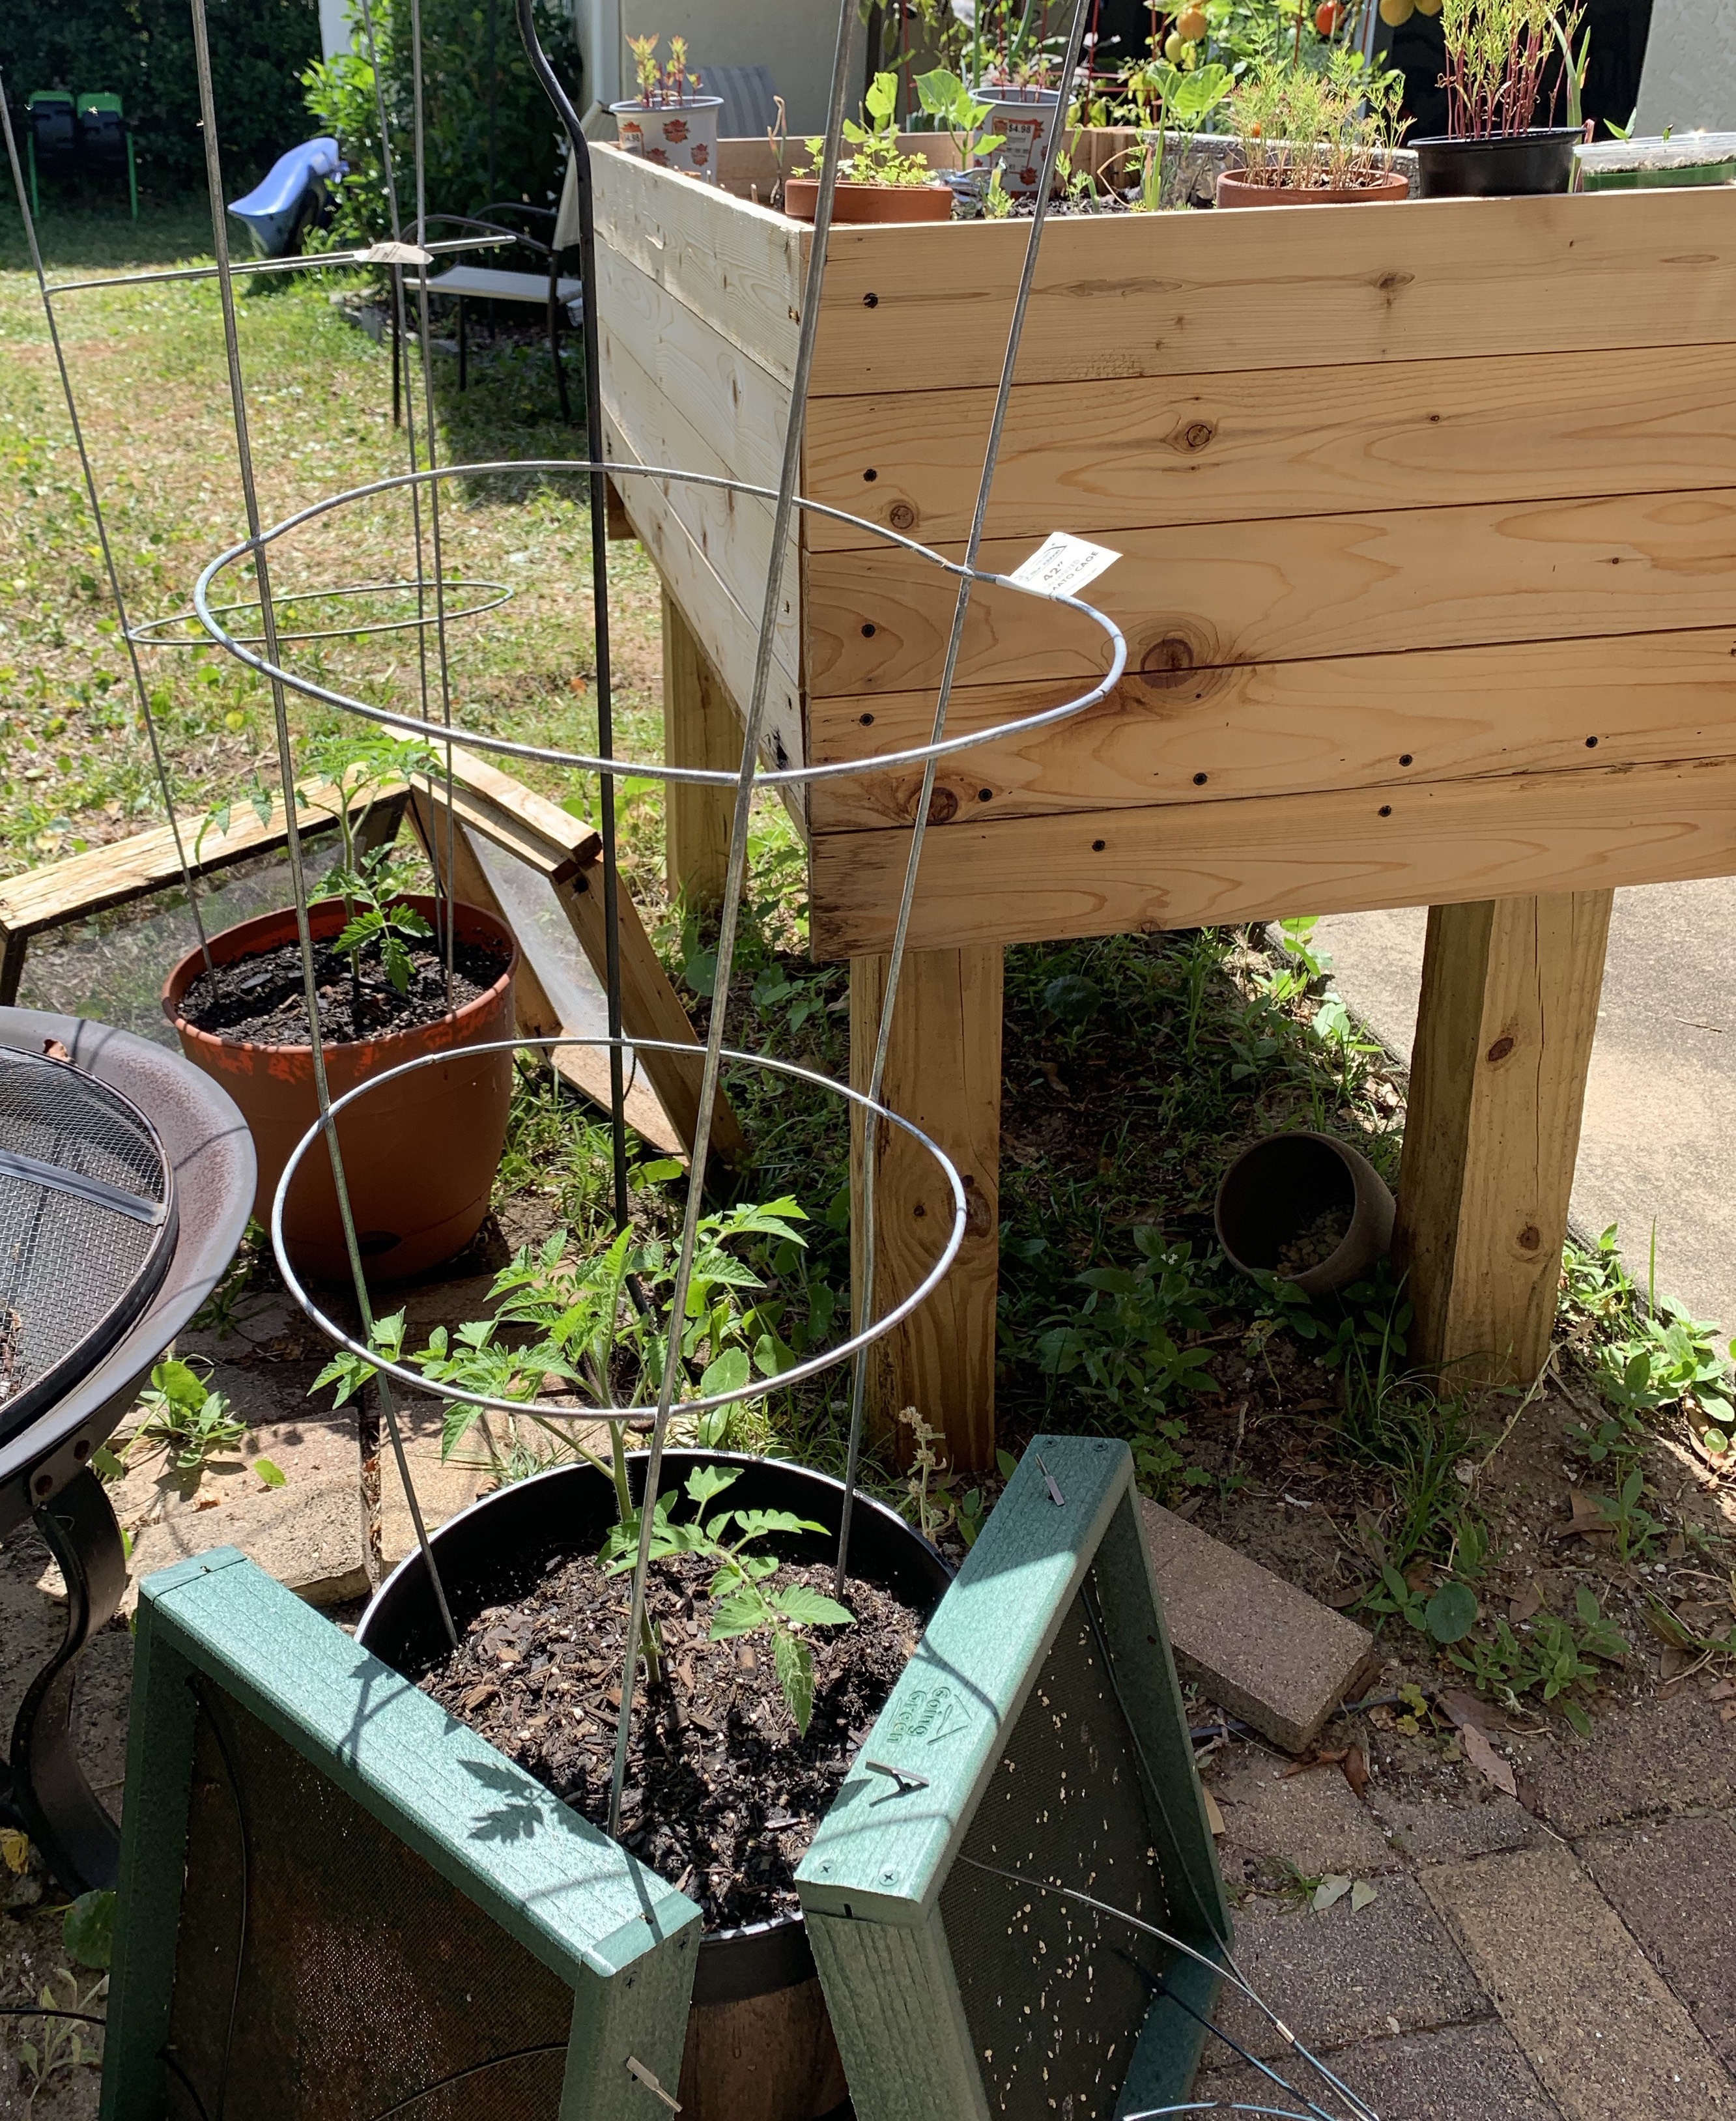
From the small pots they went into large patio pots where they will stay. Already they have flowers forming.
Transplanting into big pots in April
Bigger plants today
Tomato plant todayFlowering tomato plant
My suggestion
Planting the seeds in small pots (eggshells in my case) got the plants off to an early start in March, however… I would skip that next time and put the seeds straight into small 4-6” pots instead. Caring for the little eggshells was time consuming as they needed watering often.
But, it has made all the difference in the way I transplanted them. The plants in the garden box are not growing fast at all. The plants I transplanted twice – into good garden potting soil – are nearly ready to give me tomatoes.!
Jalepeño Pepper Plants
The pepper plants are doing nicely. It seems to be one thing that grows well in Florida, mainly because peppers like it hot. In New Hampshire it took way too long for the plants to grow to a size to begin producing – and by then the frosts came.
These jalepeño peppers are in small clay pots for now.
The Dirt Makes All The Difference
We set up new garden boxes in the yard this year. We mistakenly bought many bags of dirt at the local Home Depot that was not good soil. It was supposed to be added to already established beds. We dumped it into the grow boxes and raised beds. Nothing that has been planted in that soil has done well.
First plantings in April
All we can do is amend the soil with better dirt, so that is what I am doing. But it is too late for the seeds and seedlings struggling in those boxes.
The Black Gold brand is what I had good luck with – this is an Amazon affiliate link. But the Black Gold is expensive if you need to fill a large box or raised bed. I plan to make my own compost and amend the soil with that. Dirt can be improved, but it might take time. Here in Florida we can plant again in Fall.
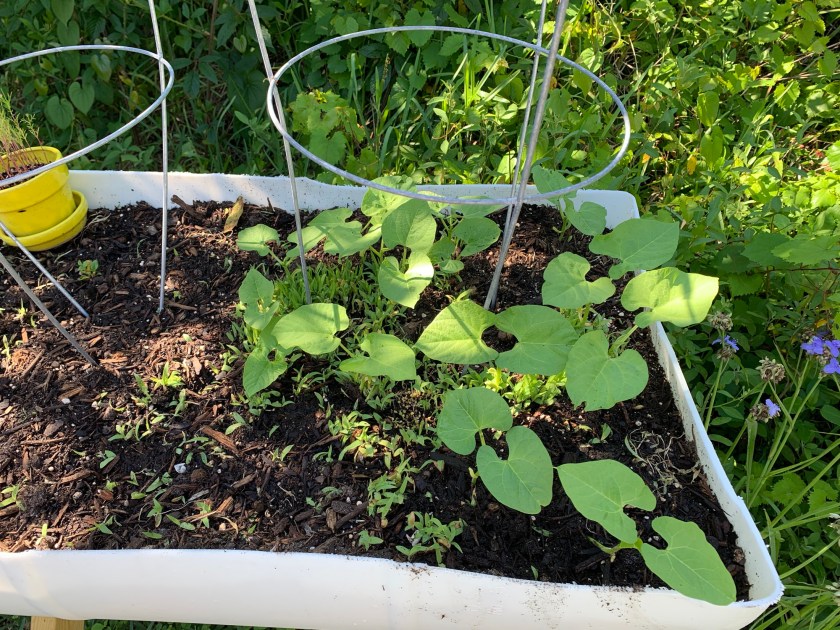
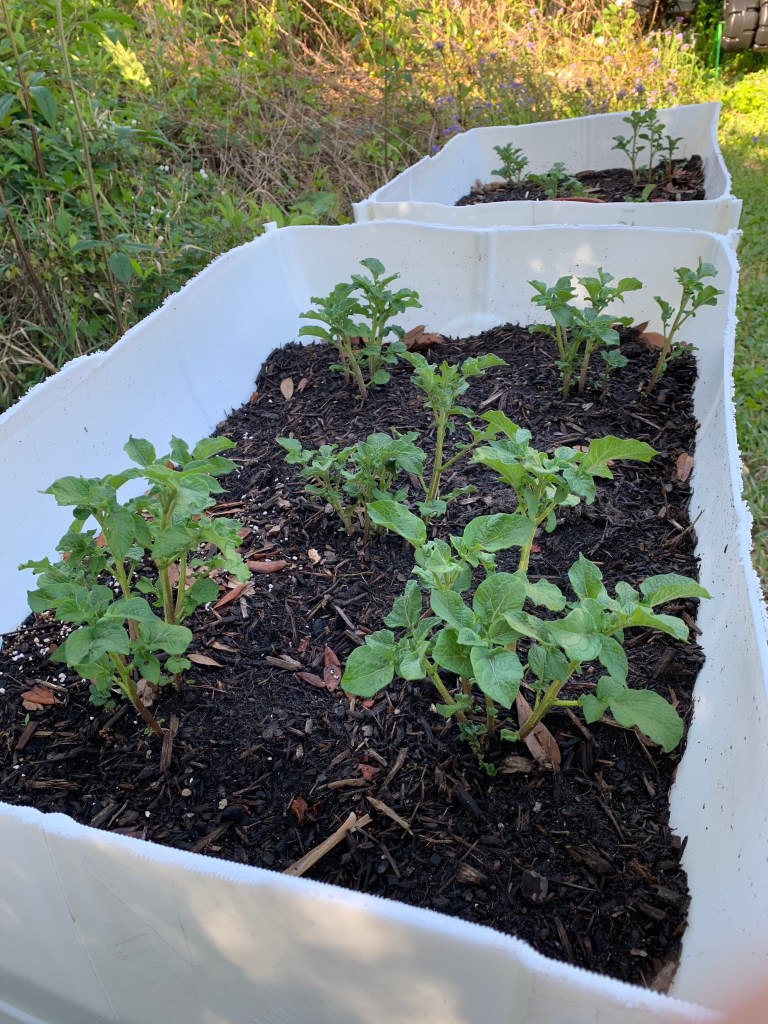
Potatoes and Green Beans
The white raised beds had been planted with potatoes. They were doing well until the cutworms arrived.
Most every potato stalk has died, so I am filling those two beds with bean seeds. Beans and potatoes are companion plants.
These are bush beans and do not need staking, but I put the cages in to keep animals from digging around in the dirt. Something climbs up into the beds at night and digs. I’ve already lost a couple bean seedlings.
Beans do okay with heat, so I am hoping they will grow throughout the summer.
Eggplant
I’m having better luck with the Japanese eggplant than I did with the regular eggplant. The old one grew into a small tree and only gave me a few eggplants to eat.
At the end of last year I planted this Japanese eggplant plant. I bought it as a small plant.
It has consistently given me little eggplants to enjoy. It quit producing over winter, but now it is going strong. The eggplants are small but are the perfect size for me.
Japanese eggplant
No Luck With These
Carrots – they are simply not growing
Cucumber – small vines, curling cukes
Beets – leaves totally eaten by something
Older Garden Boxes
The eggplant is growing in one box, with peppers in the center box and a scraggly tomato plant in the third. I’m waiting for all the tomatoes to turn red and then the plant will be ripped out. It doesn’t have many leaves and is not doing well. All these plants had to be covered at night all winter, and they did not like those colder temps.
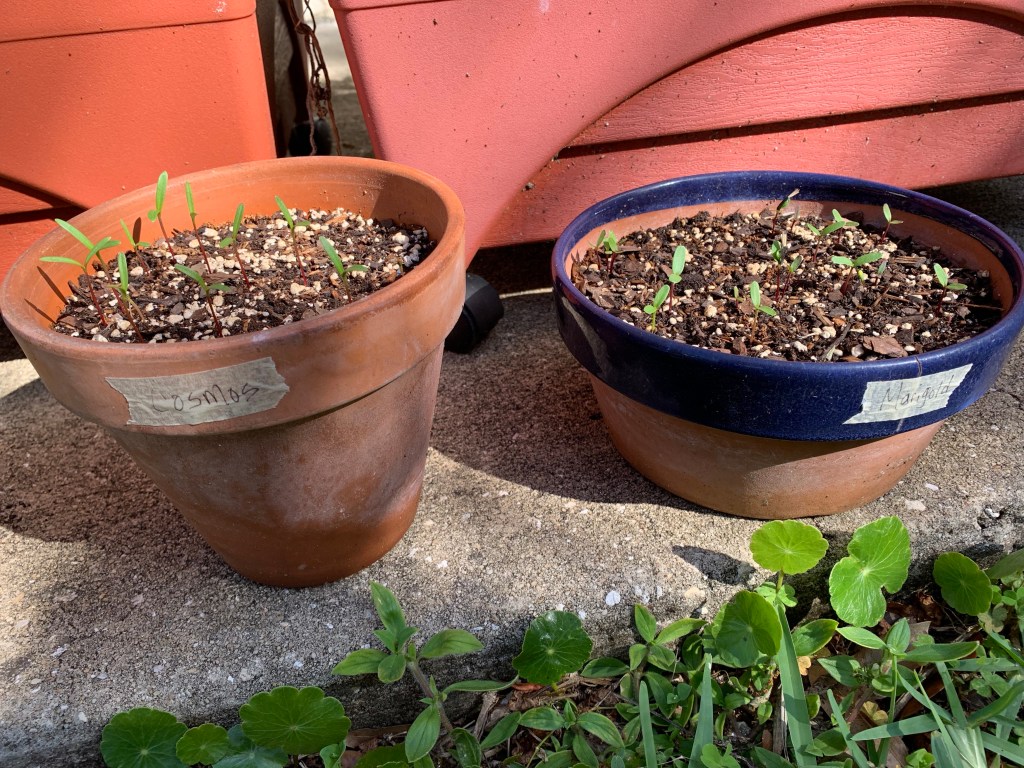
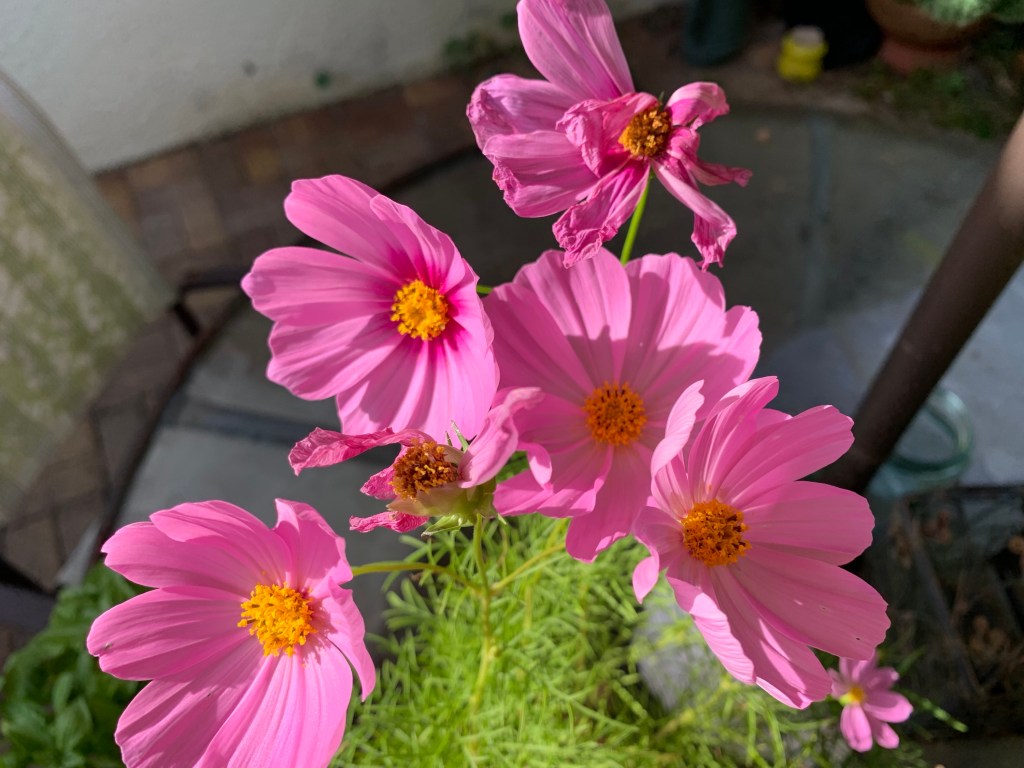
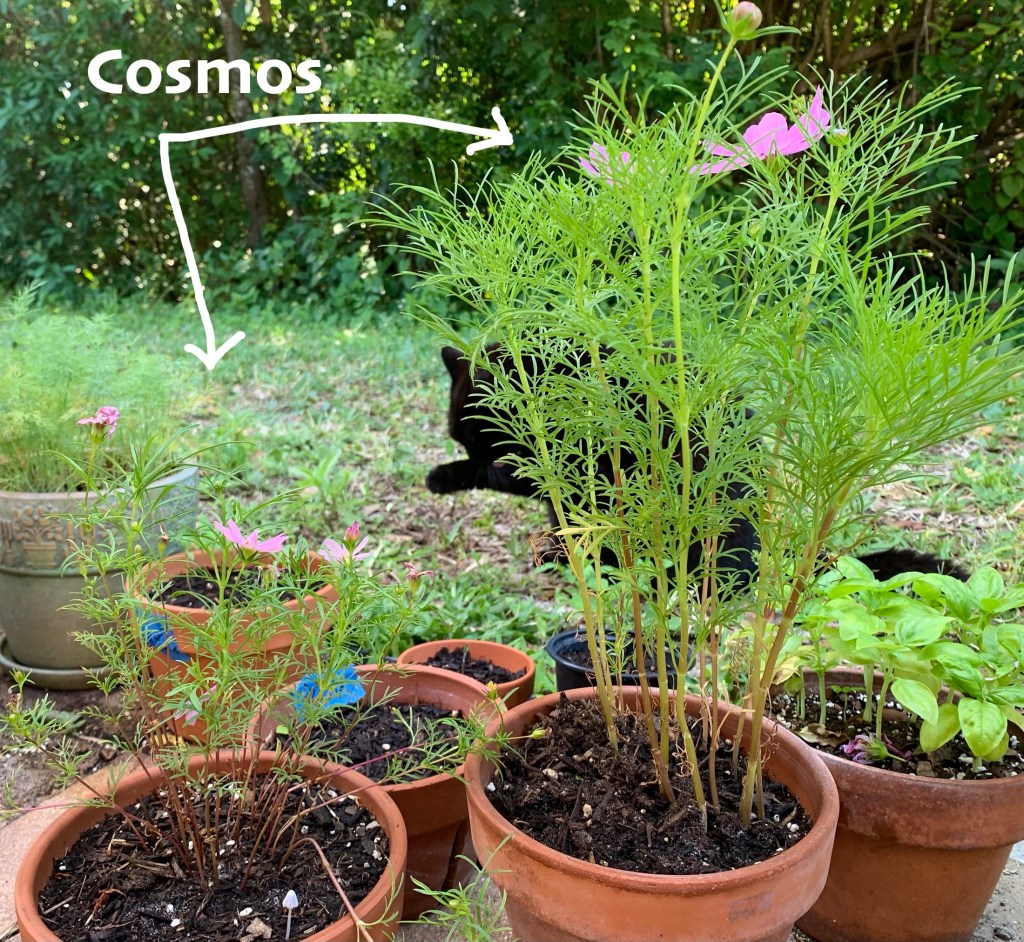
Growing Cosmos From Seeds
Plant the cosmos seeds in good dirt in a larger size pot. I began a few cosmos plants in eggshells, but they didn’t do well at all.
Directly sow seeds into big pots and they will create a pretty display.
In my photo here I have two pots and one is doing a lot better. It’s the dirt. The smaller plant was recently transplanted into good dirt and now I’m hopeful it will flourish.
The raccoons got into the other pot and dug up part of the seedlings. The ones left are blooming and look good.
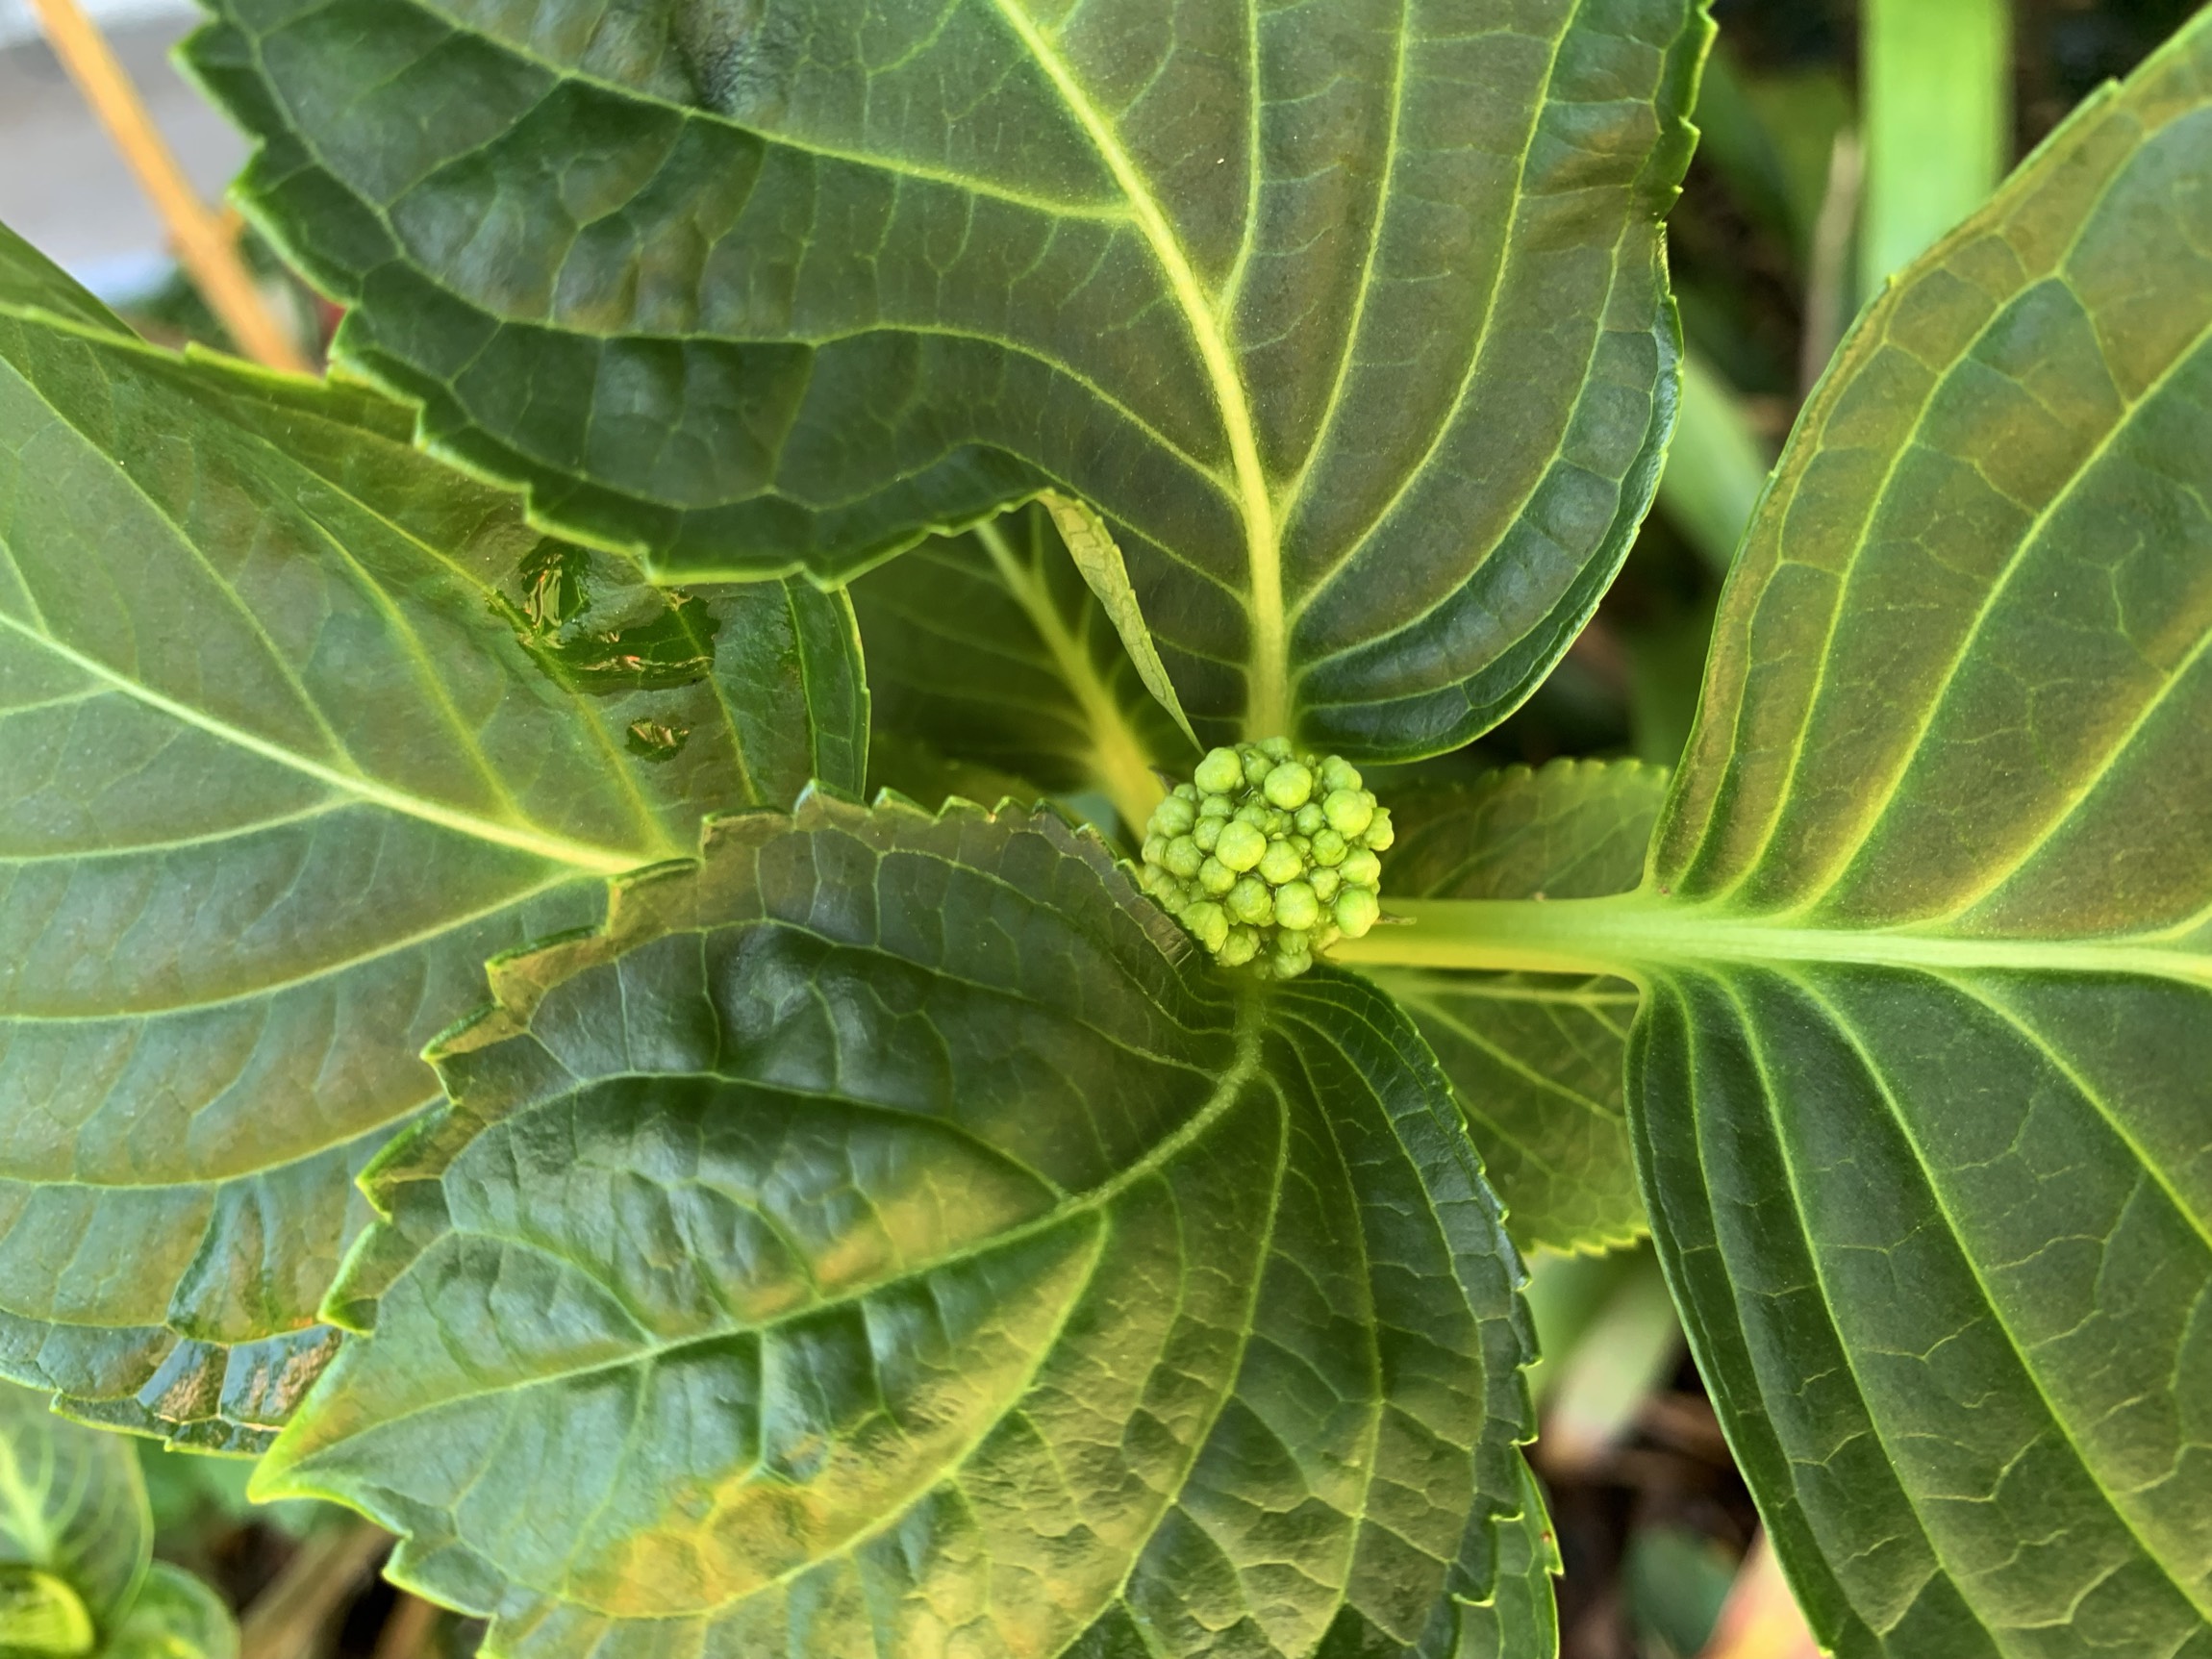
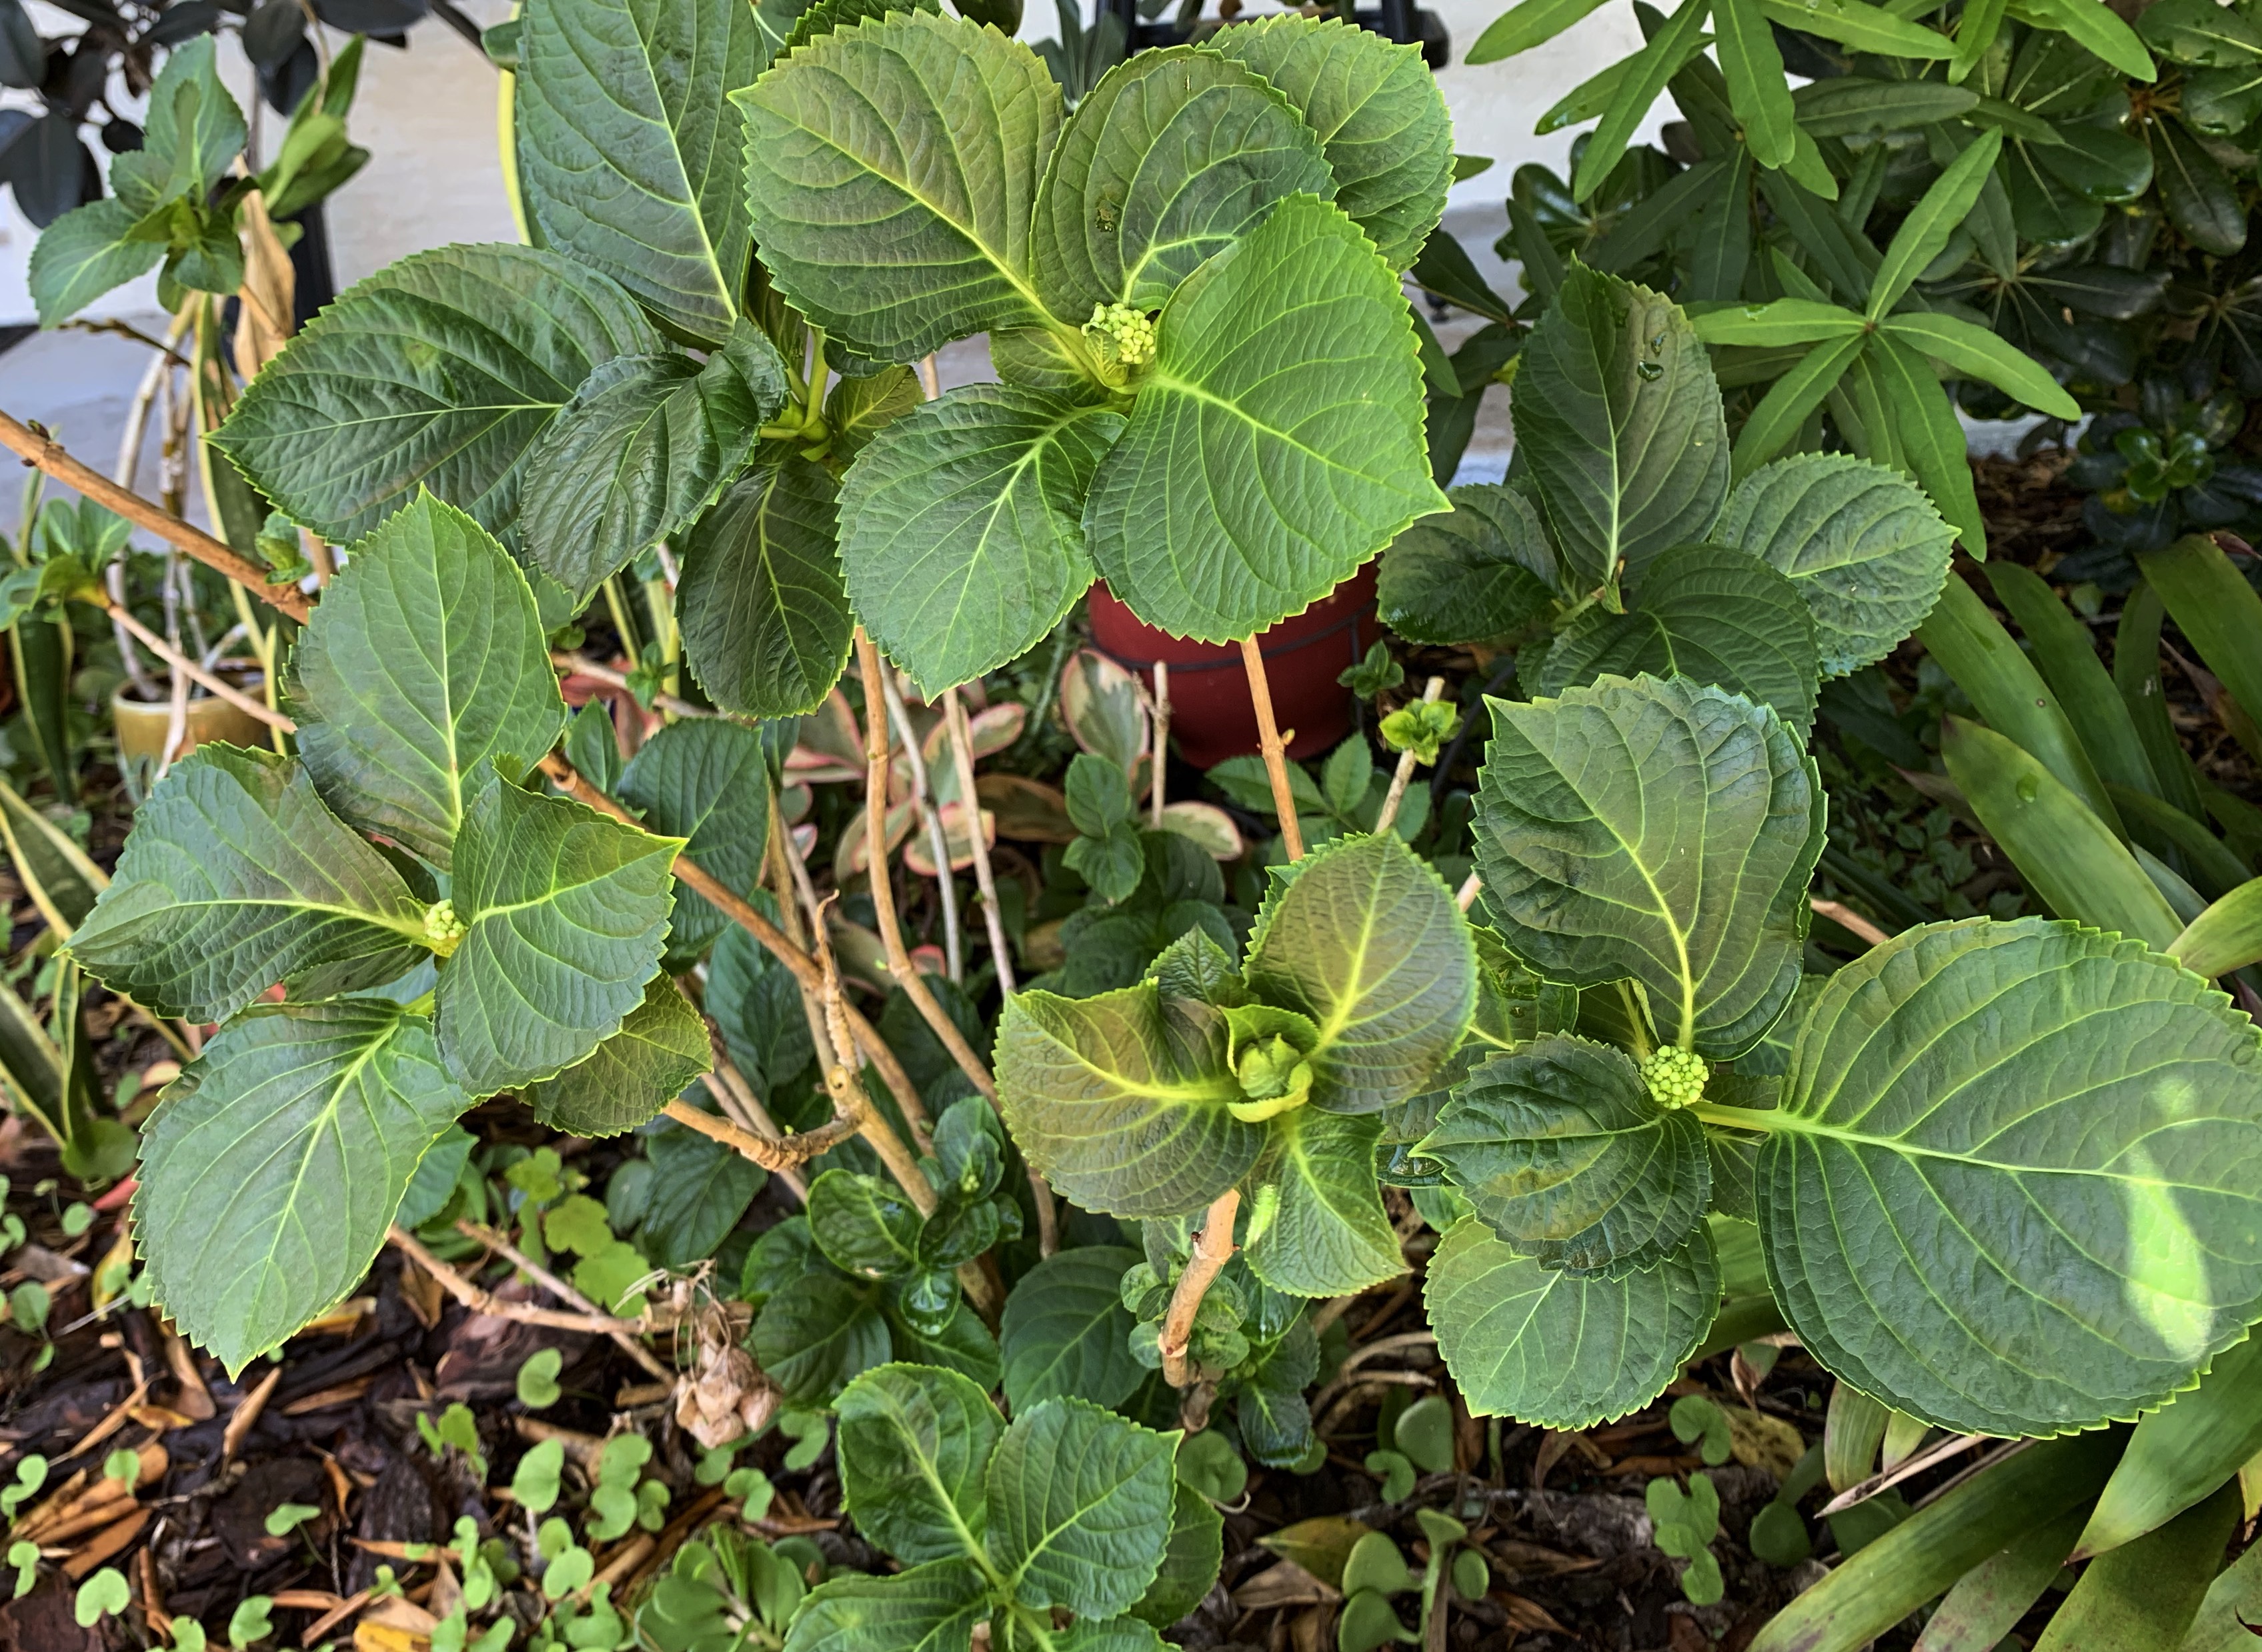
The Hydrangea Plant in May
New leaves have grown on my one hydrangea plant and today I noticed there are about five tiny buds. The plant looks nice and healthy.
I am growing cherry tomato plants from seeds. The seedlings began growing in March and were started in eggshells. (See my post on eggshell gardening.)
This post contains affiliate links to products I’ve bought and recommend. I could earn a small amount if a purchase is made through my link – with no extra cost to the buyer.
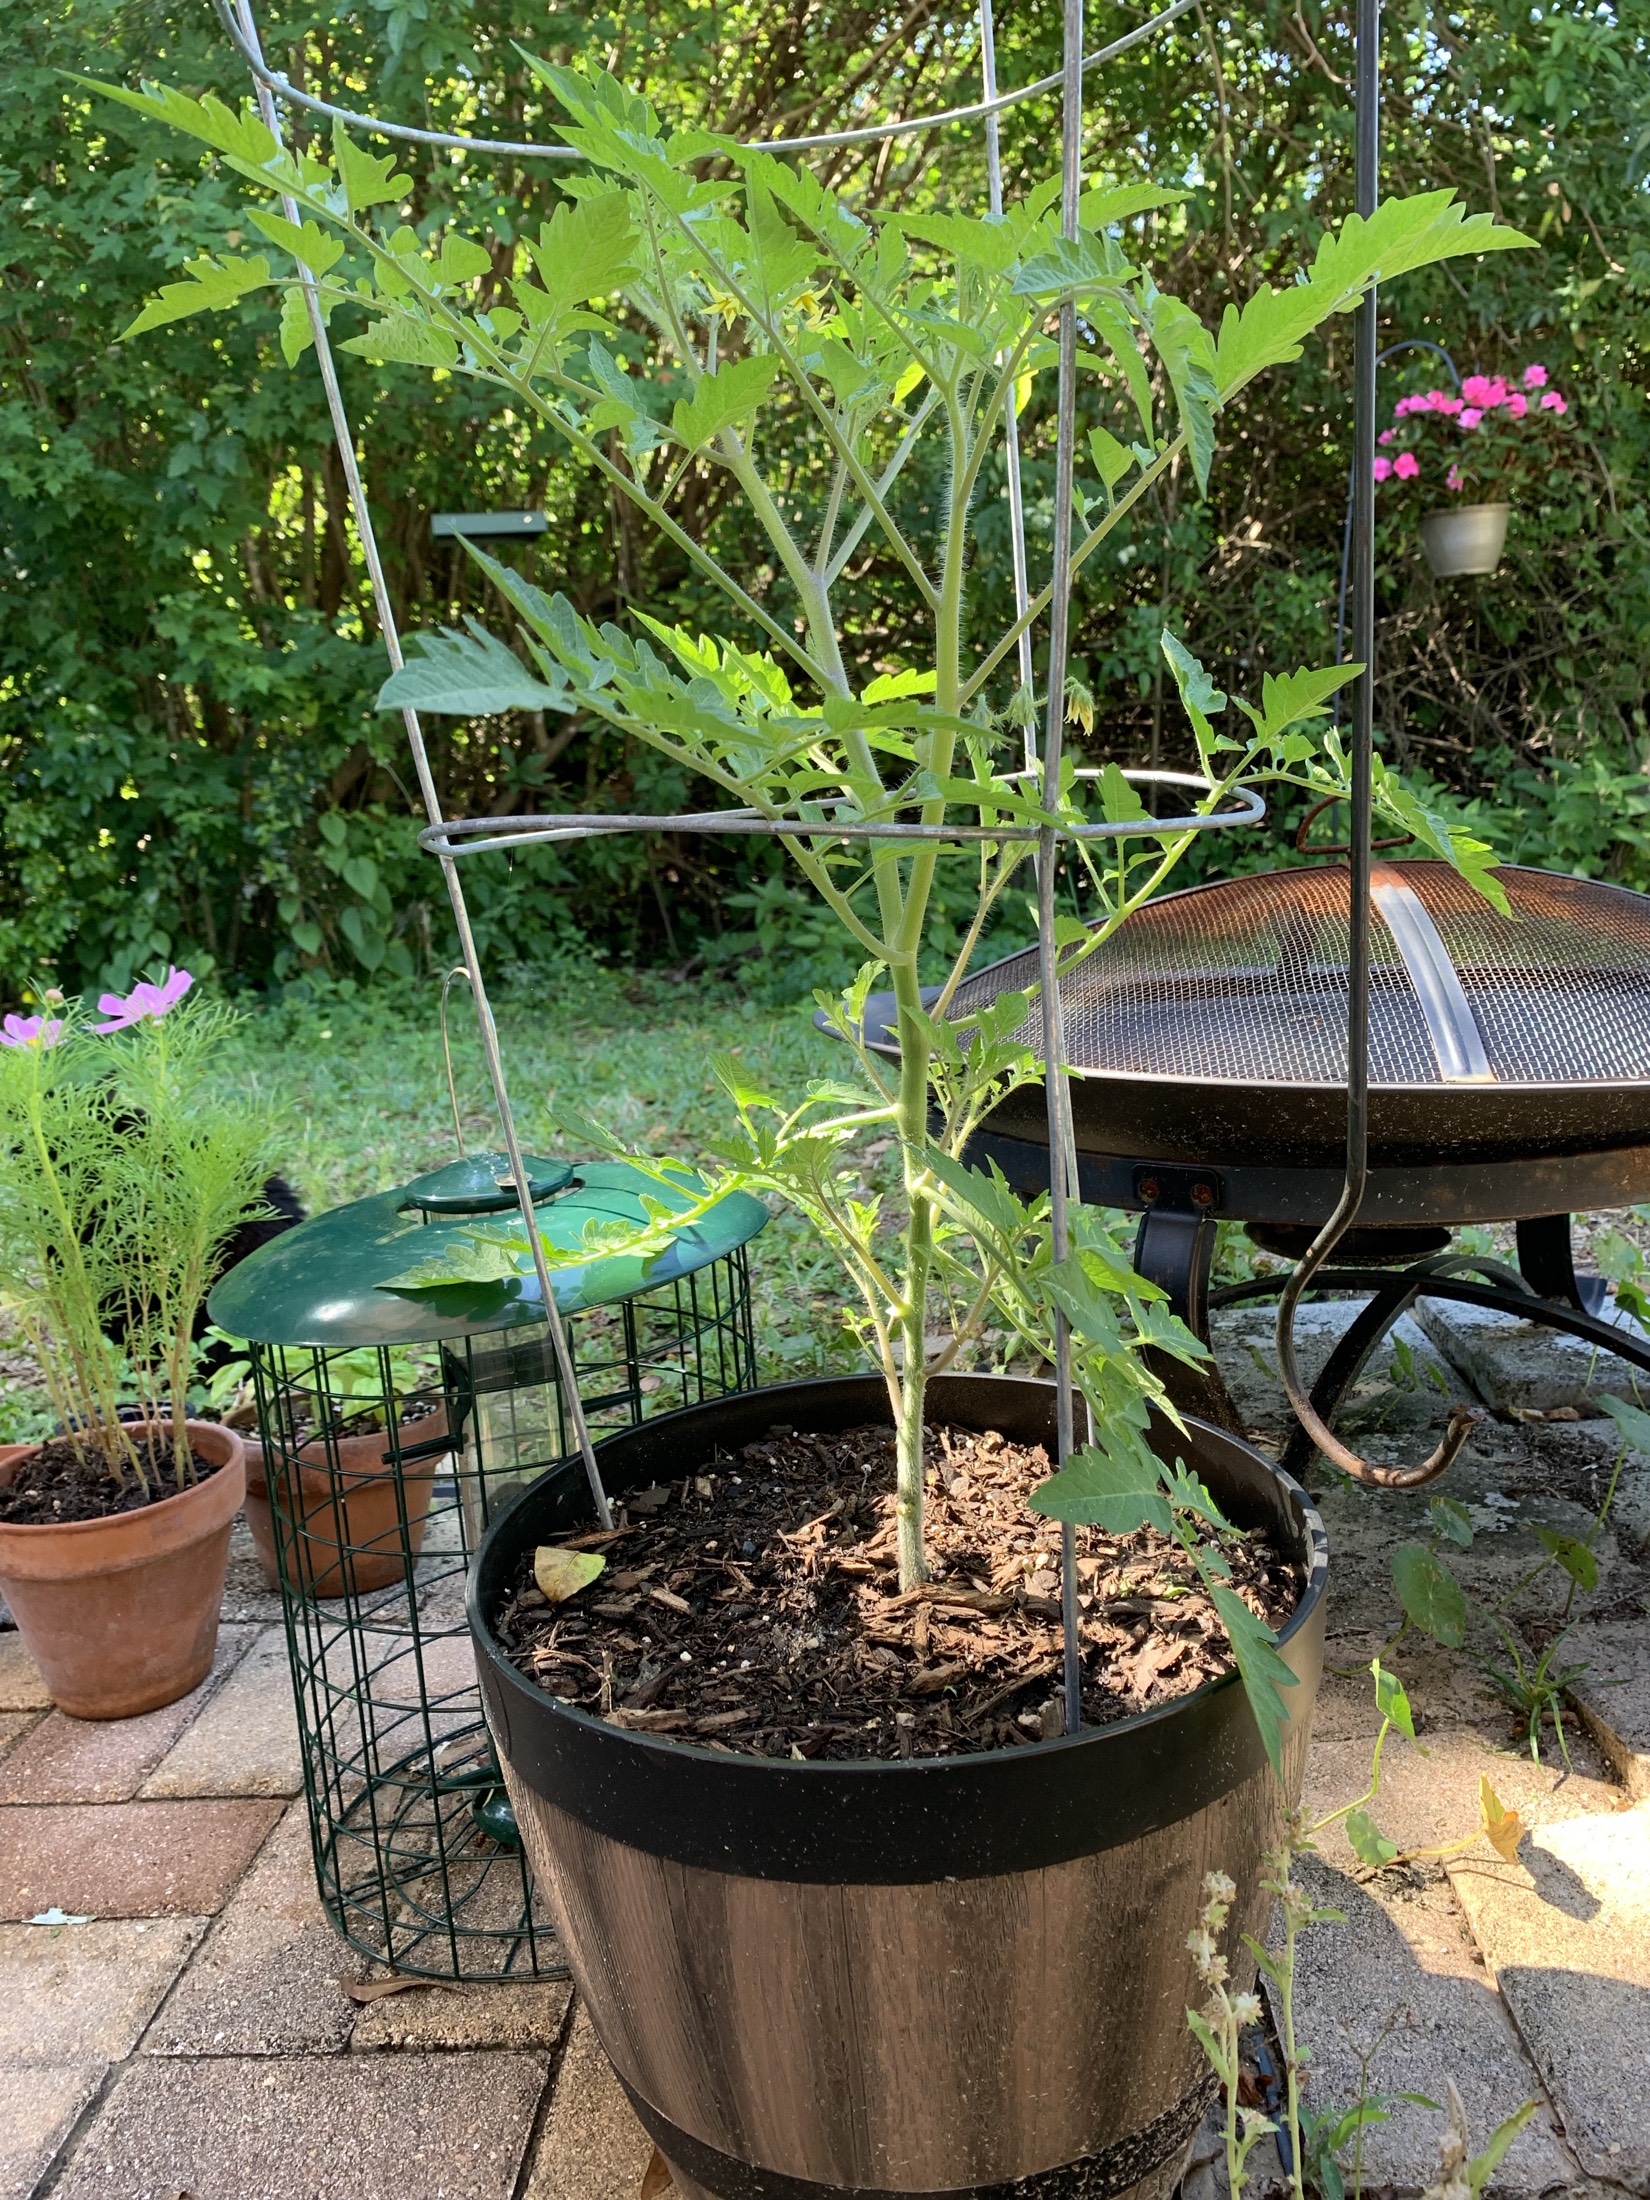
From there, they went into either the container garden or single, larger pots. I’m all for trying different things to see which growing idea works out best. So far, the tomatoes in the big containers are not doing as well as the ones in their own pots.
The tomatoes growing in their own small pots are doing very well. Each day I take them off the patio table and set them in the sun, along with my basil, dill, cosmos and marigolds.
At night I put them back up on the table so the raccoons won’t mess with them.
Two small tomato plants are growing in the box below. One died, and the other is still fairly small. The tomatoes above in their own pots are doing much better.
Cherry tomato plants in grow bed
Transplanting in Florida
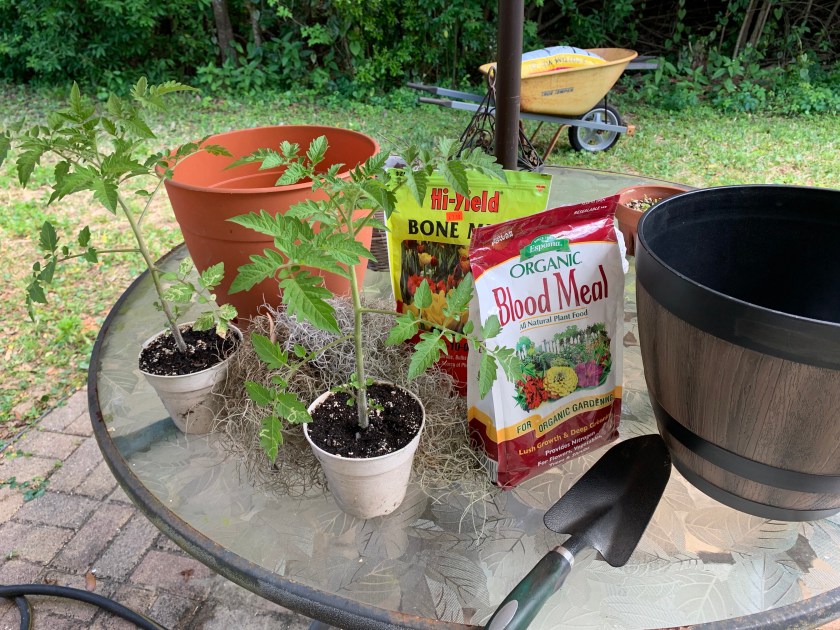
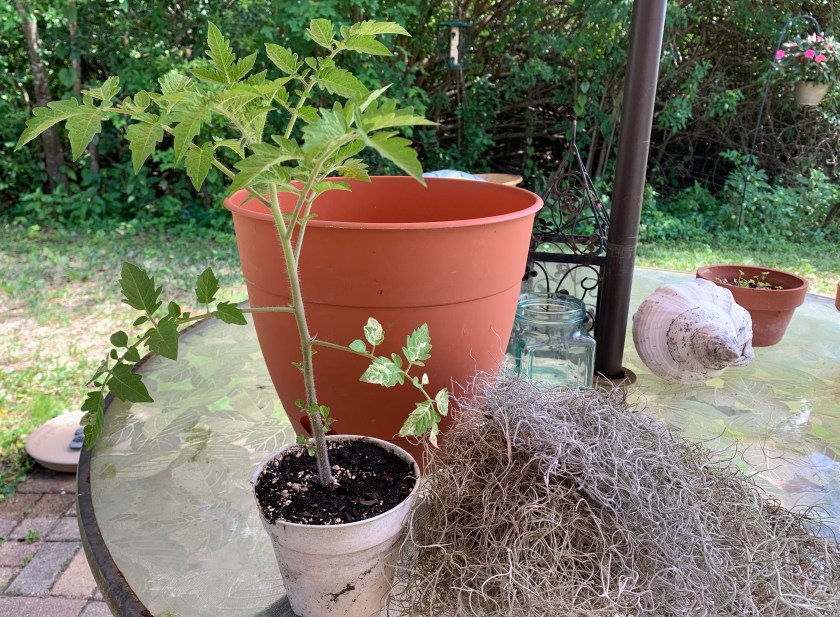
Now it is the end of April. These tomato plants have outgrown their little pots so it’s time to re-pot. Since I don’t have a lot of space, I decided to use a tall pot. I prefer to grow plants in the ground, but here in Florida it’s difficult.
I bought one more tall pot, because I have two plants, and spent some time today moving the plants into their new, bigger containers.
I gathered up some Spanish moss for the bottom of the container – a perk from living in Florida. It will serve as drainage. Then I mixed in some Blood Meal and Bone Meal (both links are Amazon affiliate links) with the purchased organic dirt as I filled the pot.
The bottom leaves of the tomato plants were removed, as they should not touch the dirt, and I planted the transplants as deep as I could. Some people plant tomato plants lying down with only the top leaves showing. This creates lots of extra roots for sturdy and hardy plants.
Now my only problem could be with the raccoons that come each night and are nosy and destructive. They like to dig in the dirt with their little paws and mess with my plants.
To hopefully deter them, I places some tray bird feeders around the pots.
Both tomato plants in their new pots
The old tomato plant
The tomatoes below are growing in a grow box and the plant has been growing all winter. These were planted in November, and I don’t suggest that. Here in Florida tomatoes should be planted in February or March.
Lots of the leaves became yellow and I trimmed them off. I’m just trying to get the tomatoes to turn red and be edible. I did use some organic spray on the leaves, which did seem to help.
I can’t remember what type of tomato these are, but they grew from a plant I purchased, and not from seeds – probably purchased at Home Depot. I really miss Tenney Farms in New Hampshire.
Tips for growing tomatoes from seed
Start tomatoes from seeds in small containers, such as eggshells.
Use a quality soil, such as Black Gold (Amazon affiliate link) (I bought this type of potting soil locally and paid half the price – so shop around – early in the season!)
Once they have a few leaves and lots of roots, transplant to a larger pot.
When they fill that pot, transplant to either the garden, or a permanent large container.
Be sure they get lots of sun and consistent water all throughout their life. A drought and then lots of water will cause tomatoes to split.
If you are in Florida and your tomato plants are growing over winter, they may have yellow leaves and scarred fruit. It can’t be helped because of the weather! Do the best you can and wait for the warm days to appear. This means covering them at night to protect from the cold.
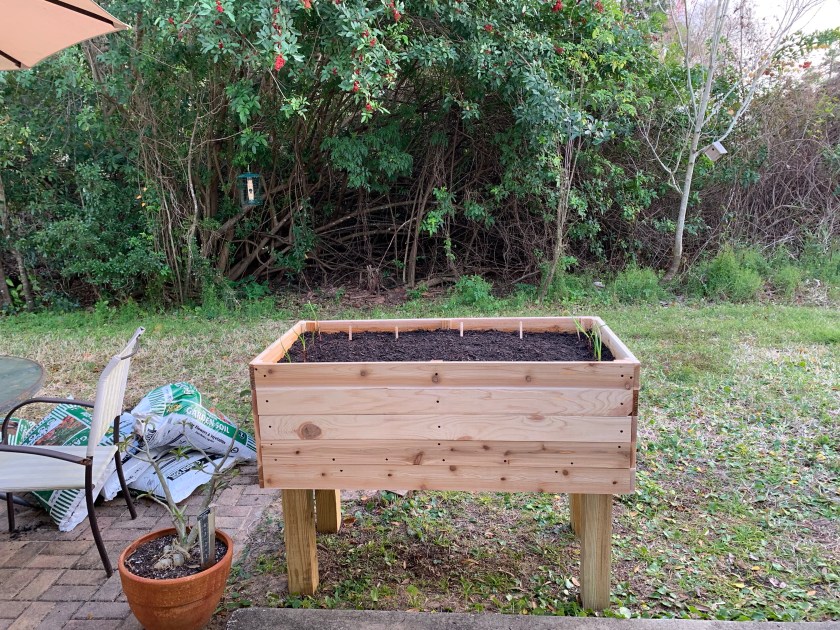
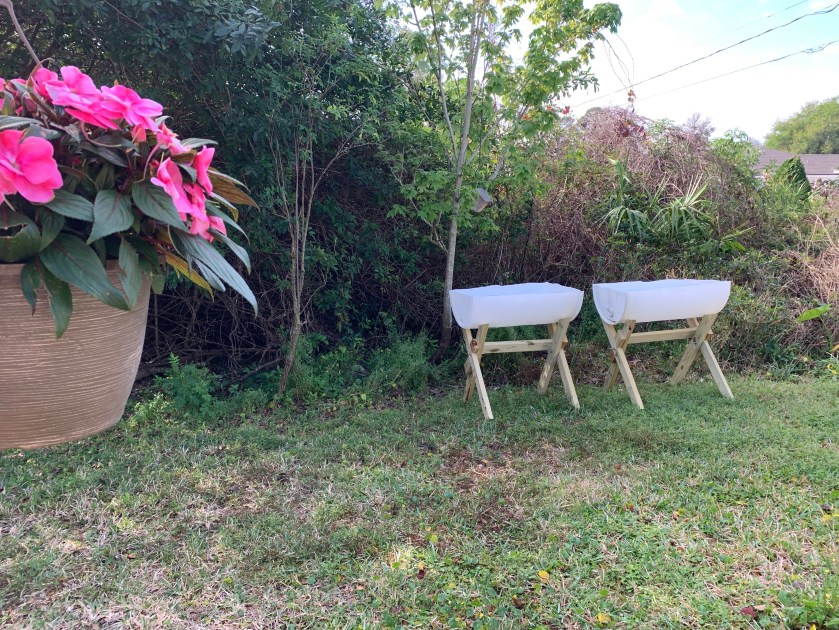
My son had collected a couple of big white barrels to use for rainwater catching from the roof. He cut one in half crosswise and built stands for both halves to create raised garden beds for growing potatoes.
I’ve grown potatoes a few times, and fresh dug potatoes are delicious. Now, I have no yard space to grow them, so they will go into the containers.
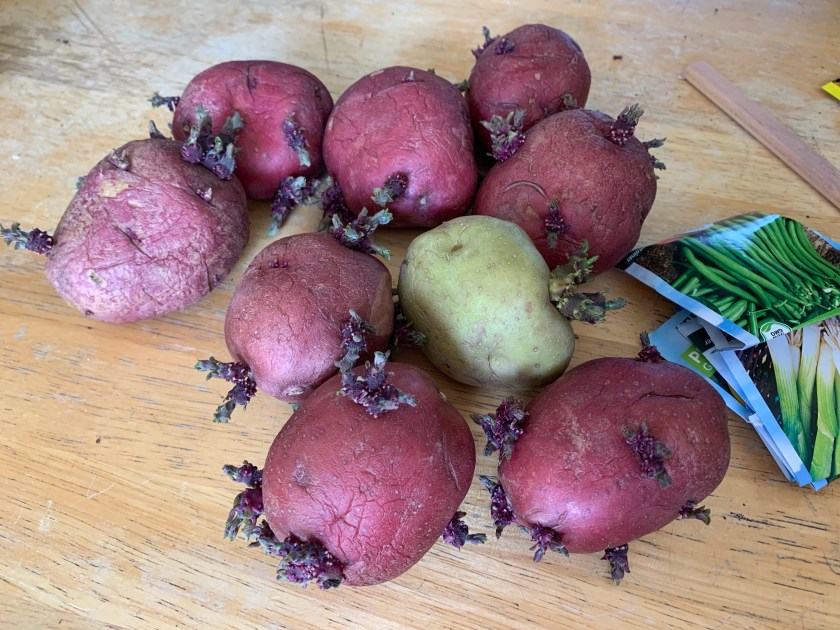
The potatoes I used were simply old red (and one white) potatoes from the kitchen that had developed growth from their eyes.
I know that most information about planting potatoes says to buy special seed potatoes, but I never have. The reason for buying seed potatoes is to prevent disease, which is a good reason. I already had the sprouted potatoes so I used them. Also, orders are for pounds of potatoes – which I don’t have room for.
The potatoes from the grocery store usually sprout on their own if left long enough, but I’d love to begin with the good, disease free ones, and keep planting from there. Don’t ever use the green parts of potatoes for anything – planting or eating!
March Potato Planting
I’m in Florida, and March is the time to get serious about planting a garden. This year I grew seeds in eggshells and purchased new grow boxes for the vegetables.
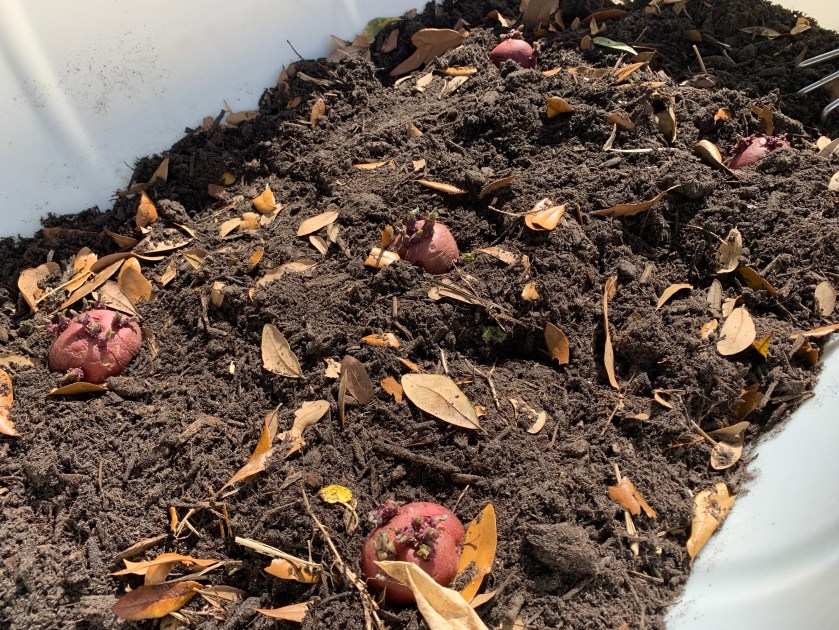
Beginning of March: After adding bags of organic garden dirt to the barrel beds, I mixed in some leaves to loosen the soil, bone meal (good for developing good roots) and blood meal. I add the “meals” this because I use these amendments in all my gardens each spring. Otherwise, no fertilizer needs to be added to potatoes while they are growing.
Compost would be nice to add, but presently I am in the middle of making my own compost using the Hot Frog Composter. It might be ready for Fall planting.
Potatoes should be cut with only a couple of eyes in each piece. Plant each cut piece with eyes facing upward and cover with a couple of inches of dirt.
I put five cut pieces into each bed. This is probably too many. Also, the barrel beds are really too shallow, but I have no other place to grow potatoes. I will see what happens.
We had a lot of rain for a few days after they were planted. My son had drilled holes in the bottom of the barrels for drainage. After a week or so the green leaves began to show. (Leaves are poisonous, so keep pets and kids away.)
Potato plant
Potatoes
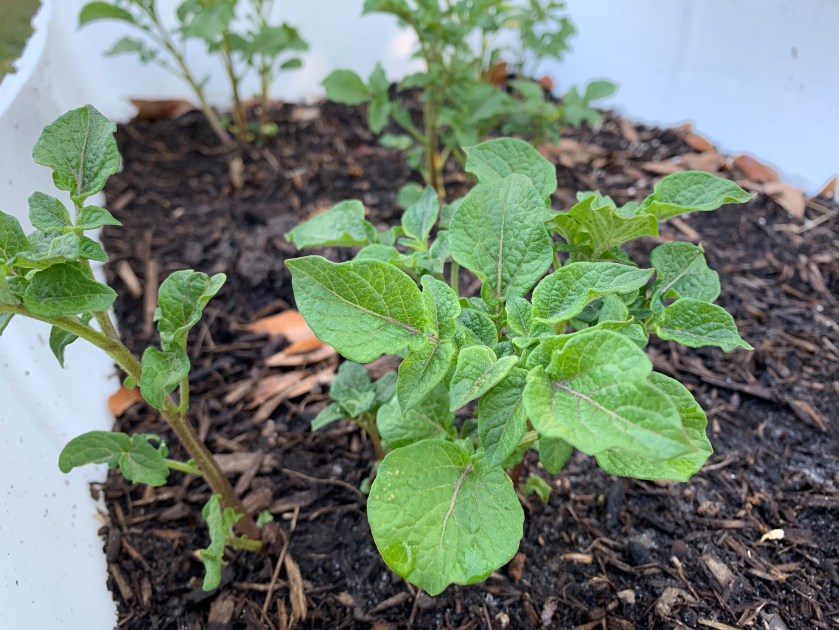
As the green stems grow and get tall enough, I am adding more dirt. The potatoes will grow off tubers under the soil. The more dirt for them to spread out, the better. Unfortunately I don’t have much land for growing potatoes in the ground.
Building up the soil around the greenery
Potatoes grow well with green beans planted nearby. This is what my gardening book advises. If your garden is in the ground, and you have space, maybe do this.
When Are Potatoes Ready to Dig?
Once the tops – those green parts – die back, the potatoes need to be dug up. How long does it take? In general, three months, give or take.
It is possible to gently dig around the plants before this to pull up small potatoes for eating. After the plants have been growing for a couple of months, it is possible to carefully dig around and find a couple of small potatoes to eat. In a small household, like where I live, this is a good idea so I won’t end up with all the potatoes being ready at once.
In the ground, I would use a pitchfork and carefully lift the soil around each top. They can really branch out, so dig around.
Because they are in the barrel, I’ll choose a time when the soil is dry (hopefully) and dig with a hand shovel and gloves.
When all the potatoes are pulled out of the dirt. Let them sit in the sun to dry a bit. DO NOT RINSE THEM… just brush the dirt off. Often gardeners will say to cure them, which toughens the skin for storing. If your harvest is large, see what to do here at “How to Harvest and Store Potatoes”.
Potato tops can go into the compost pile. Leaves of potato plants are poisonous if eaten, but can go into the compost to be broken down. Only do this if the plant shows no sign of disease. Read more about composting questionable poisonous plants.
I will follow up with more information about my potato garden as the season progresses.
It is now mid-March and my grow boxes have been readied for vegetable seedlings. Just as I was thinking that the cold was behind us here in central Florida, we had a night in the 40’s. That will be rare from here on out.
I wouldn’t be in a huge hurry, but I know that the heat is coming. Yes, vegetables need sun and heat, but not the kind of heat Florida throws at us. I’m not even planting peas until September because I am sure it will get too hot for them now.
So here it was, a cloudy, somewhat cool, morning and I decided to get the seedlings into the grow beds.
I was a little tired of setting the eggshells outside and having to check on them. Something was eating some of the plants too. The seedlings were mostly large enough for the ground. Rain was in the forecast, so it was a good day to plant.
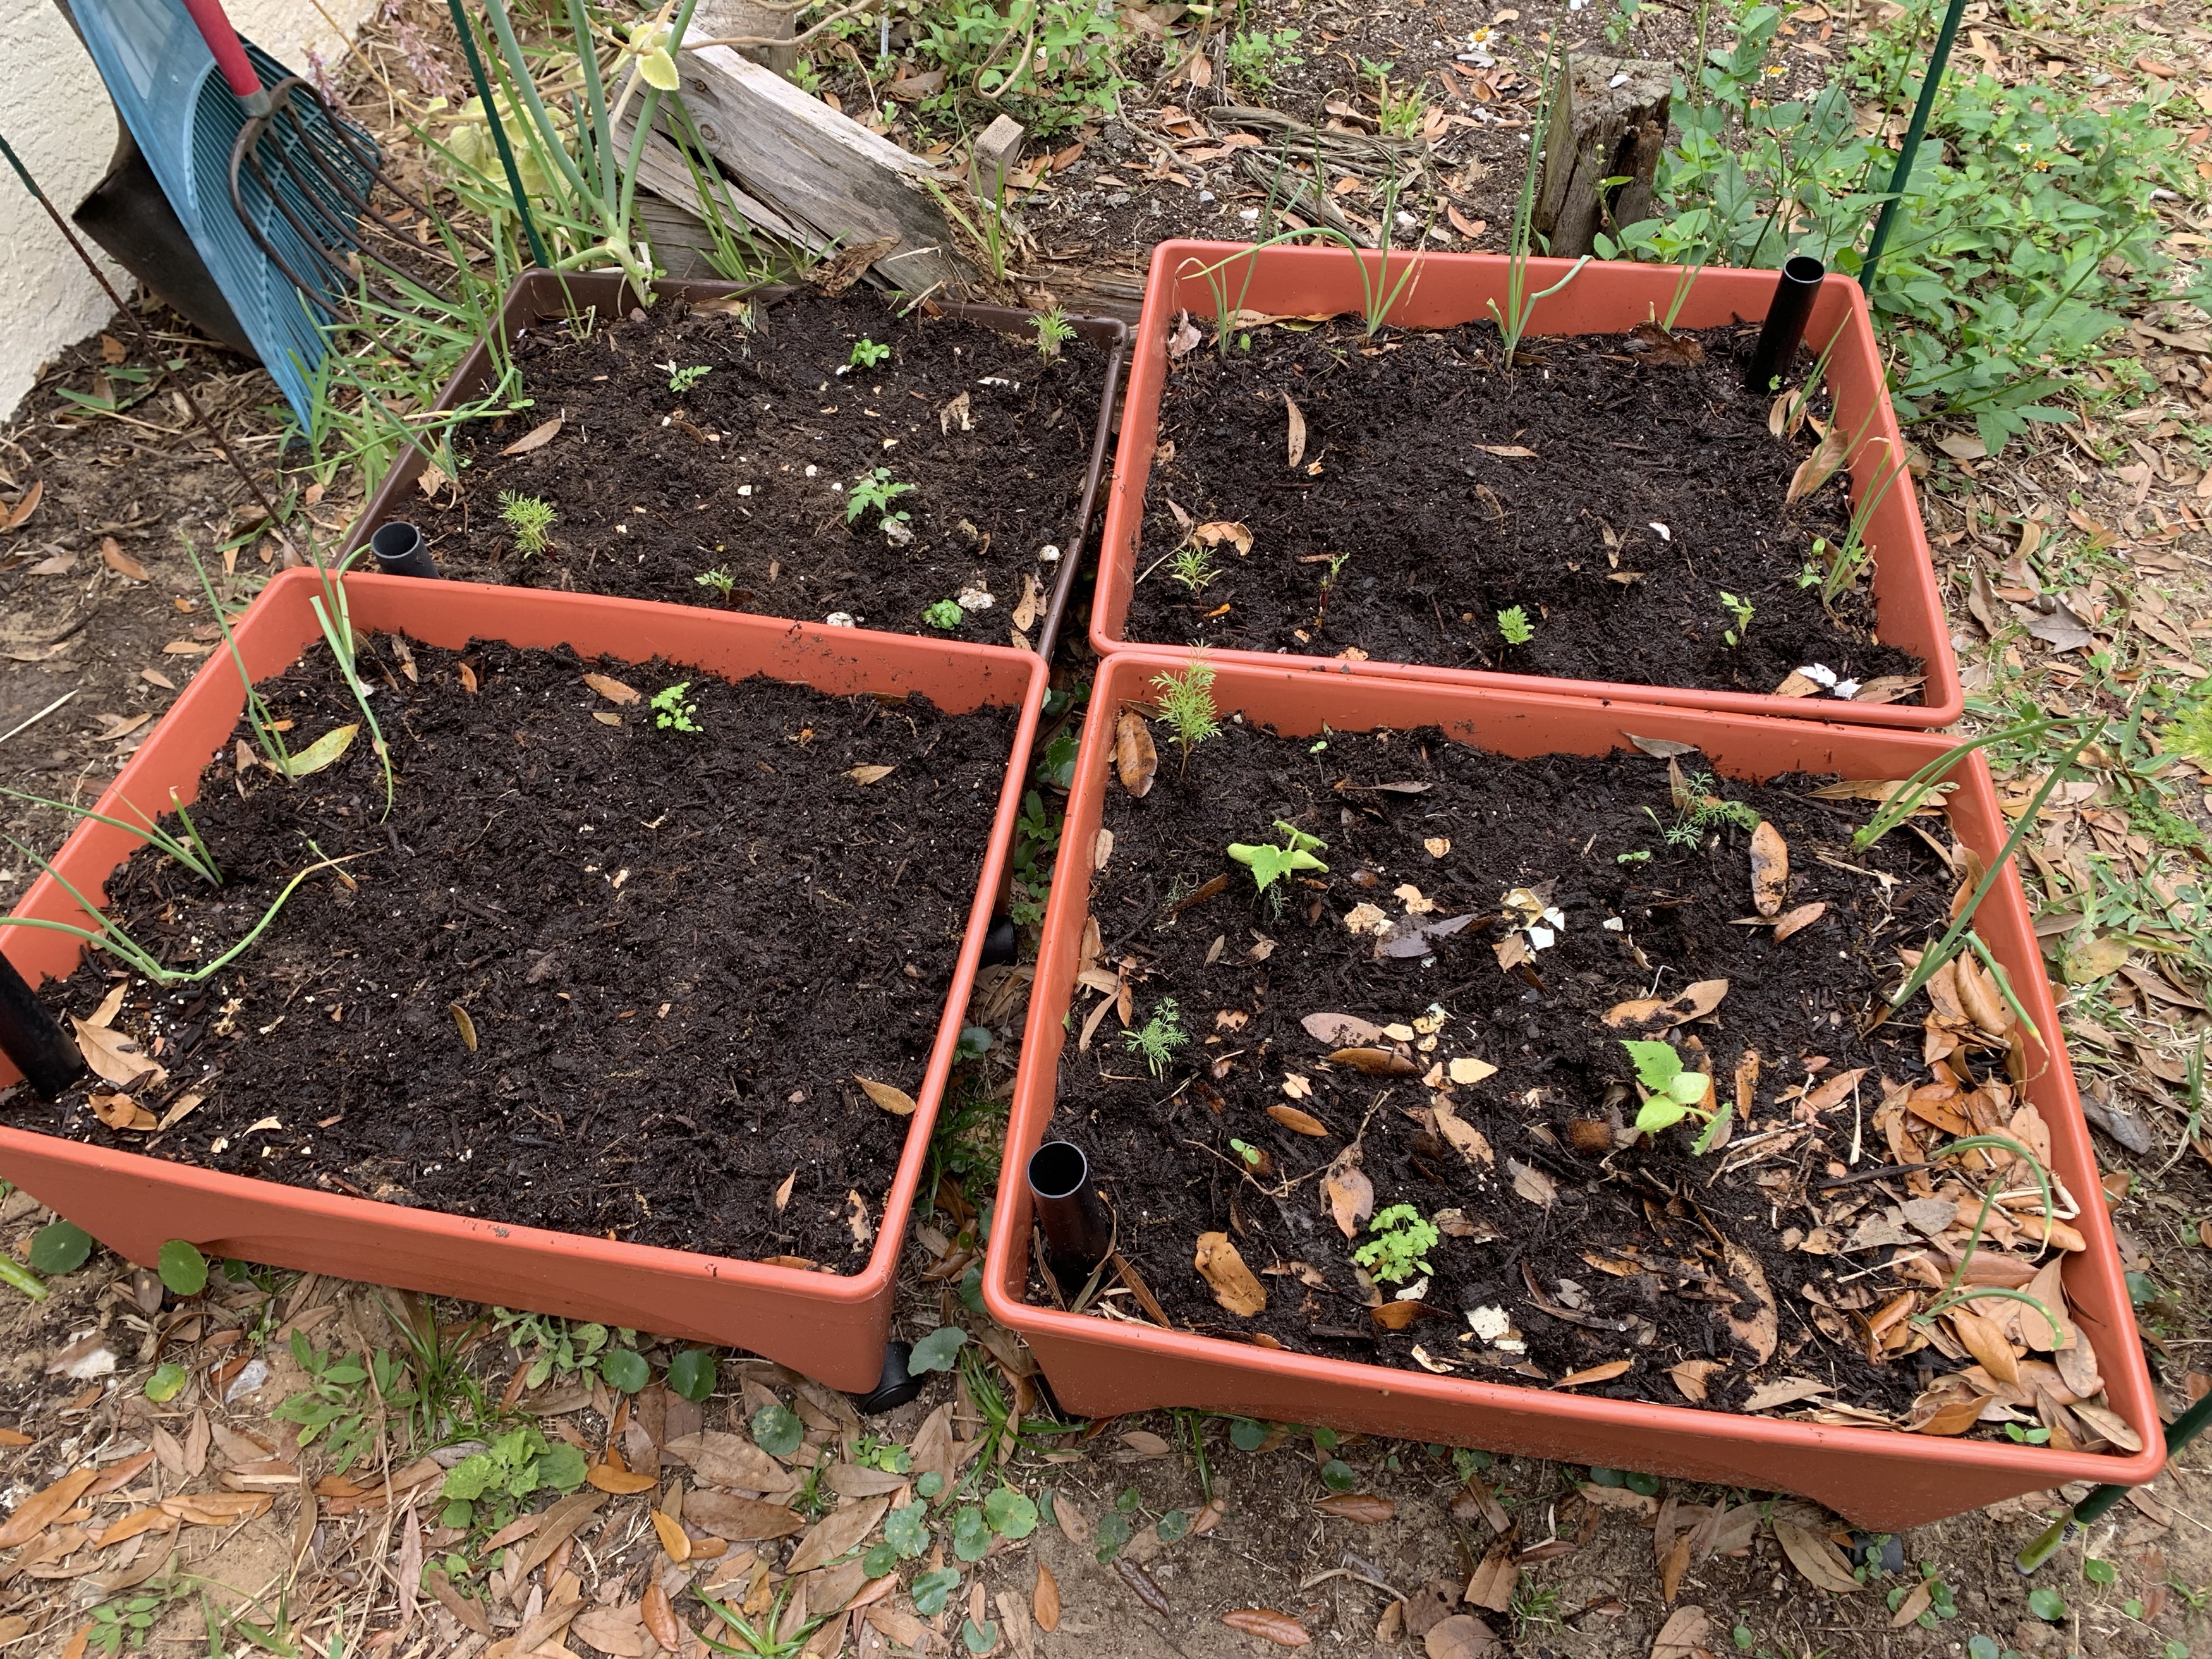
You can see my three new garden boxes in the background. I also have an old grow box to make four total in the group. My old raised bed is in the background. The wood has rotted and it is no long usable. We’ve switched to using smaller garden boxes.
The grow boxes I used were similar to the one below (which is an affiliate link to Amazon), but I bought mine at Home Depot. I bought them early before the growing season really began, just in case they were hard to find.
The box is called self-watering because you pour the water into a tube which sticks up in one corner. A mesh layer keeps the dirt up and away from the bottom and the idea is for the water to soak up through into the dirt. I also water from the top because anything with shallow roots will need that.
Really, I treat the box as a regular garden and don’t count on the self-watering part. Florida gardening is very different from other places.
Transplanting the Seedlings
I spent some time researching and studying where my little seedlings would go. Each box is quite small and will not hold a lot of plants. Things can’t be too crowded.
My tomato seedlings (2 only) went into the old box in the back. Planting tomatoes is easy because they can be planted deep. Some people plant them on their sides too. What this does is cause more roots to grow from the stem to create a (hopefully) better plant.
Cherry Tomatoes
I planted both cherry tomatoes deep in dirt up to the top leaves. I added cosmos plants, basil and a marigold.
Cherry tomato plants in grow bed
Zucchini
One garden bed has zucchini seeds. I put three seeds in a mound in the center. I will probably keep only the best one. I planted little marigolds and cosmos on one side. The red onion plants were put in a few weeks ago when the dirt was added.
Will be zucchini
Cucumbers
Two cucumber plants are the main items in this bed. Parsley, cosmos and dill are also in this garden. I don’t have much luck with dill and the plants don’t look all that great. More onions line one edge.
Carrots and Beets
This garden has four rows of seeds. Two rows of carrots – which I never have much luck with, and two rows of beets, which I’ve never grown. This is a bit of a trial and error box for me. One little parsley plant was also added and there are onions along one side.
Like the zucchini, I decided to use seeds here and not try to start root vegetables in eggshells. There is no reason to.
Transplanting from Eggshells
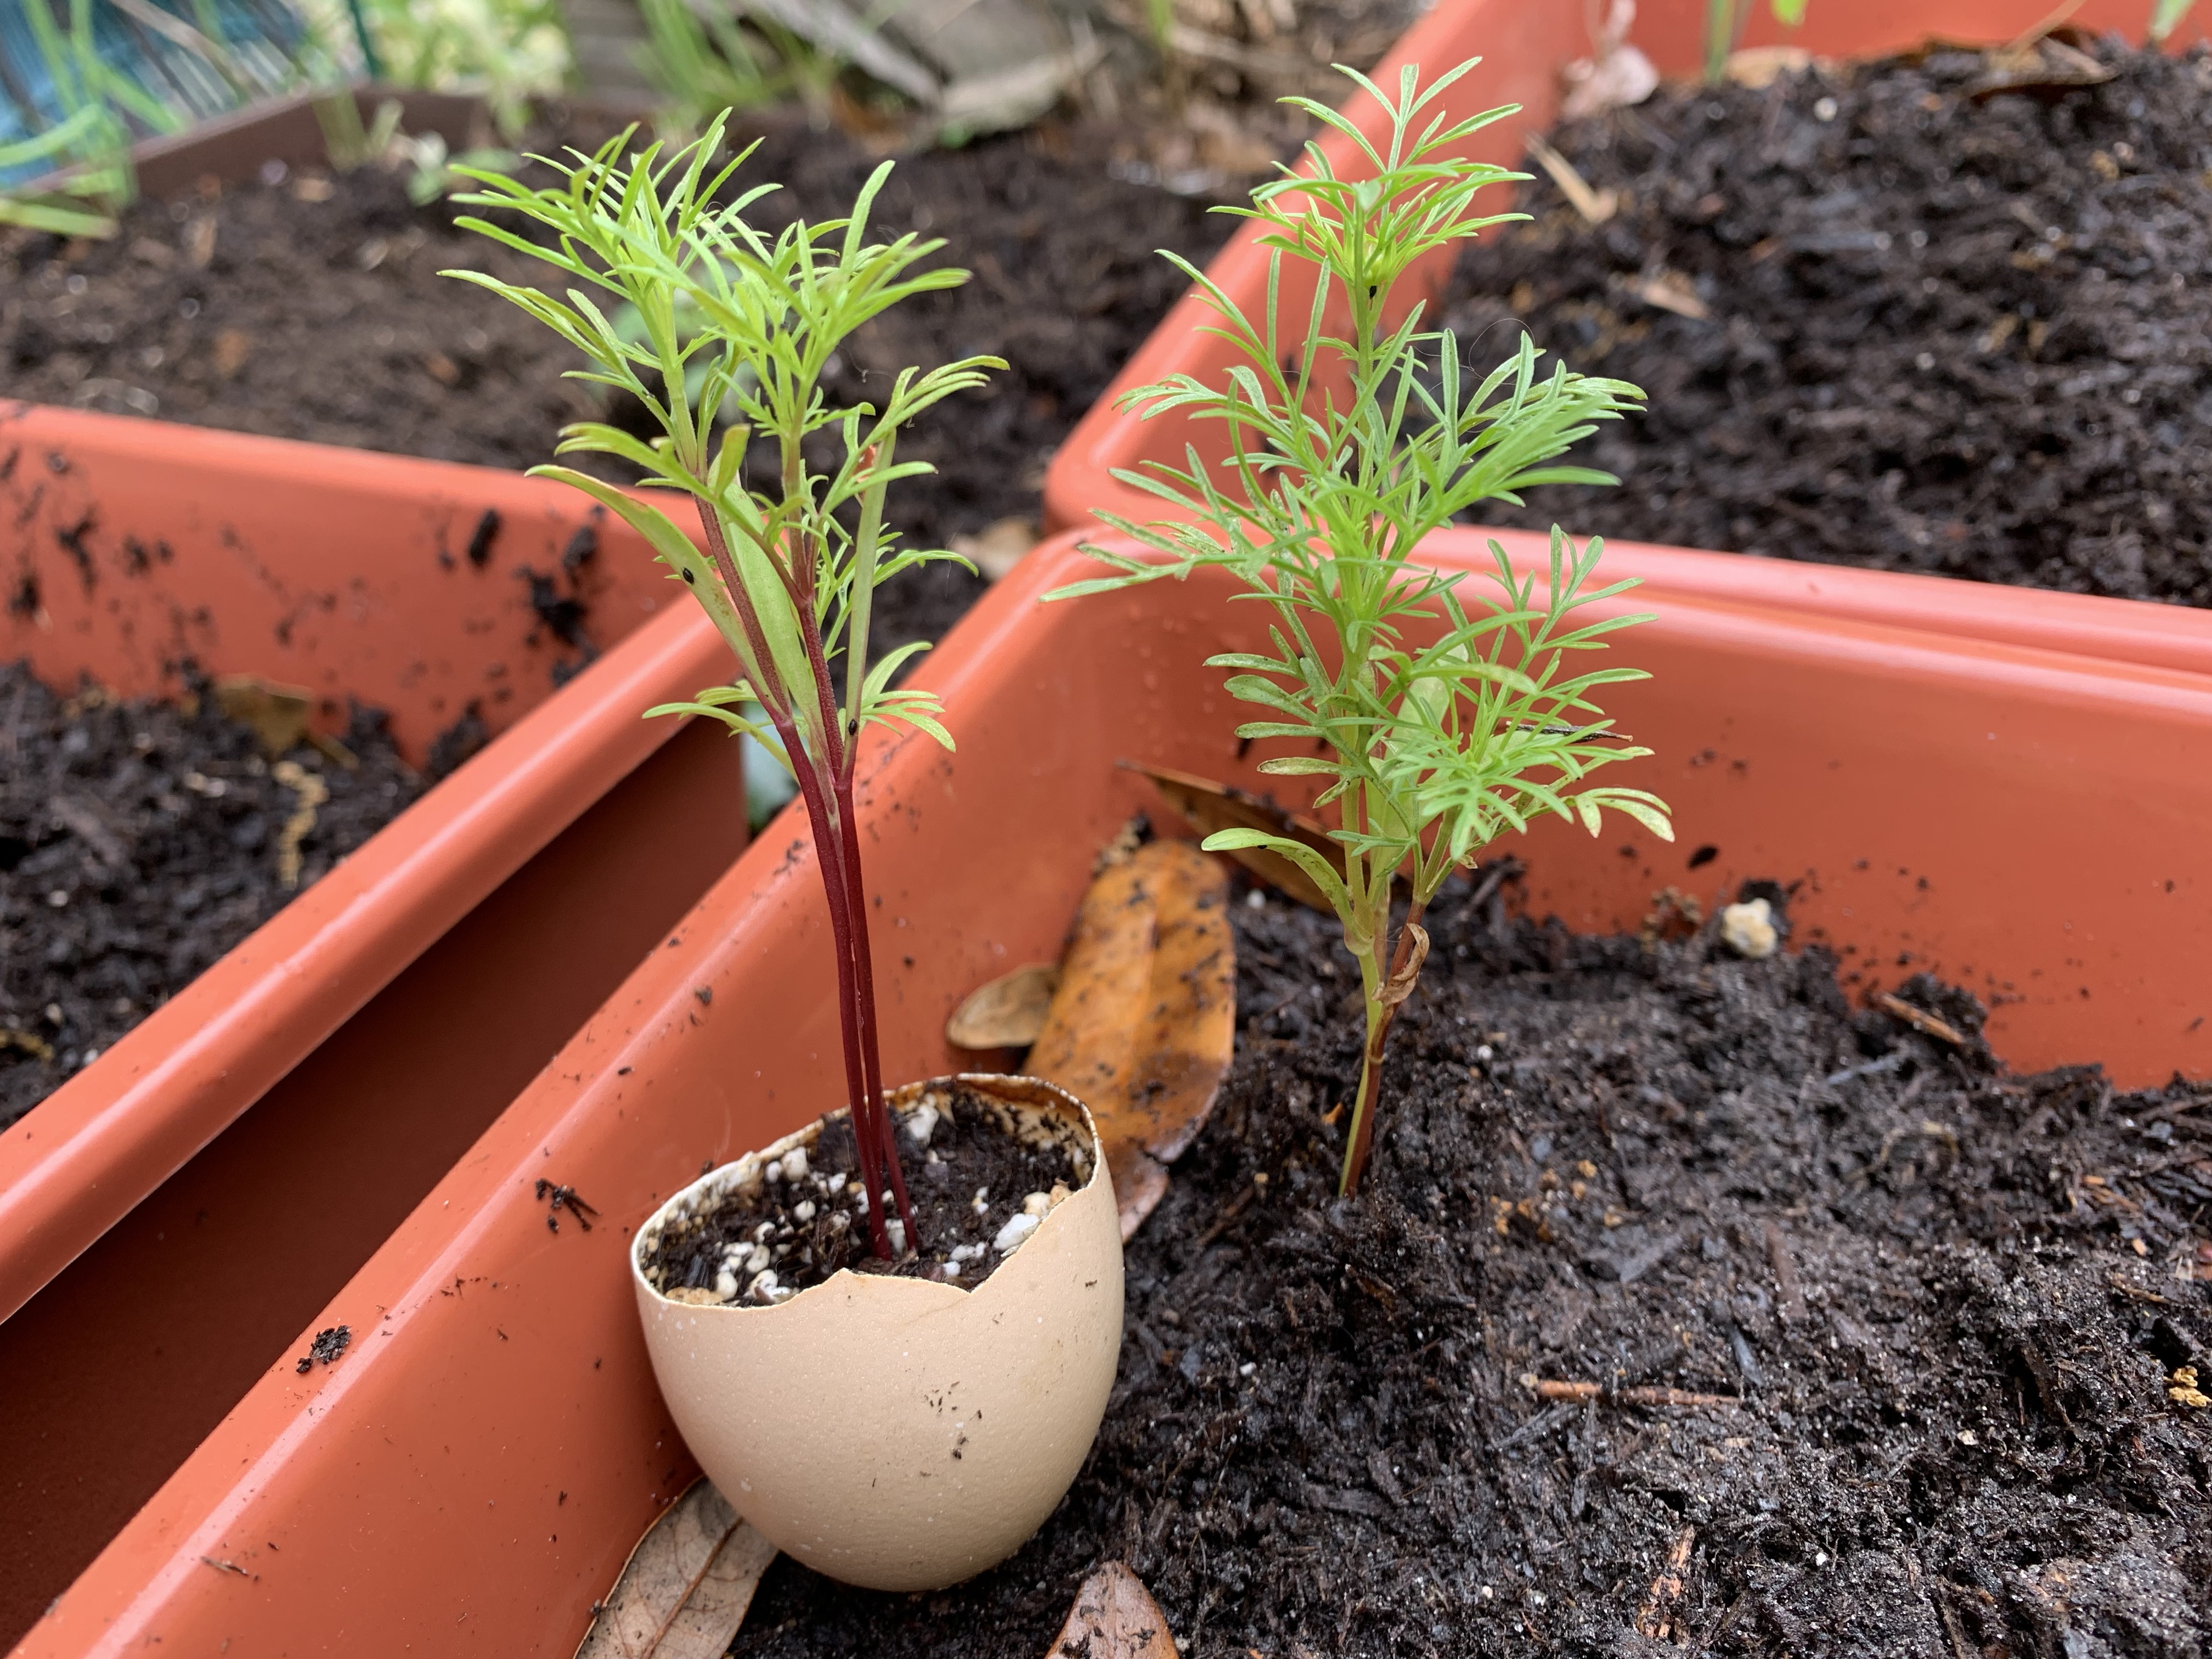
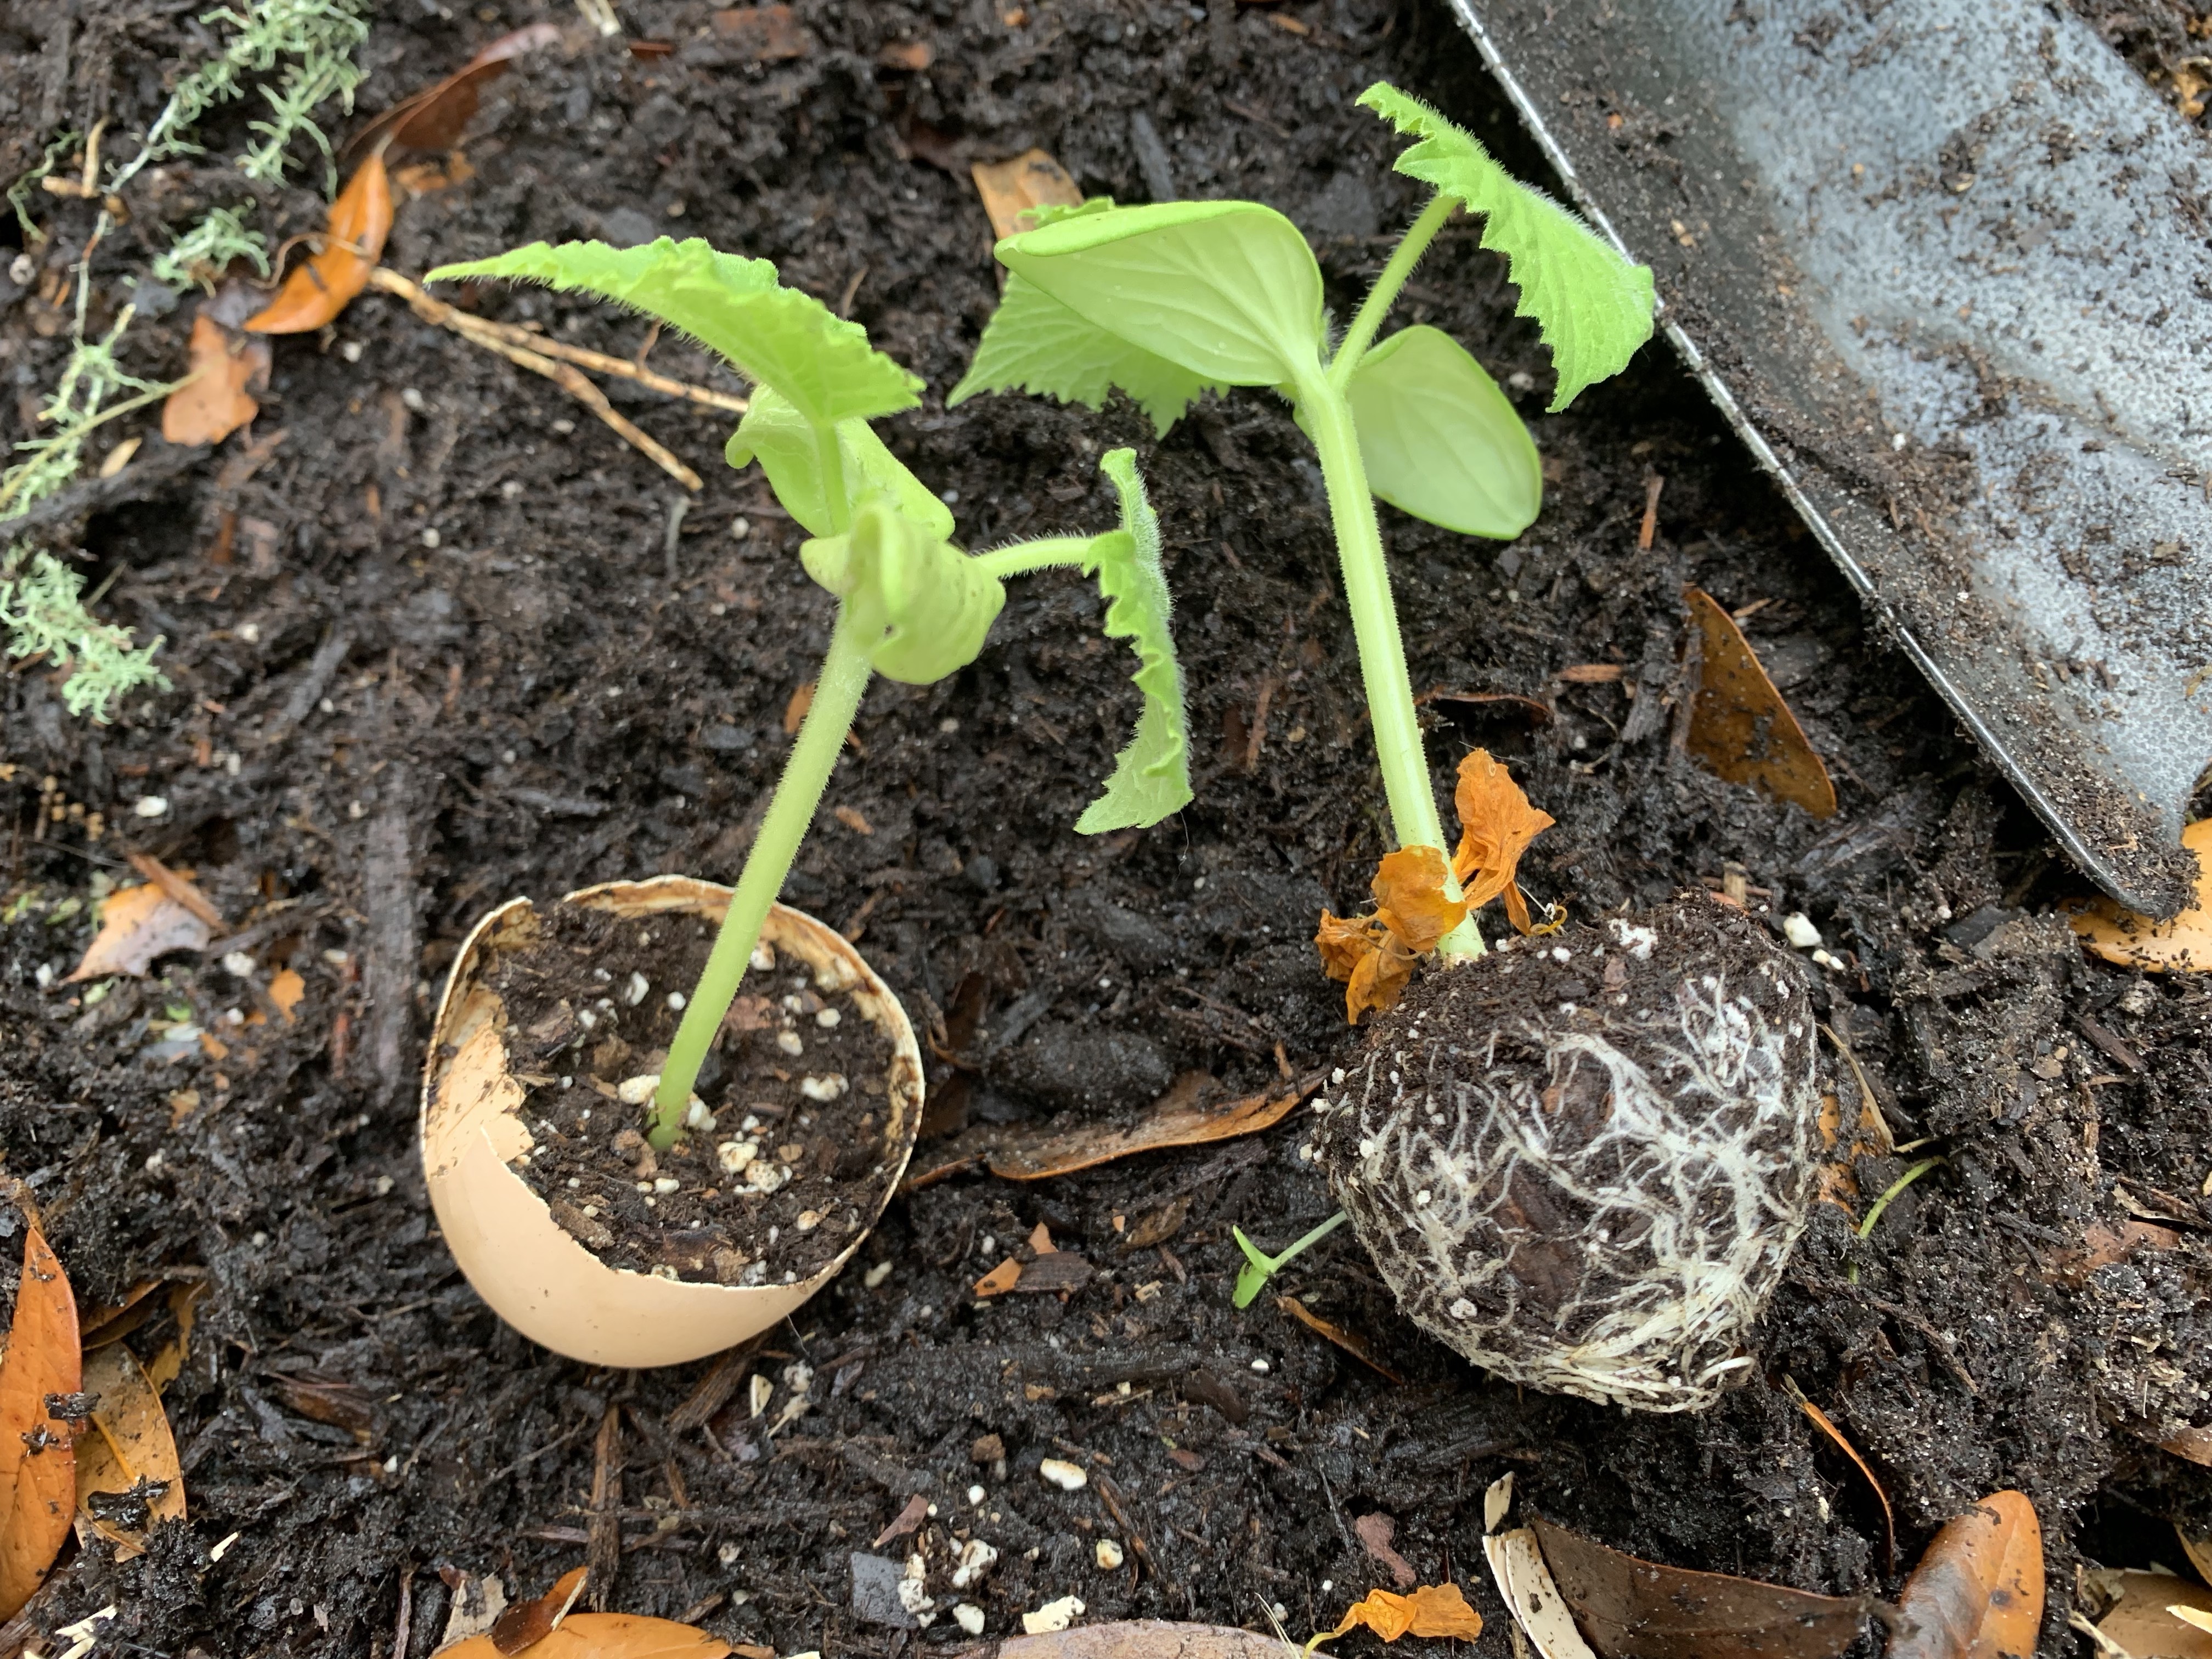
I wrote a previous post about growing seeds in eggshells. This year was the first time I attempted this. Some plants did better than others and altogether I believe it was a good thing to do. I was able to keep a close eye on the little plants making sure they had sun and water and could be indoors during the cold.
As far as transplanting goes, I carefully broke most of the eggshell away from the roots and then set the plant into the dirt. The broken shell can stay in the garden, but I wanted to be sure the little roots would be able to spread.
This was pretty easy to do. You can see all the roots on this cucumber – he was ready to be set free!
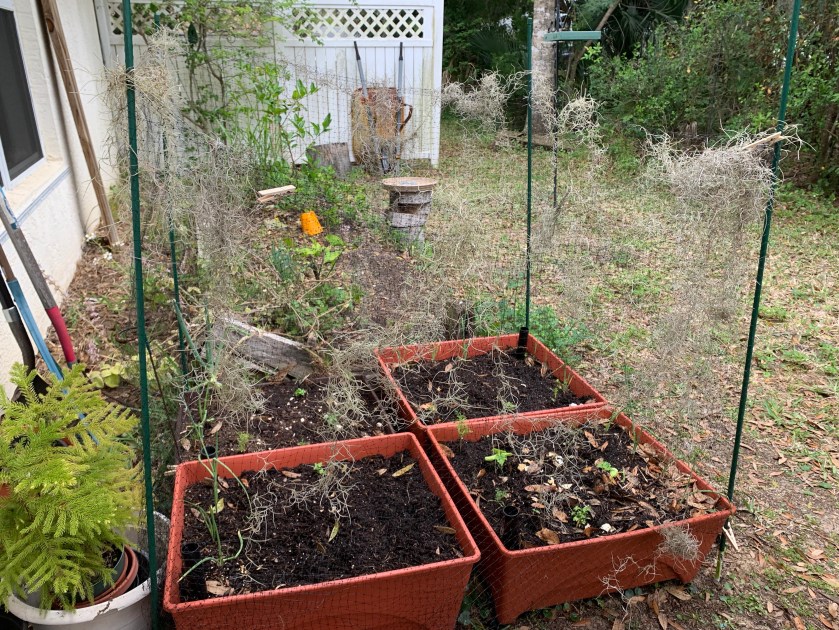
The Garden is Planted! March 15th
Once all my little seedlings had a new outdoor home, I put up some posts (also bought at Home Depot) and wrapped the whole thing with some mesh I had. I only did this to keep my cats out of the garden! When they see fresh dirt, they think it’s an outdoor litter box.
I draped some Spanish moss, picked up in the yard, all around the mesh so hopefully birds won’t get entangled.
I will take down this mesh fence once the plants get larger and the cats are no longer interested. It’s a good way to keep the raccoons out too, I hope.